Category Archives: Fix It Felix, Jr. Arcade Cabinet
This category is about the arcade game, Fix-it Felix, Jr. Sergio scratch built a Fix-It Felix, Jr. cabinet. Everything from cutting the wood, building the cabinet, setting up the computer hardware, creating artwork, programming the front end and software, and playing the game!
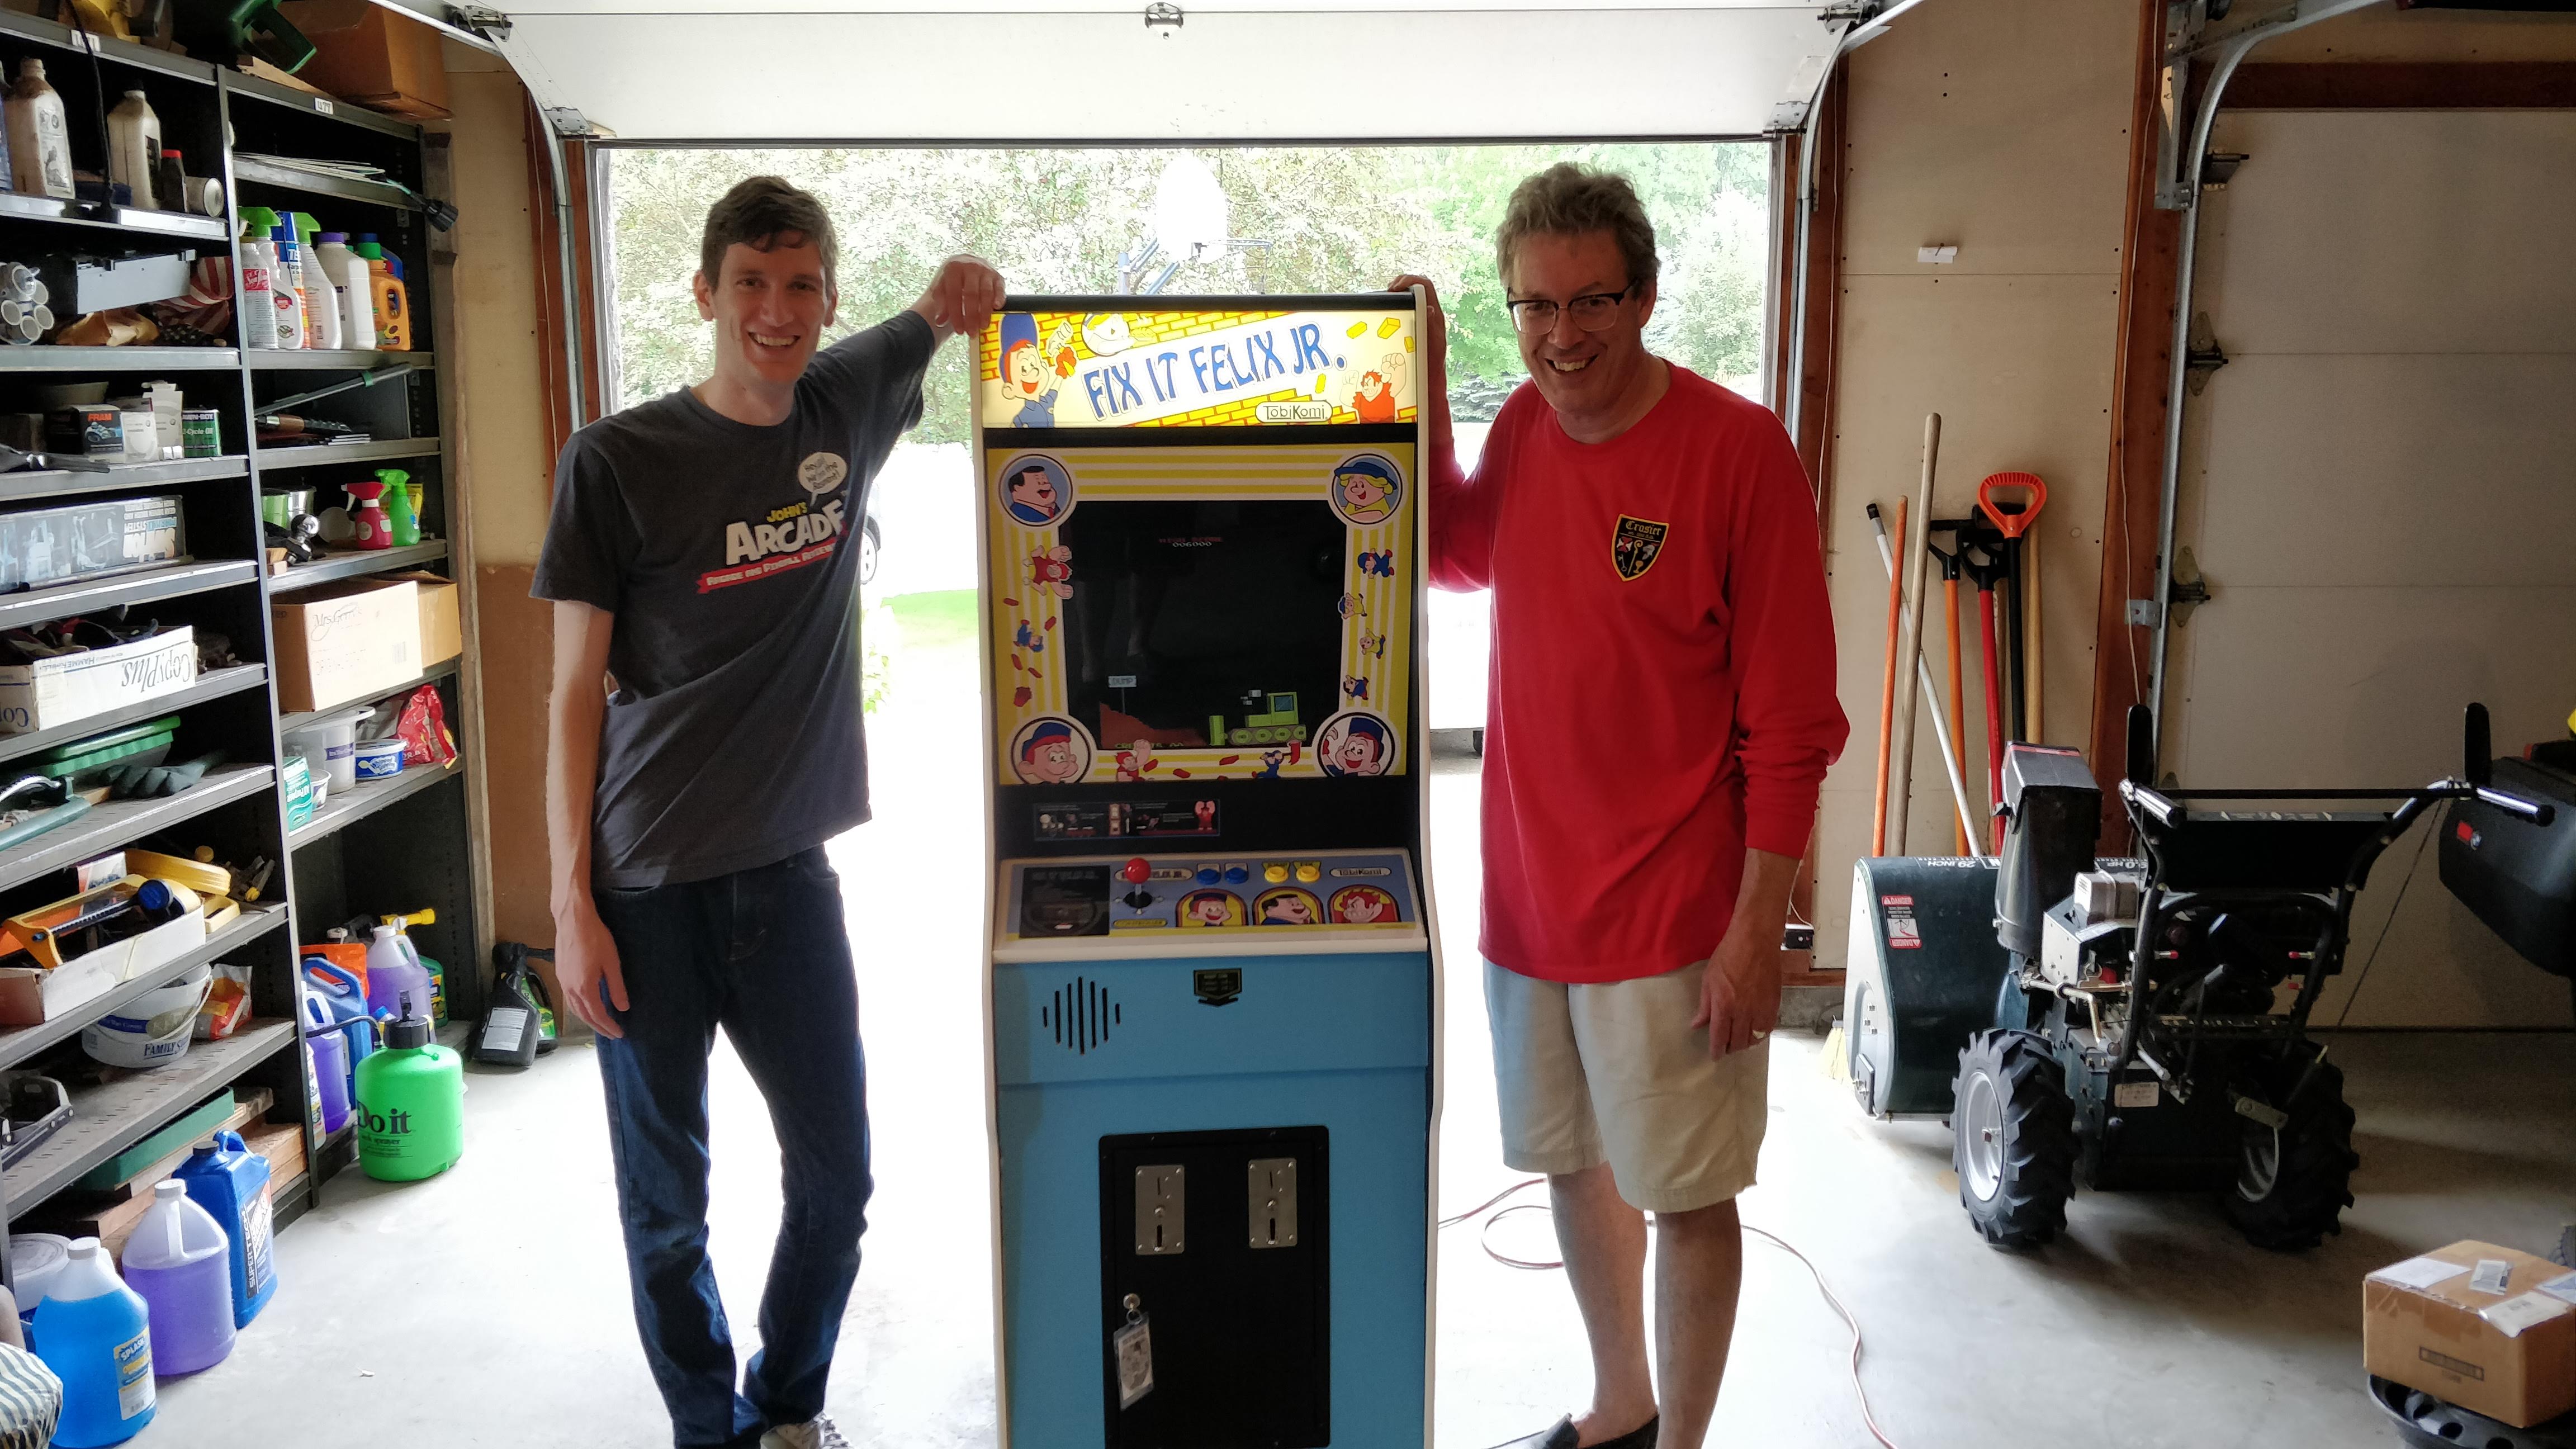
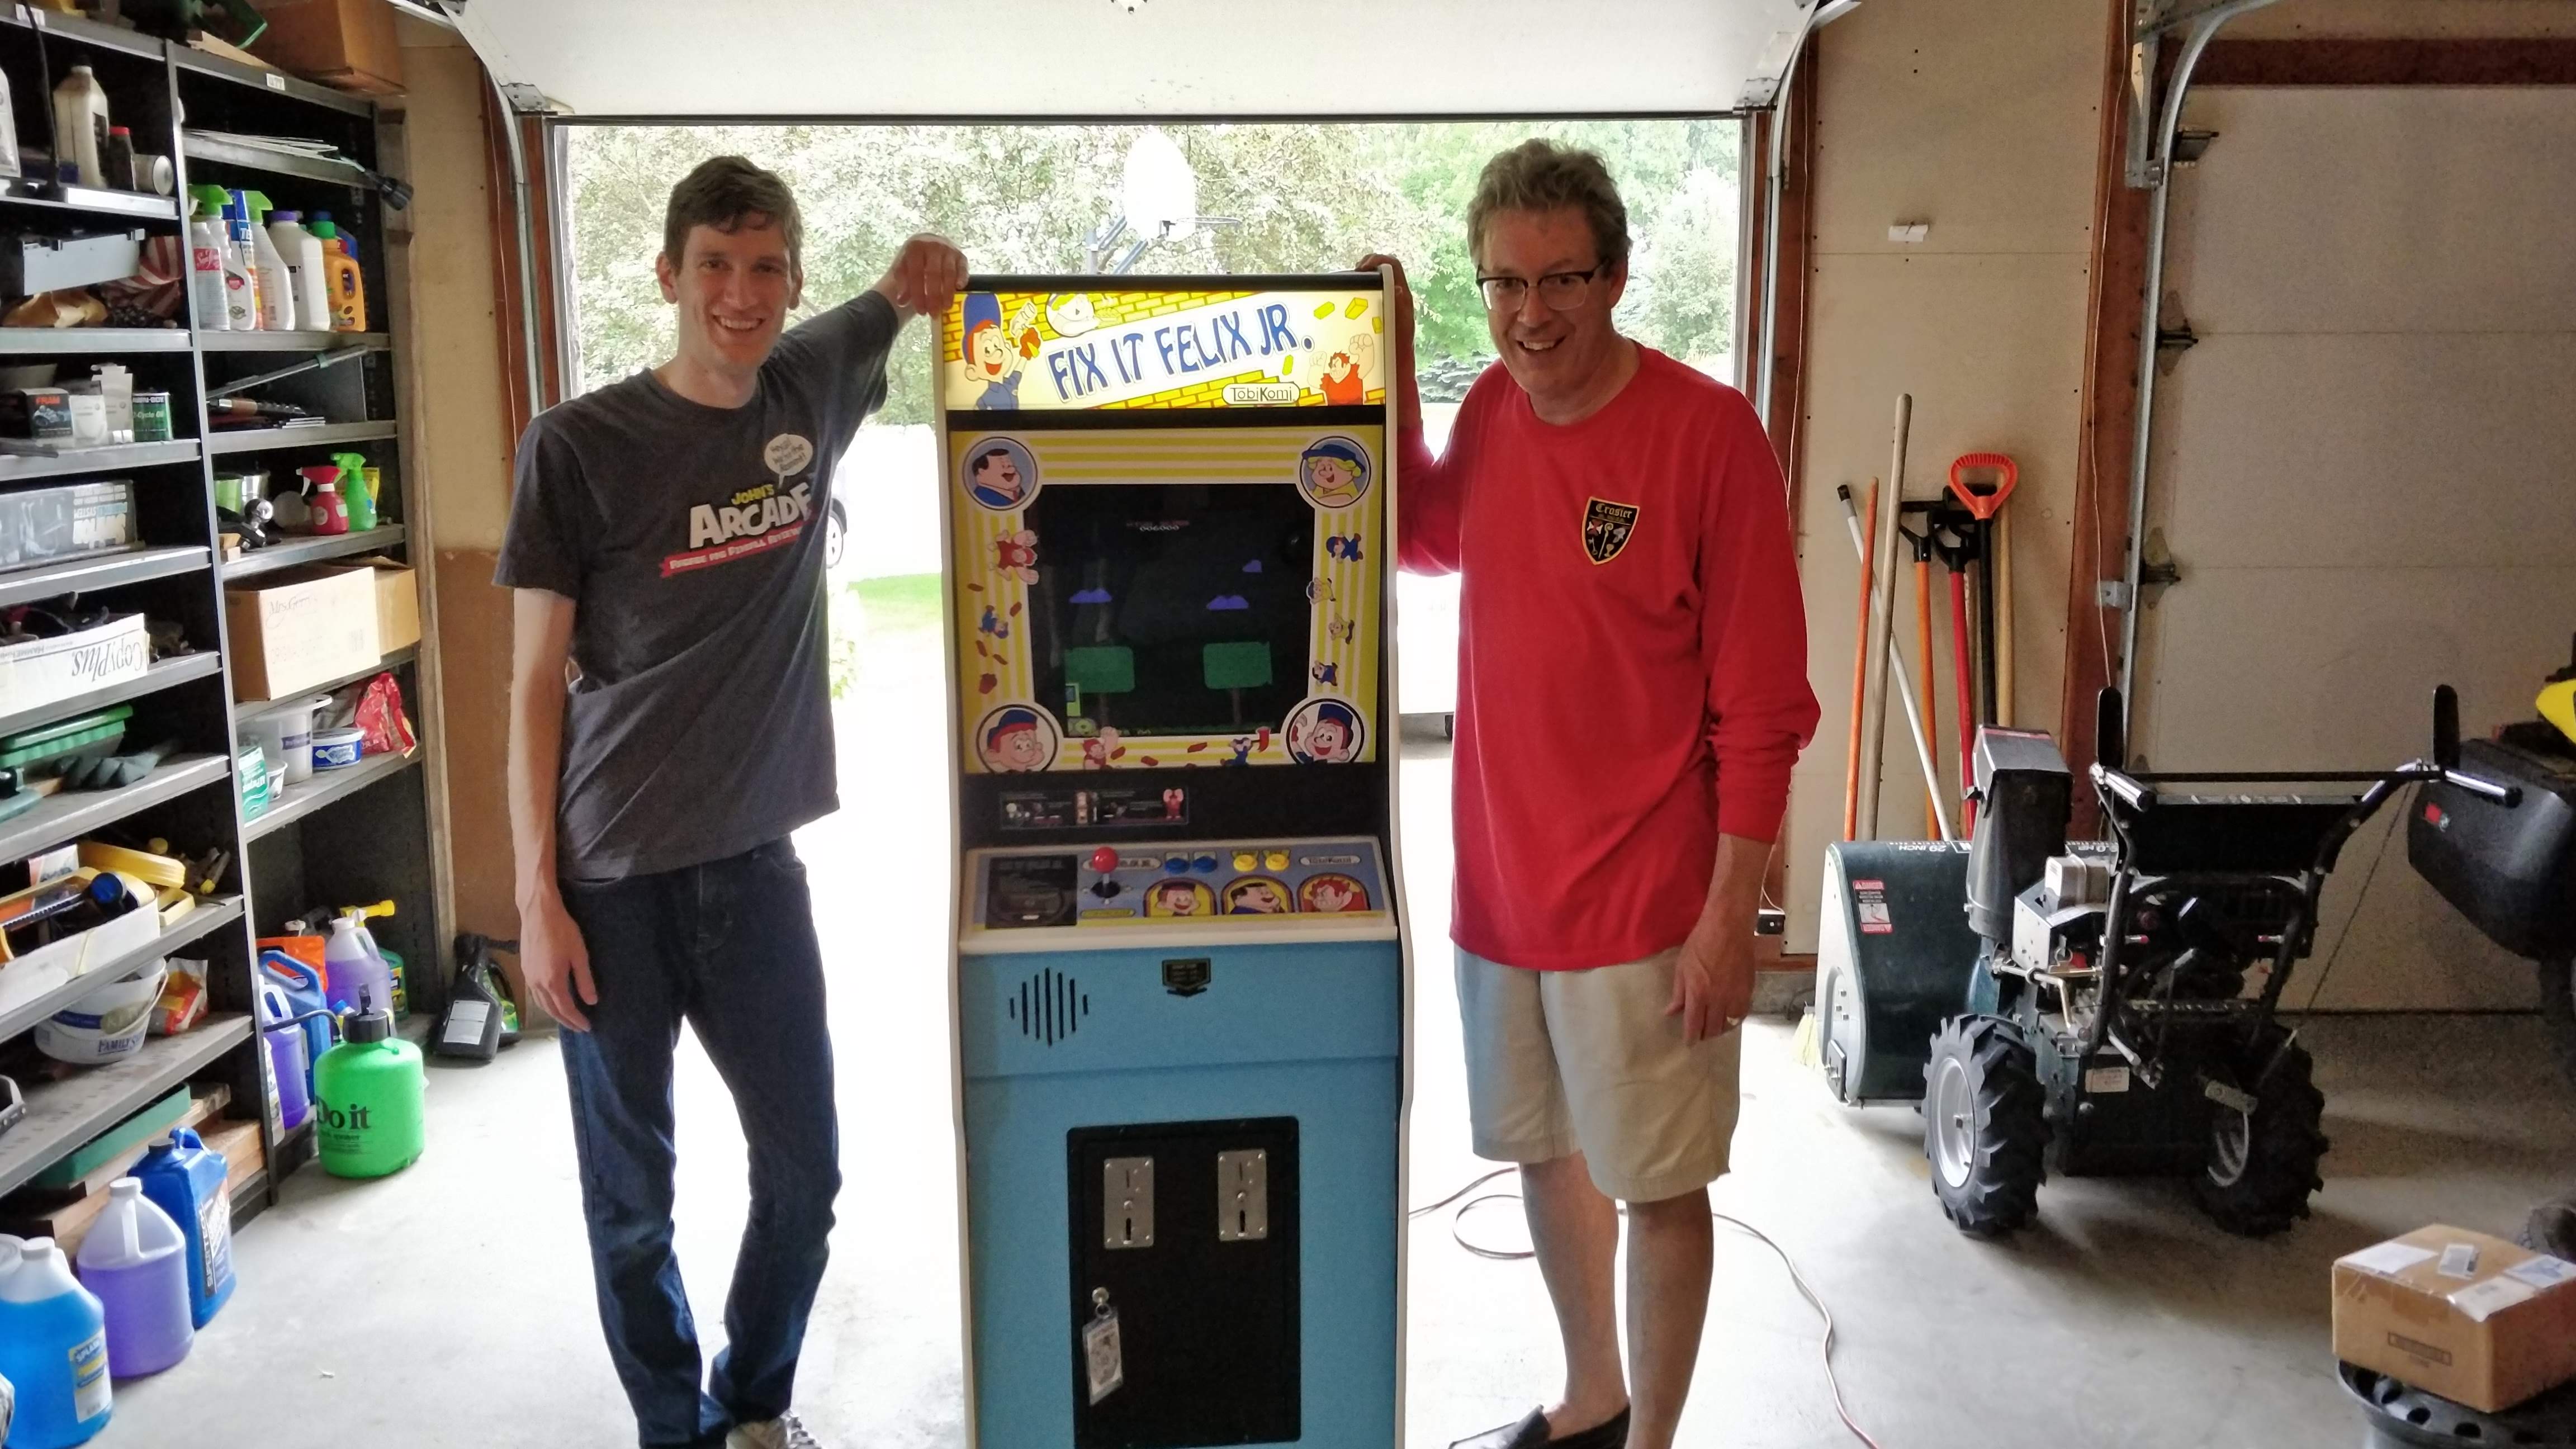
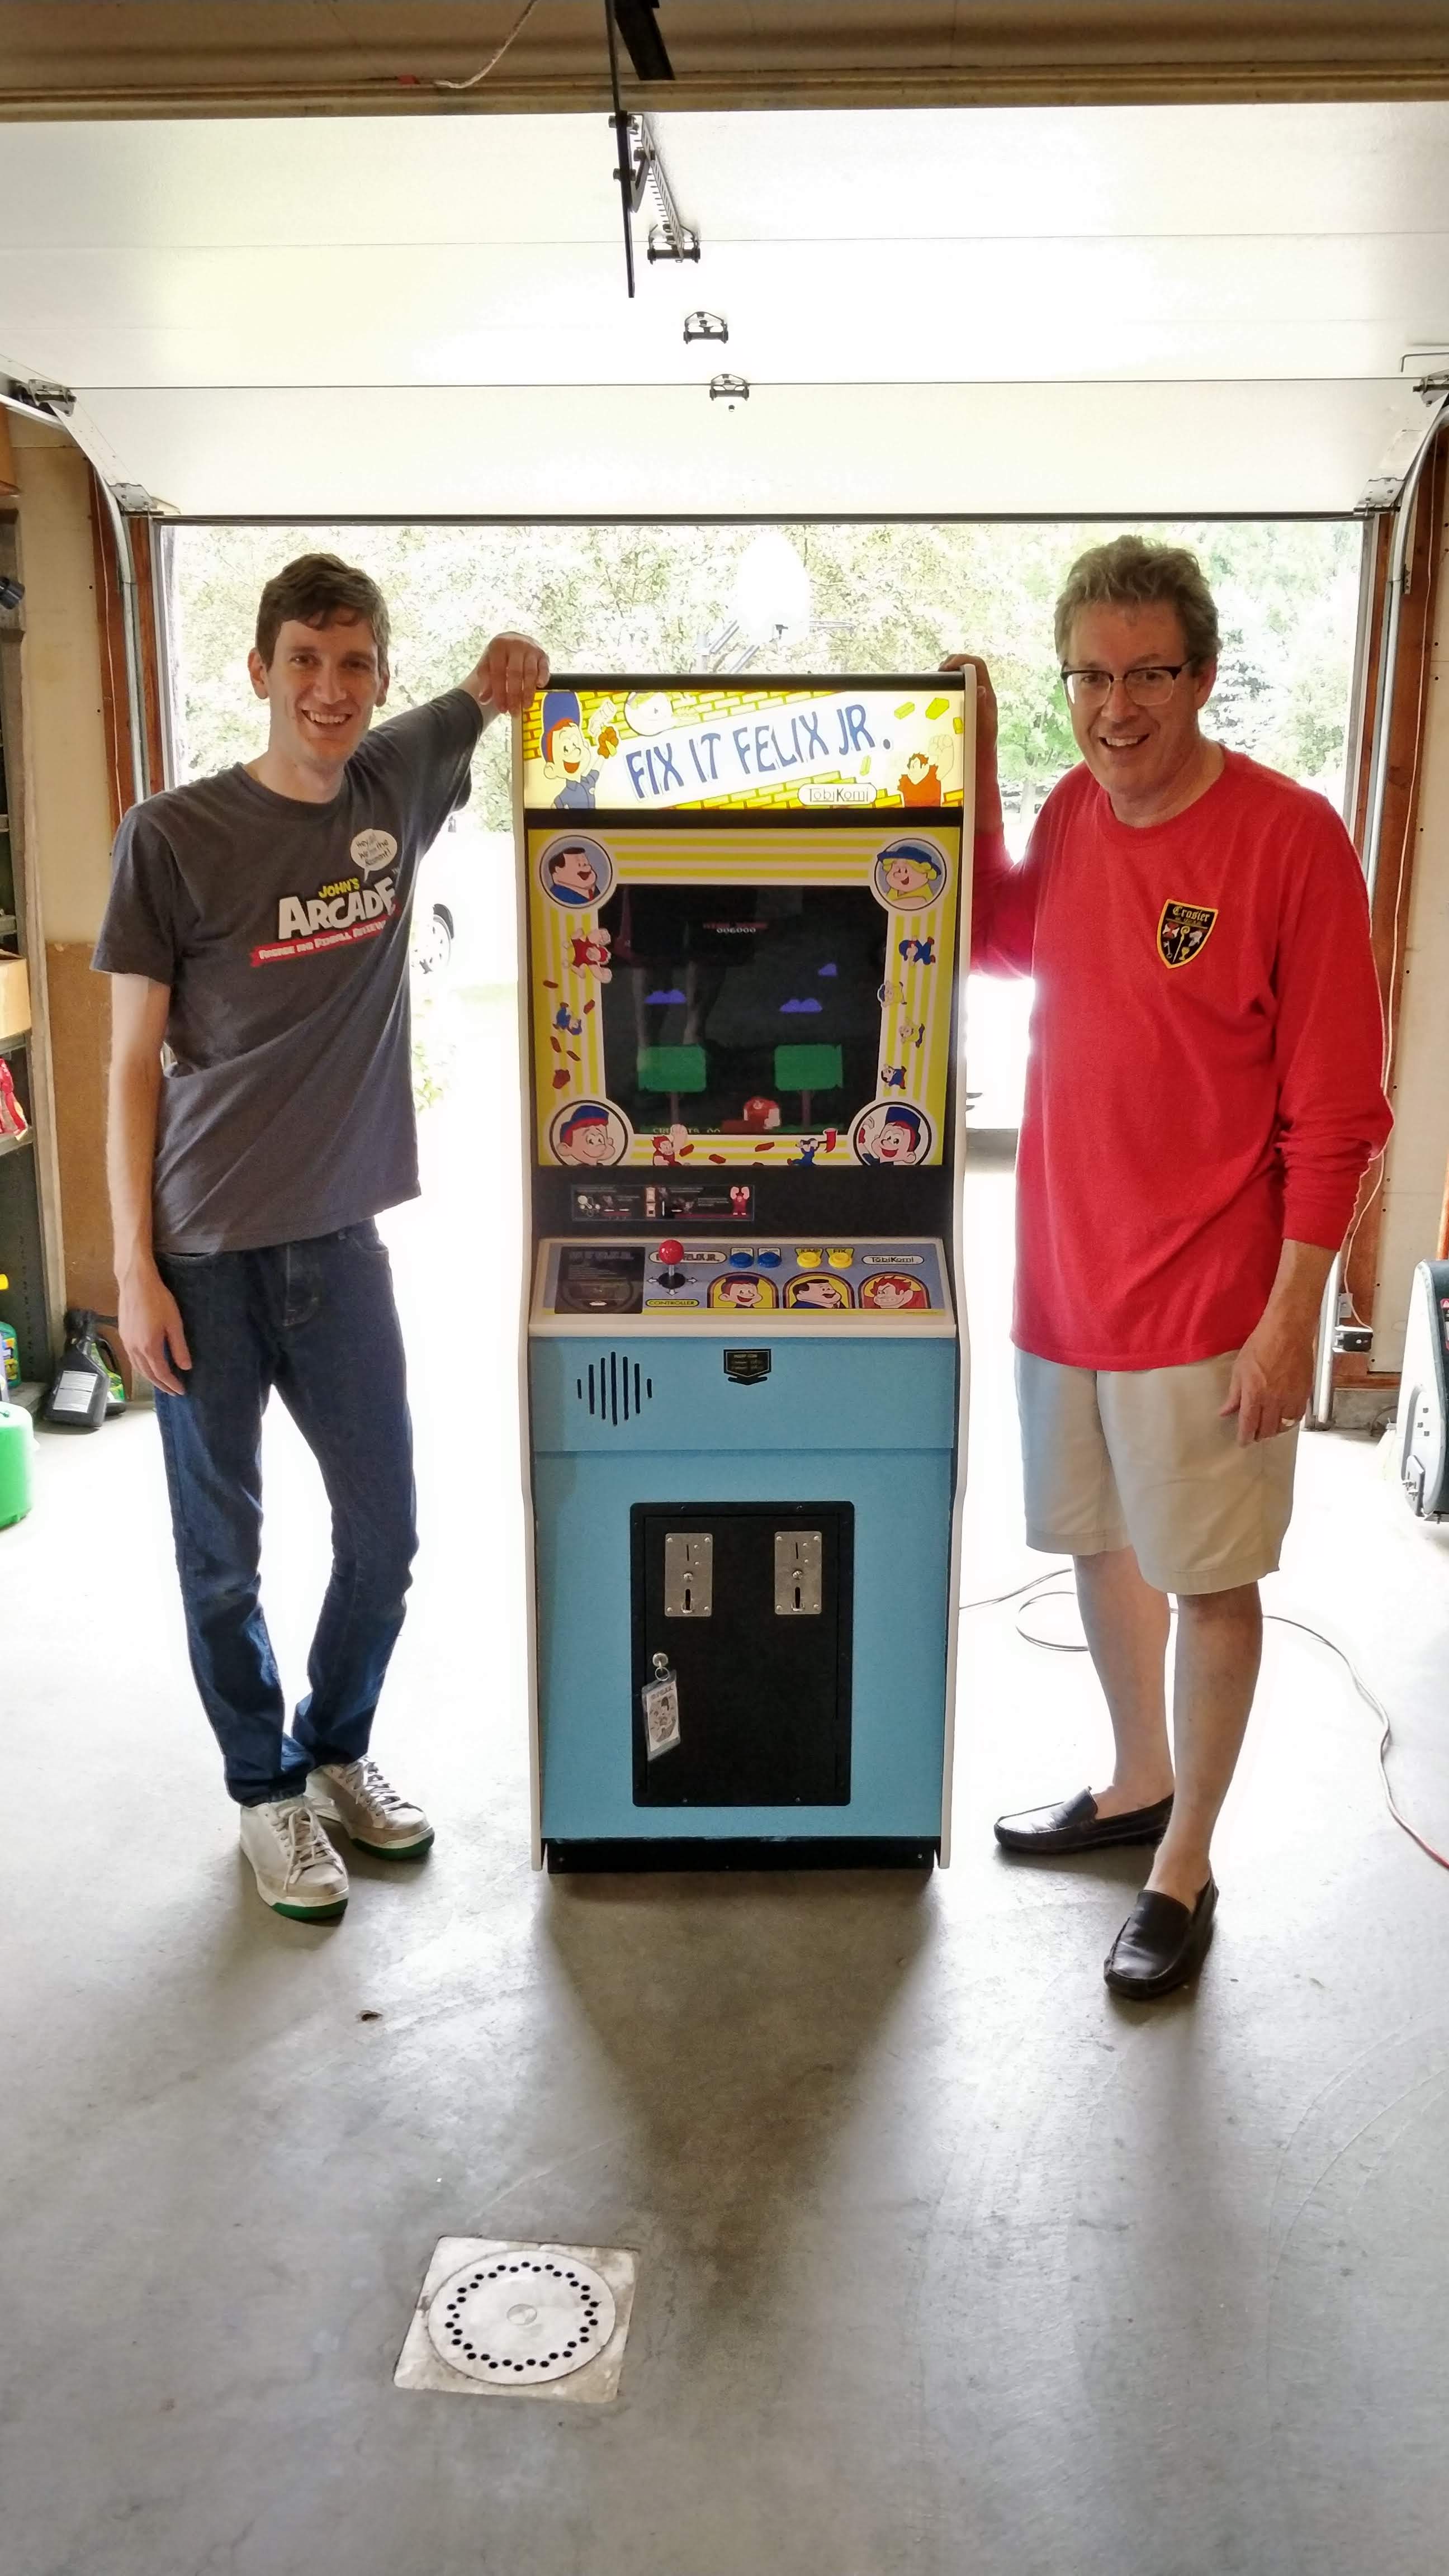
It’s official, my Fix It Felix cabinet will have a new home at a pizza restaurant, owned by a good friend of mine. So, if you’d like to see this thing in real life, just visit Log Cabin Pizza in Browerville, MN! I’m actually quite excited to see how it works out for him. It’ll be cool to hear about young kids experiencing something like this for the first time. In fact, when he came to pick the game up, he brought with two of his kids (both under 10). They had never seen anything like it before! They were actually a little nervous to give it a try.
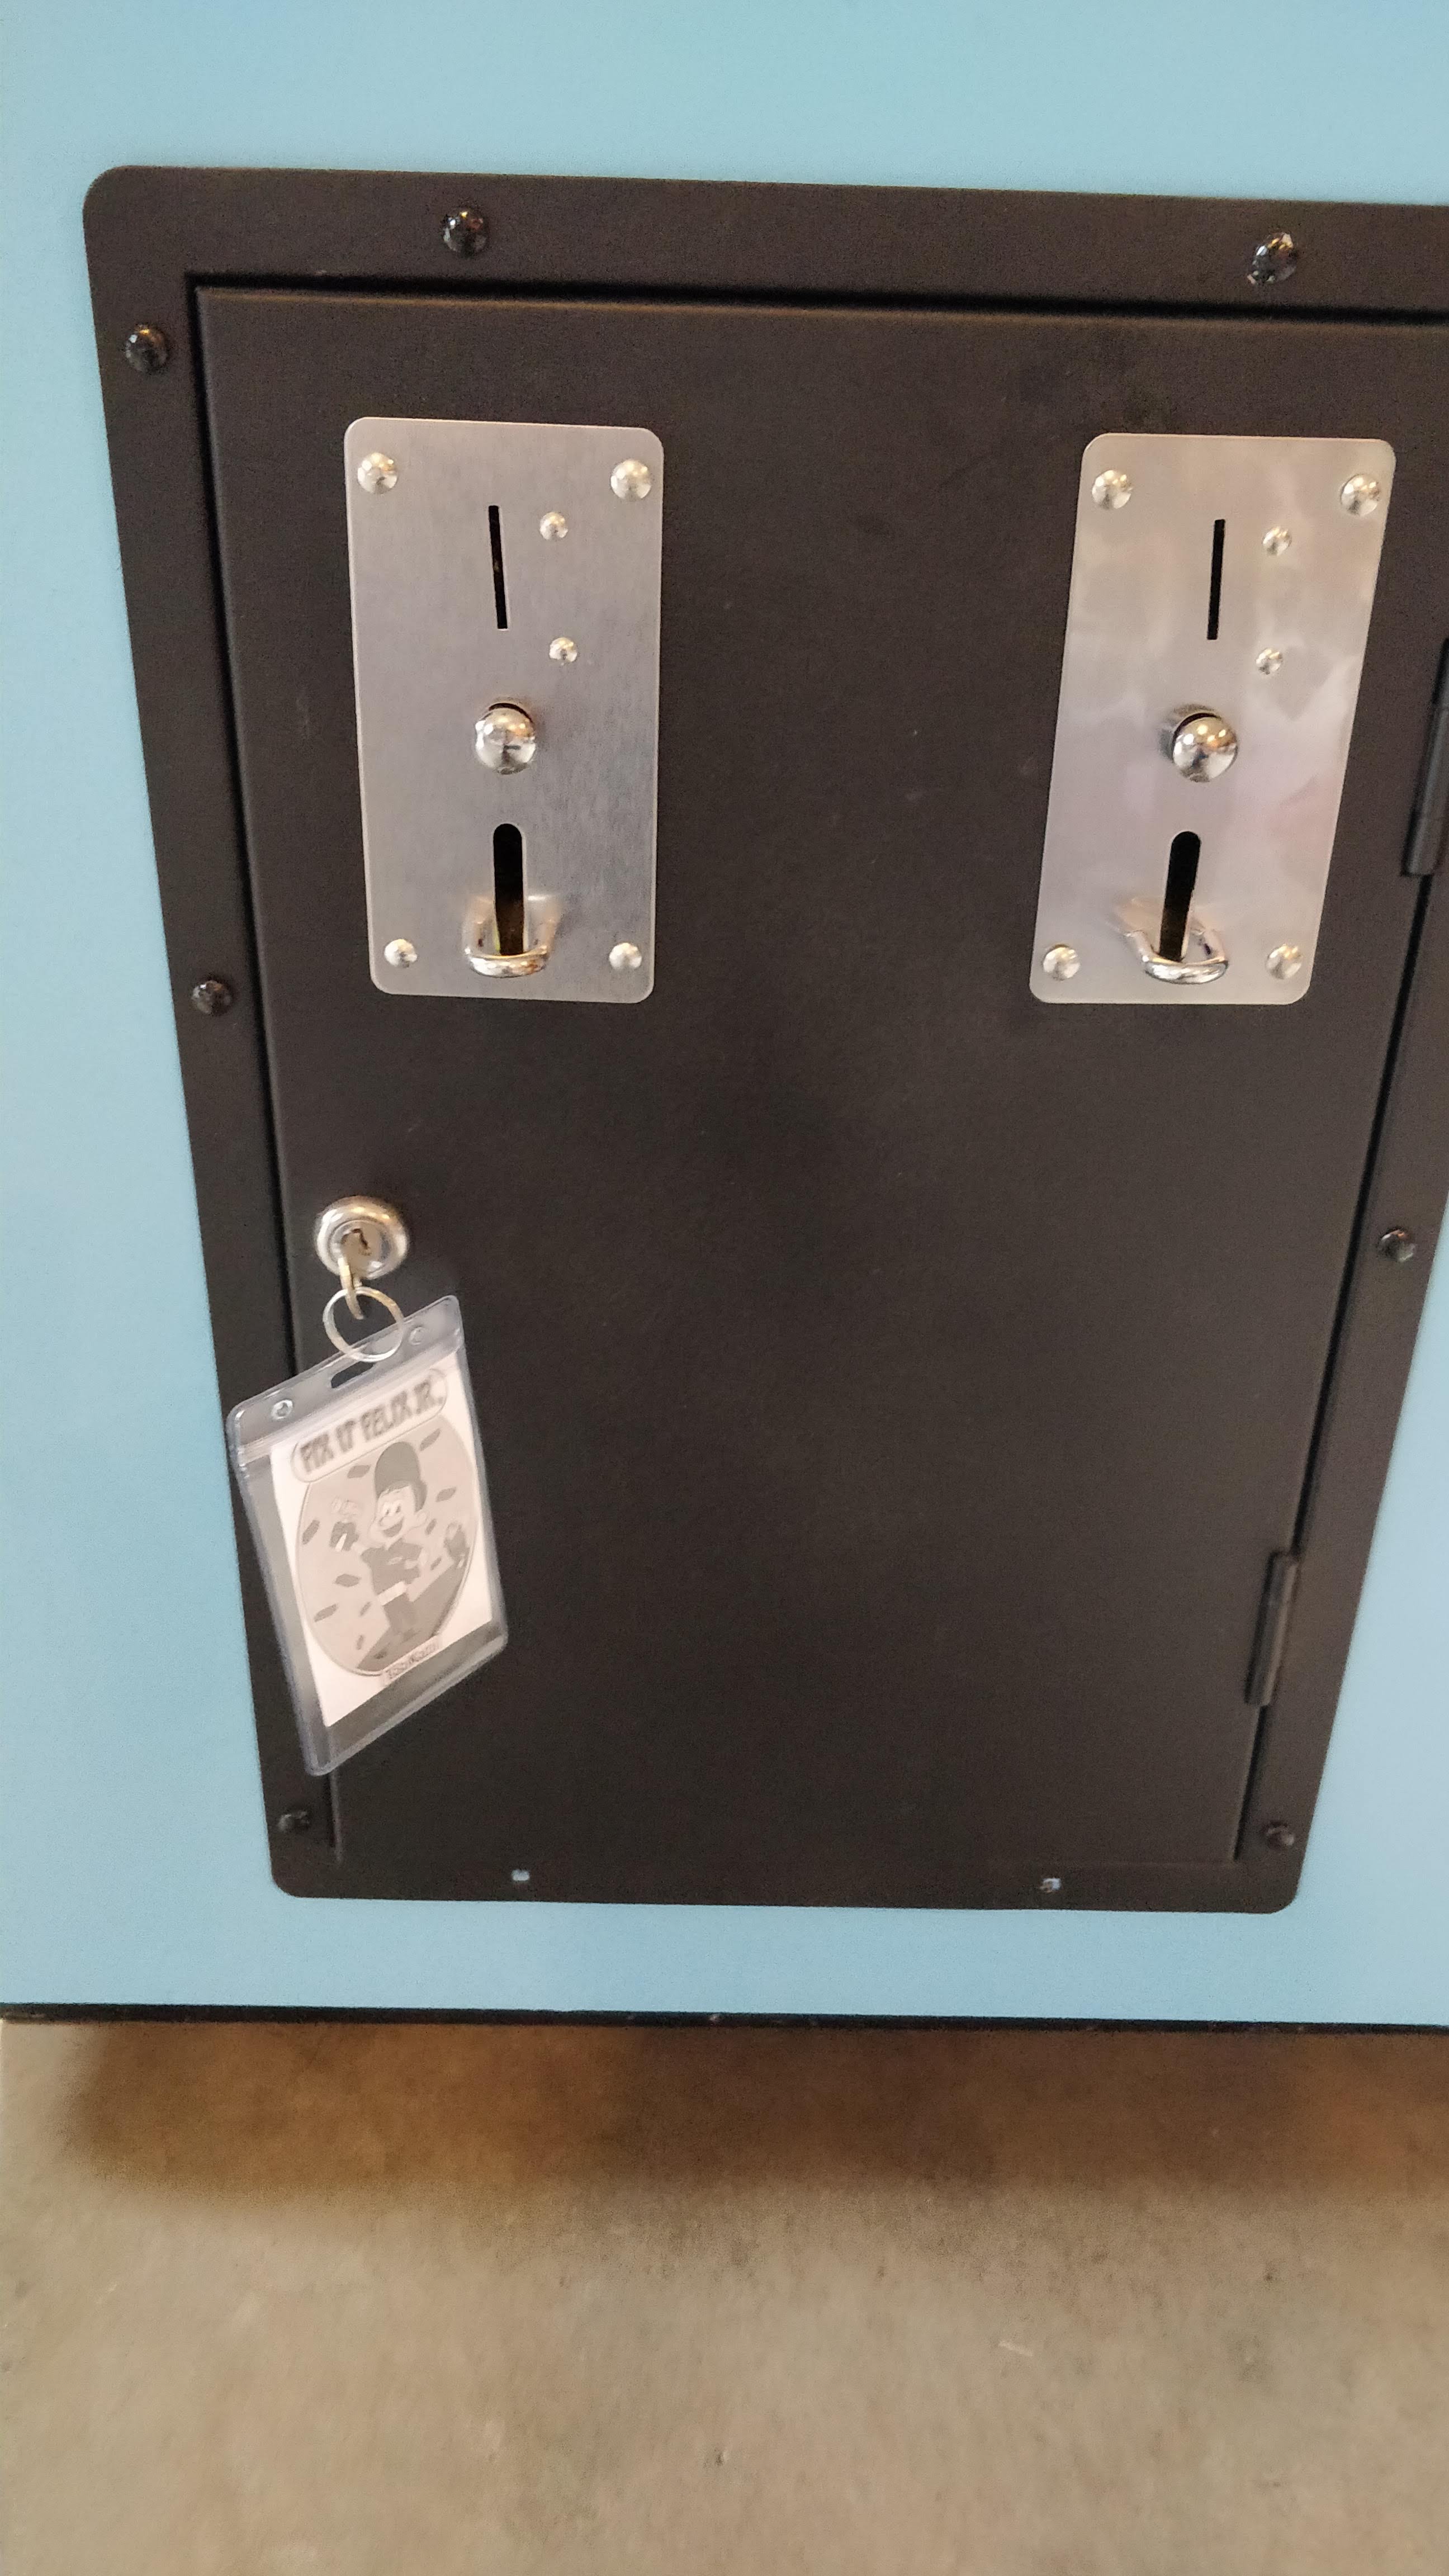
See some final photos below. I made the new owner an instruction manual showing how everything works/wired. I created a couple key chains for the locks. And we attached the serial plate to the back (with a second attached inside the coin door).
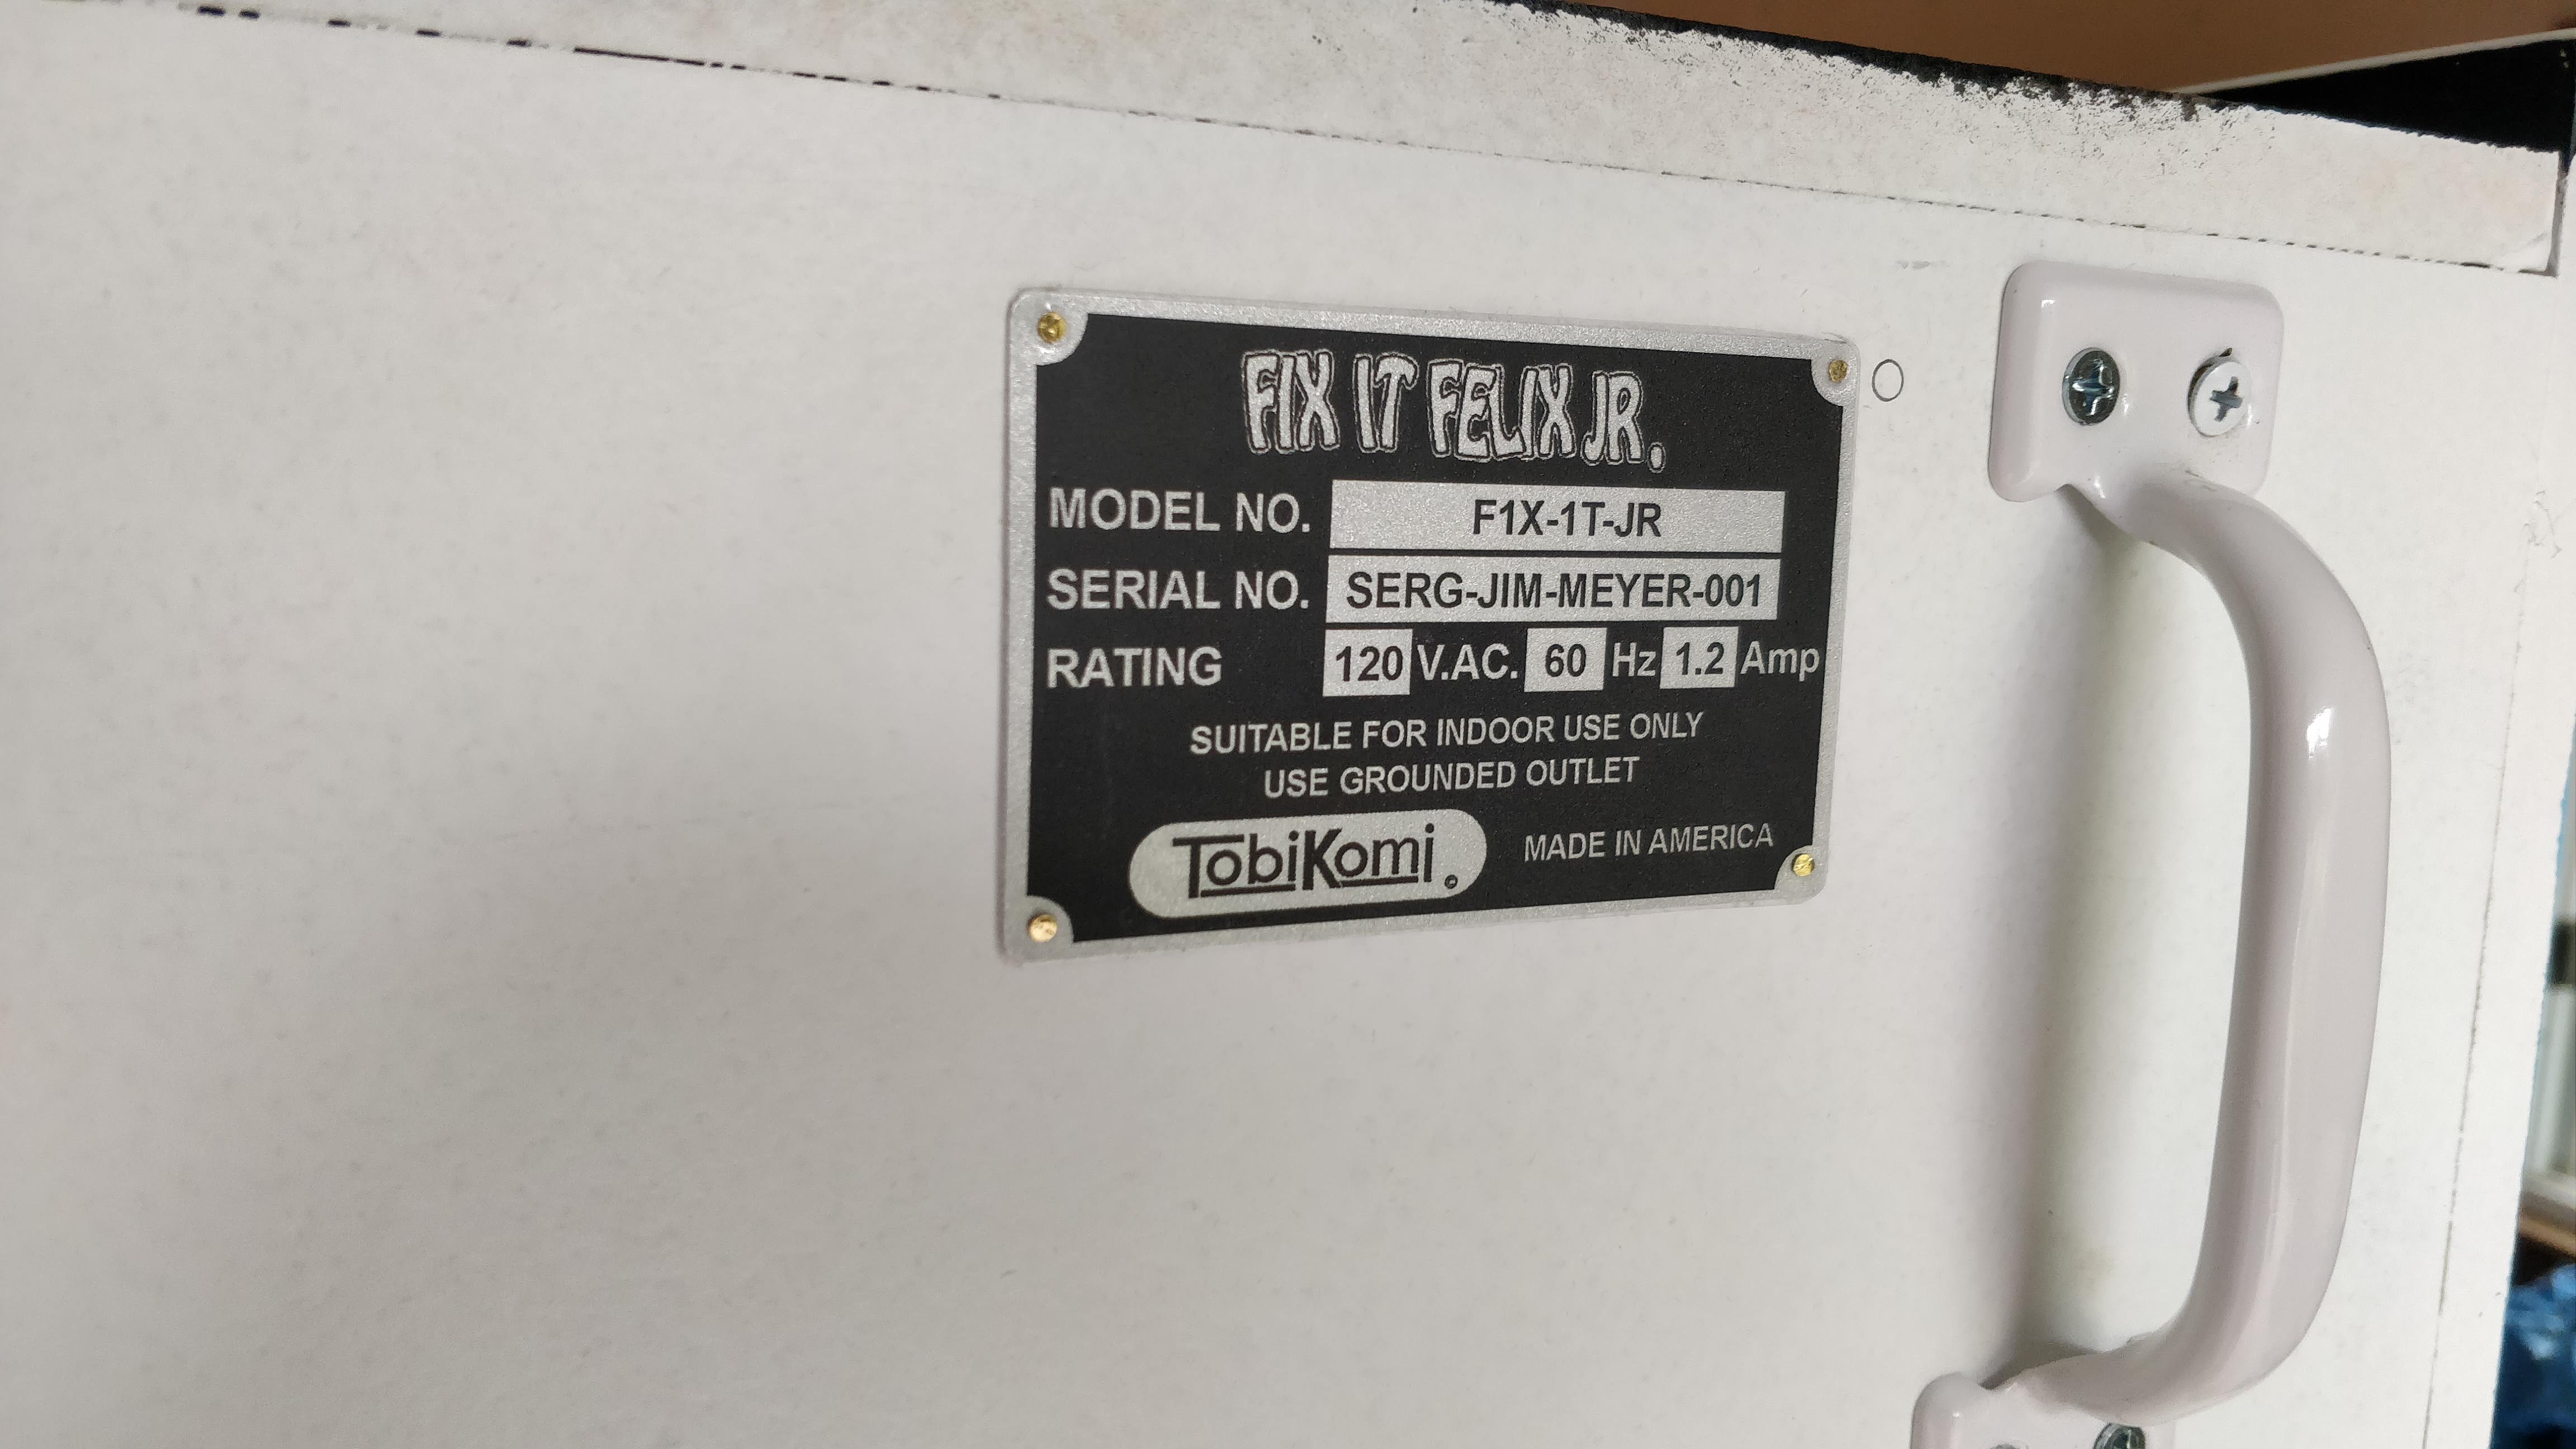
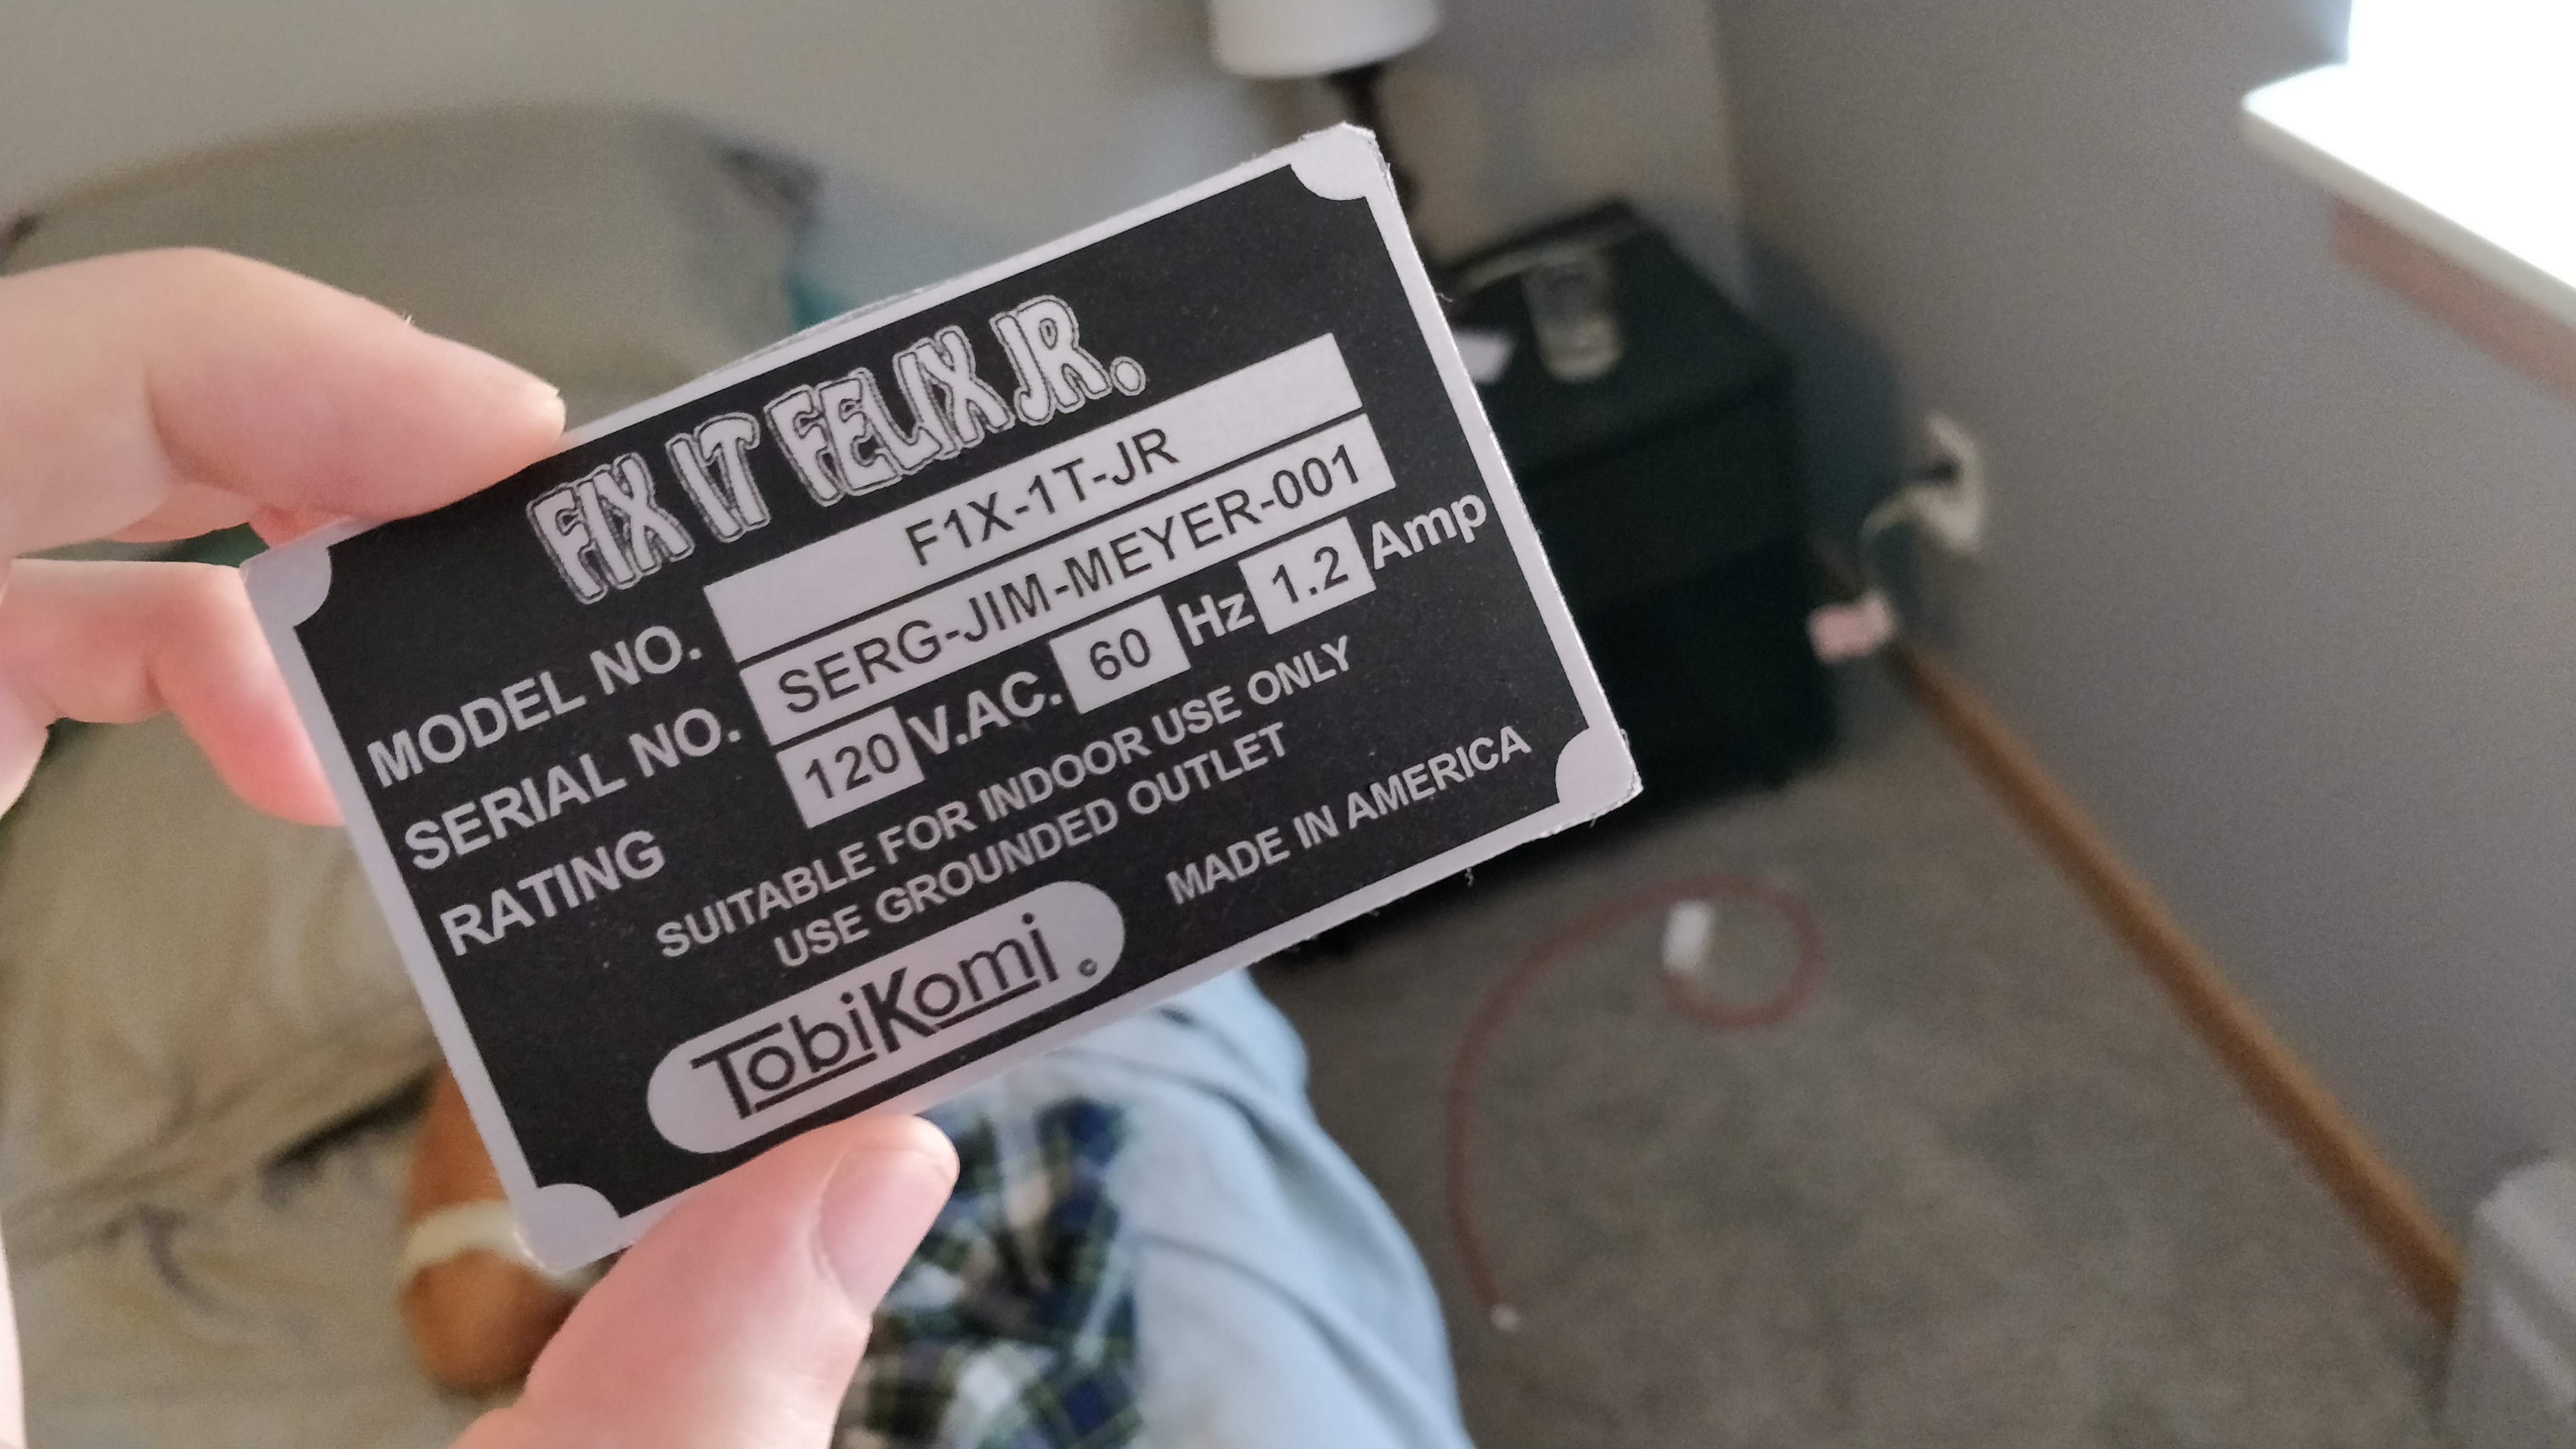
The finishing touch on any arcade machine is the serial plate. I have to start by saying THANKS to CoryBee for showing me the way. I actually bought a custom made plate from him a few years ago but sadly misplaced it before I finished. After really thinking about it though, I knew it was something I could make myself.
Even better, I’m providing all the files for you to make your own! Let’s get started.
Design and Print Arcade Serial Plates
It’s worth mentioning that for my job, I’m in Adobe programs every day. The natural program for many people for this would be Photoshop – because of its ubiquitous nature. But the real obvious choice is InDesign. Serial plates are essentially laid-out text and meant to be printed in a specific size. That’s InDesign’s bread and butter. Illustrator would also be okay (which I used for customizing the logos). Before I got designing, I needed to know what size to make these things.
The hard workers before me often used cut-up soda cans. That works but isn’t my forte. Cutting them straight, making them flat, getting those rounded corners. Nope, not something I can do. So I searched and searched. I figured some service might be able to do the printing for me but found something even better! Amazon sells a variety of metal business cards. They’re a great size and come in a few different thicknesses. I started with VERY thin versions (.2mm thick) and they worked fine. No problems. They’re pretty flexible though and I decided I wanted just a bit more rigidity so went with .47 mm thick versions. For our purposes, you’ll want to go with silver or natural metal colors since we’ll be printing in black.
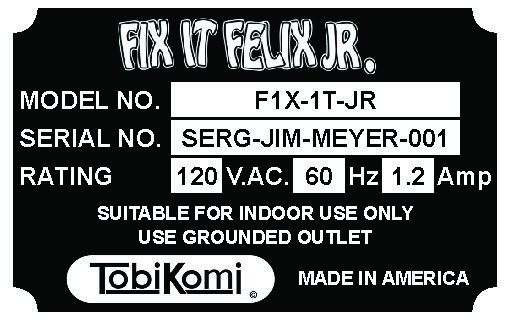
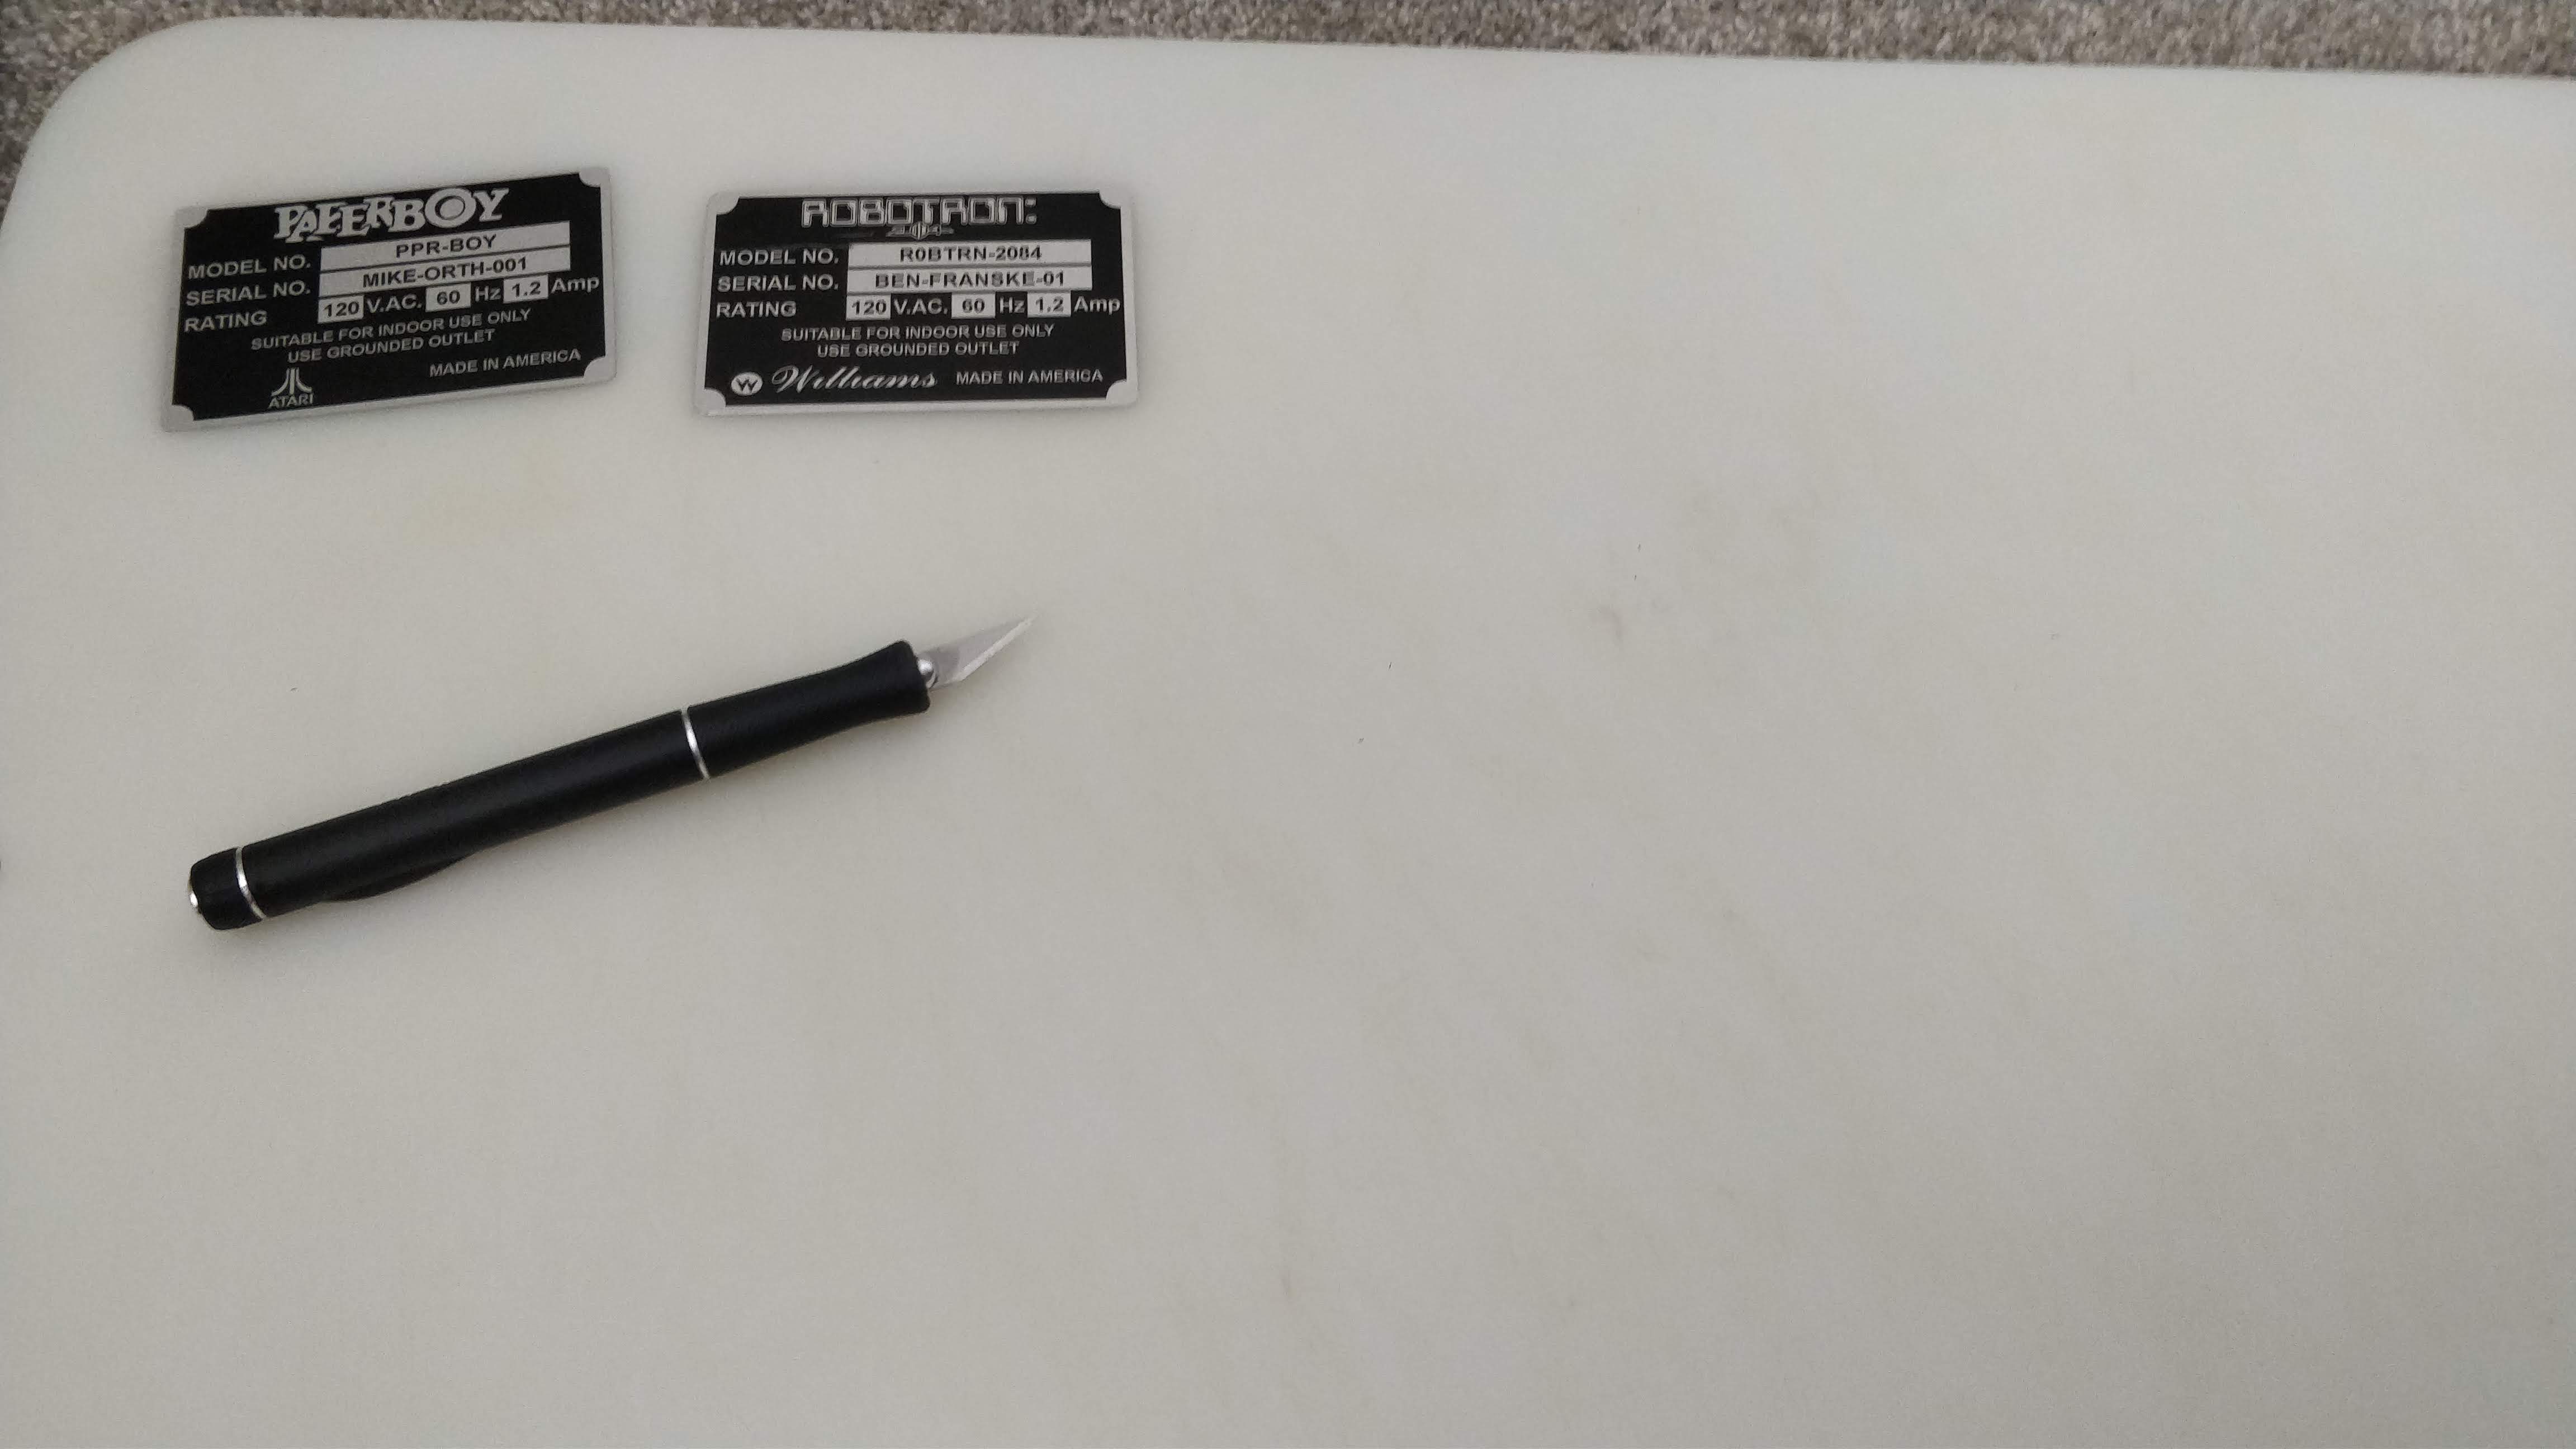
Fix It Felix Serial Plate Image (low rez – full resolution download available)
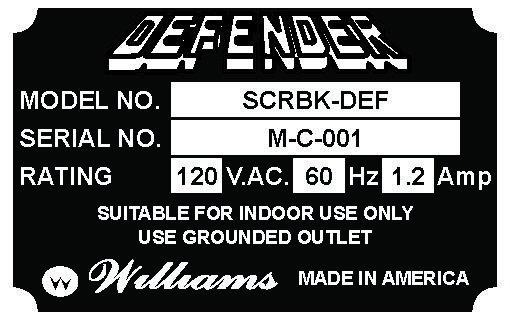
Defender Serial Plate Image (low rez – full resolution download available)
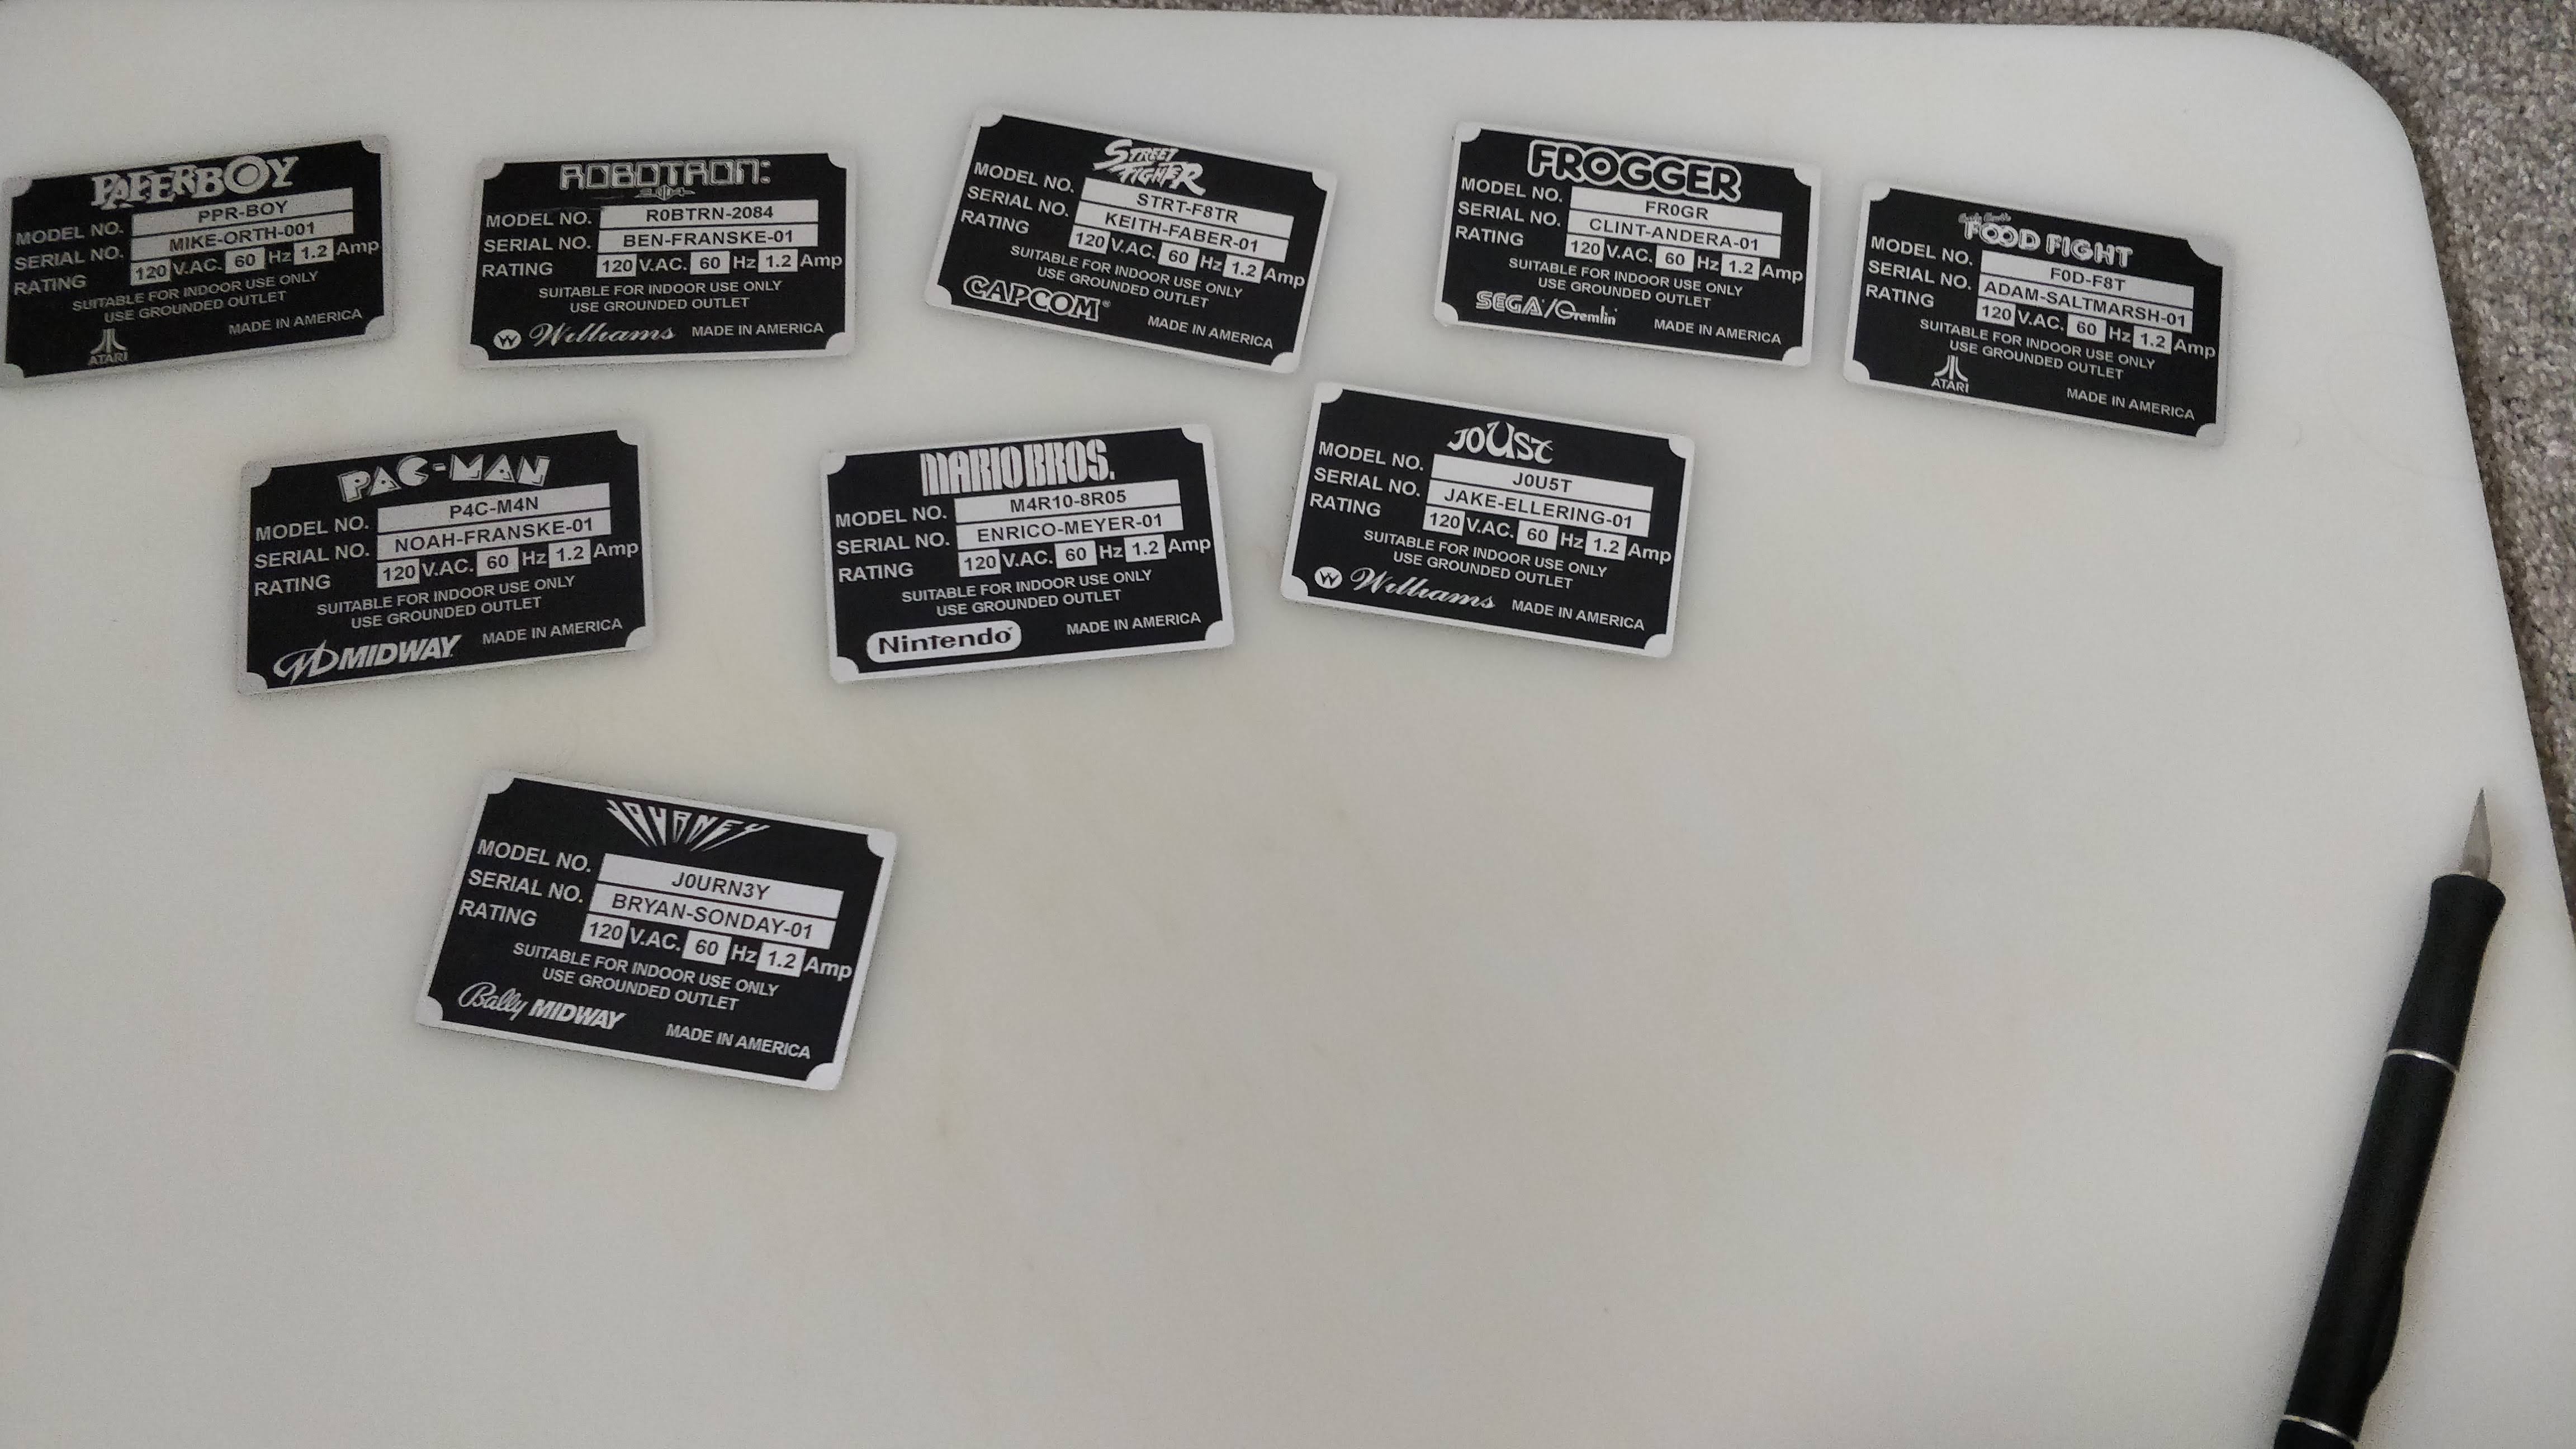
Now I knew what size to make the cards, it was time to start designing. I’d be printing on clear sticker sheets, so the key is knowing that everything in white will show through to metal (essentially white=clear). That leaves black. I used inspiration from CoryBee’s designs and of course looking at real plates. Space is tight, many real serial plates are slightly larger, but I think they look nice. Since they’re really meant more for MAME and scratch built arcade games, I didn’t worry about keeping everything original. The hardest part was probably converting arcade logos into black/white and keep them looking nice.
After designing, it’s just a matter of printing. I used NEATO labels, SKU: CLR-FULL. As they suggest, I set my printer to gloss print, ran them through and let them sit for 8 hours – both to dry and flatten out. I cut out the labels with a scissors and applied to my metal cards. TIP: I suggest cutting the stickers out larger than you need and let the edges overlap on the plate. Then, use an exacto knife to trim. If you cut to size, they’ll likely end up being just a hair smaller and you might see the sticker edges.
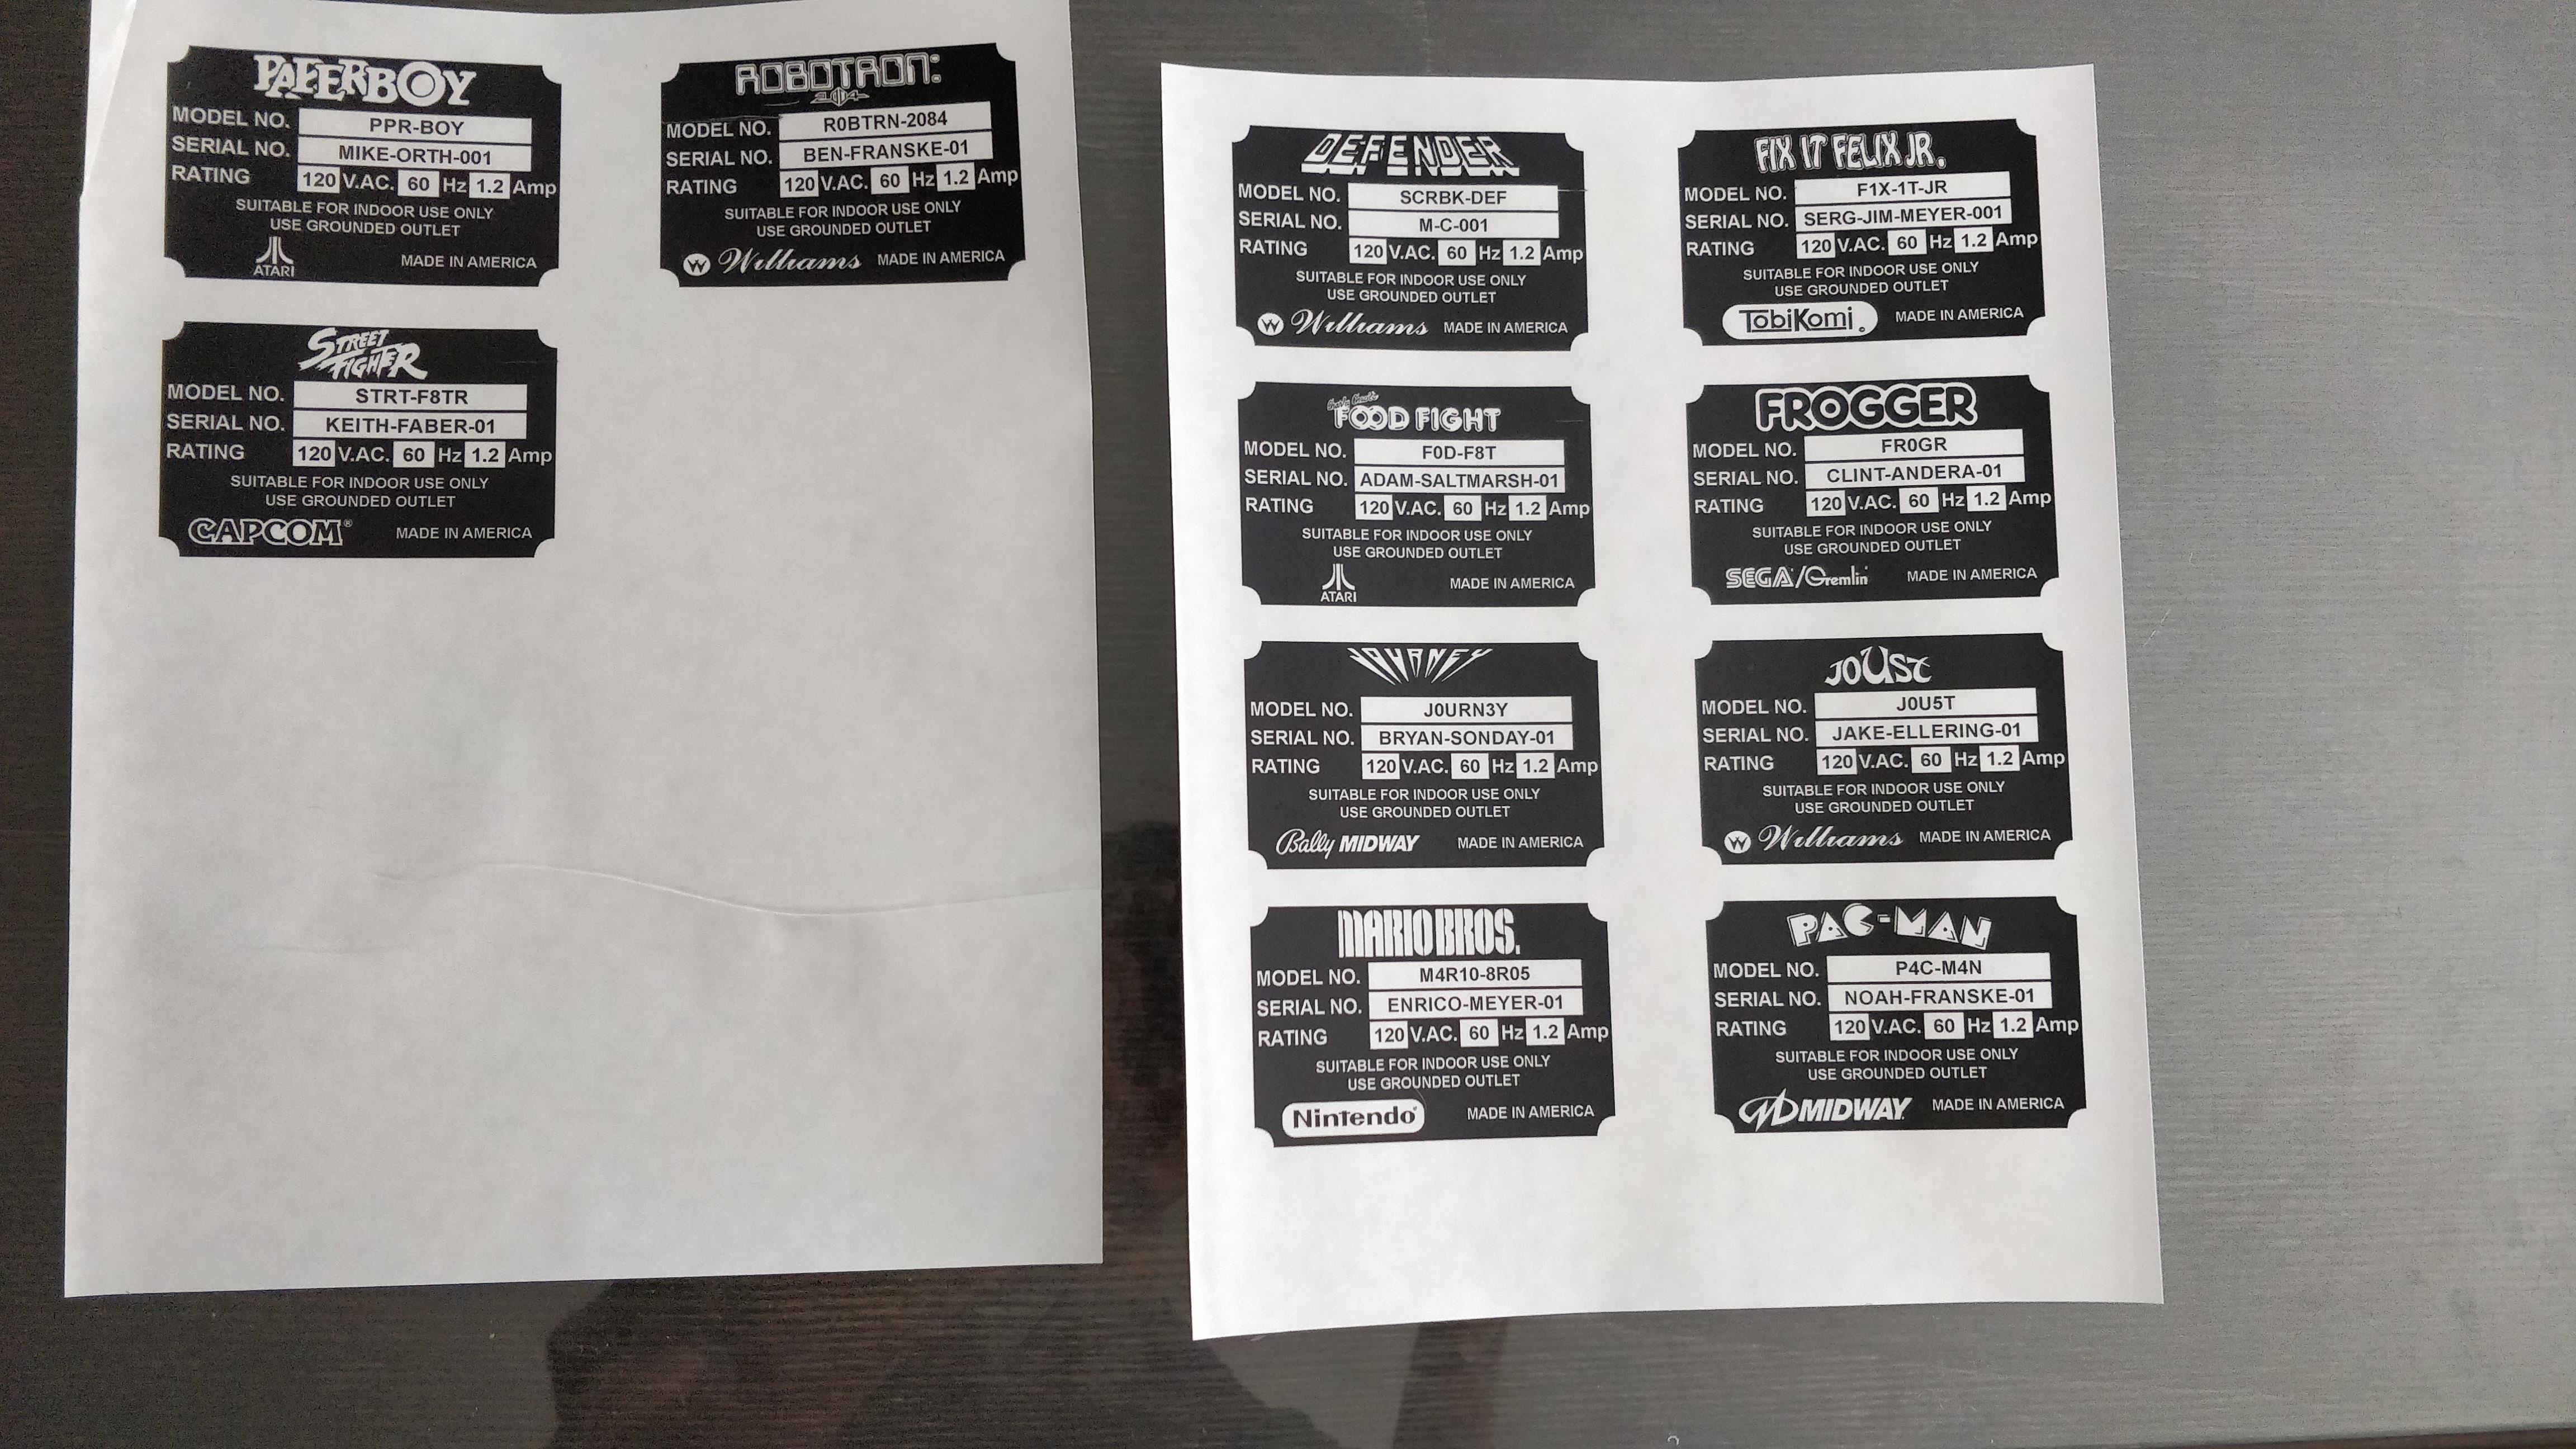
Sticker sheets ready to use
Serial badges in progress
Serial plates cut and ready to glaze
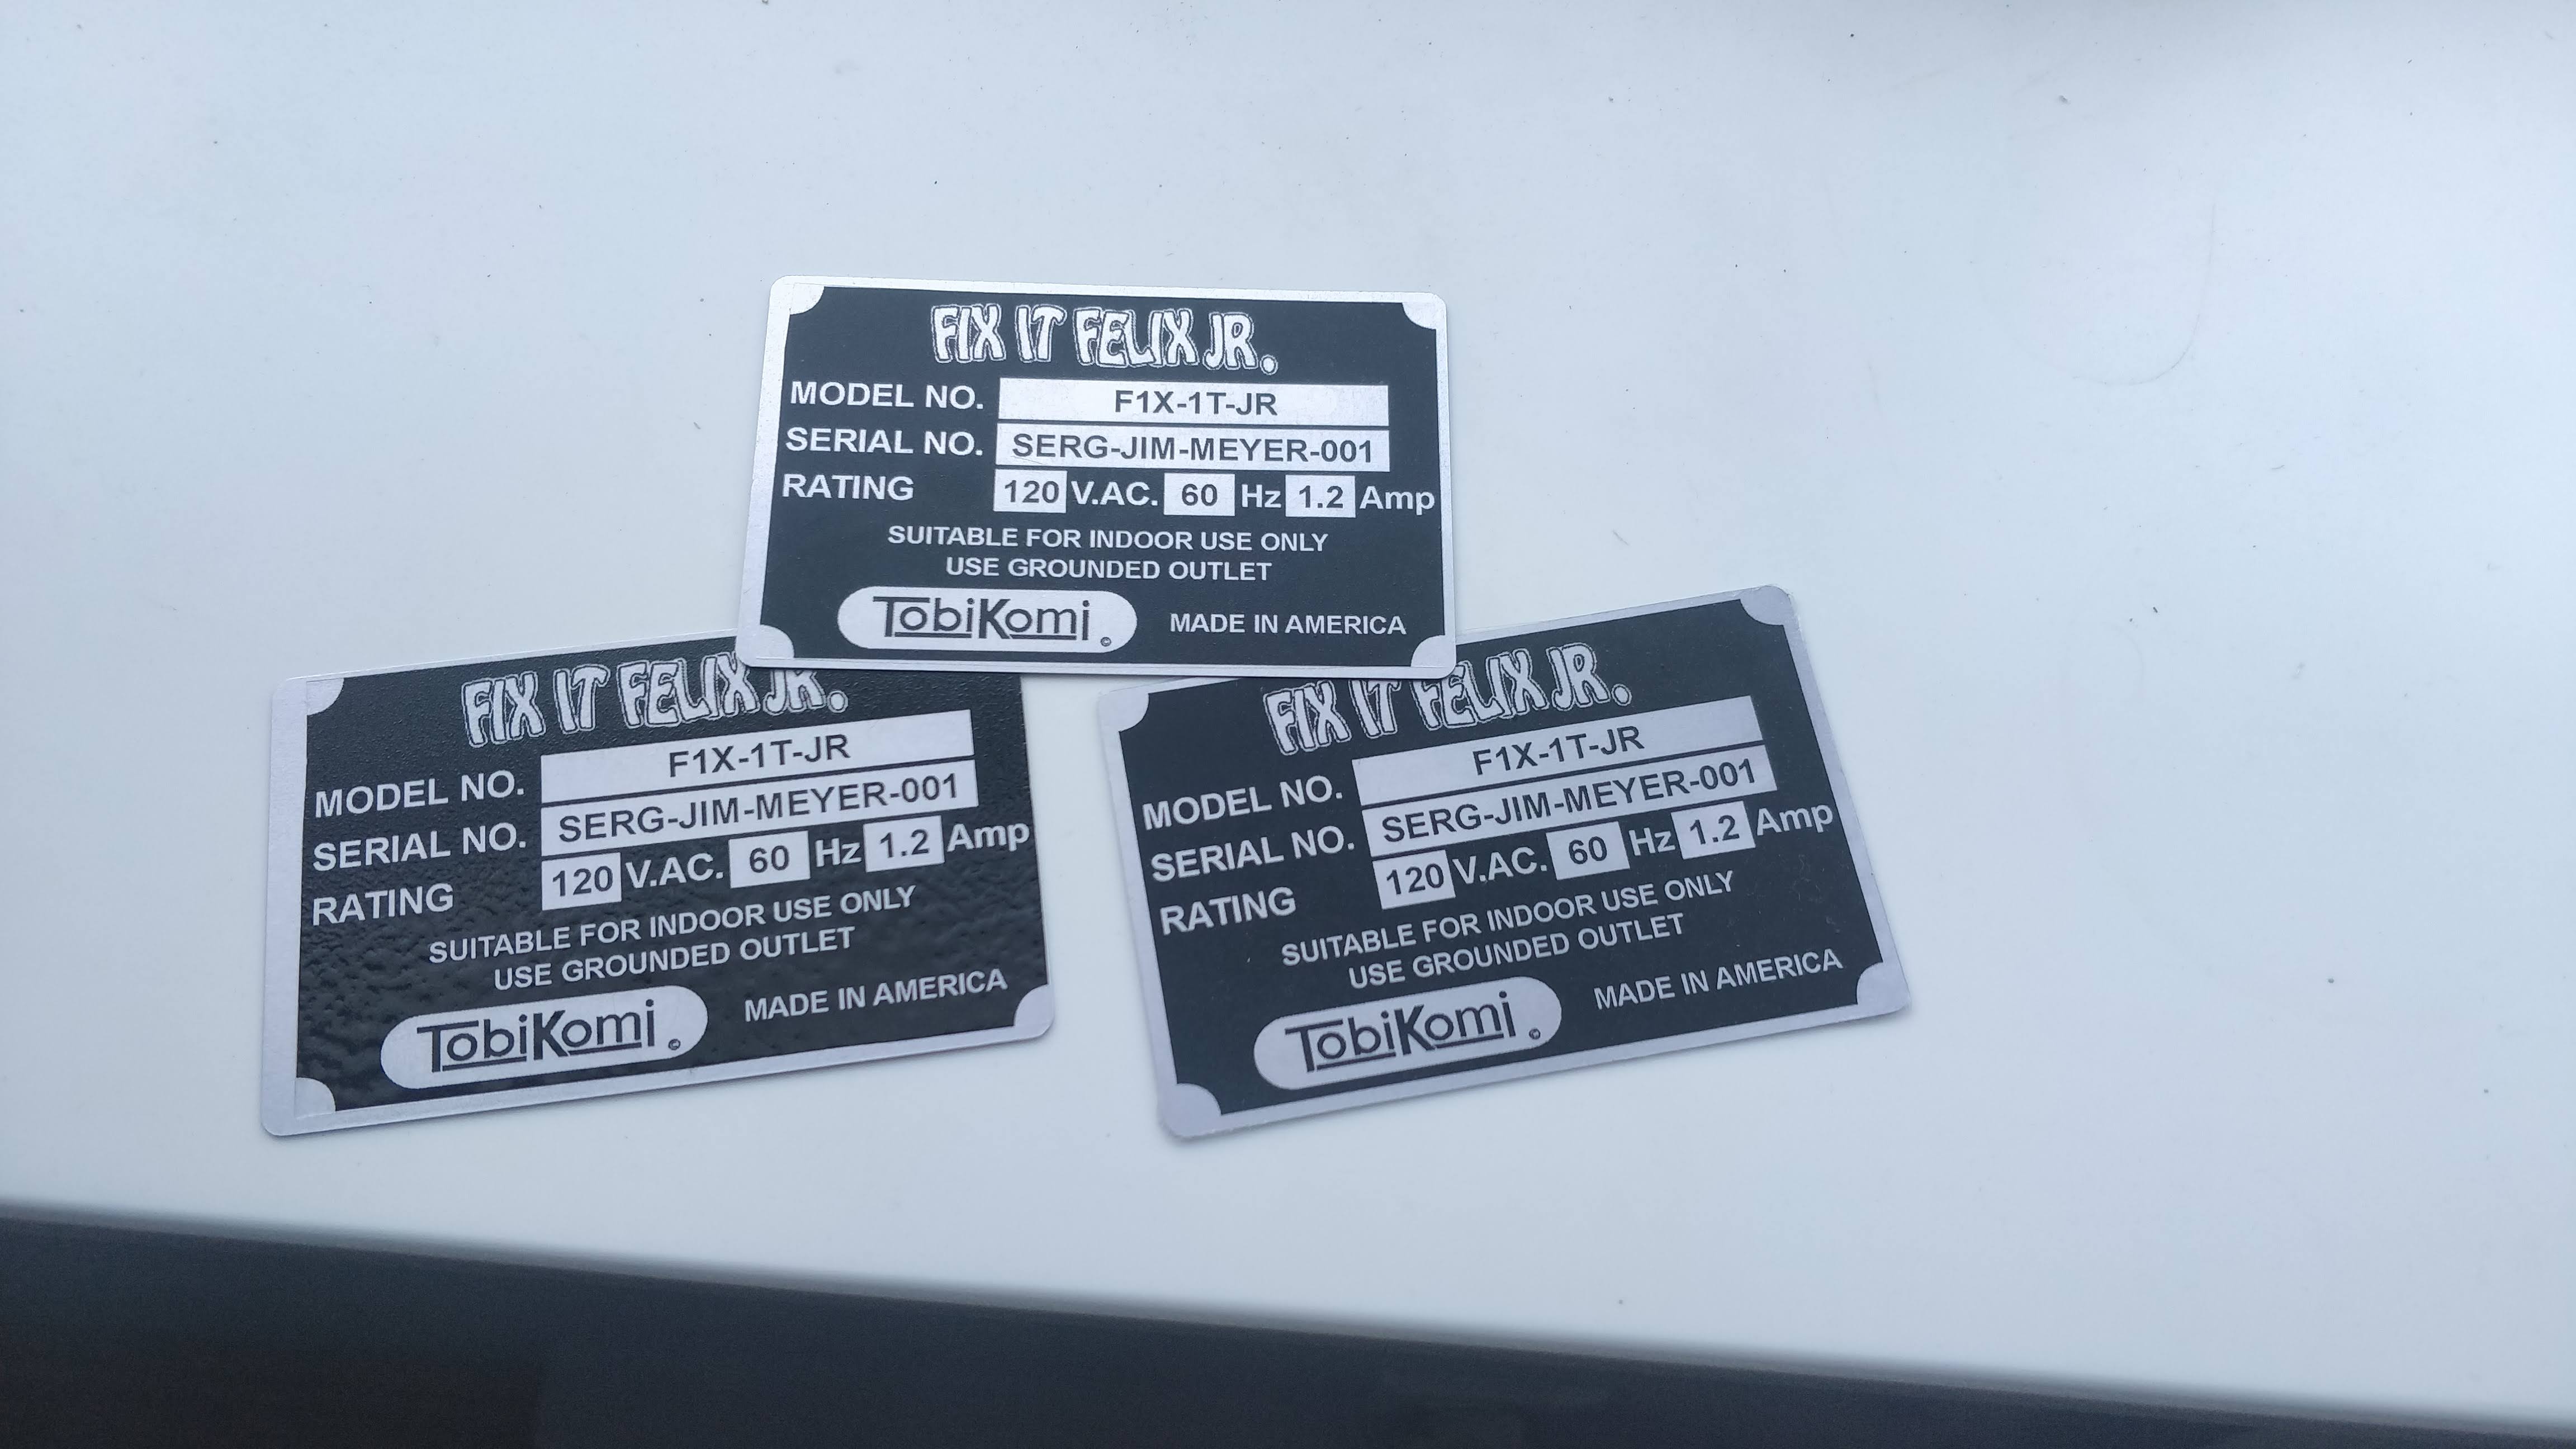
I wiped off any fingerprints, made sure they were on flat, and then applied a light coat of Krylon Triple-Thick. Don’t over-spray! The goal with the triple-thick is just to ensure the sticker never comes off. It’s not to add a bunch of glaze. If you put on too much, it’ll end up fogging your serial plate and giving it a weird texture.
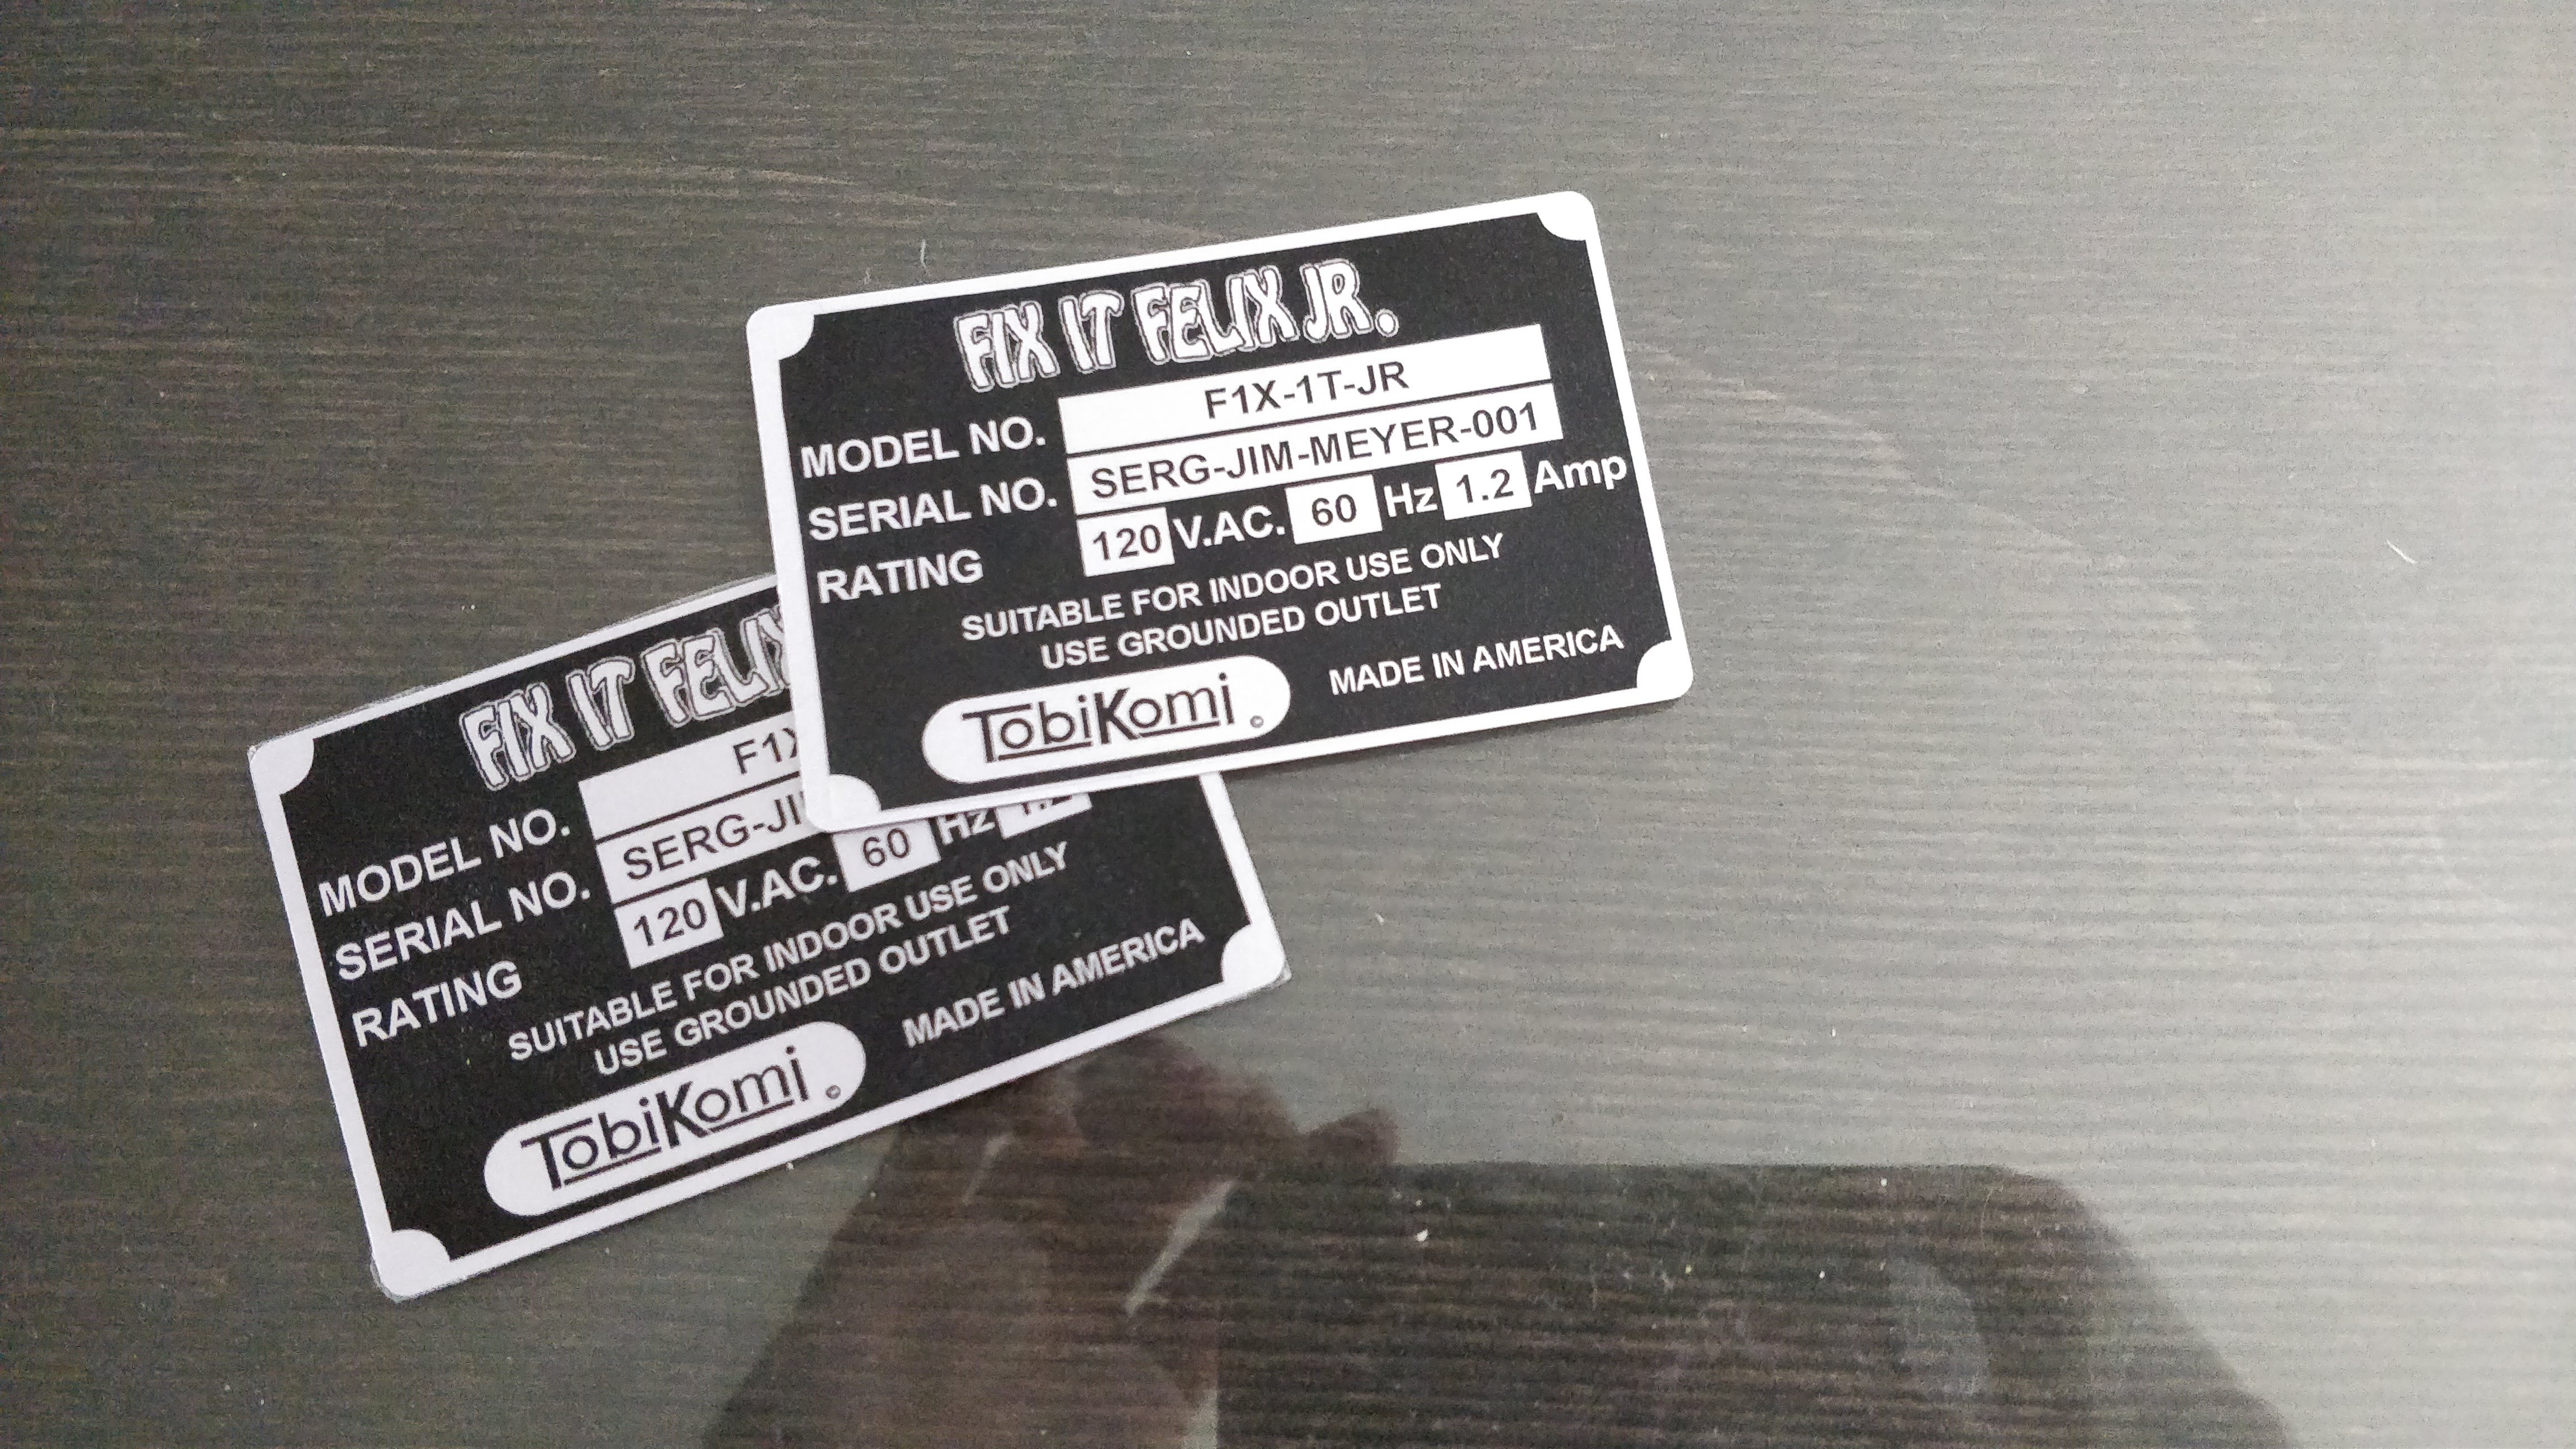
Serial plate ready to use
Arcade serial plates drying from triple thick
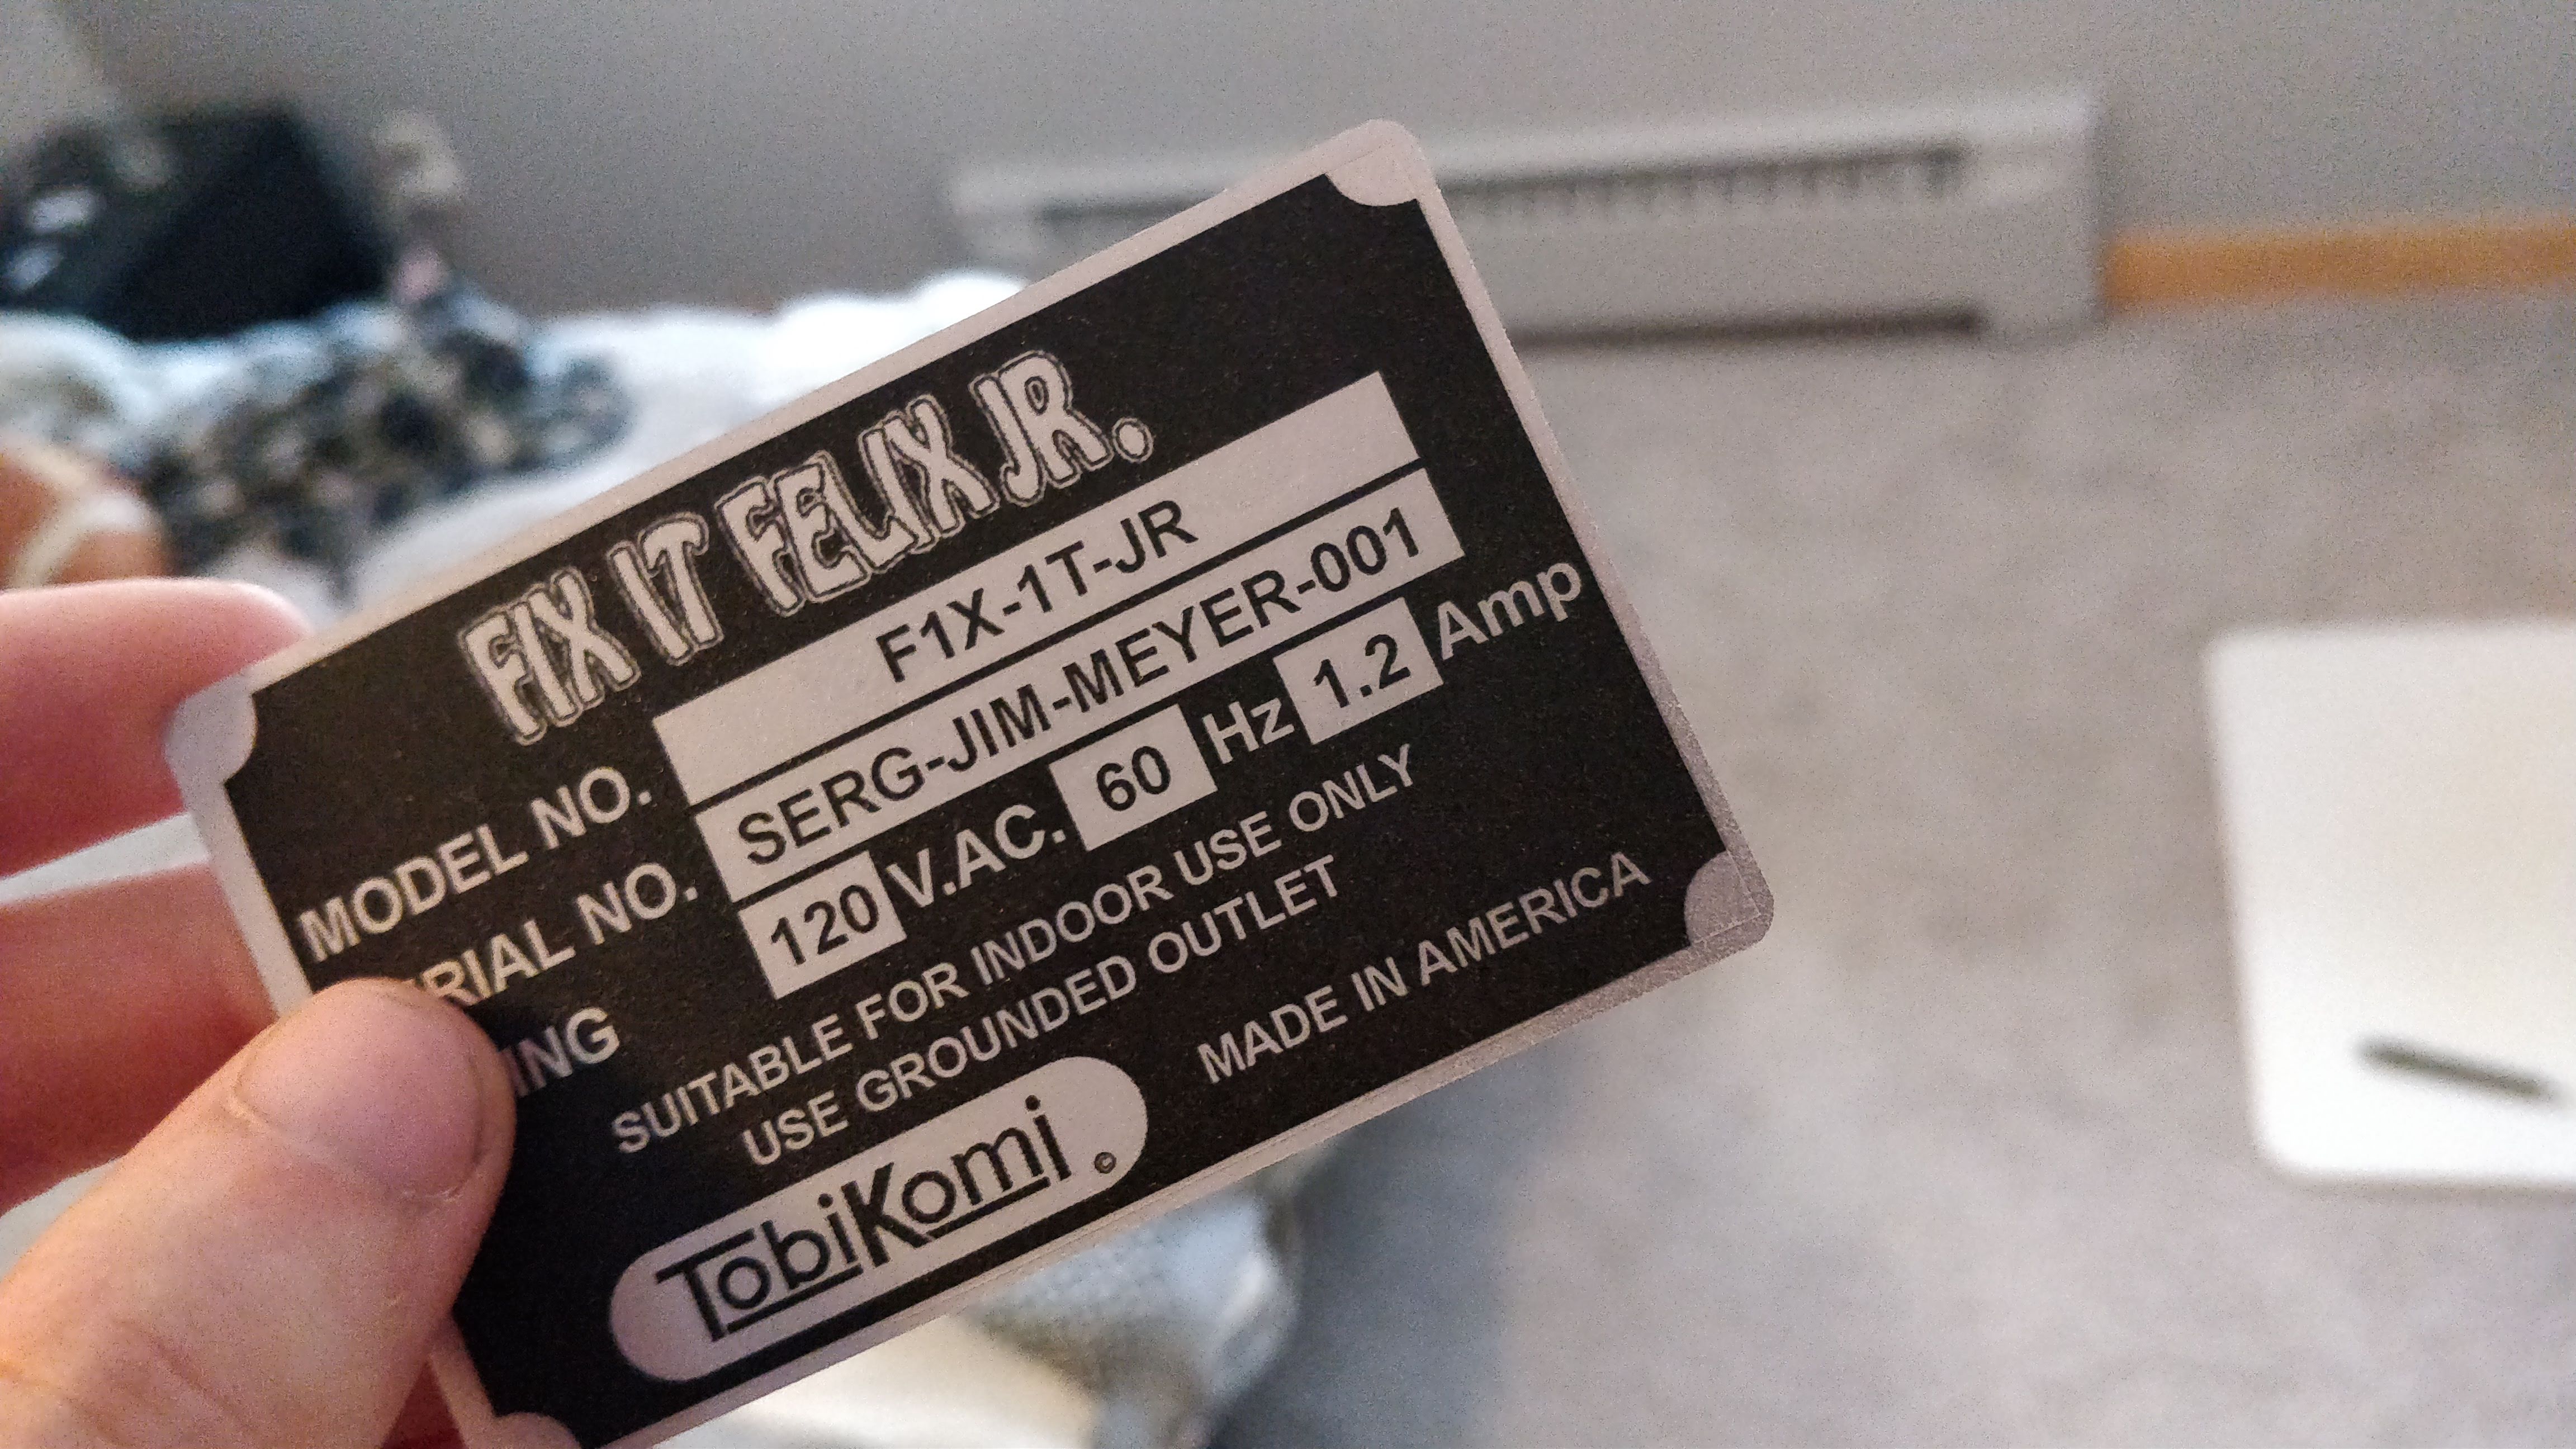
A final serial badge
Another final Fix It Felix serial plate
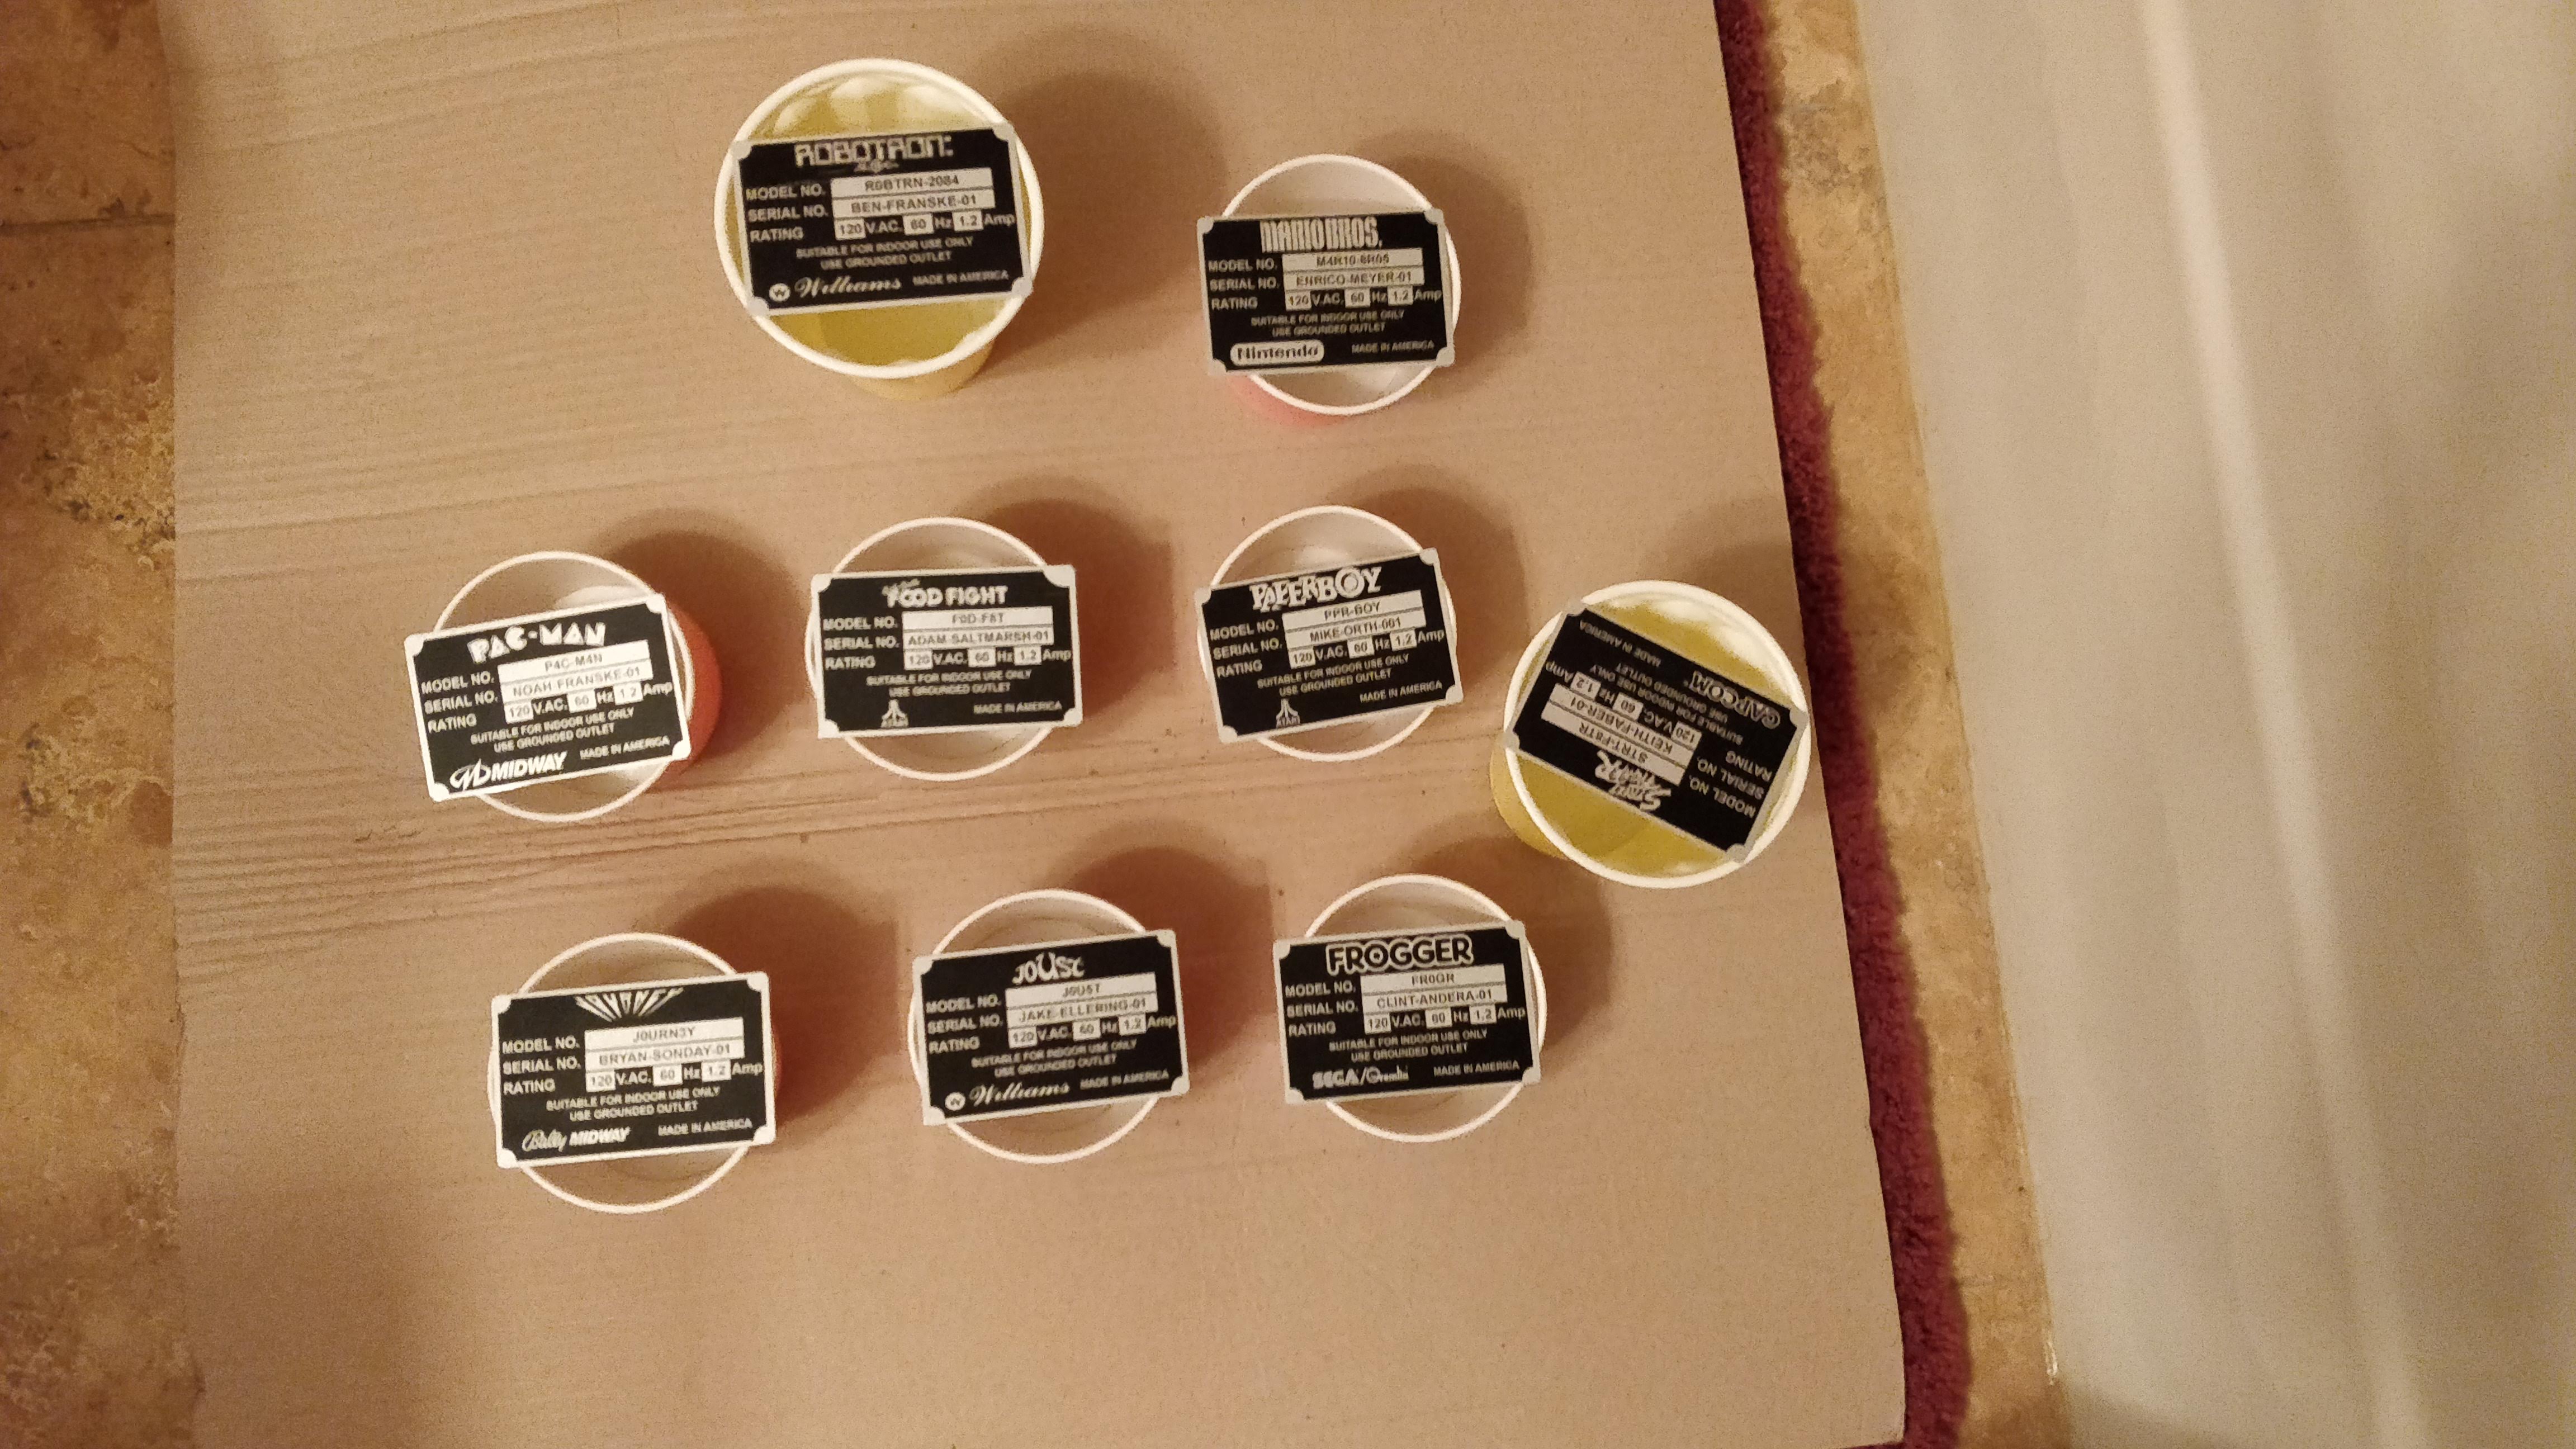
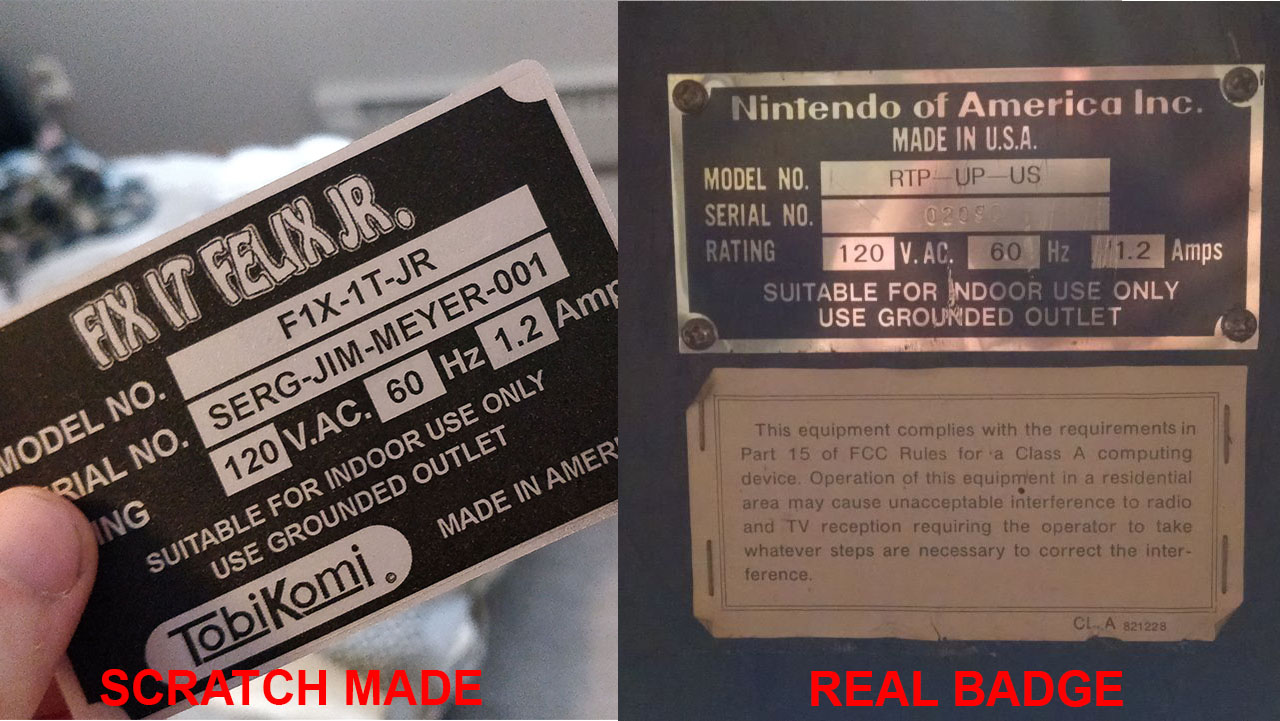
That’s pretty much it. Let them dry for 12 hours or more, then use a rivet gun (or punch small holes in the corners) to apply to your cabinet. You can clean up any sticky edges with fine sand paper which I haven’t shown in the photos. Compare one of mine to a real Nintendo arcade serial badge below, not bad right? Remember, I wasn’t going for replica accurate, I’m going for something that anyone can make for their scratch built cabinets.
Download the Files
Ready to make your own? The link below contains the full package with a variety of games, with both InDesign and .pdf versions of the serial plates I made. It includes the fonts and logos as linked files so very easy to customize!
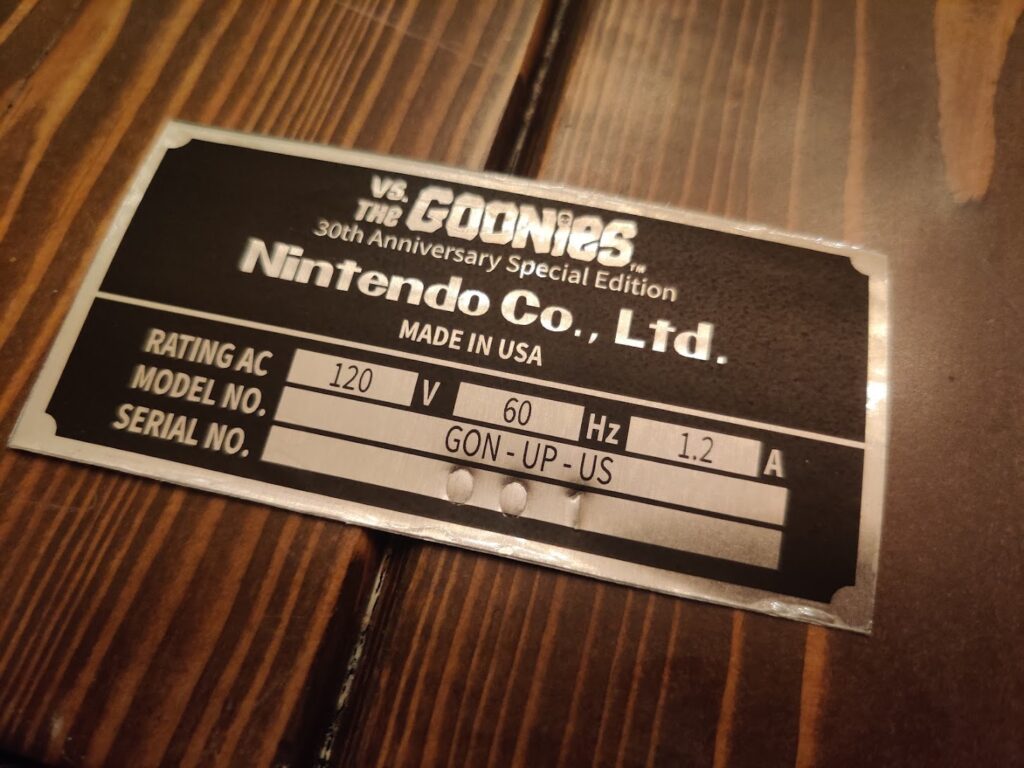
I’ve recently evolved how I do these serial plates, allowing things to be a bit more authentic but still fairly easy. The process is largely the same but I now use aluminum flashing (which I can cut to any size) and number stamps so I can “stamp” in the serial number before applying the final clear coat. It really makes them pop! See an example below.
Time sure has flown. I got a new job and moved so haven’t posted an update (or worked on the Felix cabinet) in a while. But that’s okay! It was basically already finished but I just spent a weekend buttoning the game up and thought I’d show some photos and video.
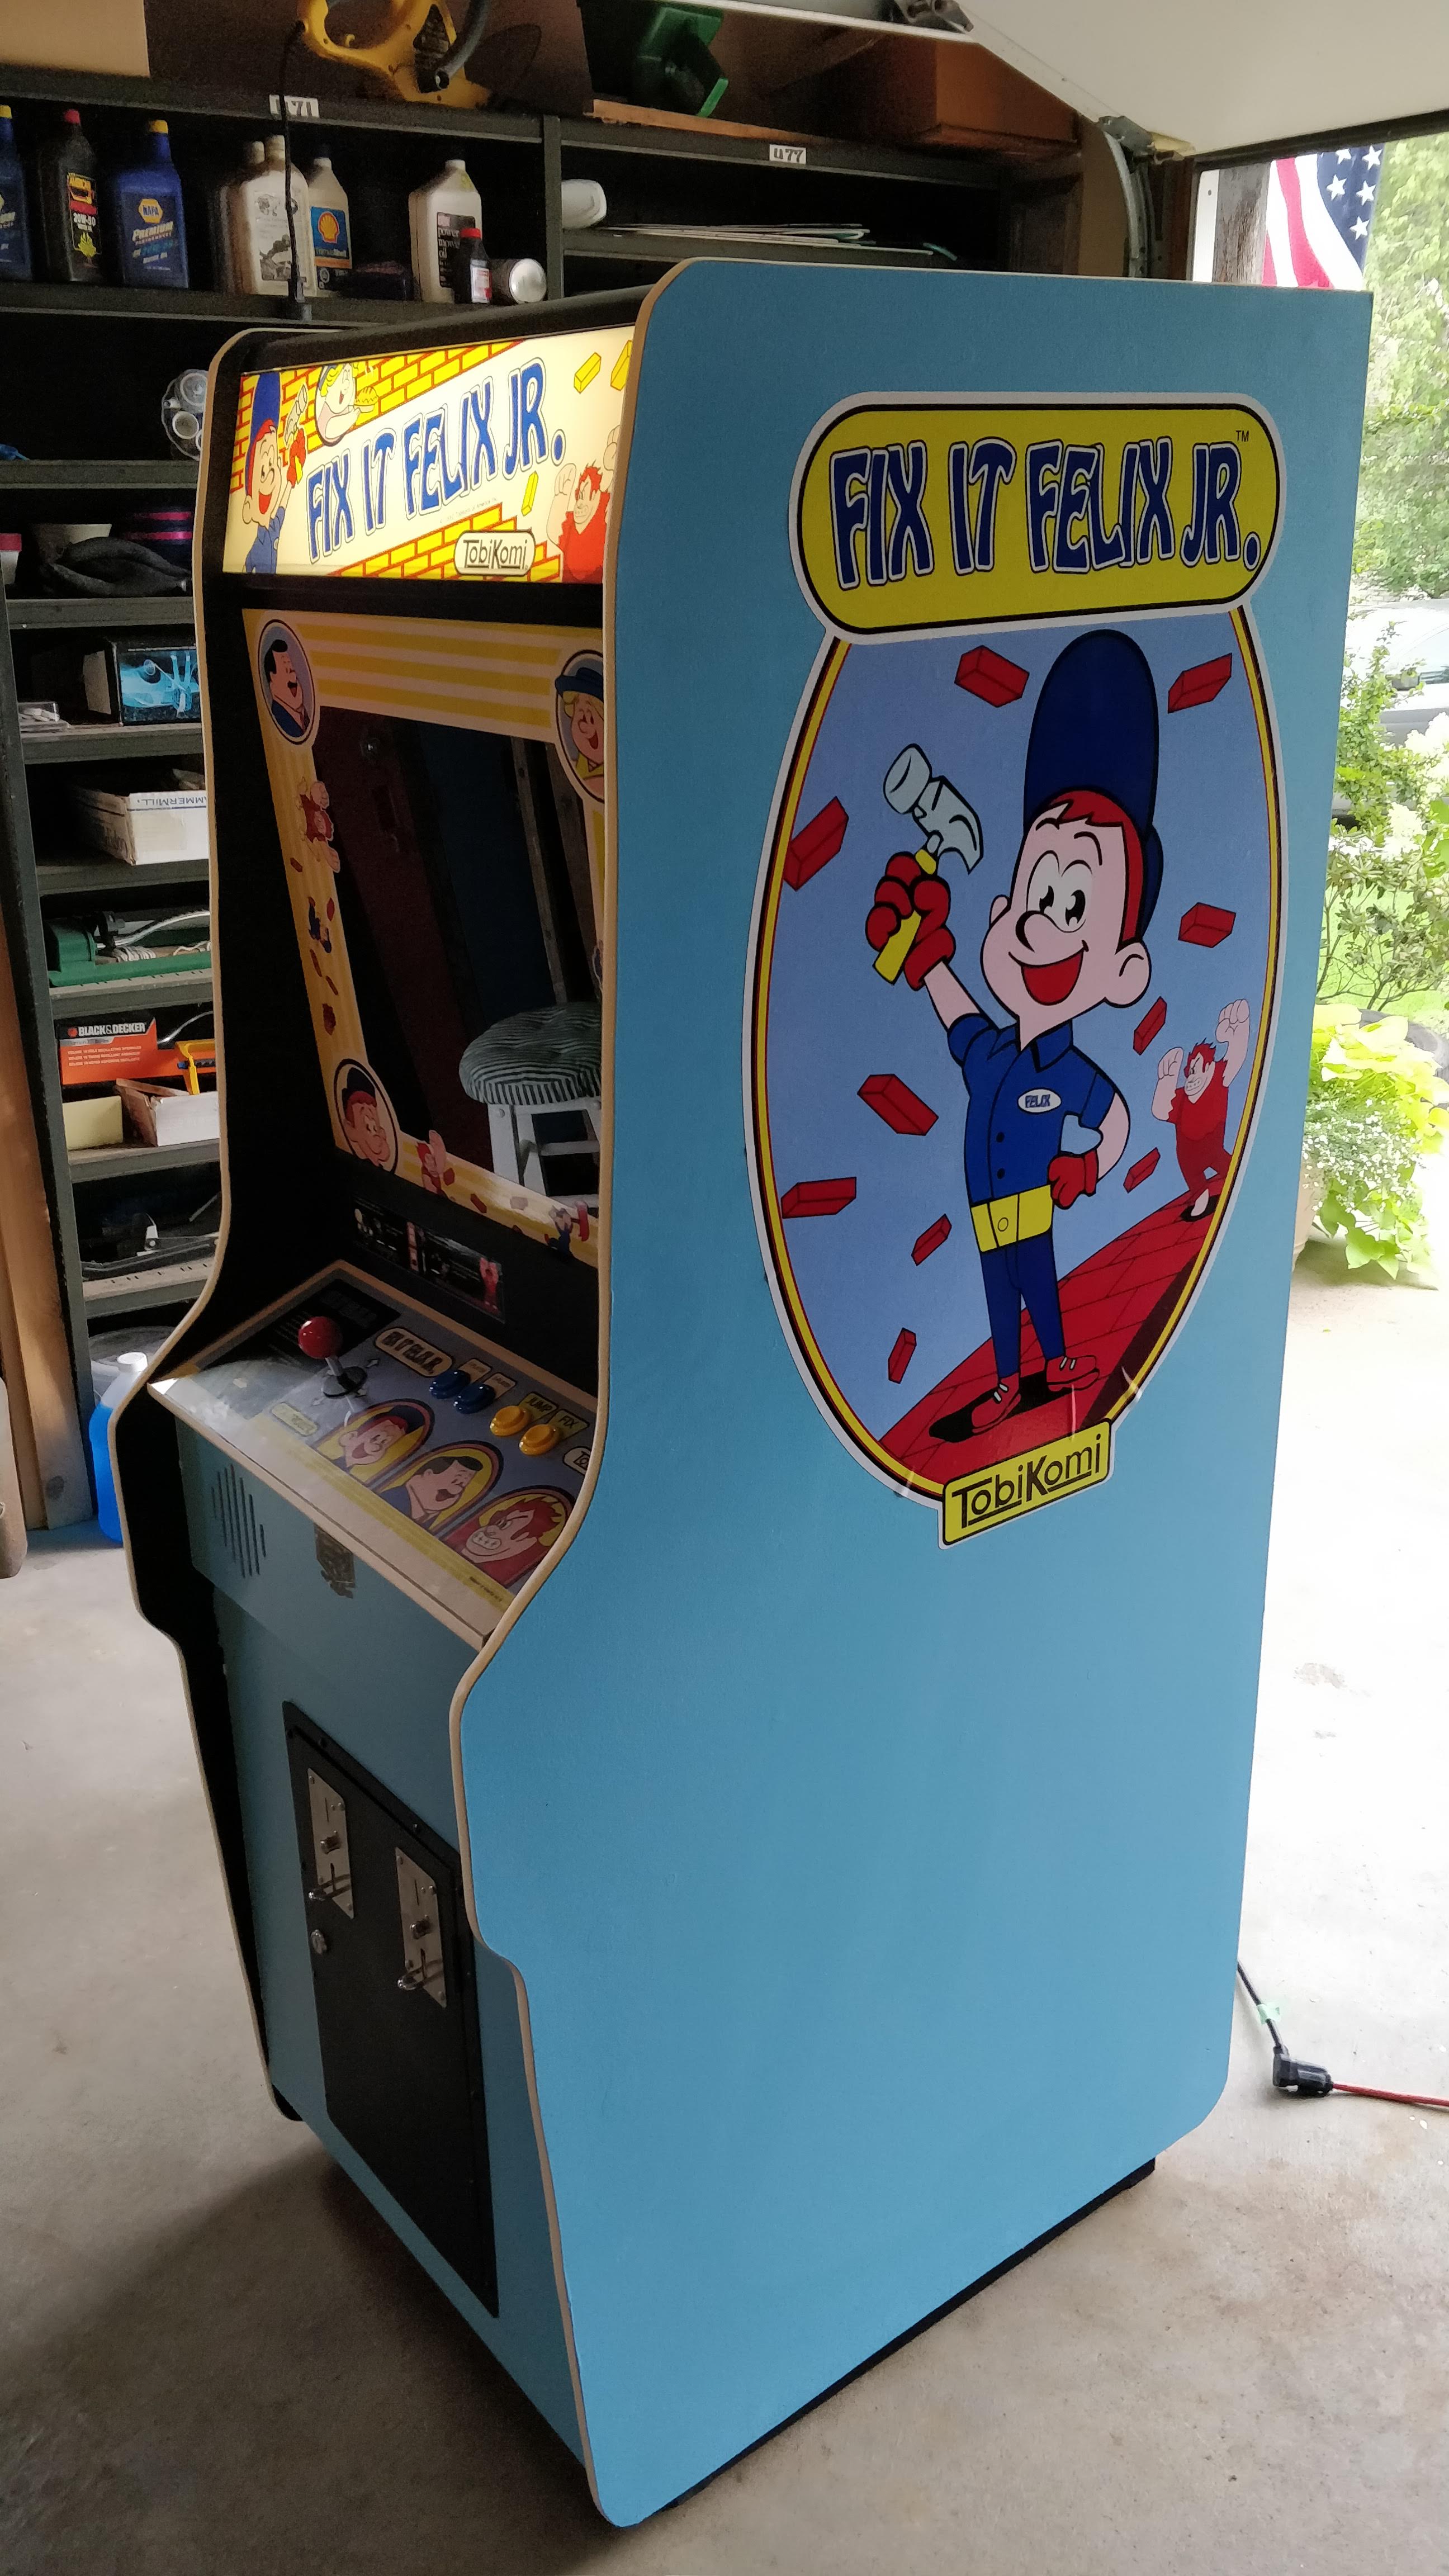
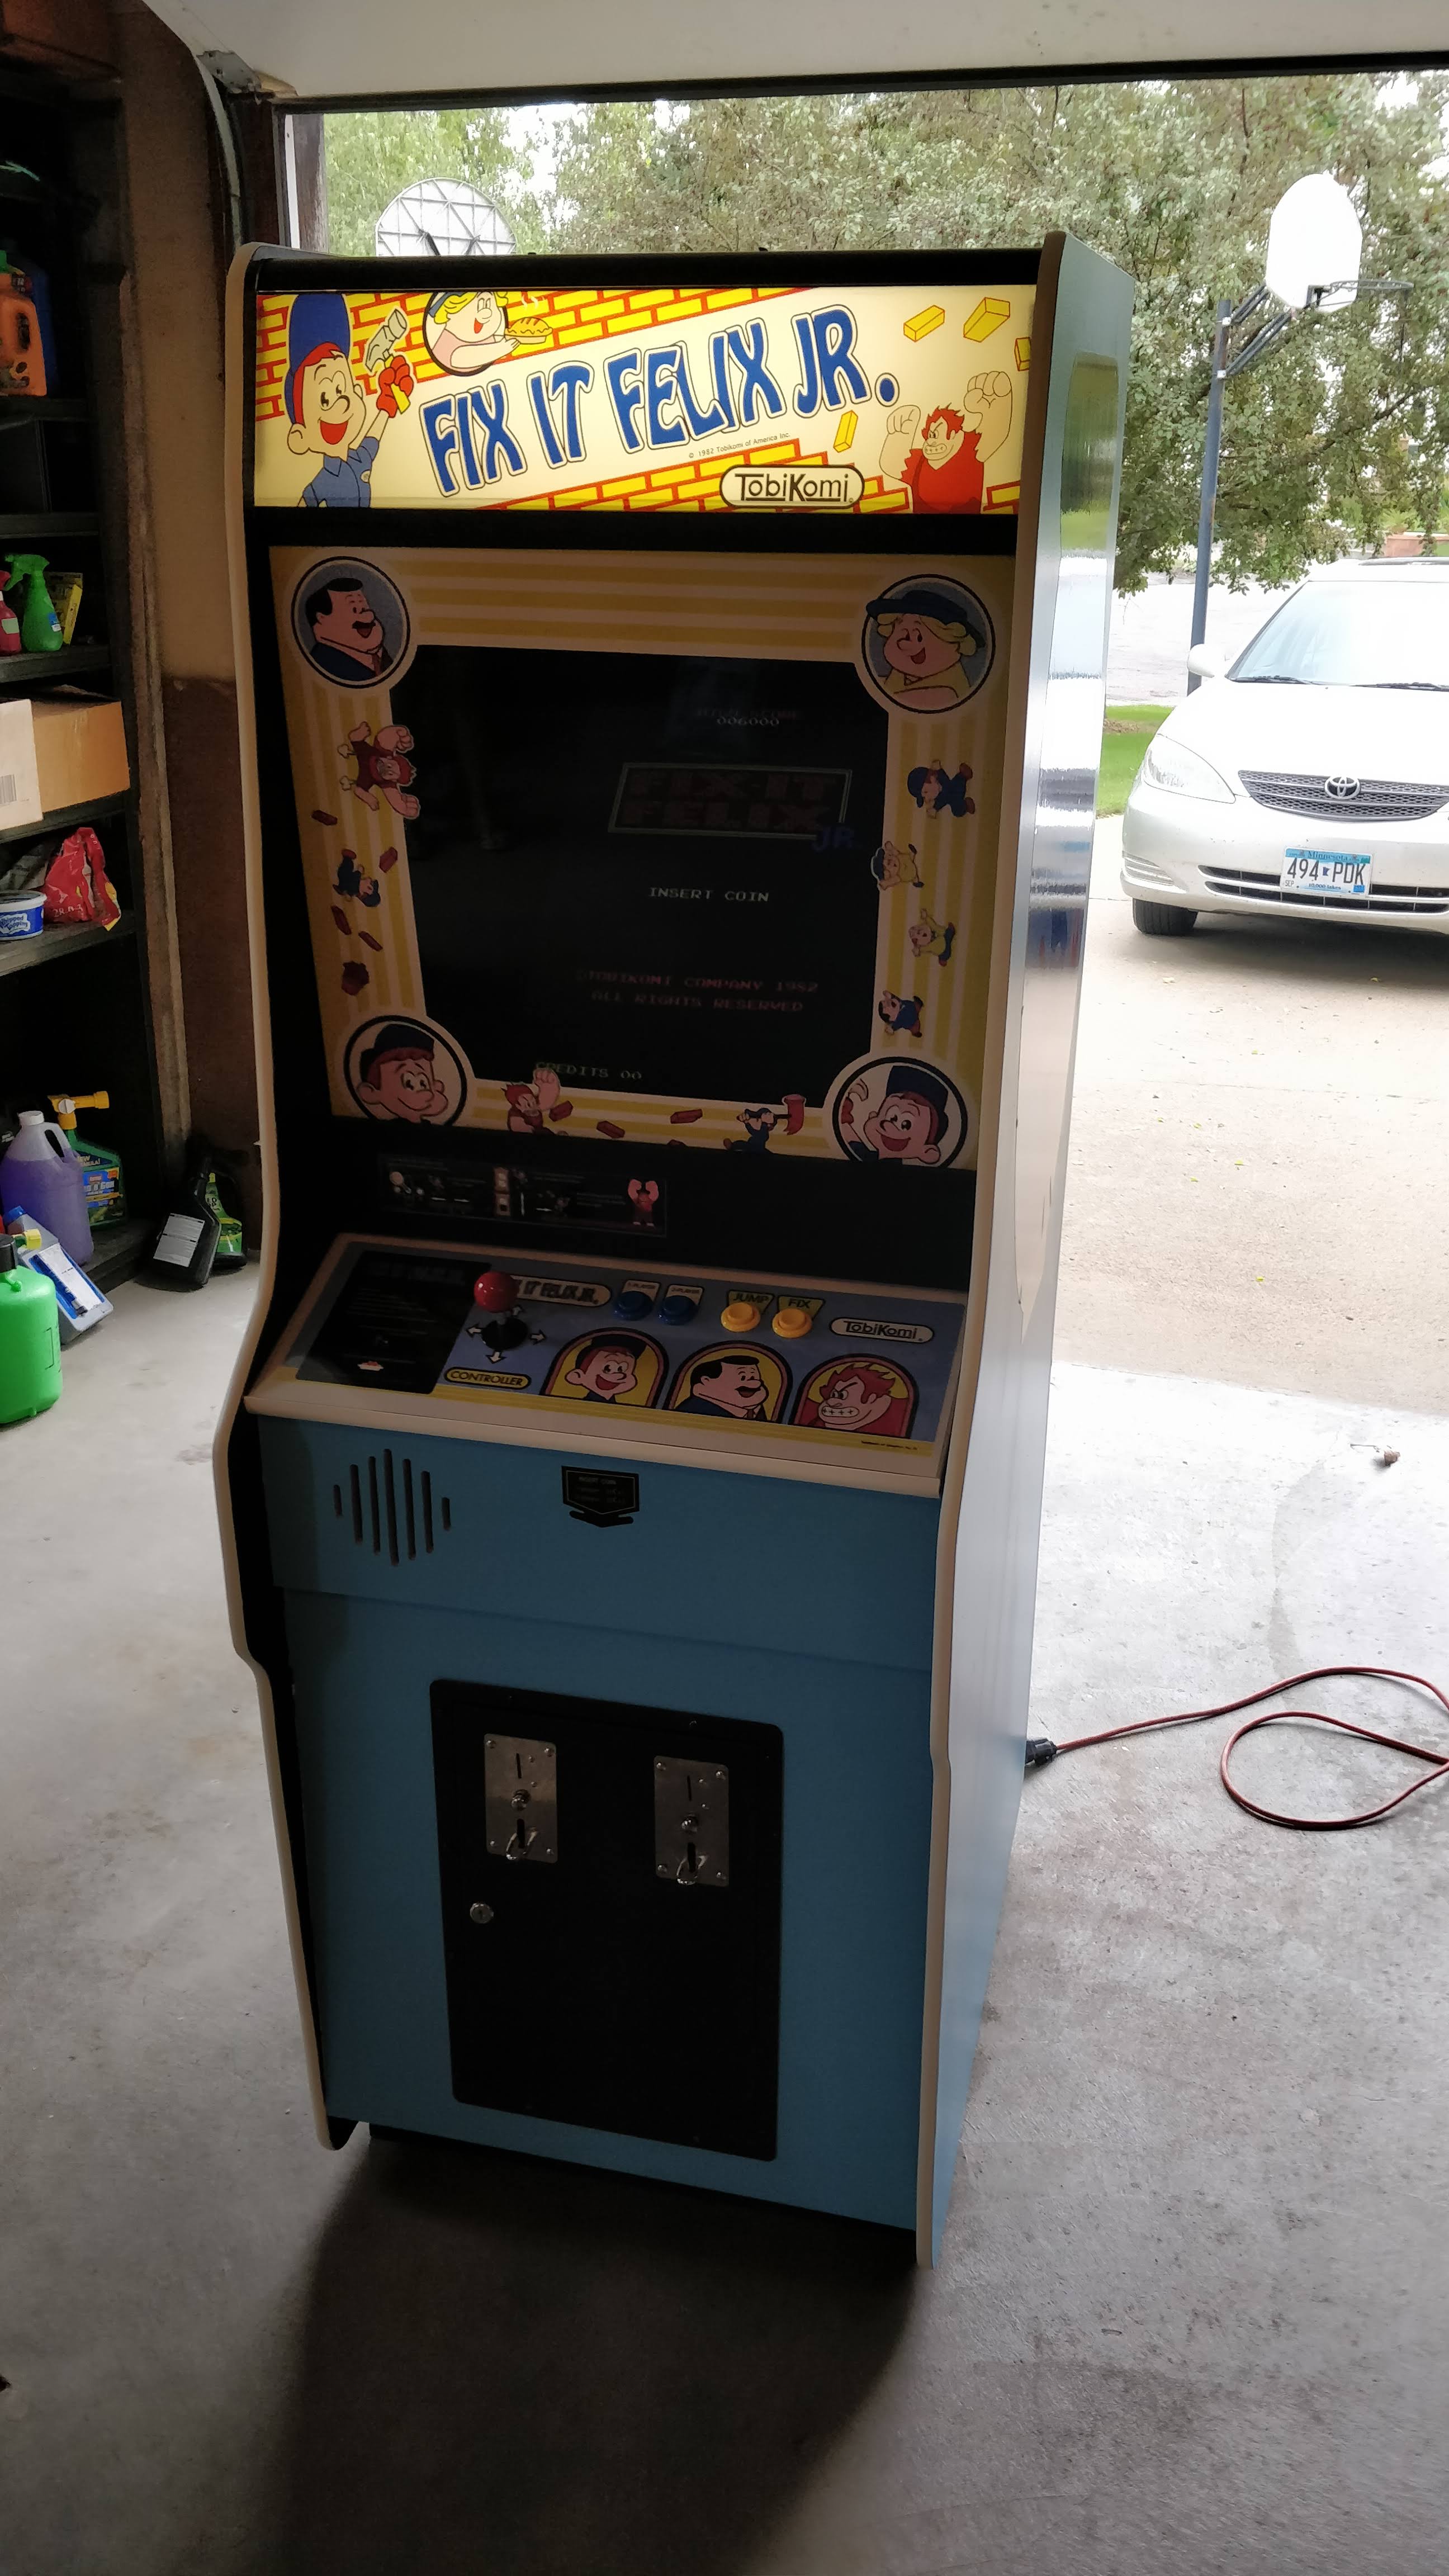
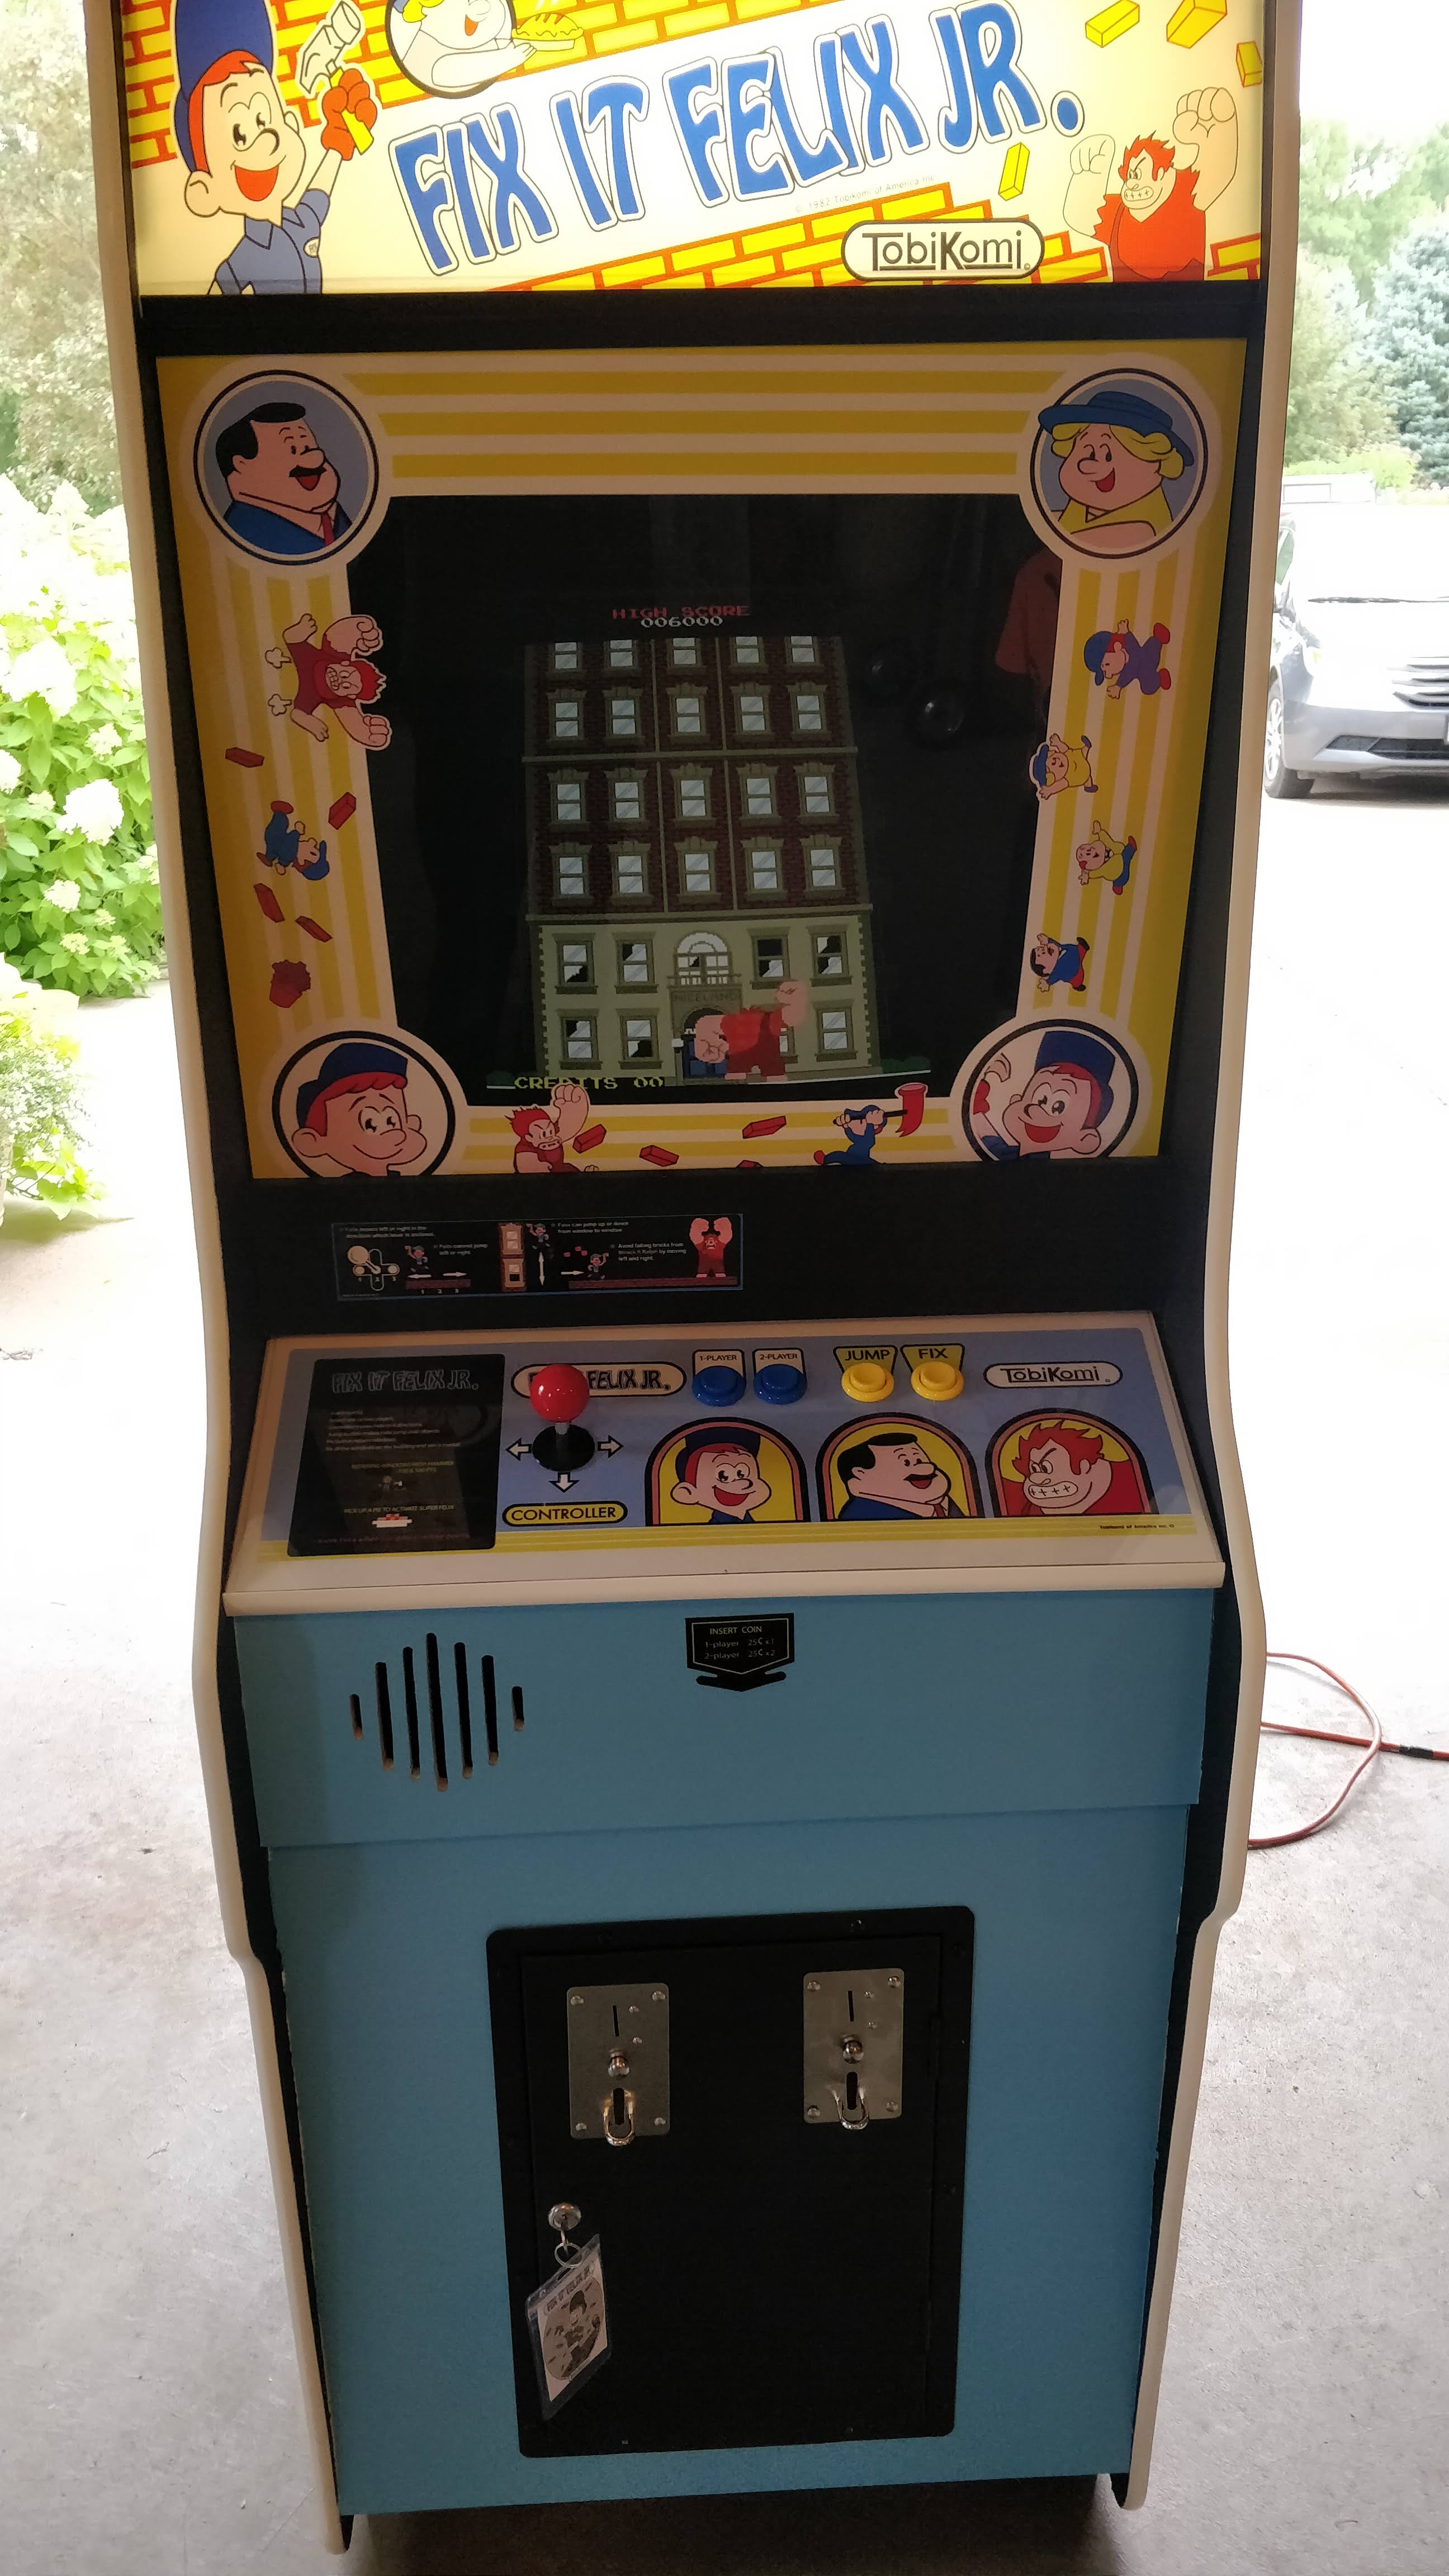
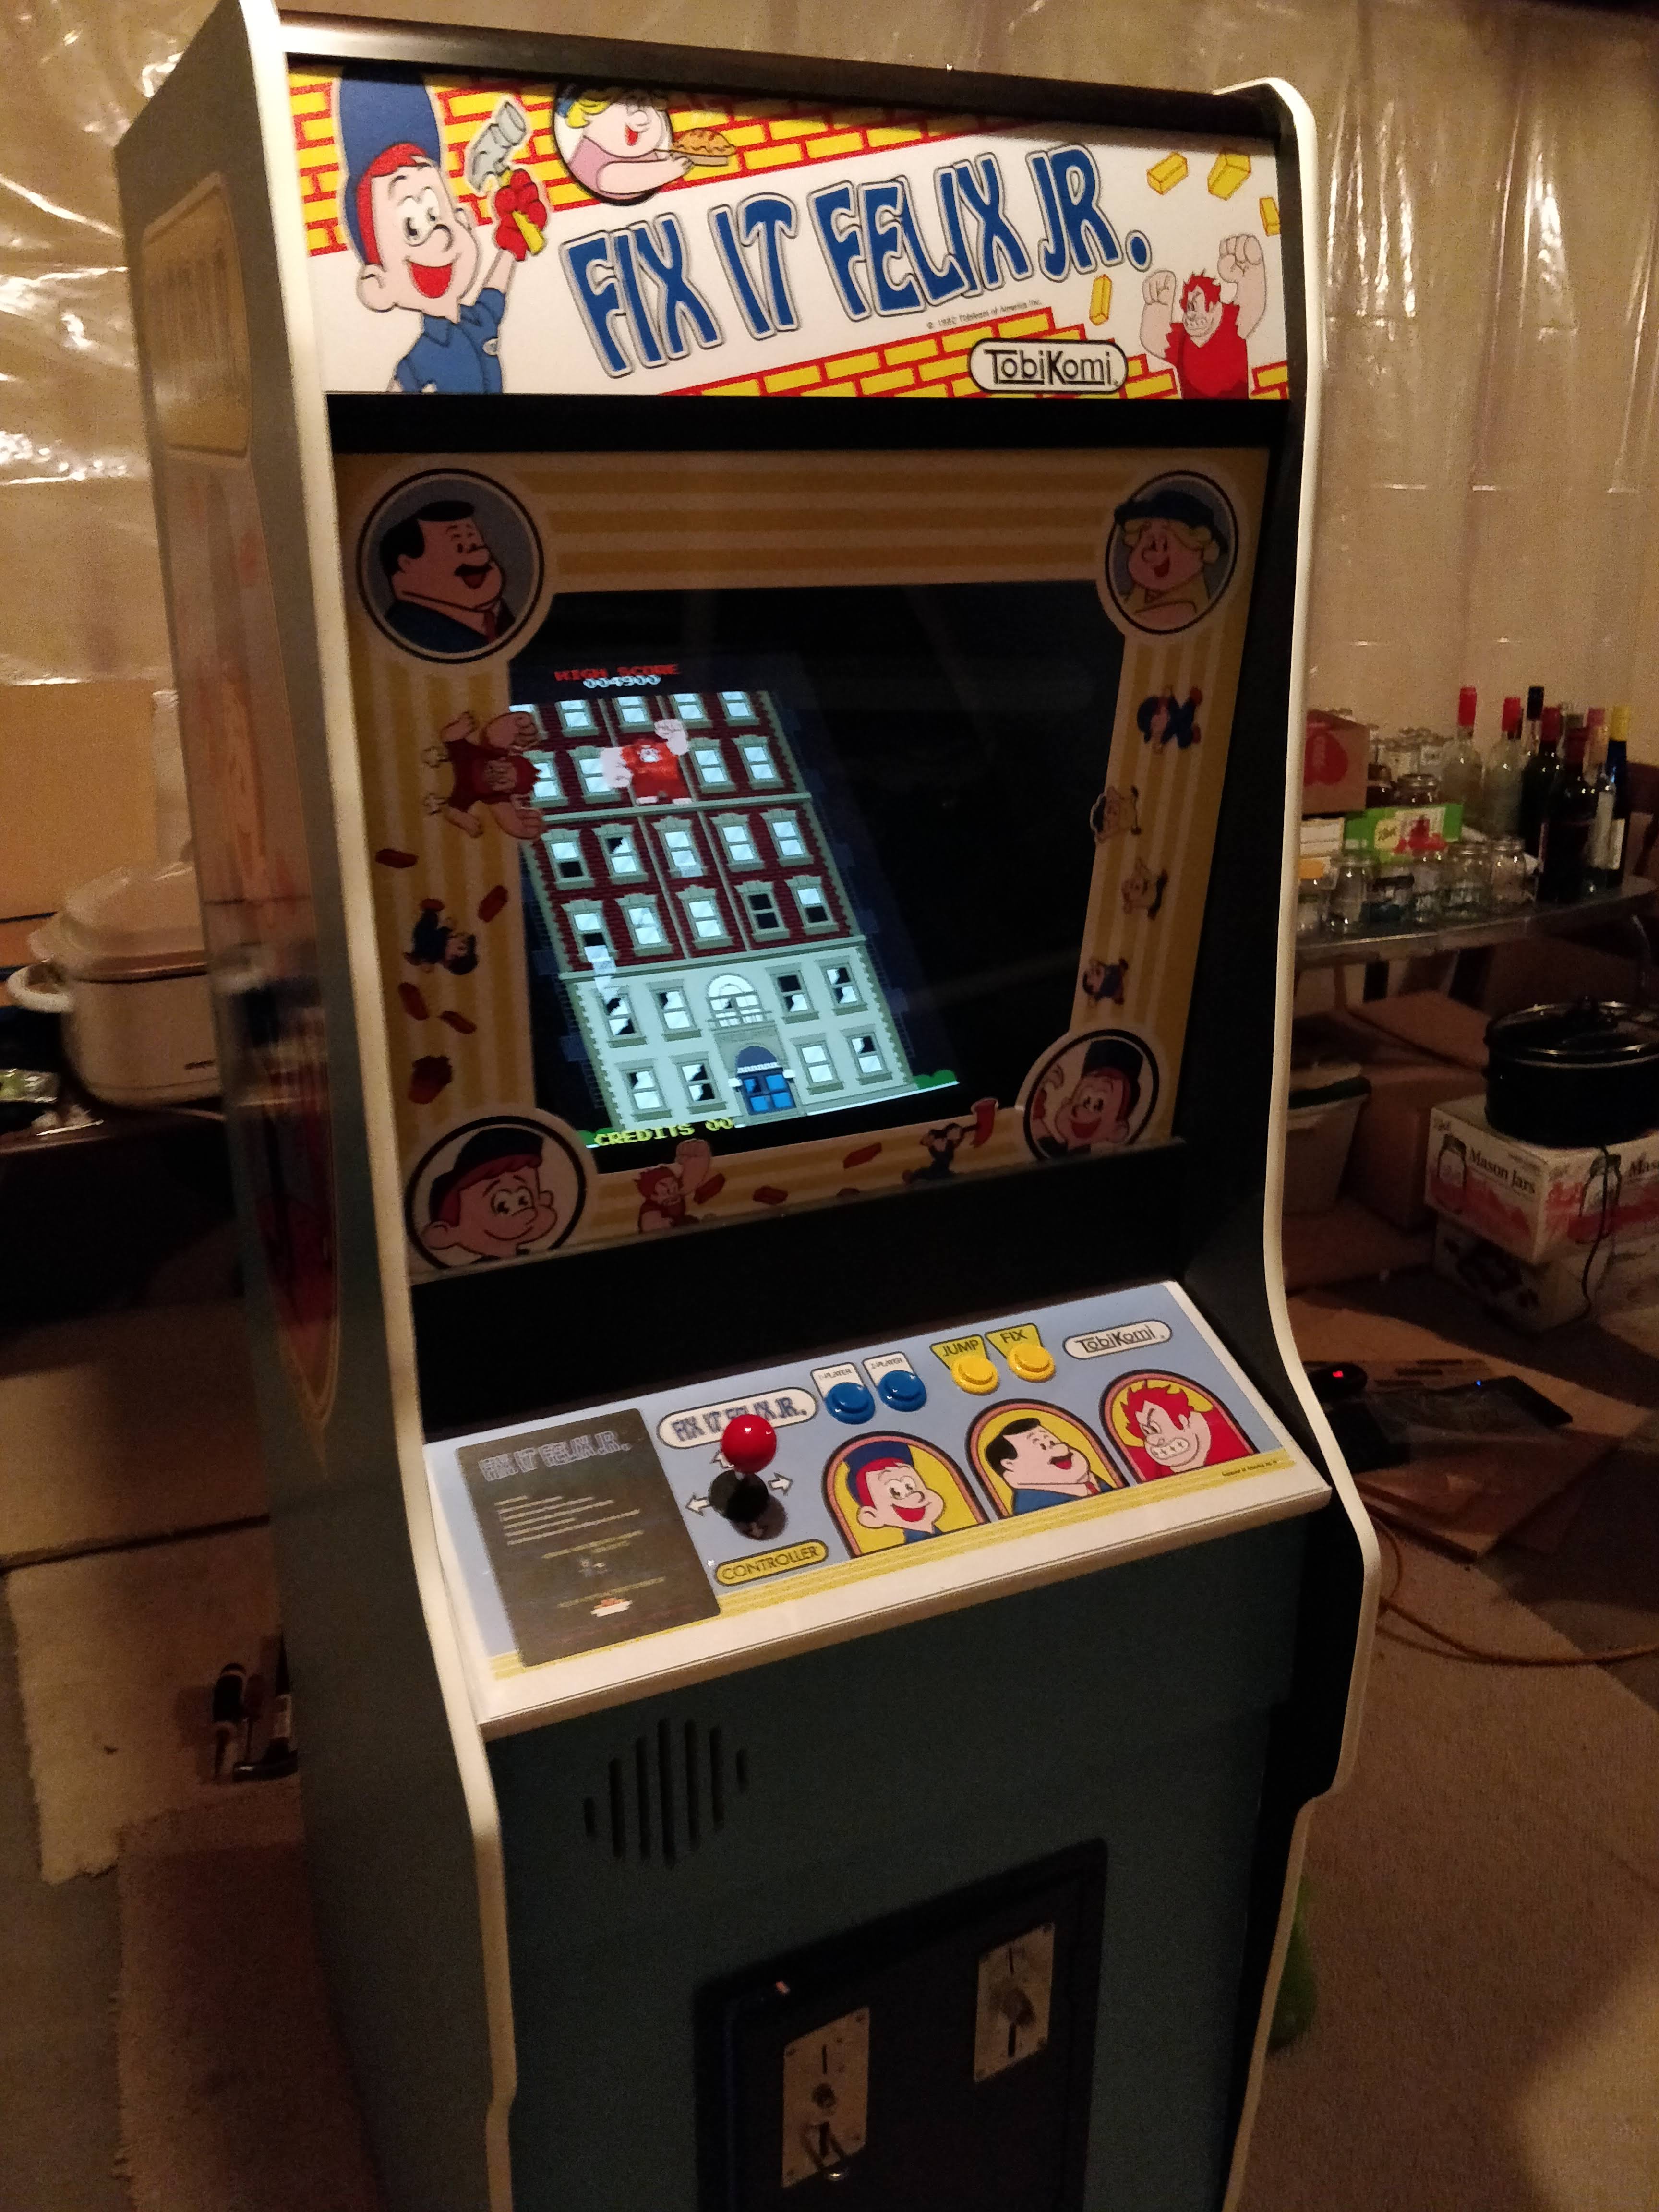
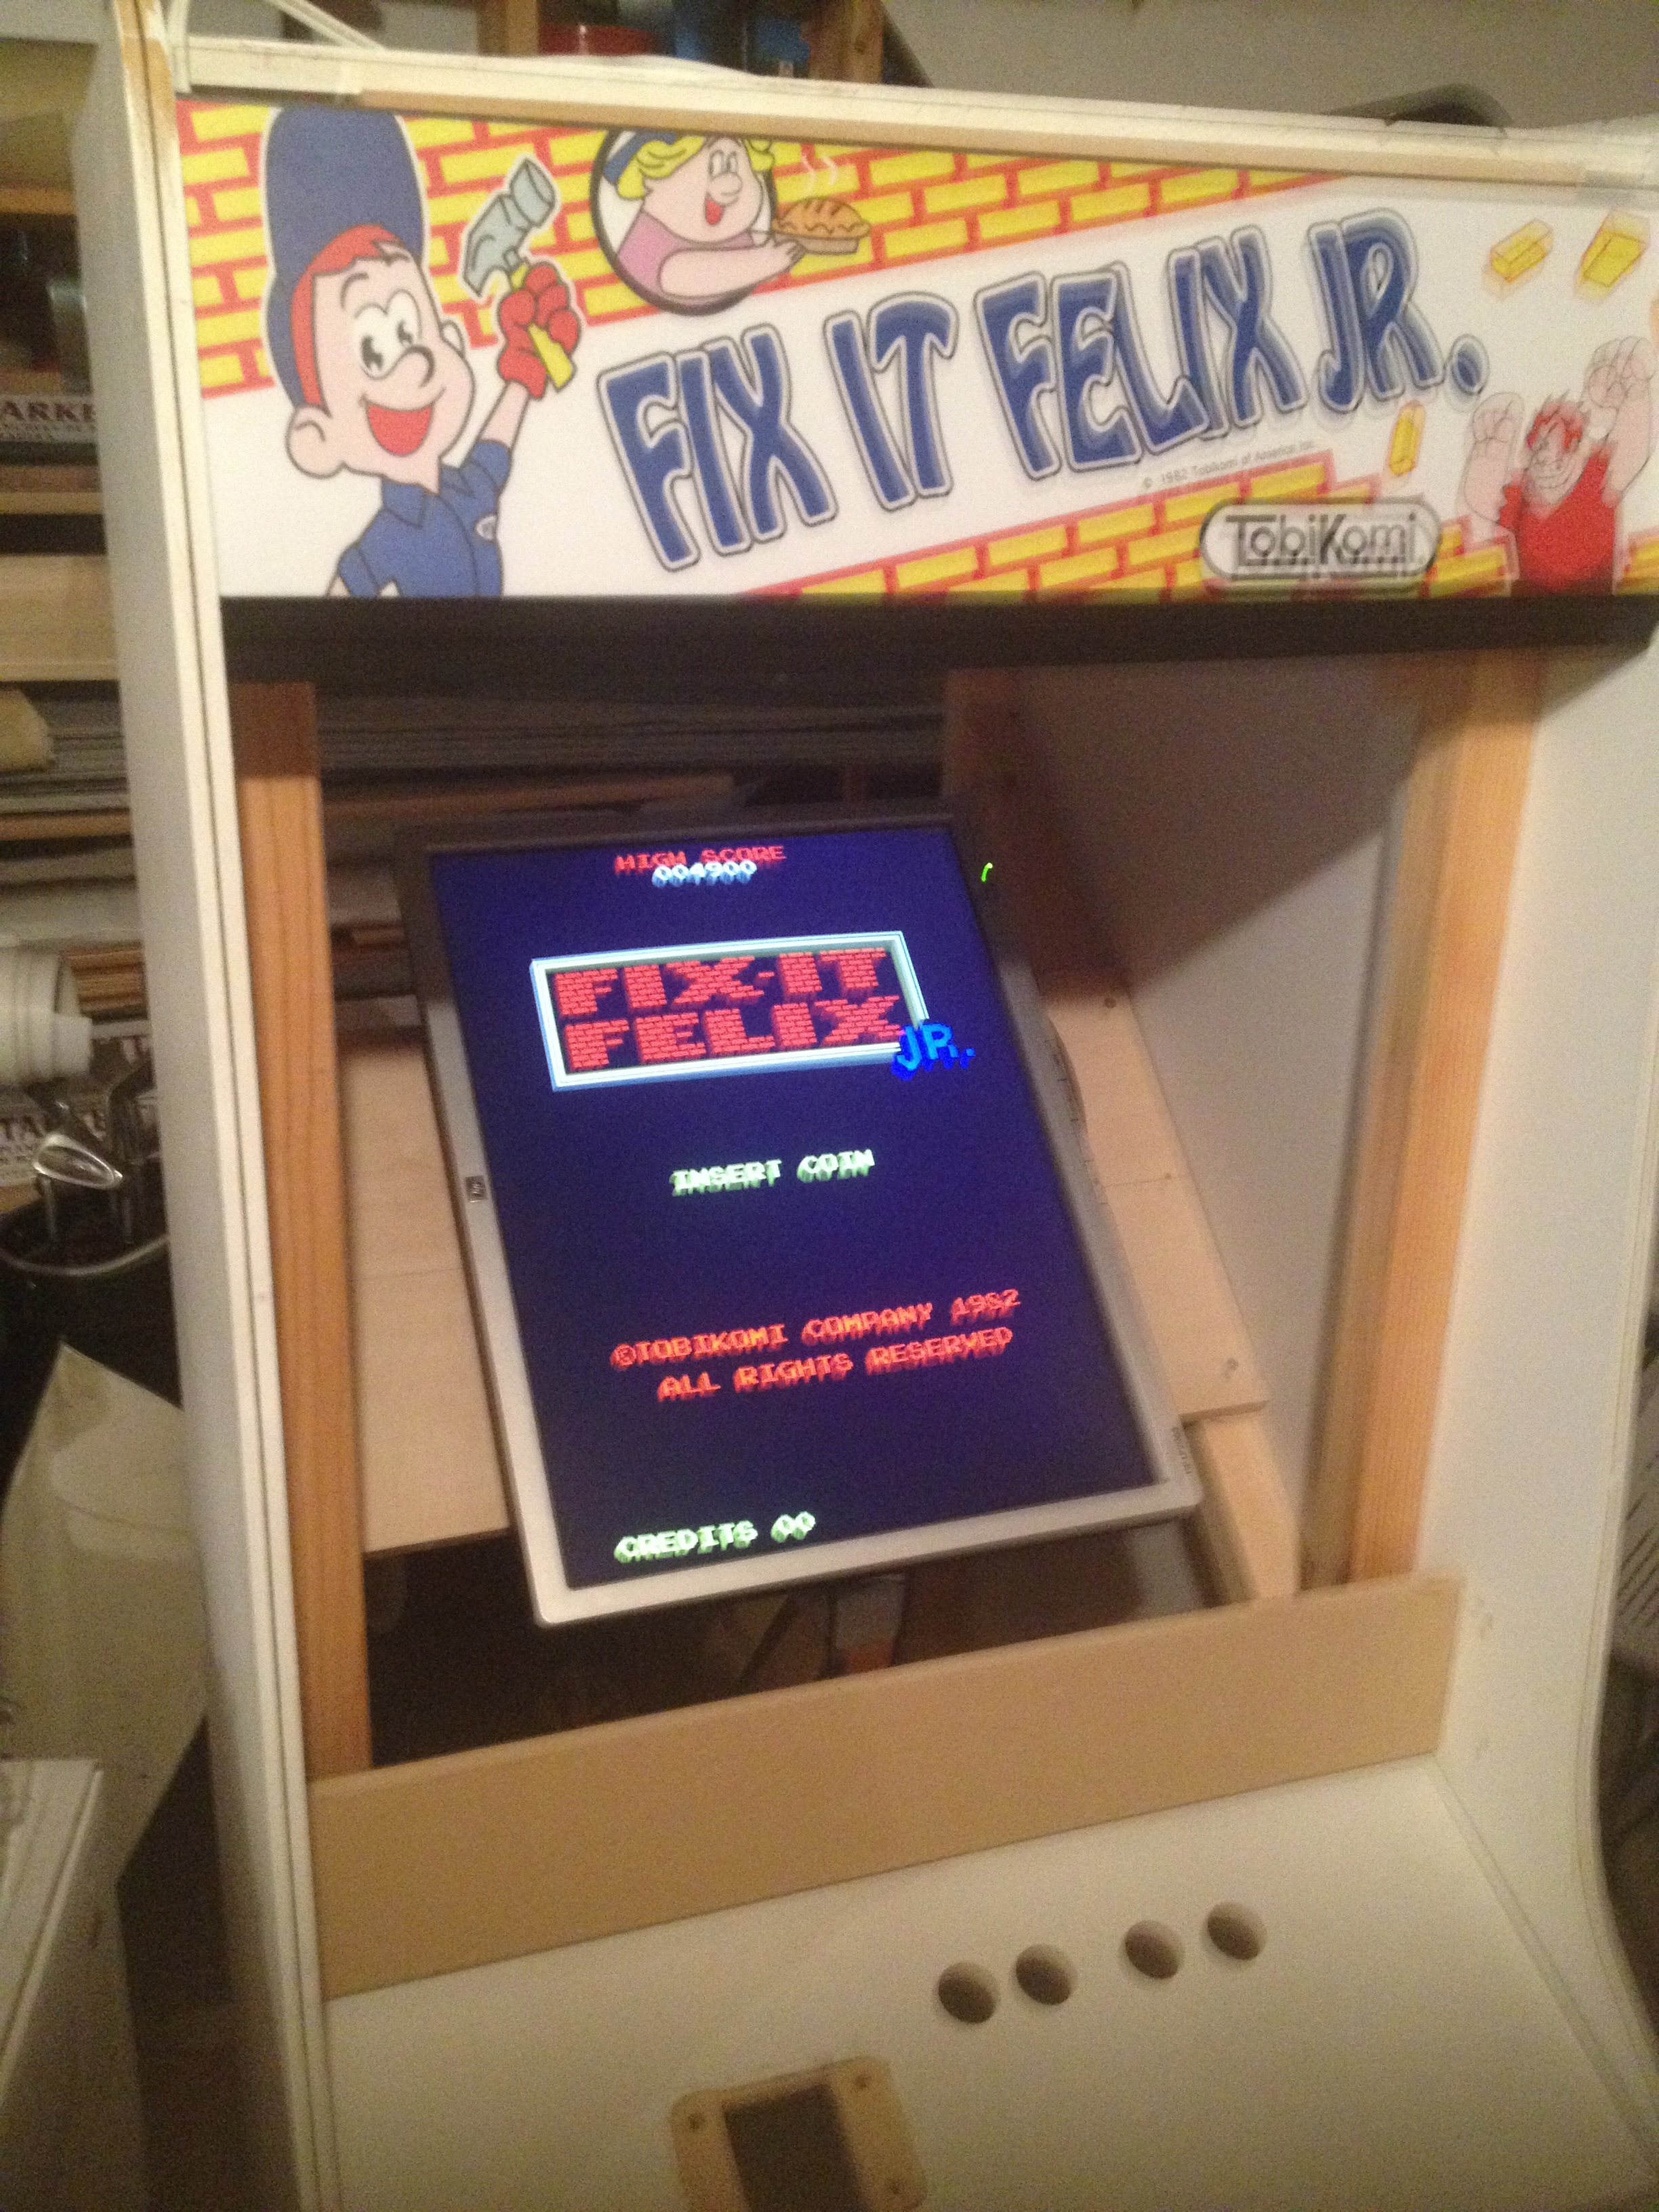
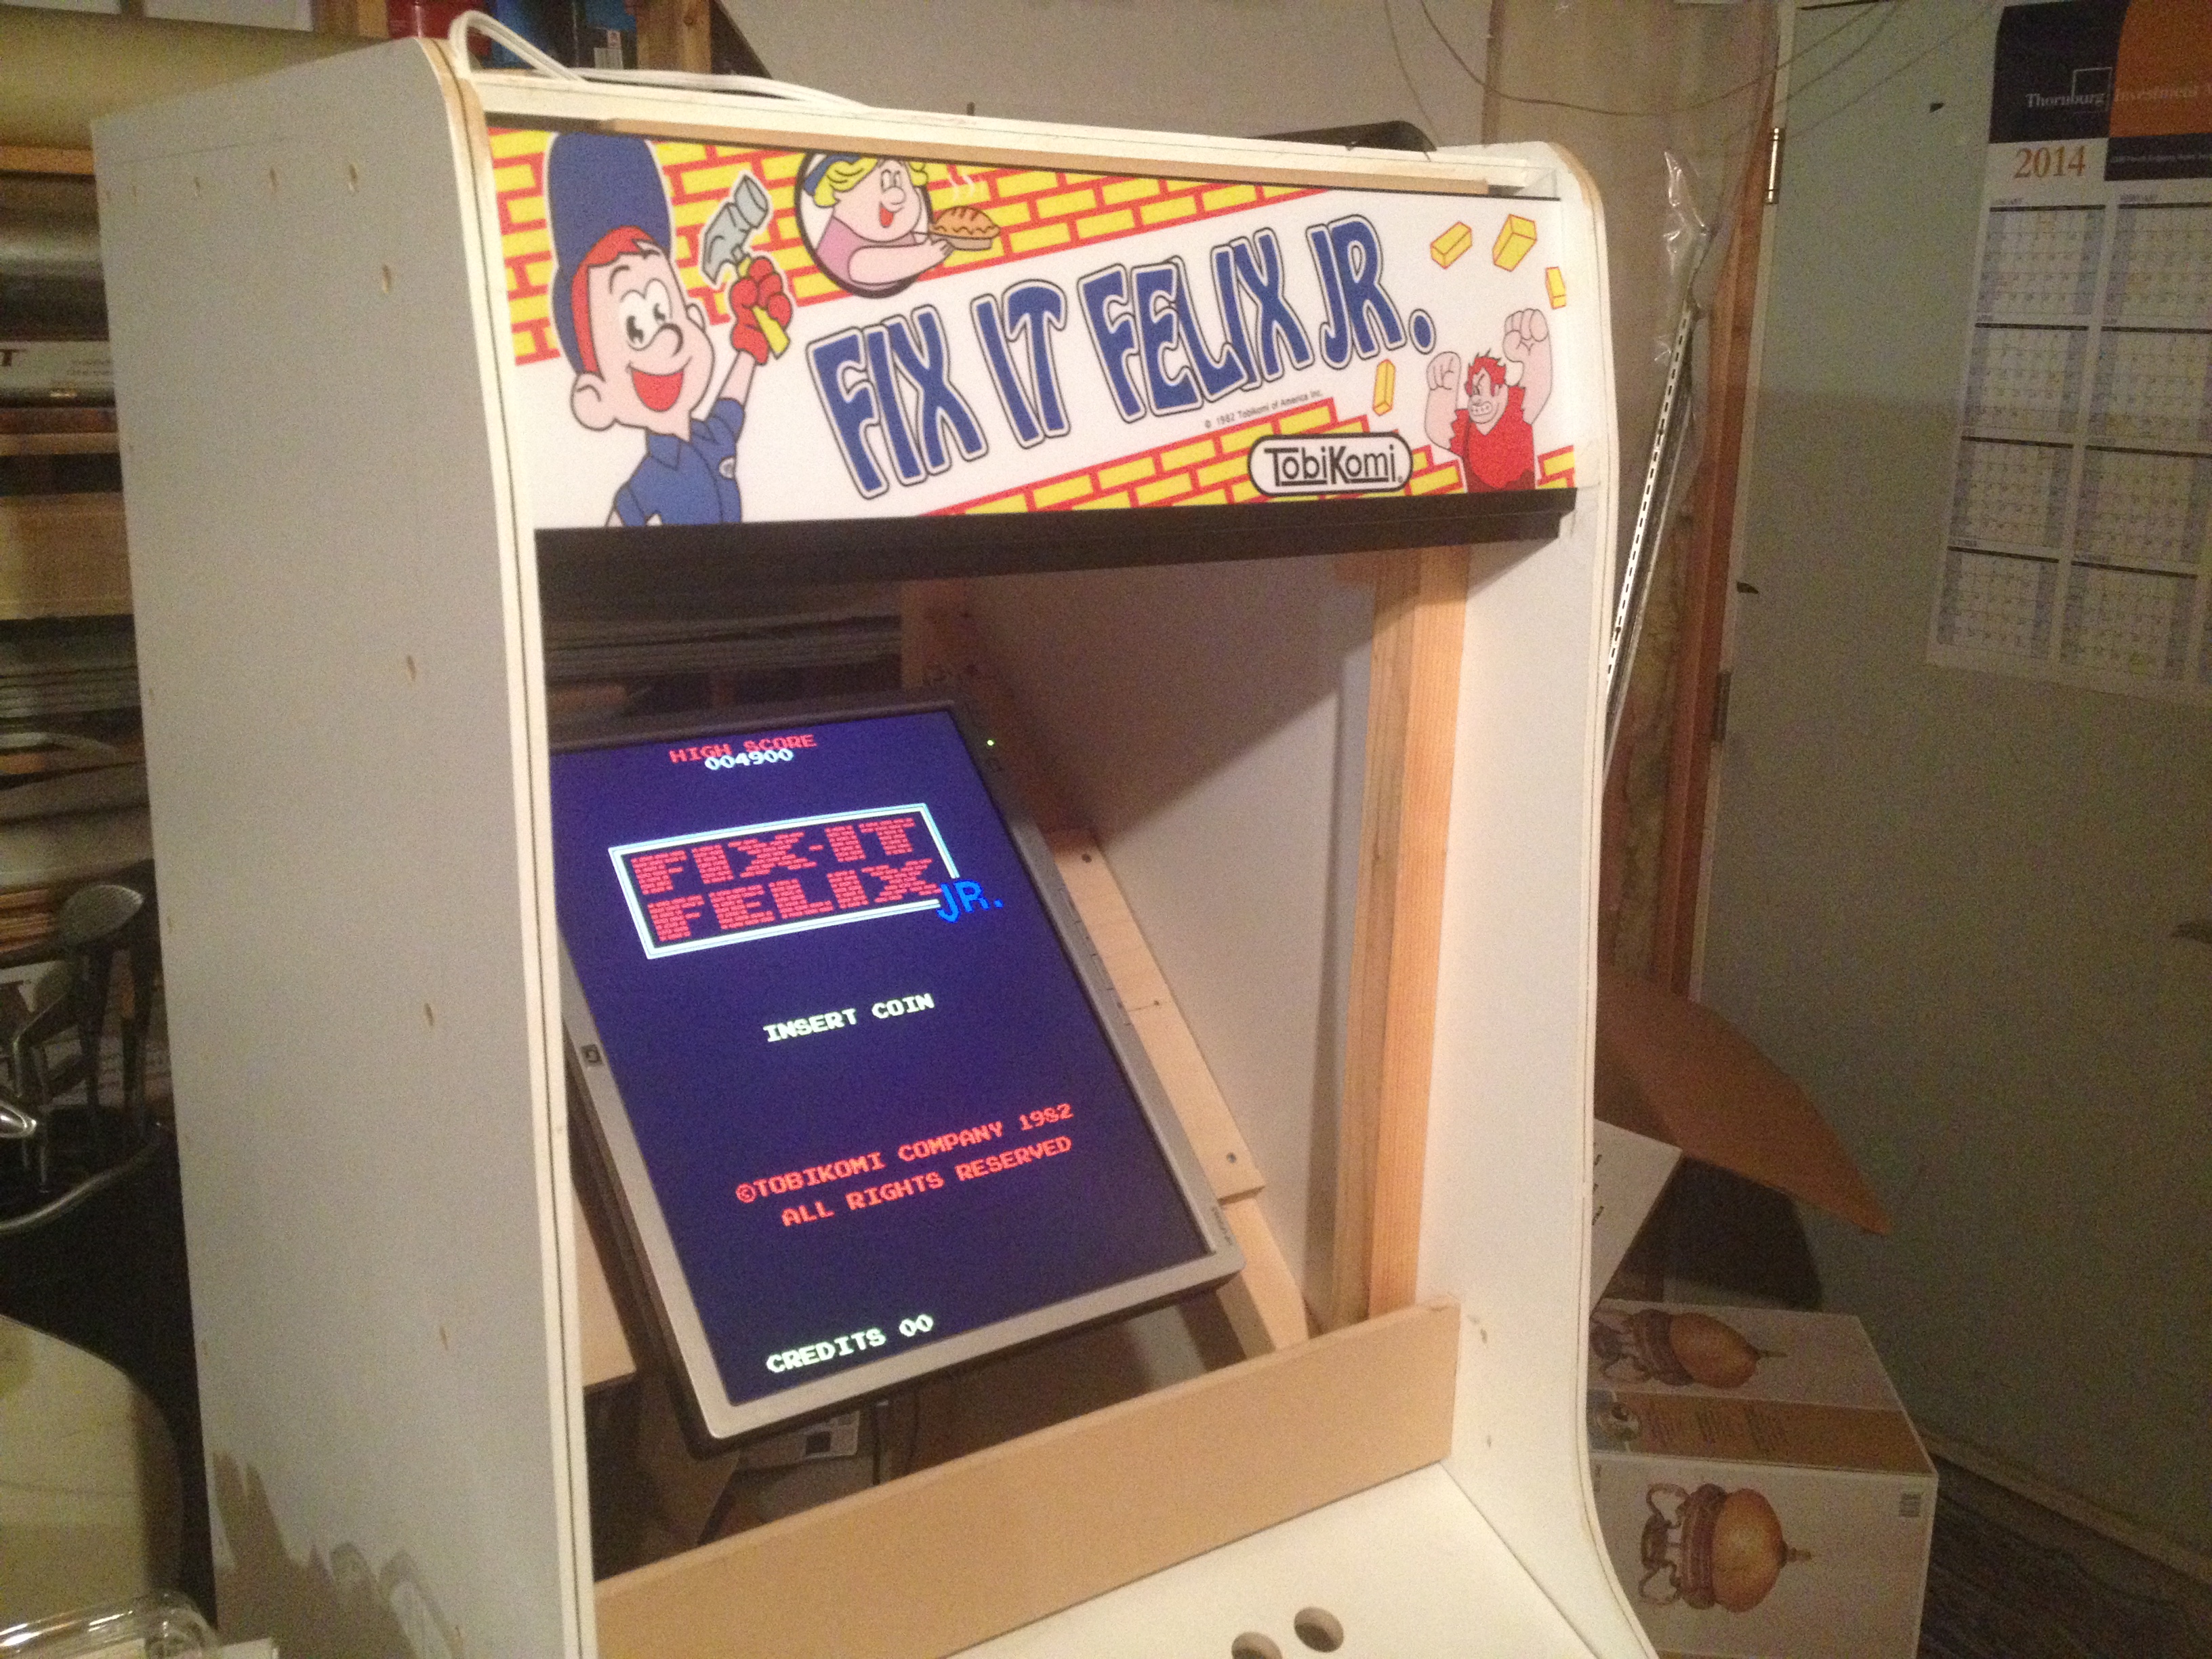
First up, some pictures of the completed beauty!
Finished cabinet, front view, Fix It Felix
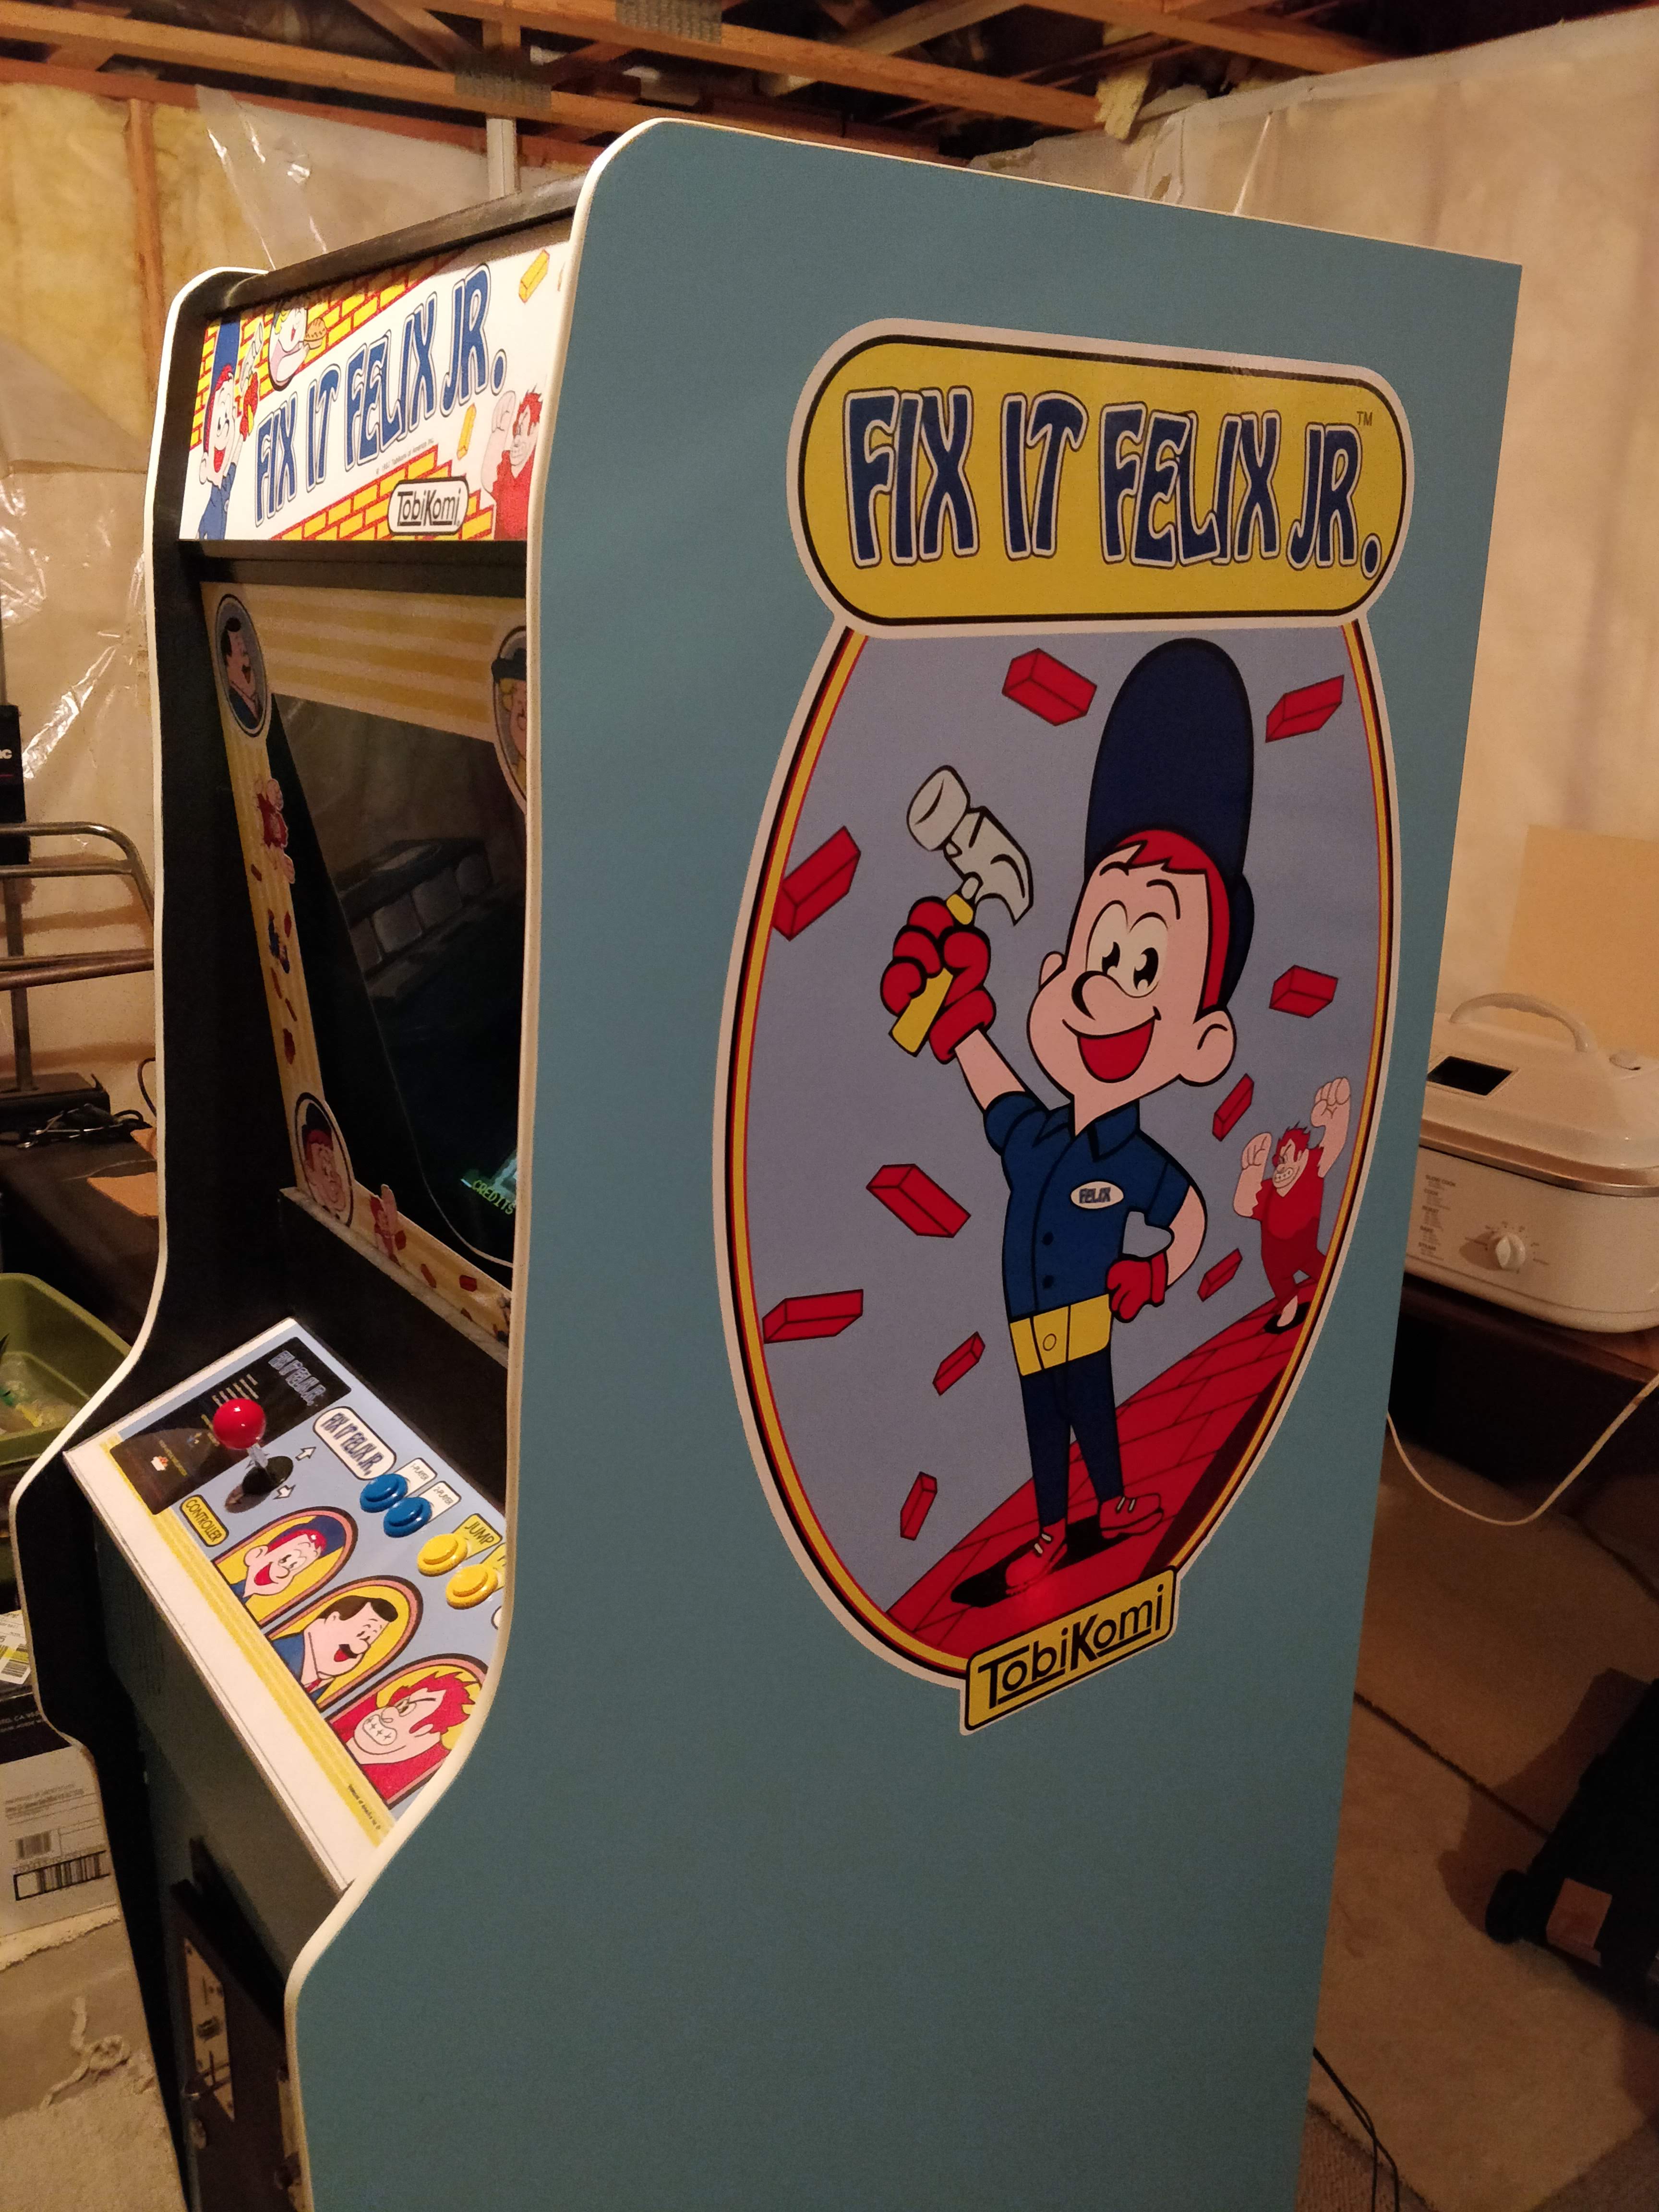
Finished Cabinet, Side View artwork
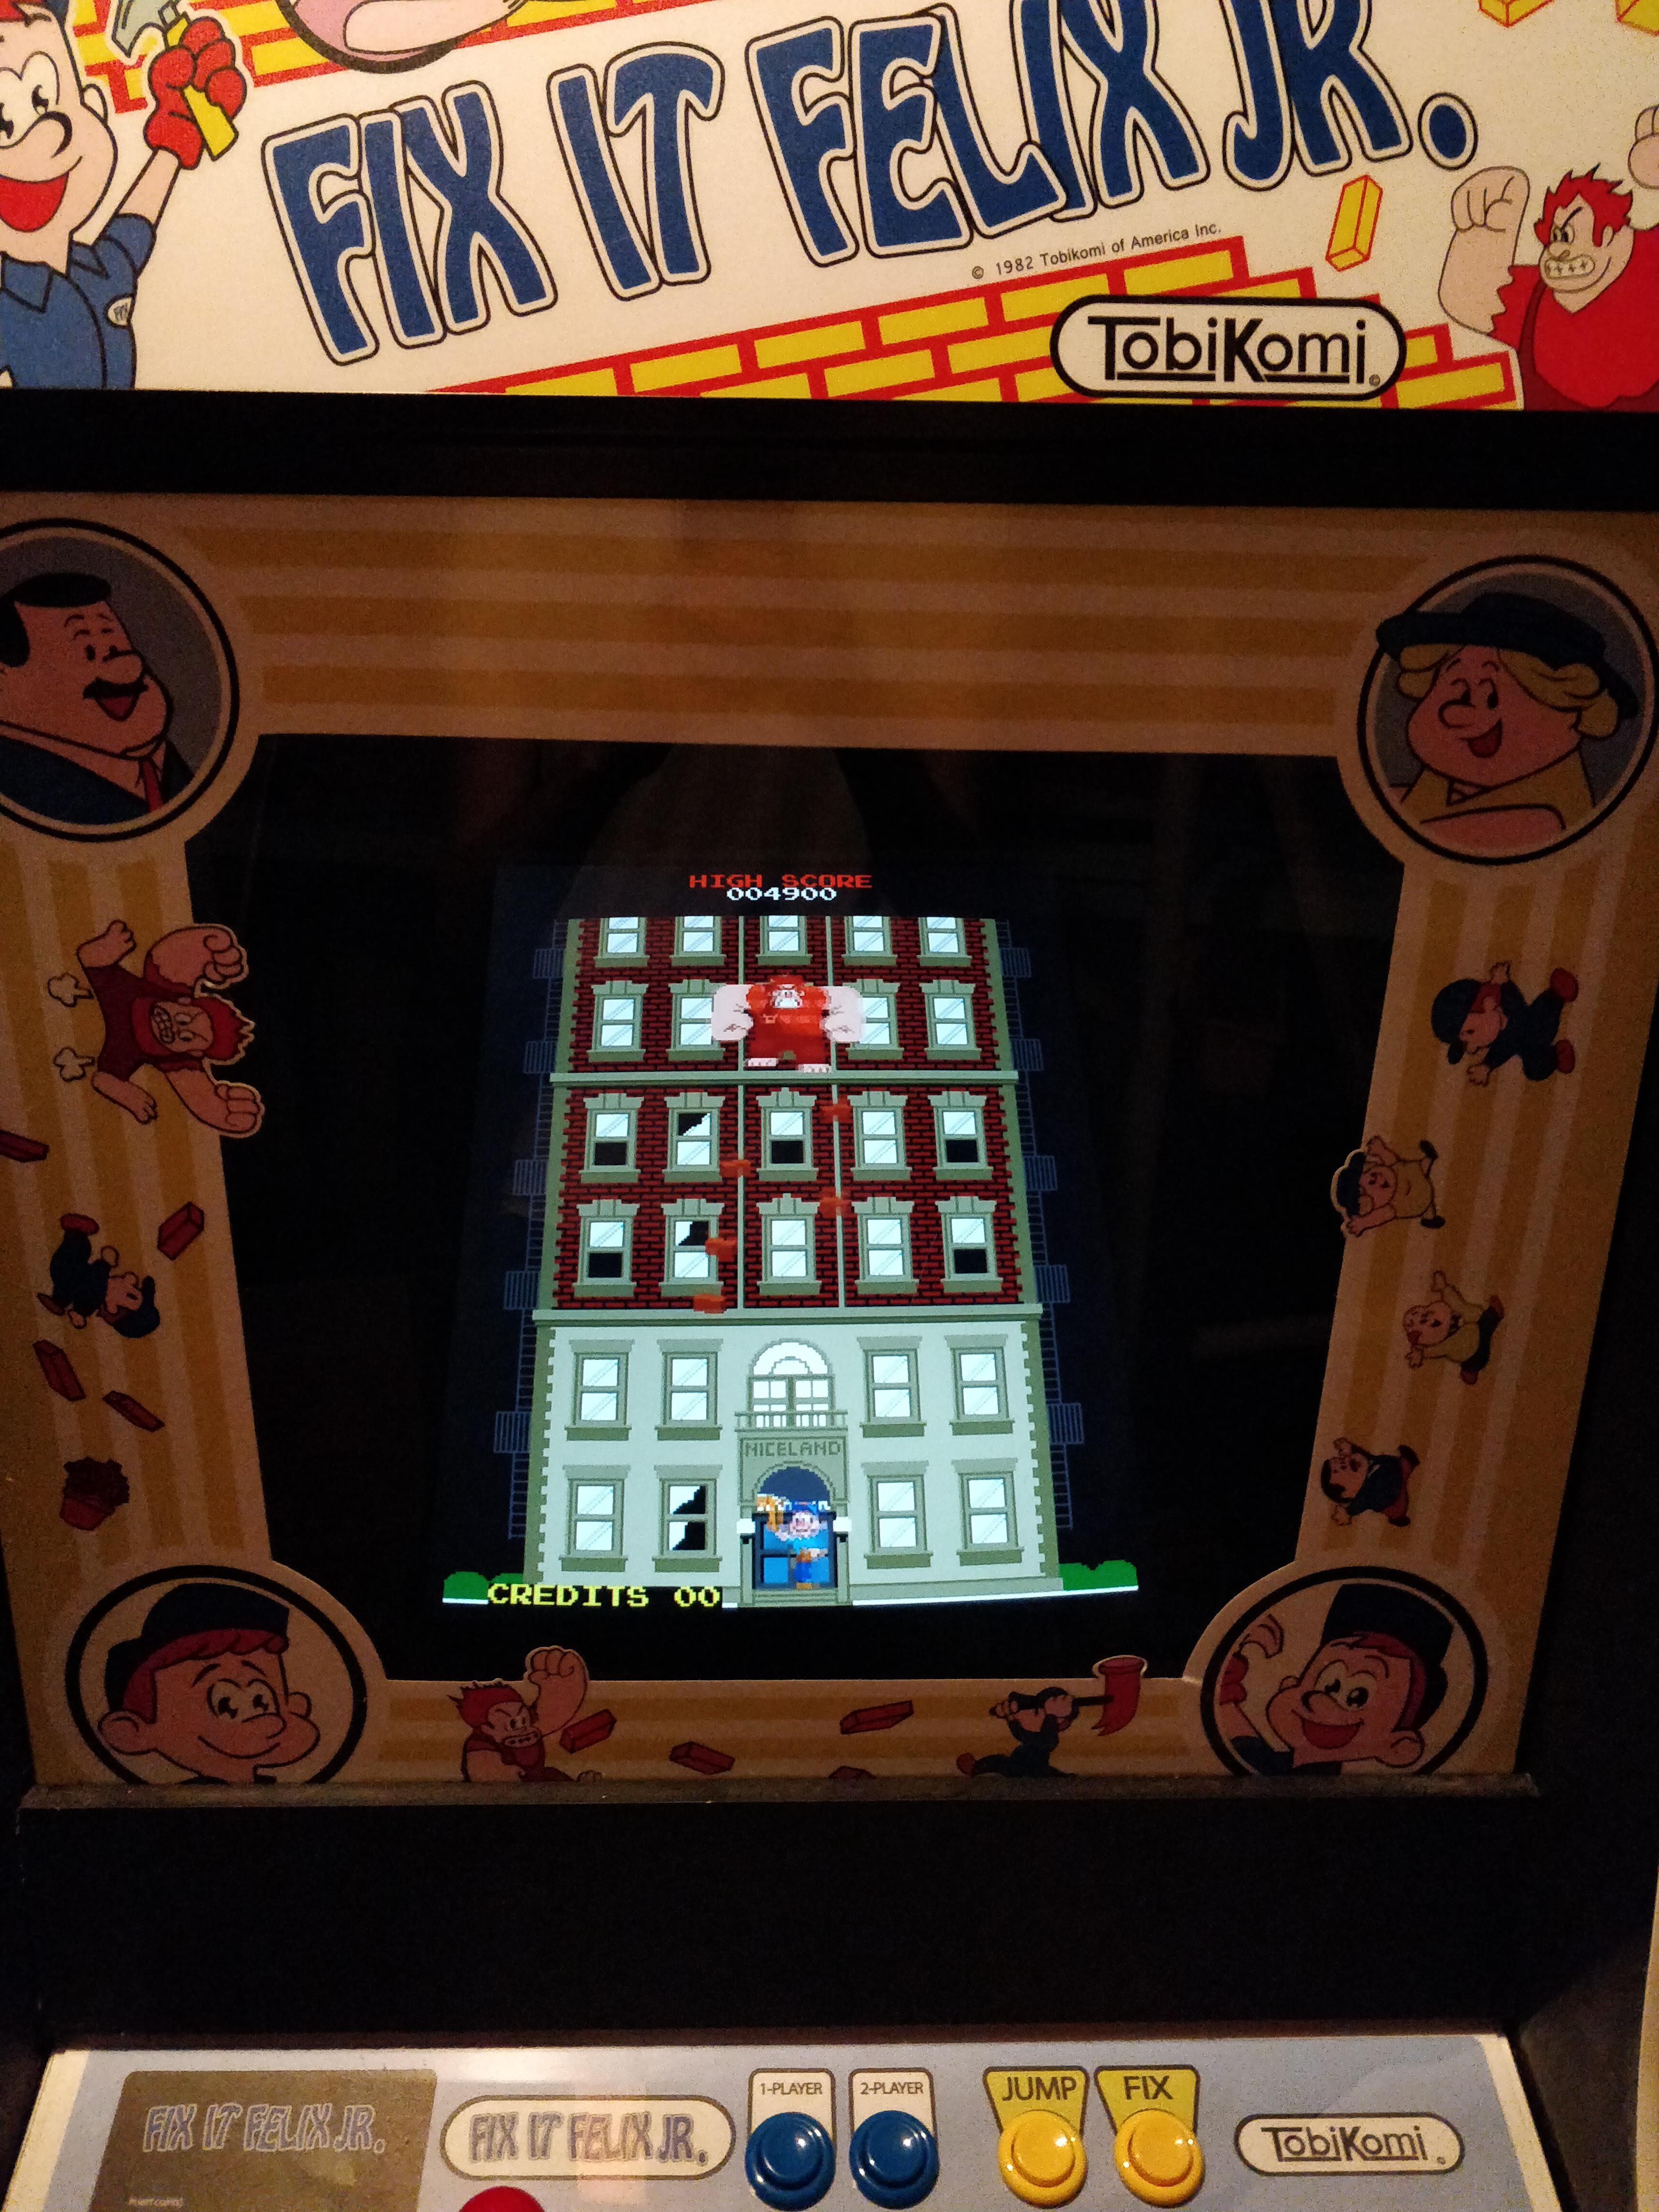
Finished Cabinet, Bezel
You can see we got the bezel inserted. This was a real work project! My father, Mr. Jim Meyer, really wanted to make the bezel easily removable – i.e. not screwed in. That’s a dream I gave up long ago. Jim was right though. He was imagining these old friction clips that used to be used to hold in storm windows. We found some at a hardware store. So, with them in the down position we can insert the bezel and then flip them into the up position and it’s impossible to remove the bezel. It’s still not the easiest thing to insert but the bezel would only really ever be removed if there’s a problem with the monitor.
We also used a large black piece of paper to hide the monitor frame and black out any extra light.
Next, you can see the side art installed! That’s was a lot of fun but scary. We used the normal method of taping the bottom half into position (painters tape) and then remove the backing from the top half. Squeegee it on and it’s held in place. Then you remove the backing from the bottom half and squeegee that section. We think we did a good job! Not perfect, but nearly no bubbles.
You can’t see it in the pictures, but I also applied the coin sticker and instruction sheet. They’re visible in the videos coming up.
Outside Game Felix Cabinet Video Tour
Let’s take a look at the cabinet! The below video shows the entire Fix It Felix Jr. arcade cabinet on the outside. You’ll see we got a back door installed (with hold for power wire), all artwork applied, and plenty more.
Interior Game Cabinet Video Tour
Below, I’ll give you a working demonstration of the game cabinet. Show how the controls connect, how it’s wired, what’s inside, a tour of the software front-end and a few other little insights.
The Arcade Cabinet Is Complete – Now What?
And really, that’s it! You might be wondering, what’s the plan for this great looking arcade game cabinet? Originally, I planned to keep and play it, of course! Dreams change and so do lives though. I’ve decided it’s not really practical to store and keep and neither does my father. The real joy was building the damn thing together. So, I’m planning to donate/permanently loan the entire thing to a business. I’ll get a real kick seeing kids wonder exactly what it is and how this thing from a movie came to life! Coincidentally, the next Wreck-It Ralph movie comes out soon so it could help promote the film. Seeing it put to good use is better than it sit in a basement.
If that happens, I’ll make sure to take pictures and share them here.
The cabinet has basically been done for a while. My buddy Monty is building one as well, so wanted to put a short video together for him to see everything together. Only thing not shown attached is the bezel. Through the camera there was a glare with the bezel on.
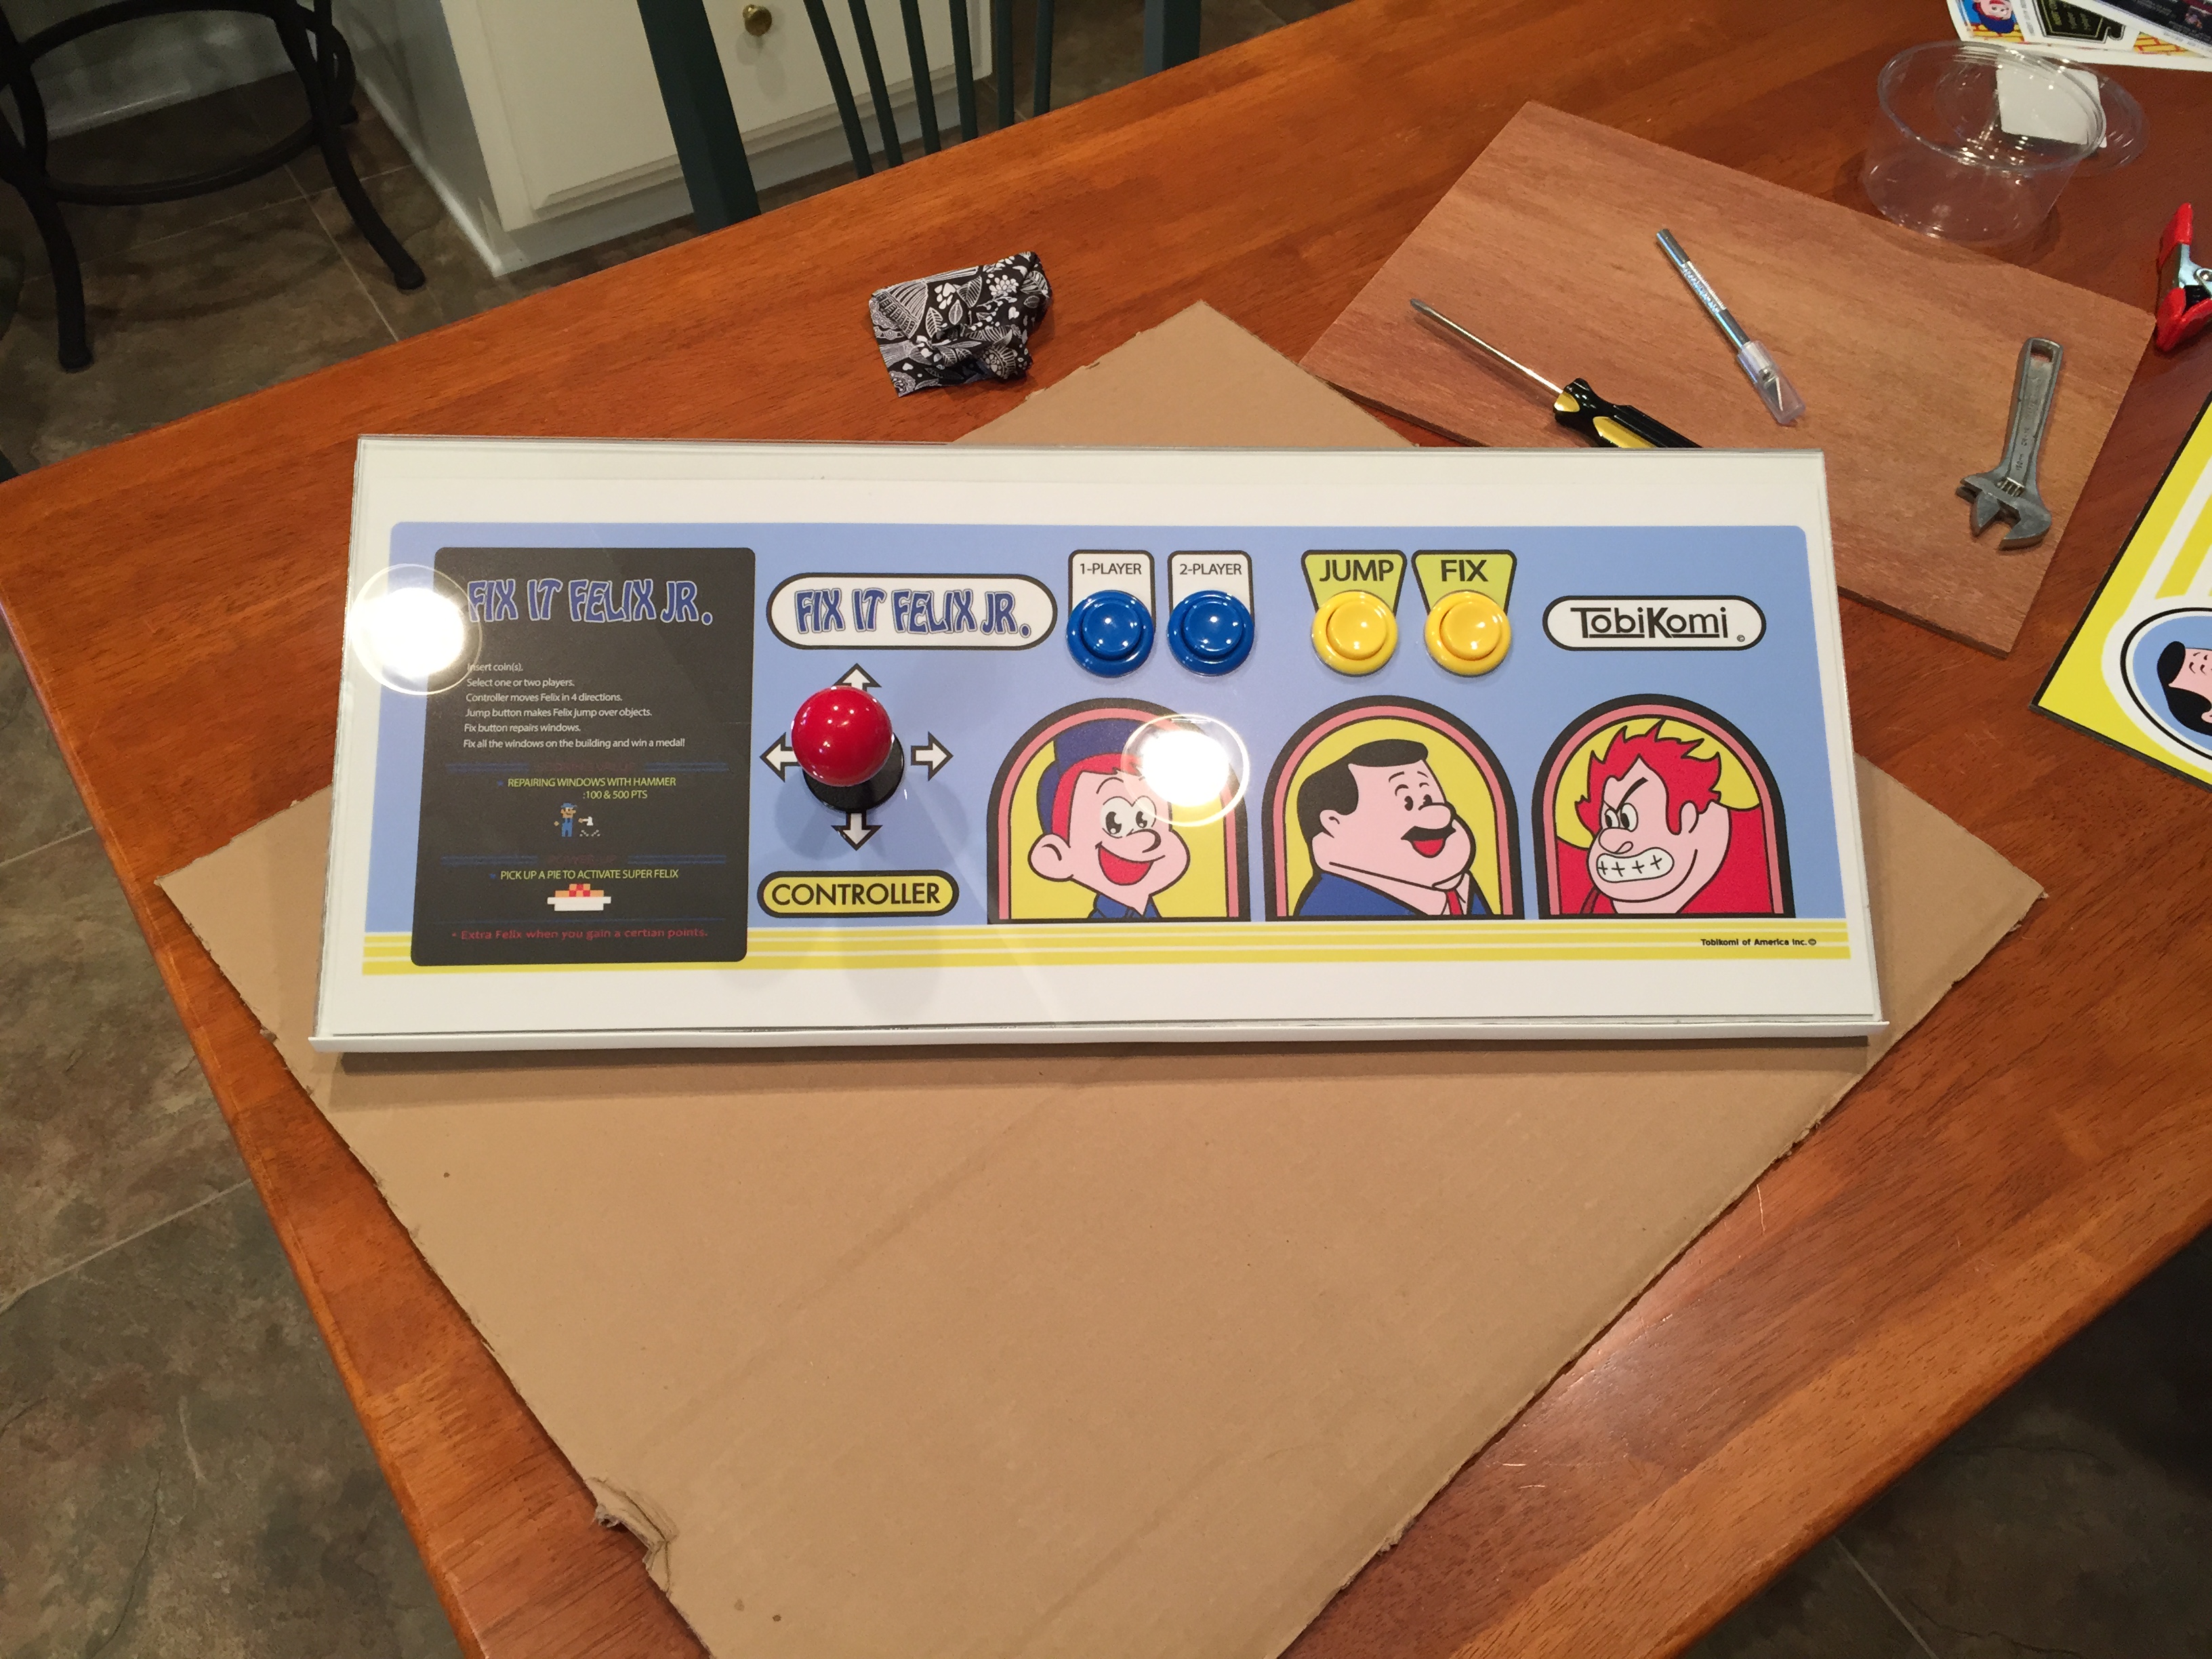
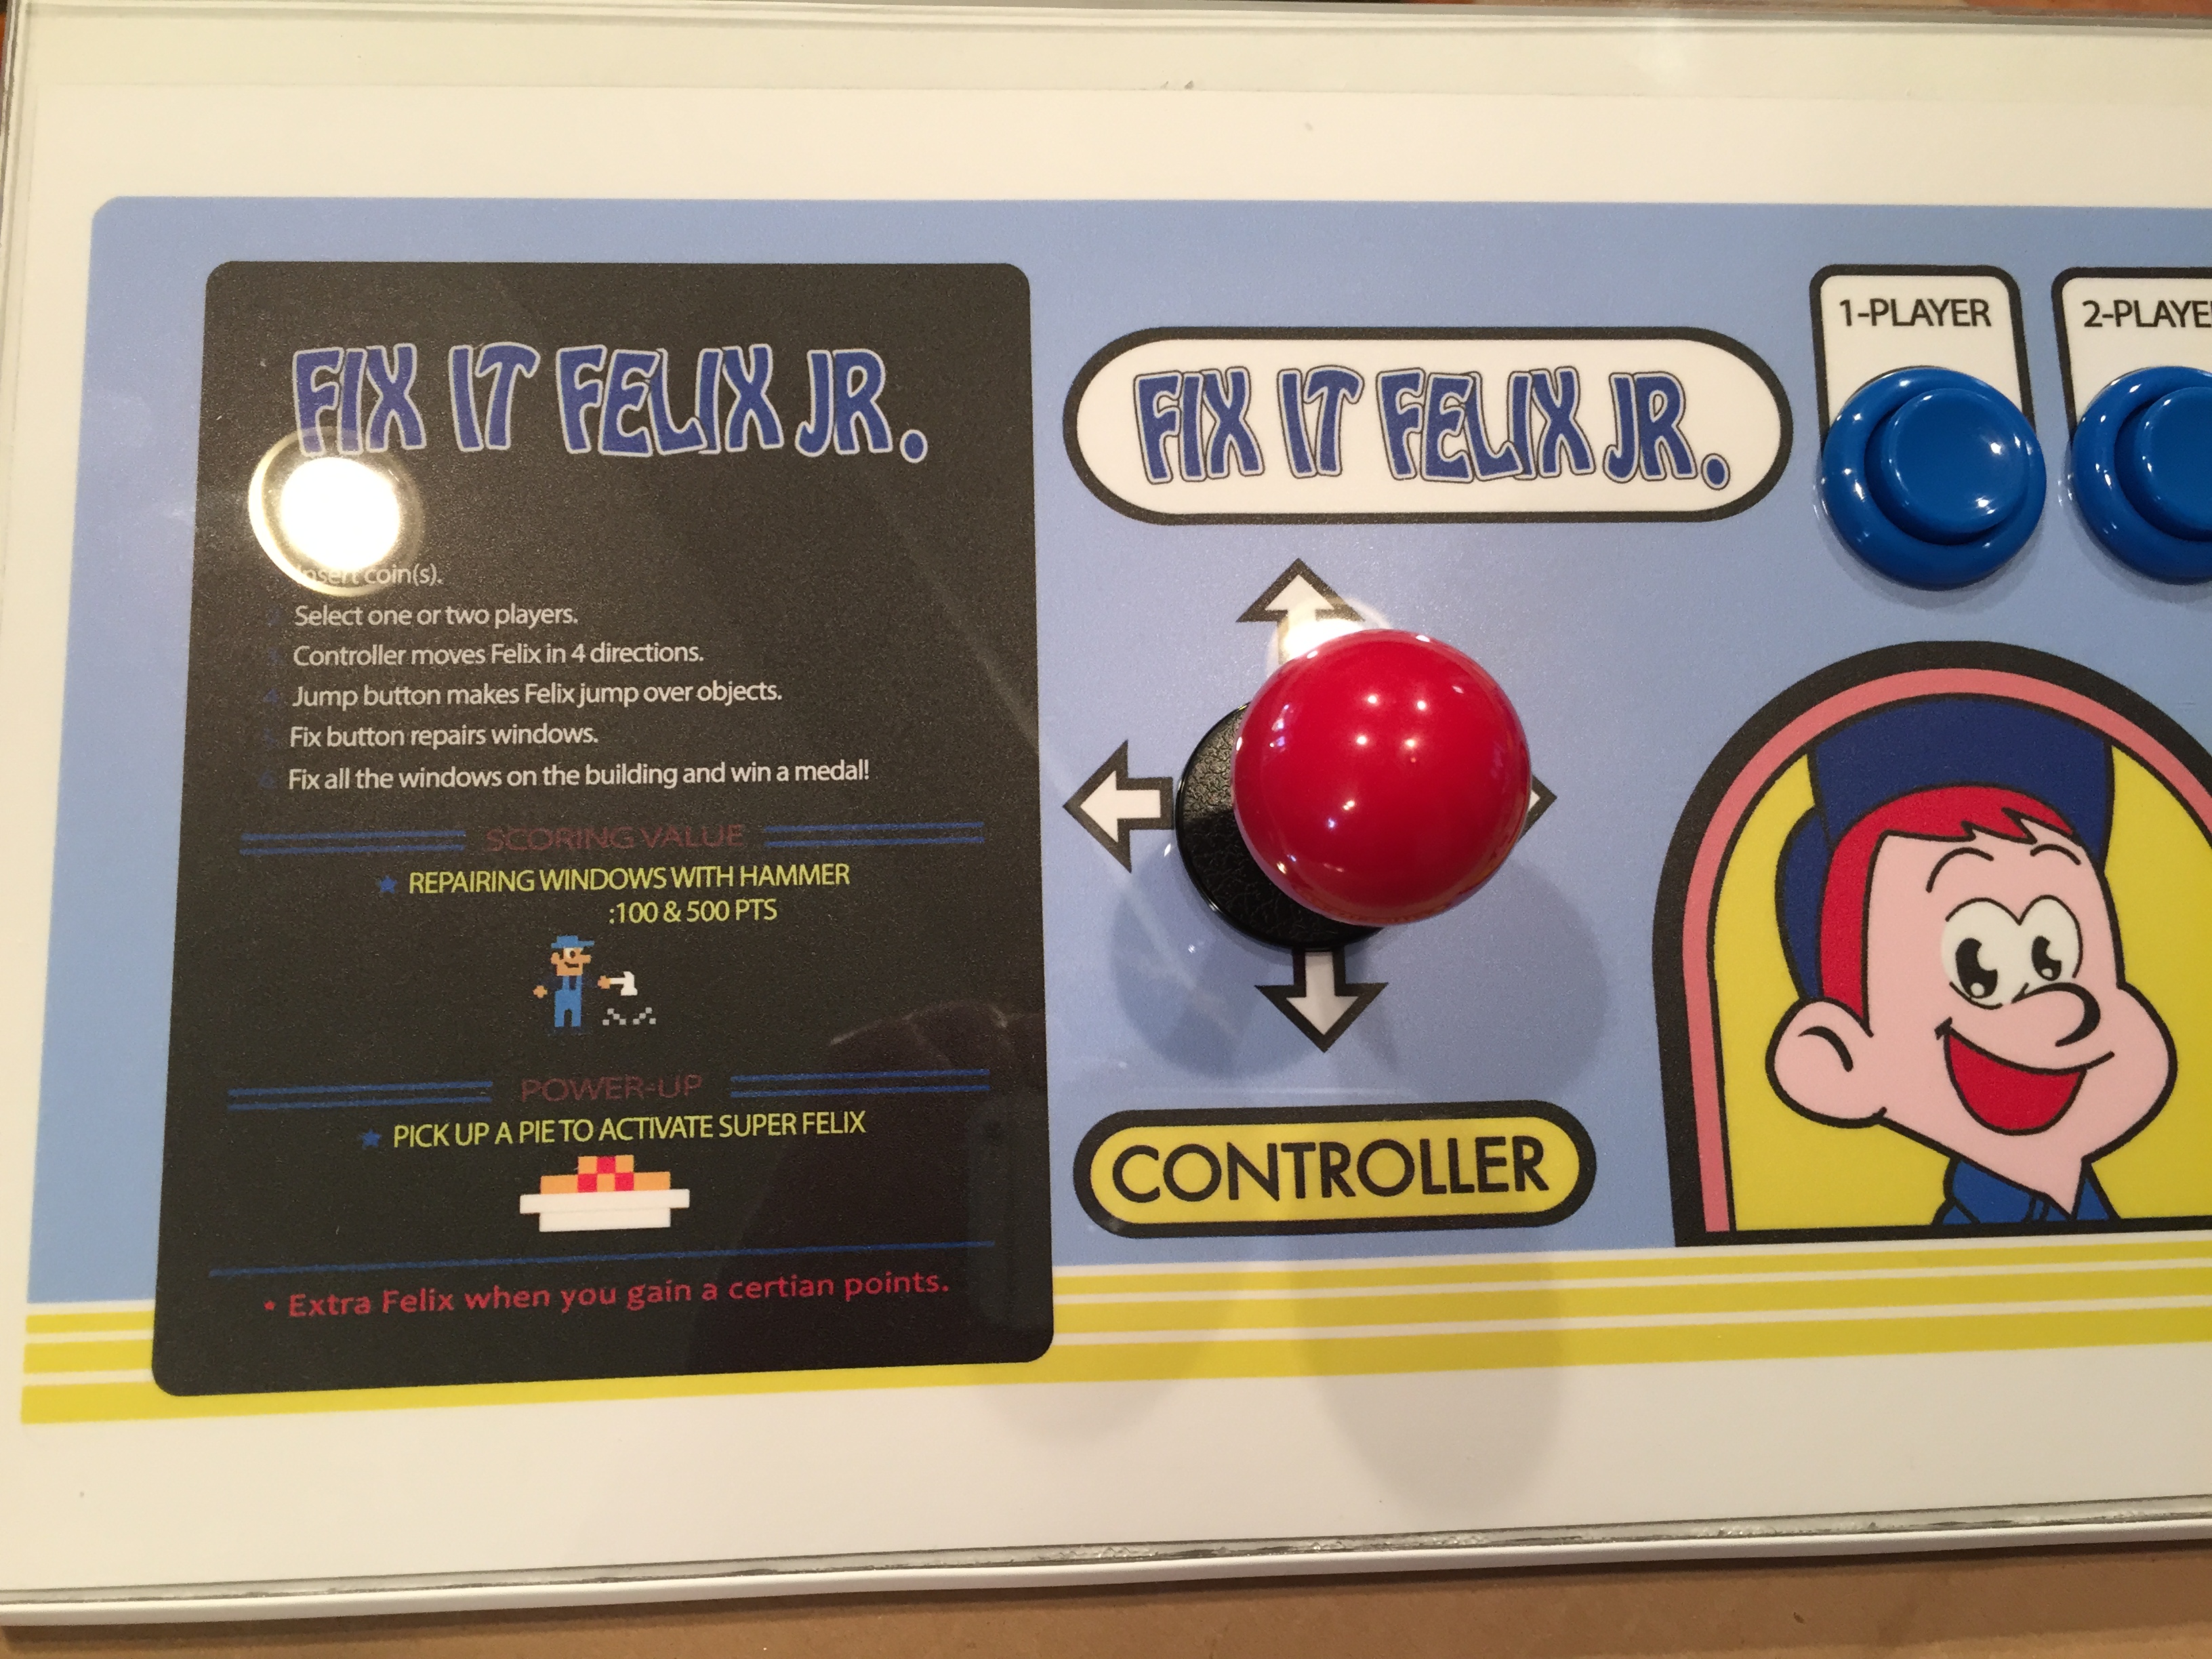
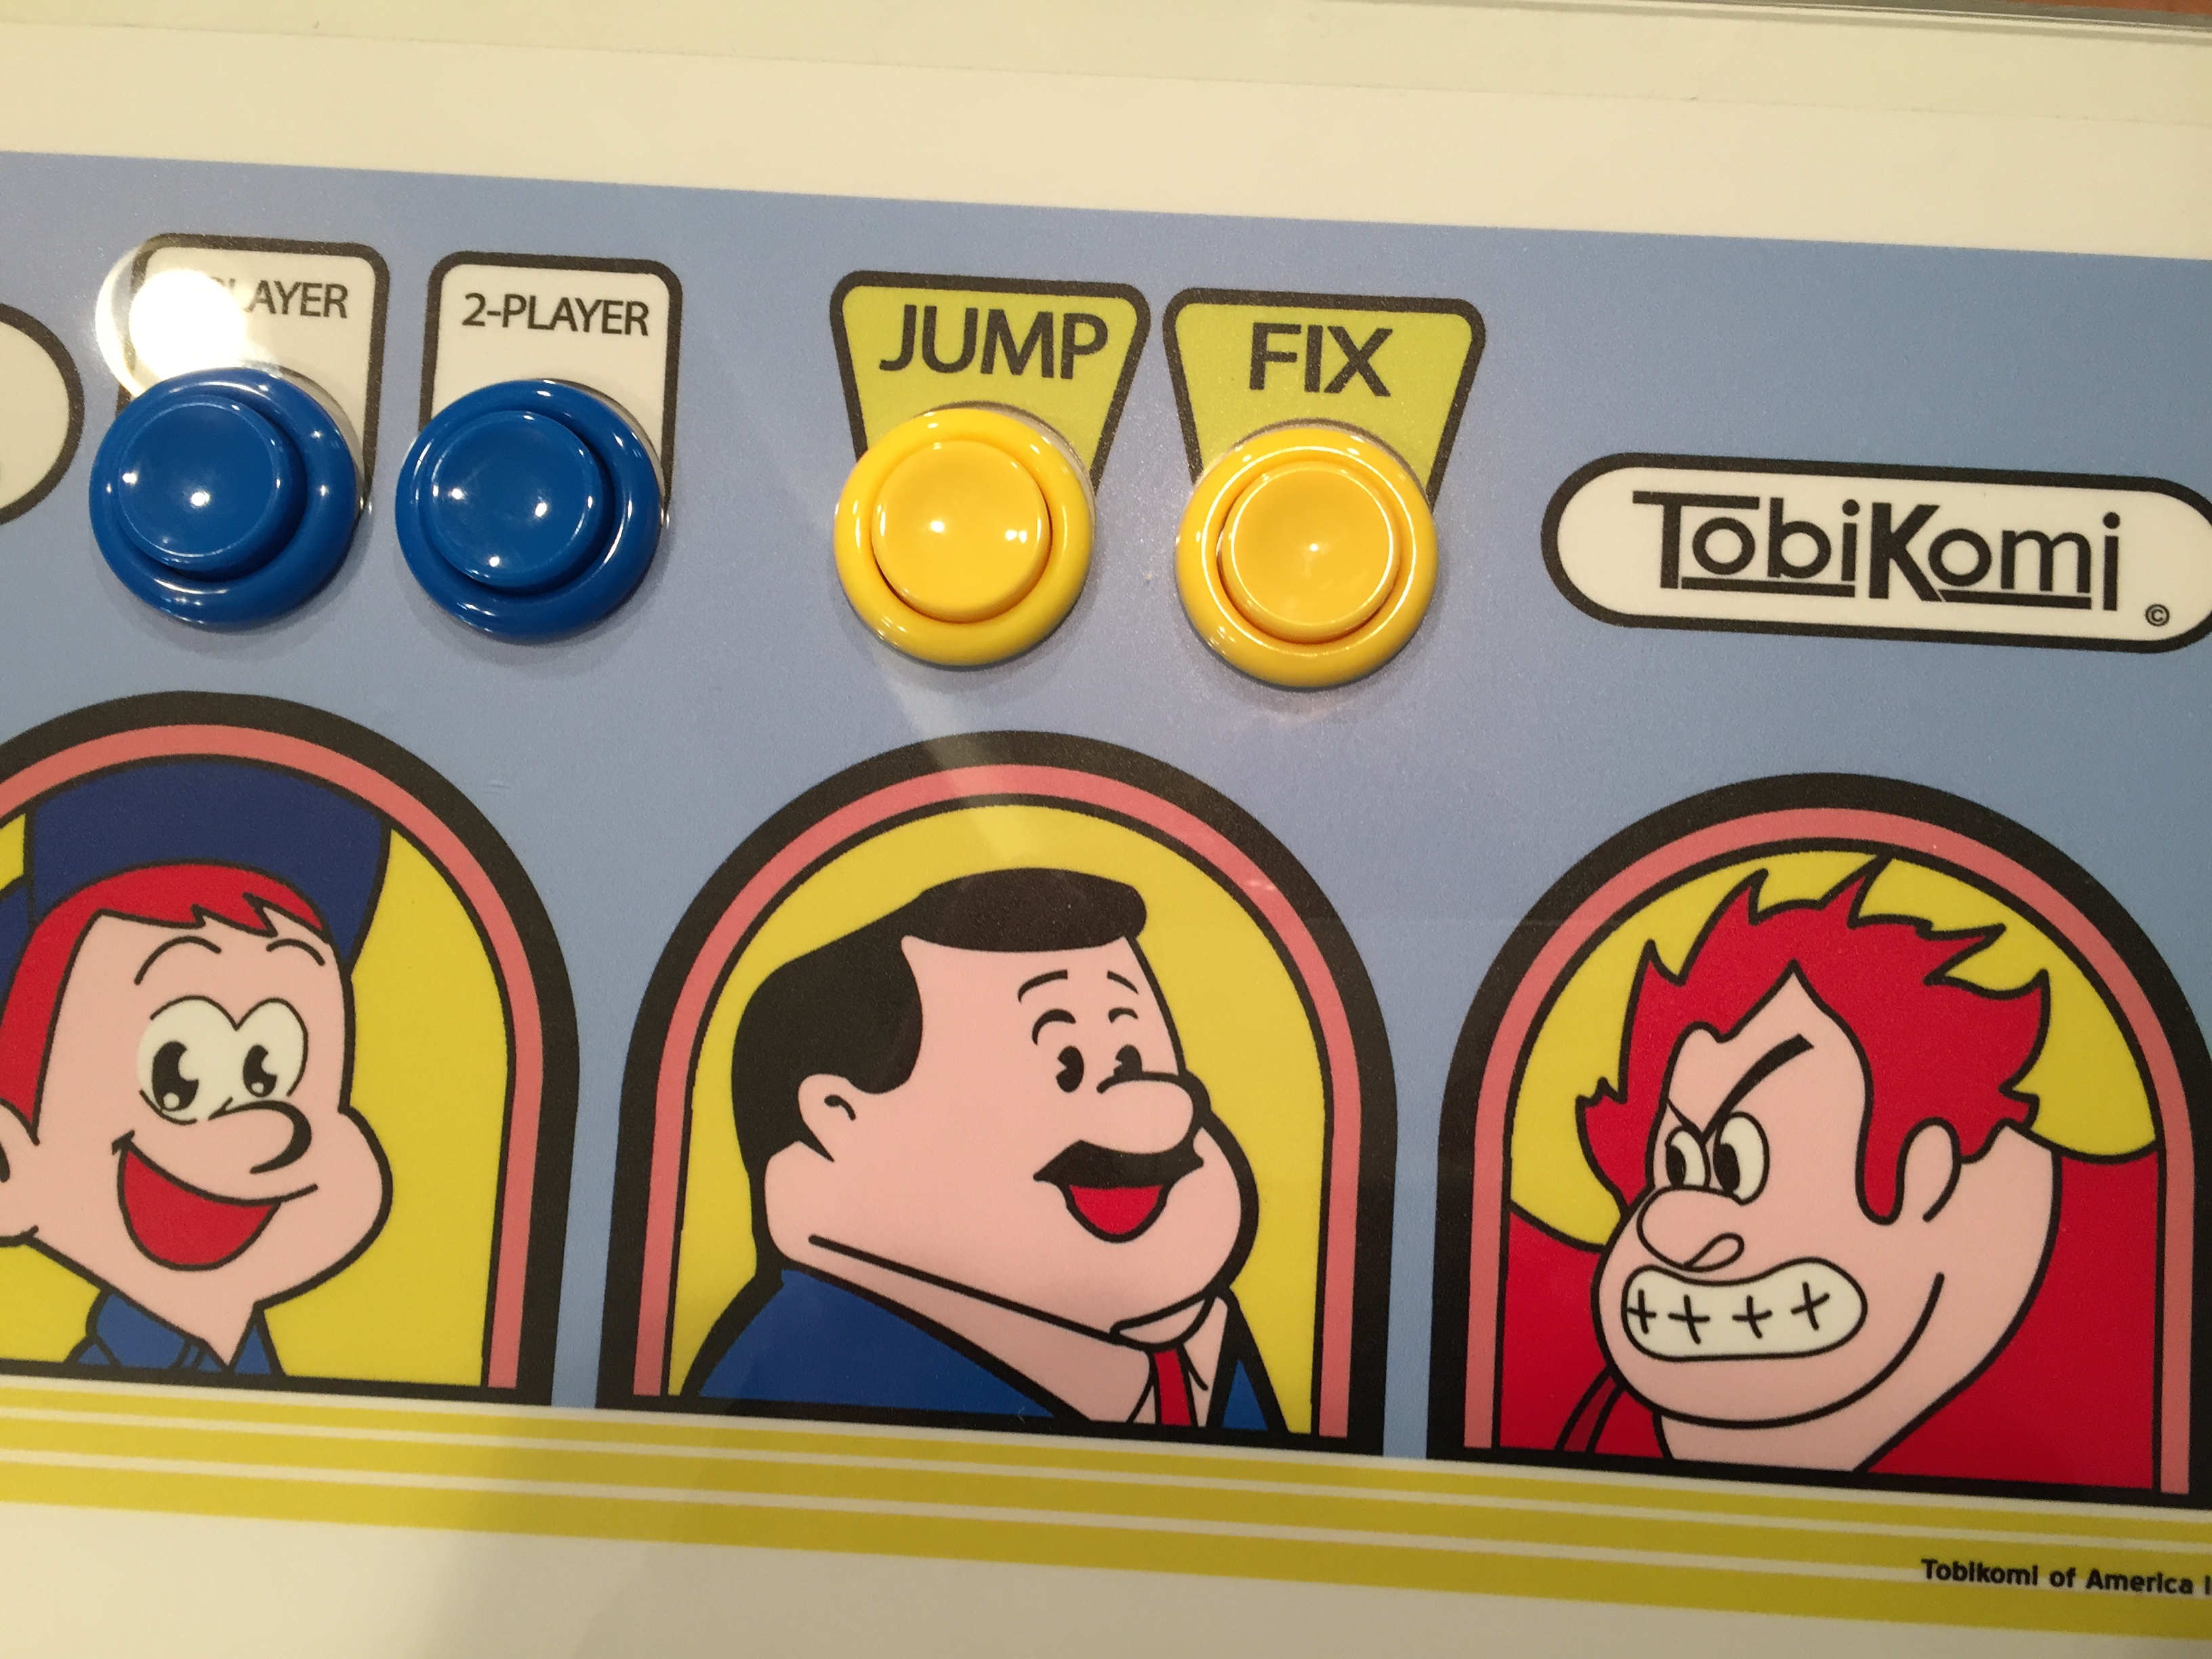
While waiting for some paint to try we decided to finish up some artwork stuff. My dad’s neighbor kindly let us use his table saw again to cut the tinted plexiglass for the bezel. All the other plexi was already cut. Applying the bezel sticker wasn’t easy but we took our time and it (mostly) went well. There’s one small crease we just couldn’t fix no matter what we tried but unless you’re looking for it, you won’t see it. After that I reassembled the joystick and put the artowork and the top plexi onto the control panel, and finally the buttons and t-molding to hold it in place. Wow! I think it turned out very sharp looking. Maybe not perfect, but still pretty impressive. Take a look below to see for yourself. After a few more days of paint we’ll be on to final assembly and then playing this thing!
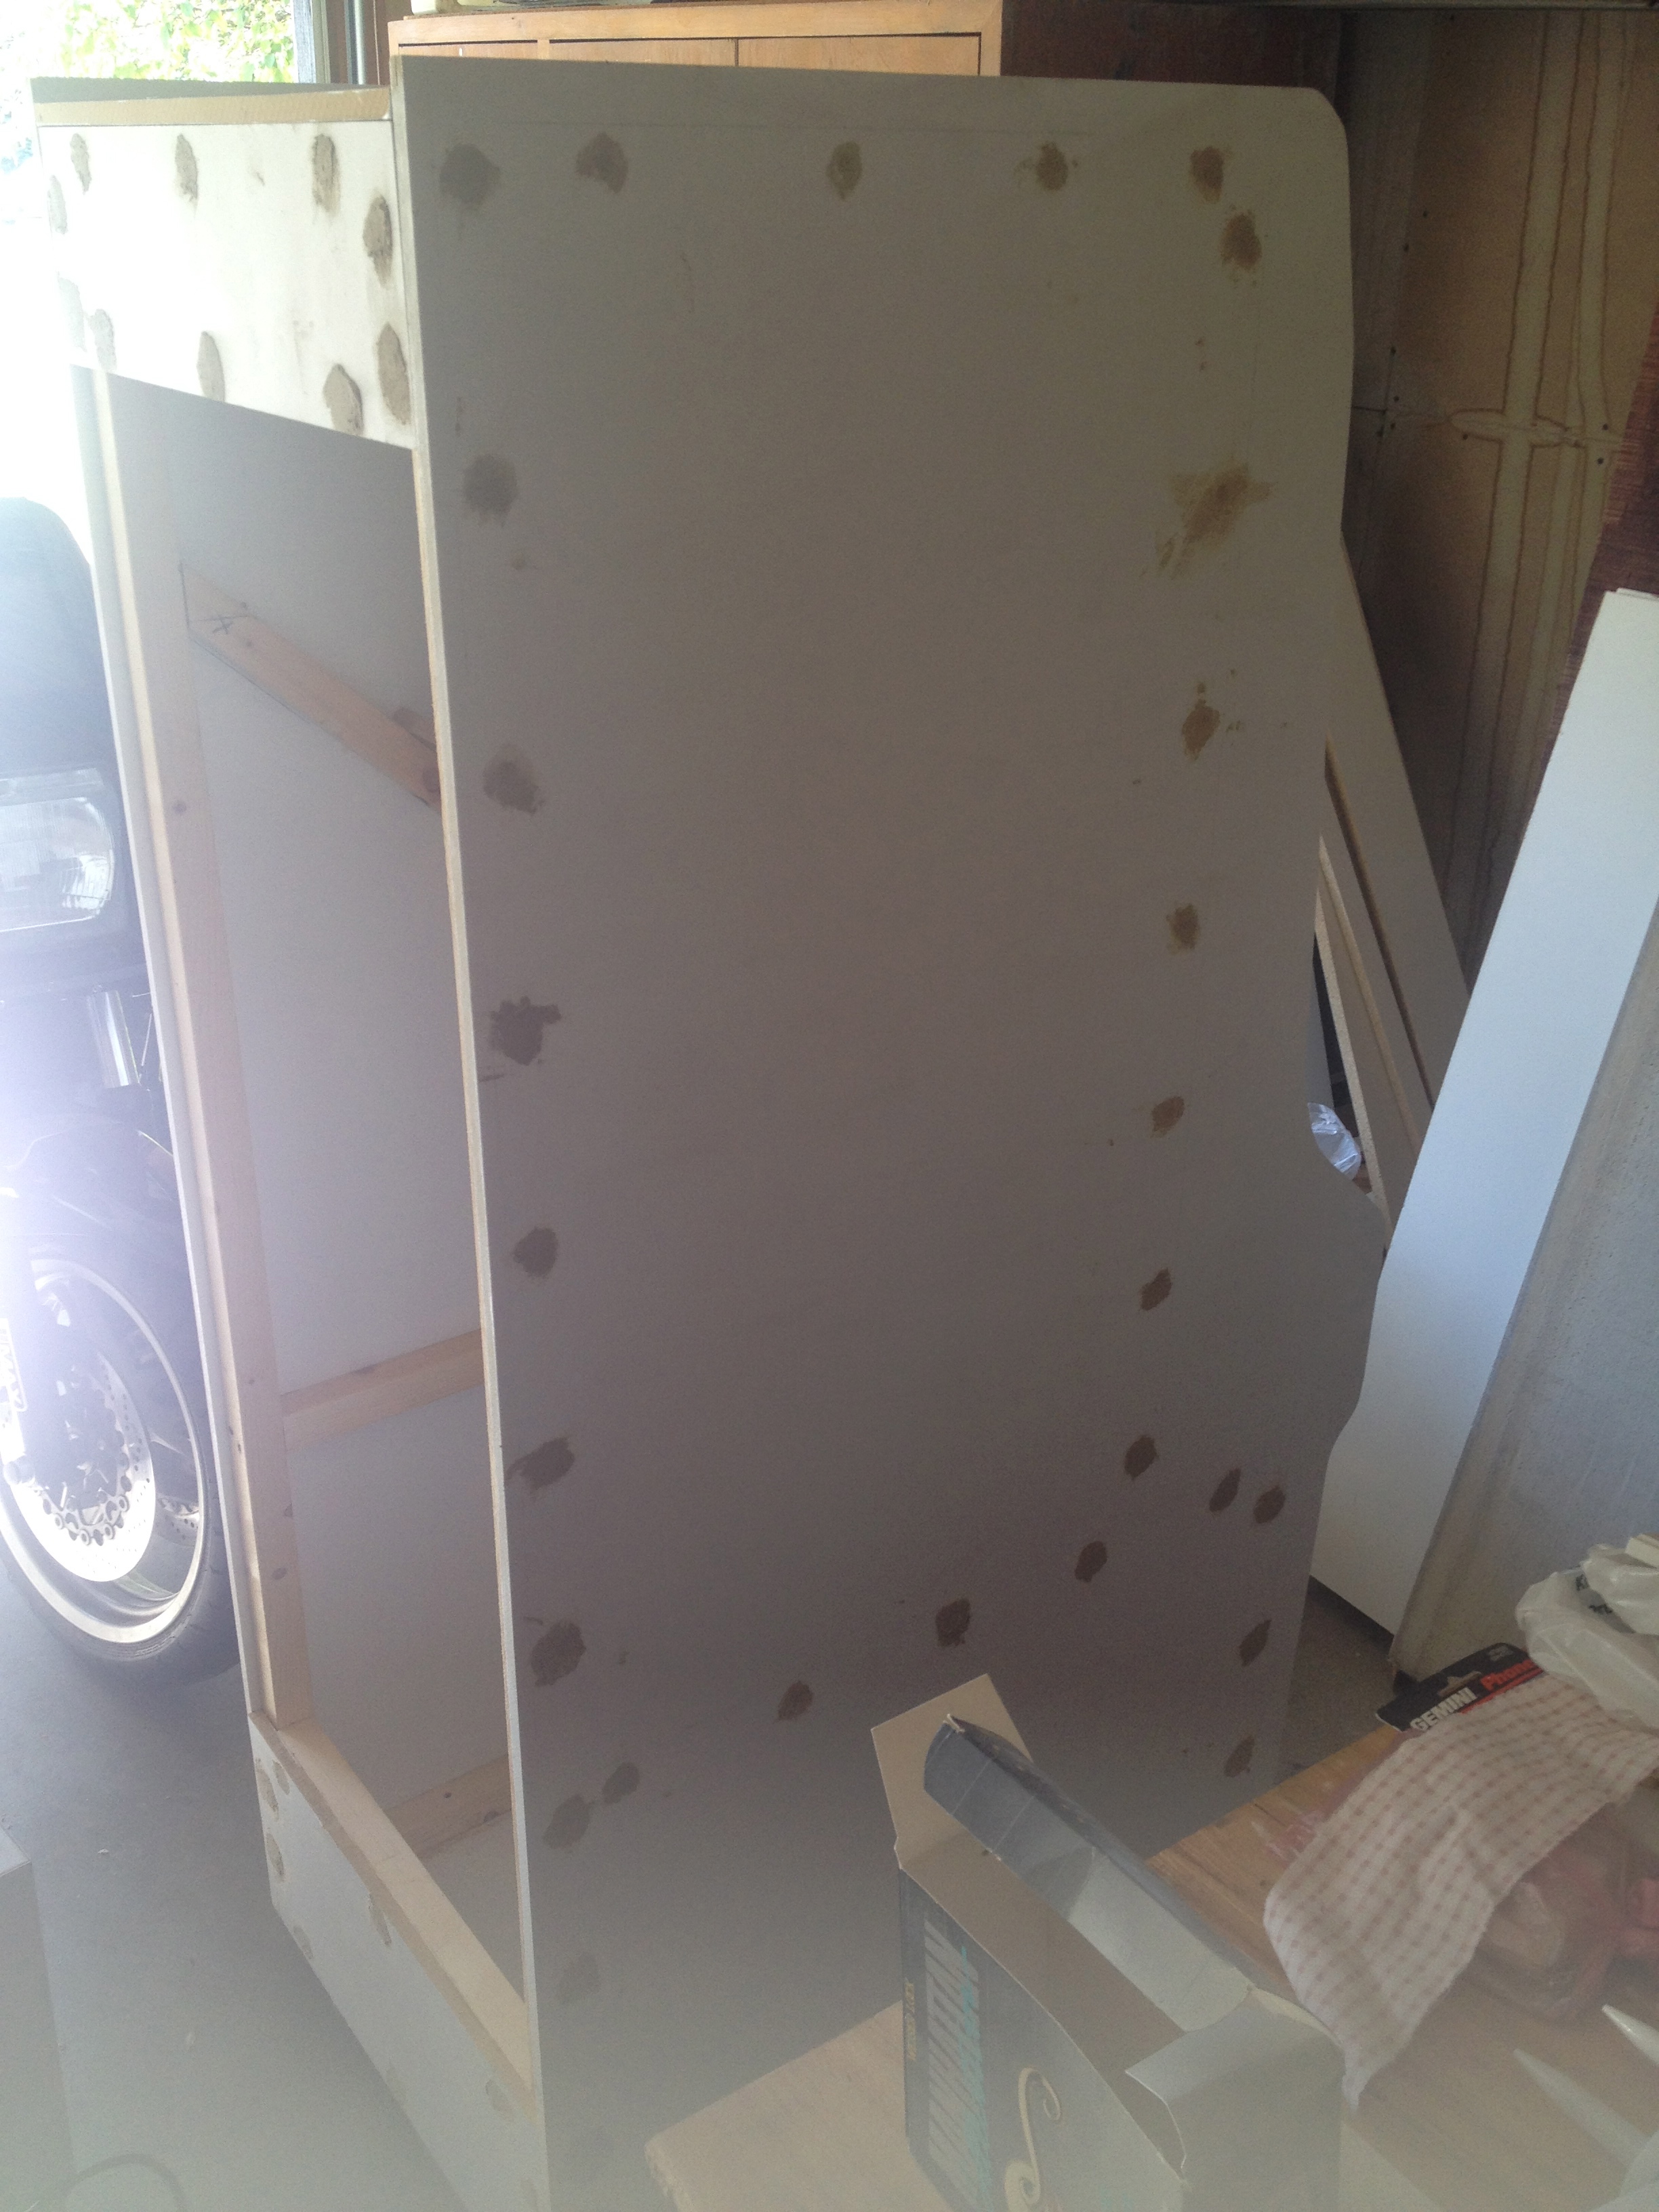
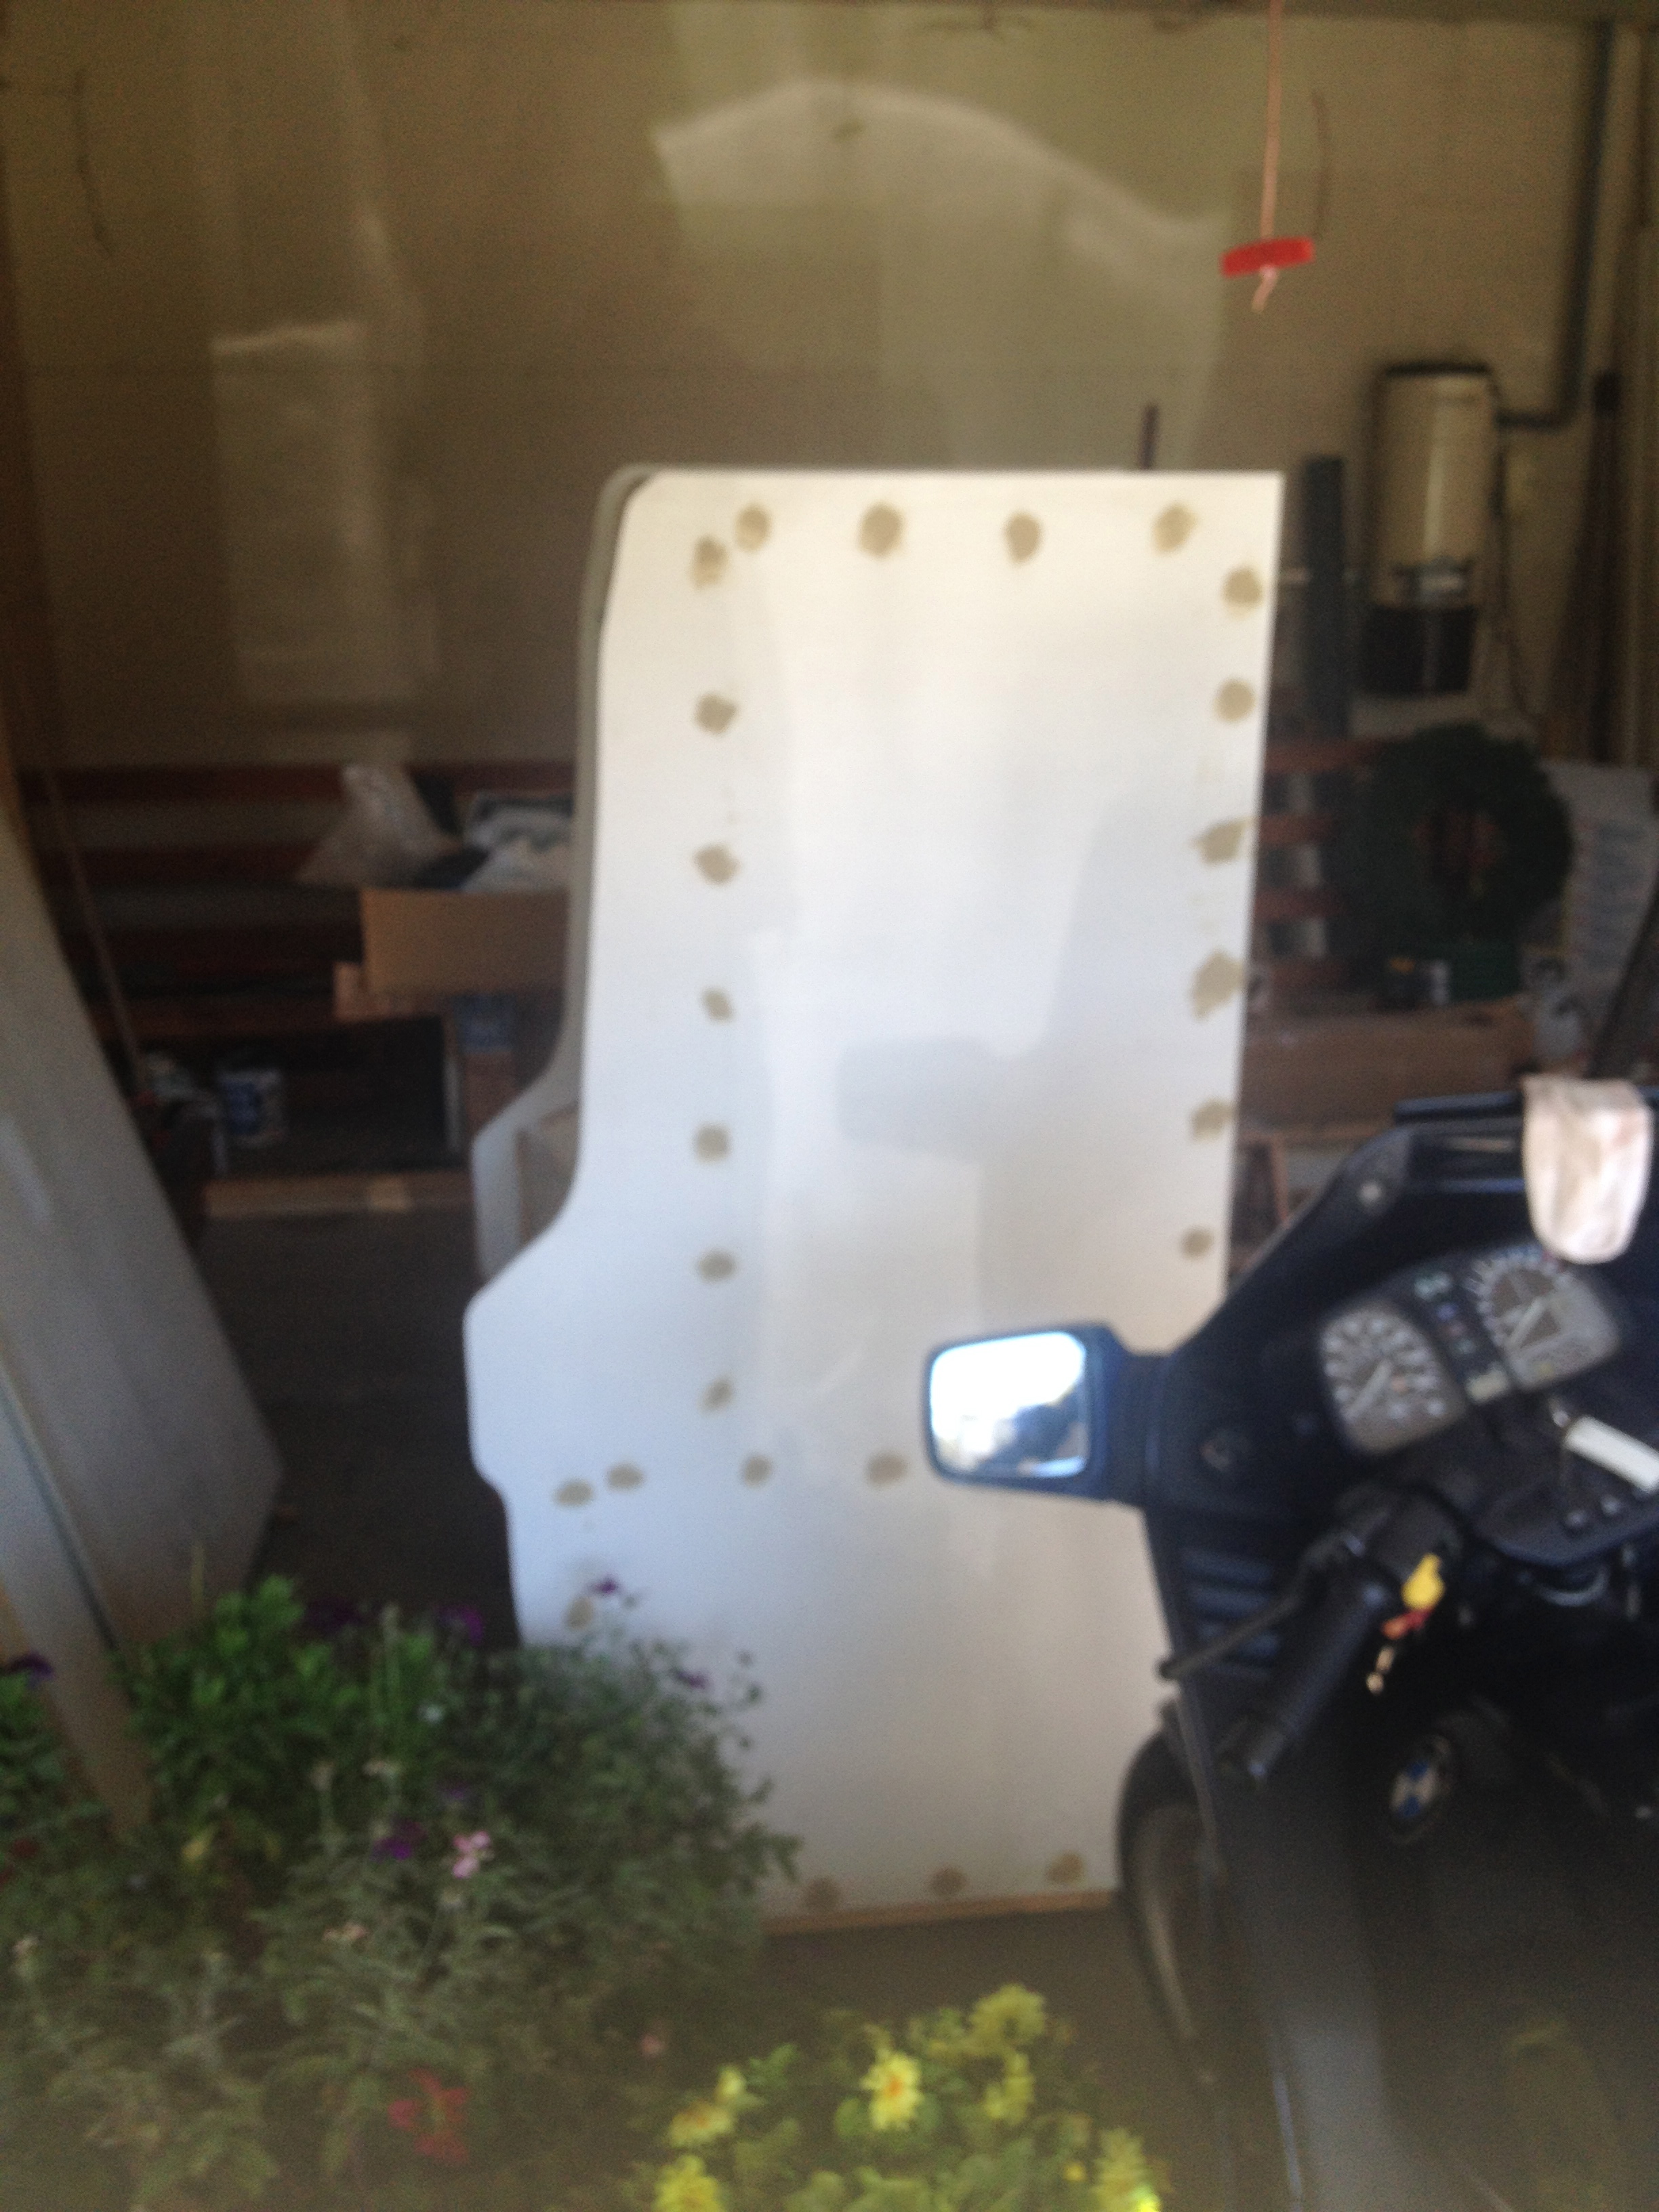
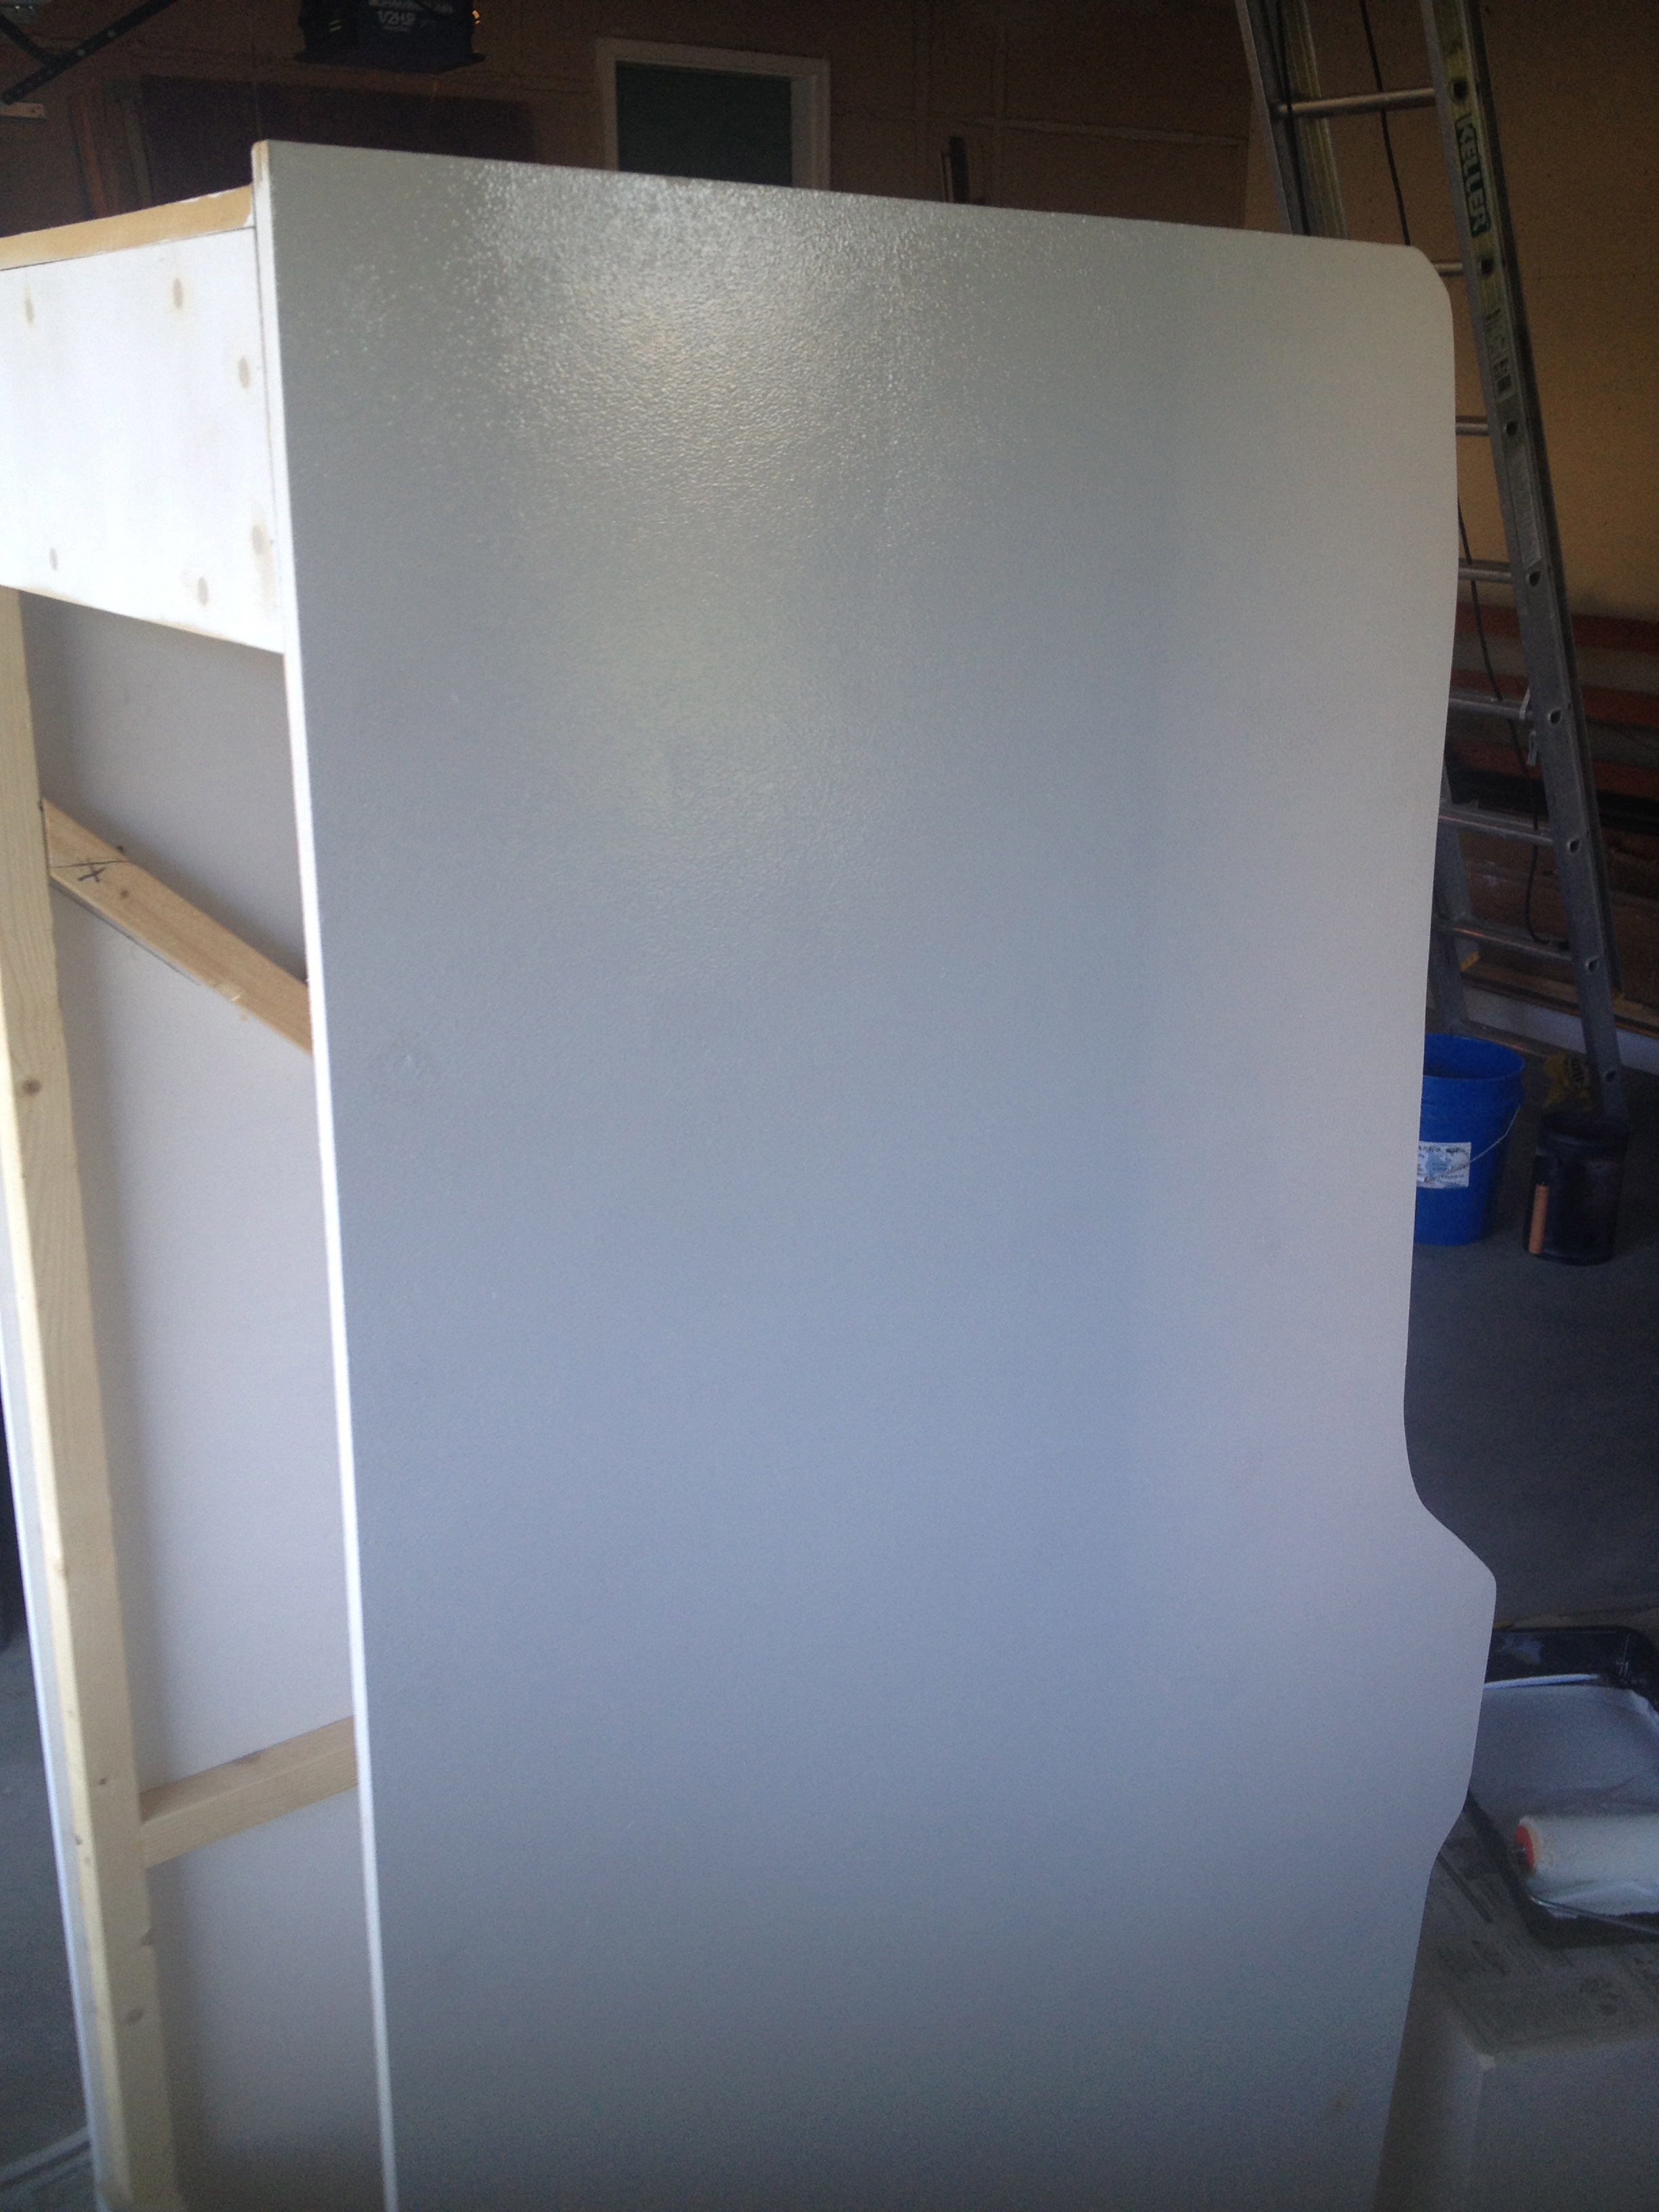
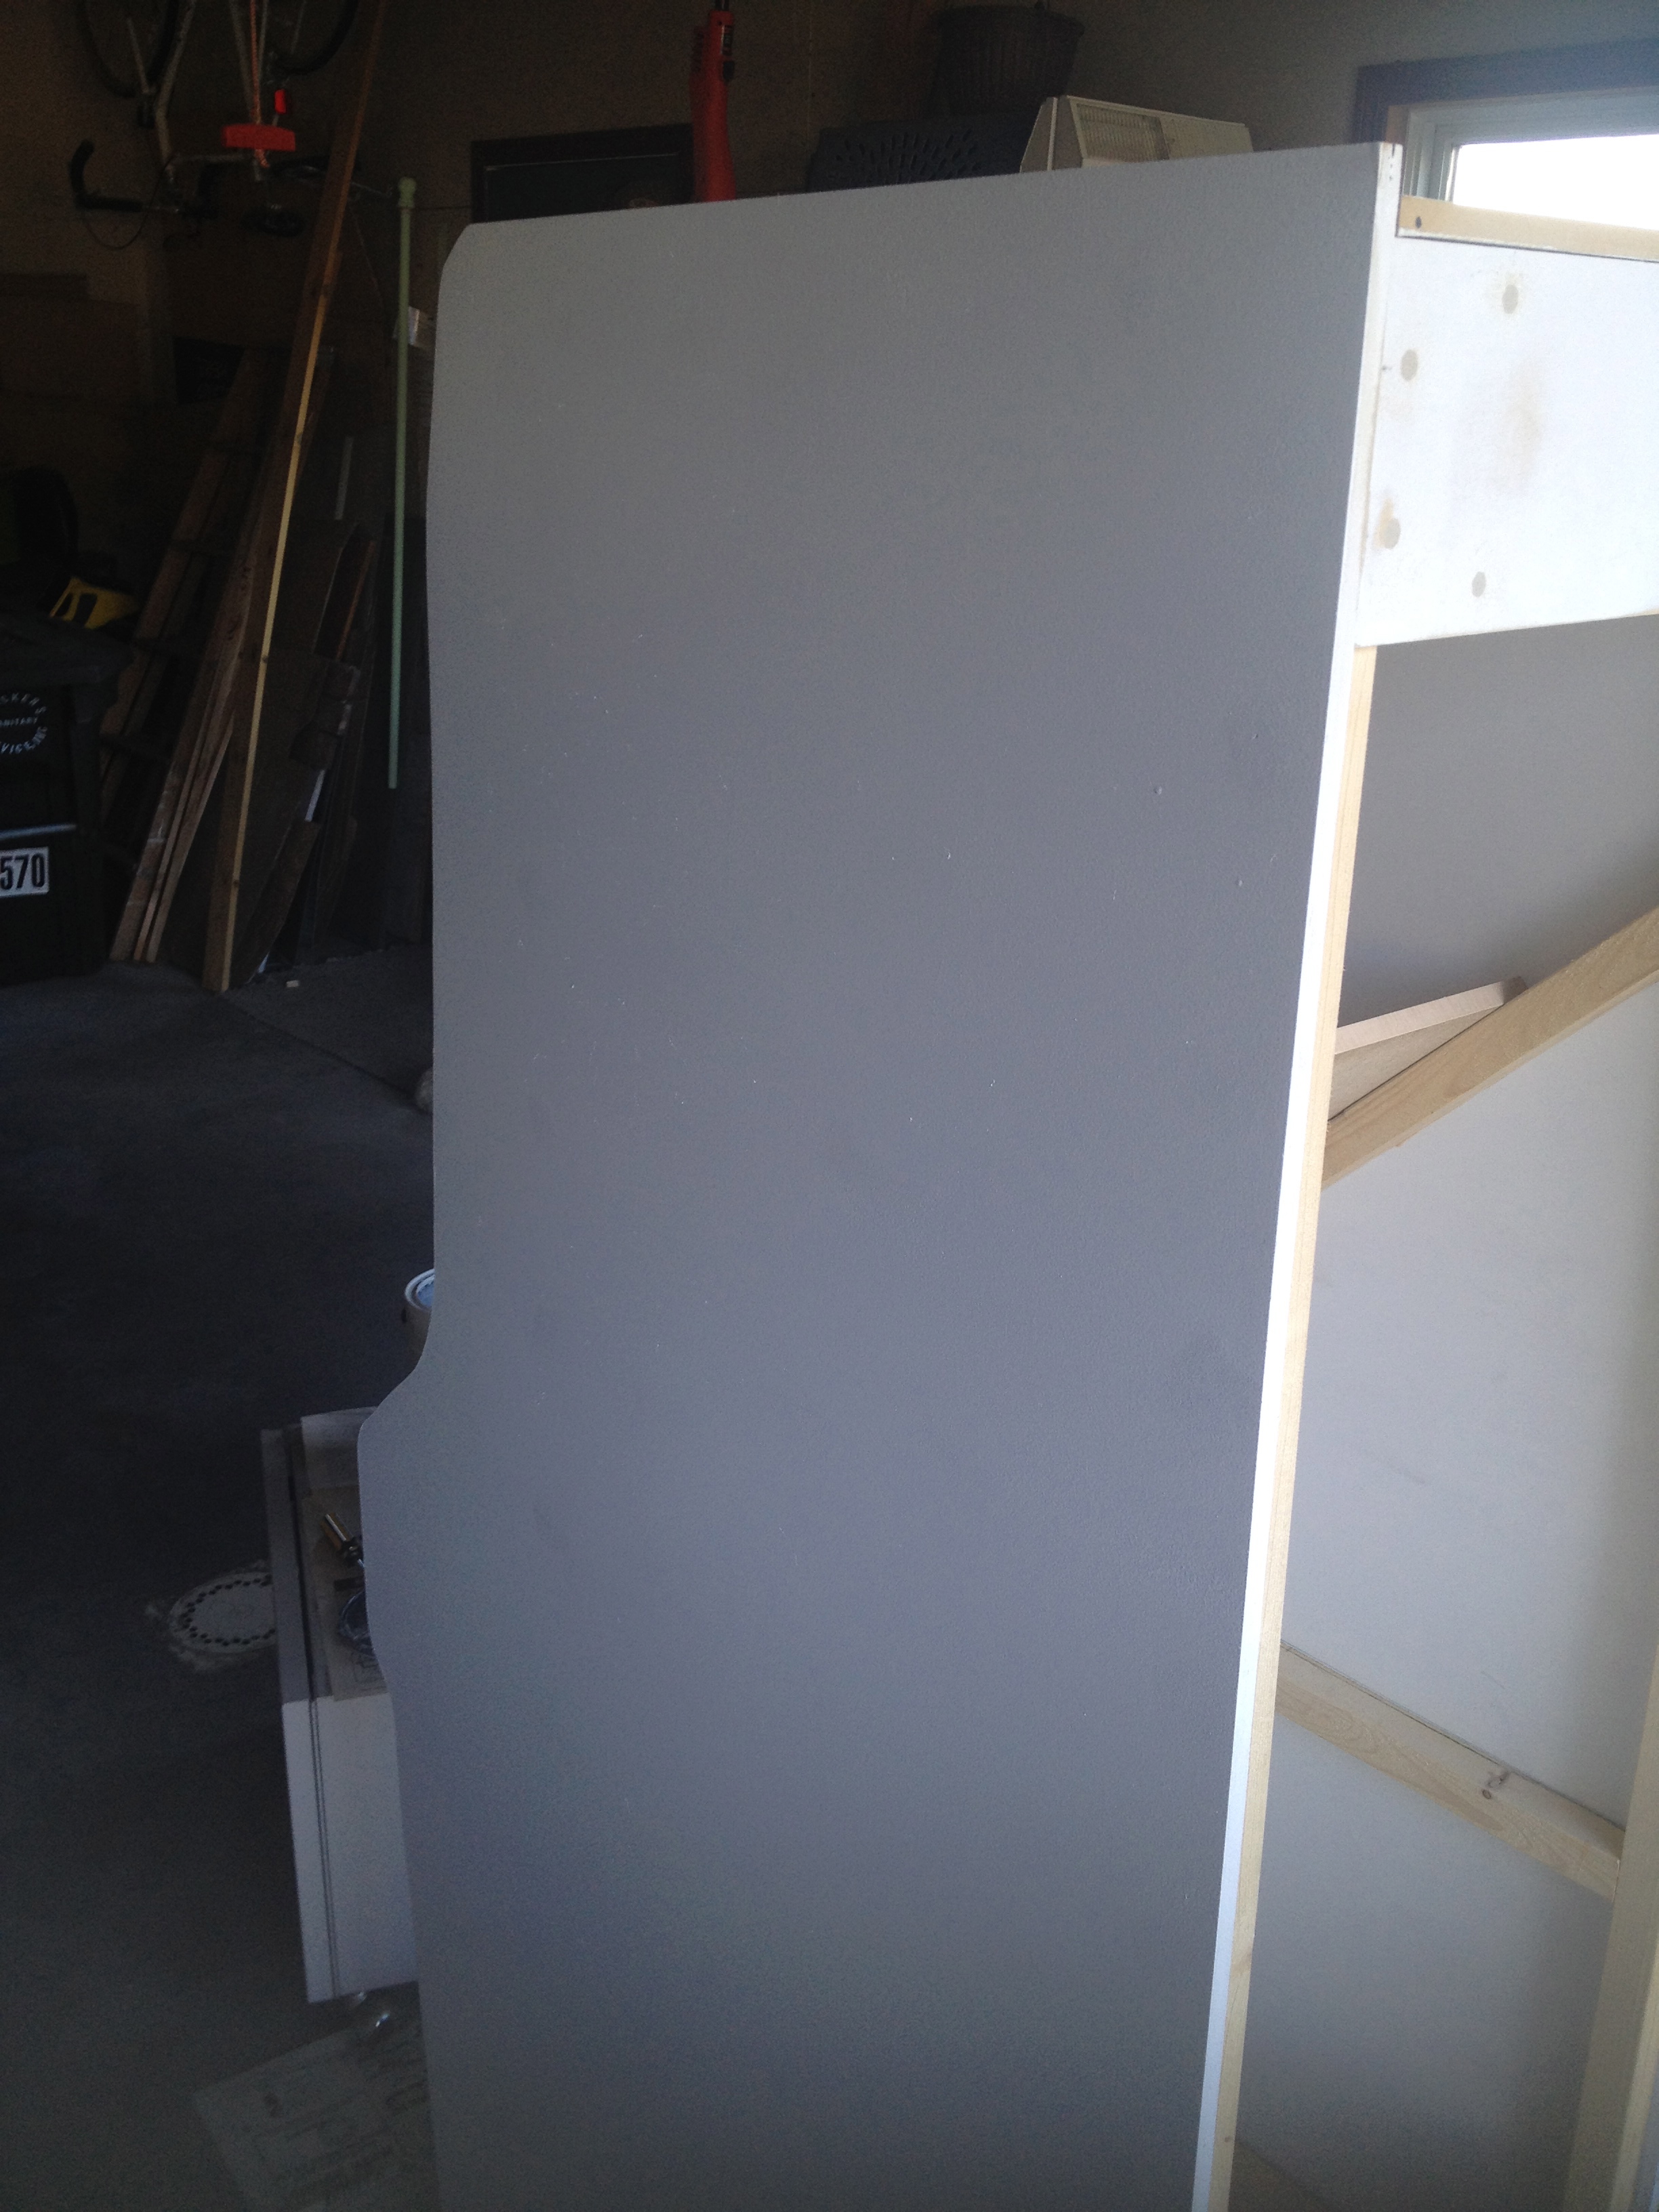
This week, we started our beginning of the end. Painting the cabinet requires a lot of prep work. I want it to look as smooth and clean as possible. I knew this going in, so we countersunk all the screws we made in anticipation of bondoing them later. So, this week we filled the holes (with Elmer’s Wood Filler actually – not automotive bondo) and it went pretty well. It took forever though. Fill the holes, smooth them out. Notice a slight mistake so fill more, smooth them out again. And probably again.
After all of that it’s time to sand. I started with 80 grit to get the extra off then we switched to 120 for final smoothing. After ALL of that we still found a few minor flaws so had to fill some of the holes more, smooth them out, wait for them to dry, and then sand those holes again. In all, just to prep the cabinet for its first coat of primer took 3 days time! Granted, most of that was waiting for it to dry – but still. It didn’t help that we probably had close to 75 screw holes to fill since we went a little overboard when putting it together.
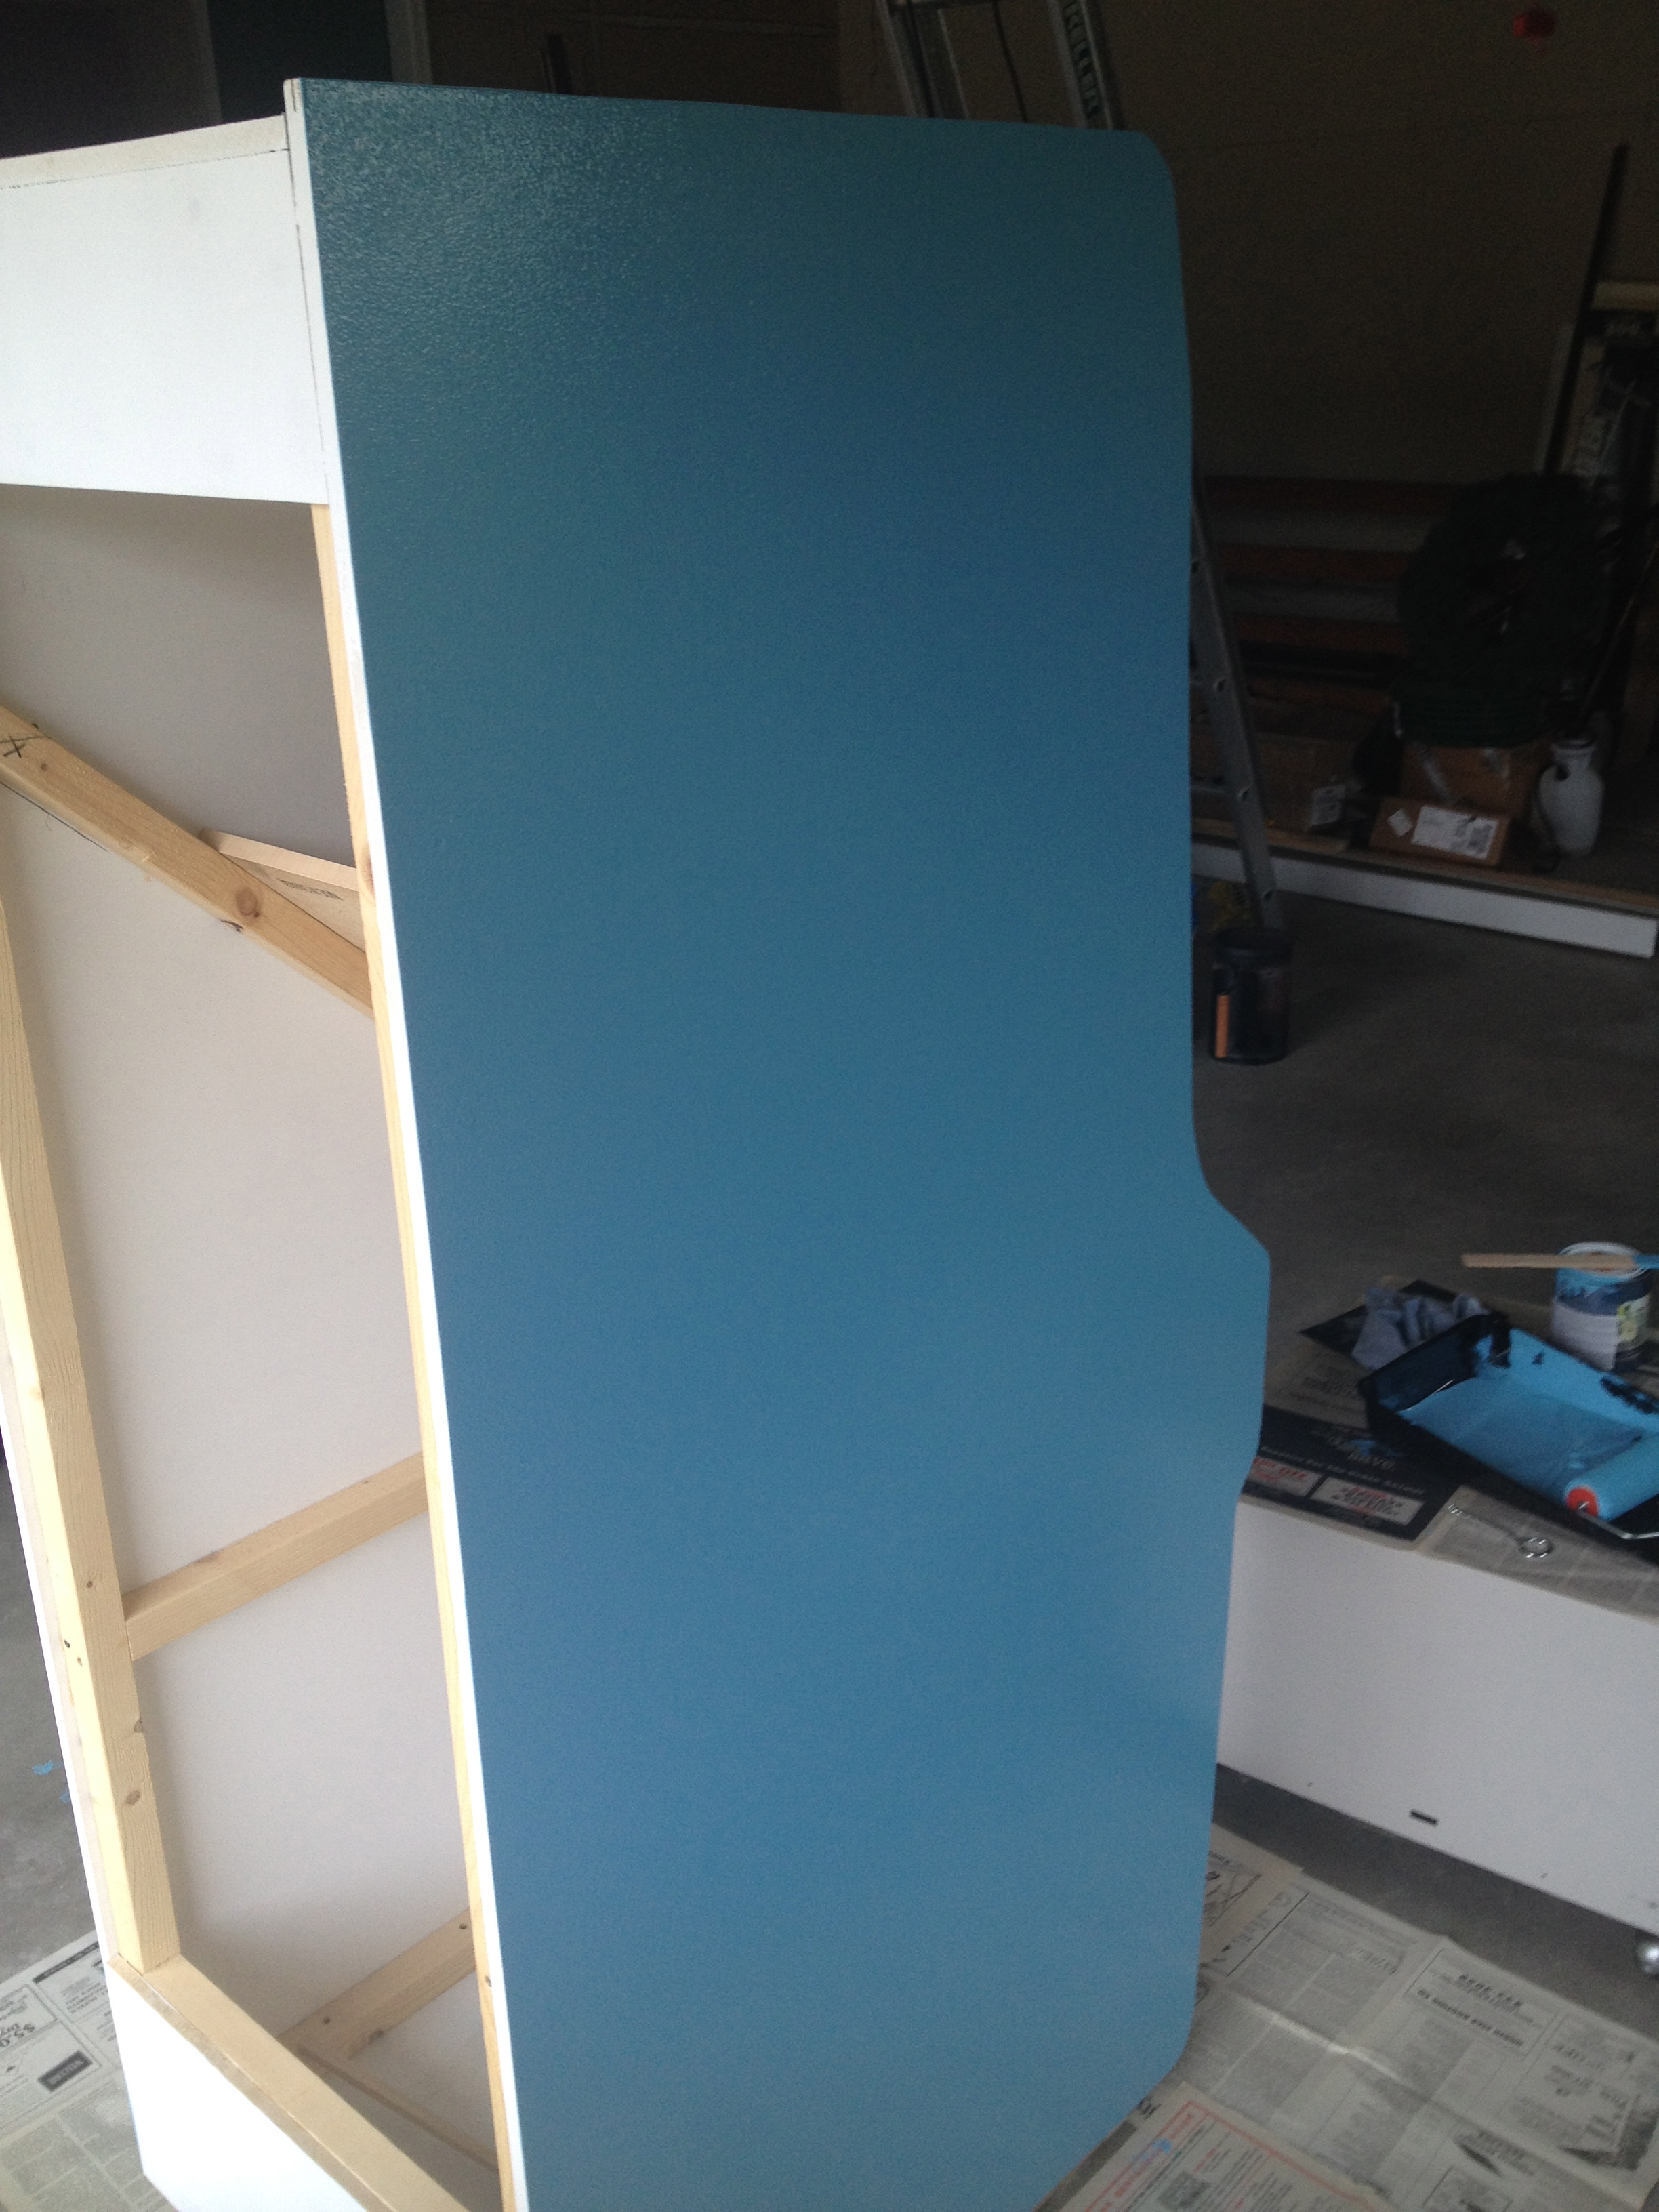
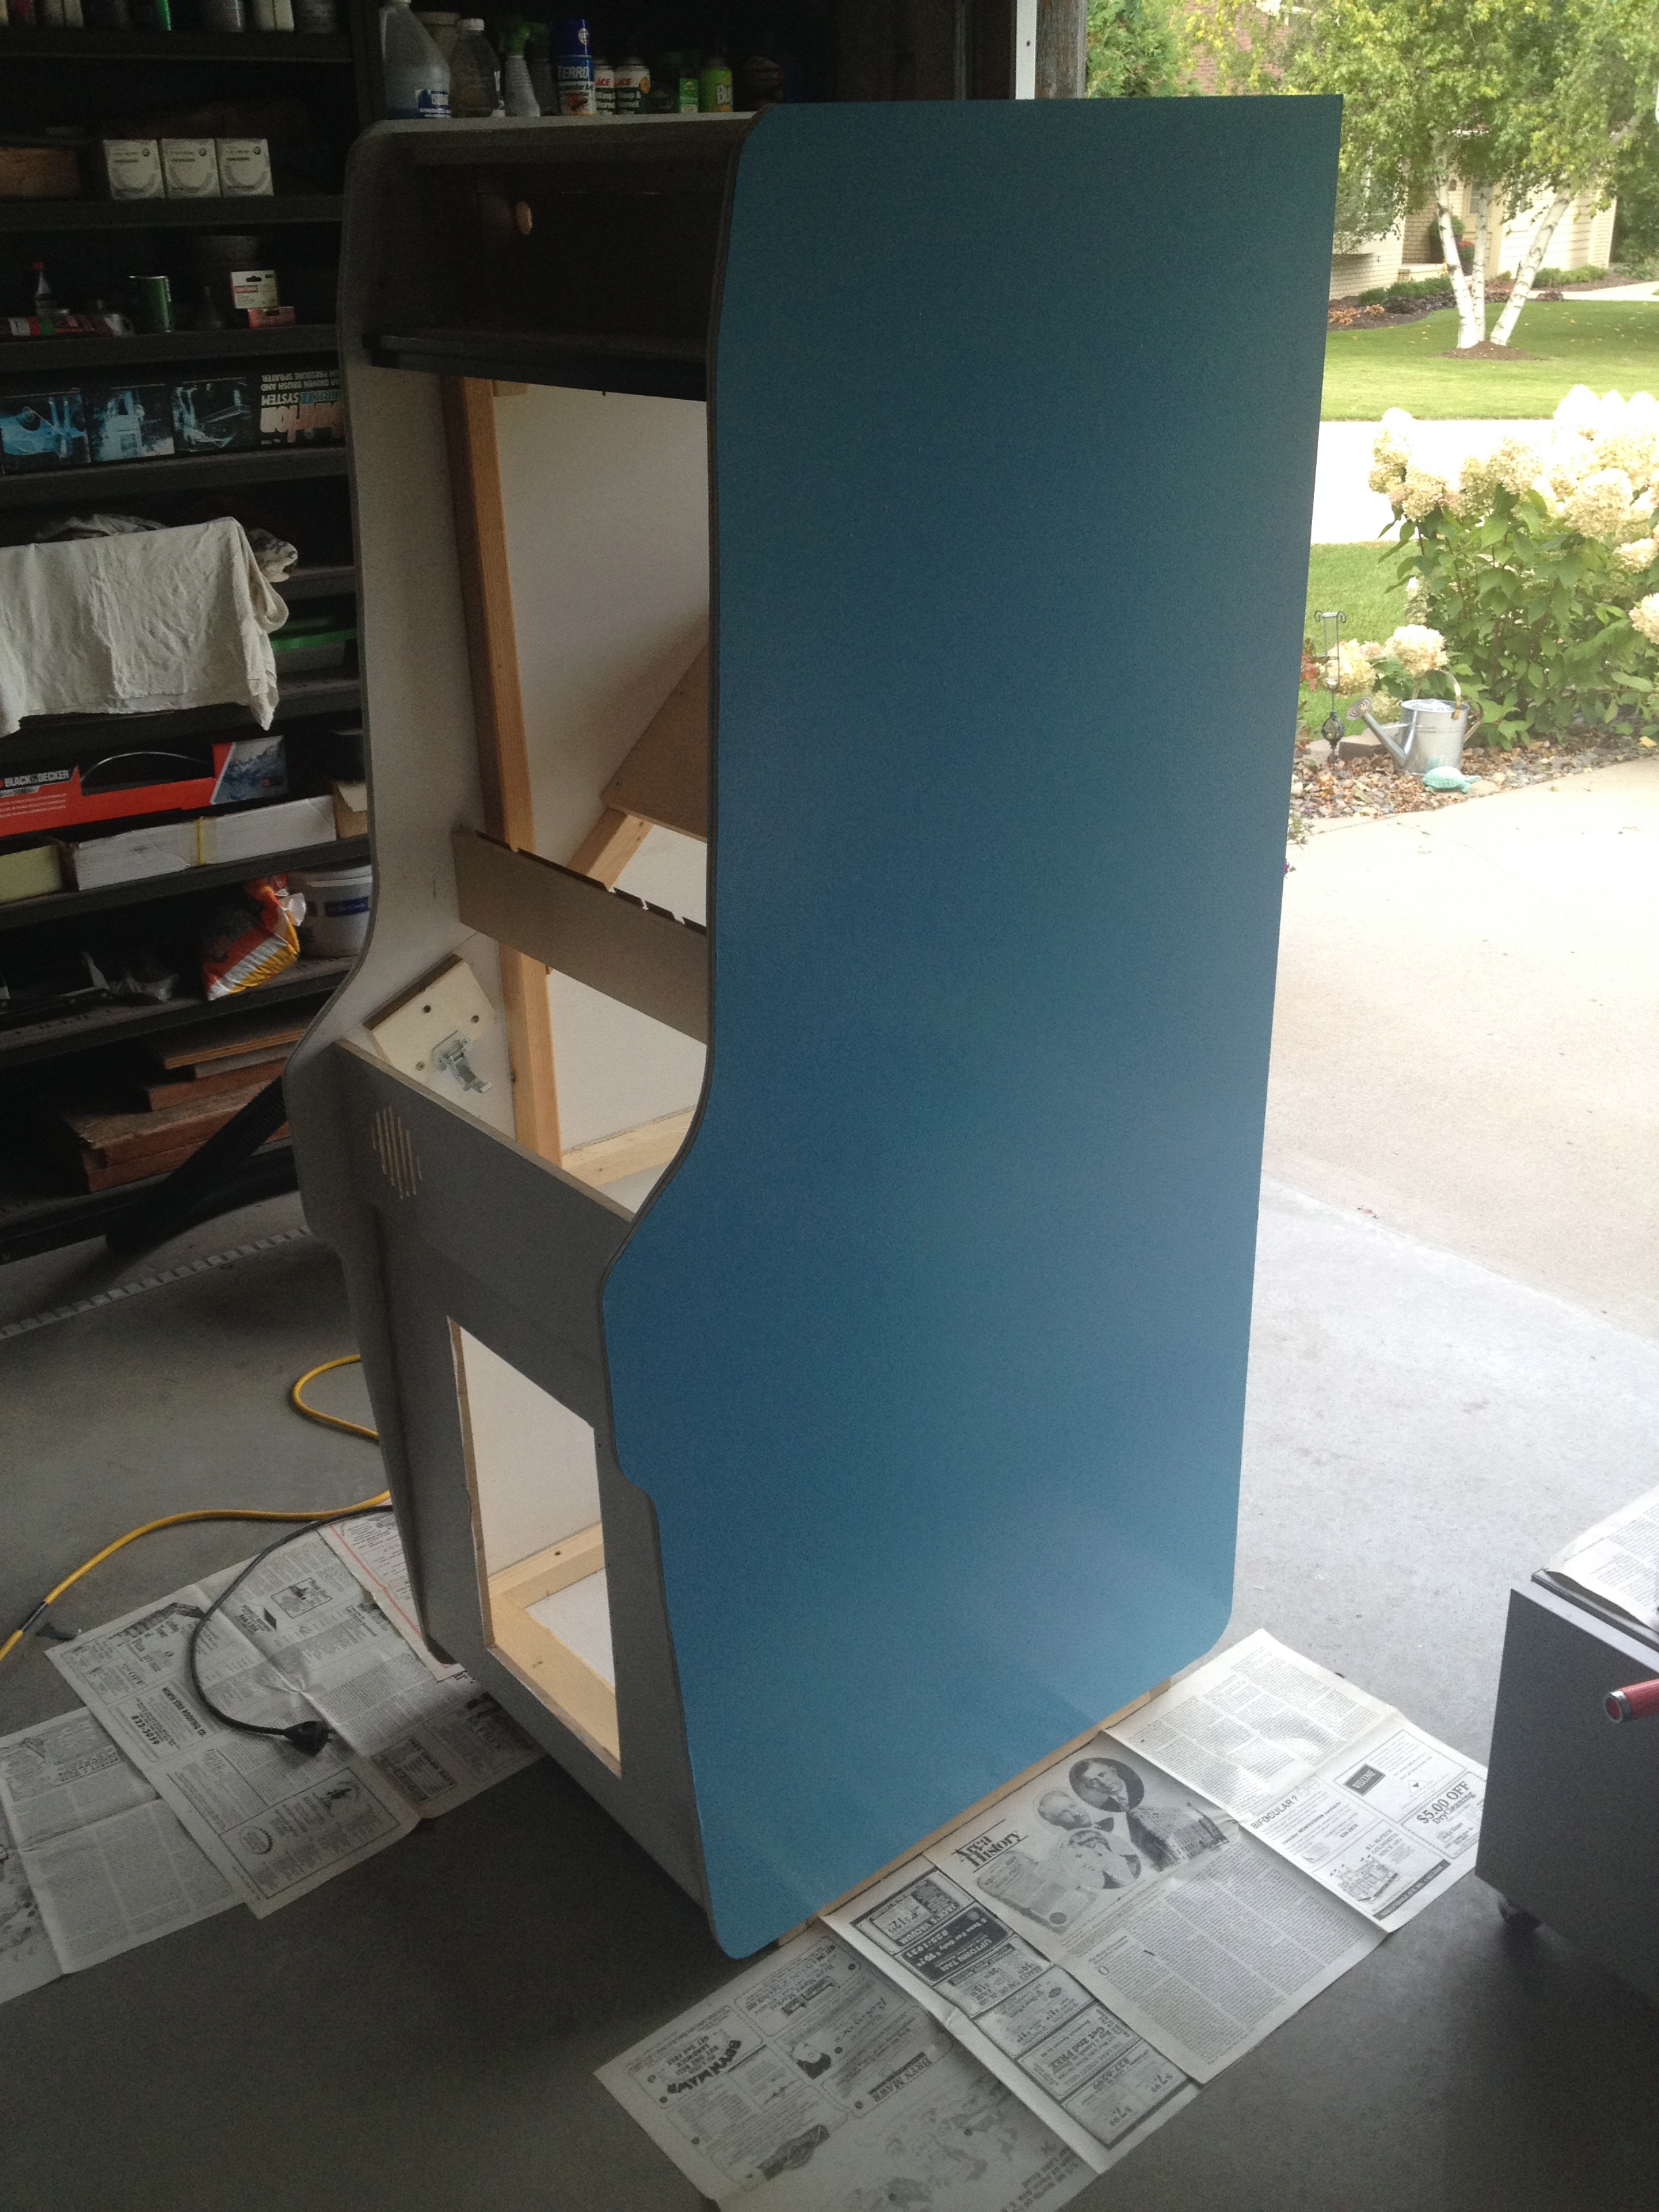
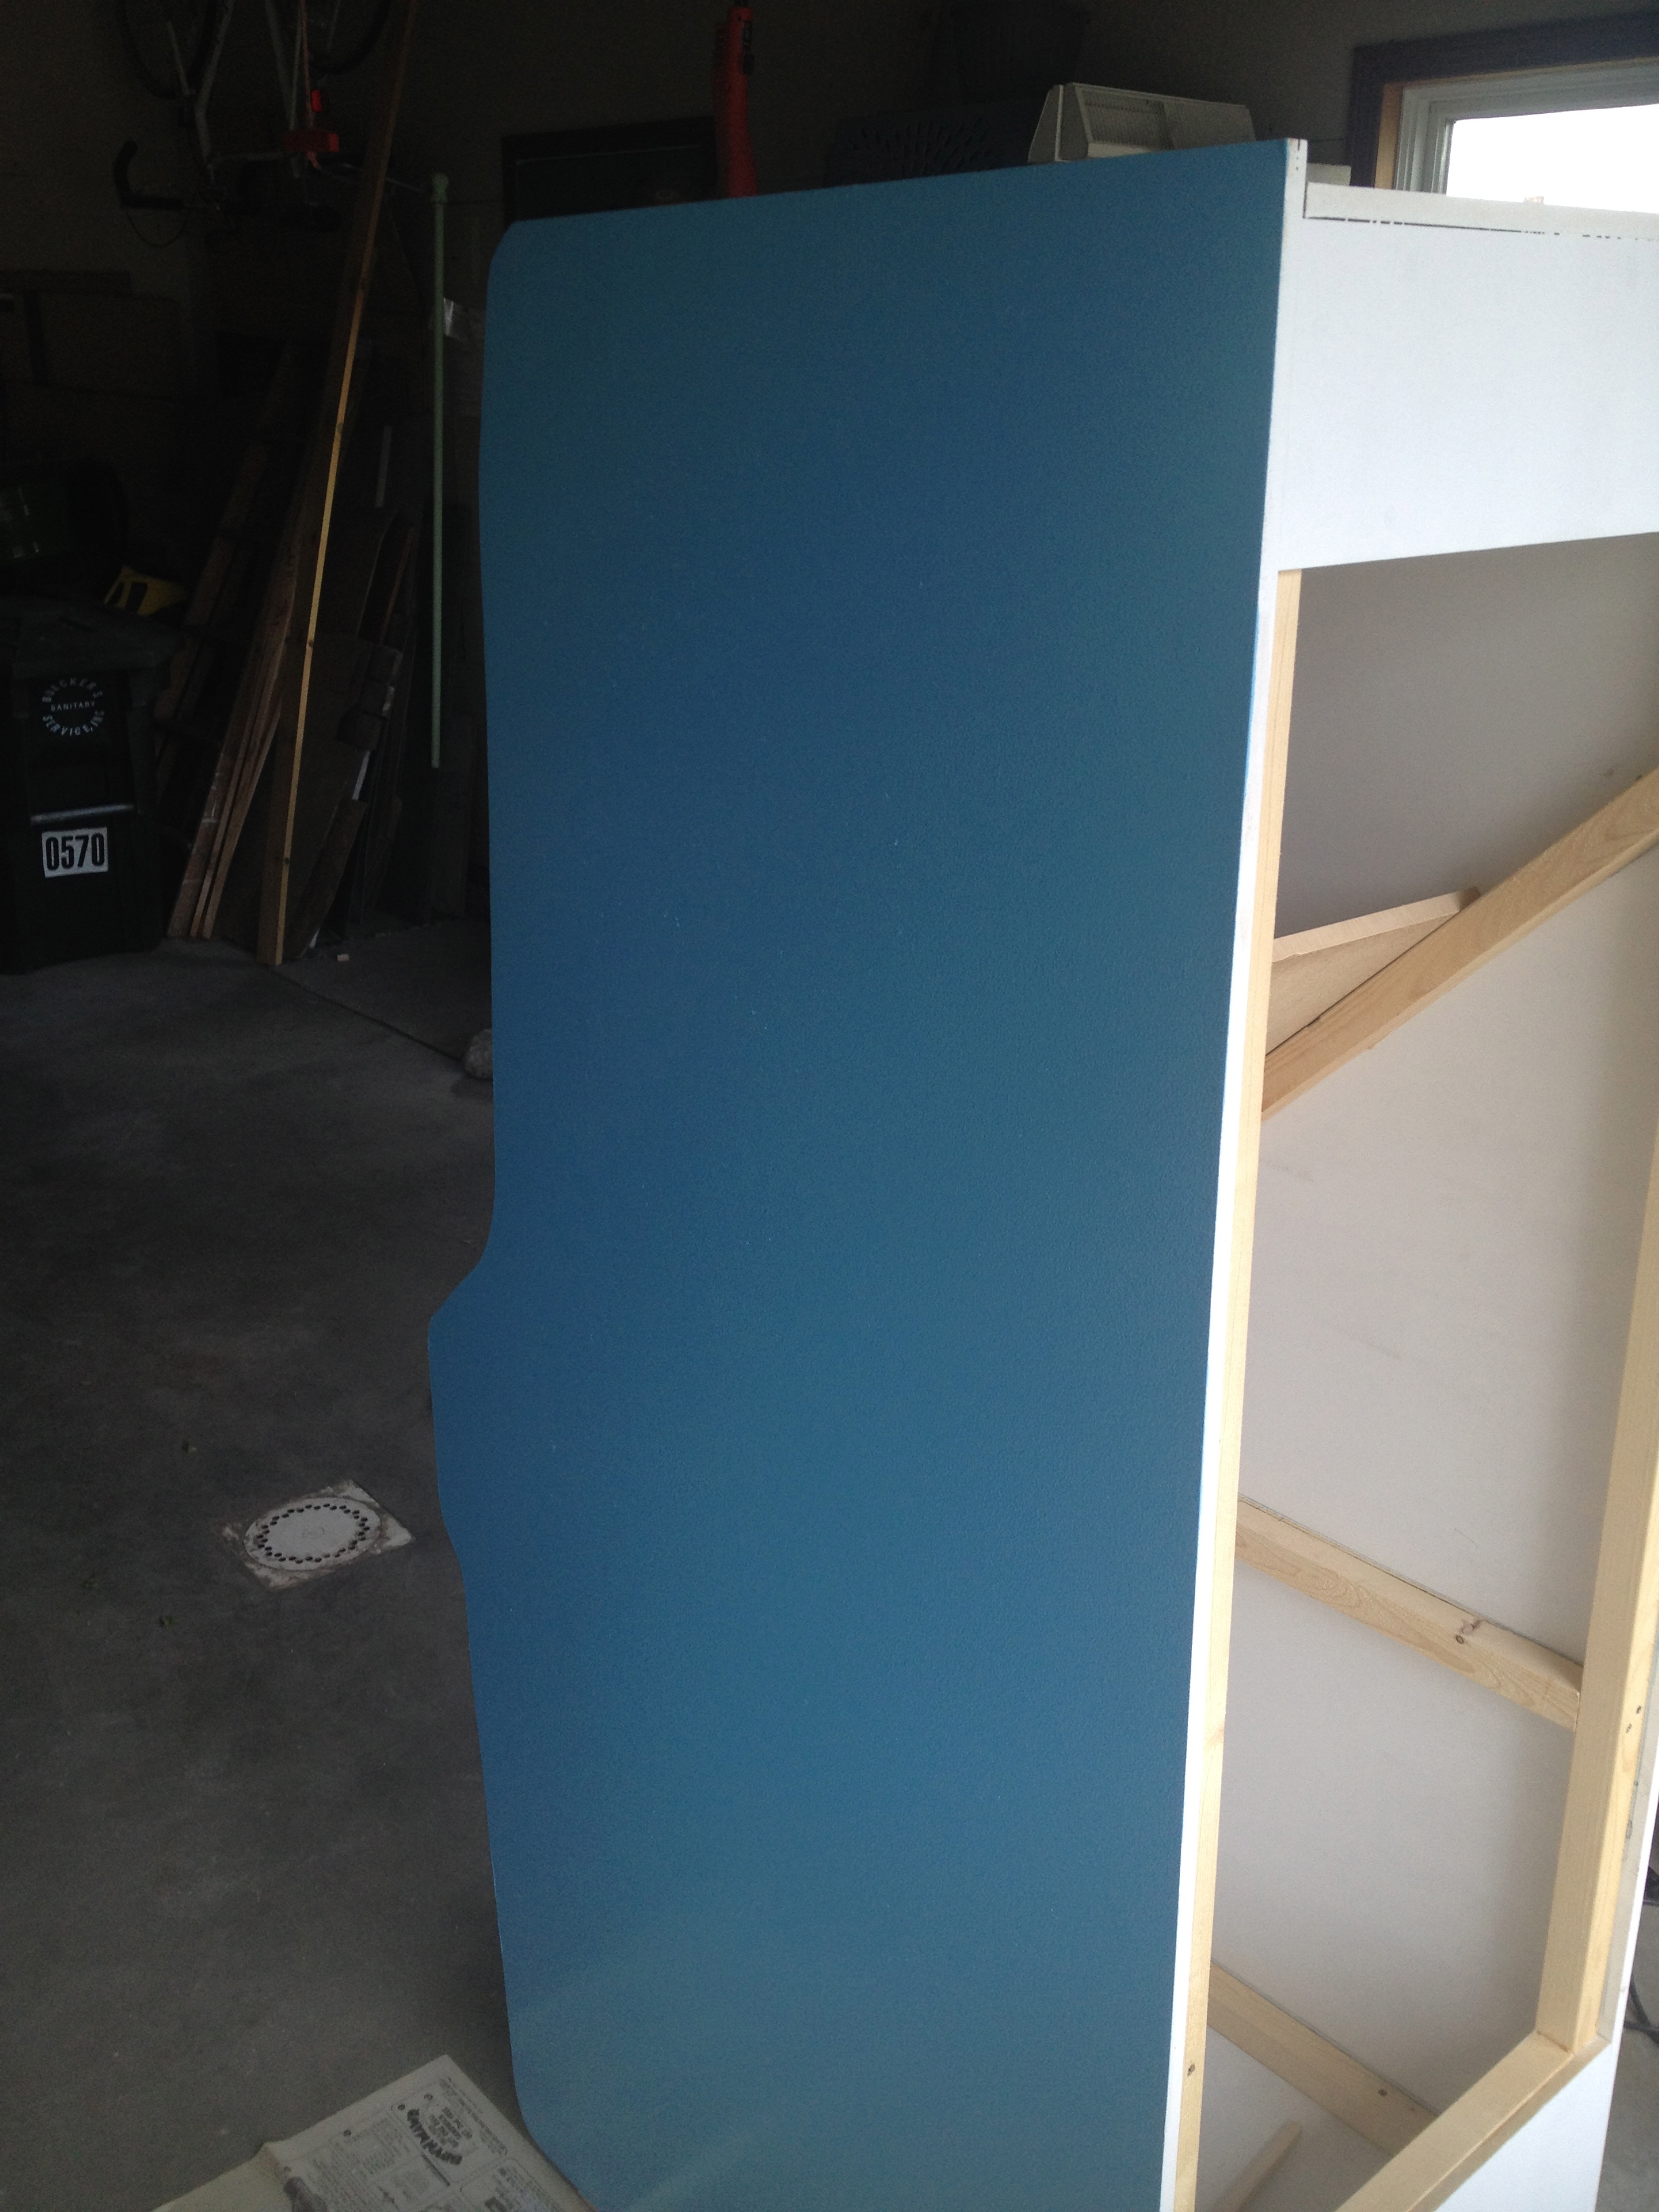
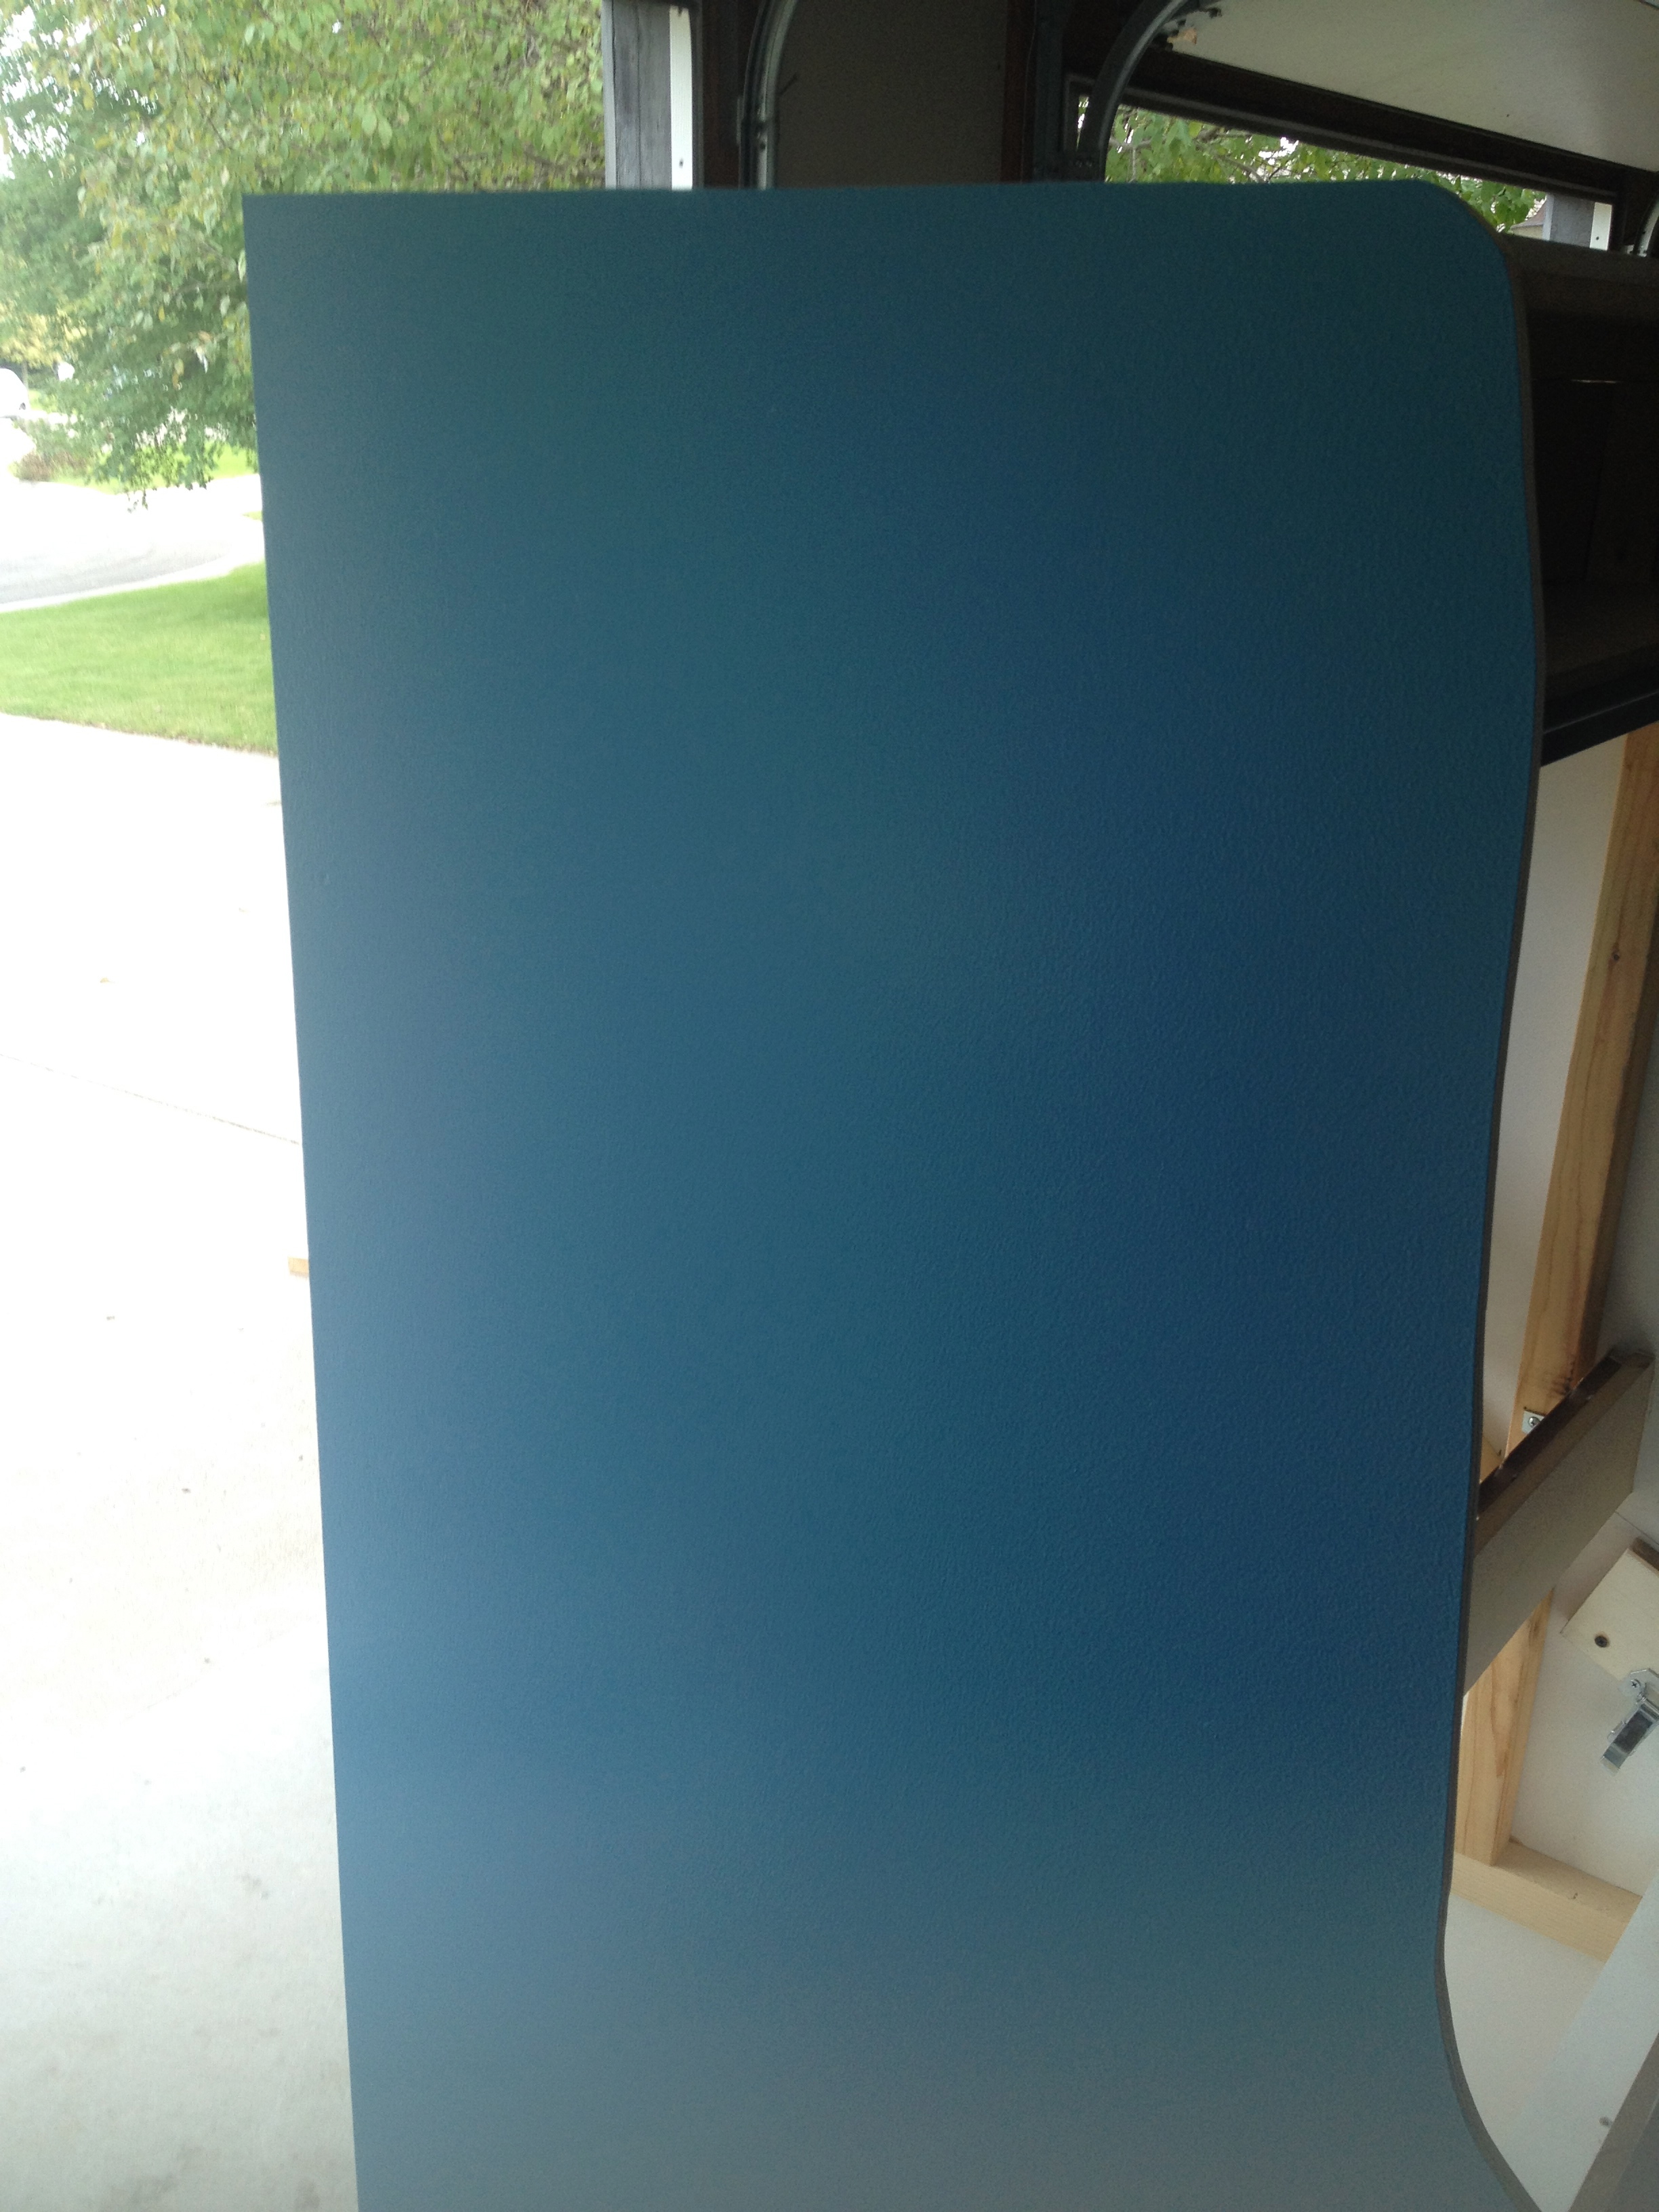
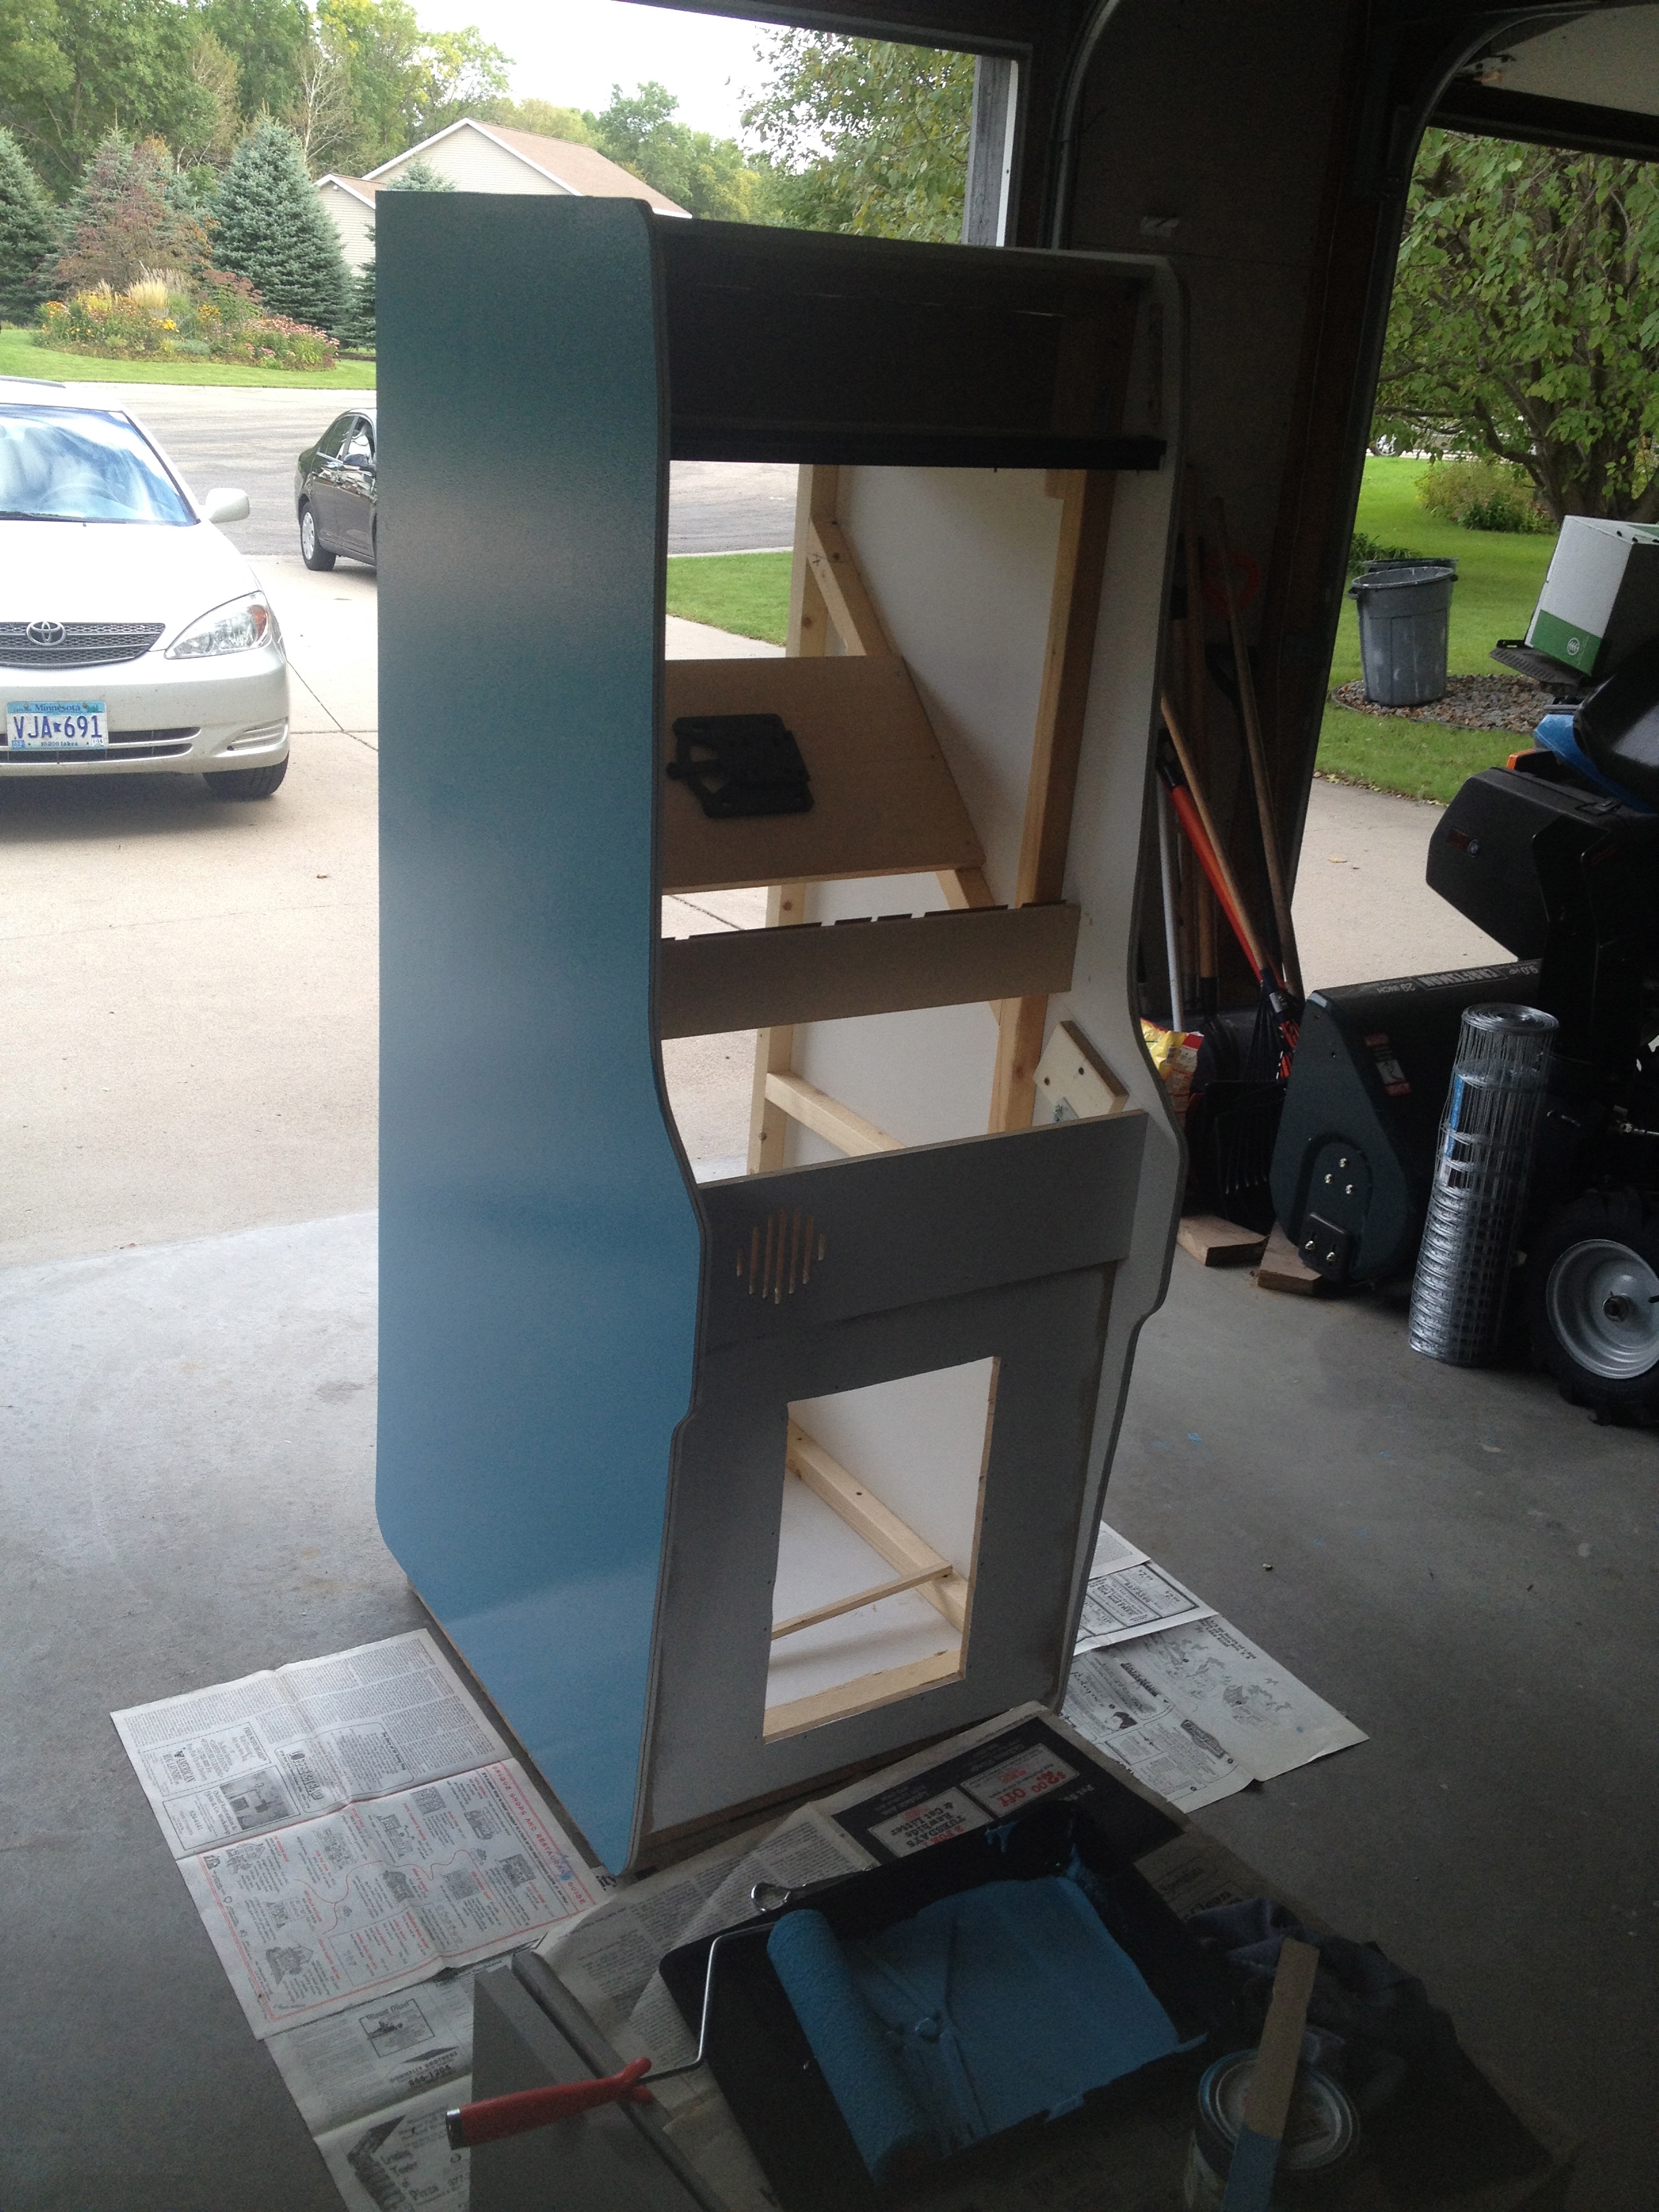
After putting a layer of primer on (using a roller) I sanded that down with 600 grit paper to remove any small flaws. That actually went pretty well. It’s important to remember ANYTIME after sanding to remove and clean up the dust. Anyway, finally got to put the first coat of DK Blue paint on and man it’s looking pretty nice! Not perfect of course, but I think with some very light sanding and a second coat it’ll be great. It’ll still have some texture to it no matter what I do, but it’s the best I can do.
In a perfect world I’d use either laminate but that’s a little tricky to find in an exact color. Anyway, check out the pictures below – it actually looks very nice in photos. But in person, when you get real close, you can notice some flaws.
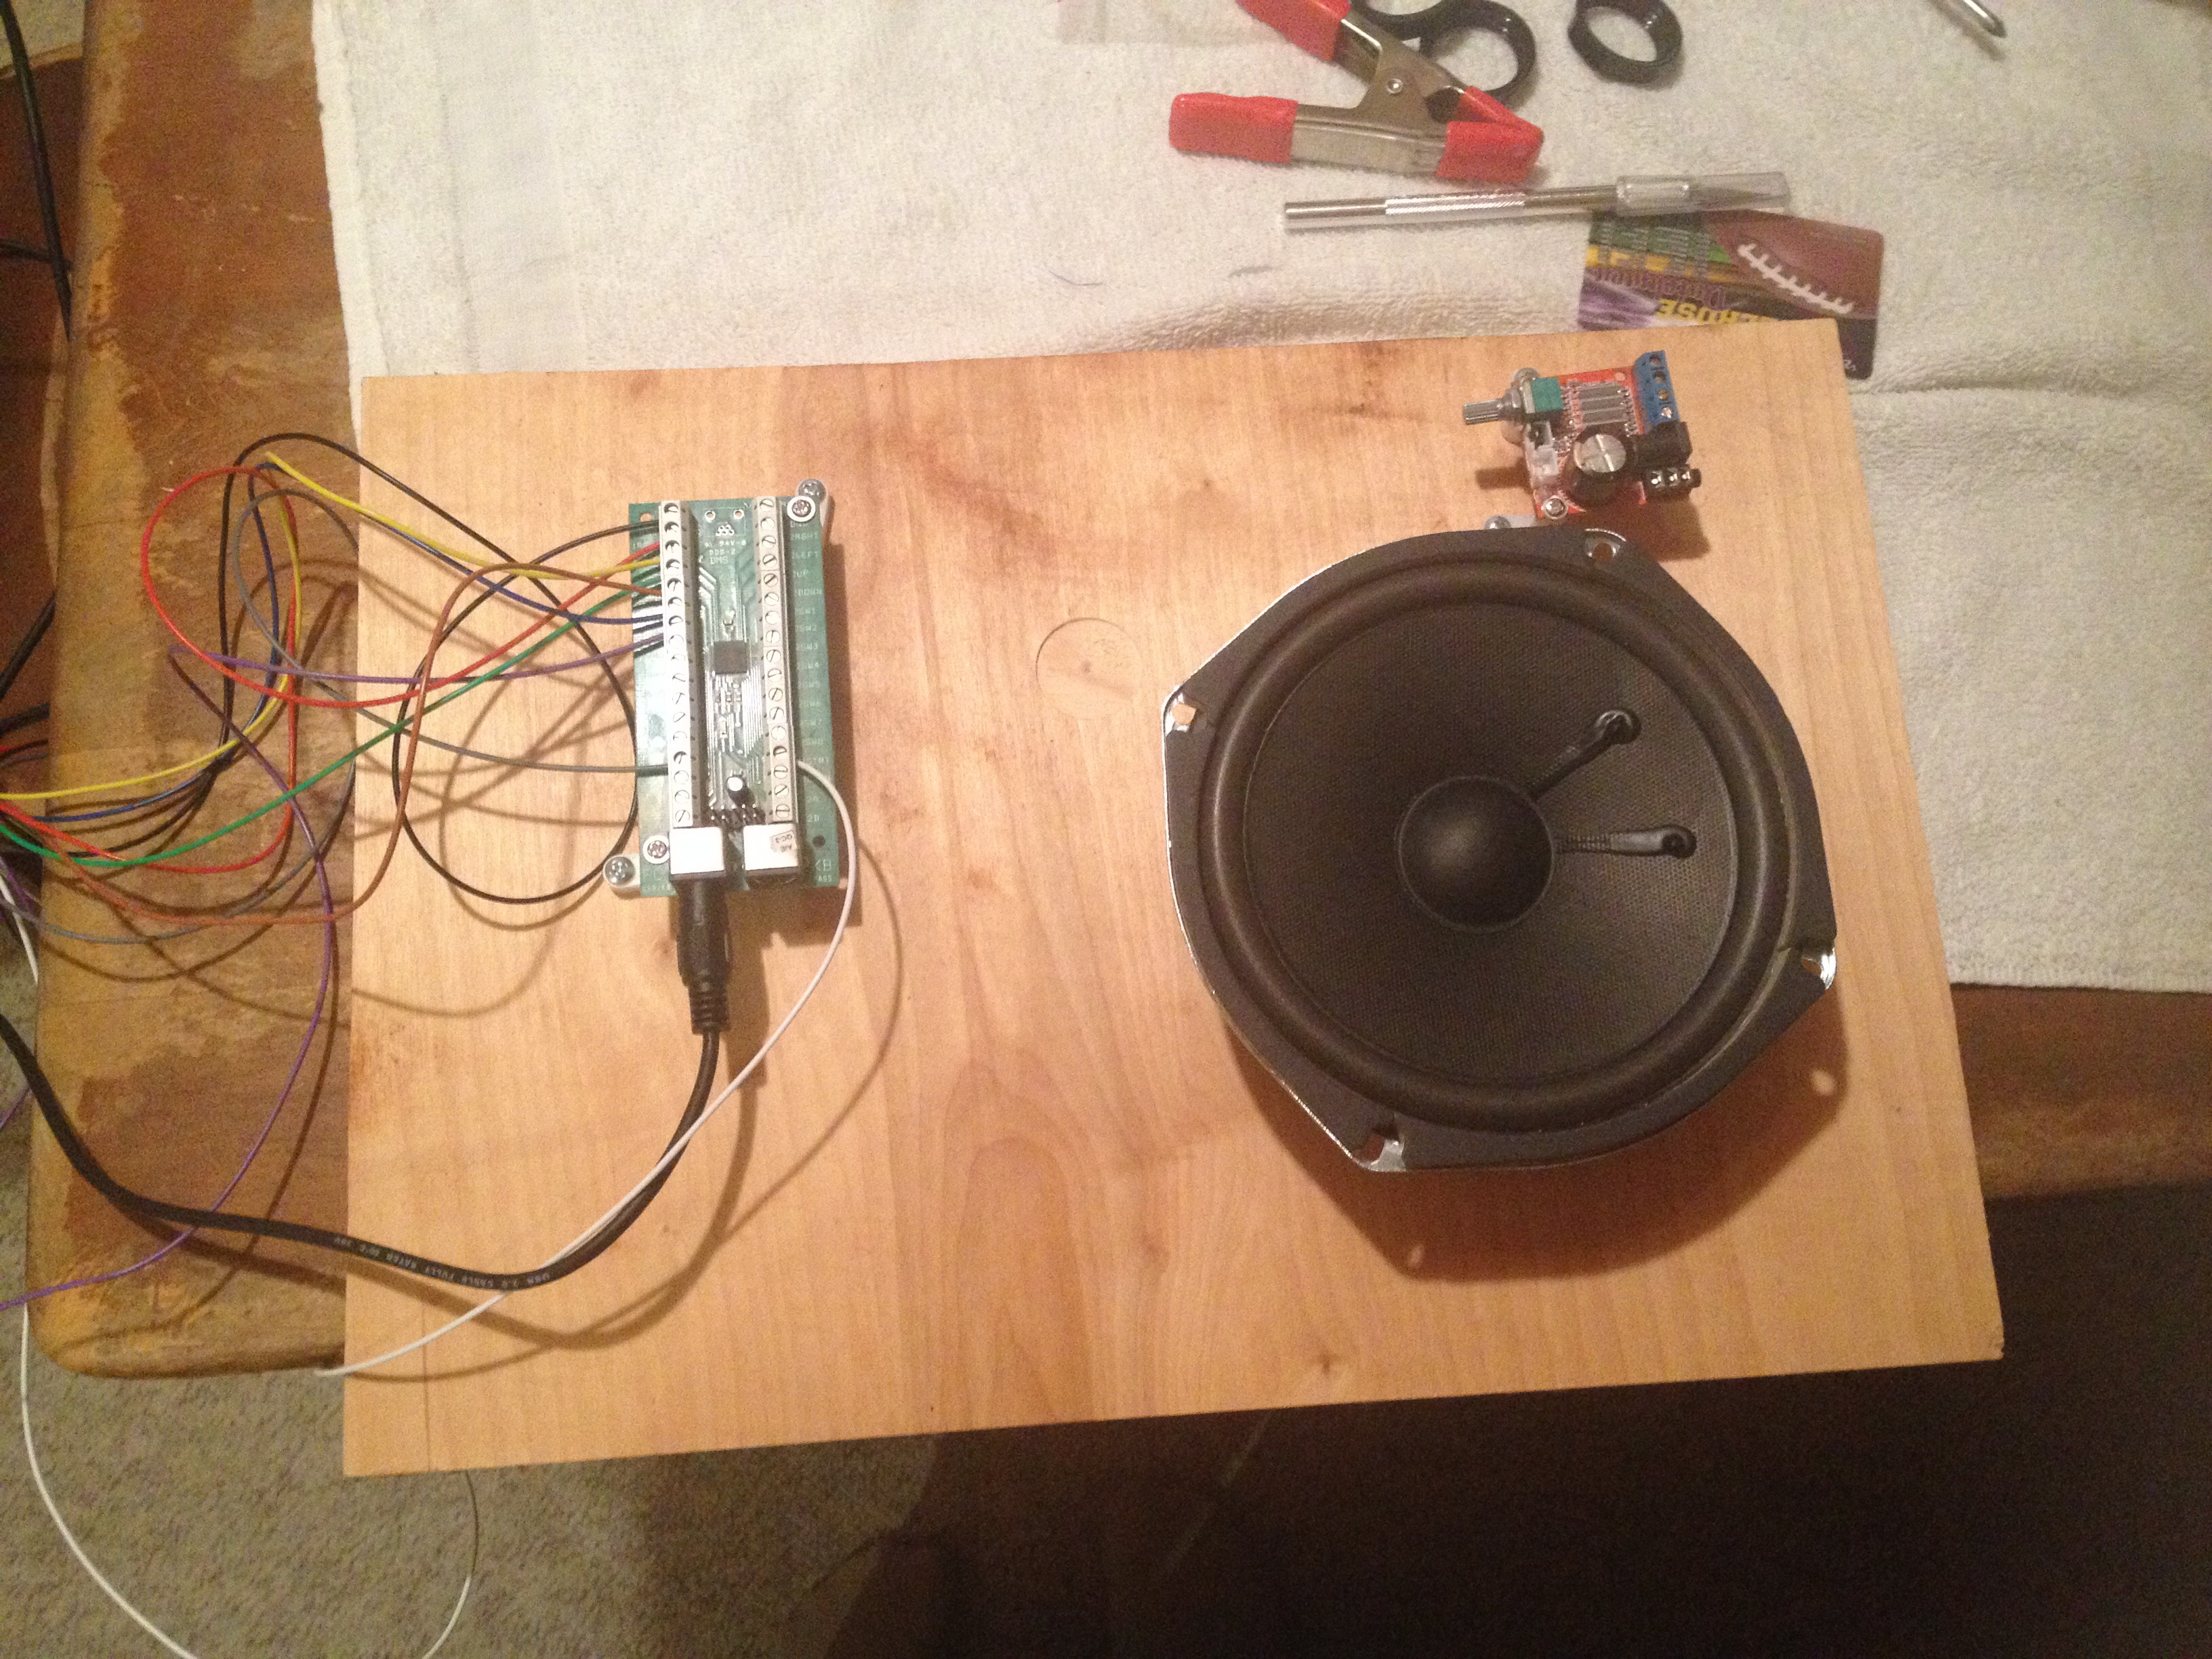
FiF, Jr: Week 17: Wiring it all together for a test run
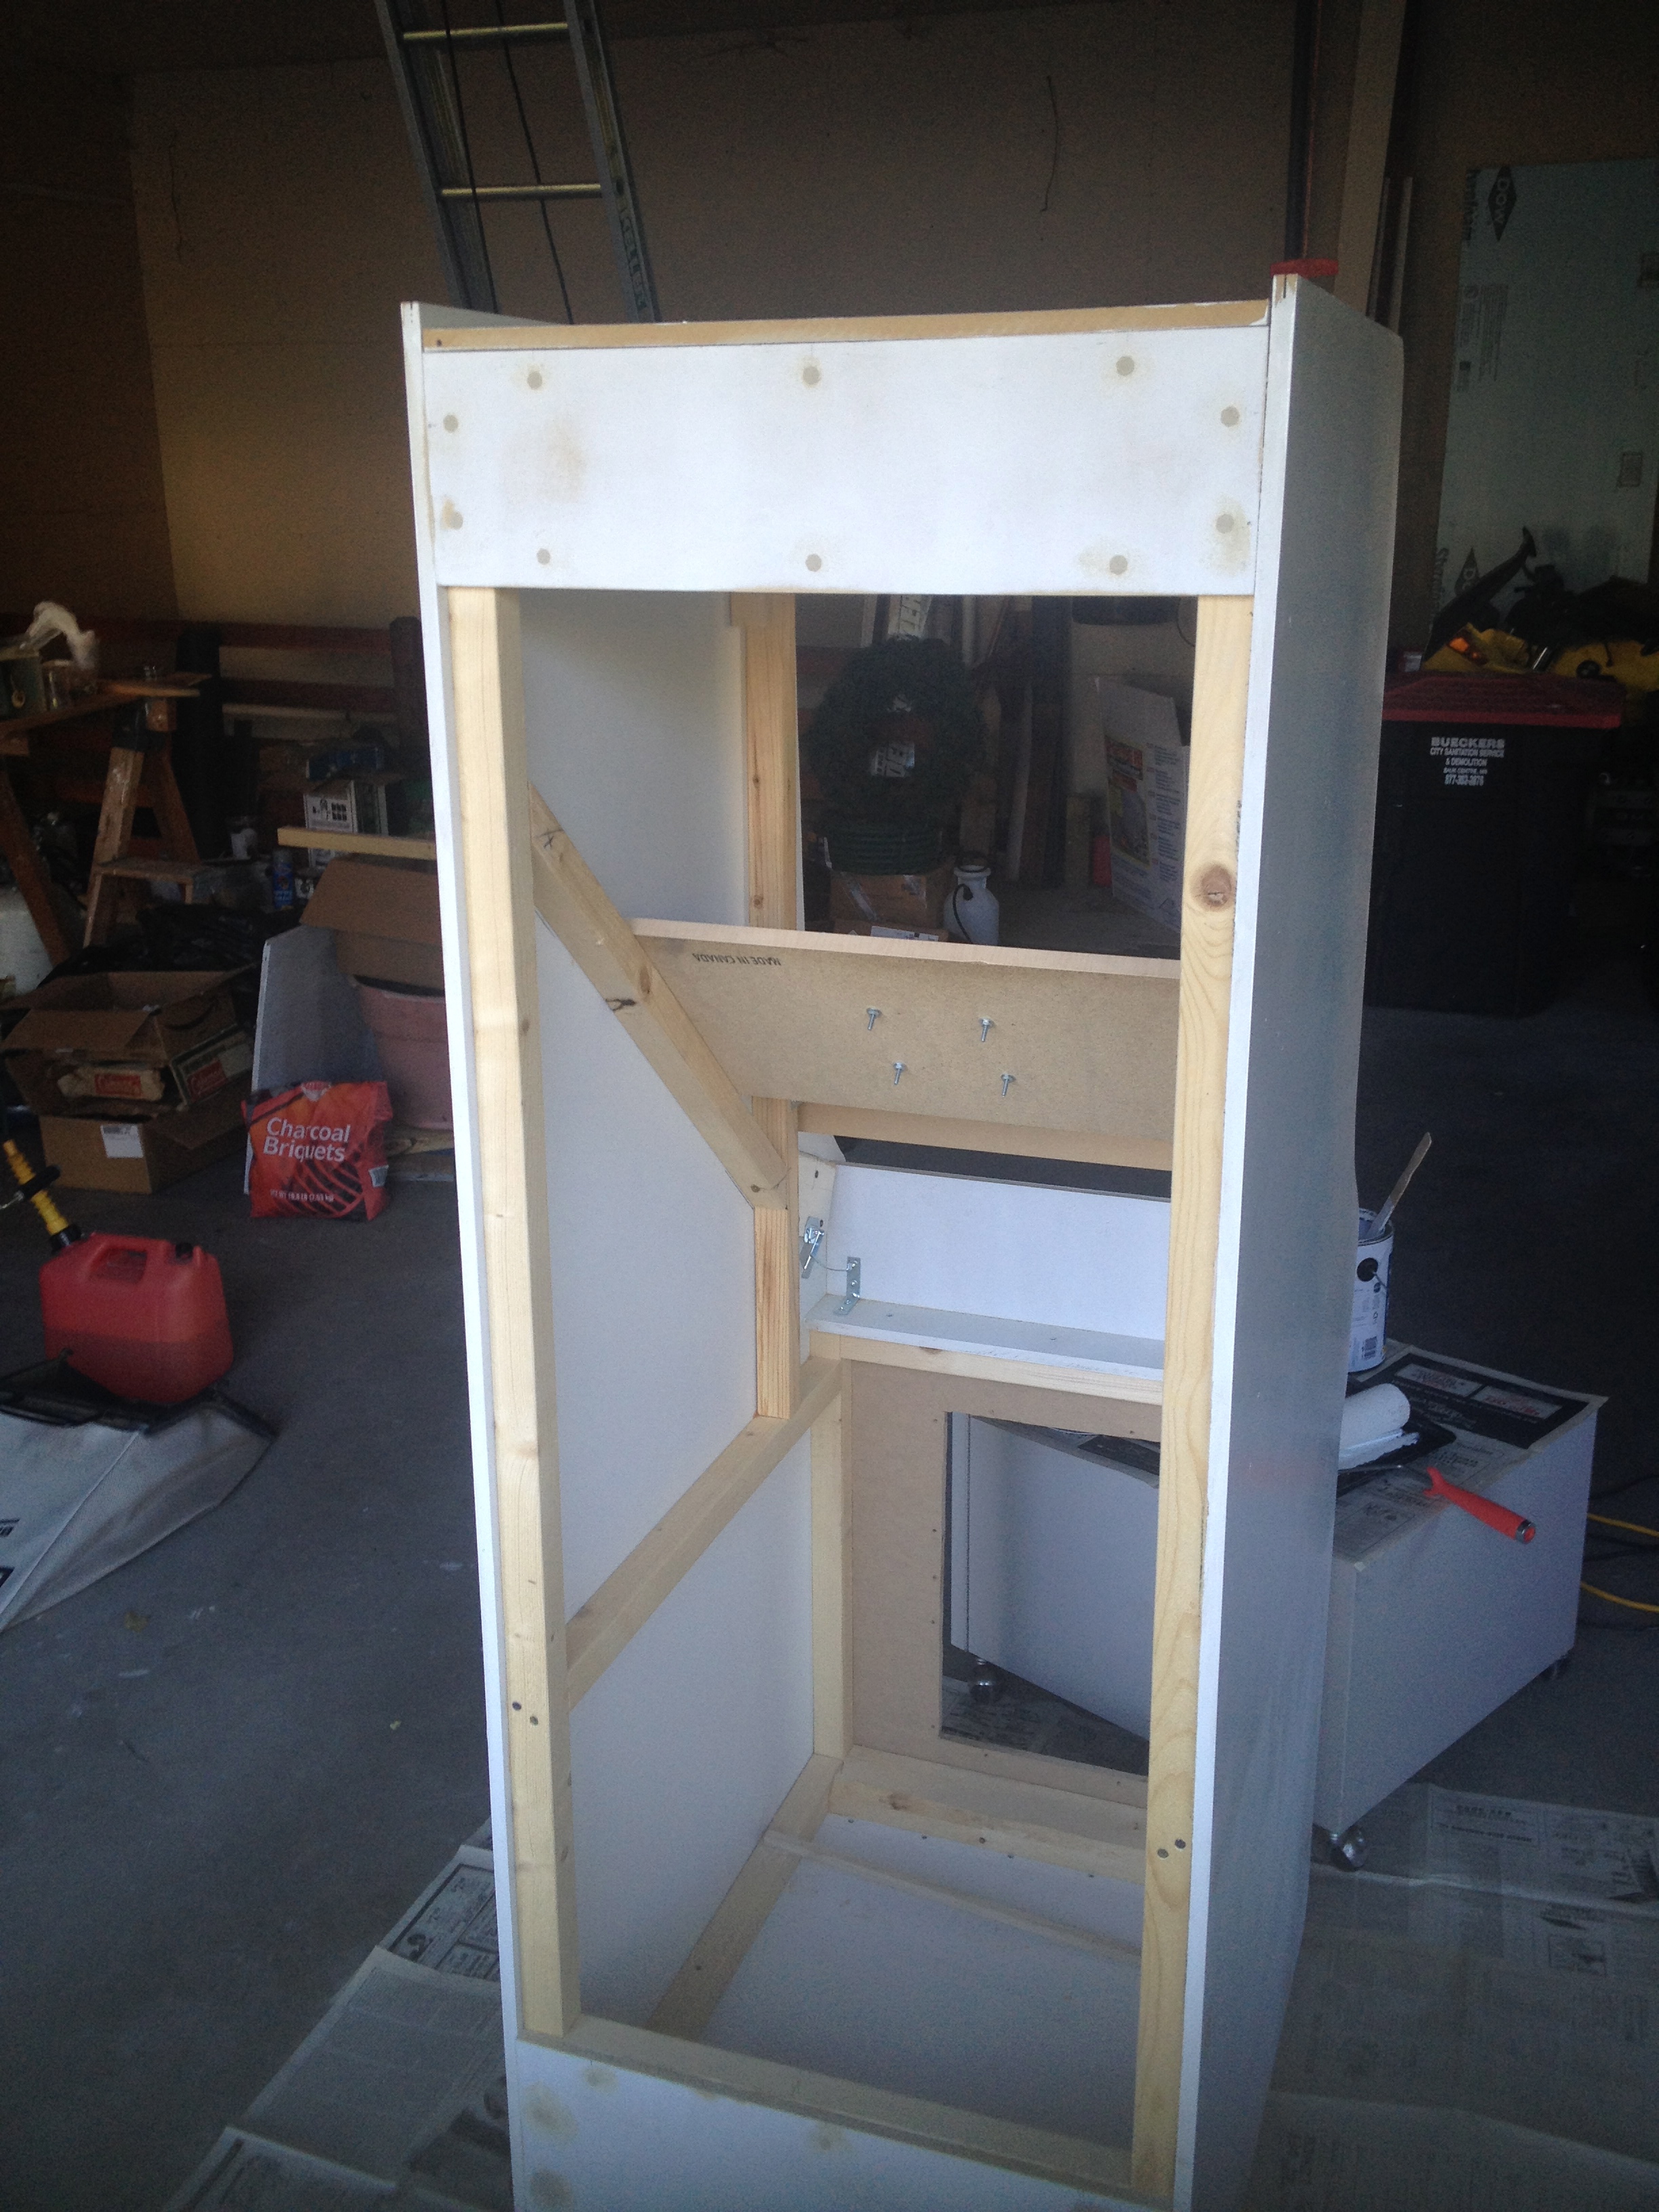
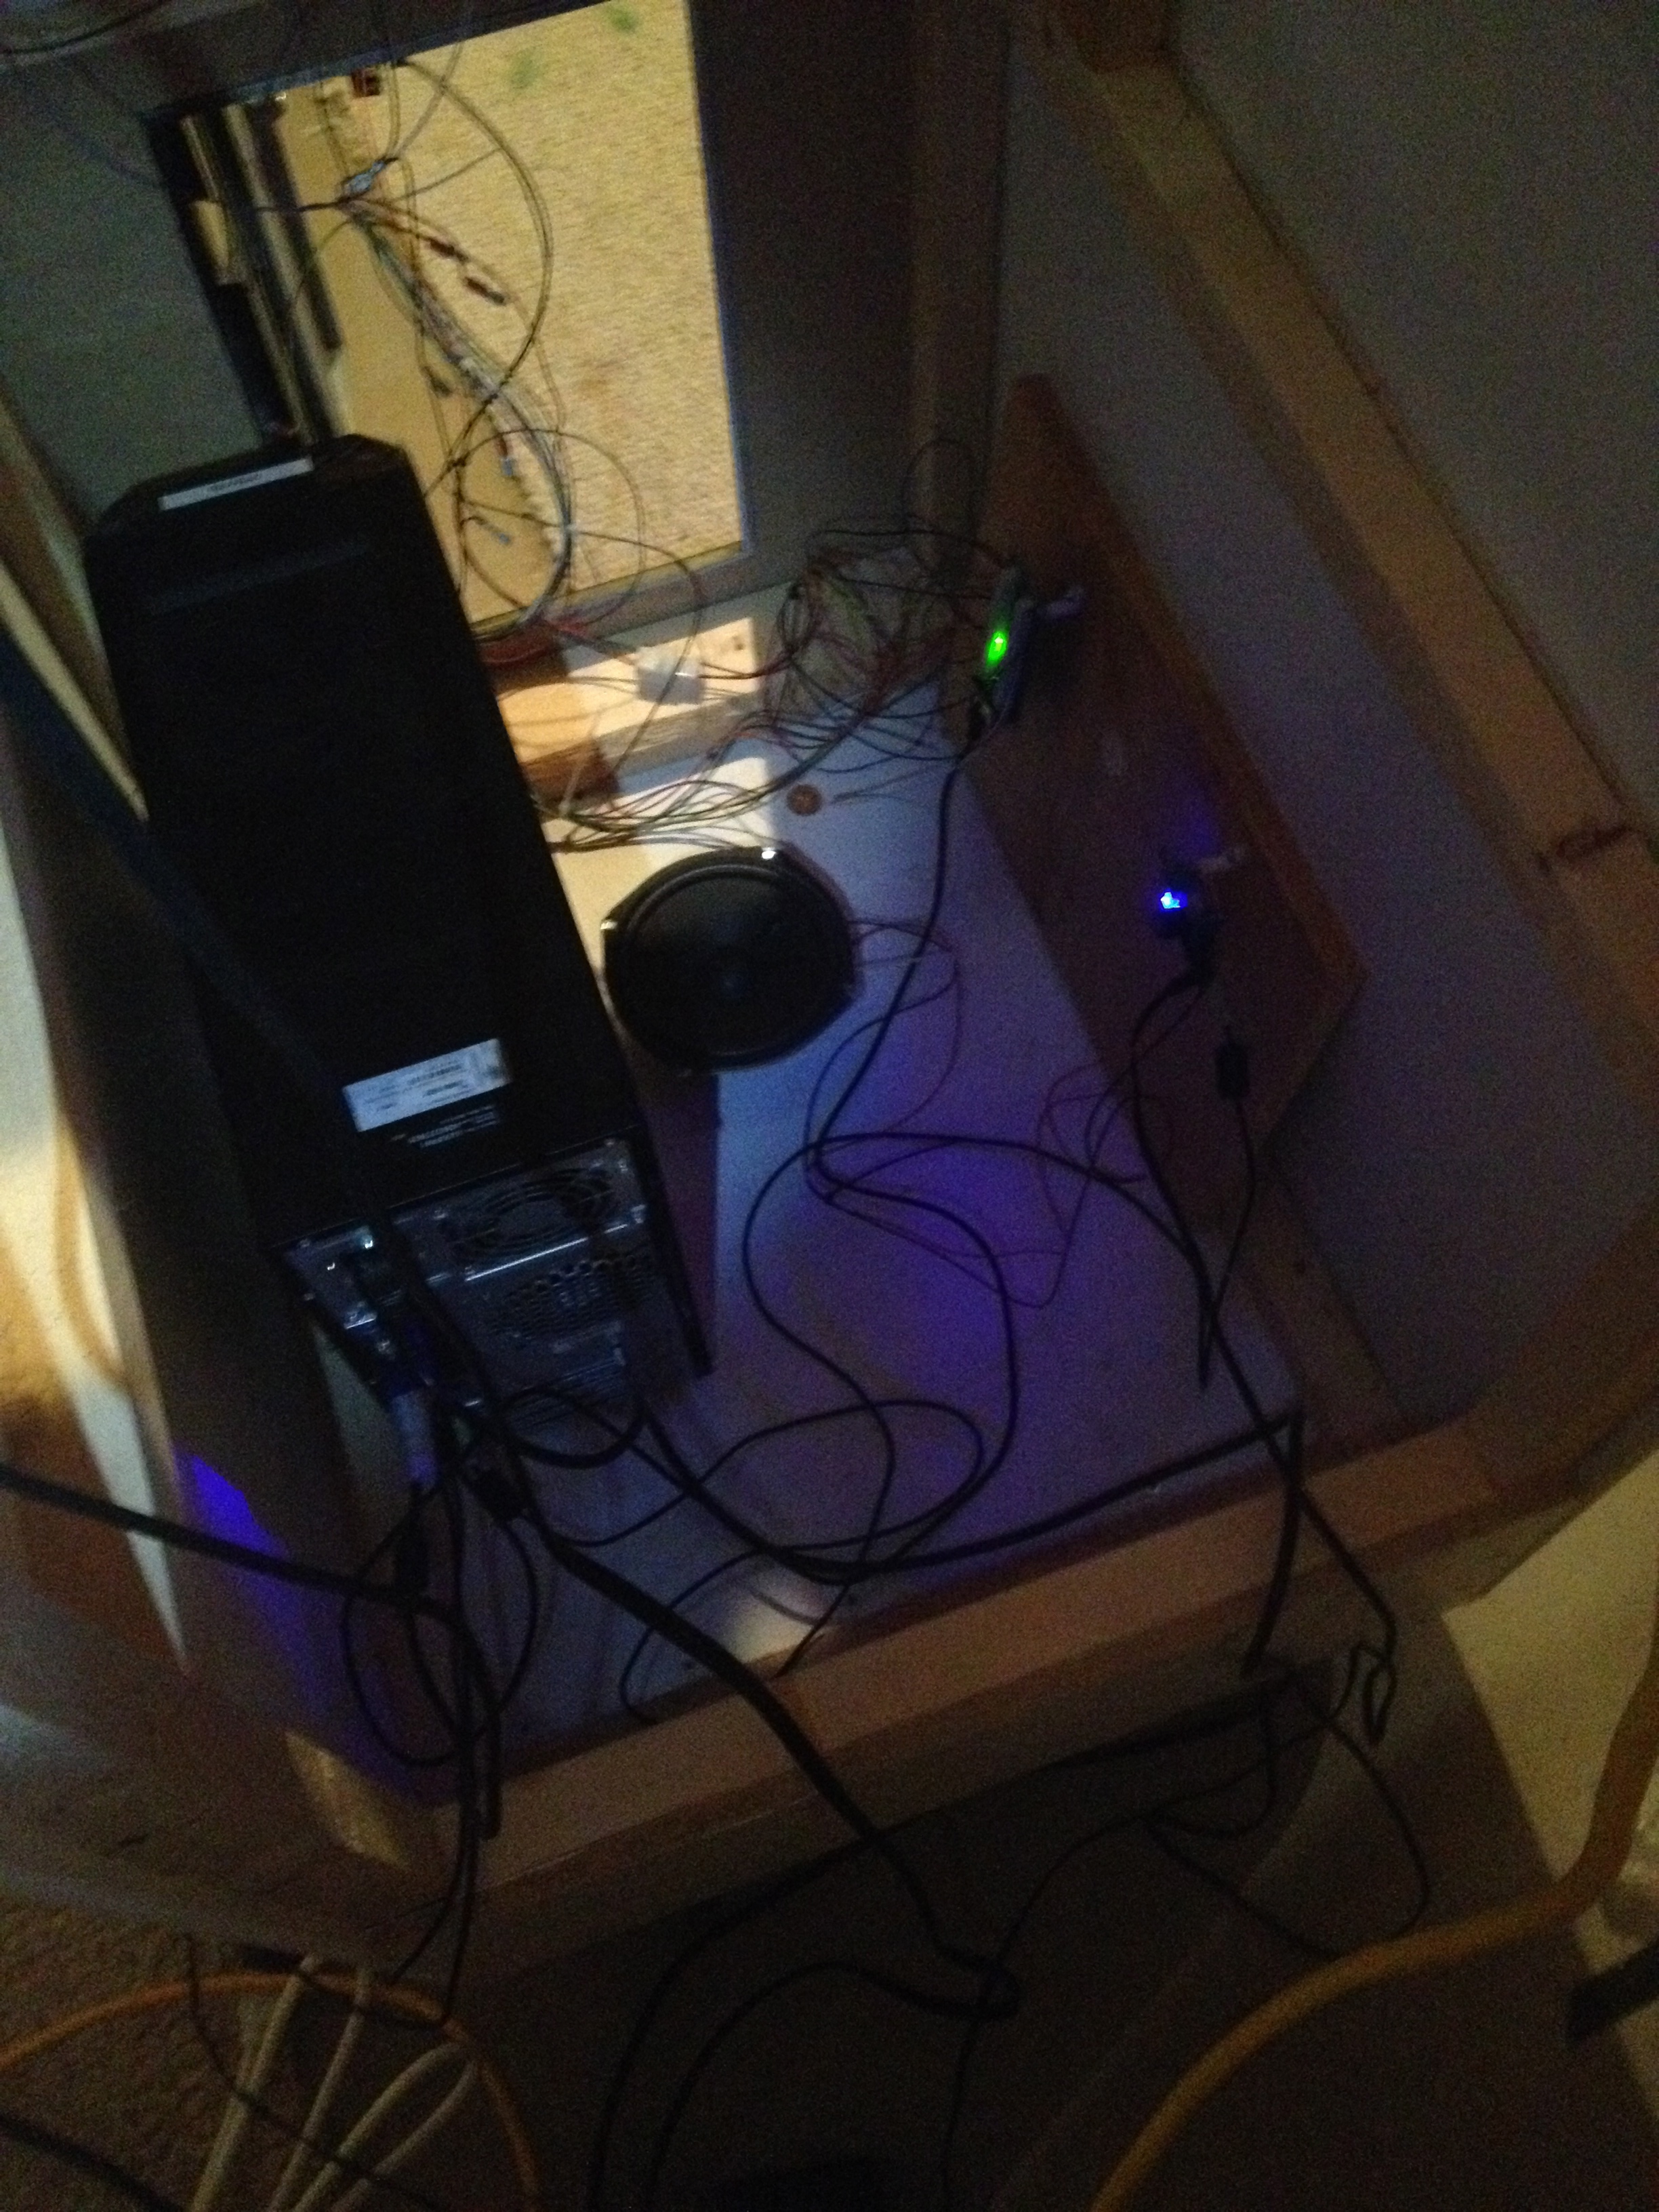
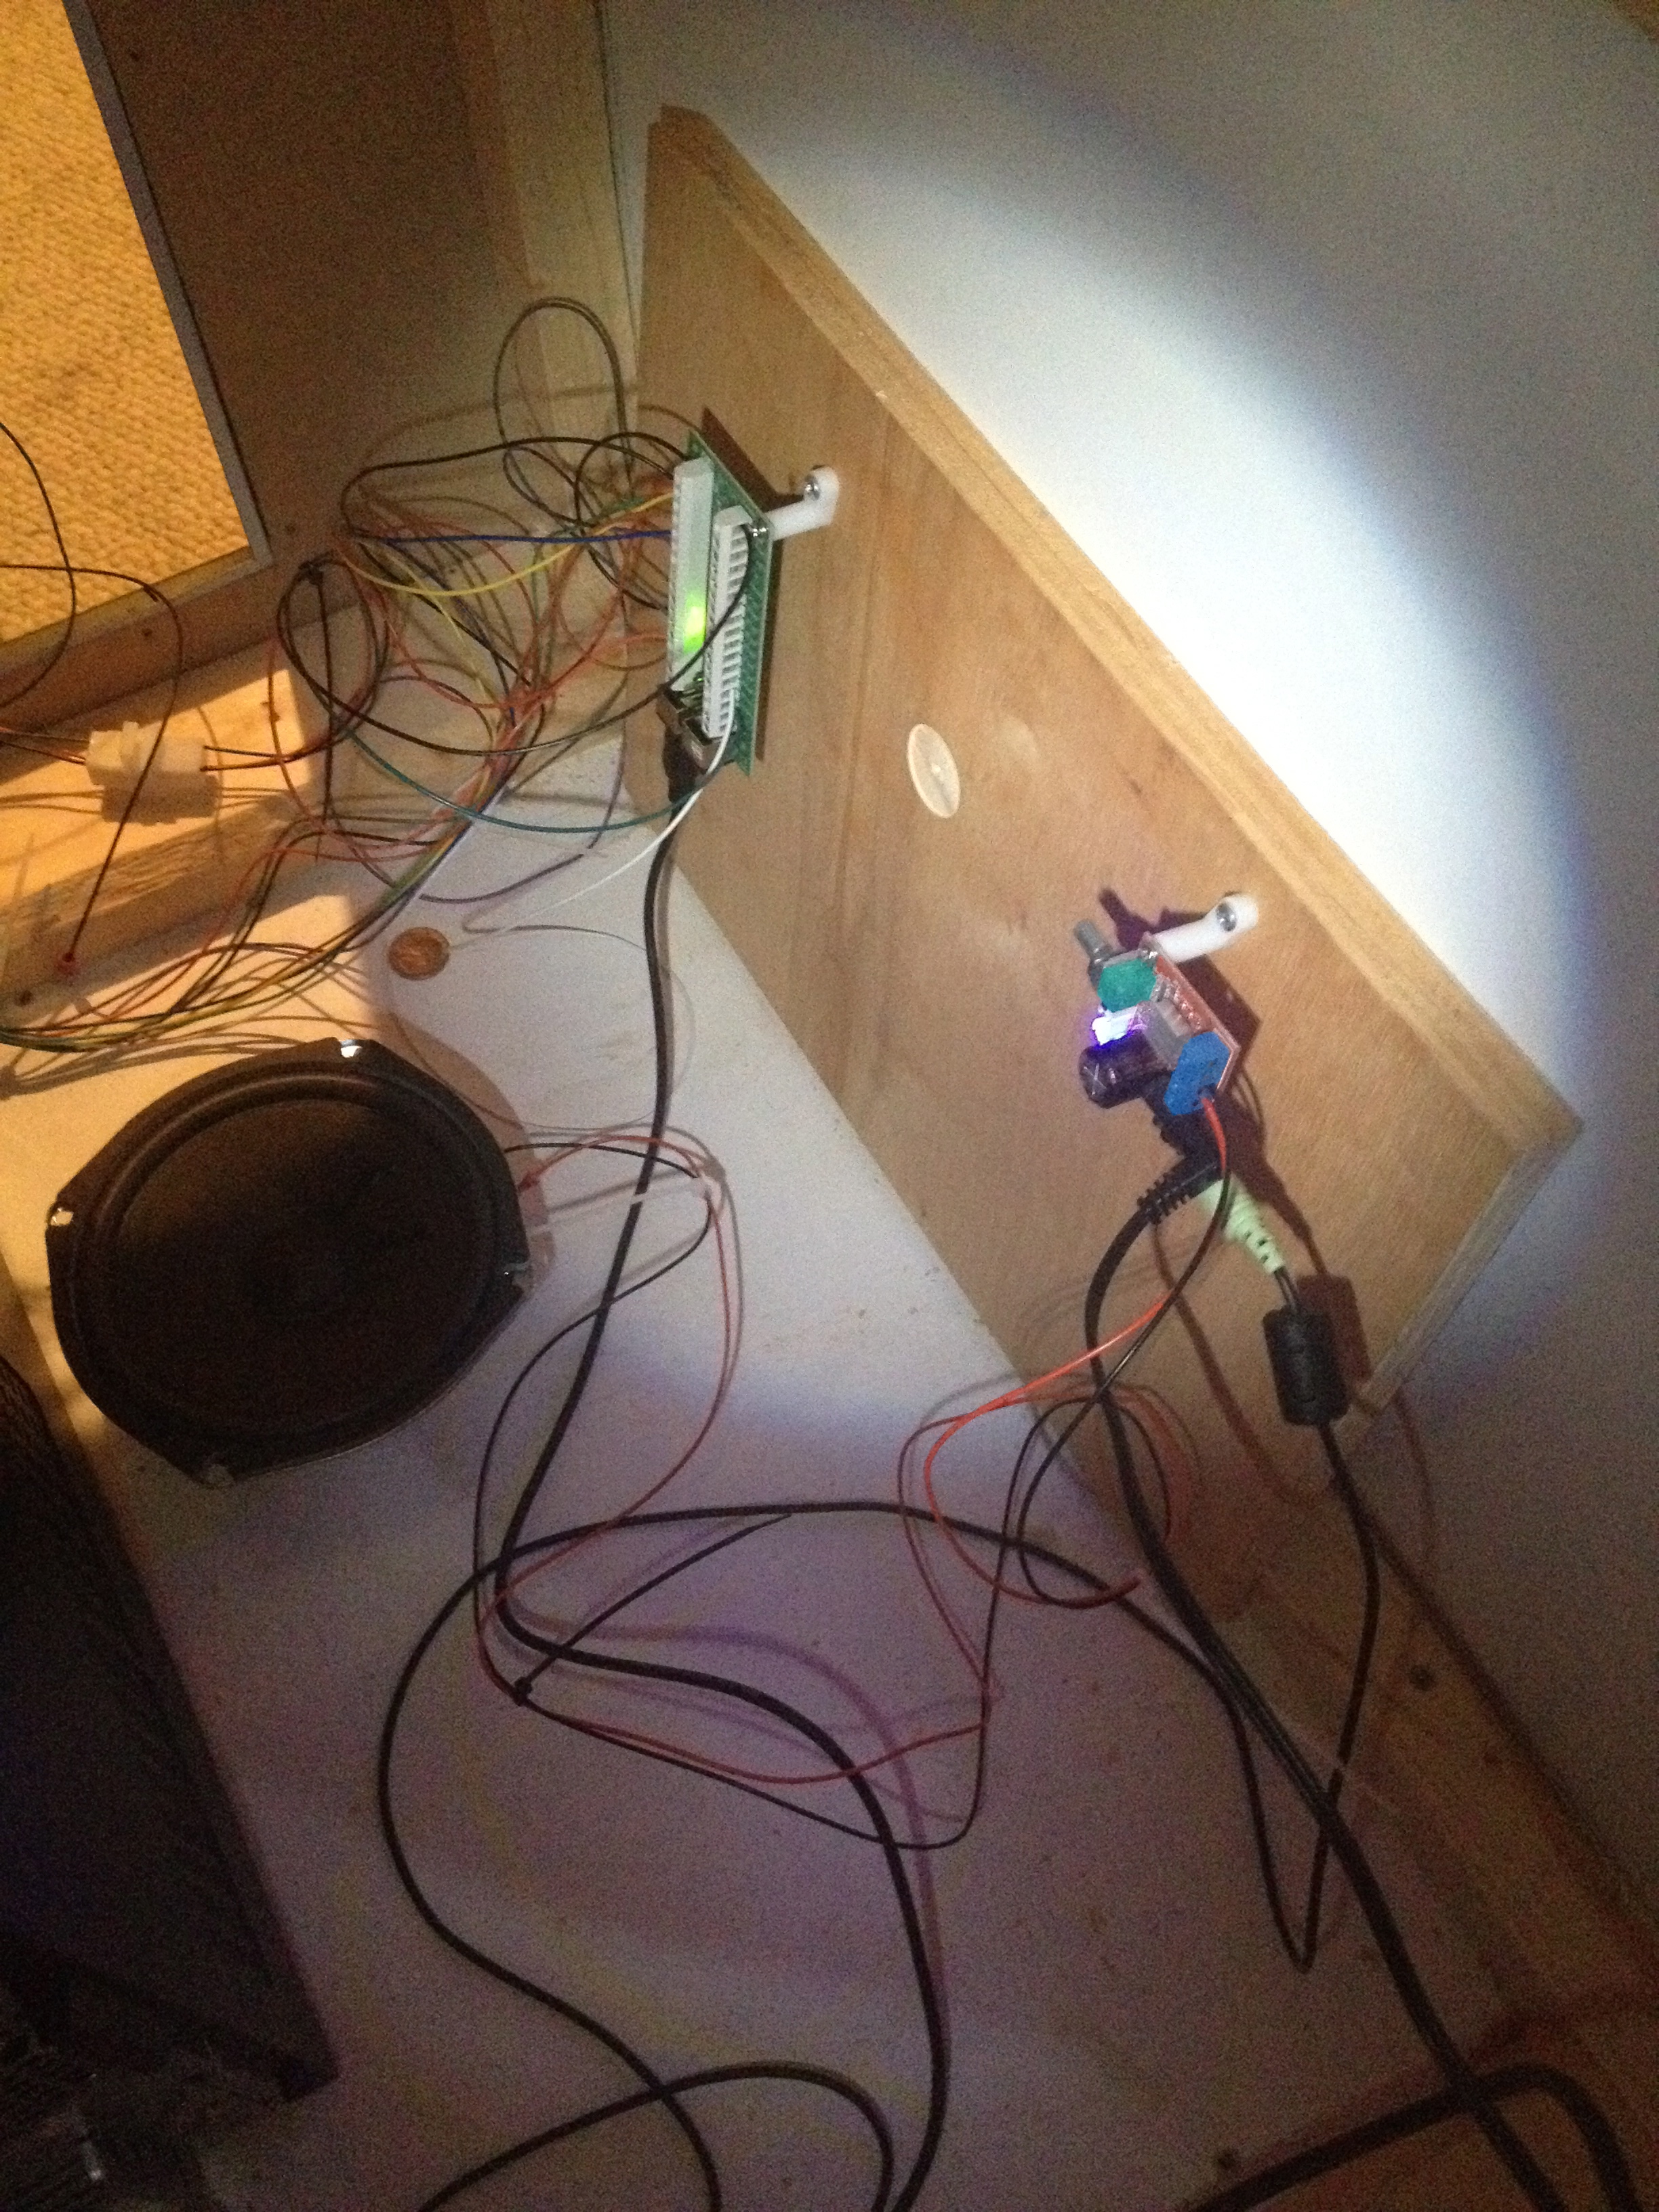
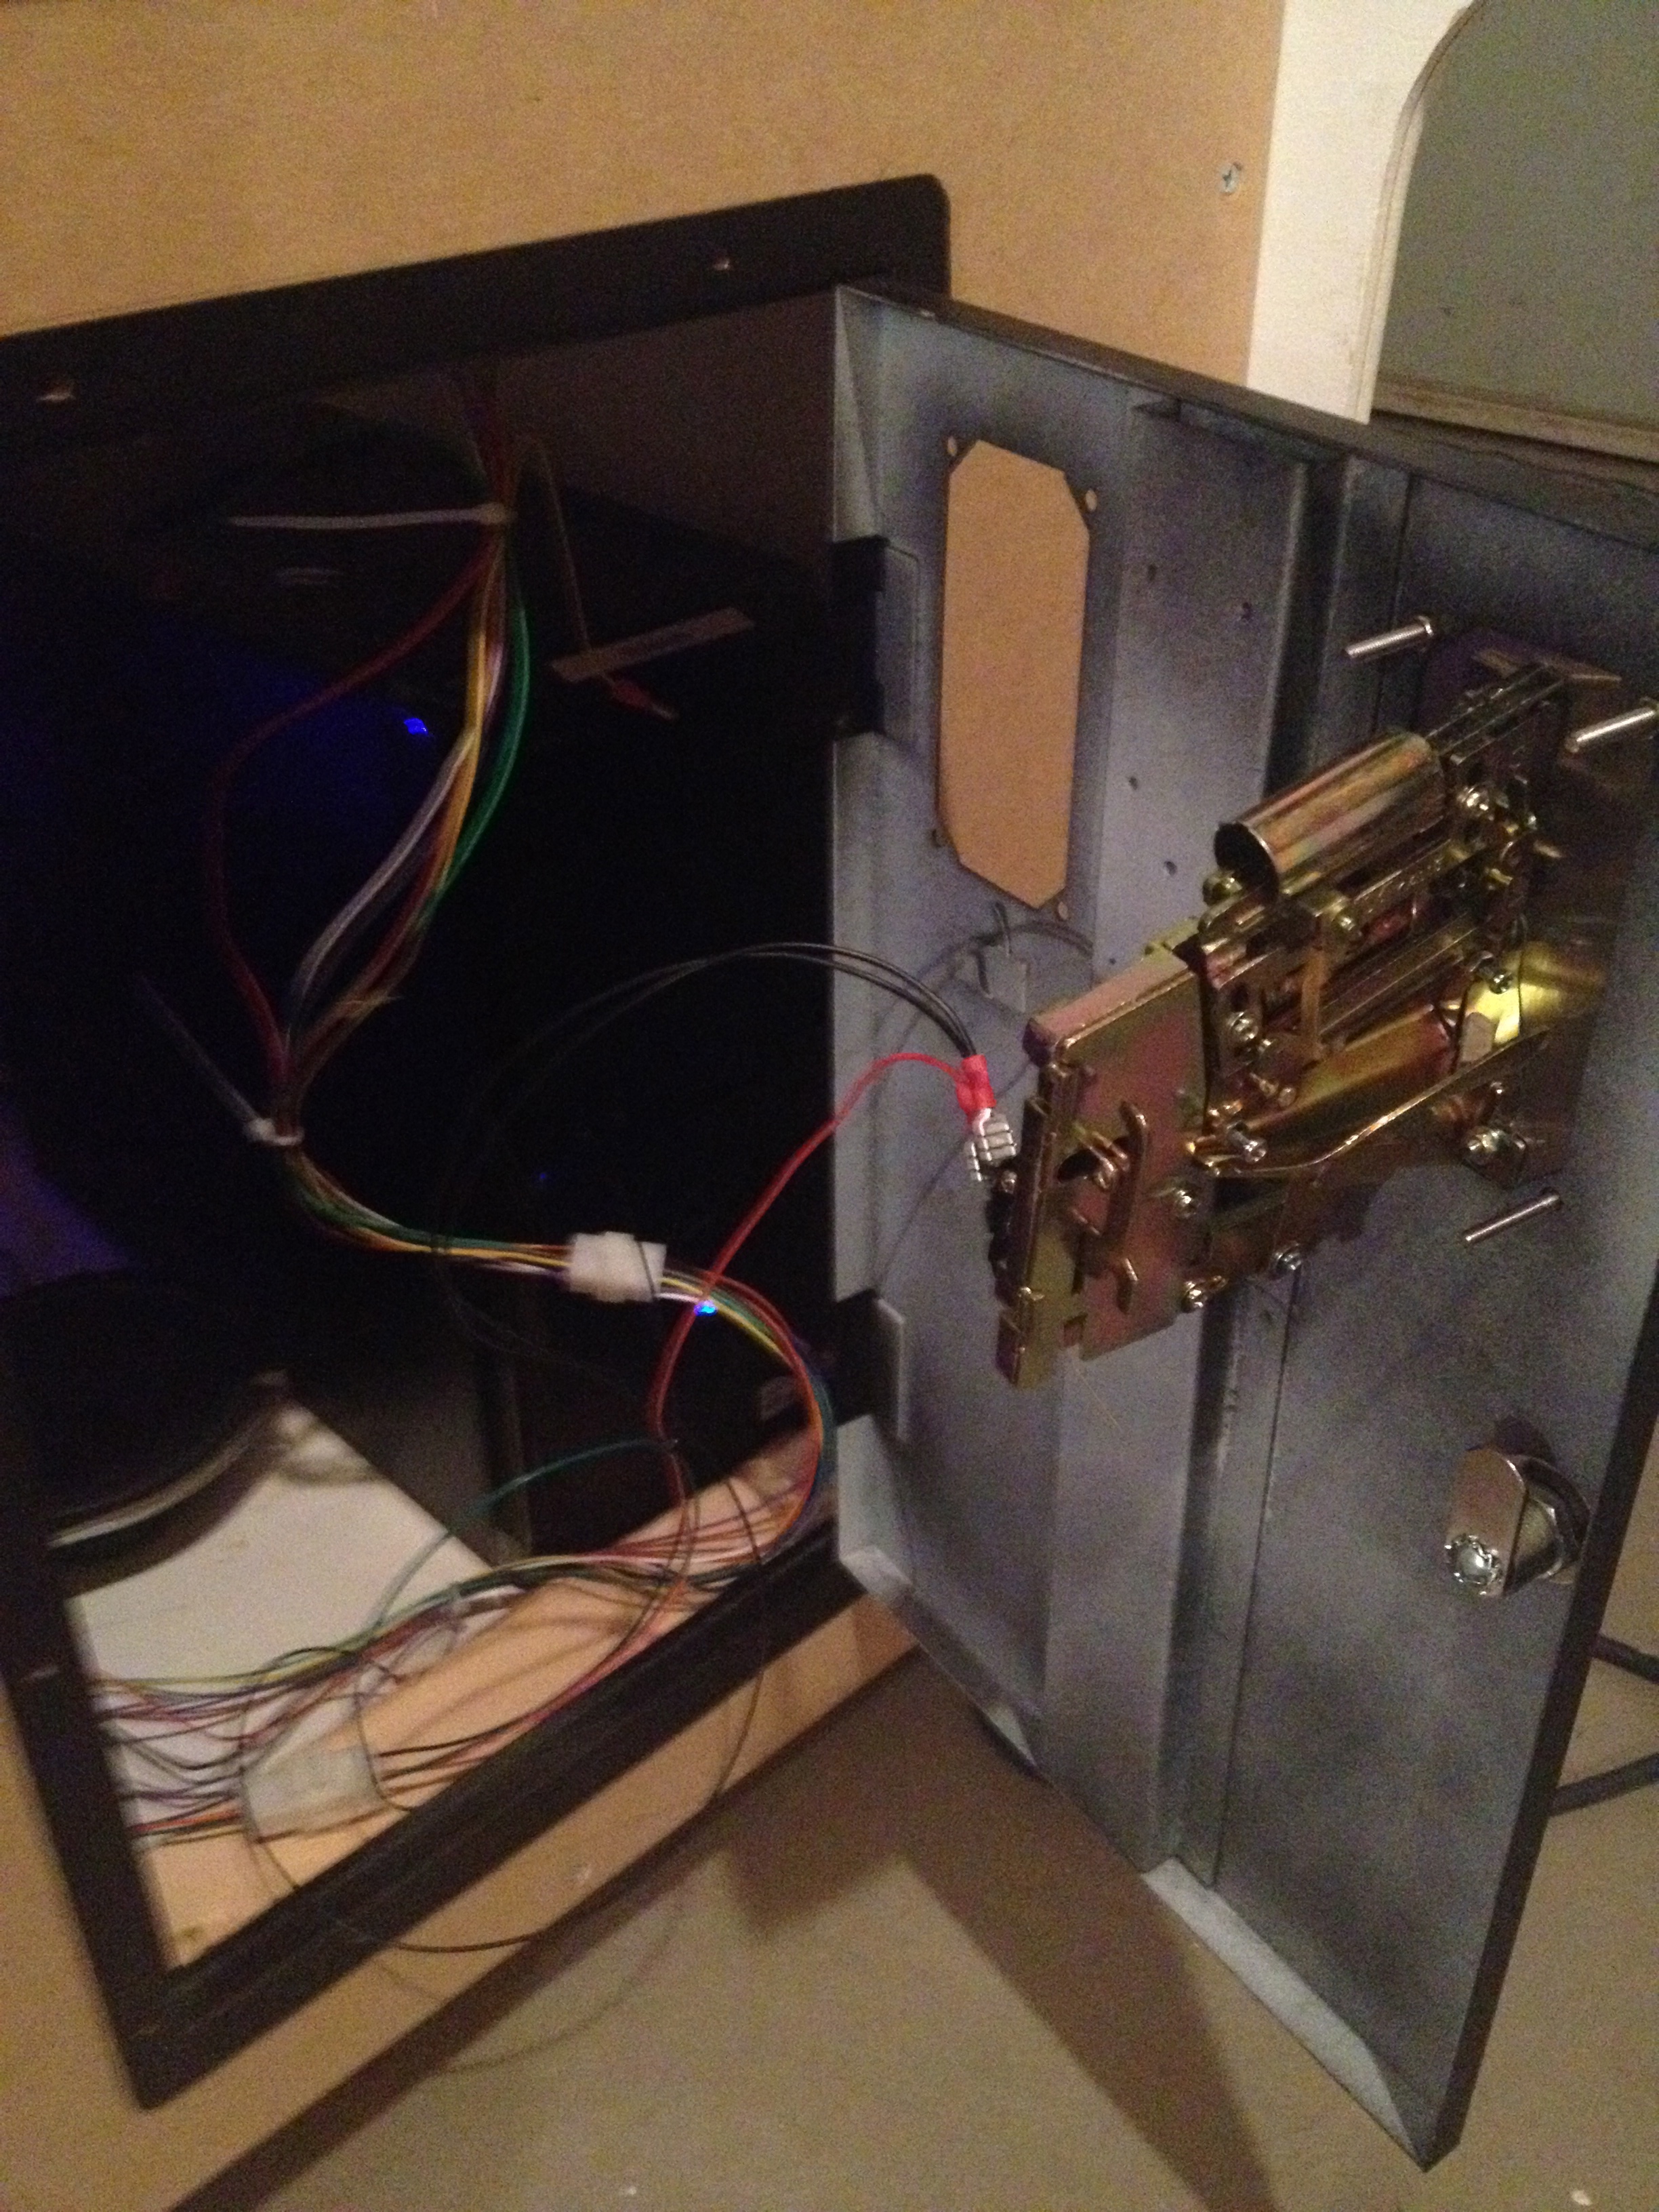
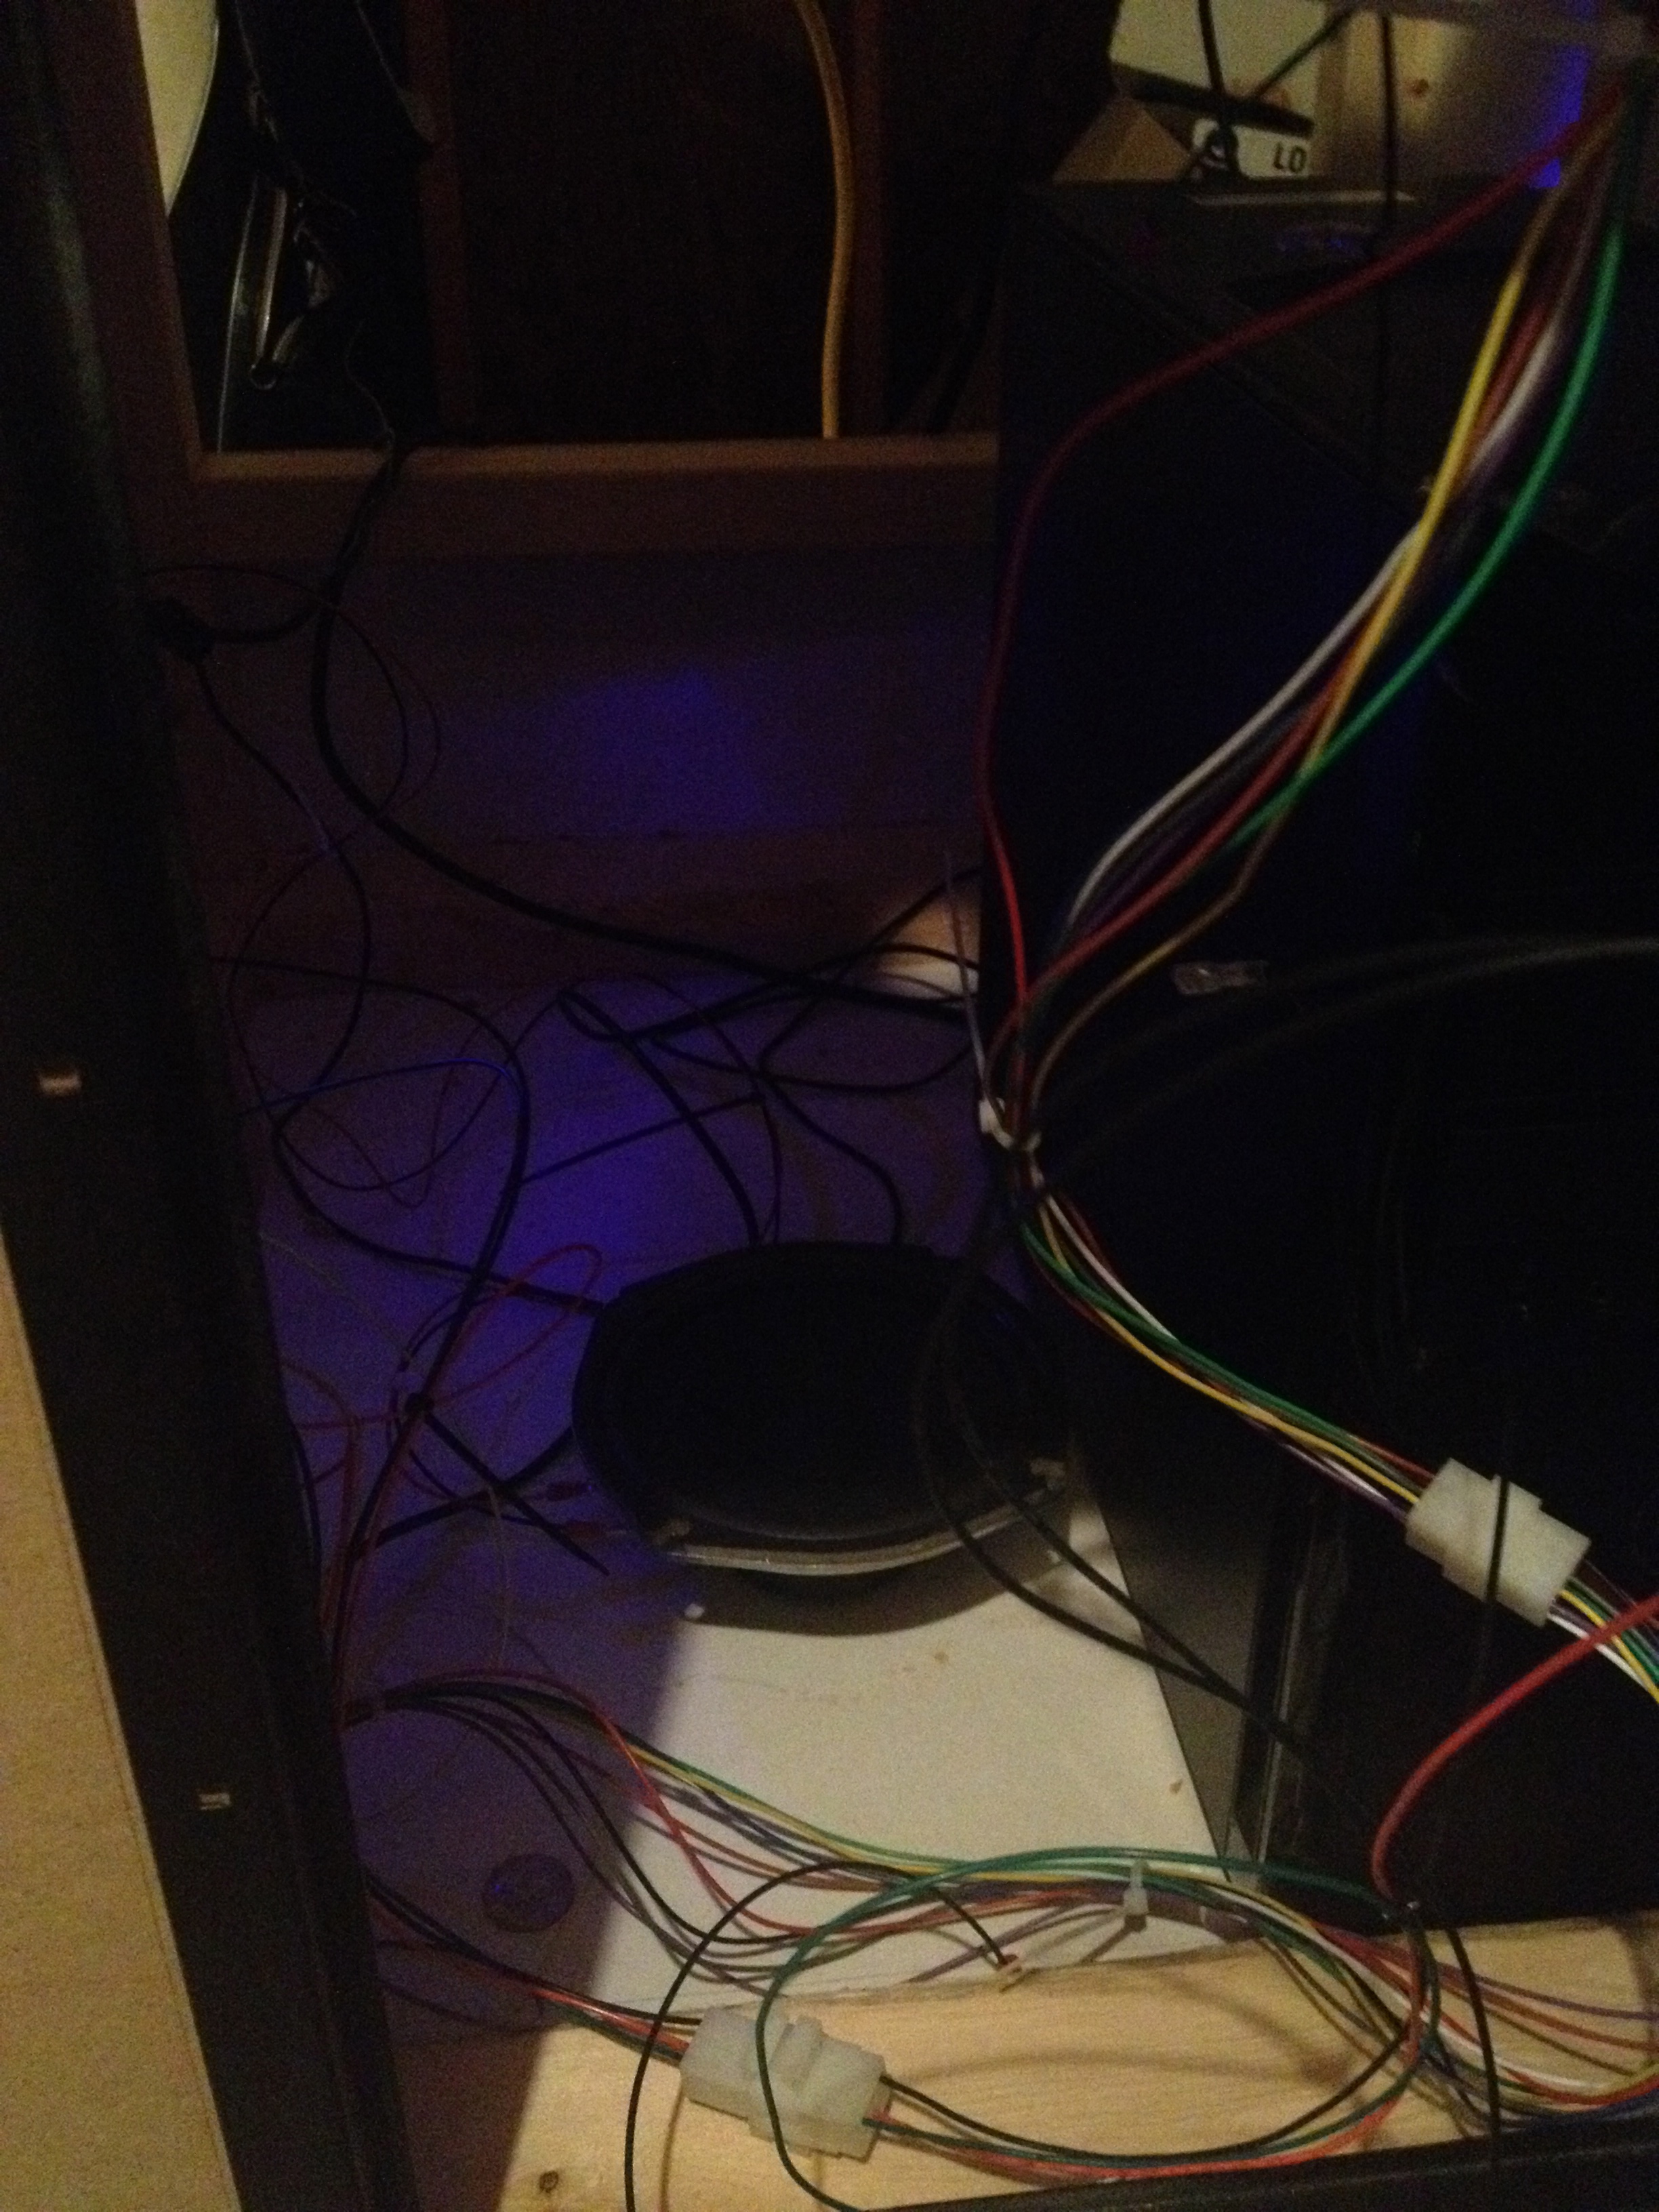
This week I decided it was close enough to wire everything together for a test run. This way I’d know it’s all working before we tear it apart for paint. This meant wiring my new speaker to the amp. Wiring the control panel to the controller board. Wiring audio and controls to the computer. And wiring everything to some power!
It’s sort of messy right now, but more zip ties will helps clean everything up when we’re ready. Take a look below and watch the video to see the Fix-It Felix Jr. cabinet in action!
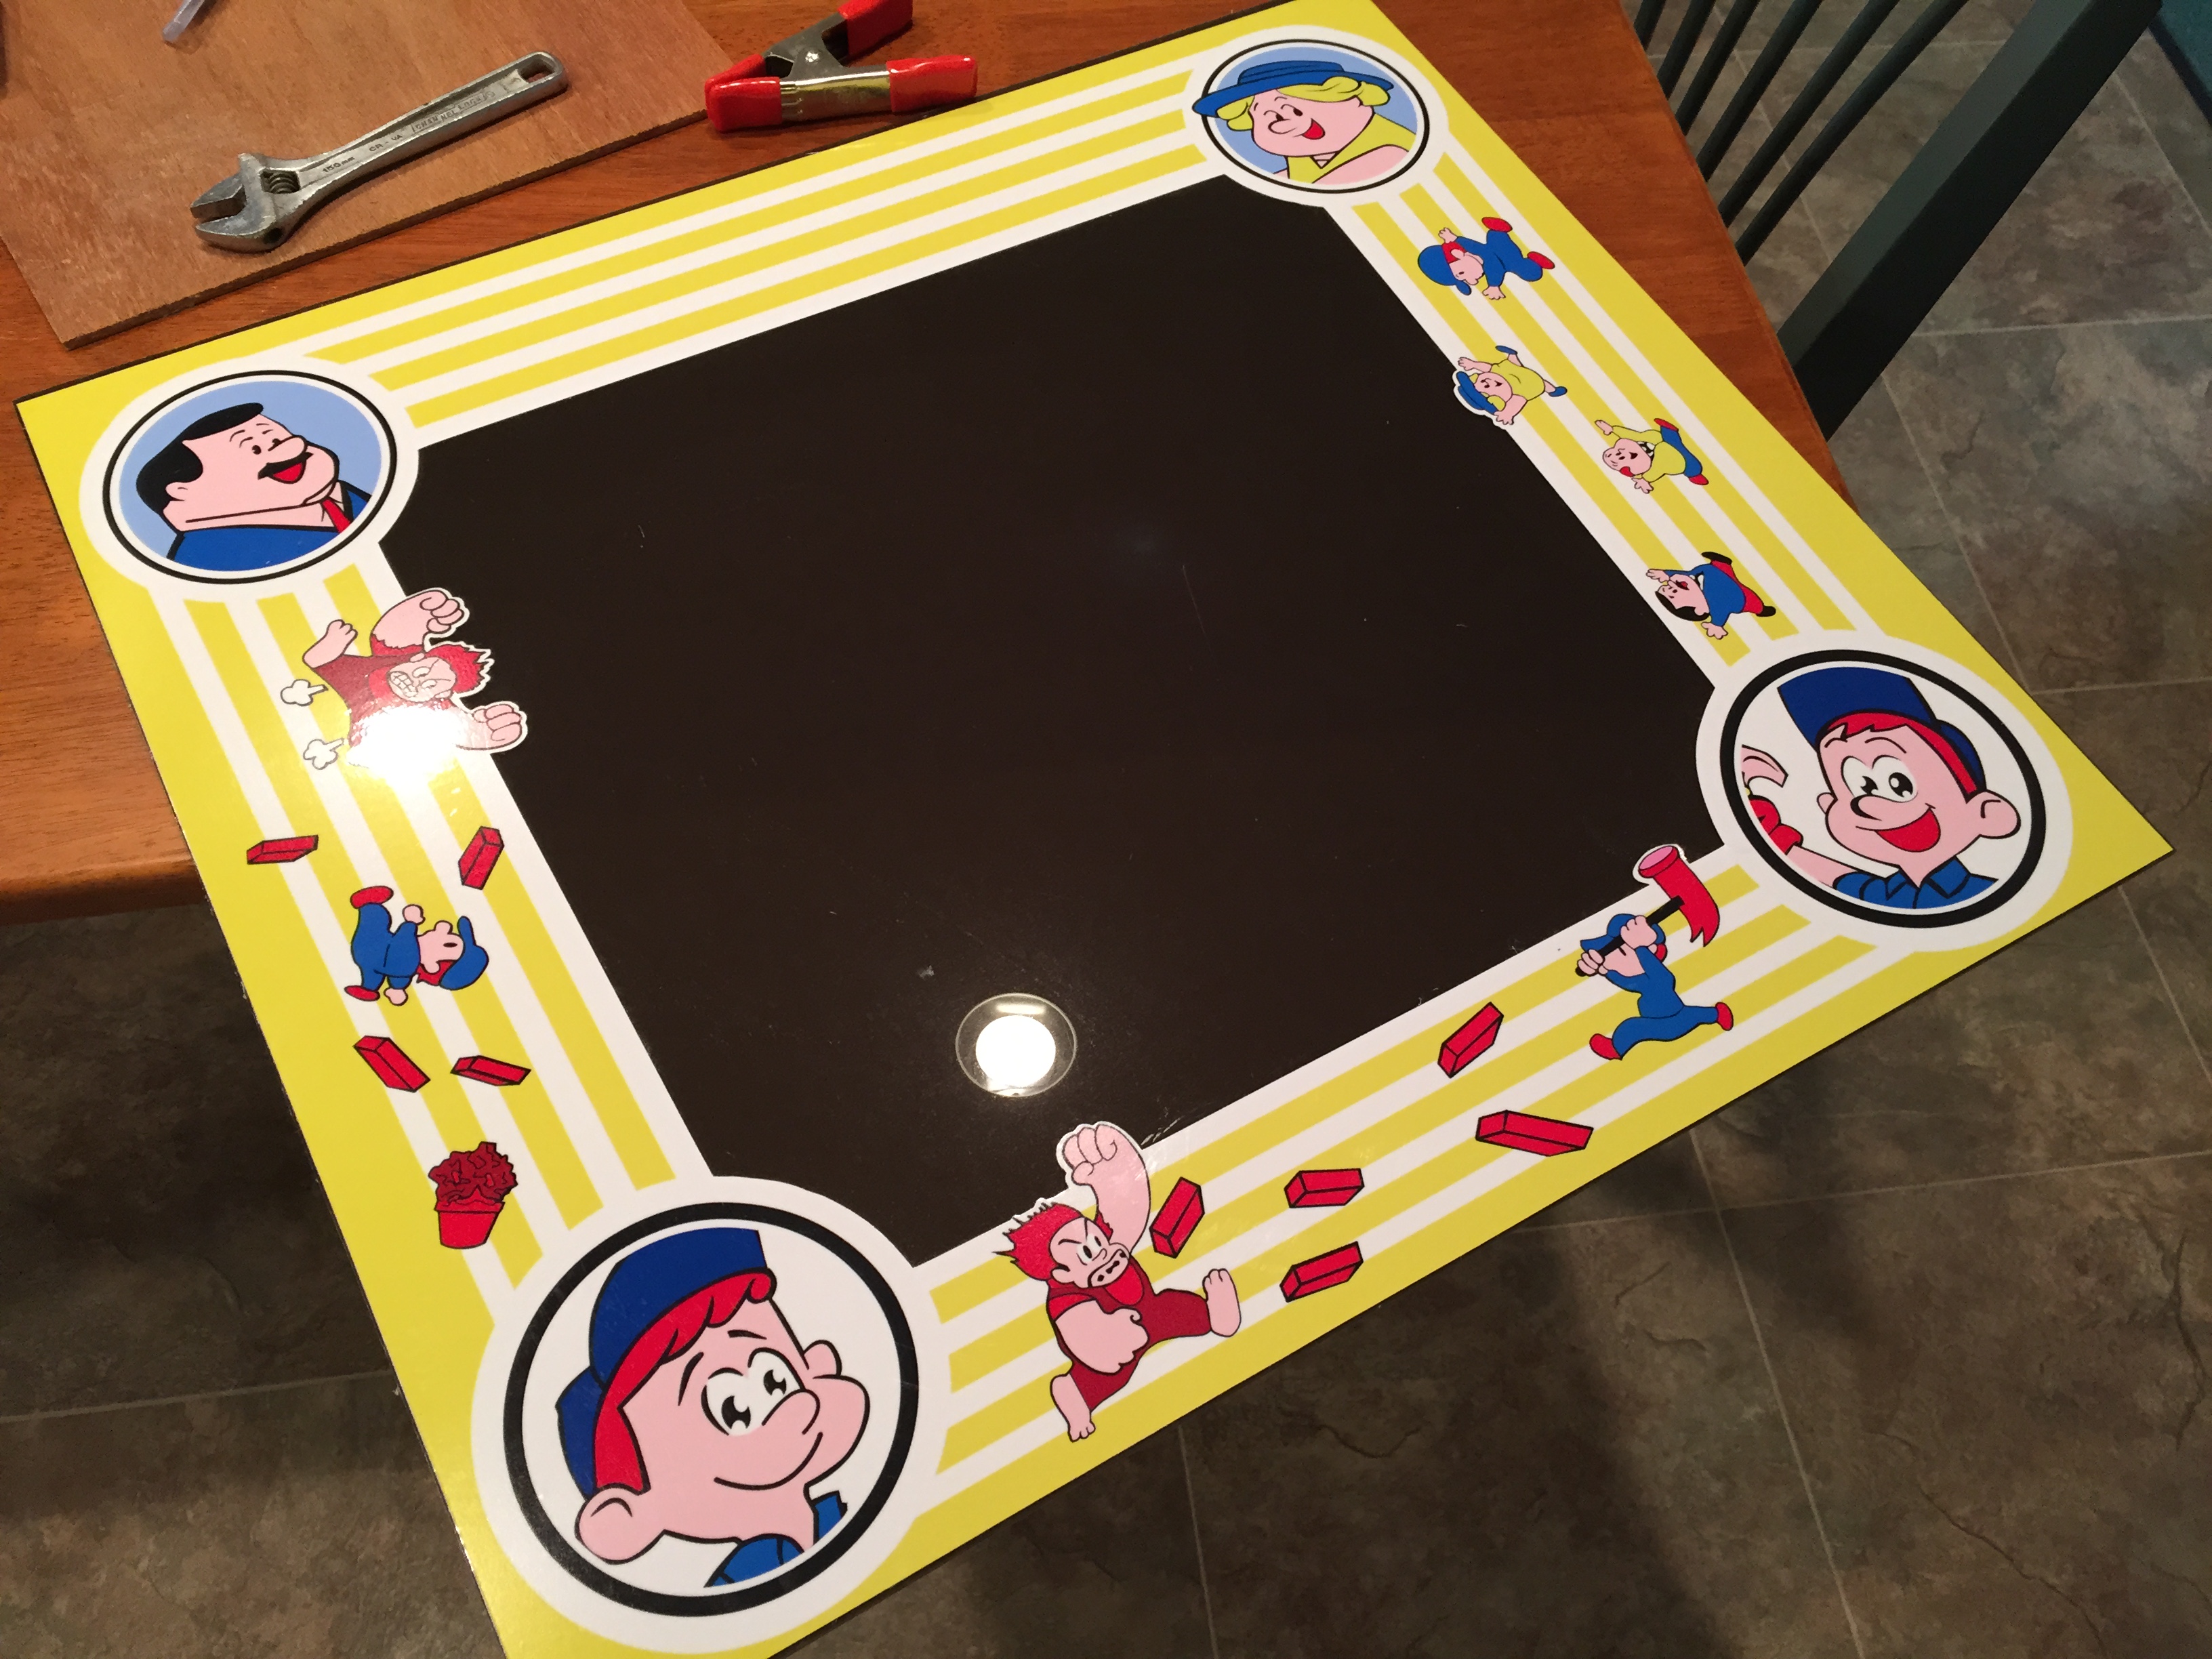
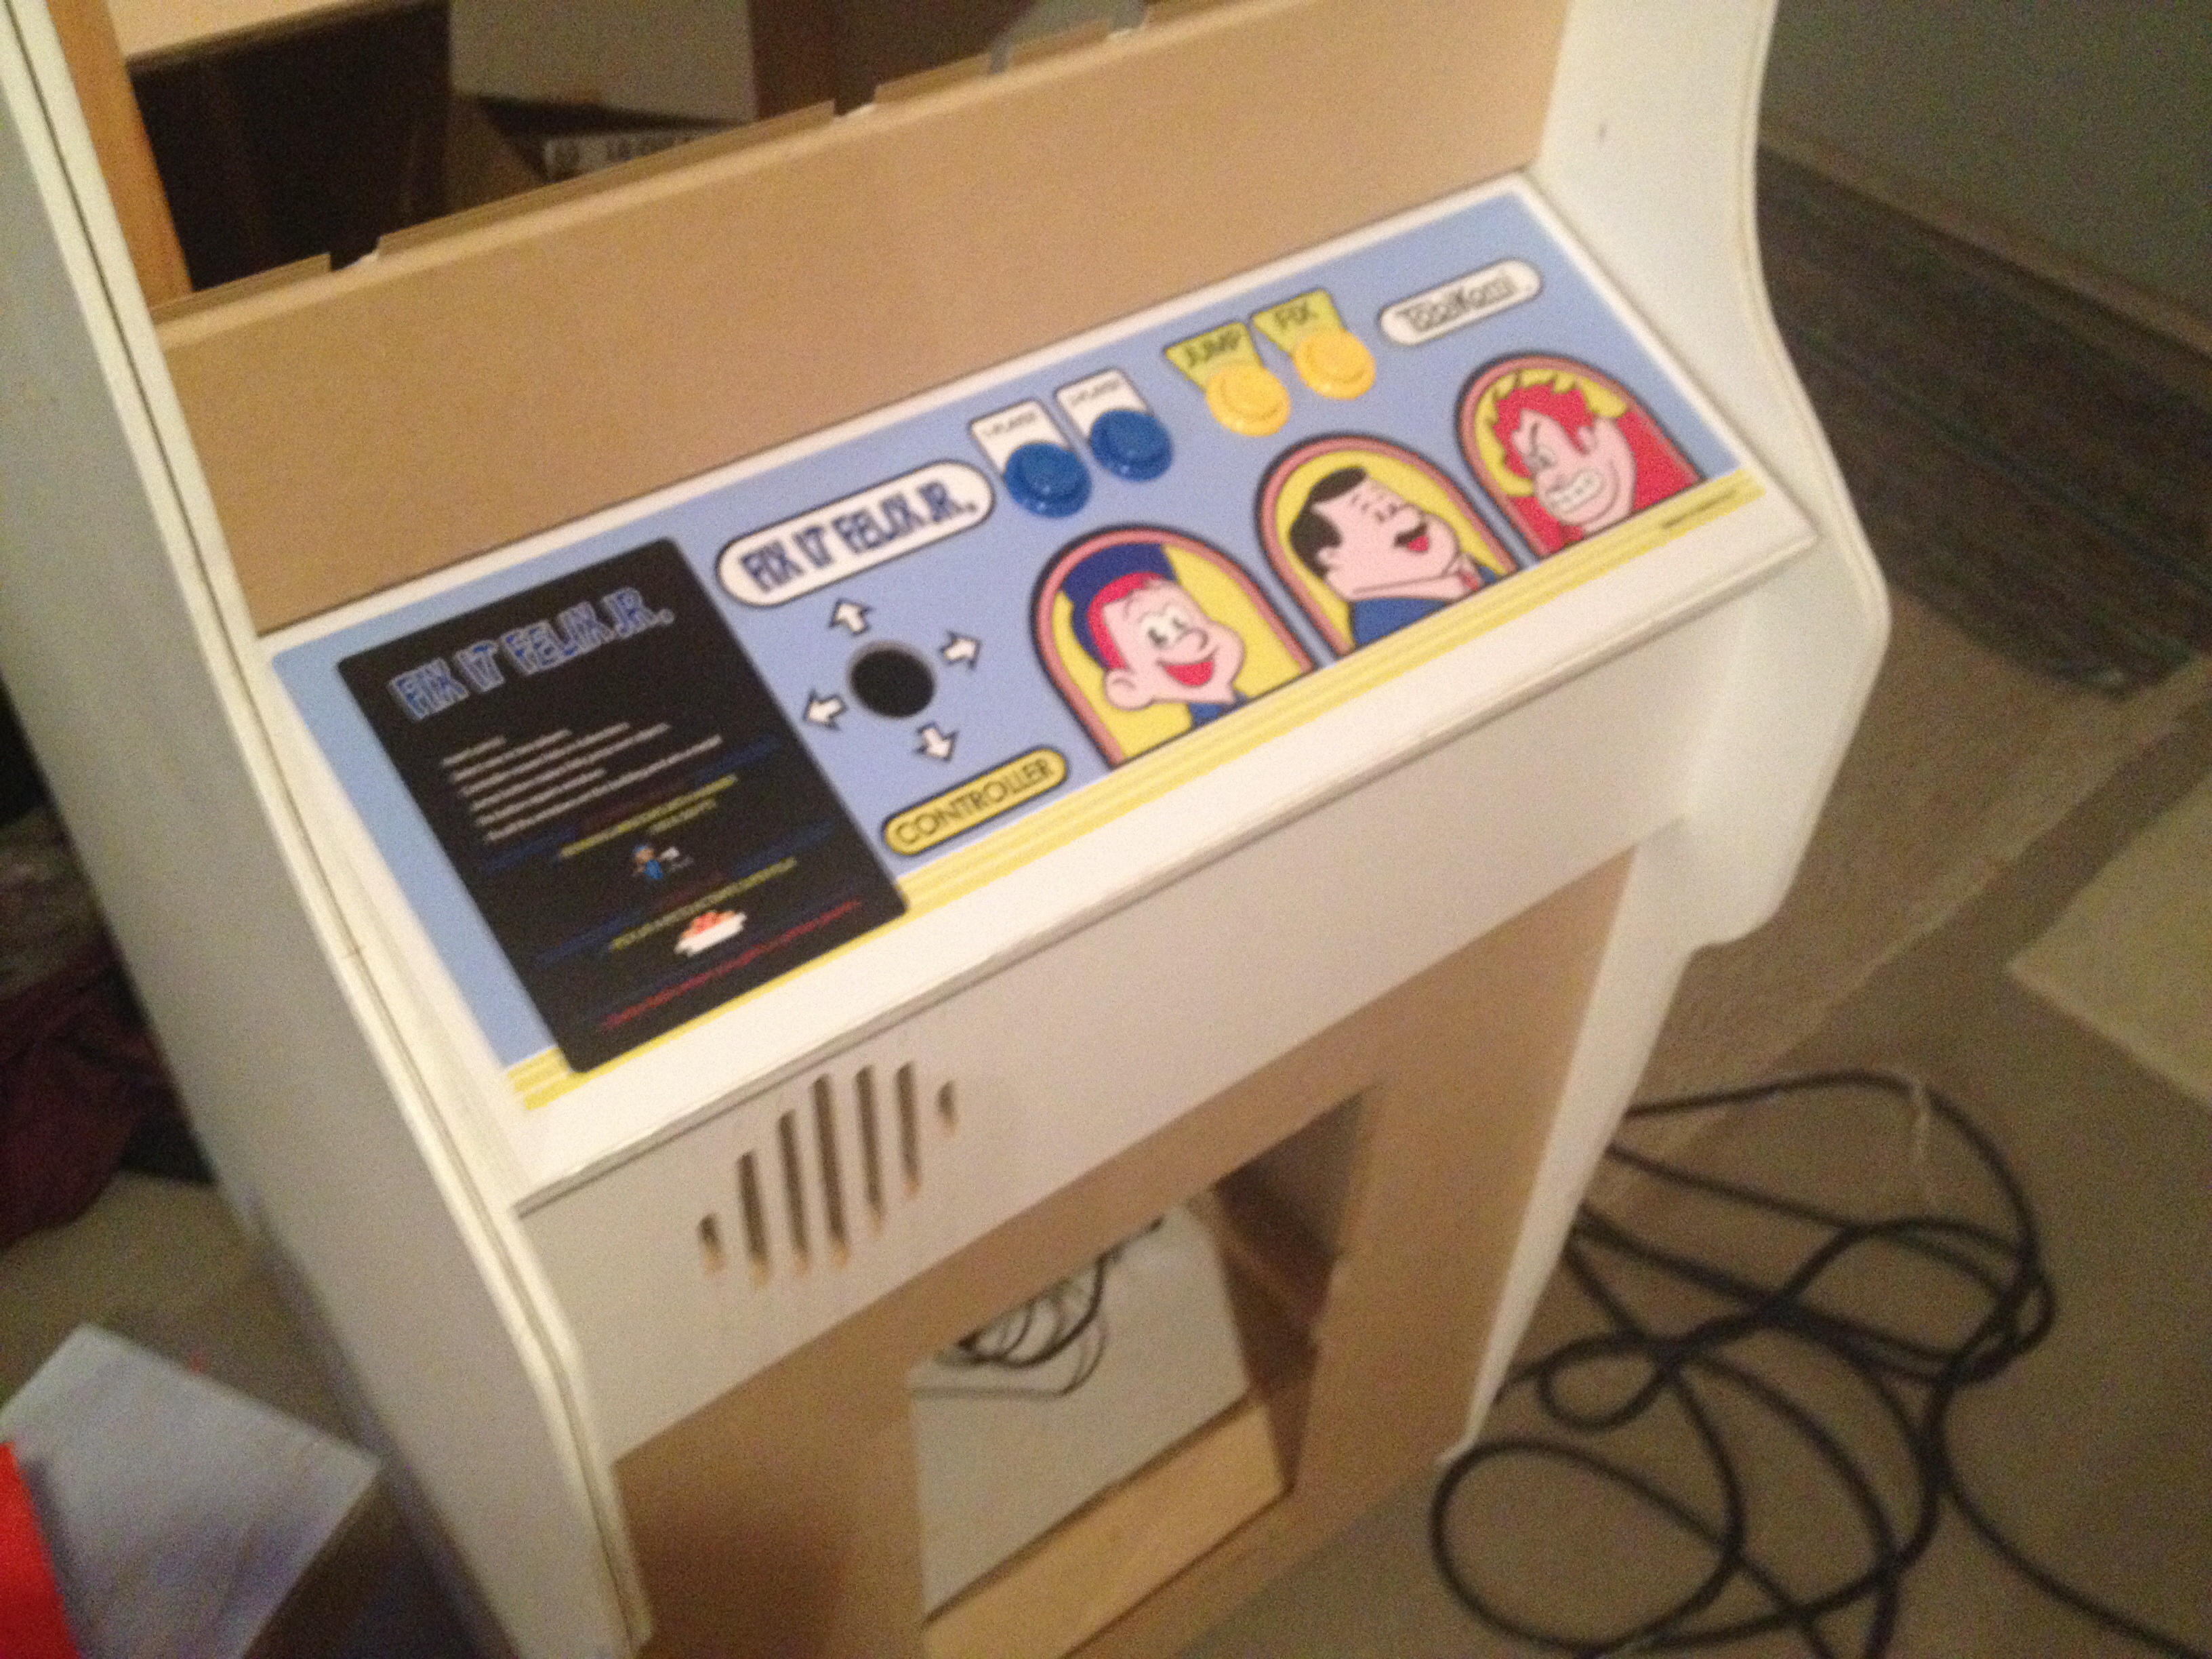
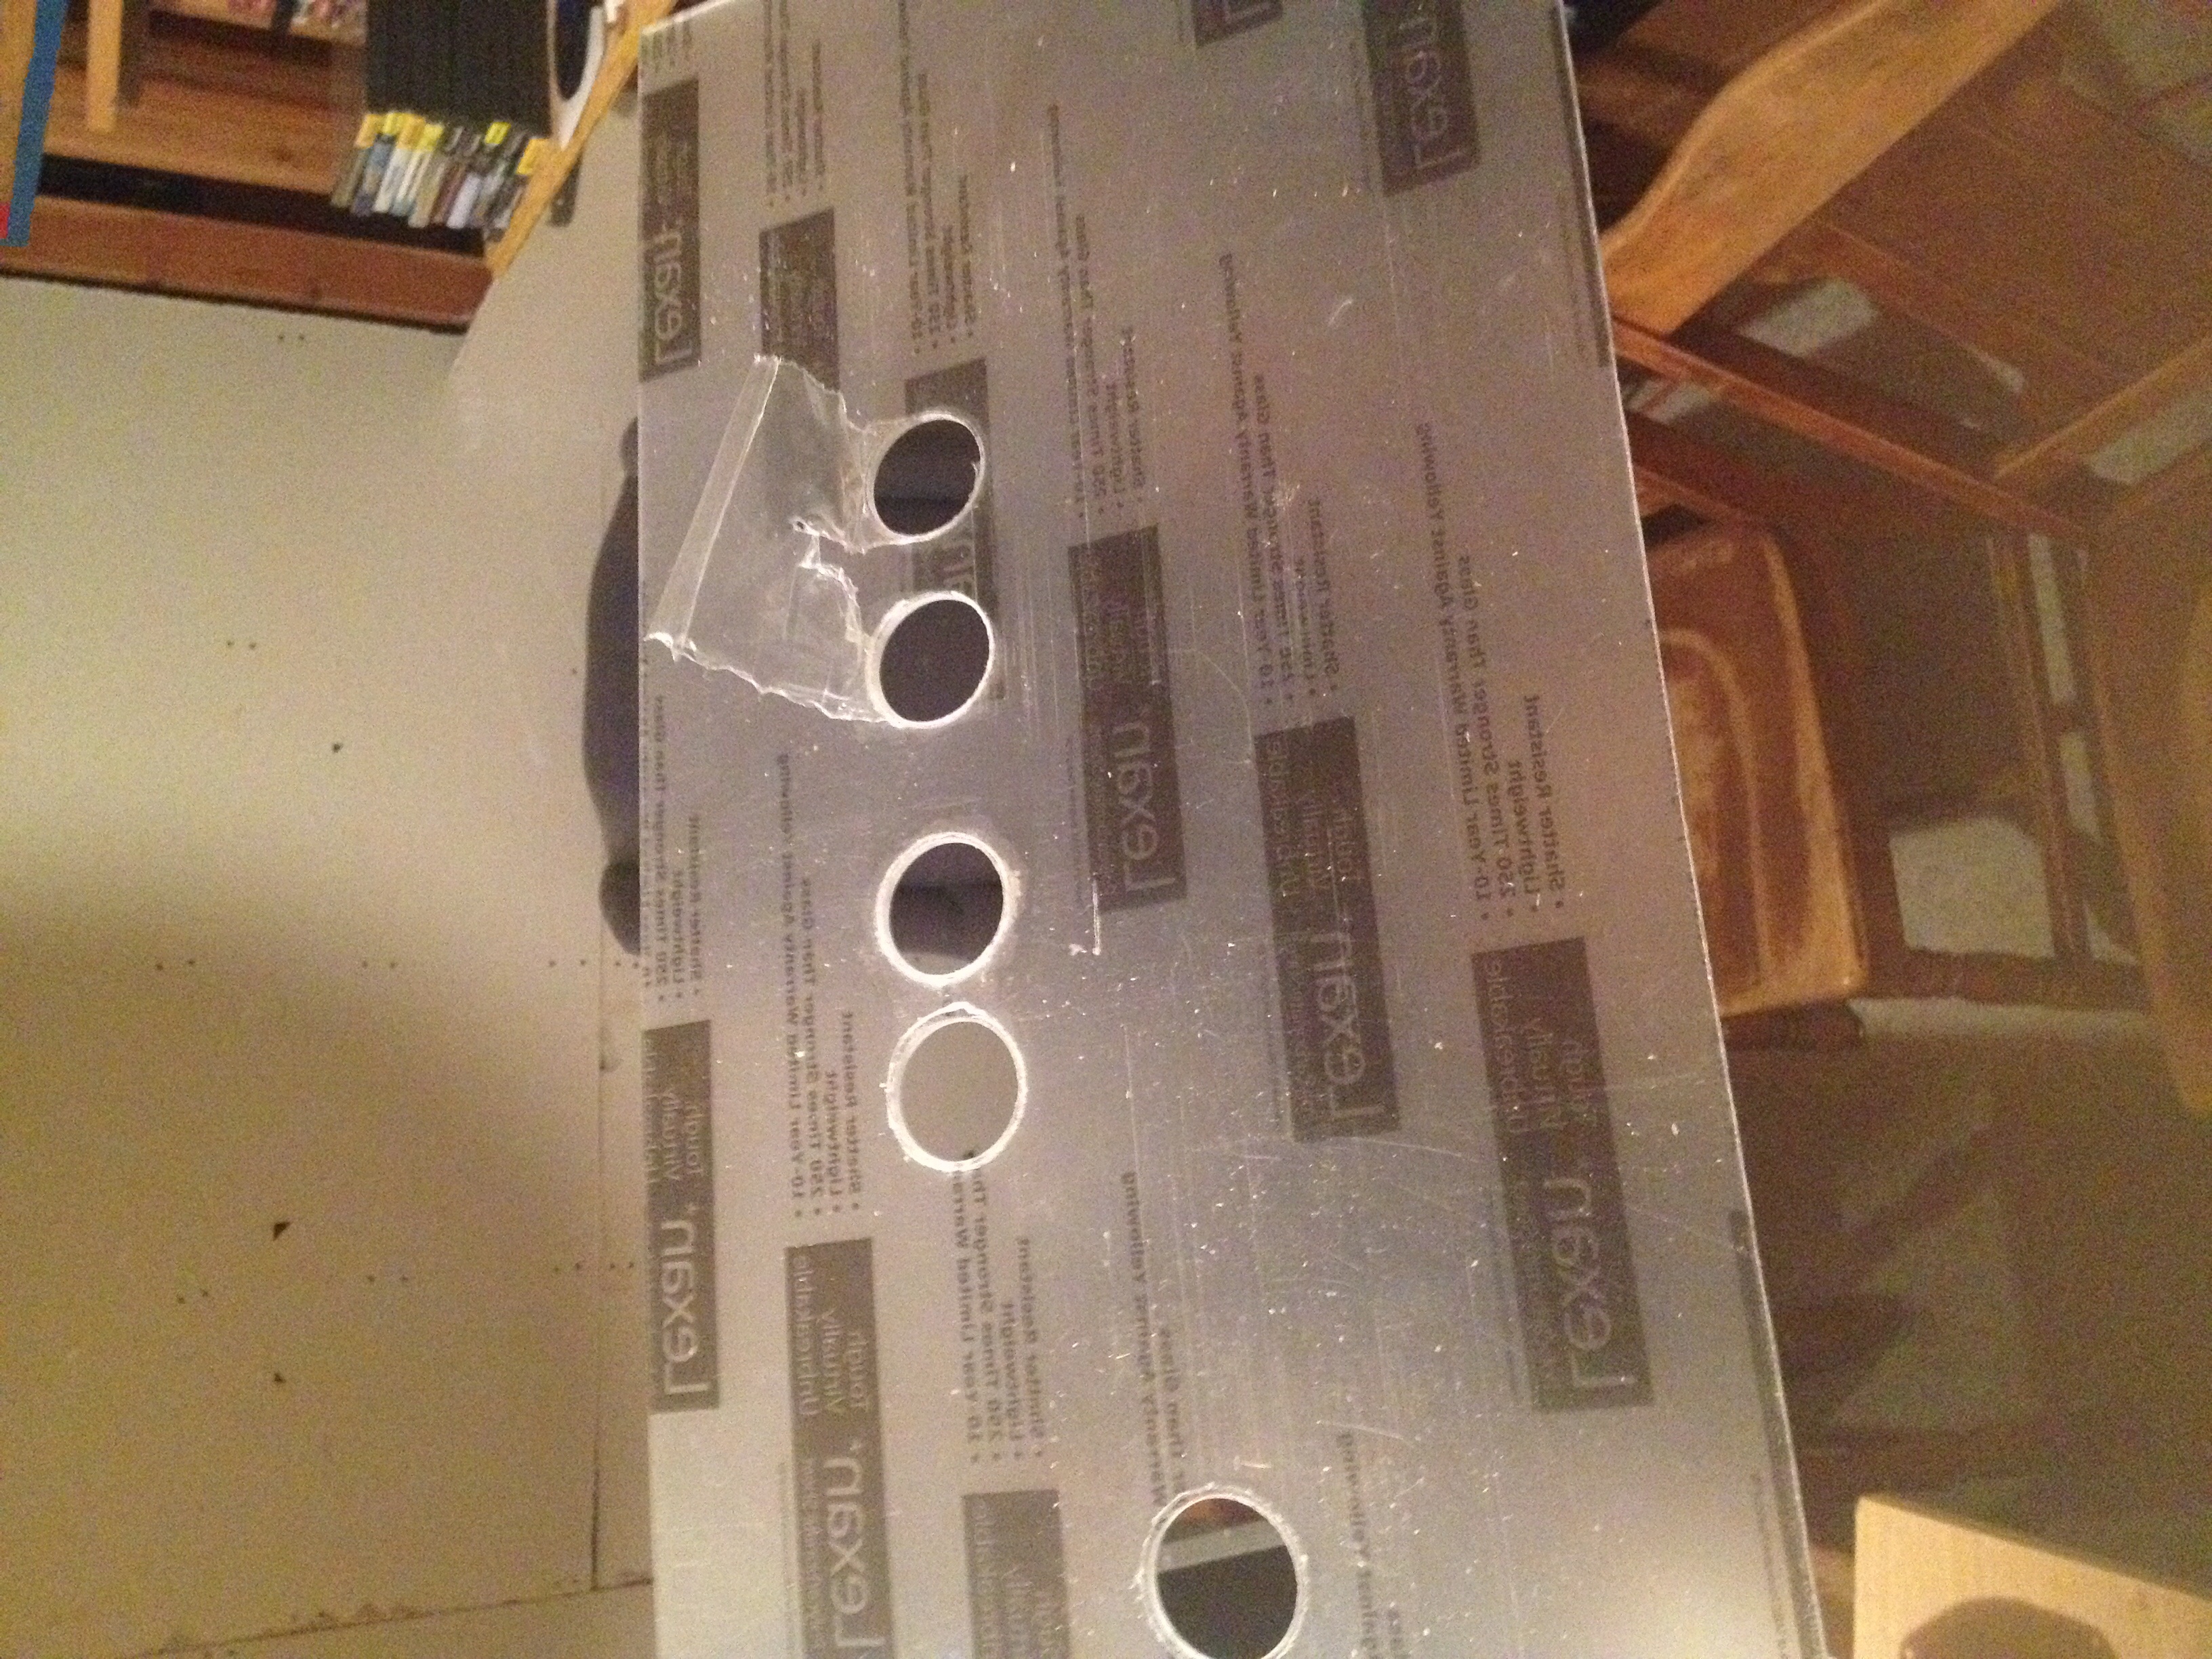
FiF, Jr: Week 16: Cutting holes in Plexi and applying artwork
Well, this week we cut some plexiglass for the control panel. I want my artwork to be protected and I also don’t want to have my artwork directly attached to wood – incase I ever need to replace the wood panel. So, that means I’ll have two layers of plexiglass. In total, my control panel will go:
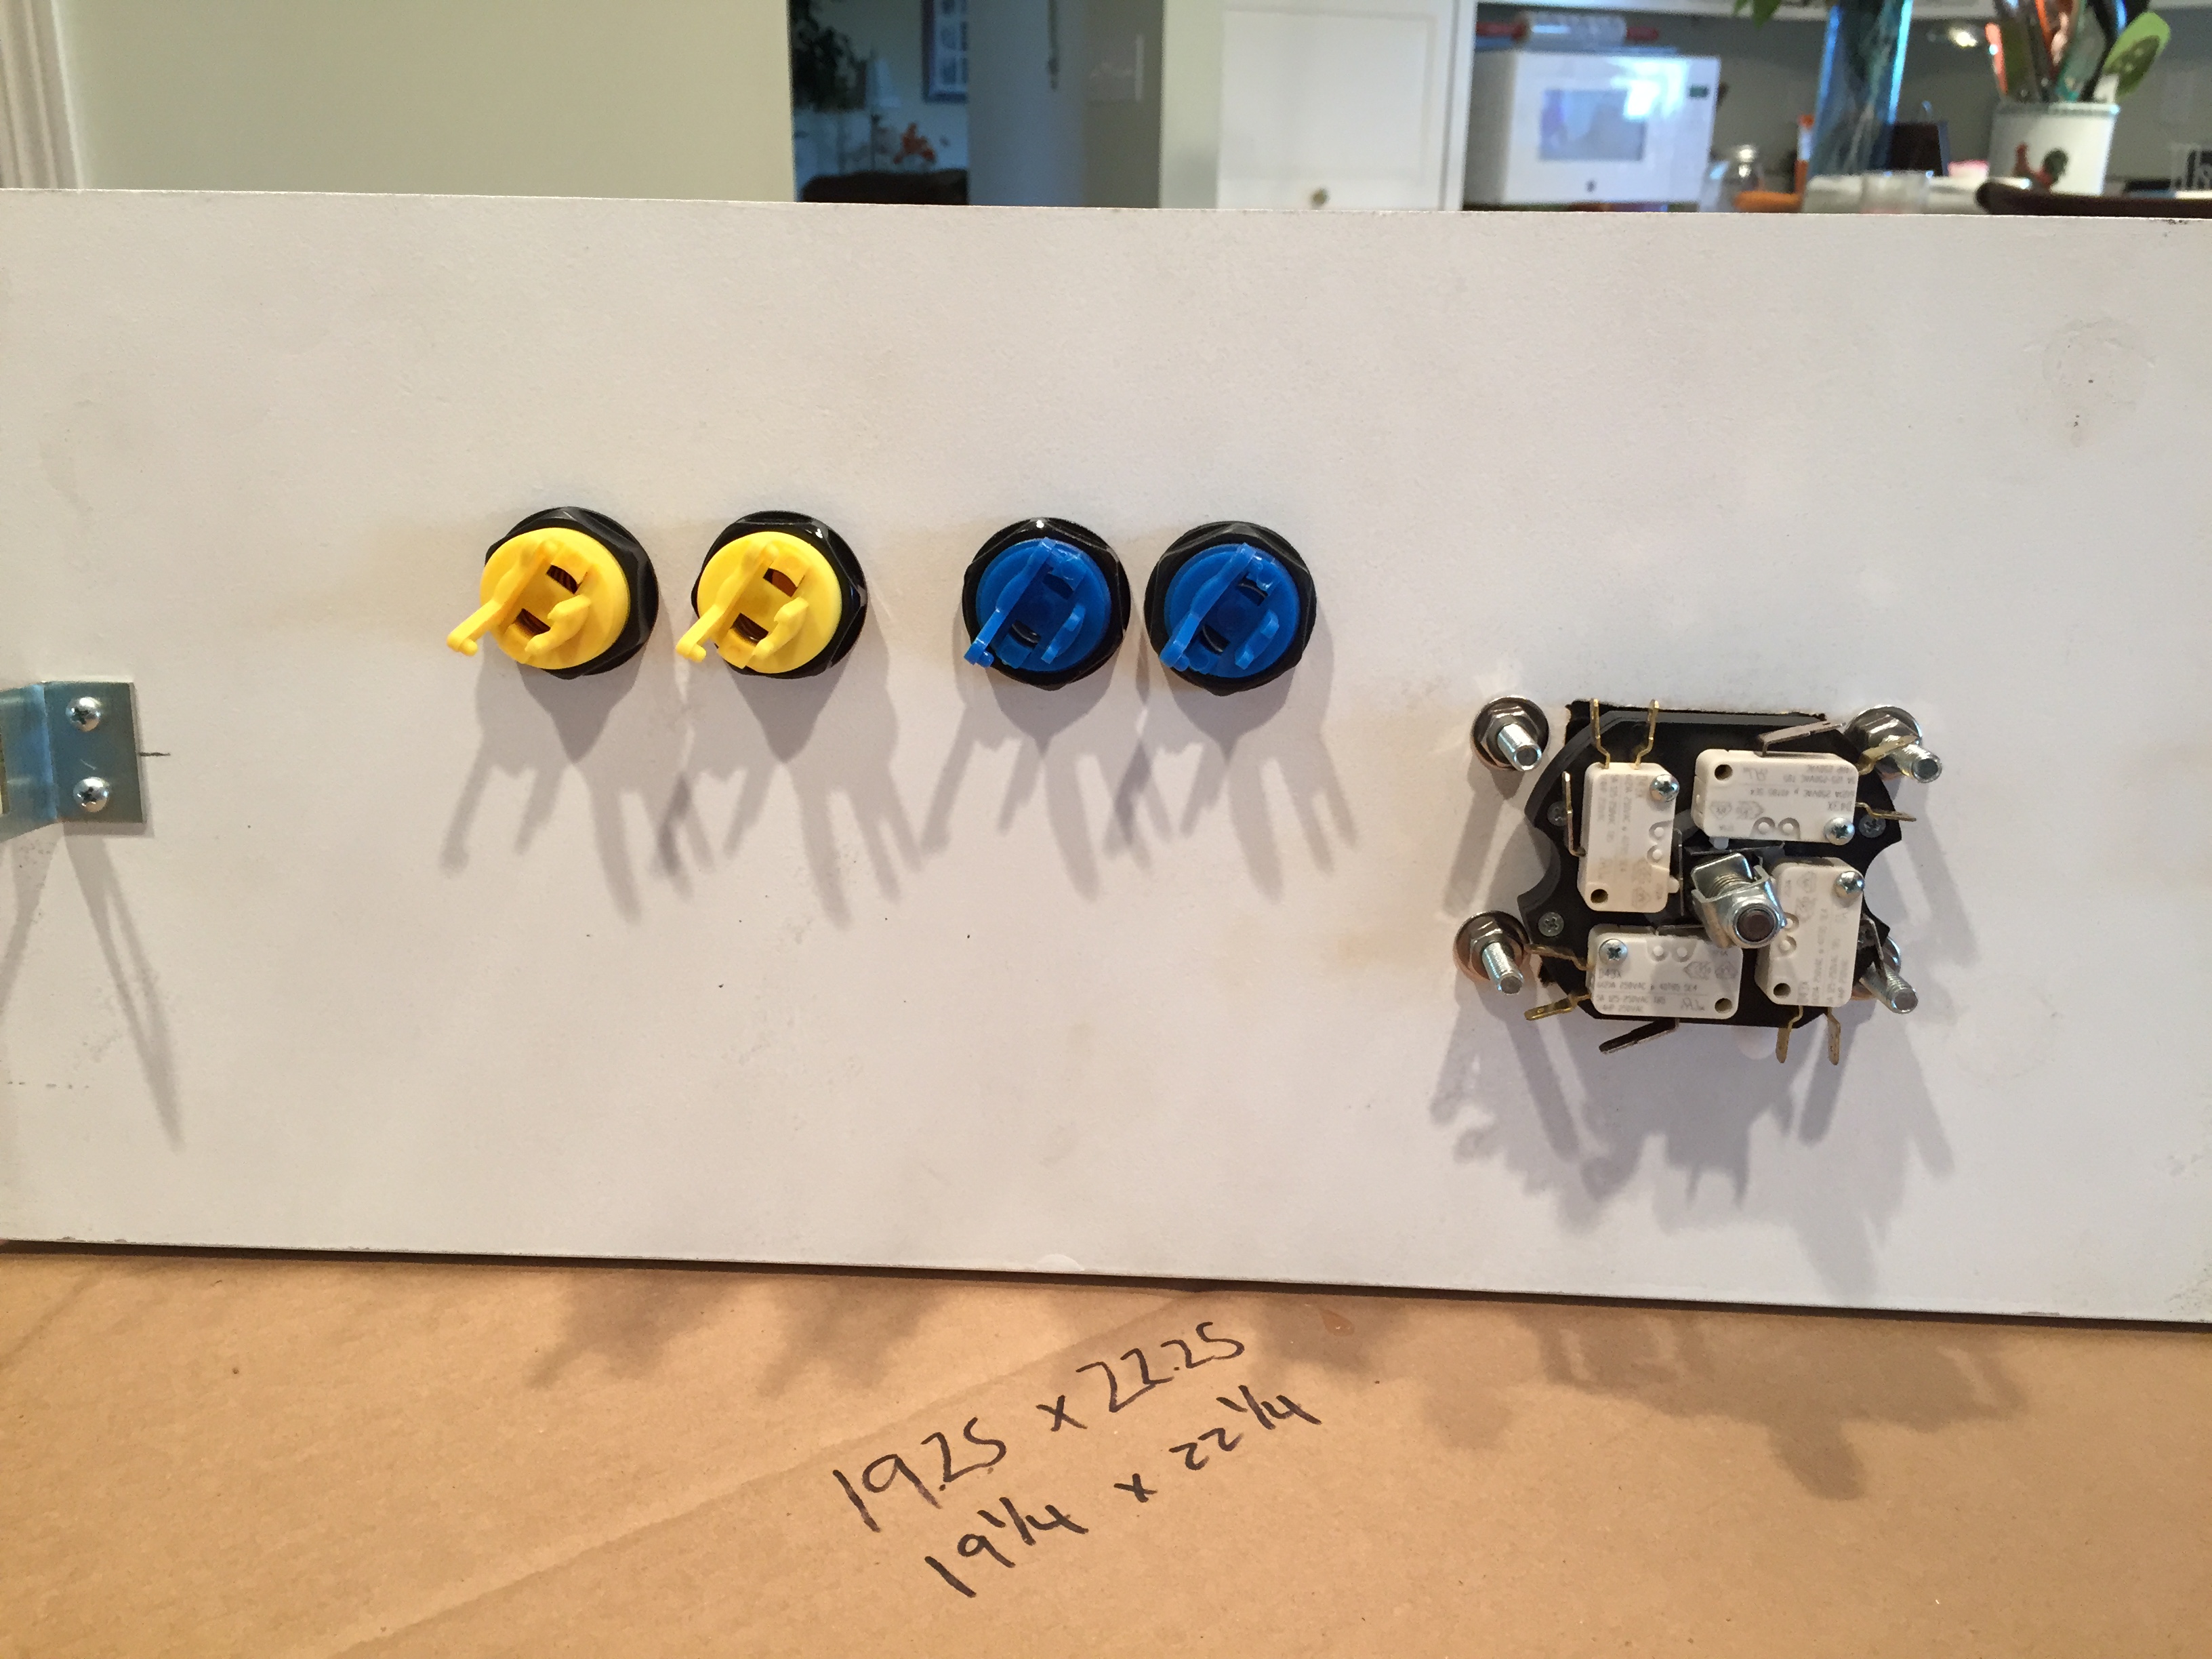
This required us to cut some plexiglass; thanks much to our neighbor Mr. Ekola for letting us use his table saw. Then, poppa and I hopped on the drill press, in combination with a forstner bit to drill holes into the plexi. We learned the best method was to sandwich the plexiglass between two pieces of wood. In our case, one piece was scrap. The other piece was the wooden control panel so that the holes would line up properly. This helps keep the plexiglass in place and flat while drilling so it won’t crack or splinter. Worked pretty slick! I then applied the artwork to one of the pieces by cleaning it first and then lining it up. I taped half of it down and used a clamp. Then applied the sticker portion to the remaining half. After that, removed the clamps and finished up. I did a decent job but somehow my lineup got off just a tad so the holes are about 1/8 inch off. This’ll have to do because I’d rather not buy more artwork. BUT I definitely learned a lot for the future.
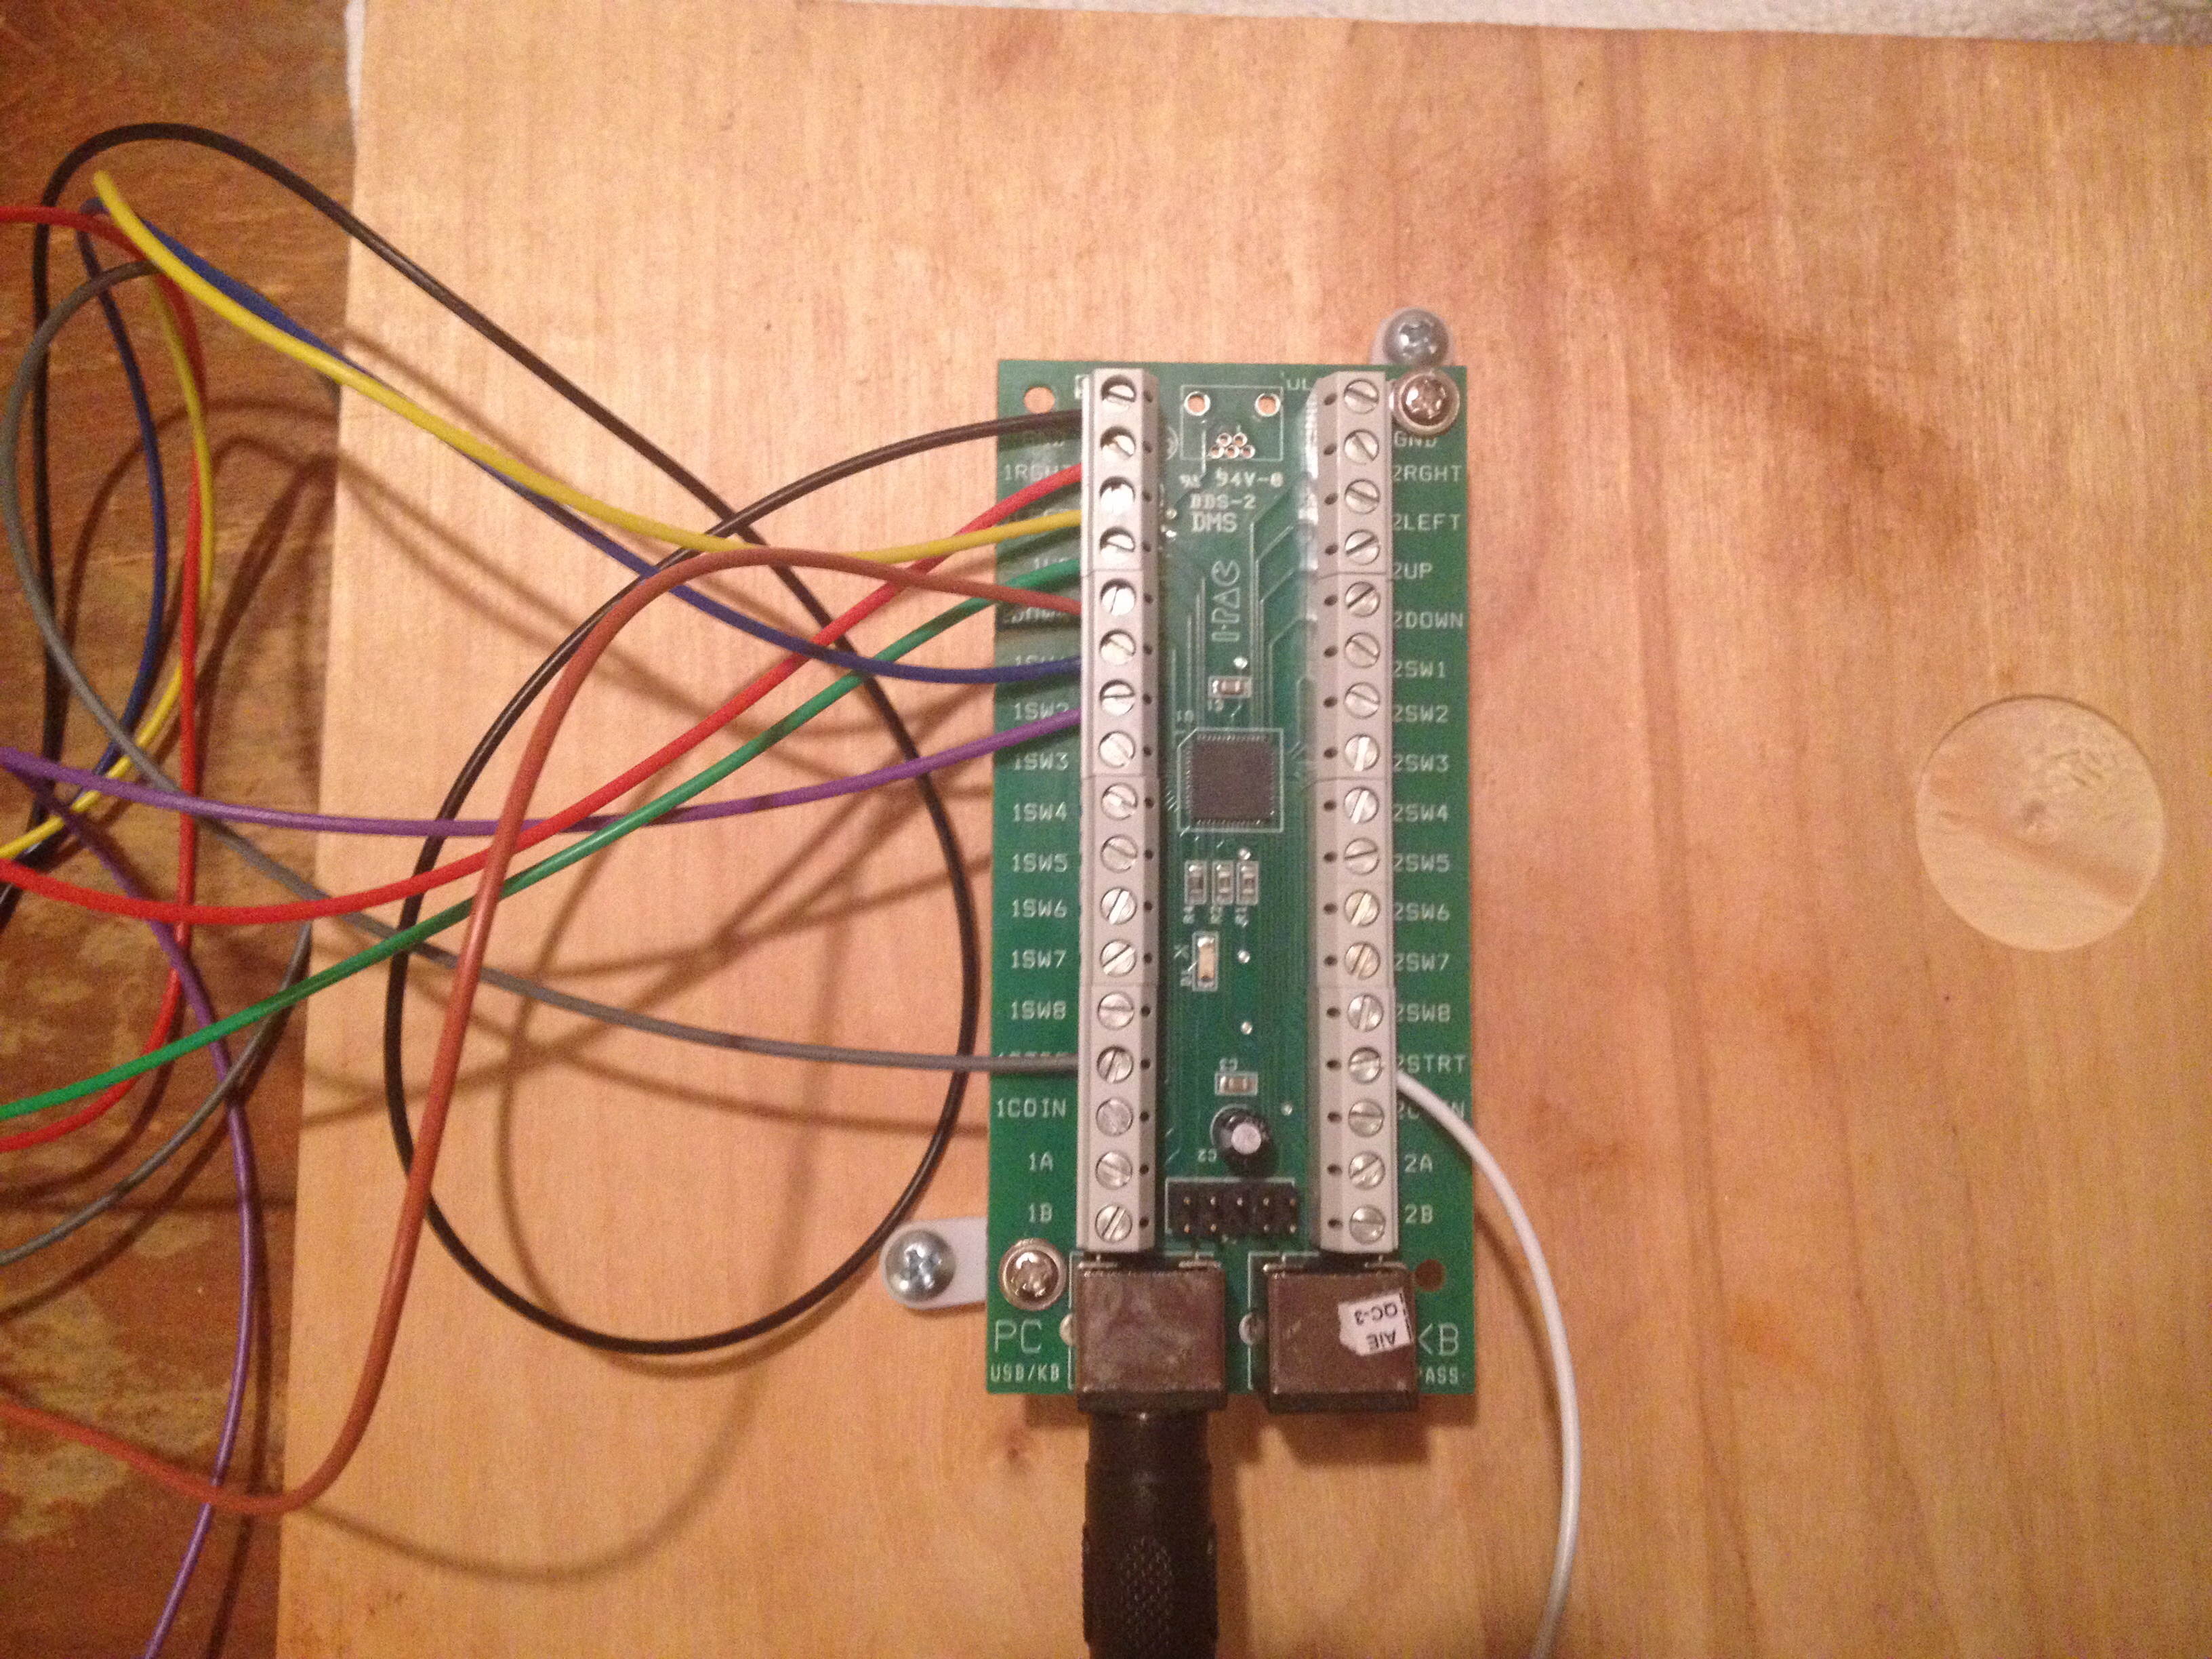
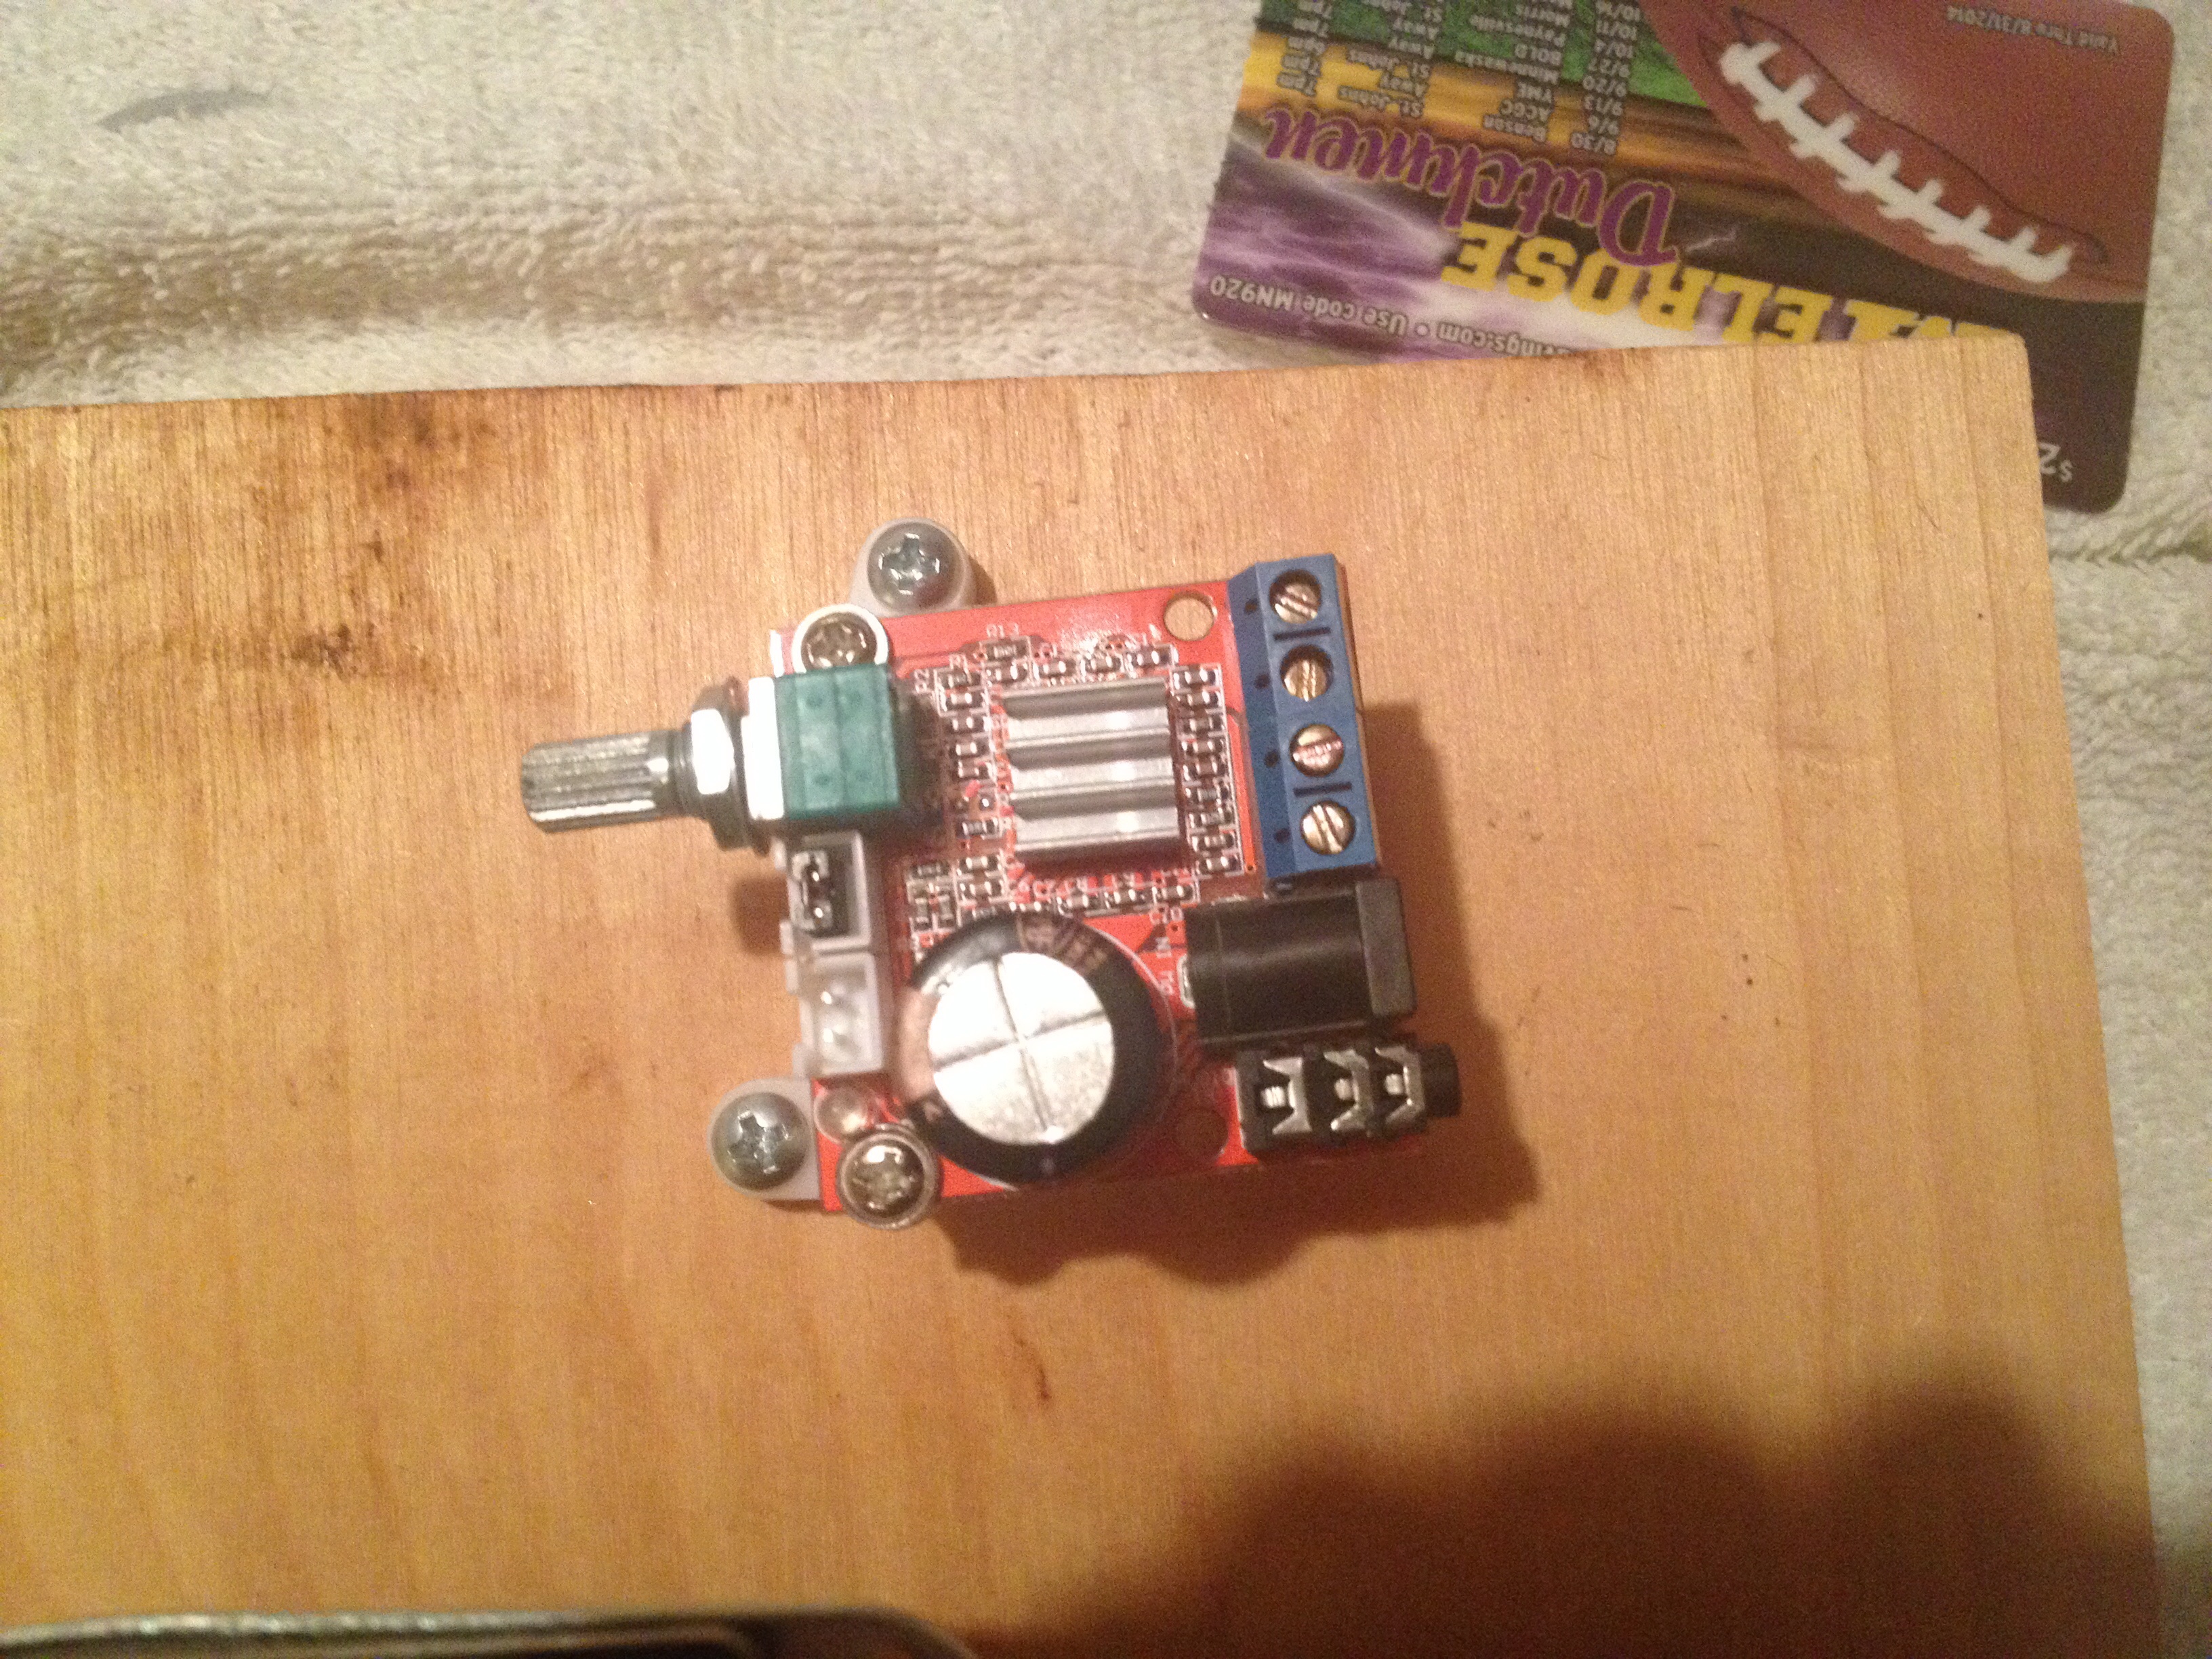
I also attached the IPAC Controller Board and a sound amp to a piece of wood. That way those pieces can easily be removed for servicing if they ever need to be. (similar to removing an arcade PCB!) I tested the amp with my speaker, works well enough.
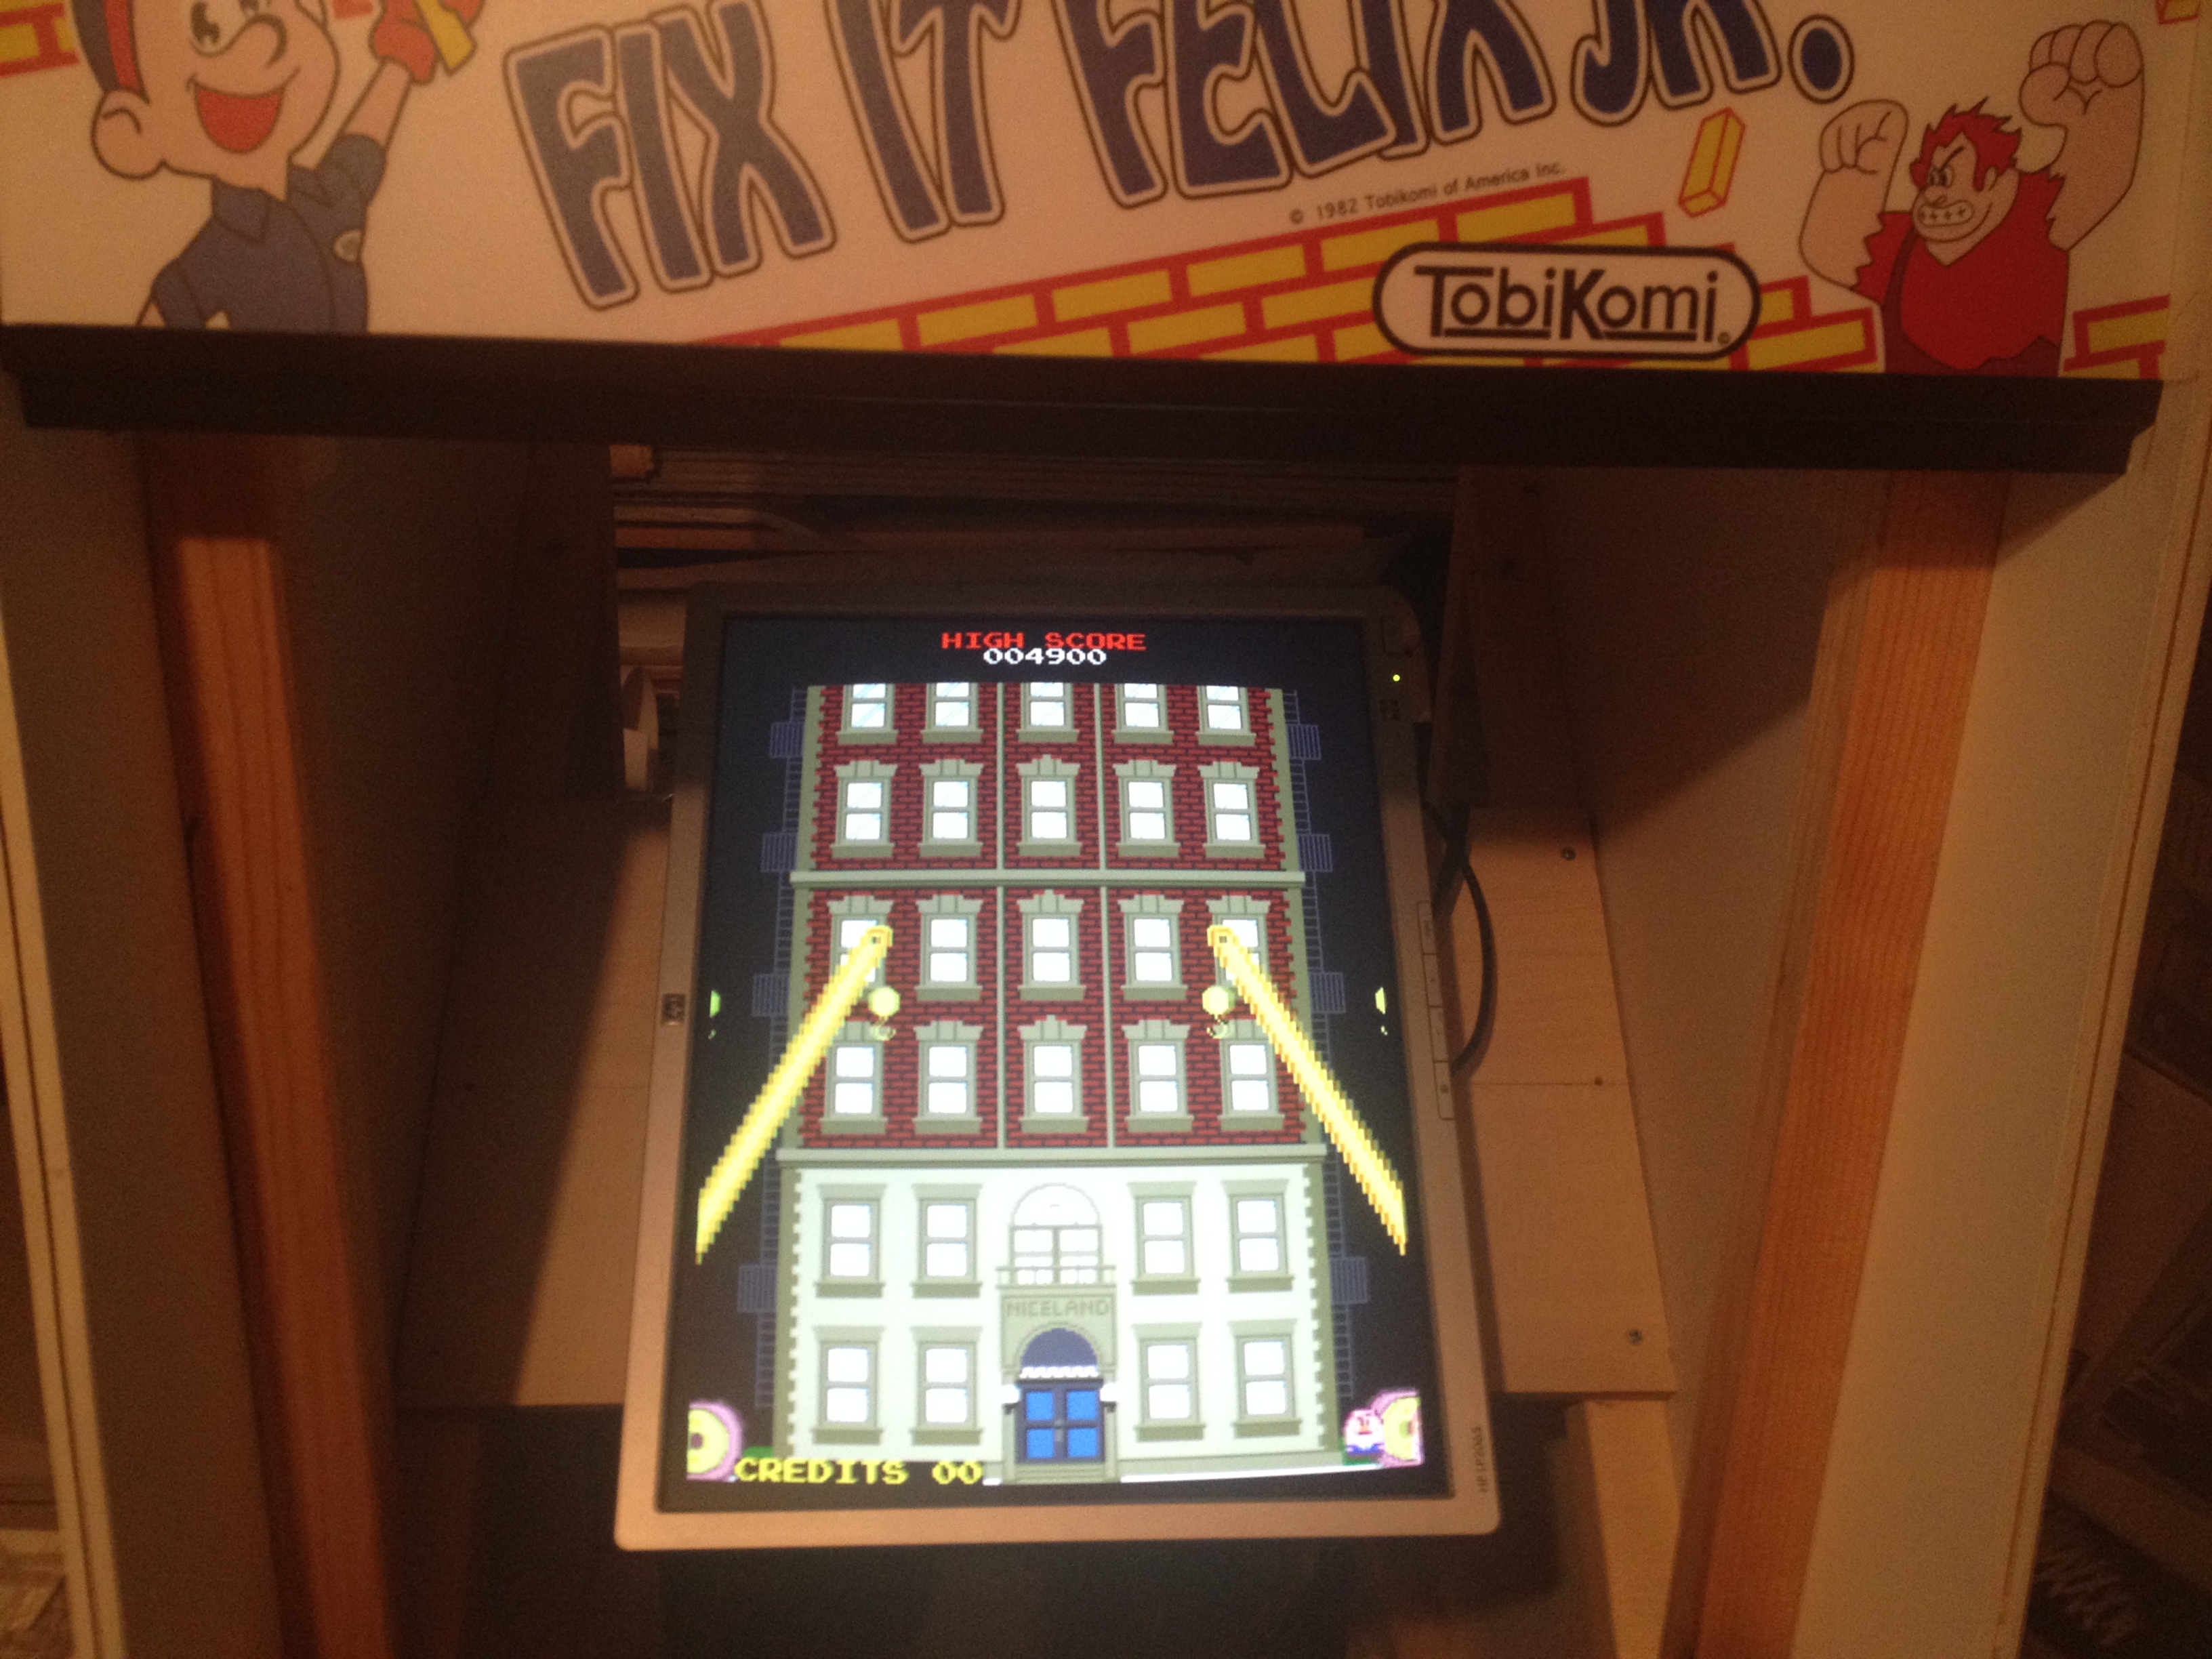
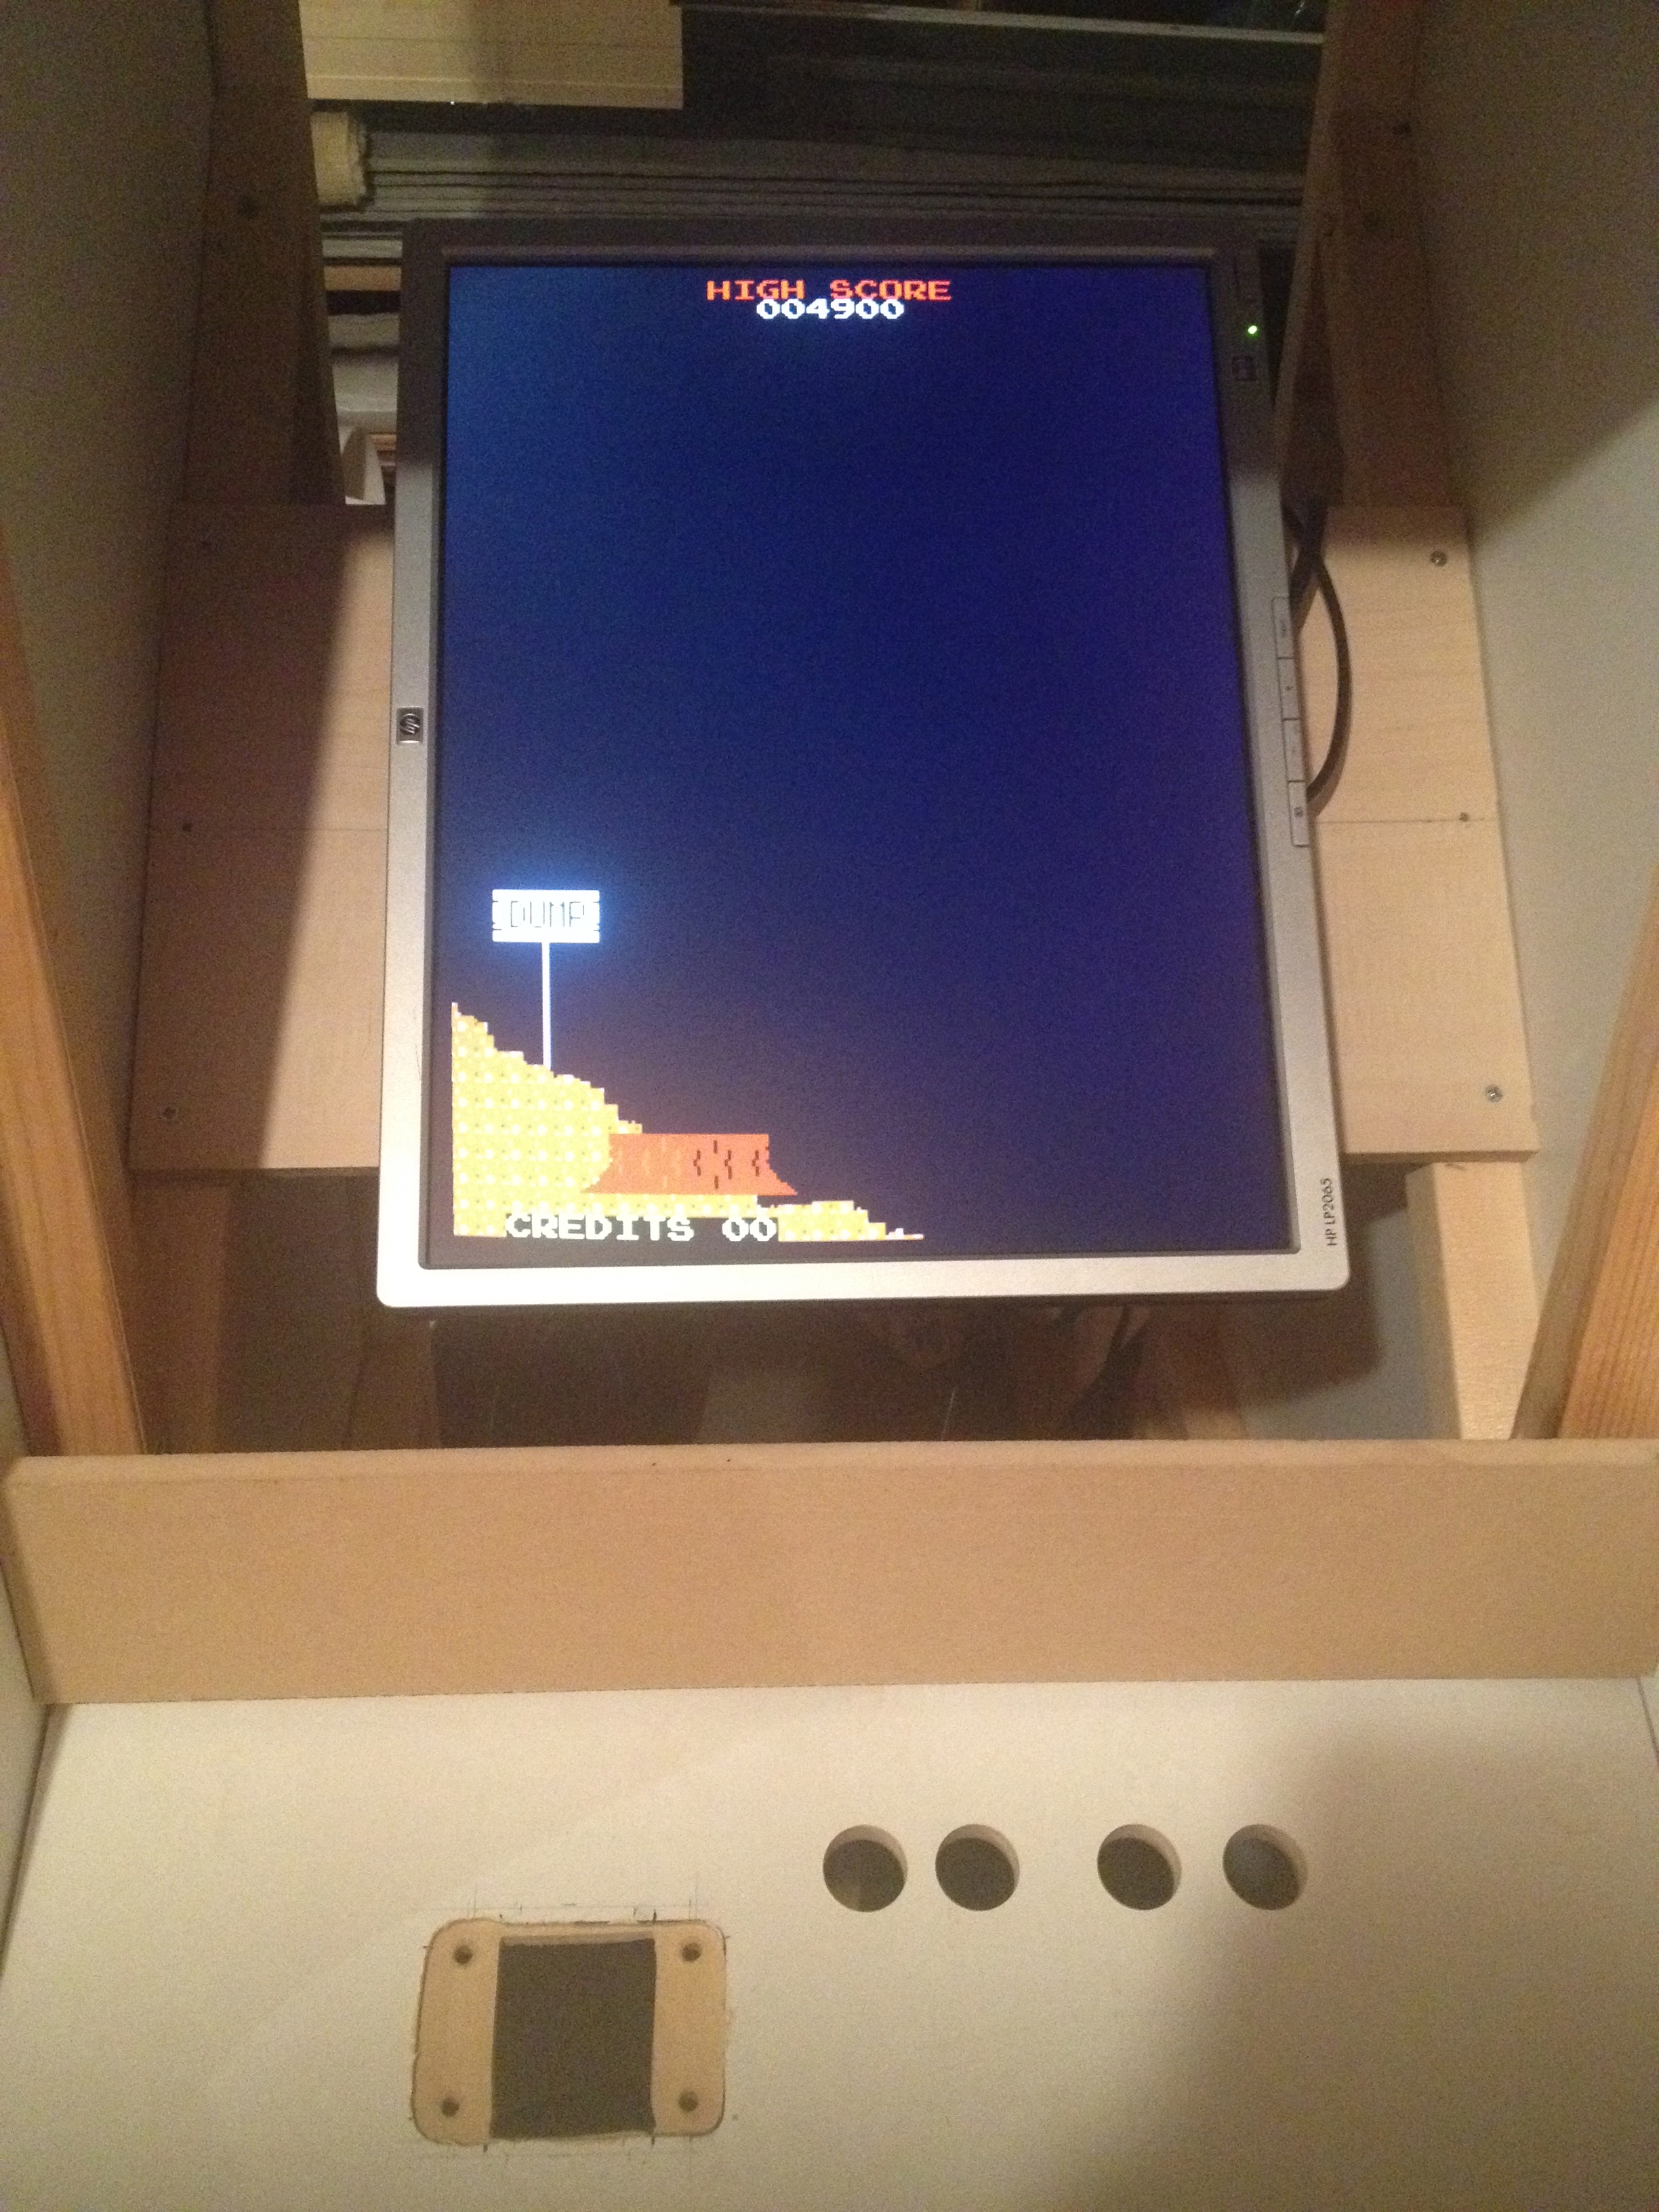
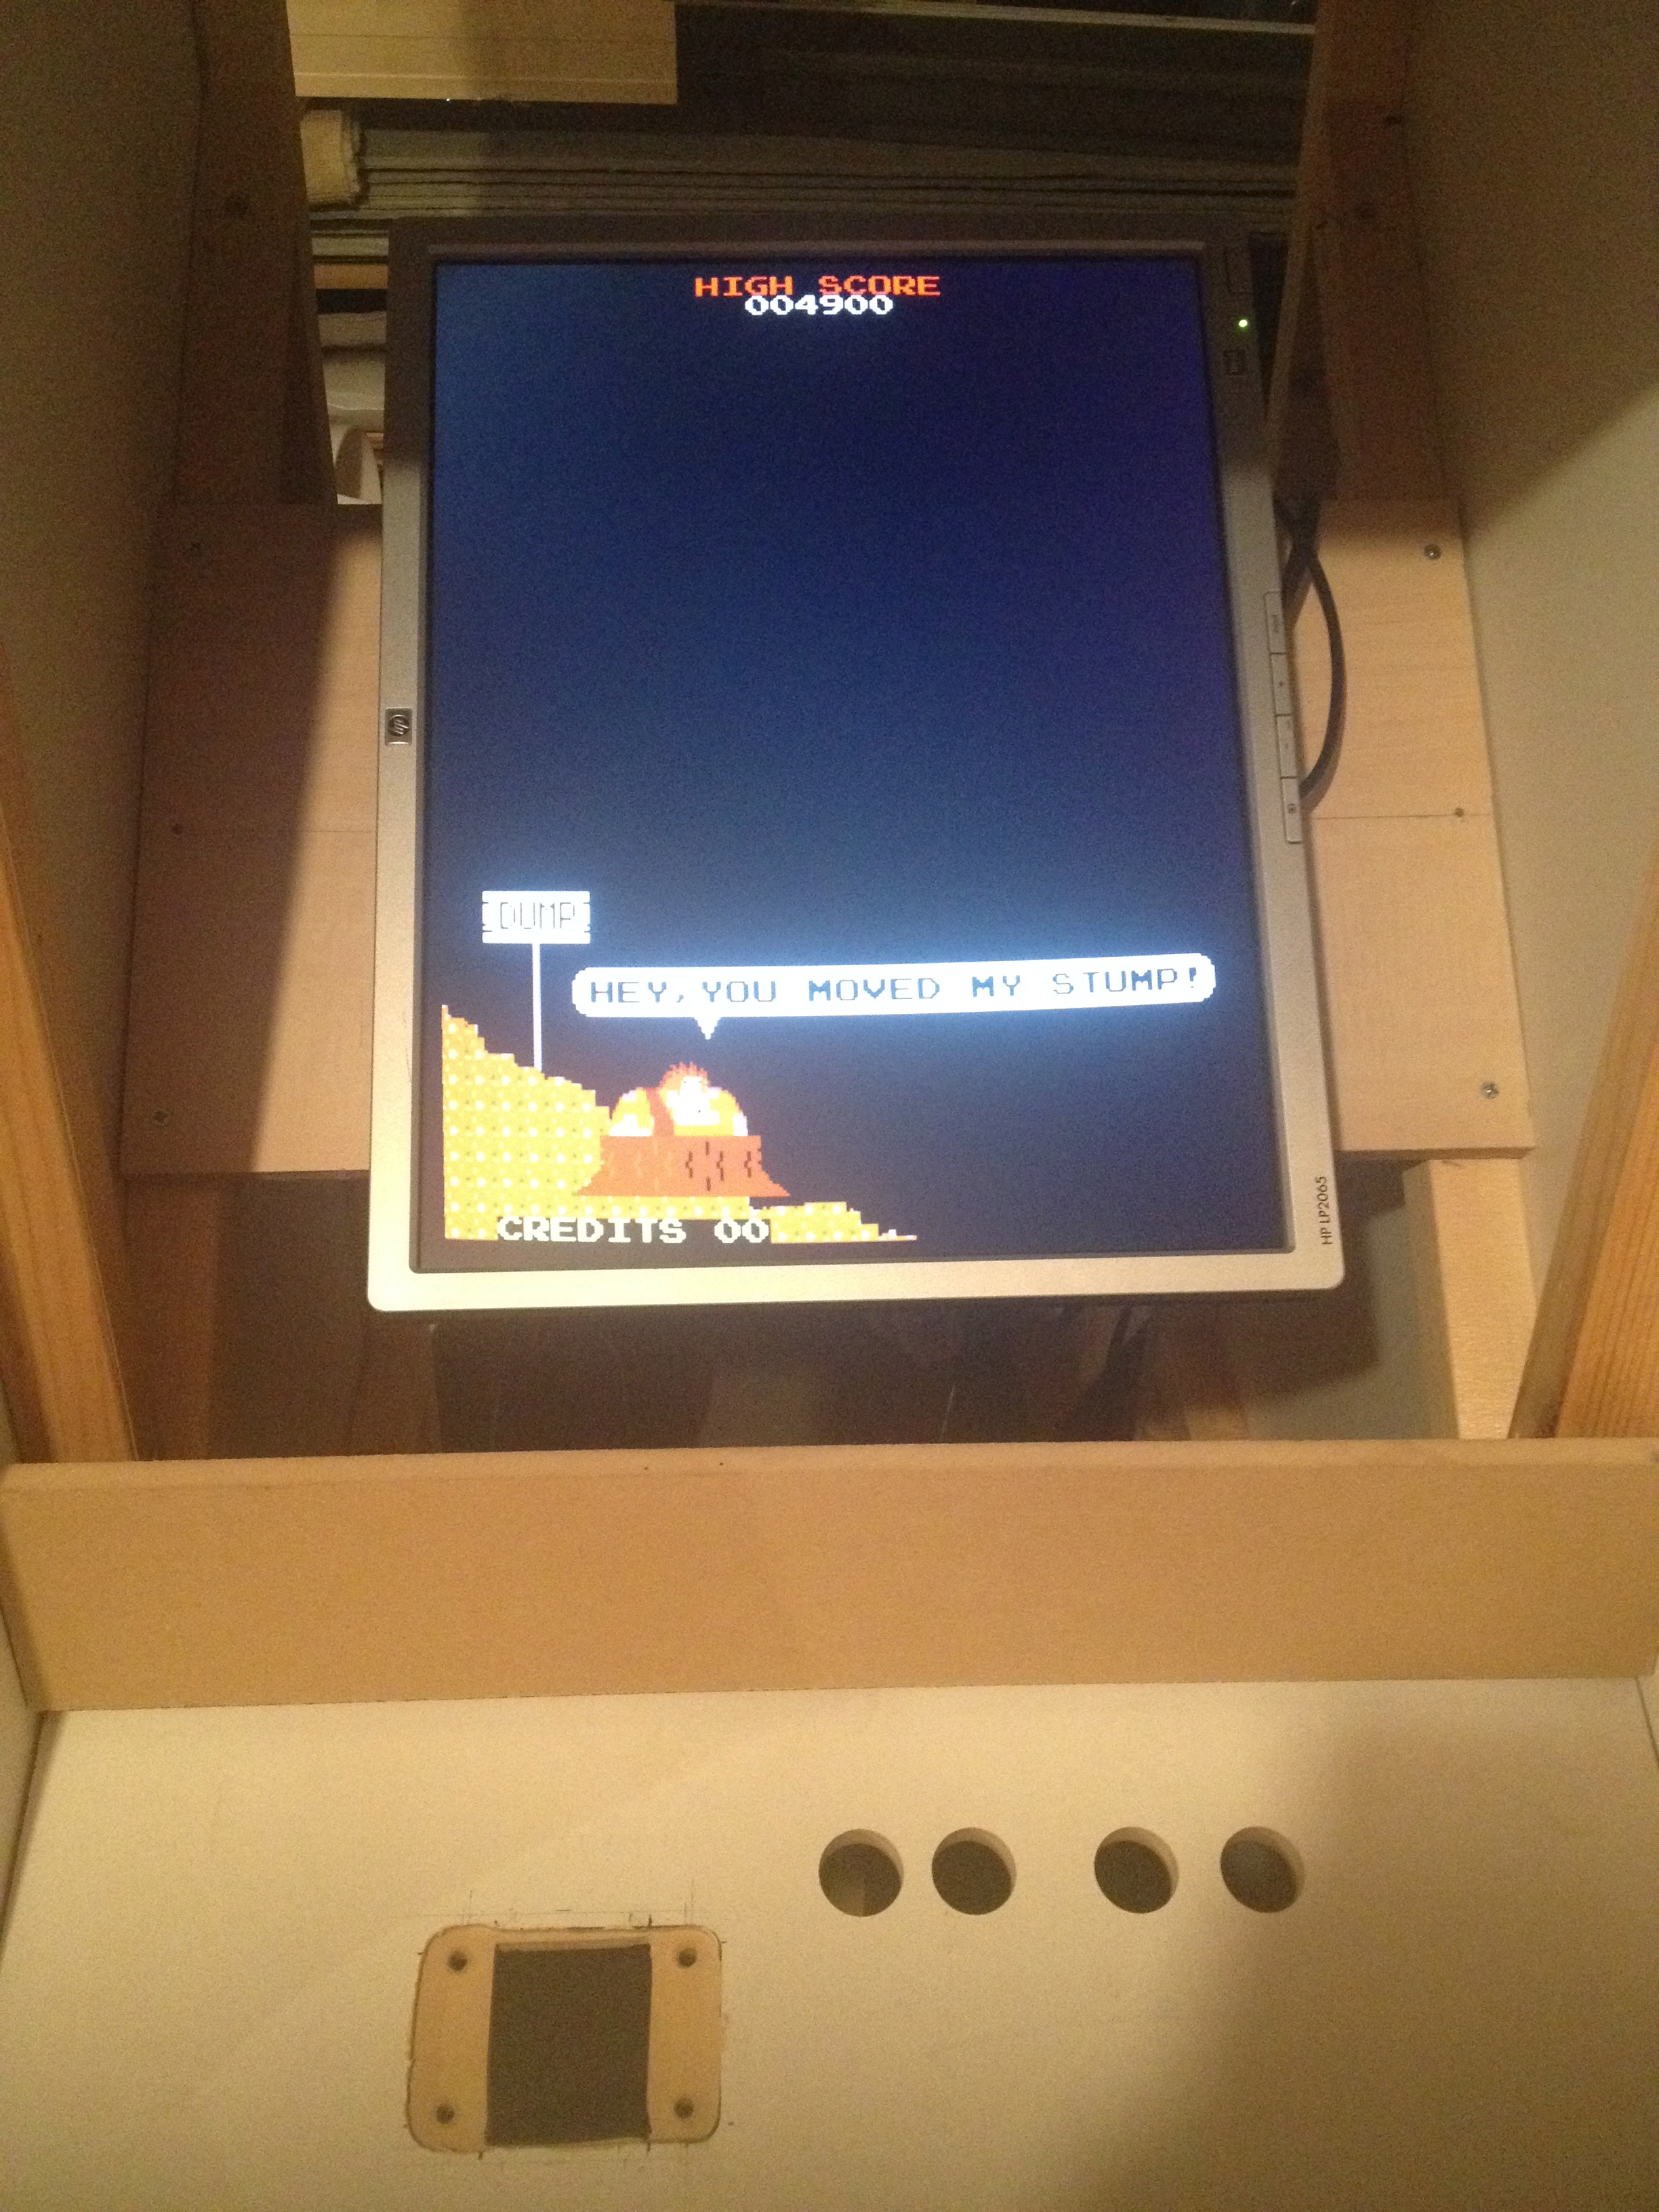
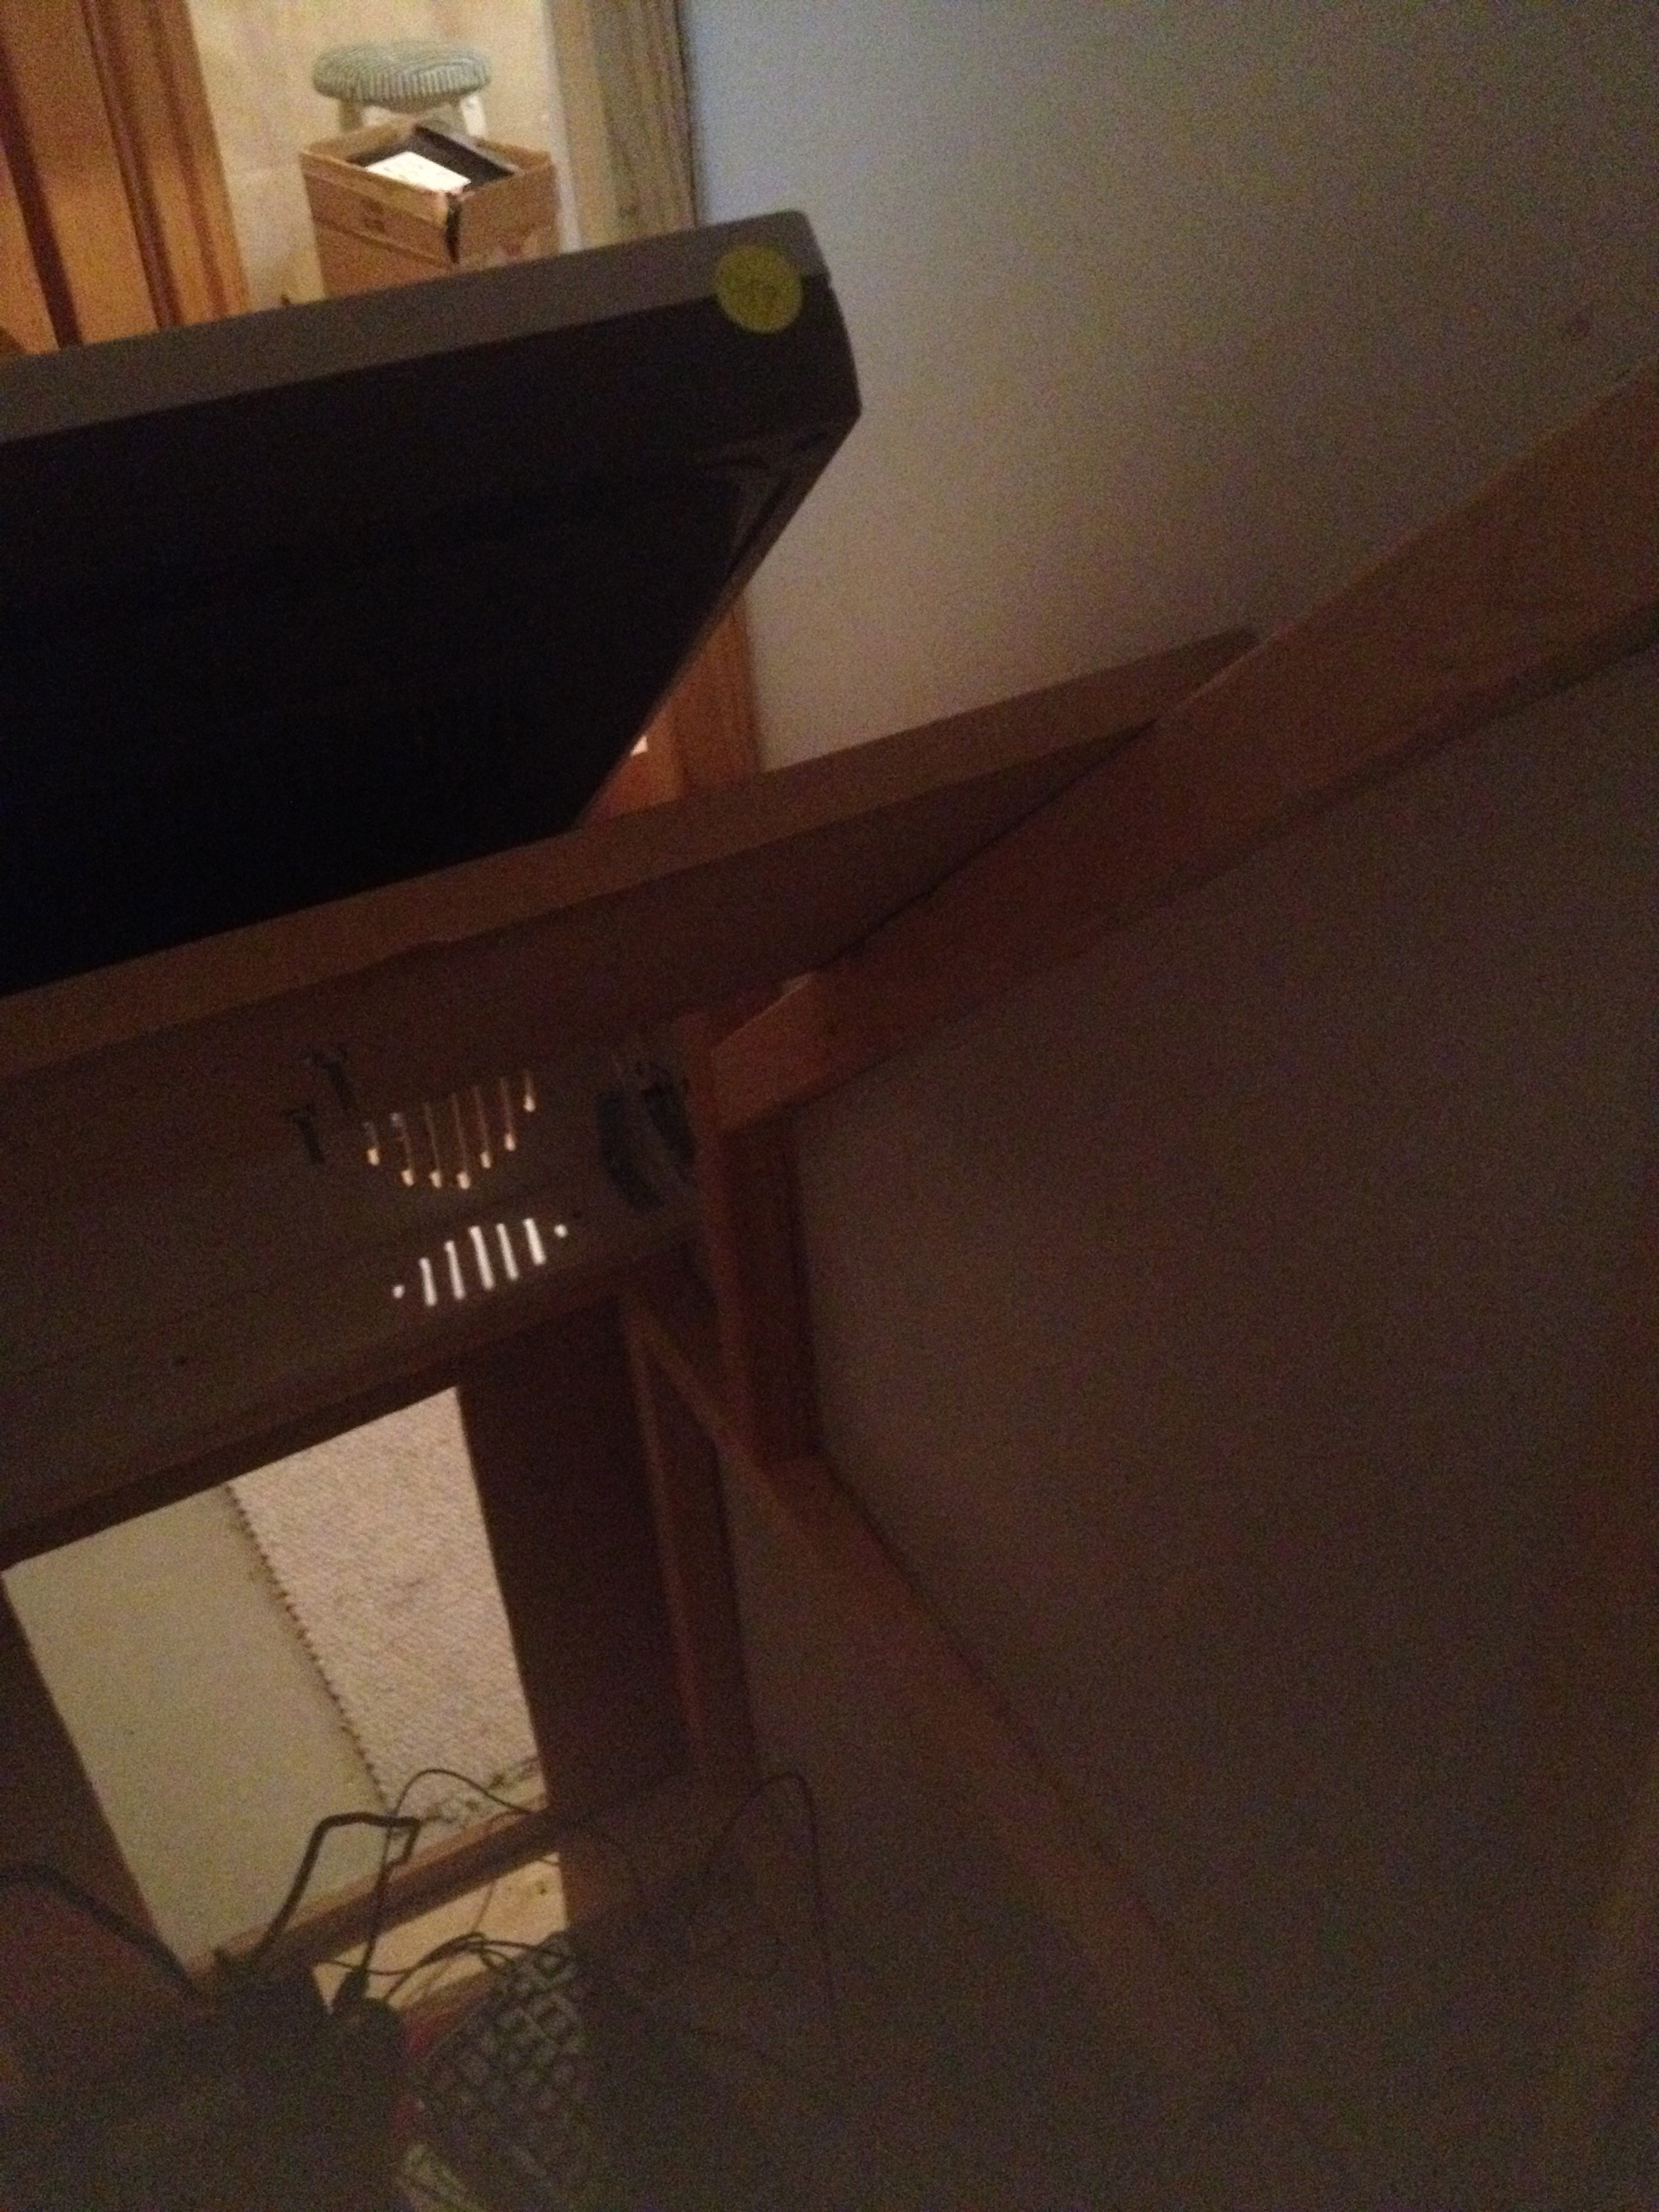
It was a pretty exciting week, because we mounted the monitor! This let us see what the game would look like in the cabinet for the first time, playing. I opted to use an LCD monitor, for the cheap price, easy to find, and ease of use with the computer. In a perfect world I’d be using an actual arcade monitor or a CRT of some sort, but there’s some difficulties with that. CRTs way A TON, so would be much trickier to mount for novices like us. They also don’t easily hook up to a computer, or display the resolutions that computers typically like. Many computers have a minimum resolution of 640×480 while an arcade monitor may be even less. Specifically their refresh rates are often much, much lower. They make special graphics cards and adapters to help, but I opted out.
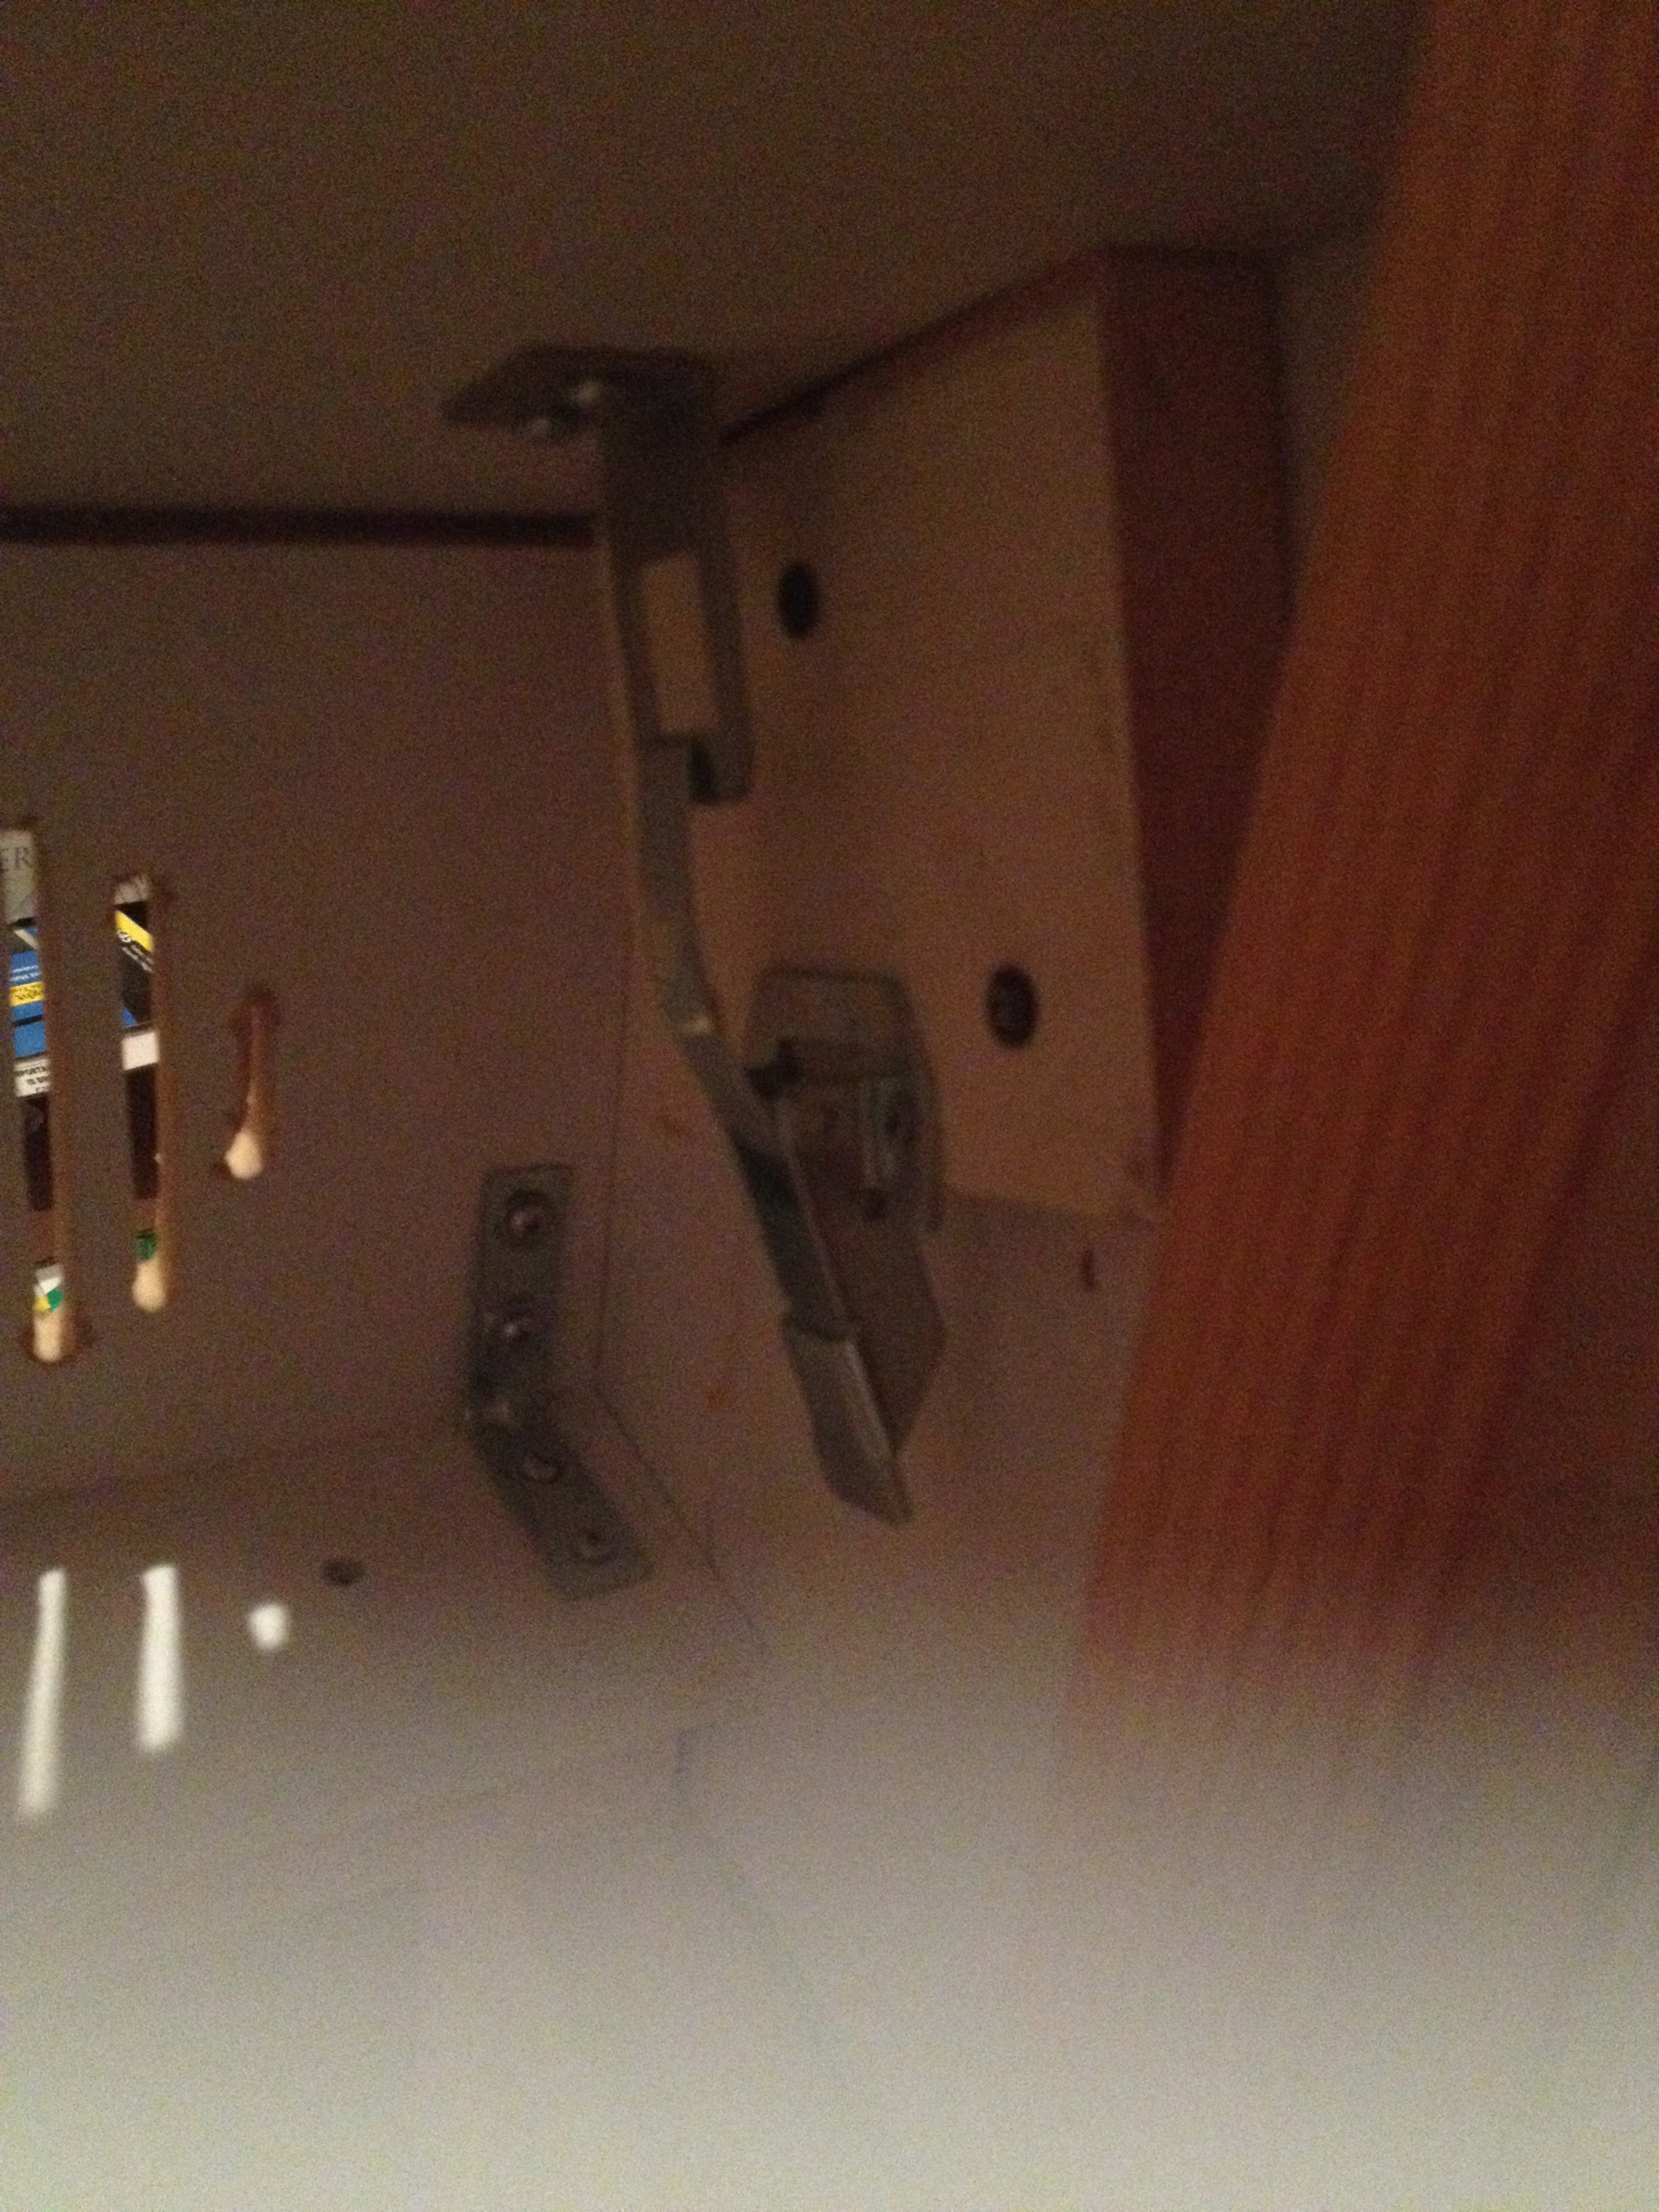
The LCD screen I got actually had a stand with it. I broke the stand apart, and then mounted just the rear part to wood. The monitor then attaches to that. It has the bonus benefit of having a lever which can easily release the monitor, which means if I ever need to move the cabinet or remove the monitor for another reason, it won’t be too difficult.
Our project continues. The goal this week was to attach the latches that hold the control panel in place. Really shouldn’t be too difficult but we still hit a few hiccups. Continue reading FiF, Jr: Week 14→