Months later, and this is done! Wow, was that a lot of work. I also have plenty to share so let’s get started.
Finishing the Sound
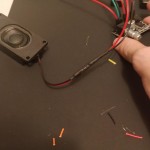
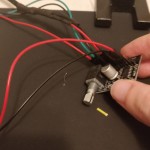
After acquiring my own soldering iron, it was time to finish wiring up the speaker and sound amp. I bought a sound amp as small as I could. I had to connect jumper ends to wires to fit the pins. I quickly realized after some test fitting I wouldn’t have room for two speakers. Mono sound it is! That’s really okay, none of these games originally had two speakers anyway. The amp is powered over USB.
I originally was going to use the USB C port on my mini PC to power this bad-boy but, after much testing and frustrations, found out that the USB C port doesn’t always output 5V. It first has to negotiate with whatever it’s connected to. That doesn’t work for me. So, back to good ol’ USB A. Cut open a cable, grabbed the 5V lines and wired that into the amp. Wired a headphone jack into the audio in. Wired the speaker to the audio out. Tada! Worked wonderfully. Until I attempted to power the amp through my mini-pc. It still worked but had a crazy buzz sound.
This was another case of chase the goose but I’ll save you the trouble. It was a ground loop problem. If I powered the amp through a separate line it worked fine. So, I bought a small ground loop eliminator and everything was good to go. I was worried about the extra space though.
Getting the Screen To Work
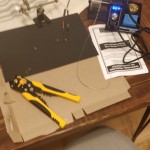
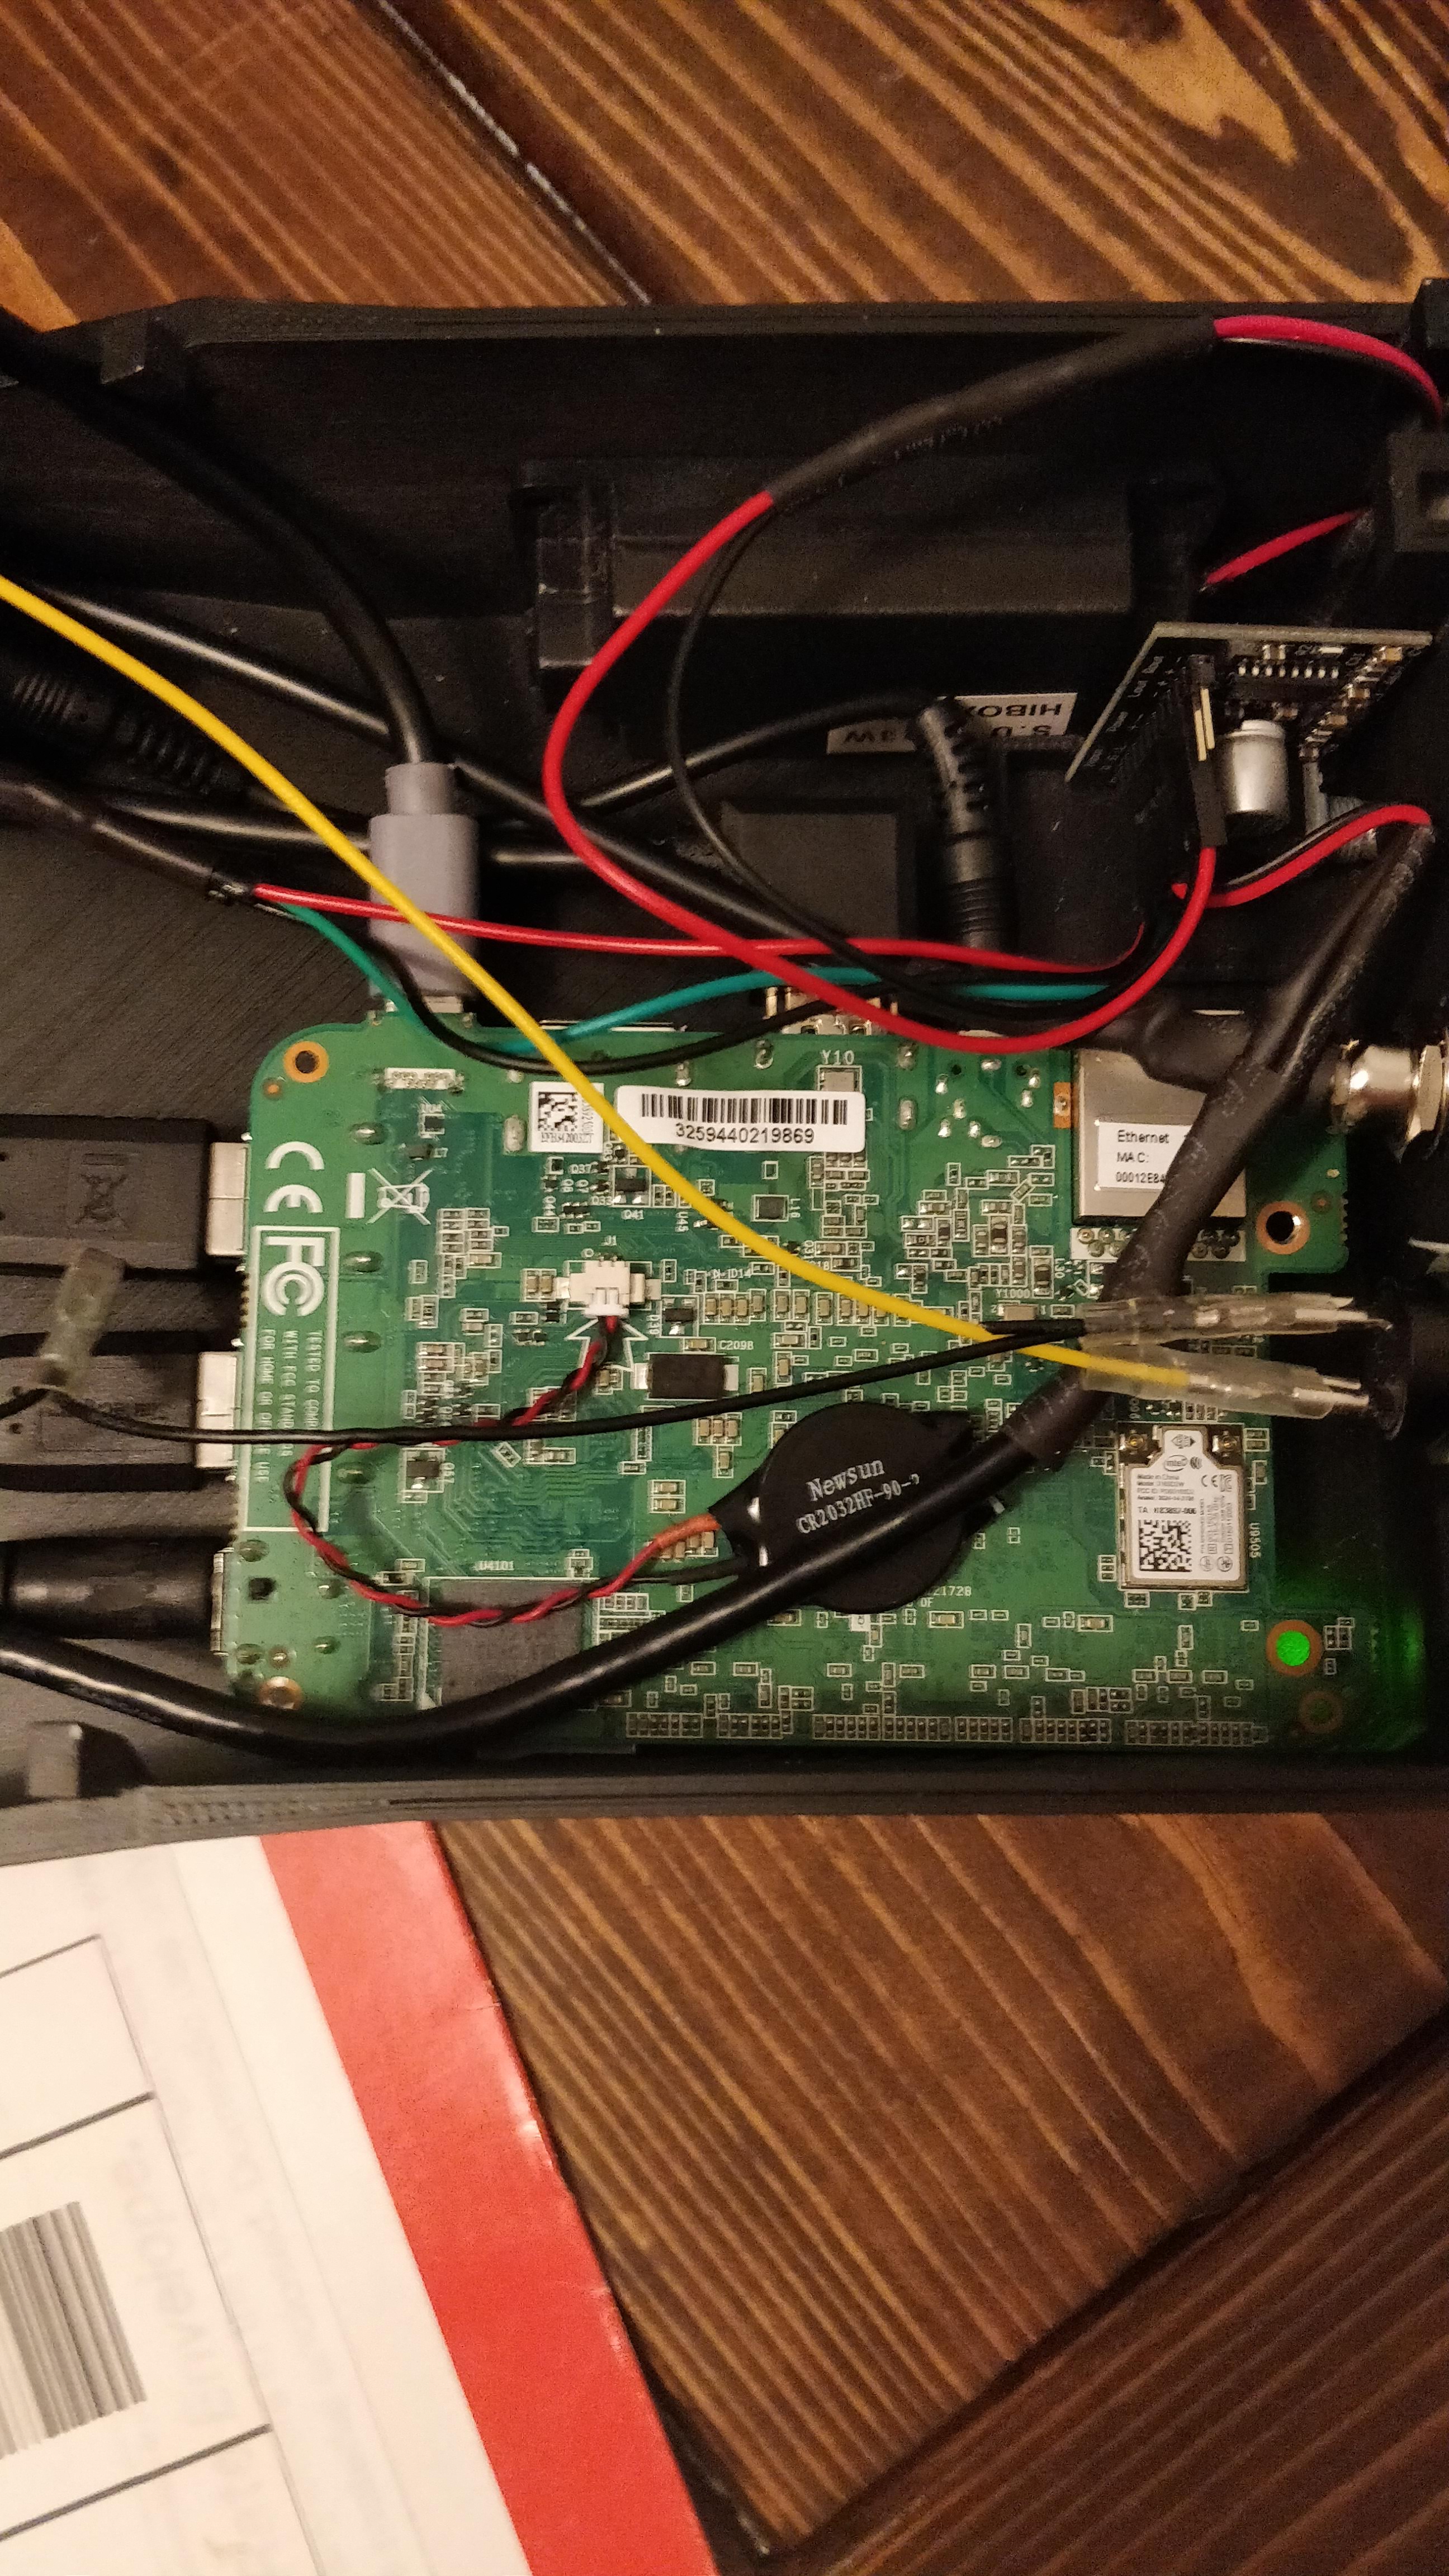
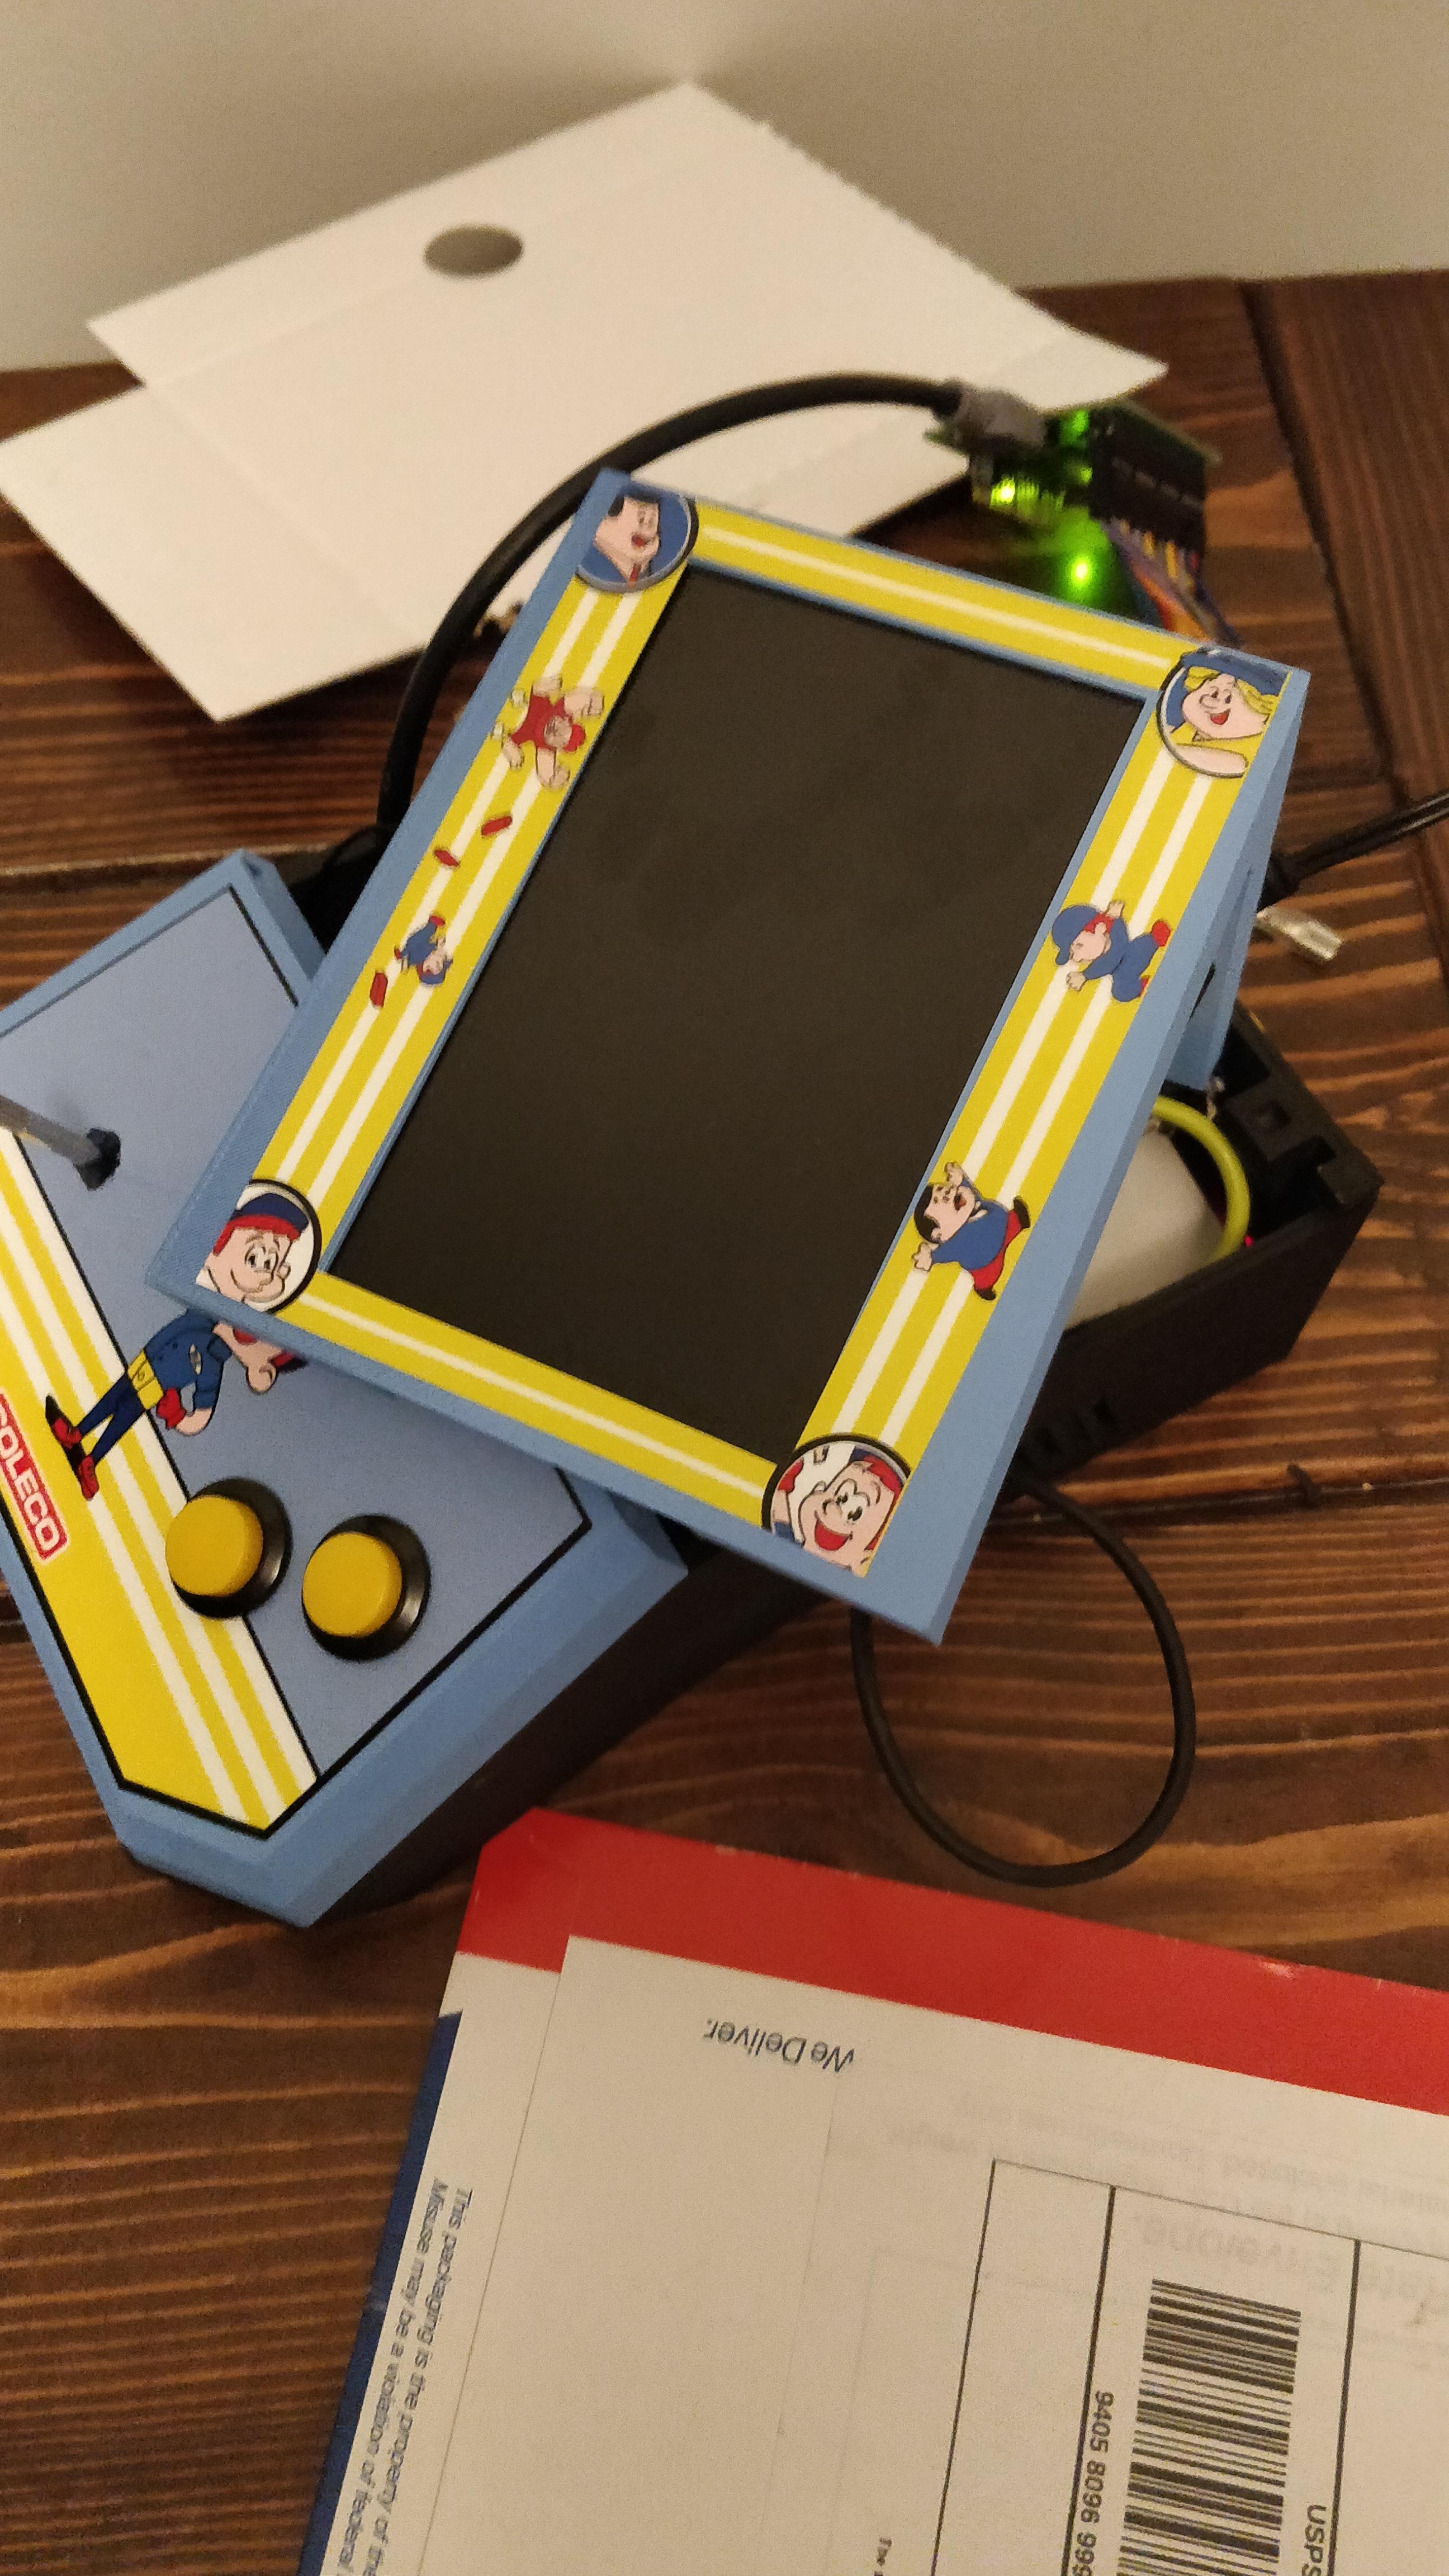
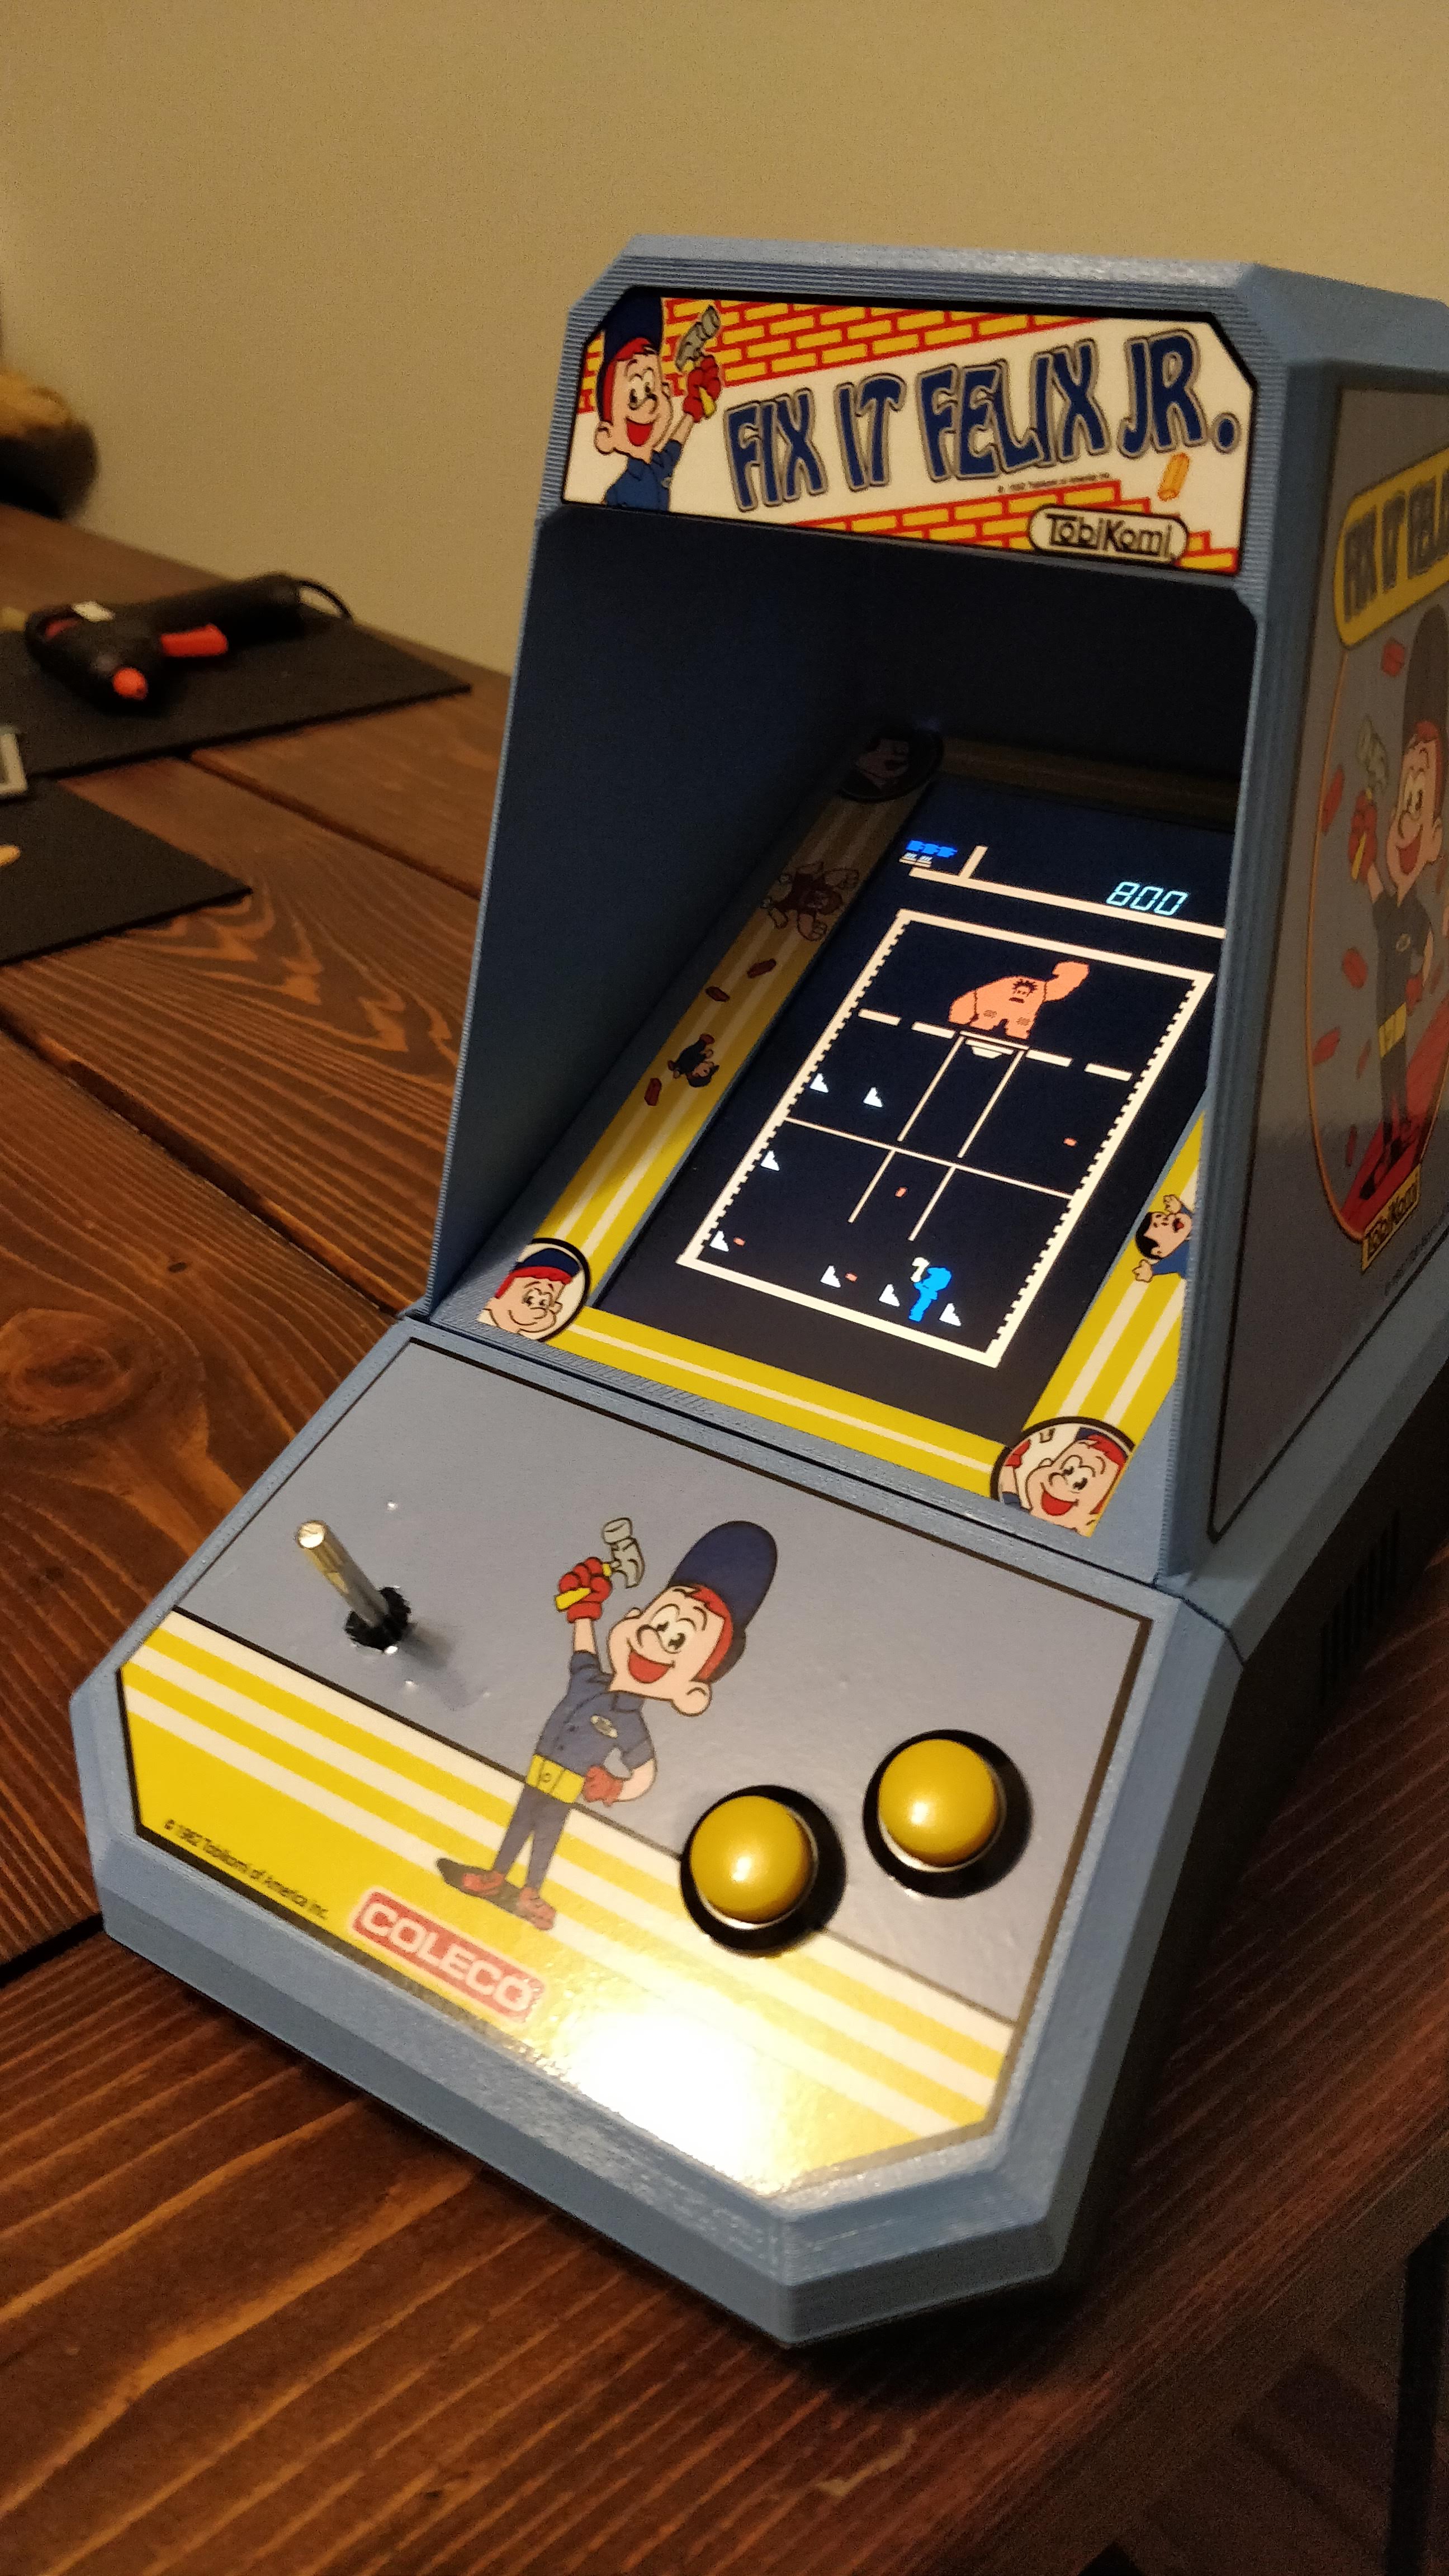
Time for a mini assembly to see how it all works together! Up to this point, I had tested each piece individually but not all together.
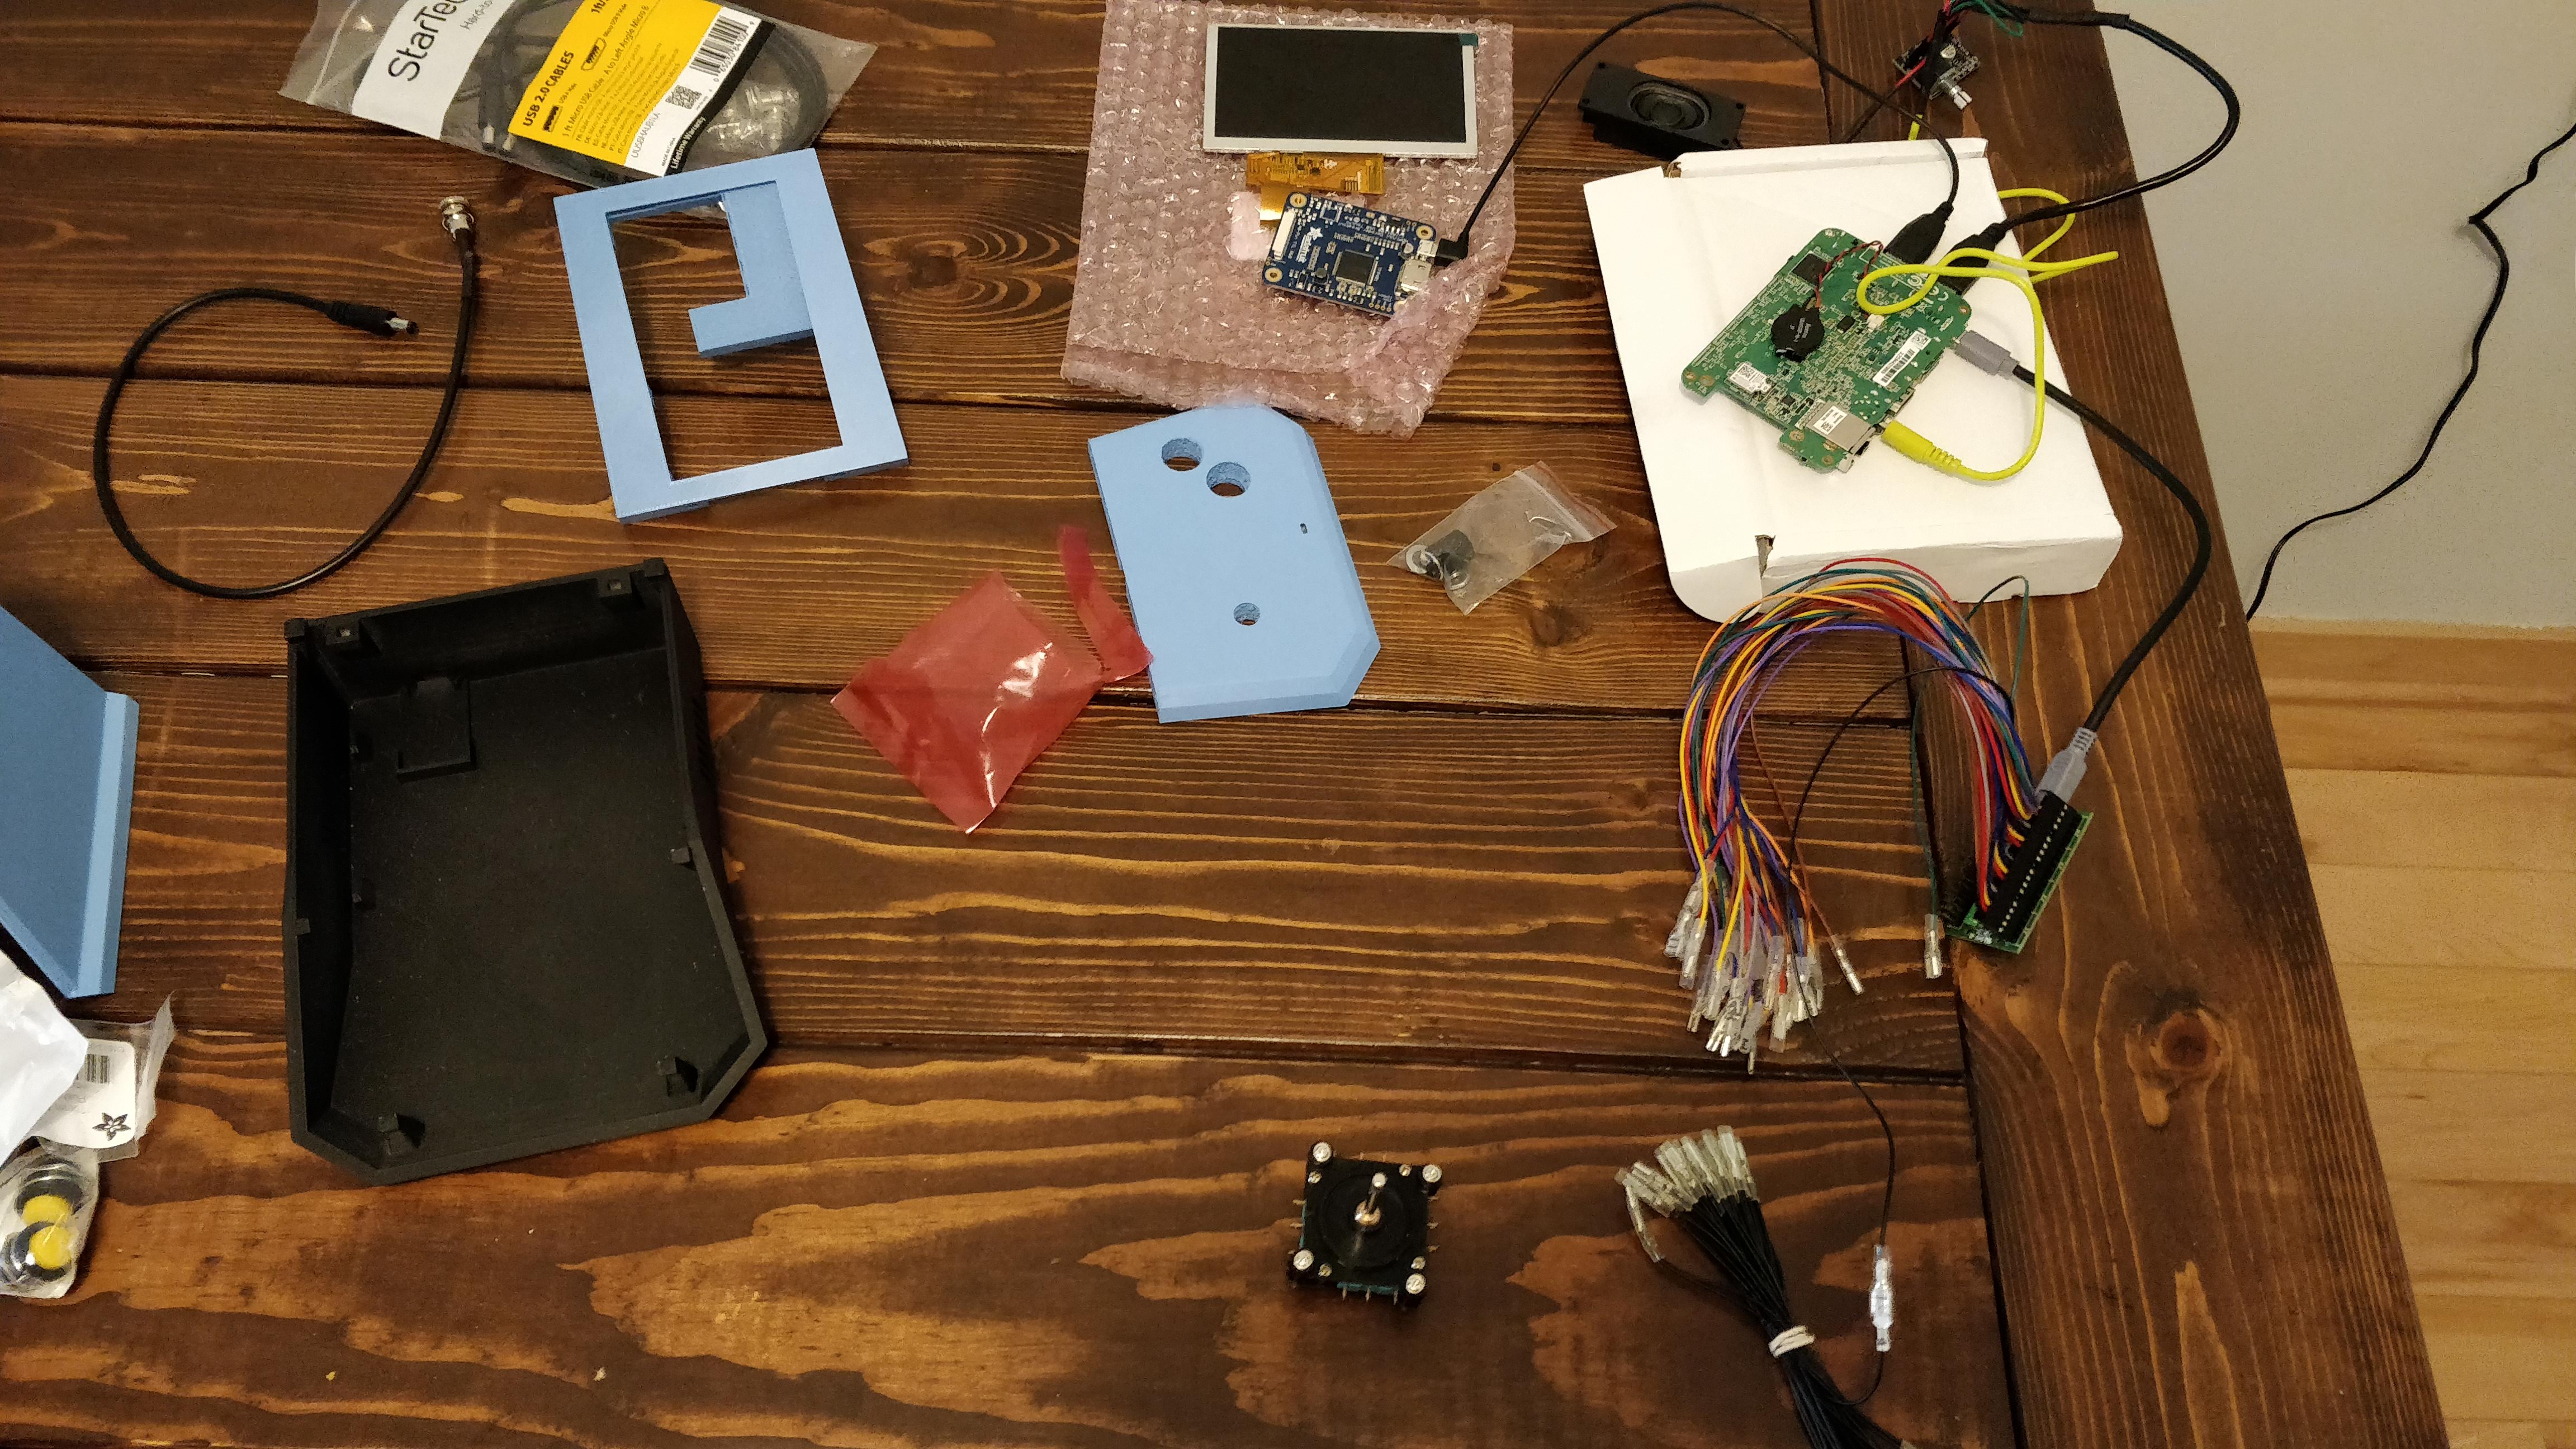
You can see my setup in the photo. Booted the pc up, no video. What!? It worked fine a week earlier. What’s going on? I’ll save you the tale again but it was a a combination of a bad decoder board connector and a loose connection. The ribbons on these small LCD screens are incredibly fragile and the connectors are almost just as fragile. So, be extra sure all the pins are fully inserted before giving up, like I almost did.
The Front End
I’m using Attract Mode for my front end. I created a custom skin that was VERY basic and clean. Since the screen is so small, and I’m replicating 1980’s technology here, I didn’t want to over-complicate things. Want to make your own Attract Mode theme? Use the cool tool here! Created by “liquid8d” on the Attract Mode forums.
Assembling the Fix It Felix Coleco Handheld
Let’s put this bad boy together! I’ll start by saying everything is a tight fit. My mini pc is a little larger than a raspberry pi so that takes up more space. My joystick is larger than a gamepad control. My mini-pac encoder board (keyboard encoder for the controls) also takes up space. The ground loop eliminator was also an unexpected add. Plus I’m not good enough to create my own USB cables. So, I had to cut up pre-made ones. That works fine but their male-ends are longer than is necessary for something like this – more space!
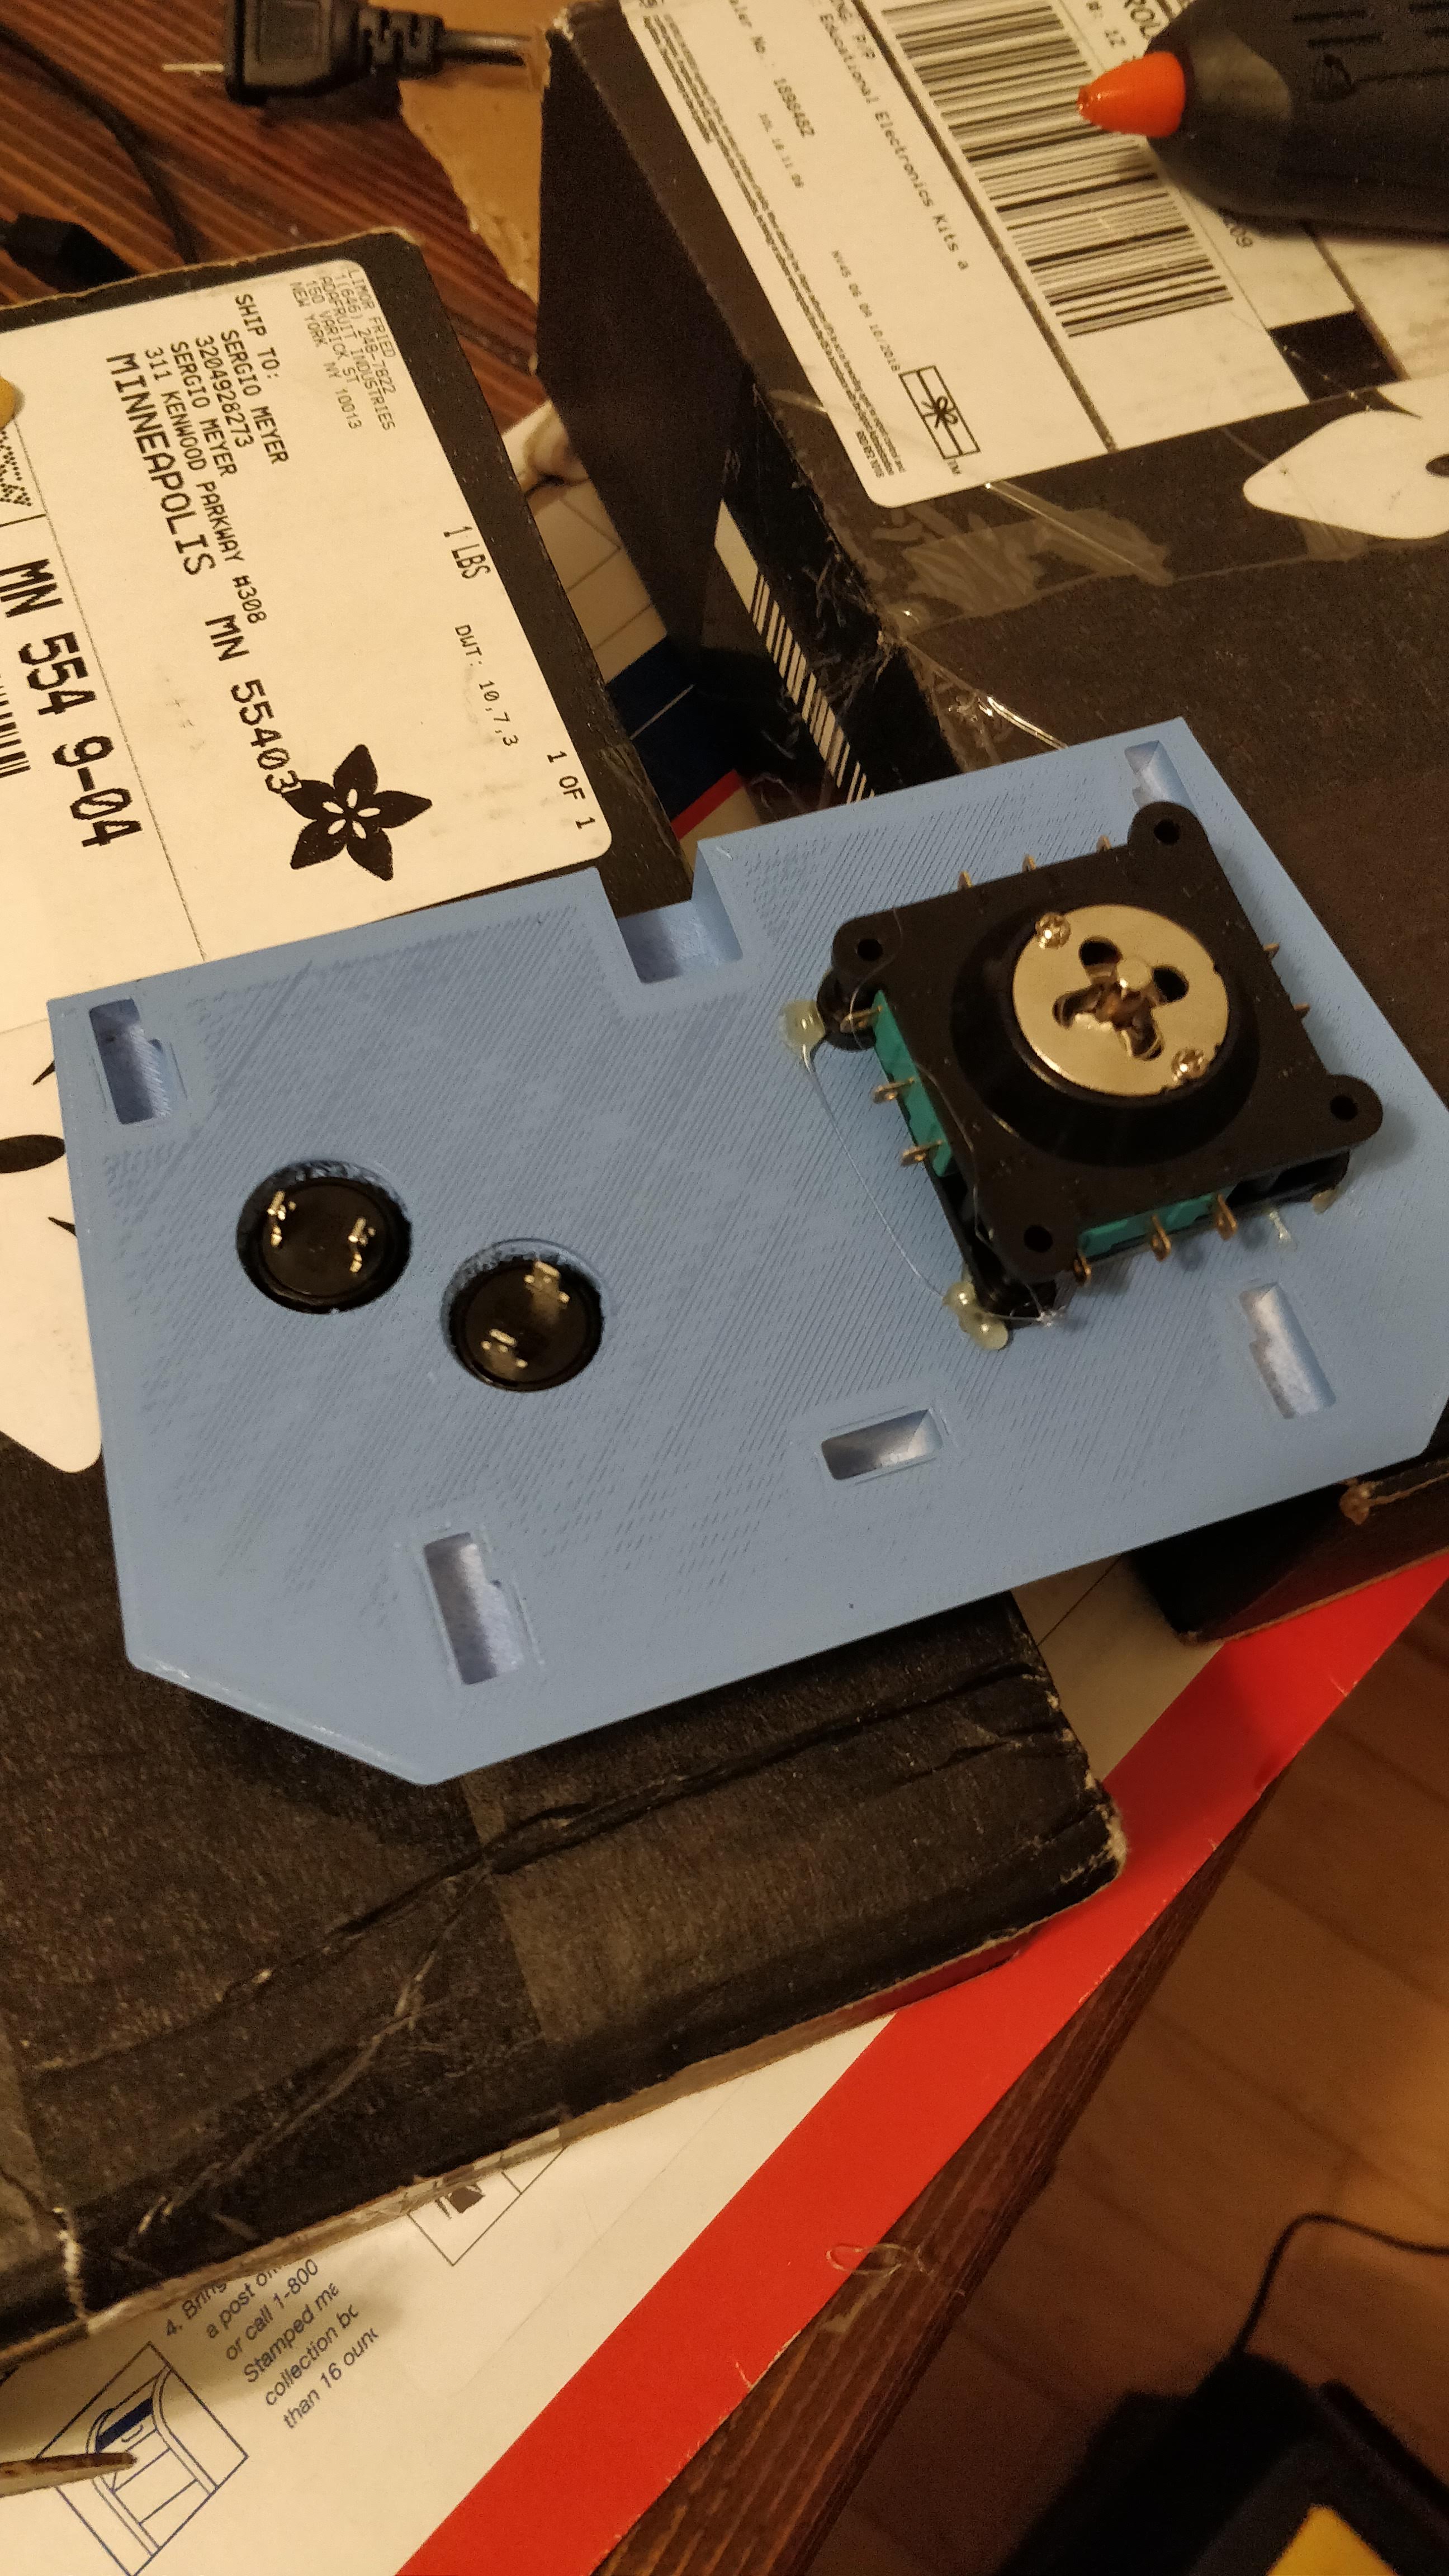
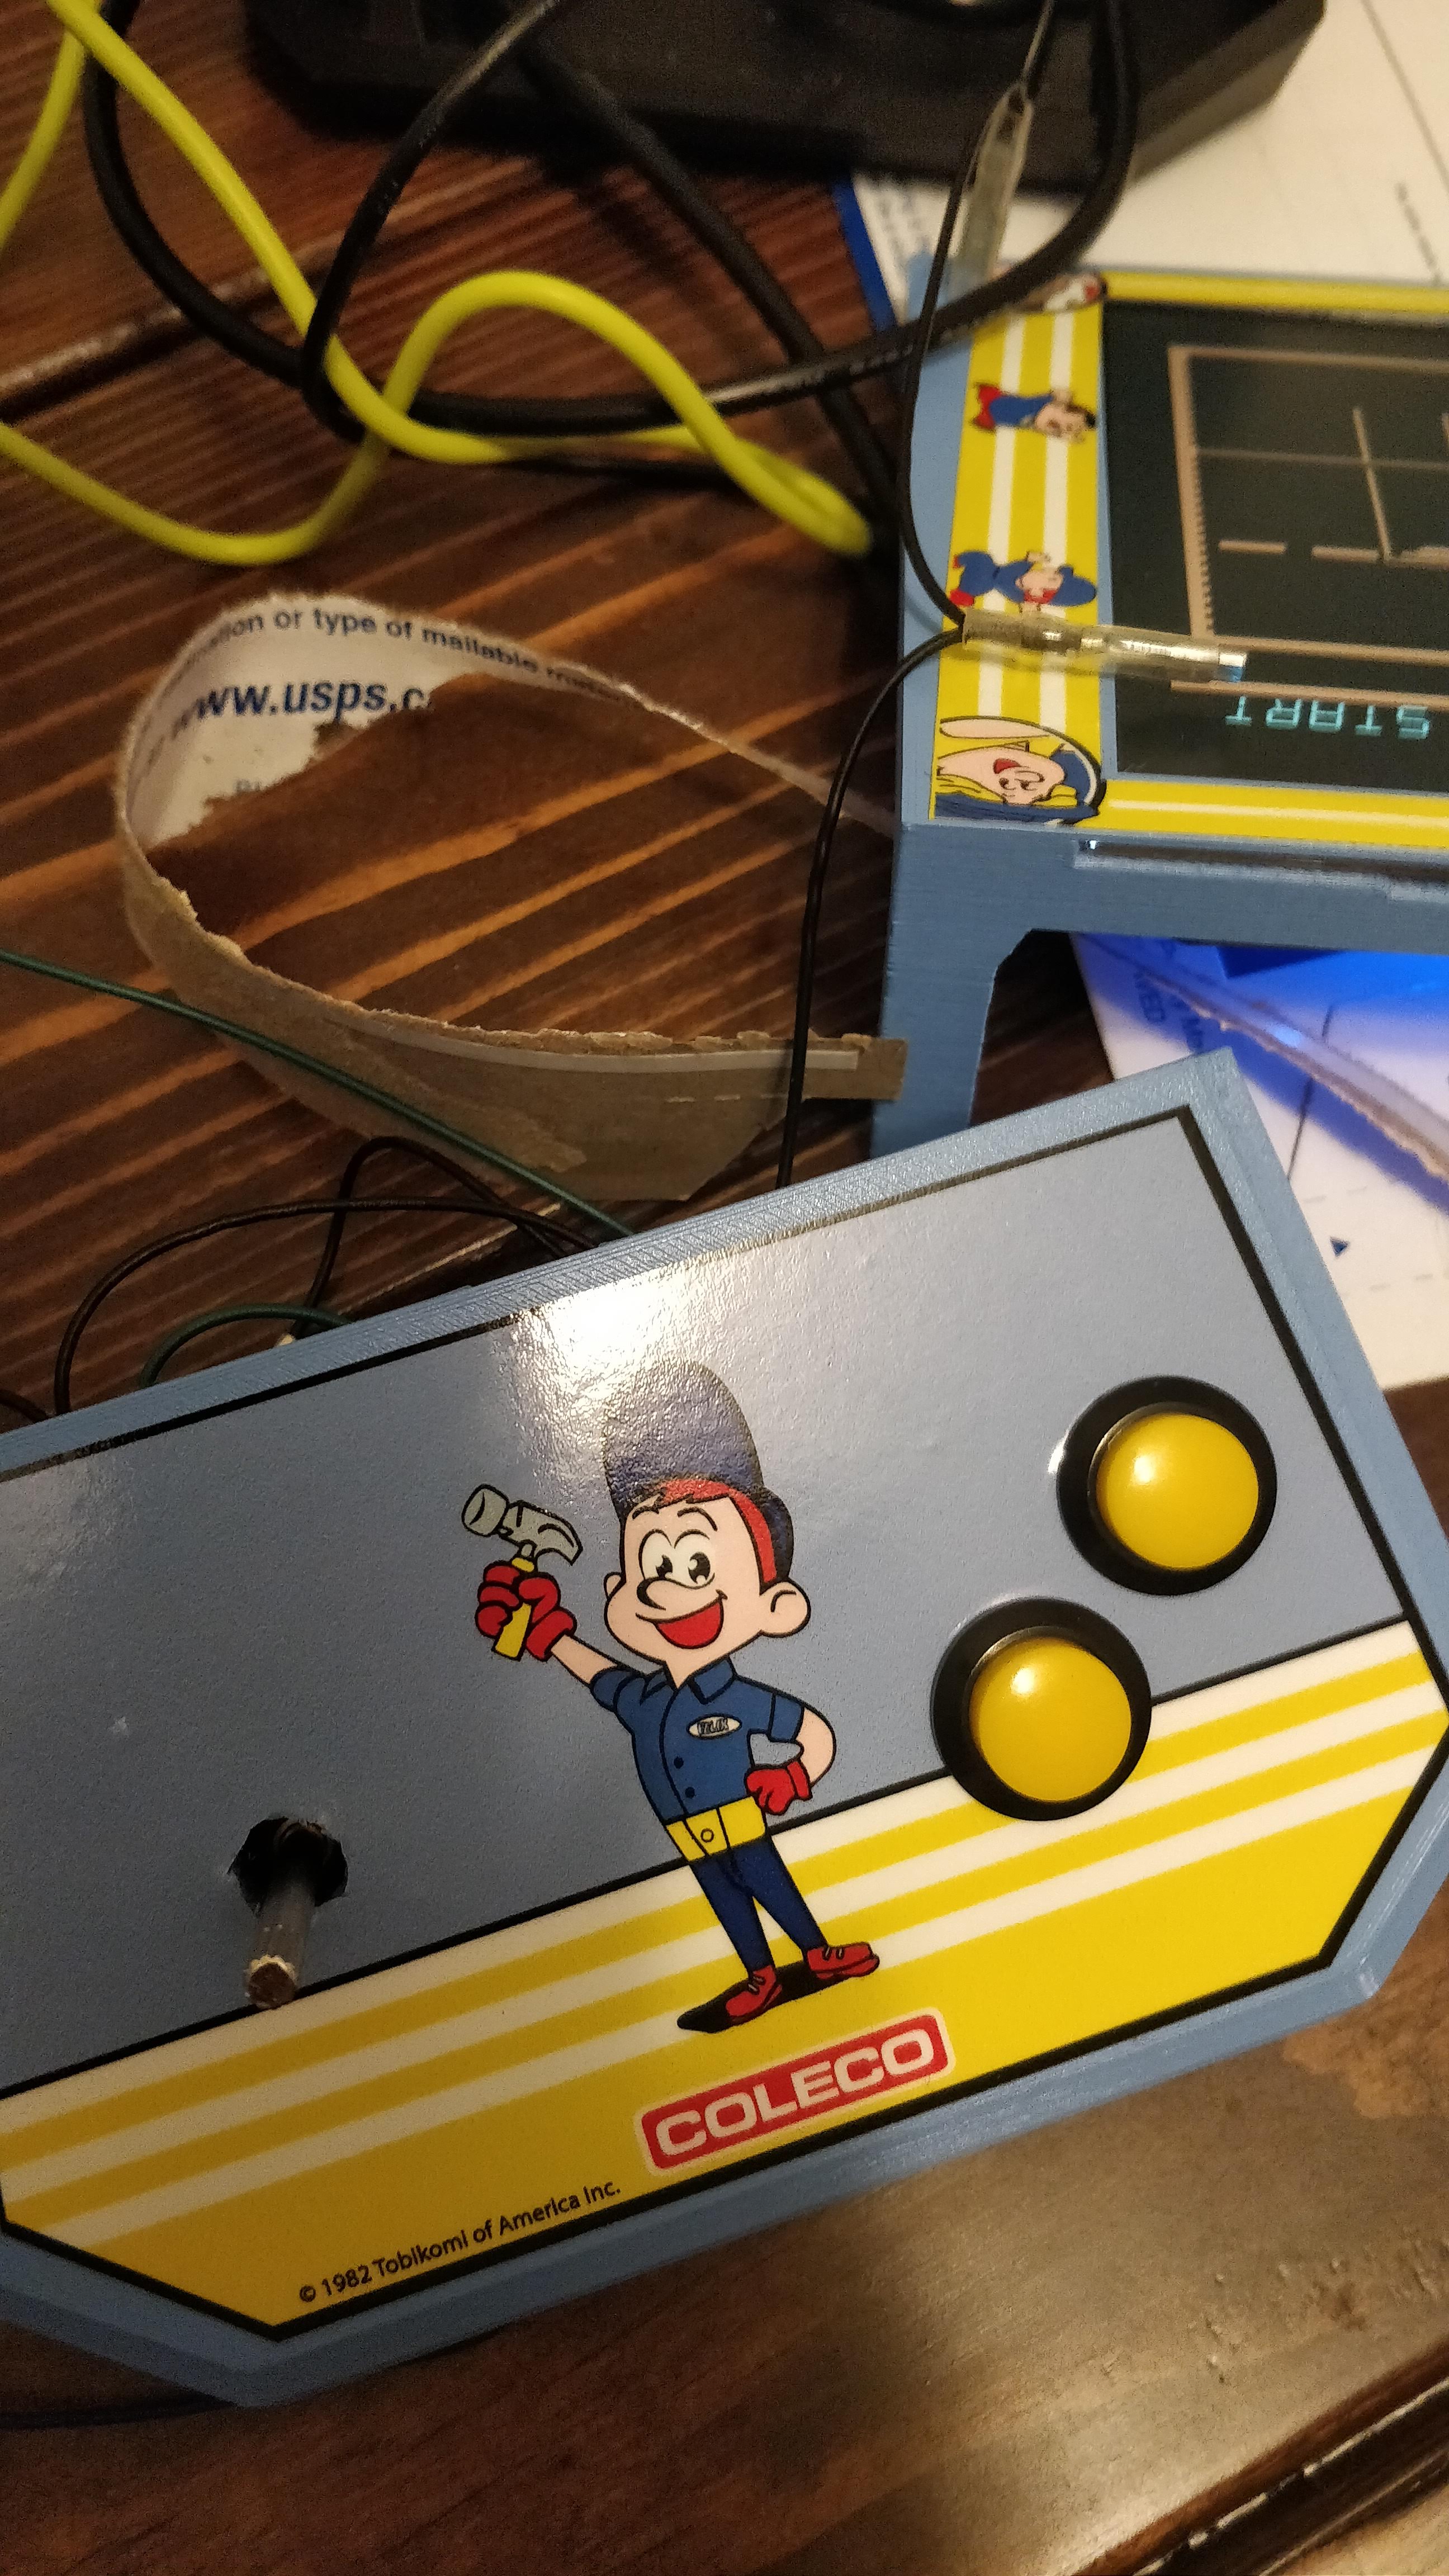


In the pictures above, you can first see me getting the controls into my panel. I went with just two buttons (very few of these ever had more than two) and a joystick restricted to 4-way. The buttons are friction fitted and the joystick is hot glued on. I know, not the best. BUT, I wasn’t about to have screws on top and it’s such a small stick the glue should hold.
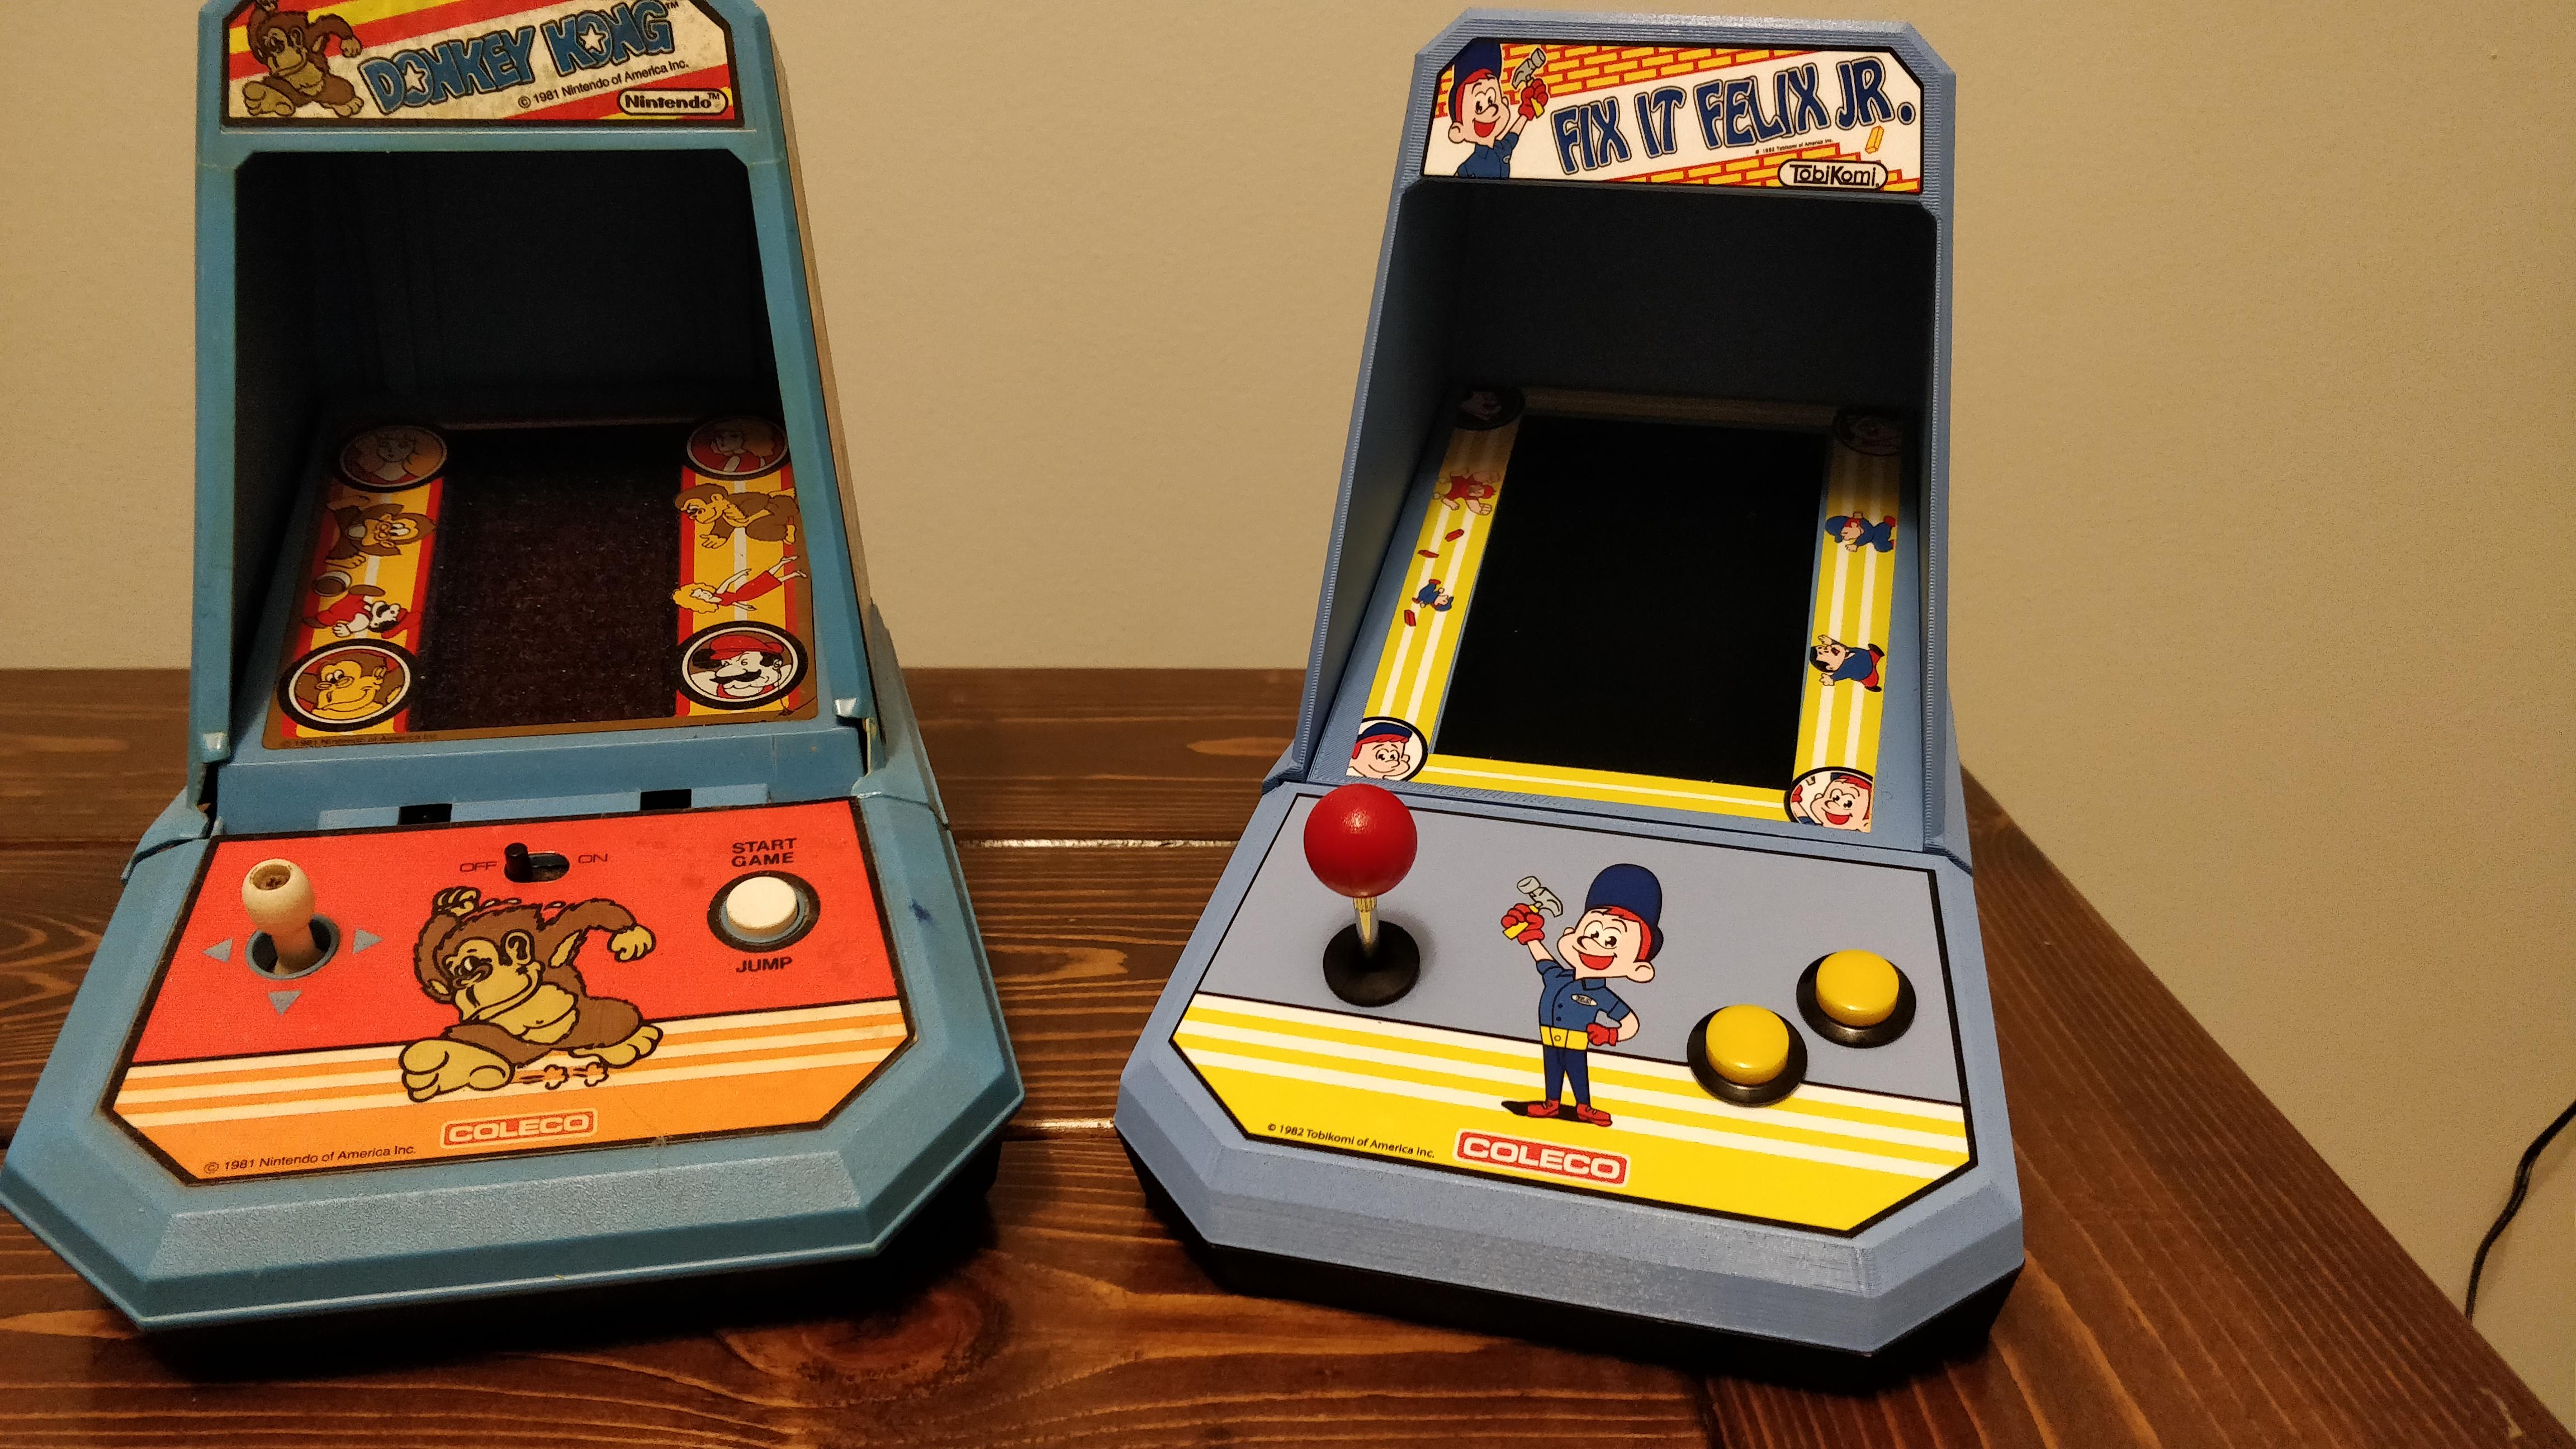
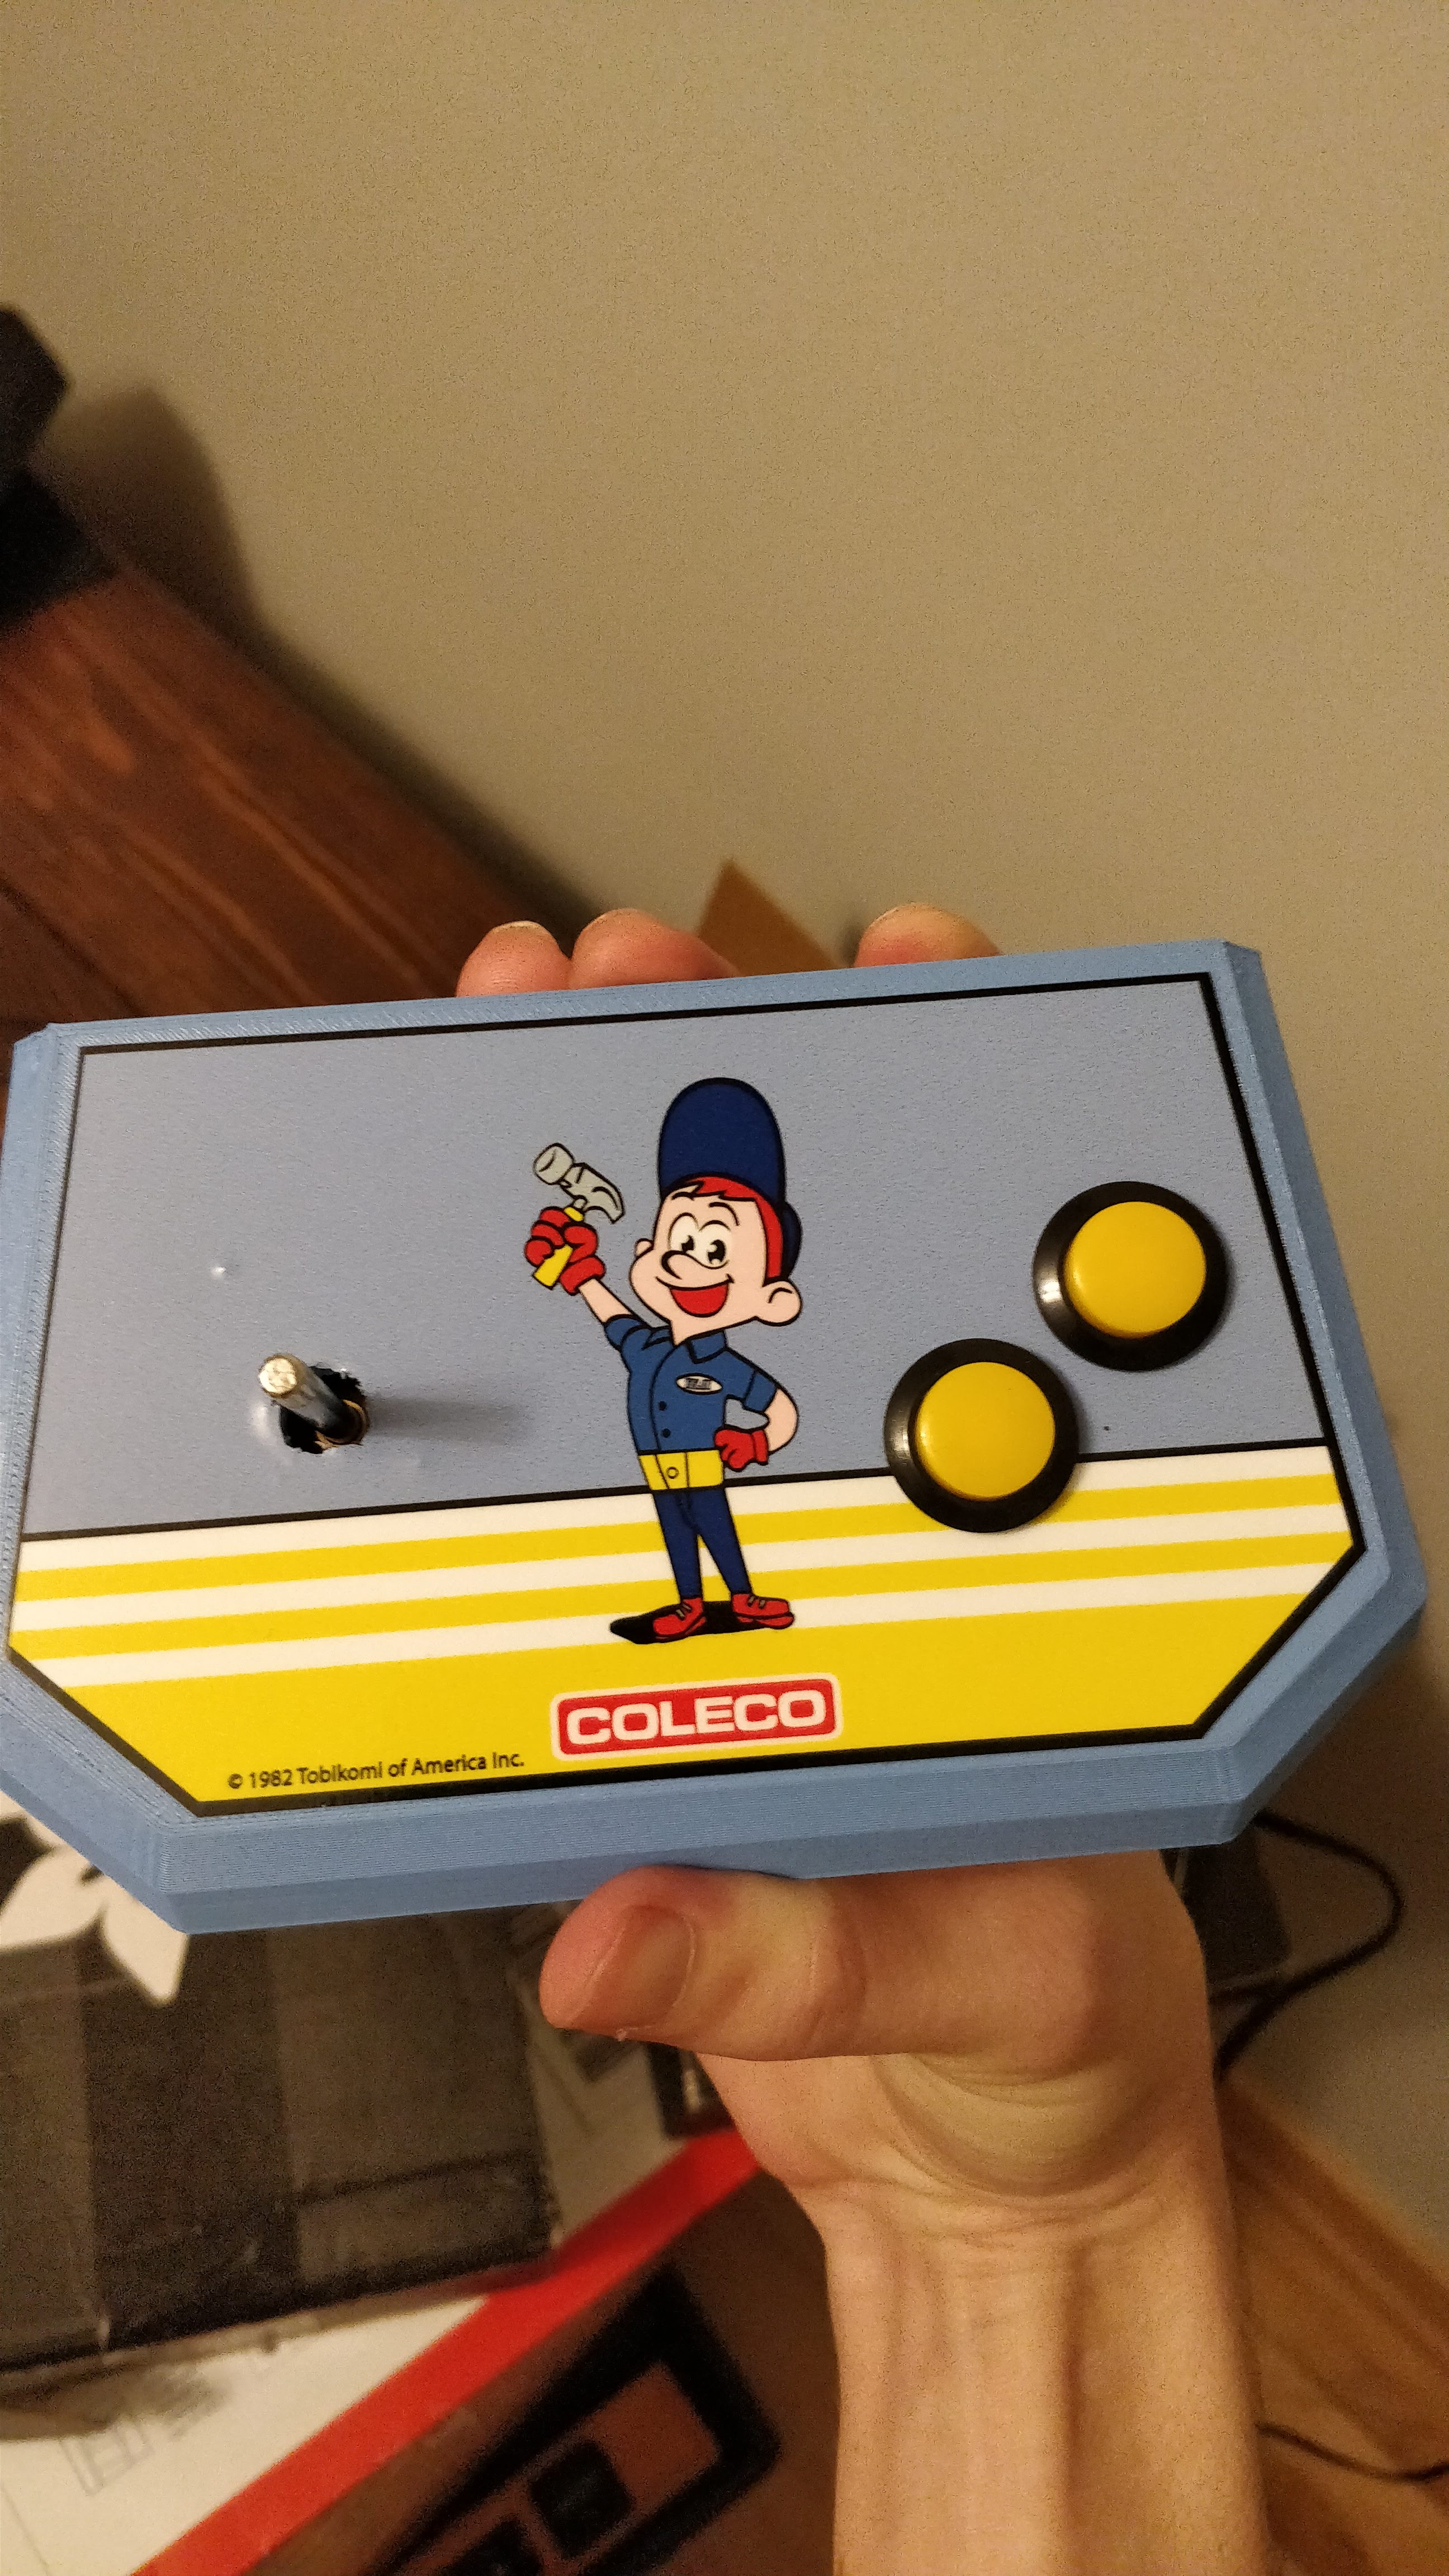
The Artwork
You can also see the beautiful artwork! I did it all myself, by modifying the artwork originally vectored for full-size Fix It Felix cabinets. I did a decent amount of customization to make it match what I think Coleco would have done though. I matched patterns from an original Donkey Kong. The decals were printed by a great guy on the BYOAC forums named “SlammedNiss”
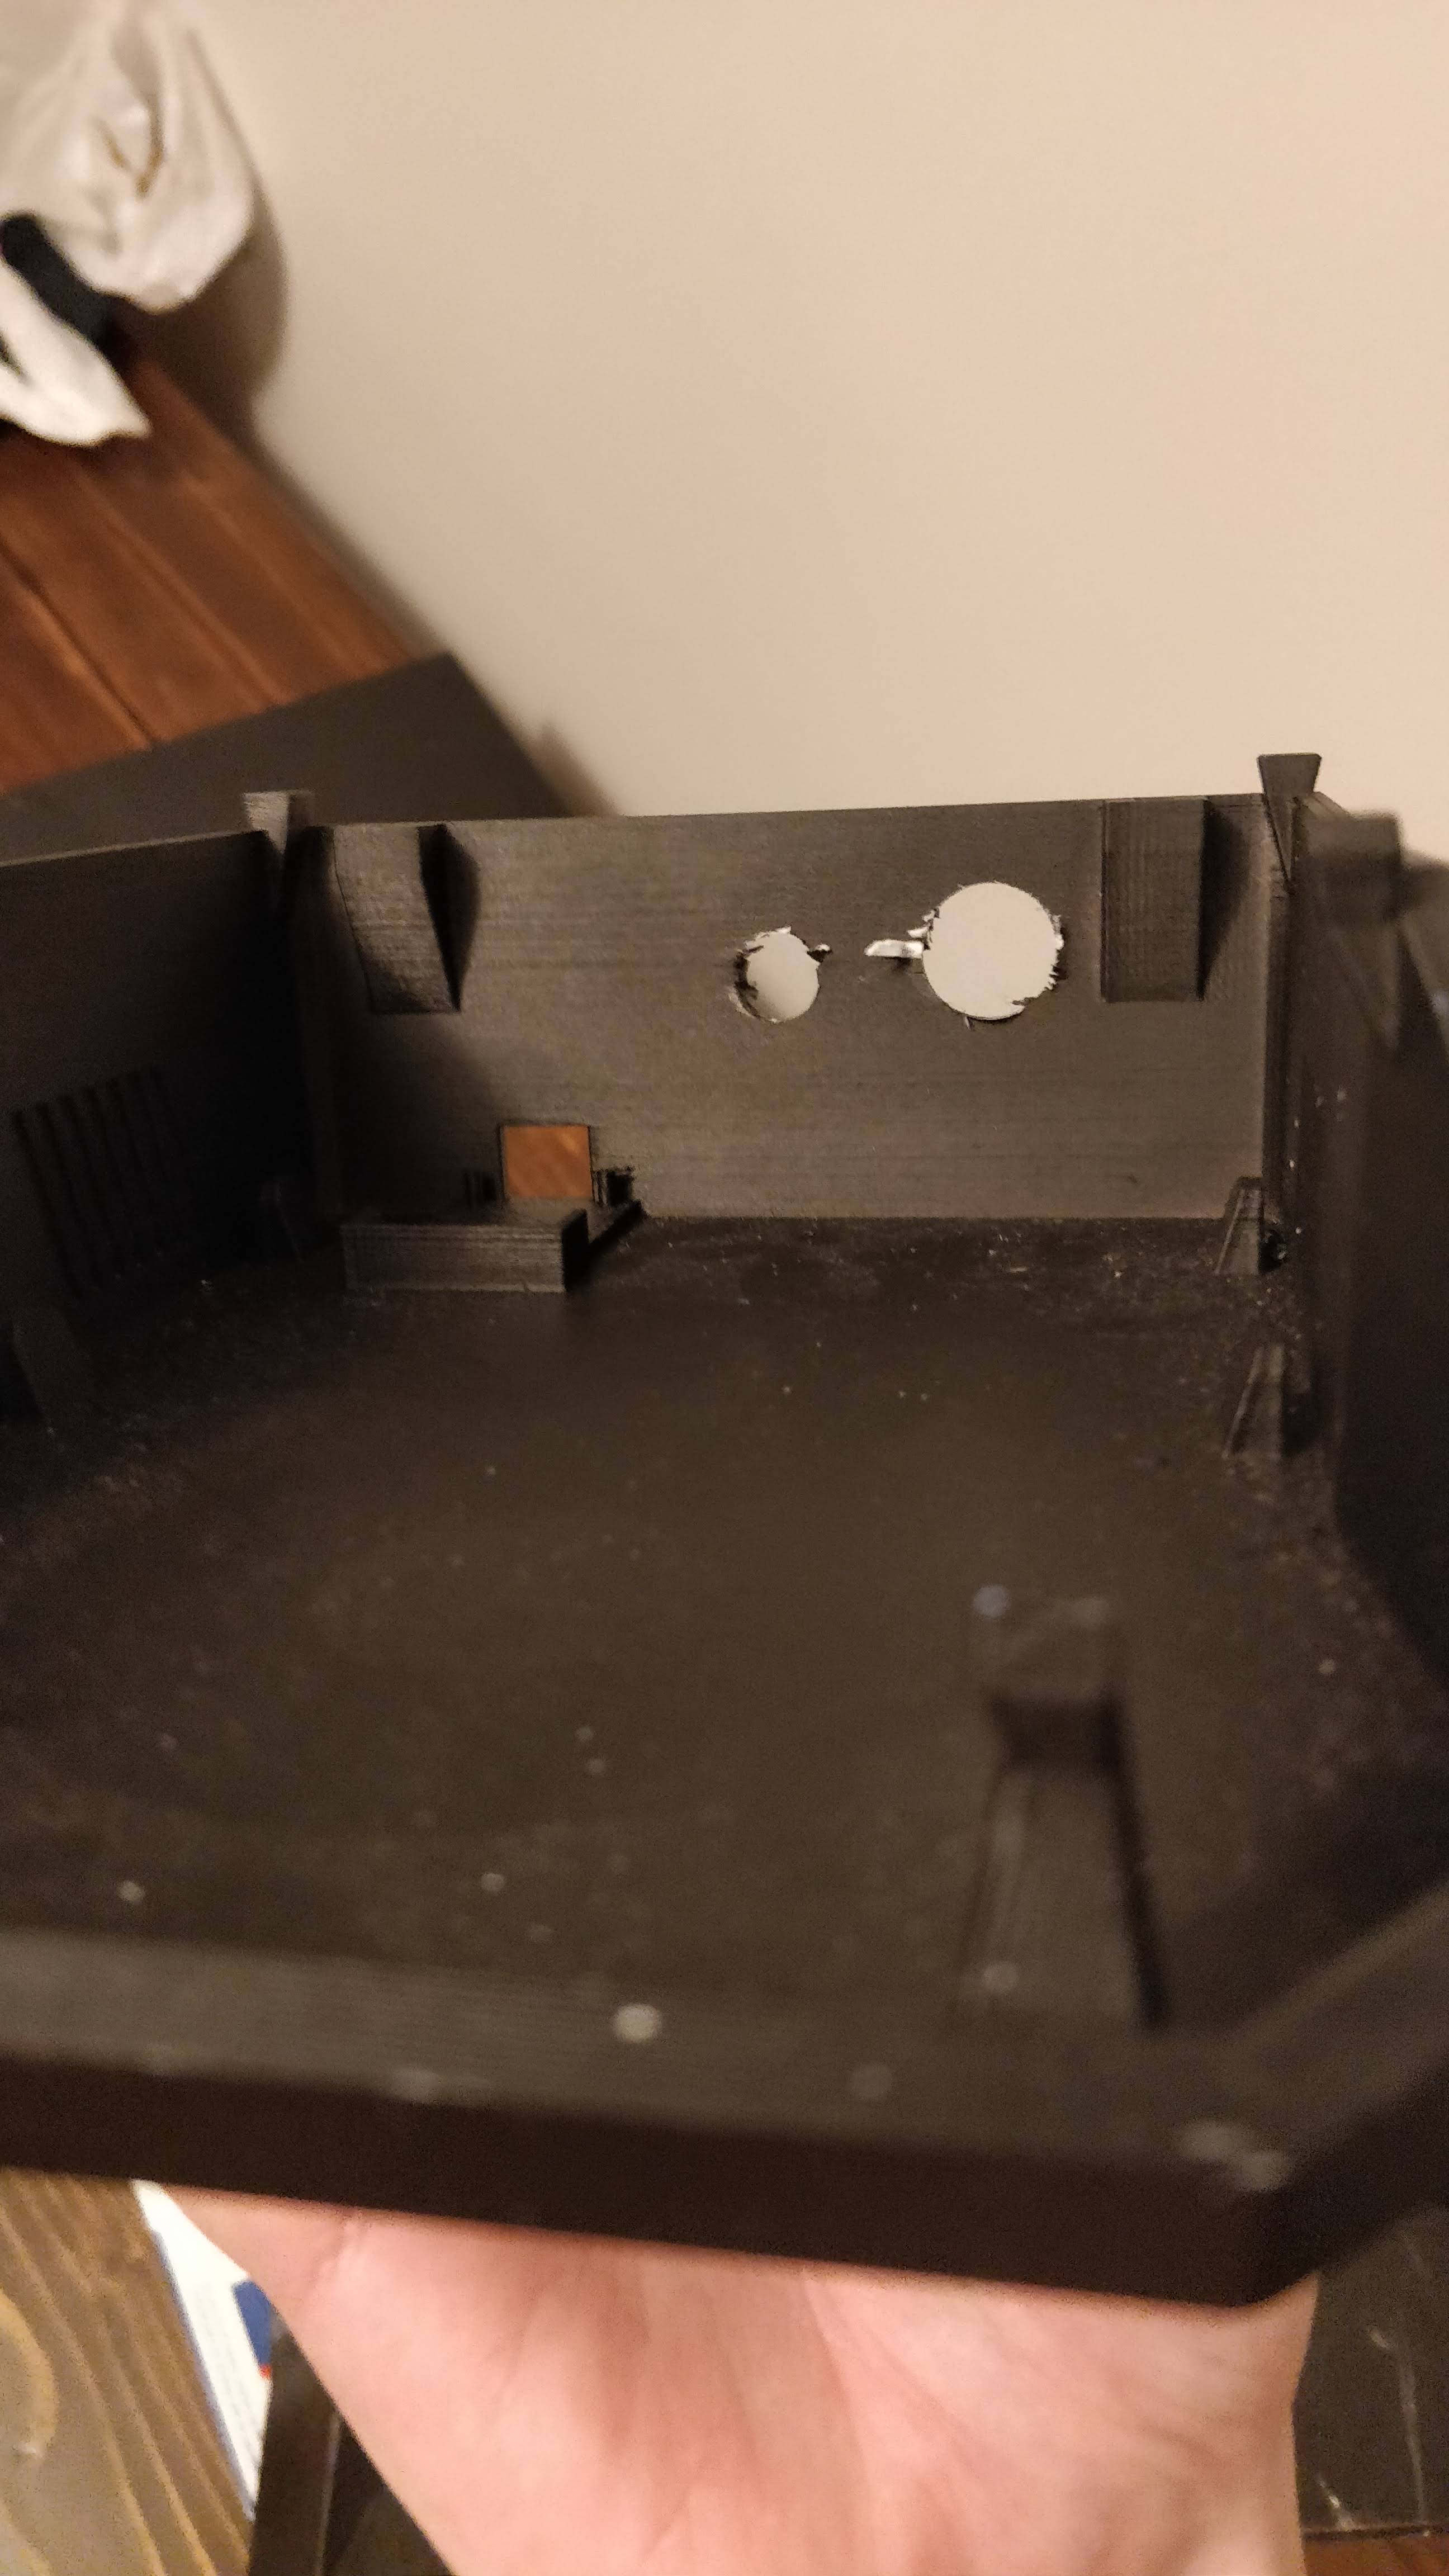
Putting it Together
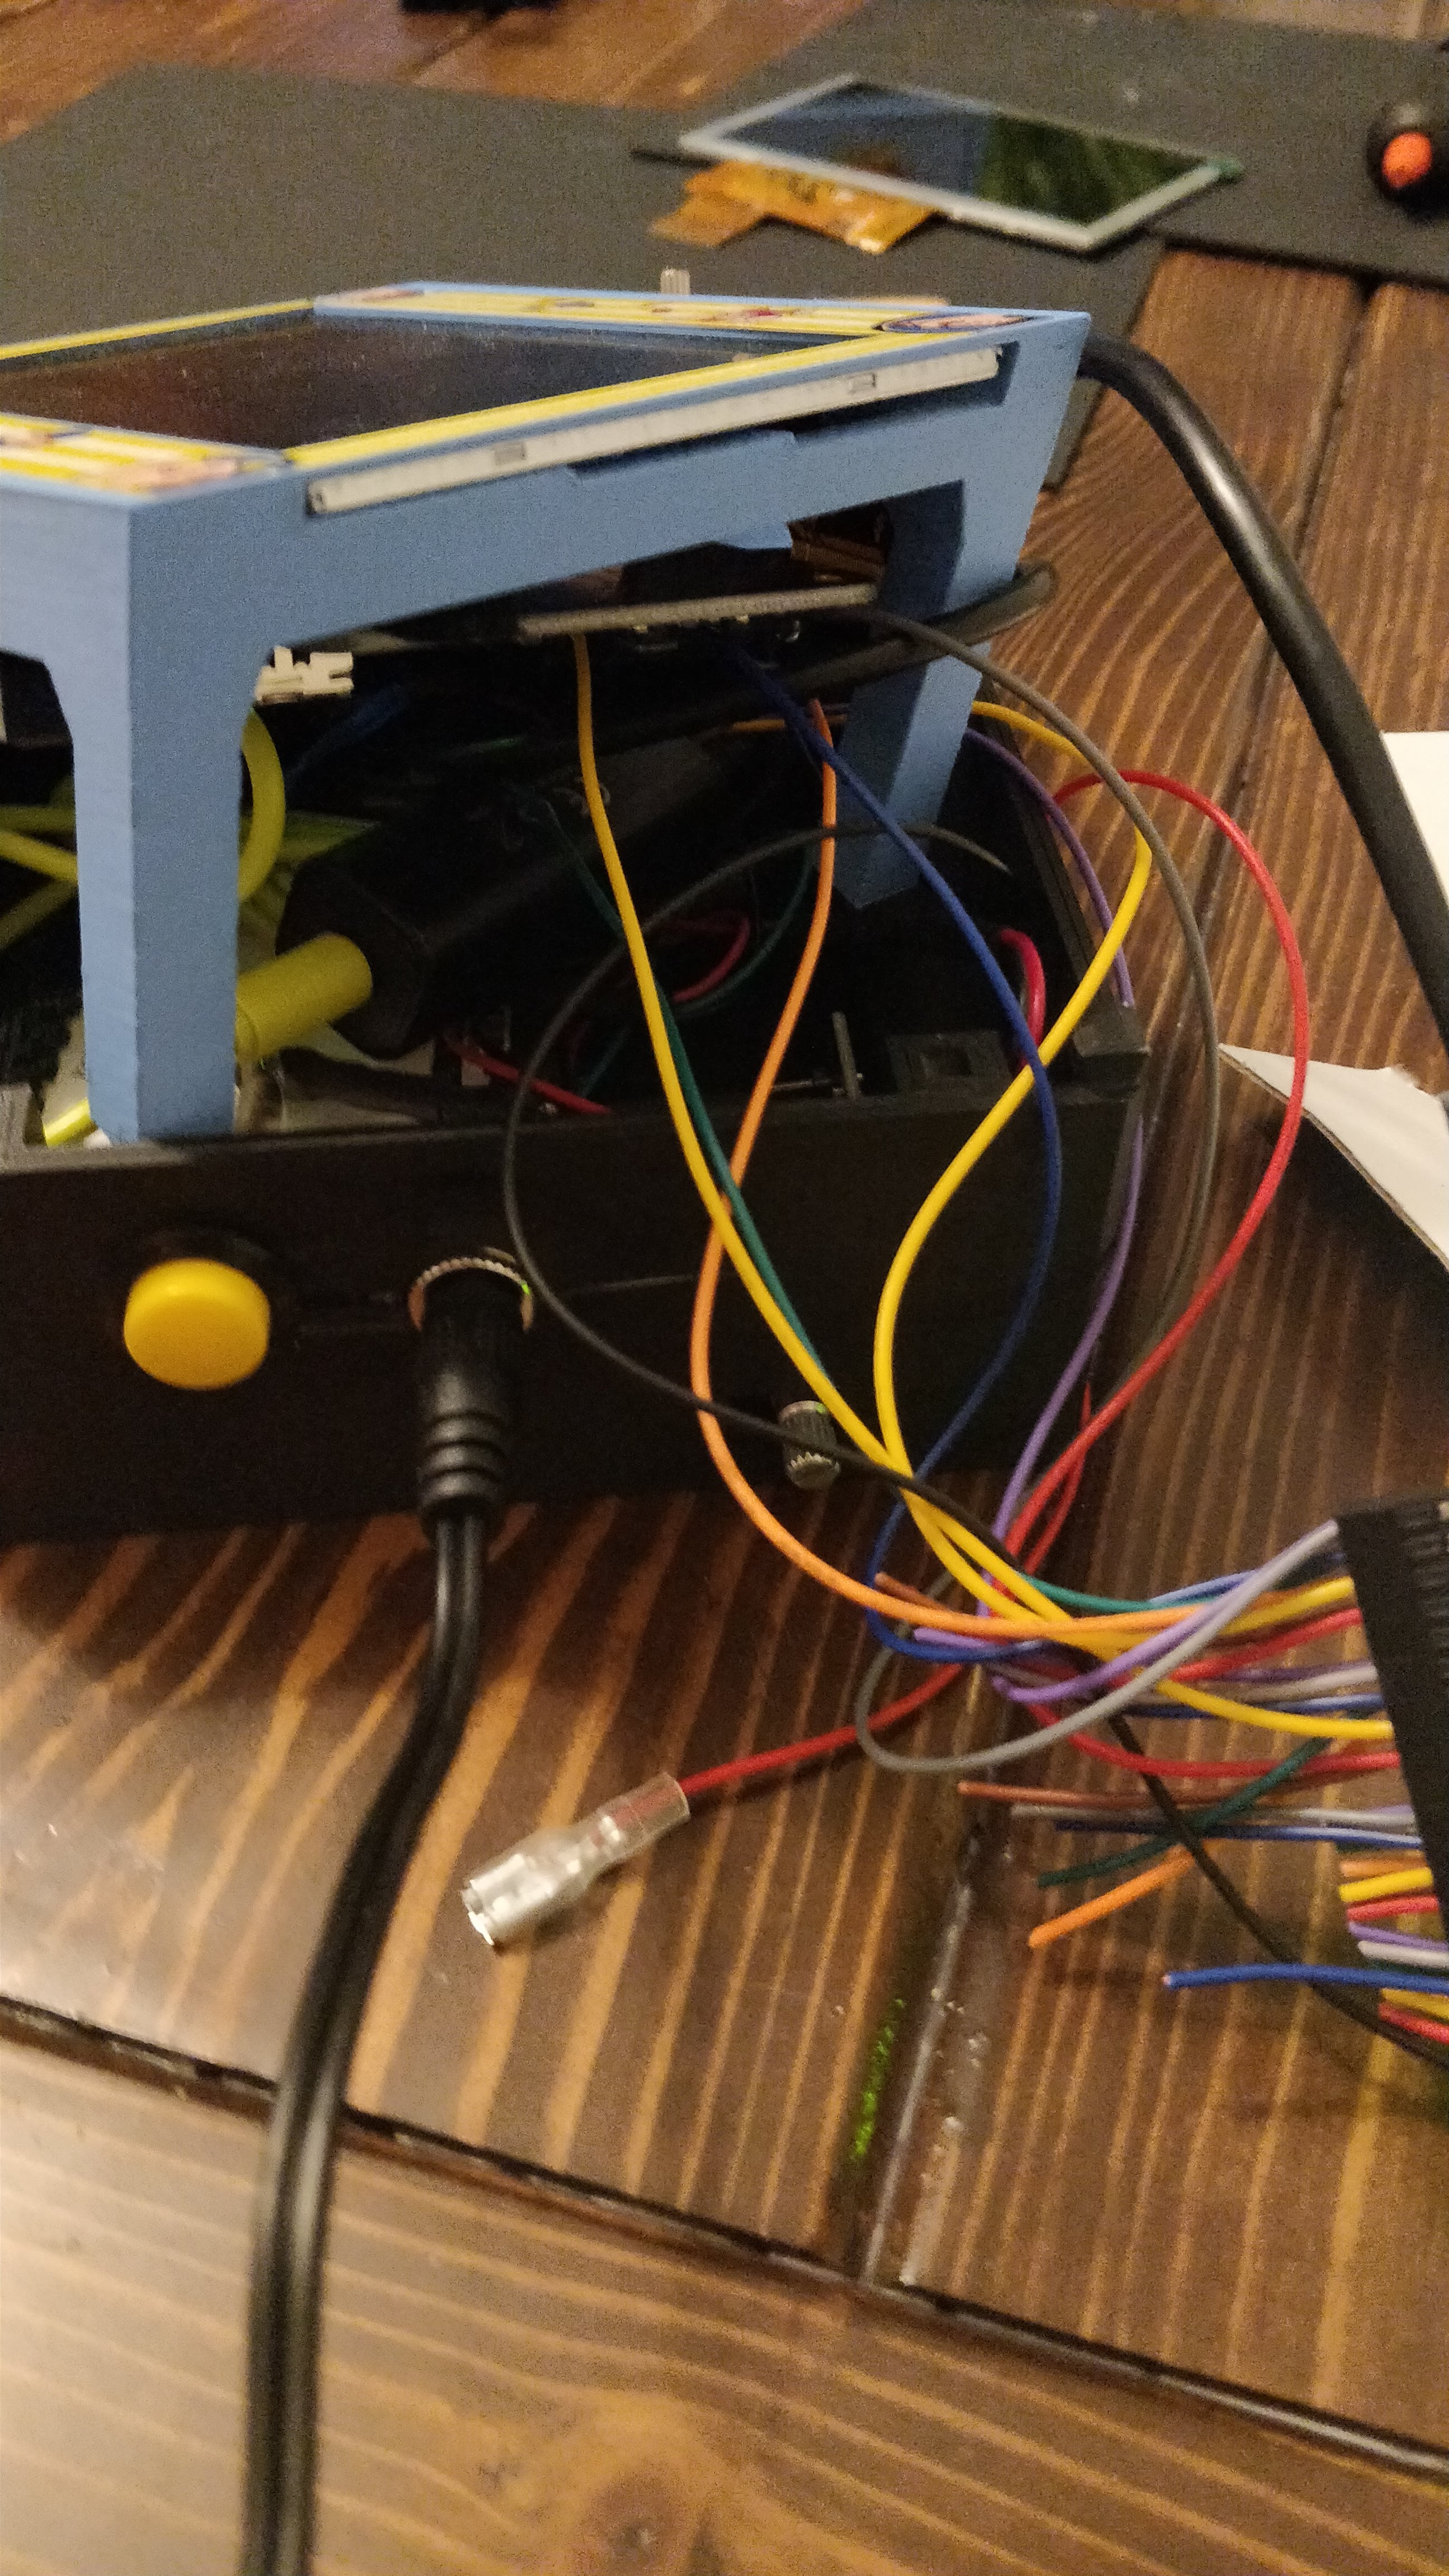
Eventually, I got everything together. A couple tips for others. Get your cables as short as you can! I ended up having a lot of slack which just gets in the way. Right angle HDMI cables and USB cables are a miracle. They really came in handy saving a centimeter here or there, which ended up being essential. I glued in my sound amp to the back (for volume control) and Velcro attached the video decoder board to the bottom of the screen frame.
The spare button on the back is the 1 player start and does other administrative stuff. The back also contains volume and power adapter. Can’t run this machine off batteries. There wasn’t room and it just requires too much juice!
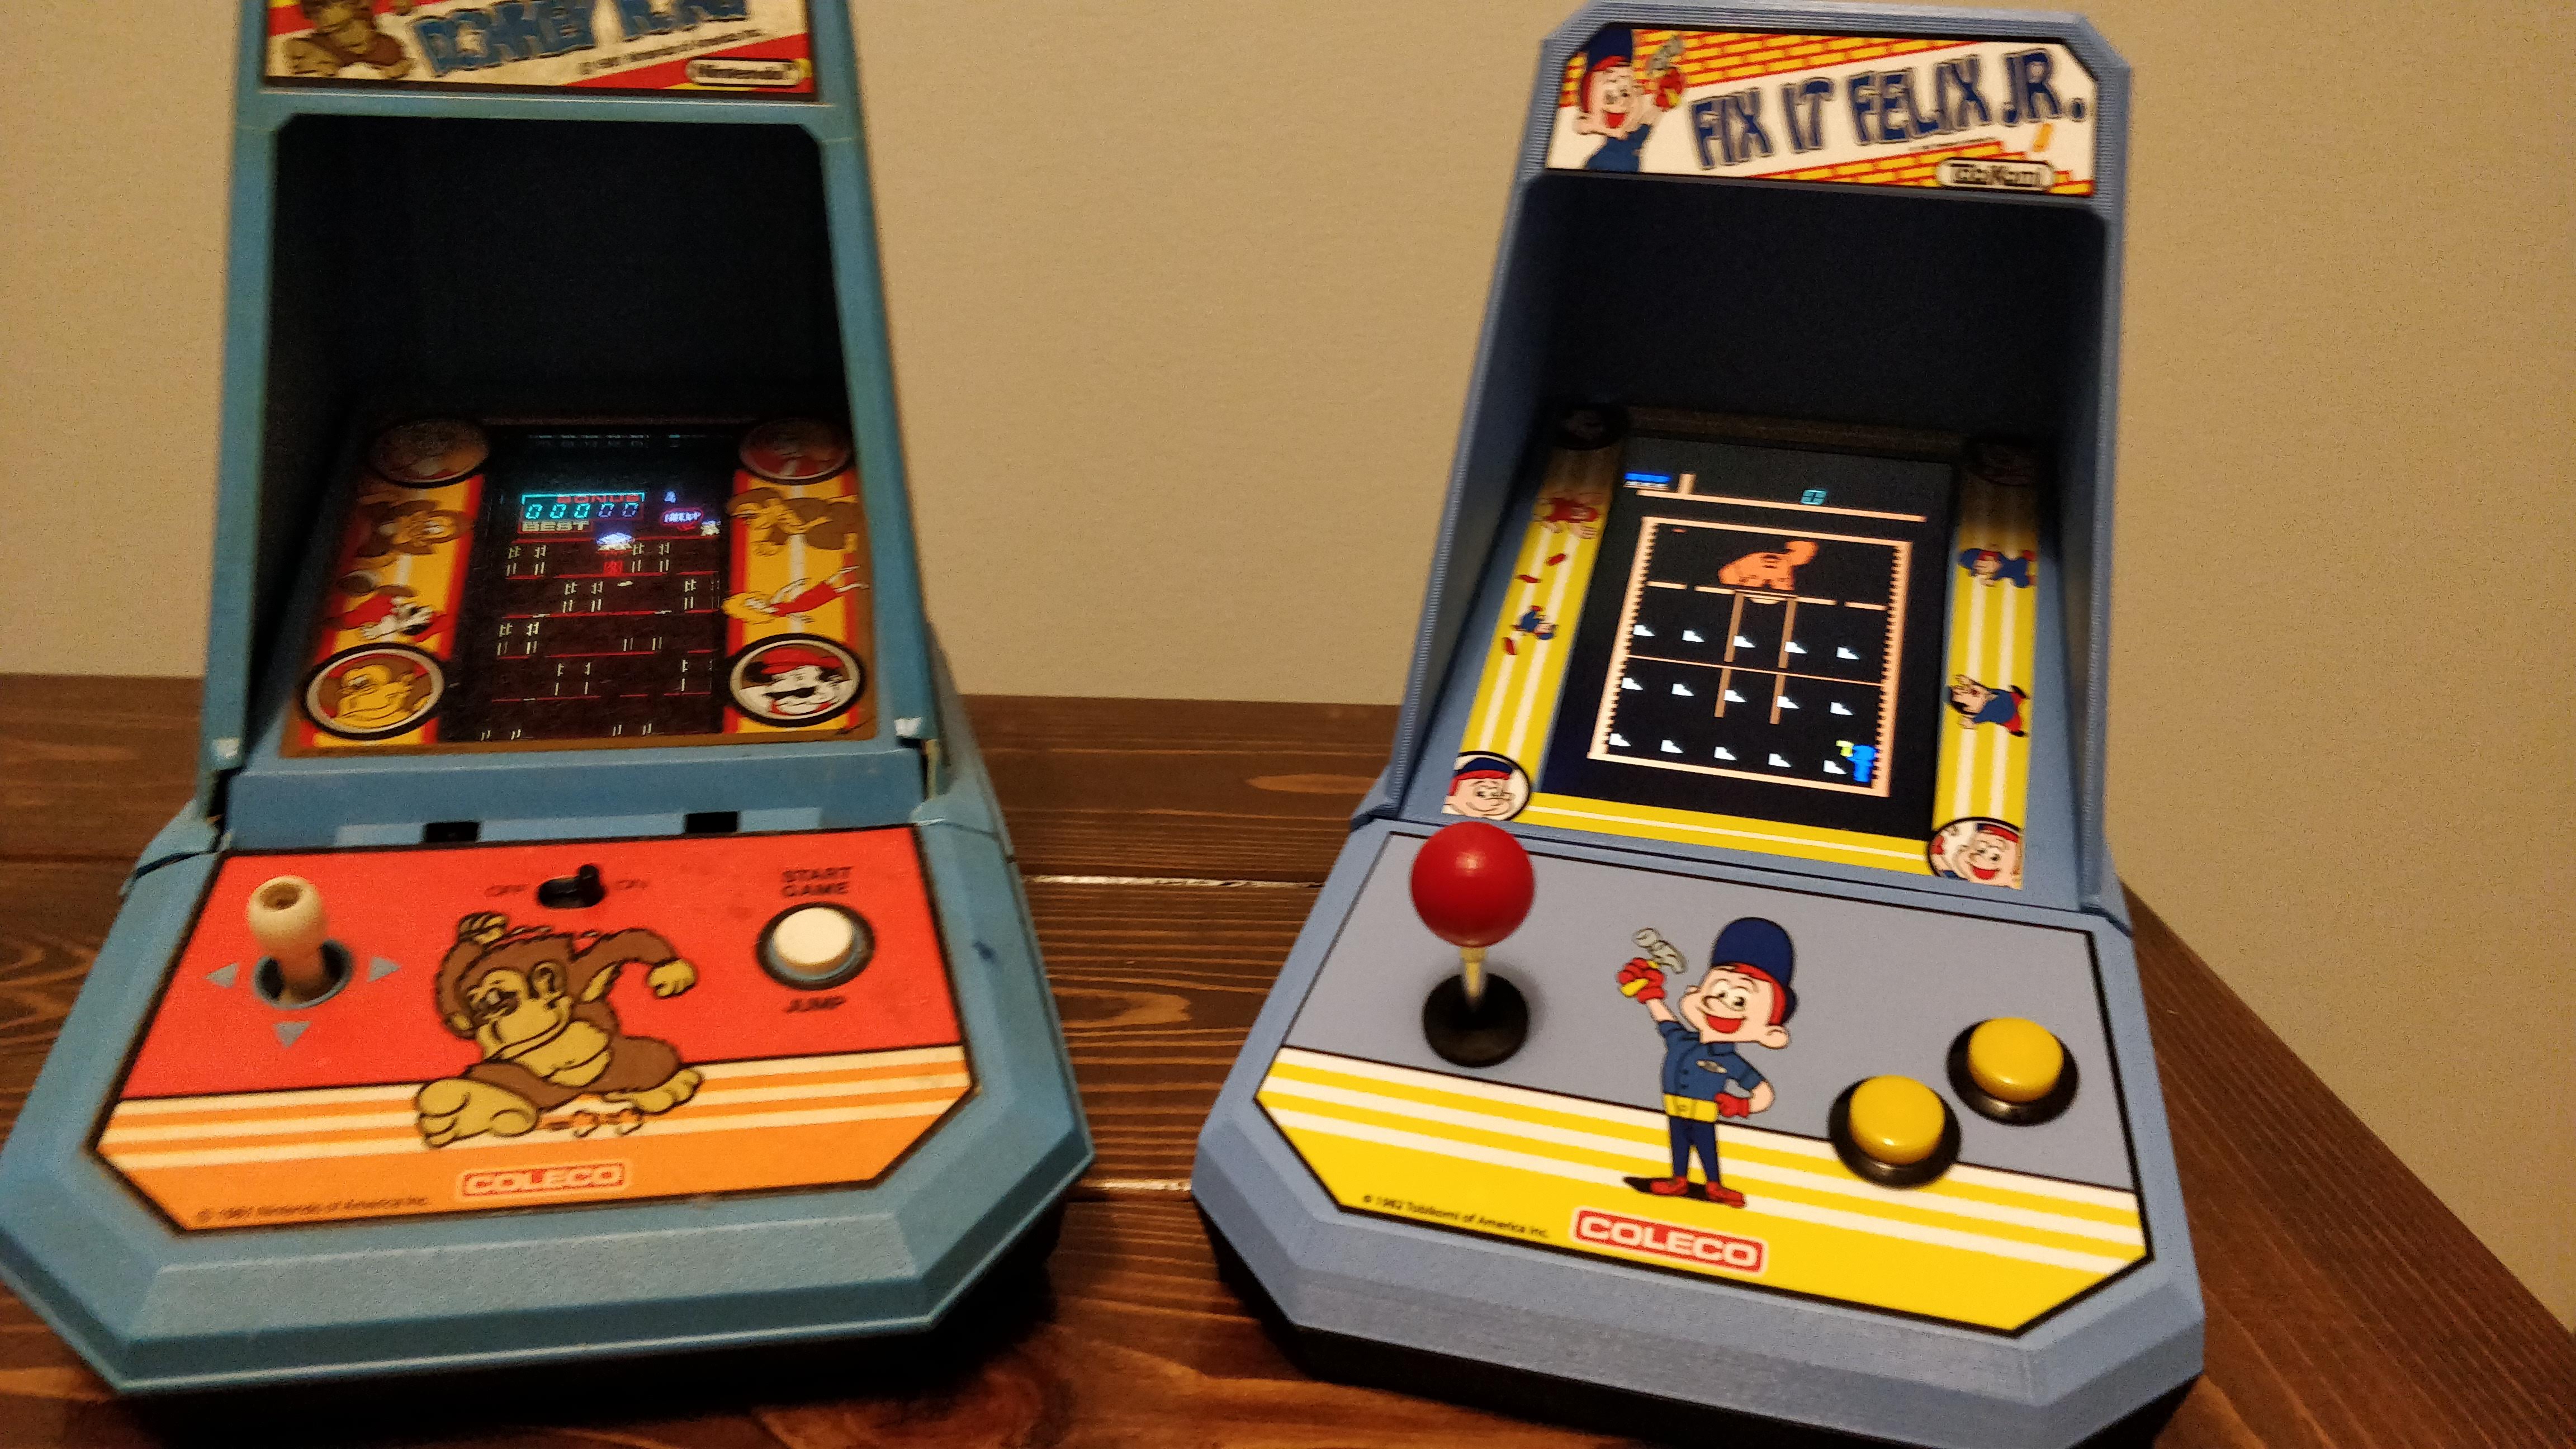
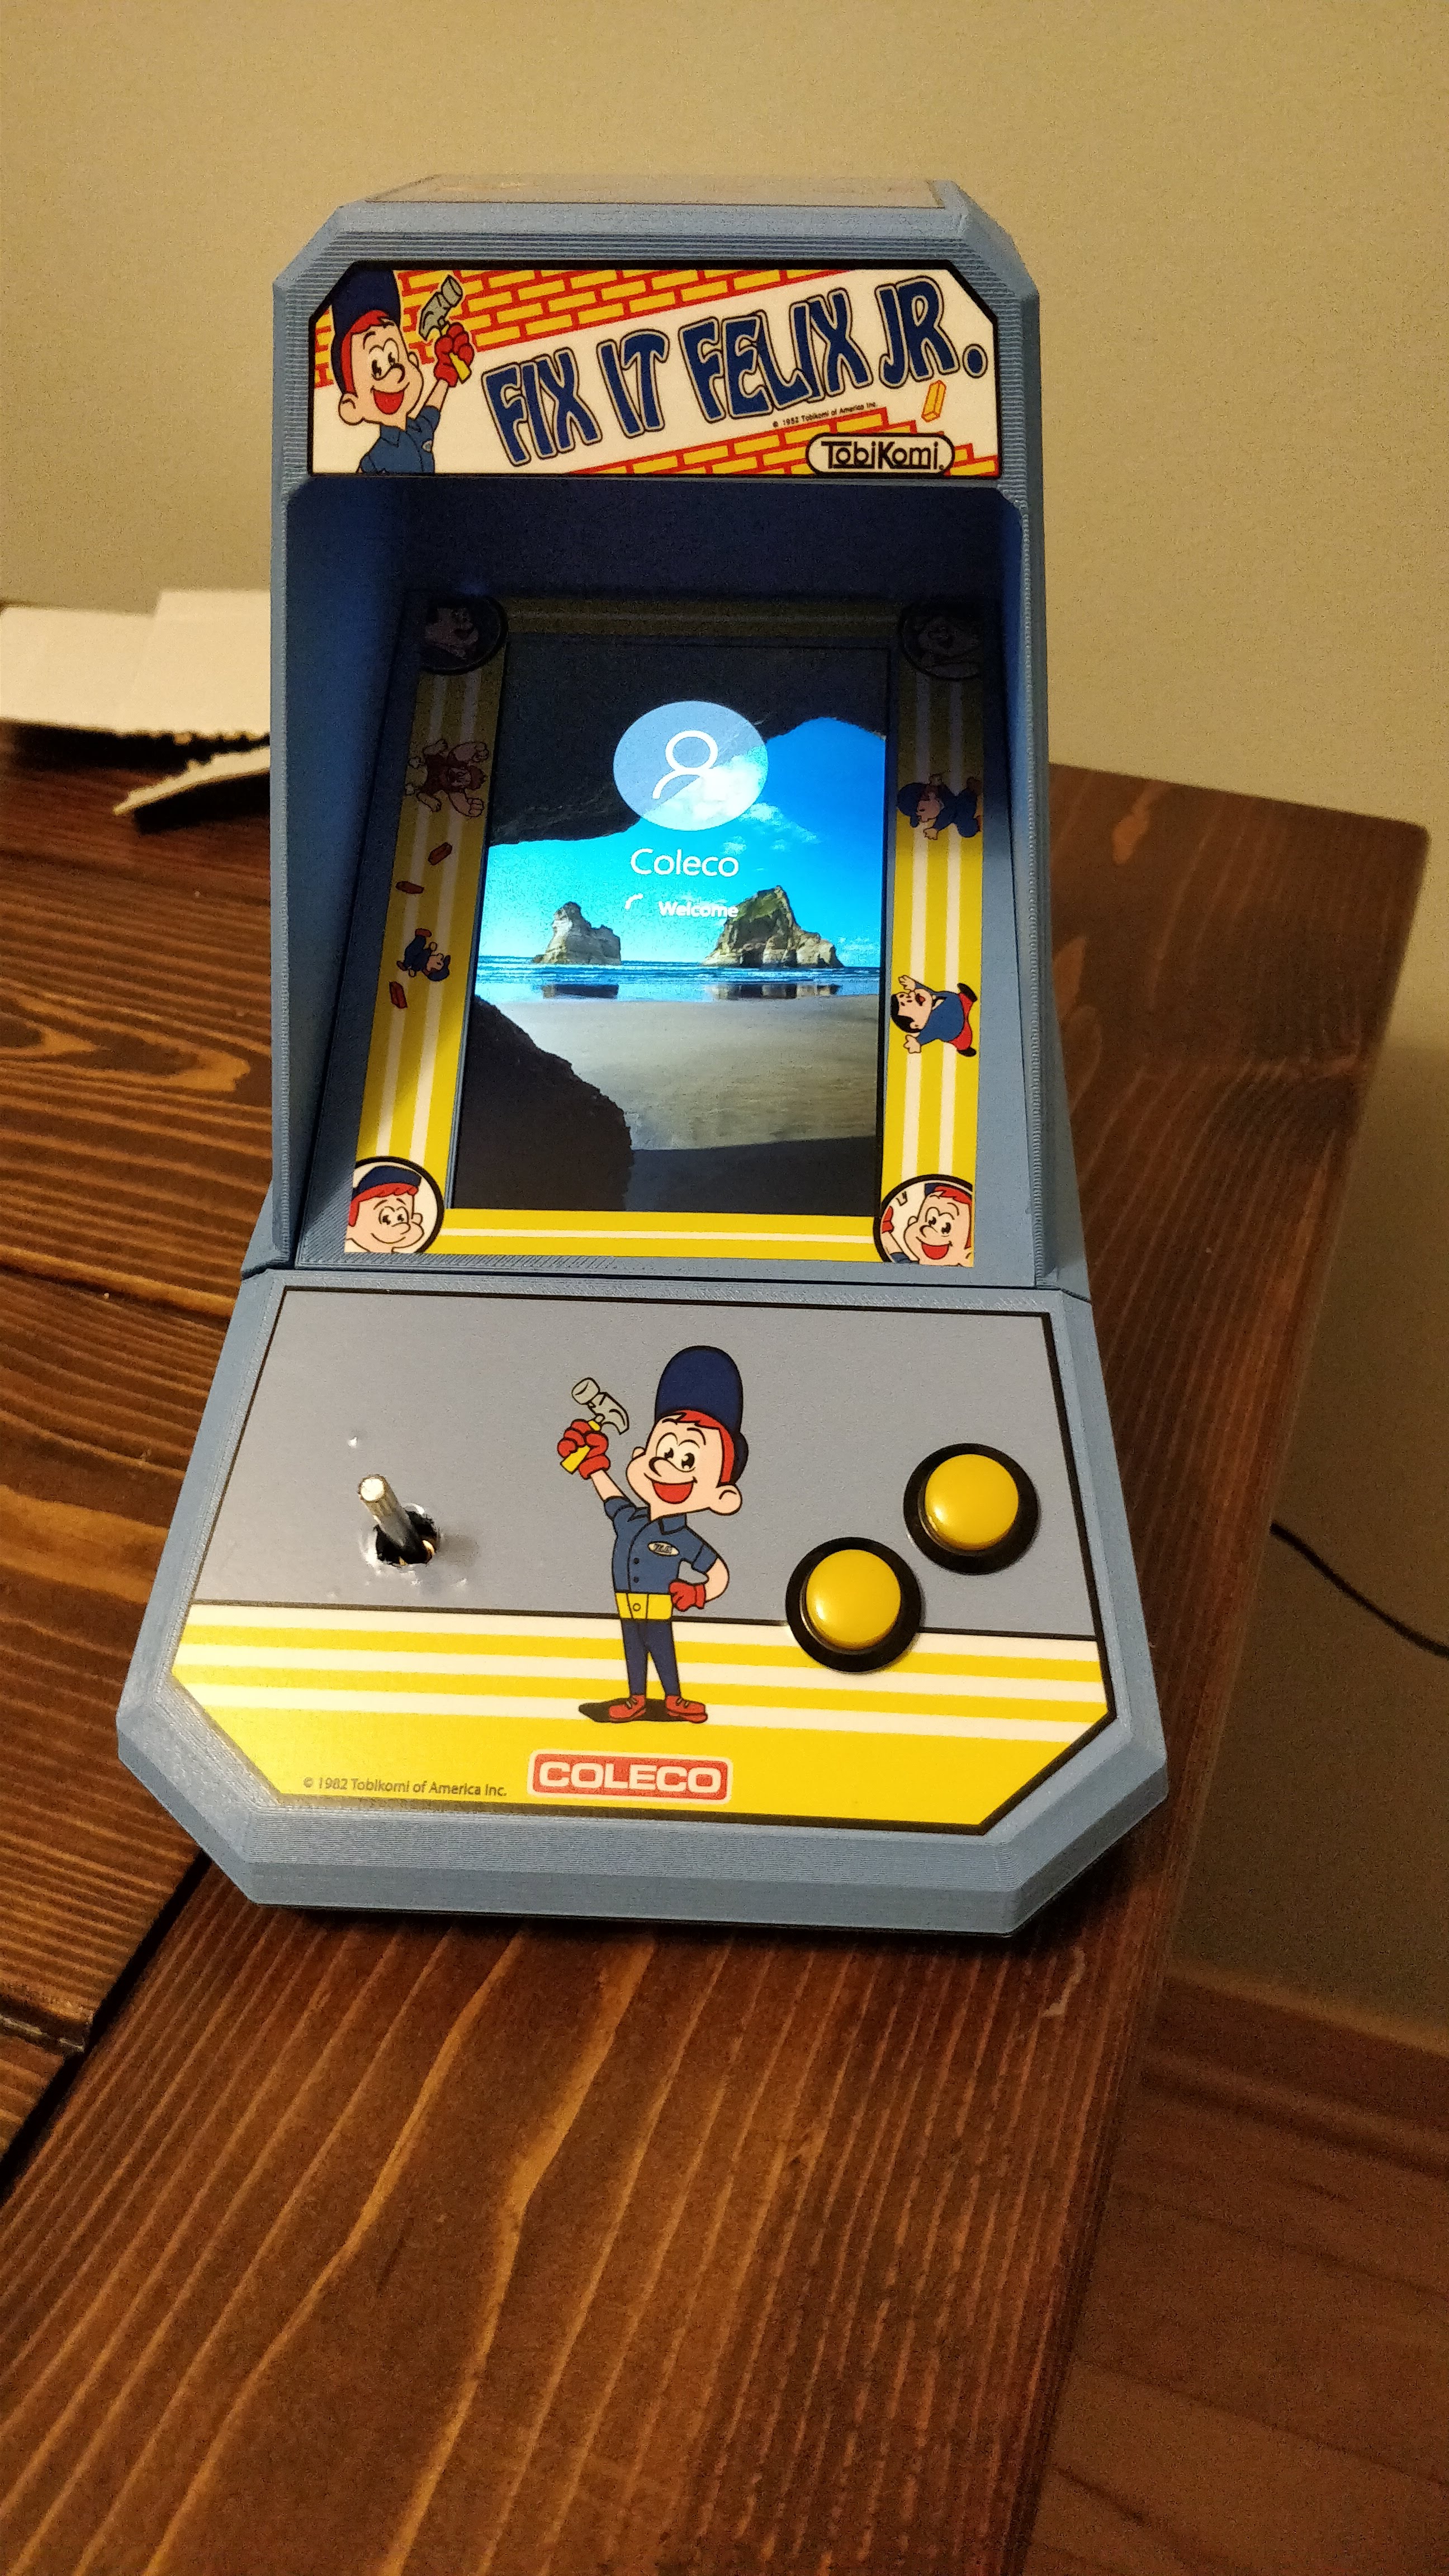
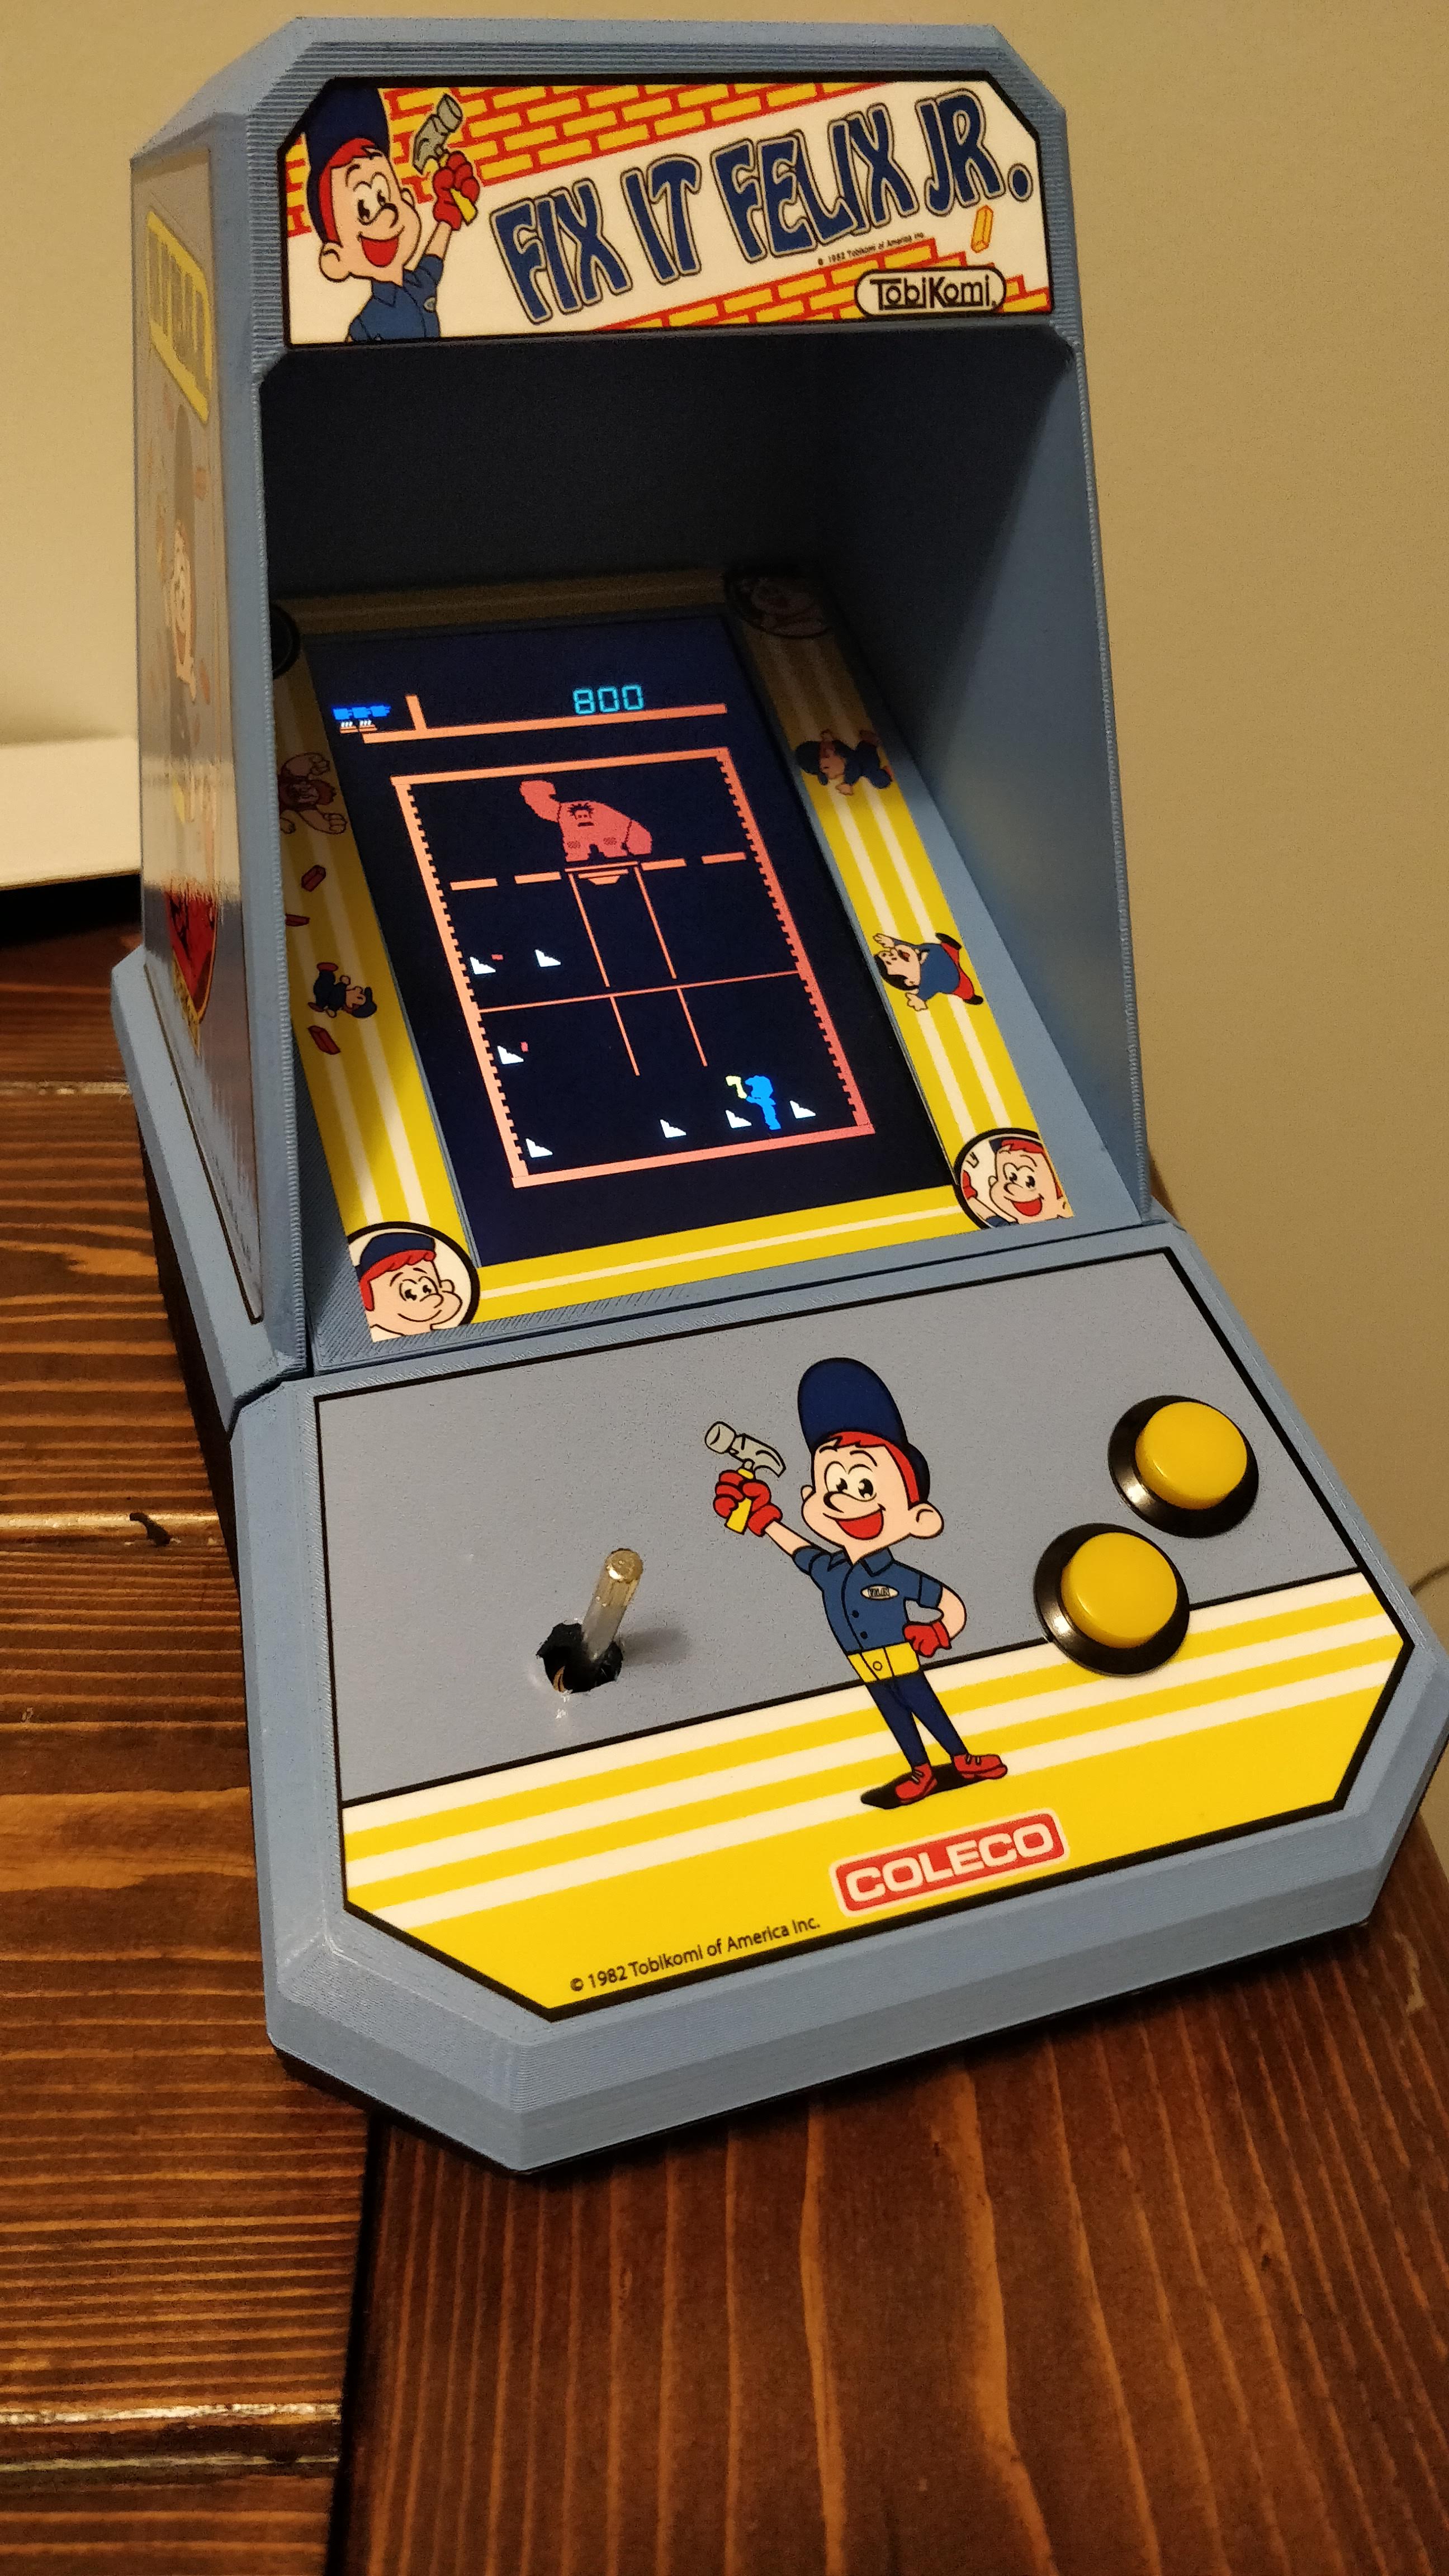
Finally booted it up and BAM, you’ve got something pretty amazing. It runs a full version of MAME but I only loaded vertical VFD style games on it.
Custom Fix It Felix VFD Game Software (and Bonus Wreck it Ralph Game Too)
I wrote two games for my project. A Fix It Felix game modeled after the original arcade game made to promote the movie (learn more about that in my full-size cabinet build) and a completely original Wreck It Ralph game! I was trying to get better and game coding so decided to challenge myself with a second game. Although not complex, it’s better optimized than my first game. I also thought it might be fun to someday create a Coleco style Wreck It Ralph cabinet. It could be red!
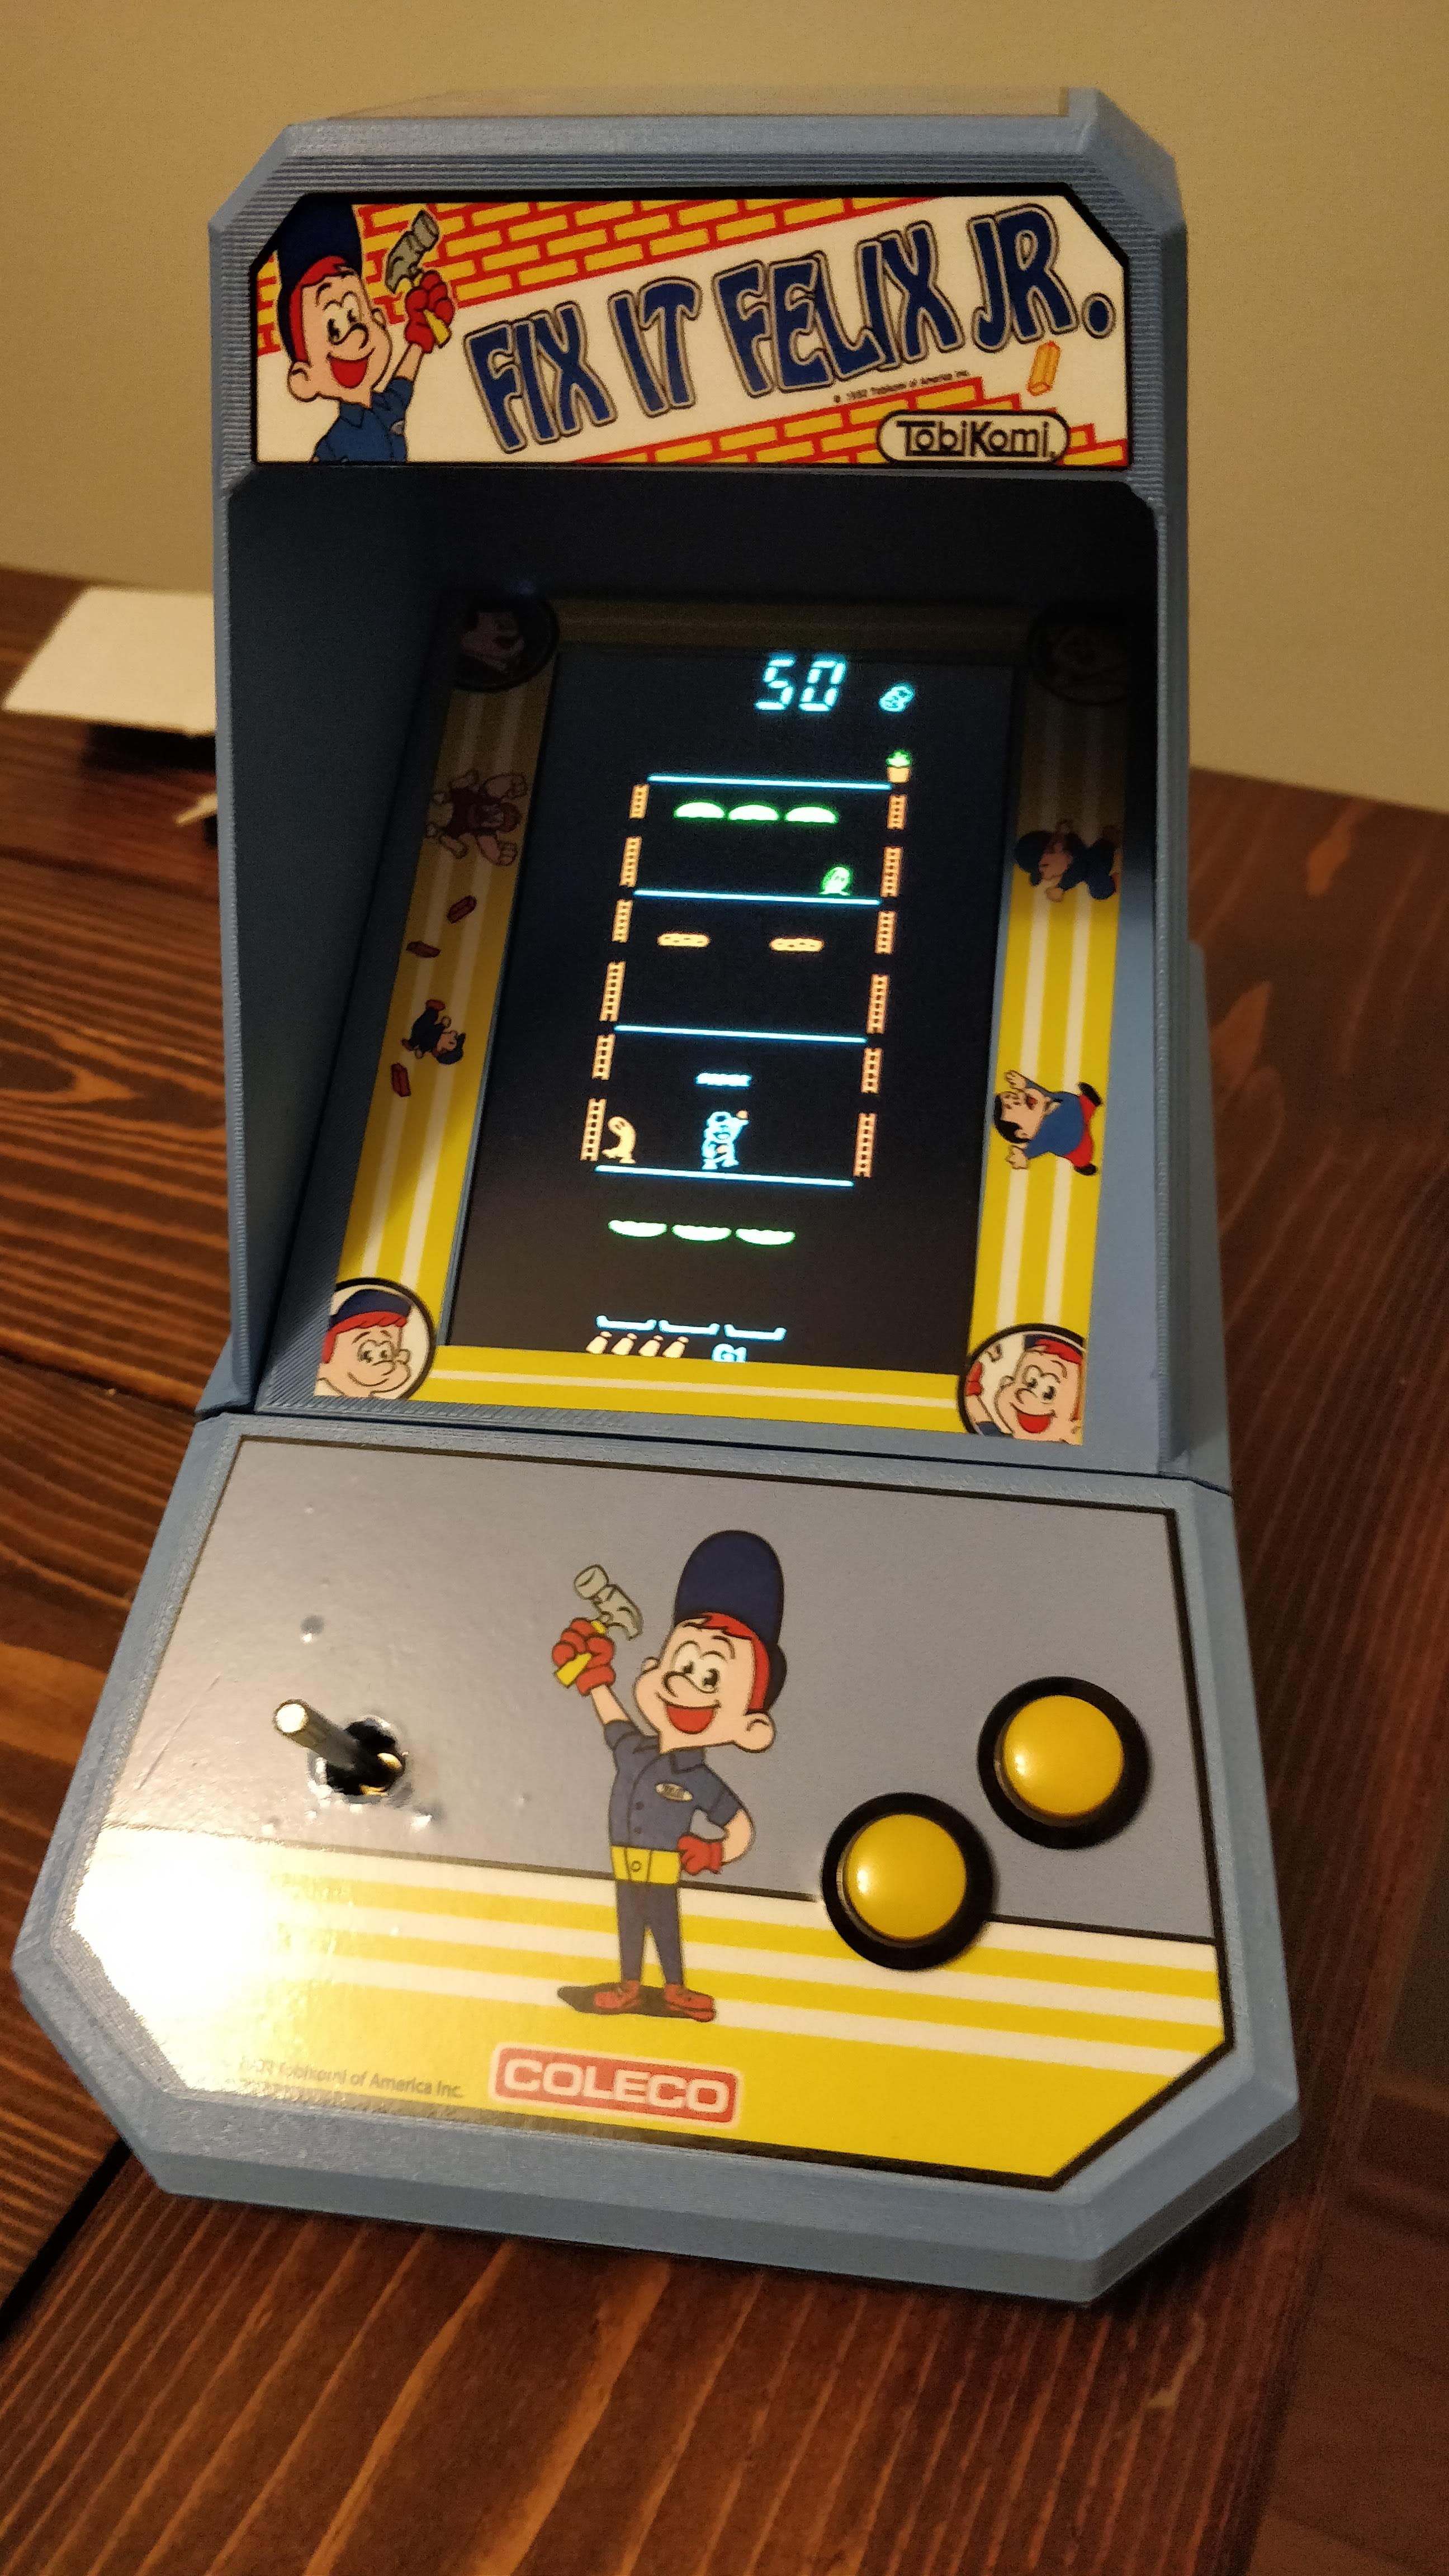
Both games feature newly made 1-bit sound and music, just like Coleco handhelds would have had, made by me. I am no musician! So, this took a long time but I think it turned out well. The graphics are also all single color, replicating the VFD displays of yesteryear. I tried to limit myself to 8 colors maximum.
You can see gameplay of both in the final video below.