
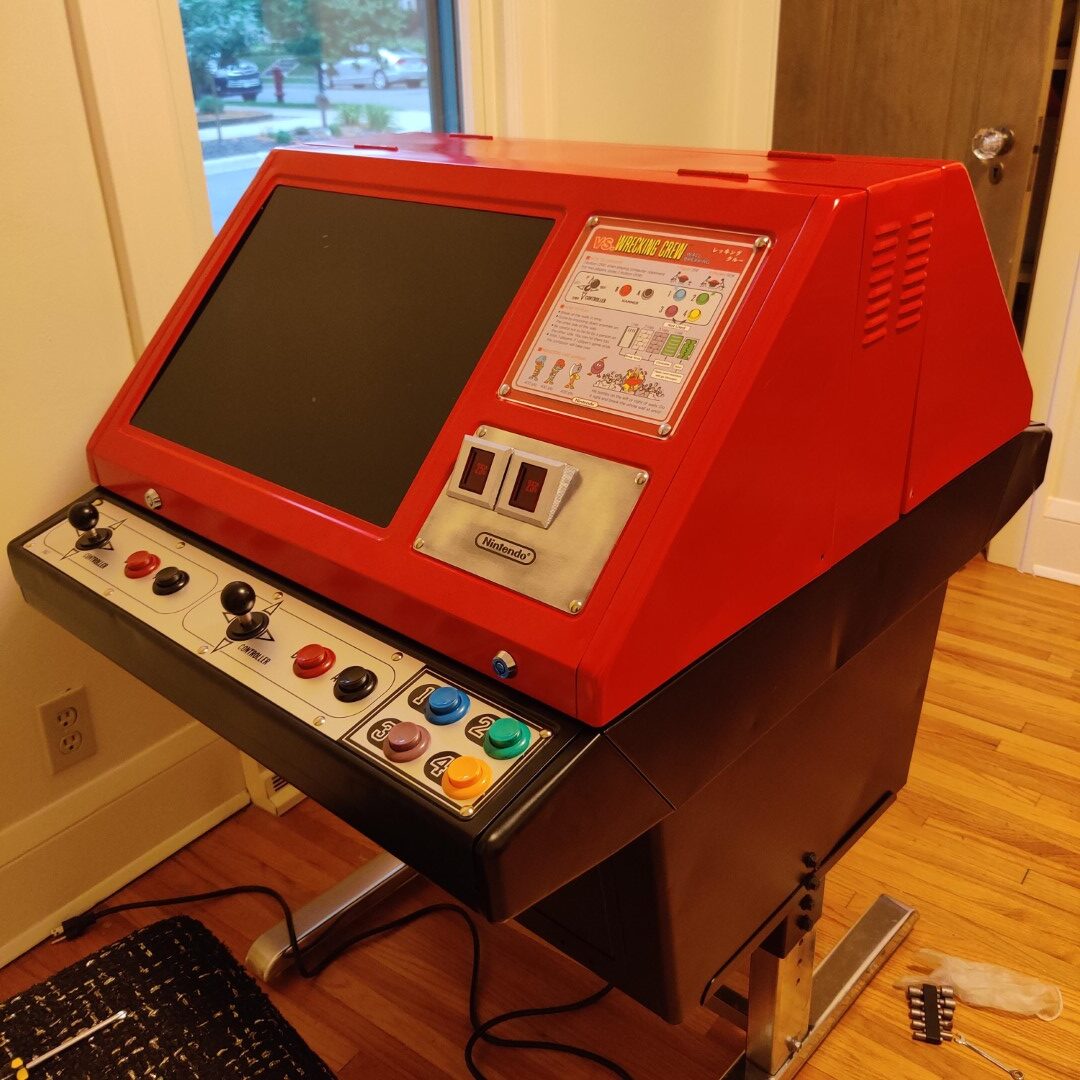
Well folks, this is a big one! I’ve always wanted an original arcade machine (most of my experience is in MAME or scratch-built cabinets) and I decided to go big for my first. I acquired a Nintendo Vs. DualSystem “Red Tent” in need of restoring. Specifically, the red tent is called the Vs DualSystem Cocktail or Model MDS-TBL (meaning multi-display system table).
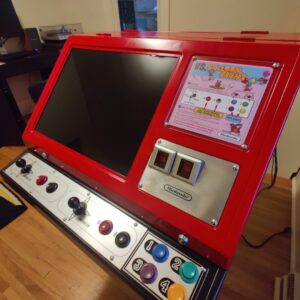
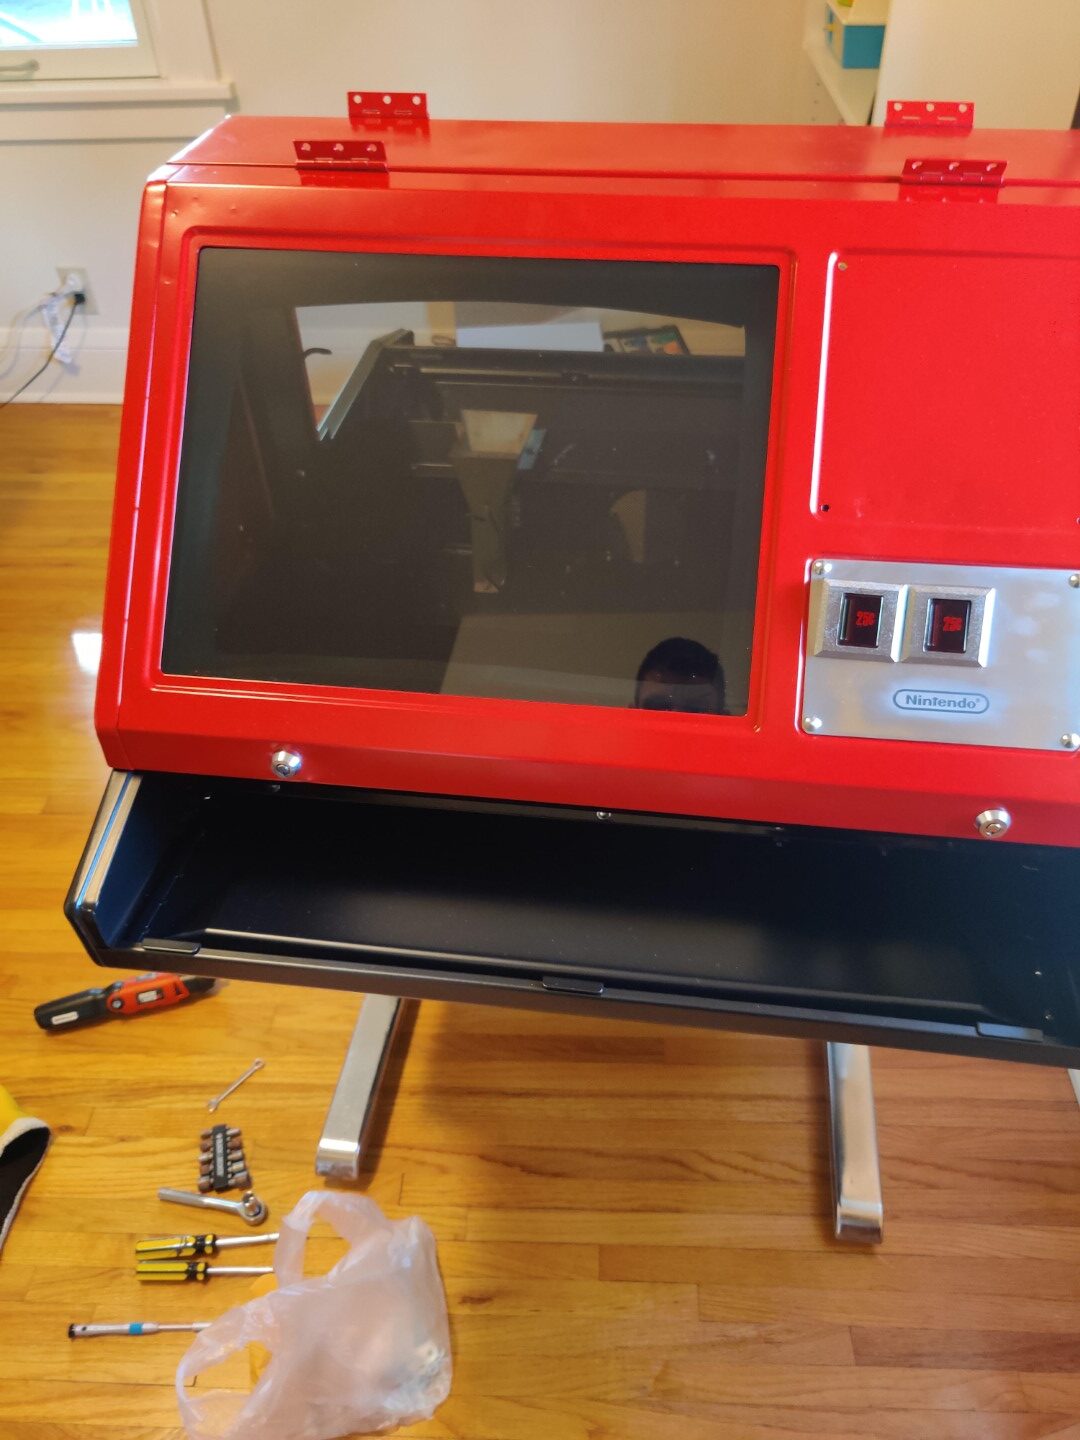
Restored Nintendo Red Tent Vs. DualSystem 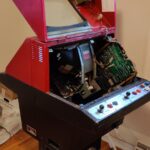
An original Nintendo Red Tent

Some History About the Nintendo Red Tent
The Nintendo Vs. DualSystem is sort of a precursor to the NES (Nintendo Entertainment System) in the United States. It was part of the Vs System of arcade cabinets and were quite popular. Since the technology is largely the same as the NES, many of the games were practically direct ports. Other games were quite different though – and took advantage of the dual-monitor nature of the DualSystem cabinets.
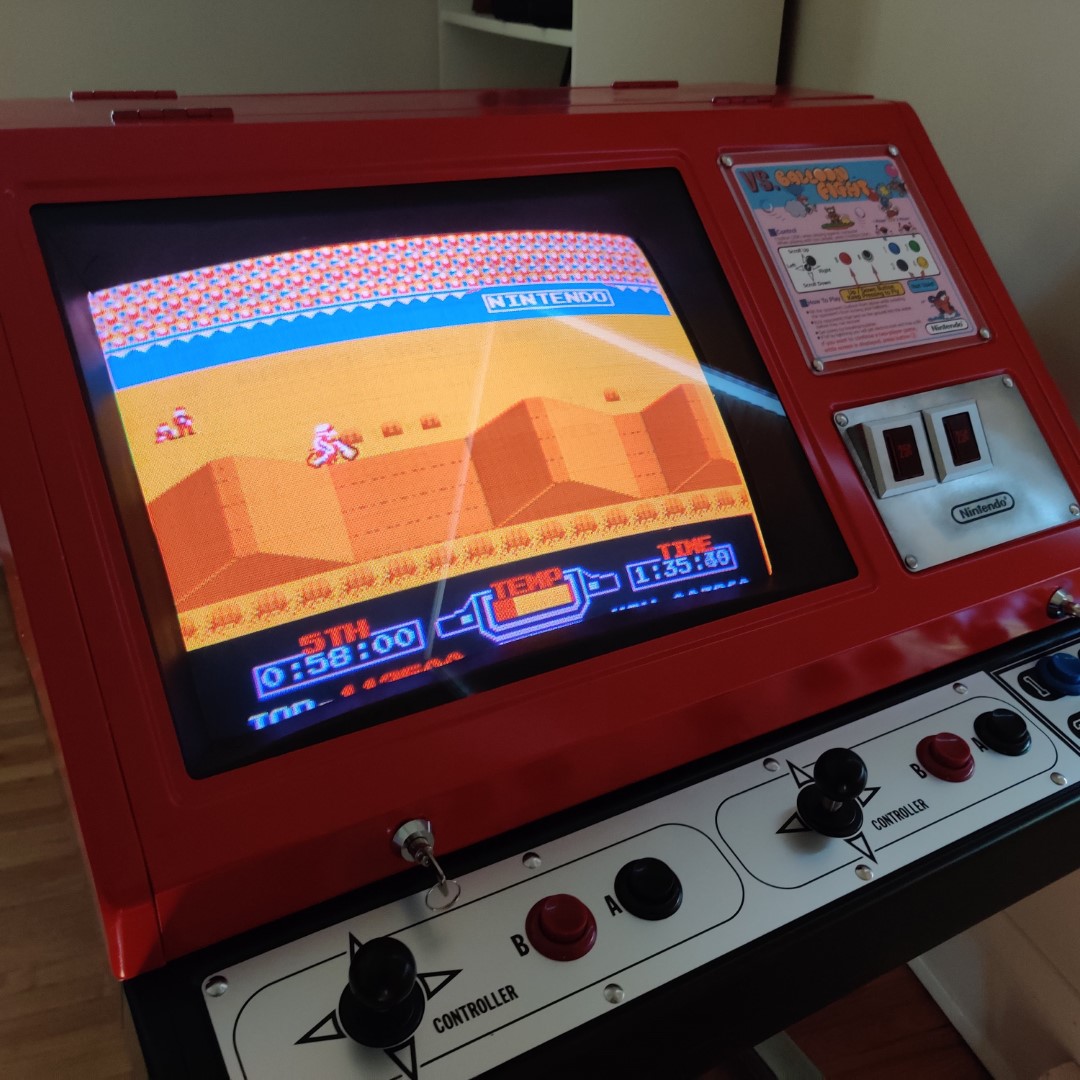
For example, Vs. Balloon Fight uses both screens, giving each player their own view of the action, and letting players “scroll” vertically on the screen.
These games really fascinated me, and it’s possible you’ve seen the game I coded to resemble Nintendo Red Tent games; called Vs. Construction Crew.
Acquiring the Red Tent
I kept on eye out for one of these for maybe 3 months, making several offers but losing out. One popped up on KLOV early in the year so I bit as quick as I could! Everything was in “working” order but, of course, that didn’t mean it wouldn’t need a lot of work, which I’ll be discussing soon.
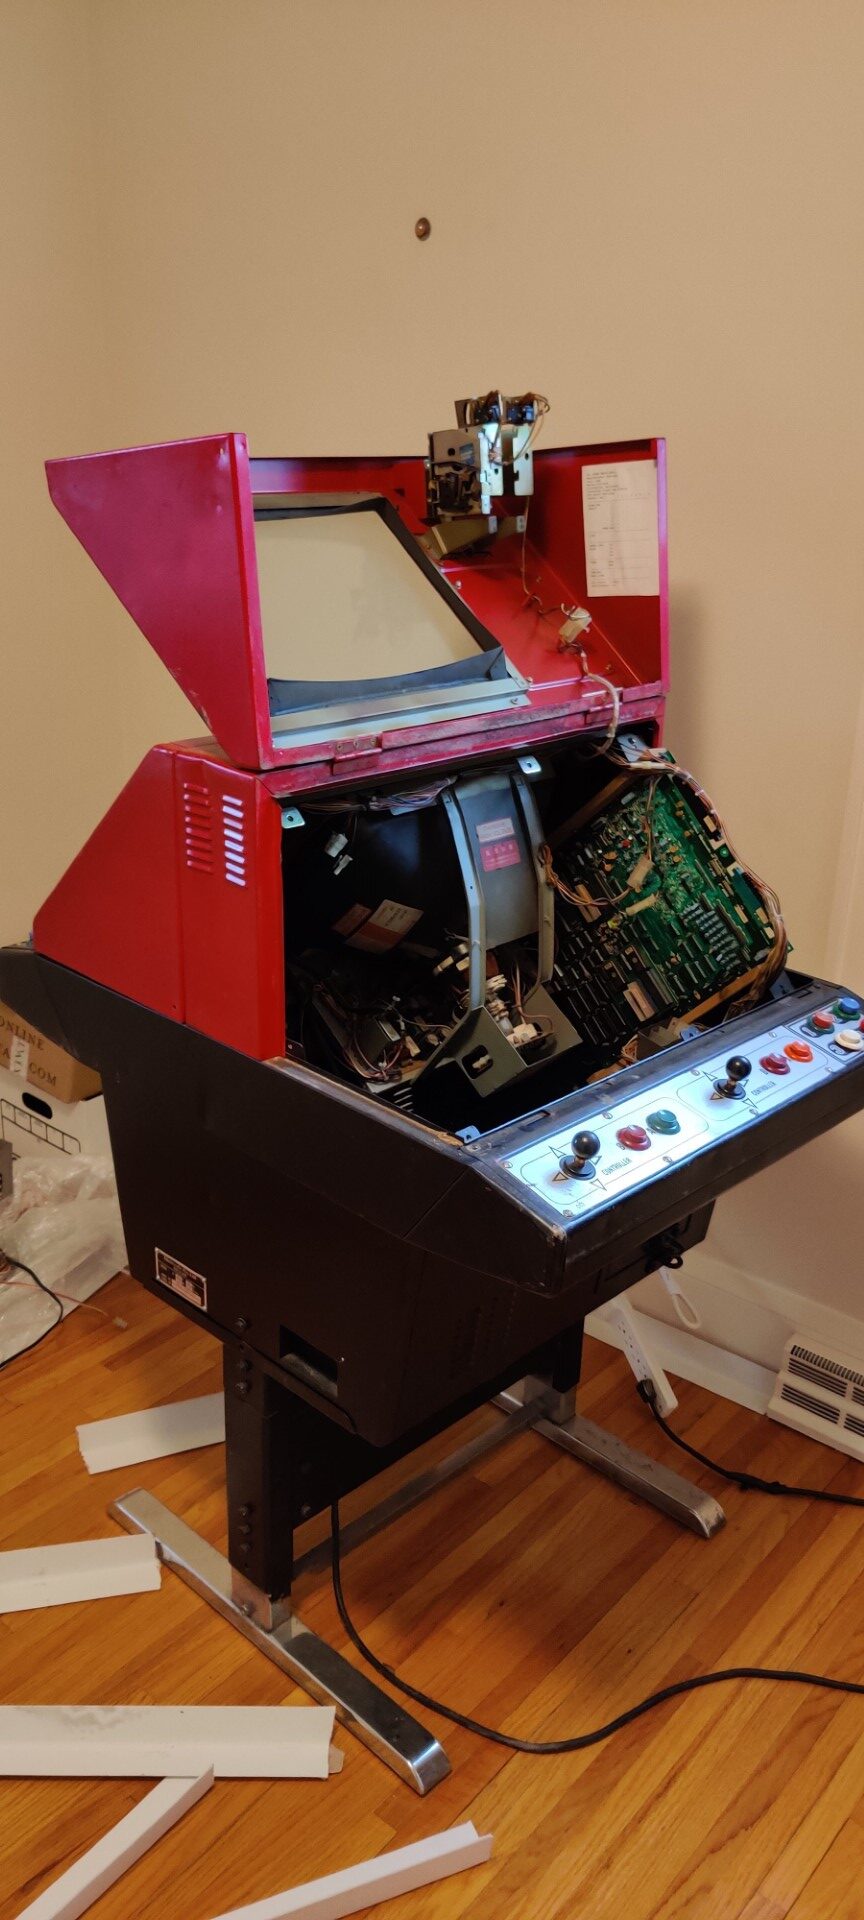
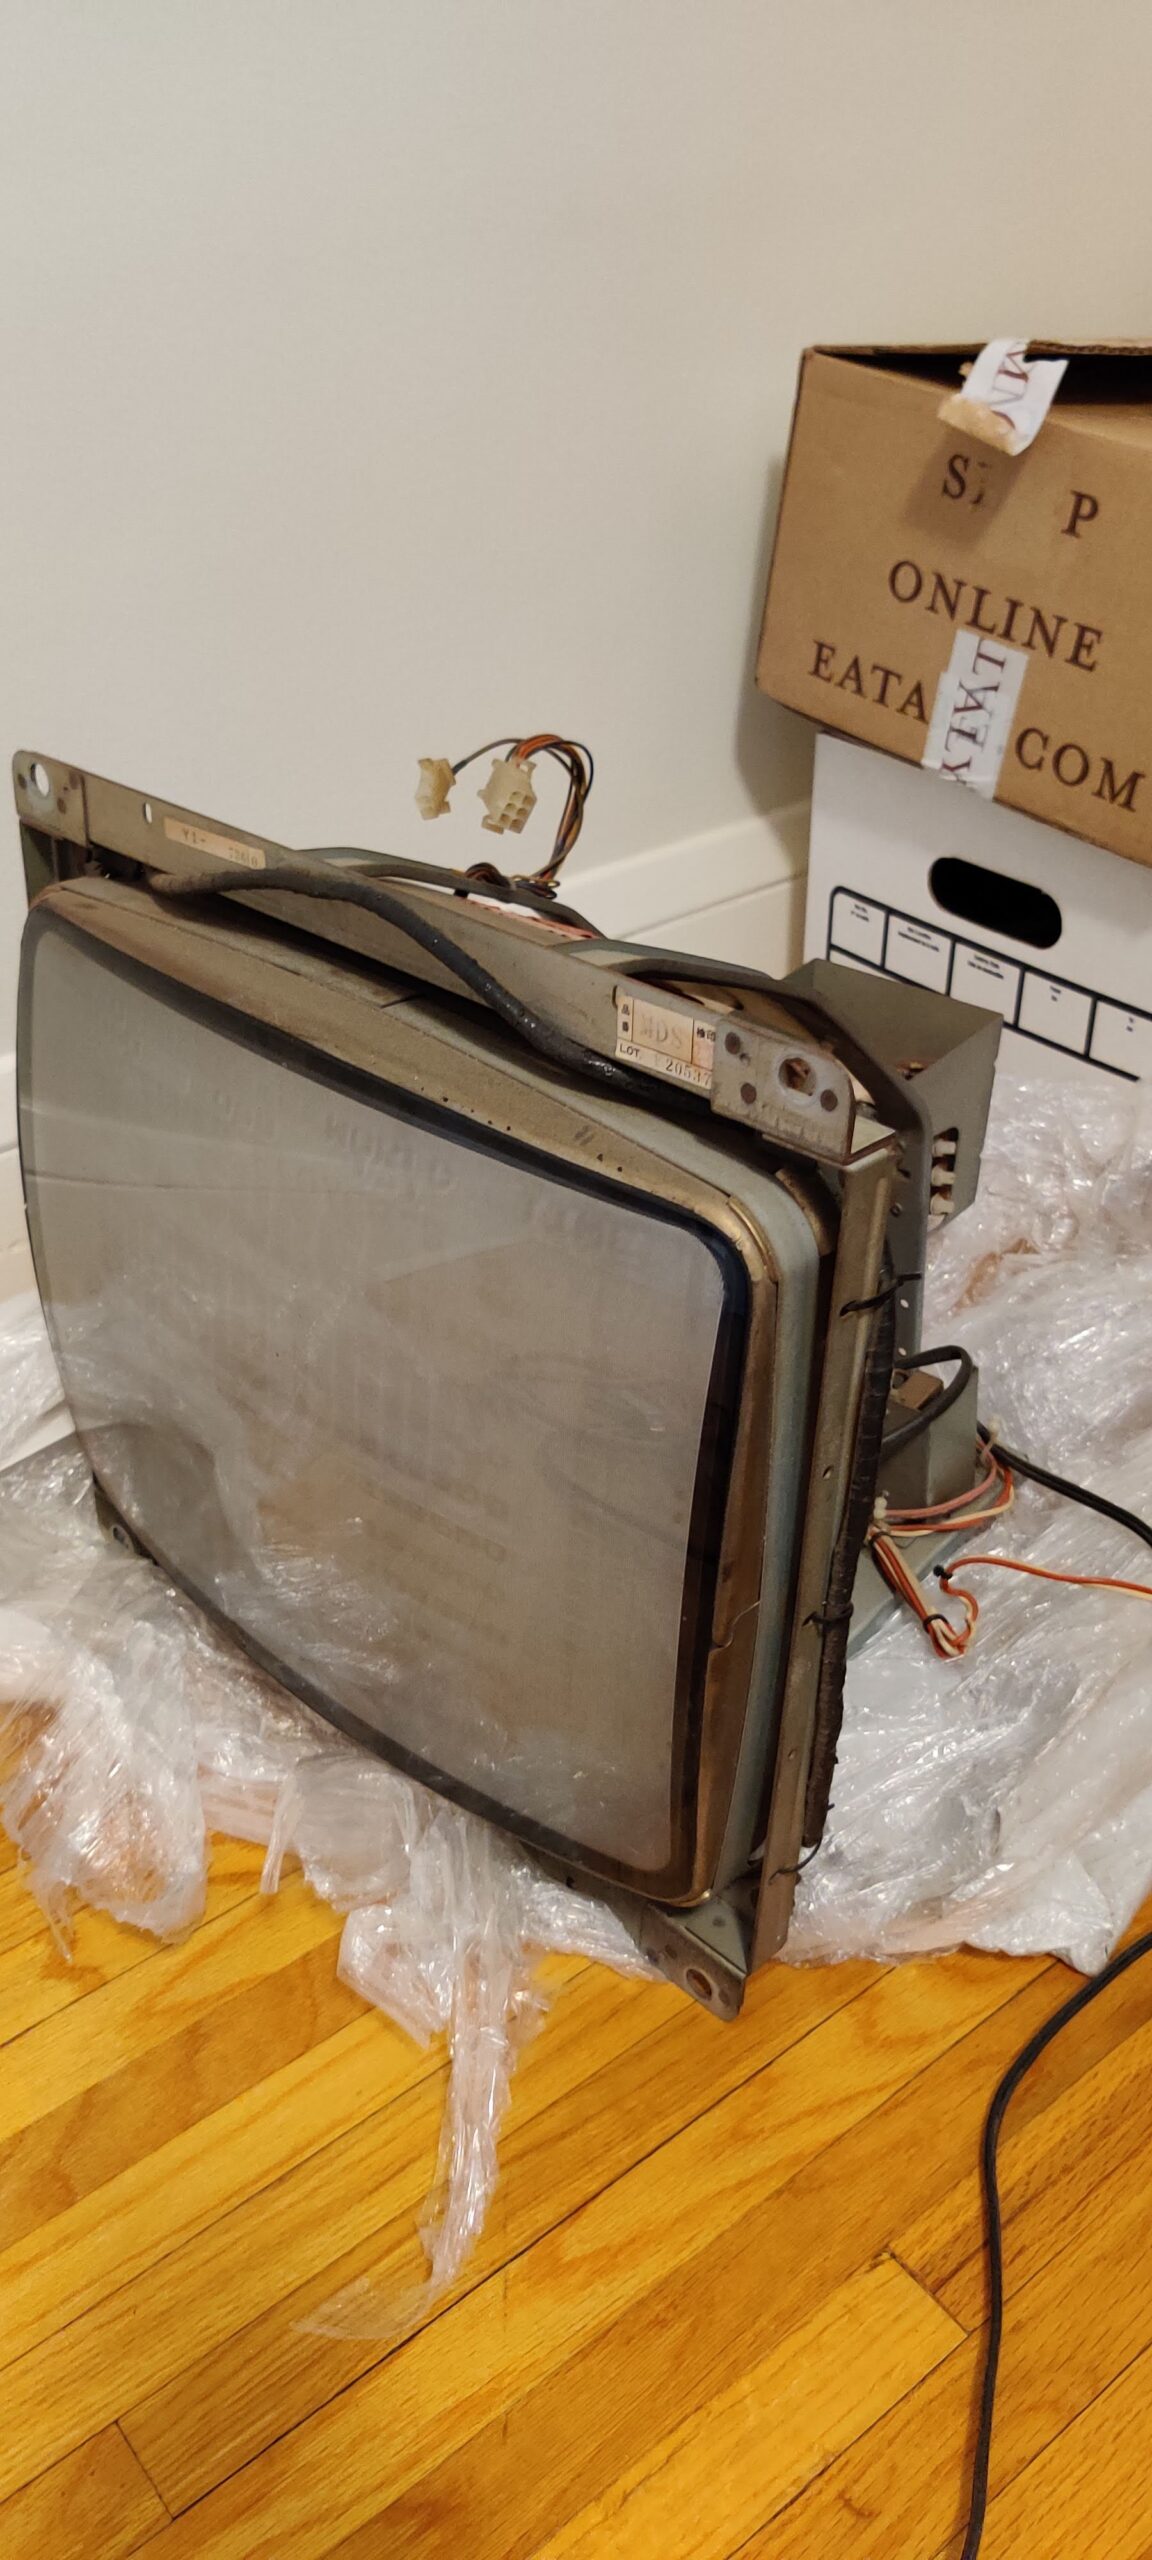
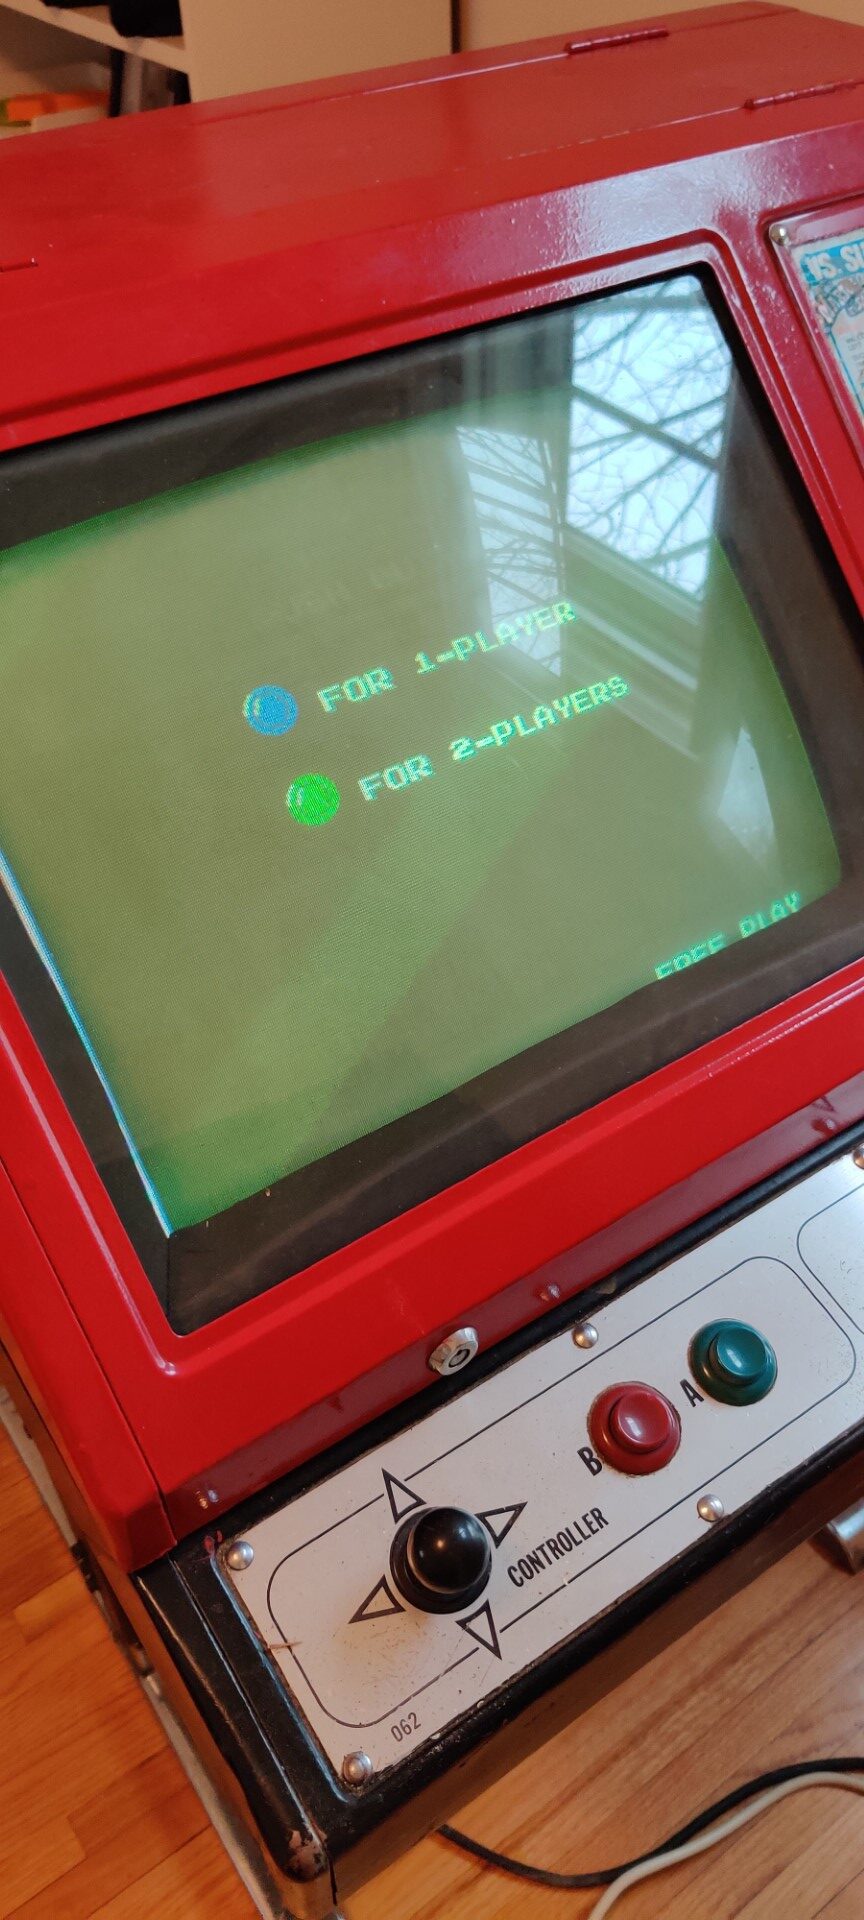
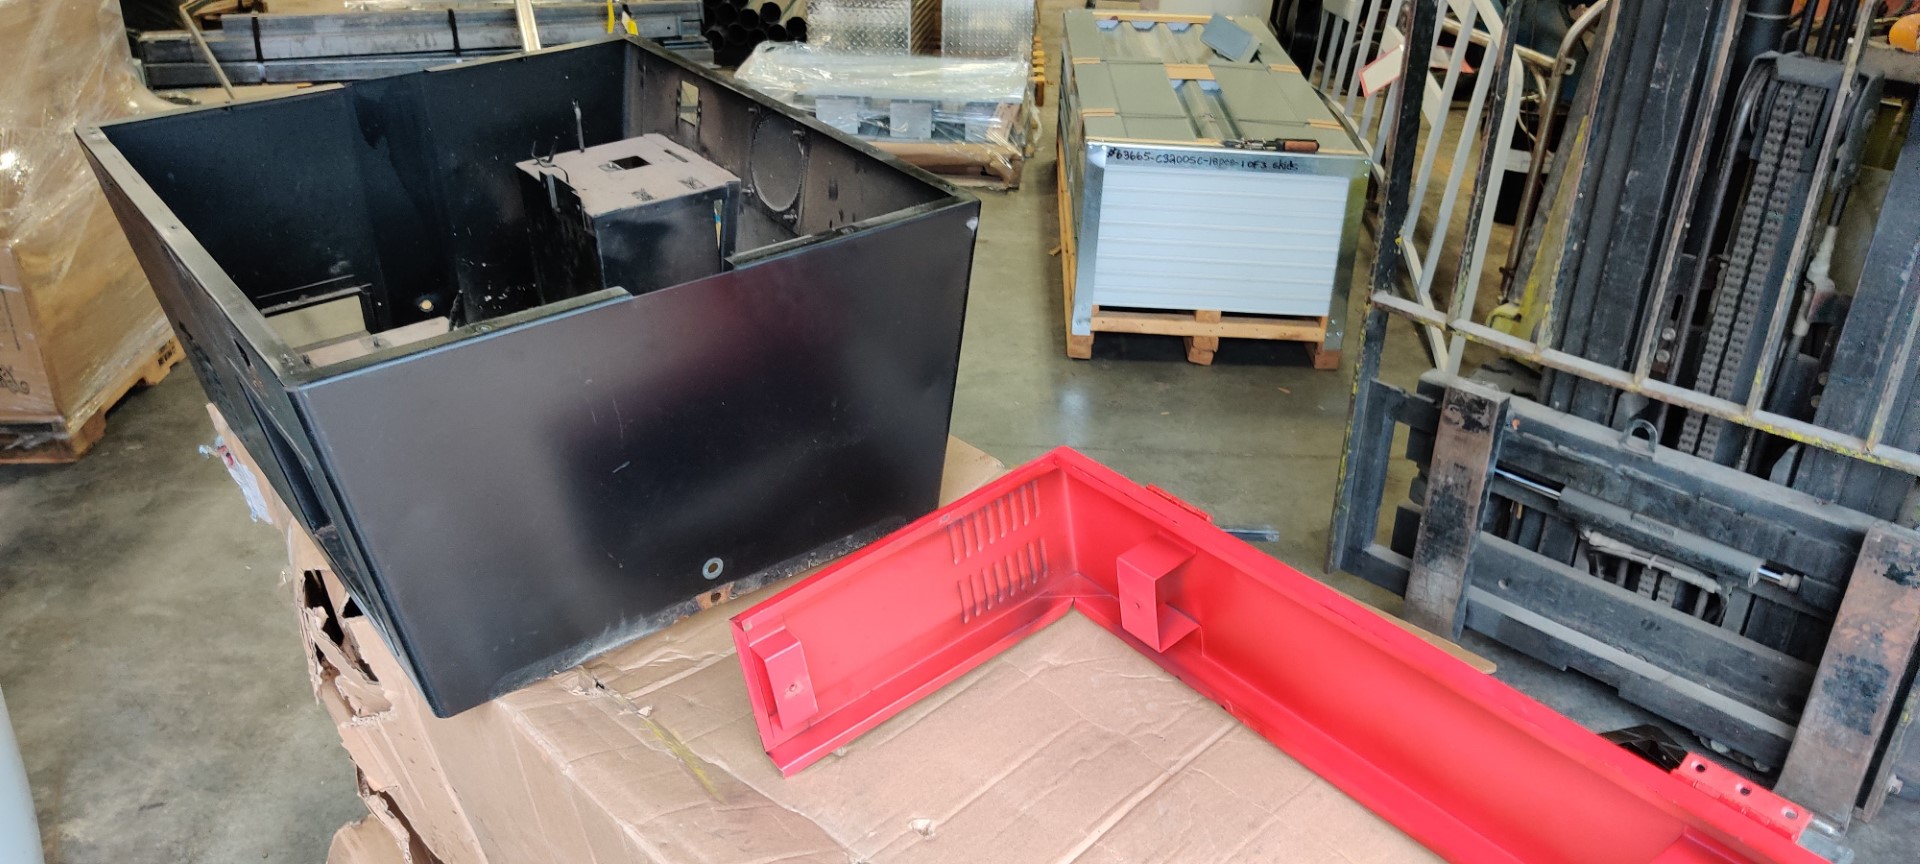
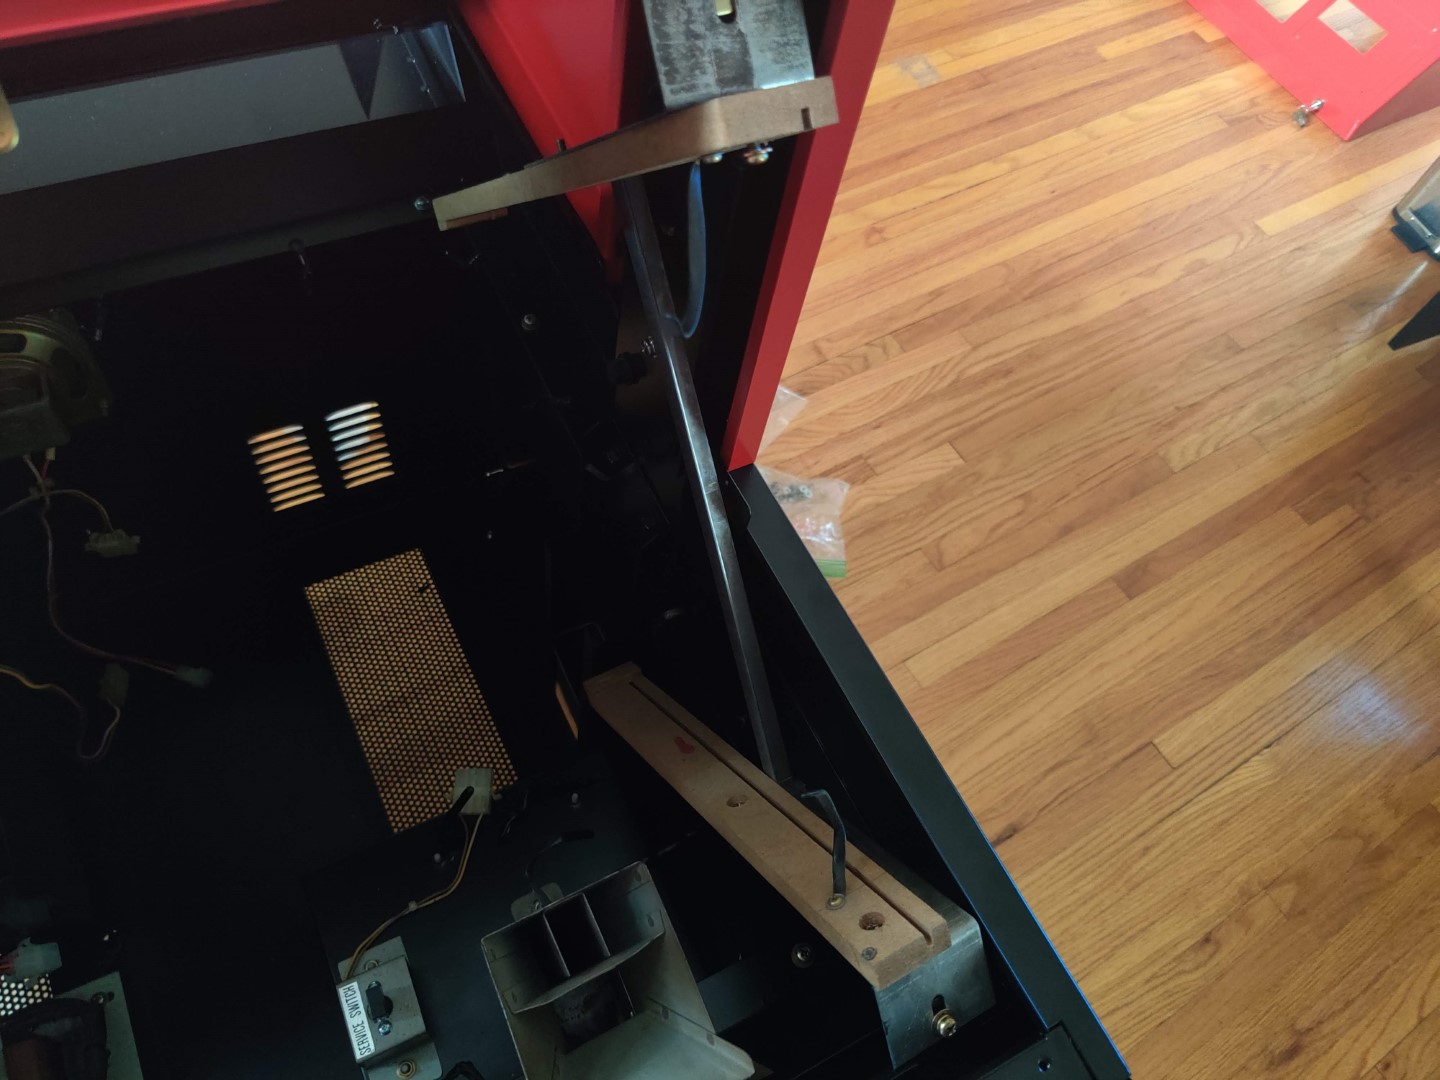
I had to arrange shipping from a few states over but with the difficulty in finding this specific machine, I figure it’s worth it. Here is how the machine appeared when it first arrived.
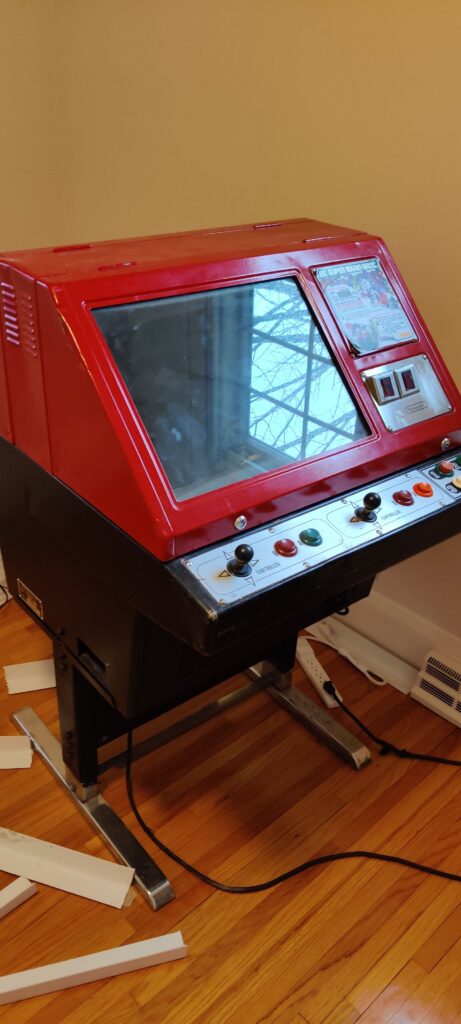
Nintendo Red Tent 
Red Tent open 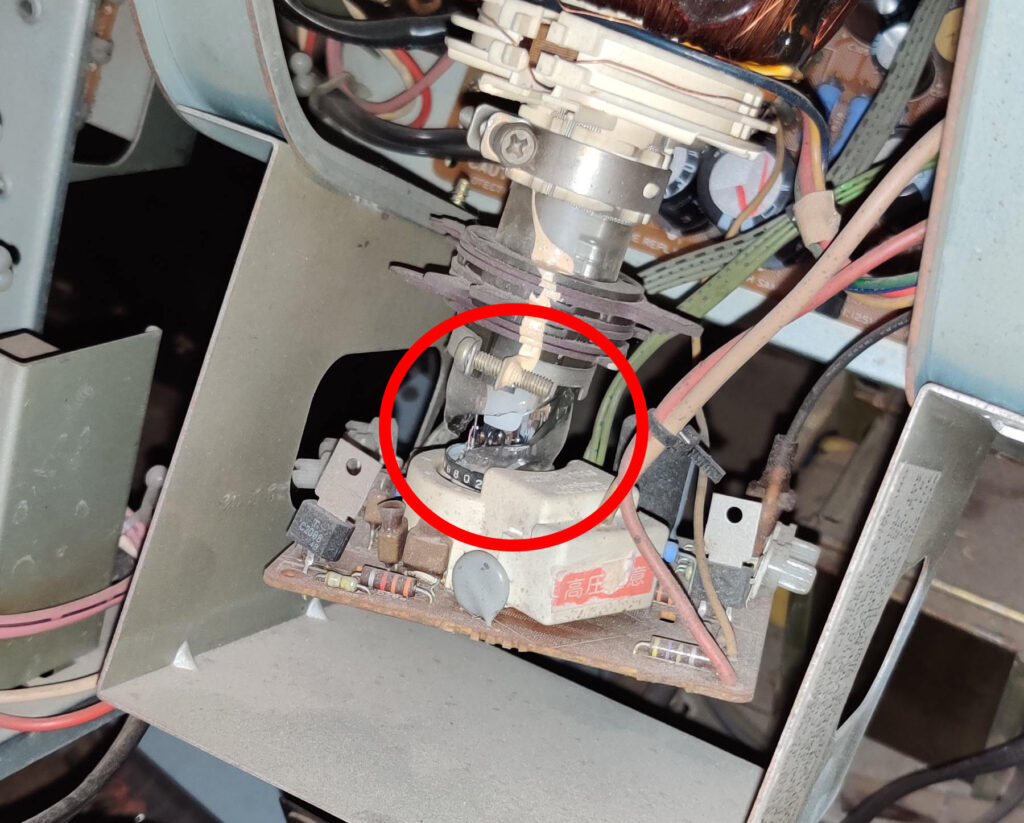
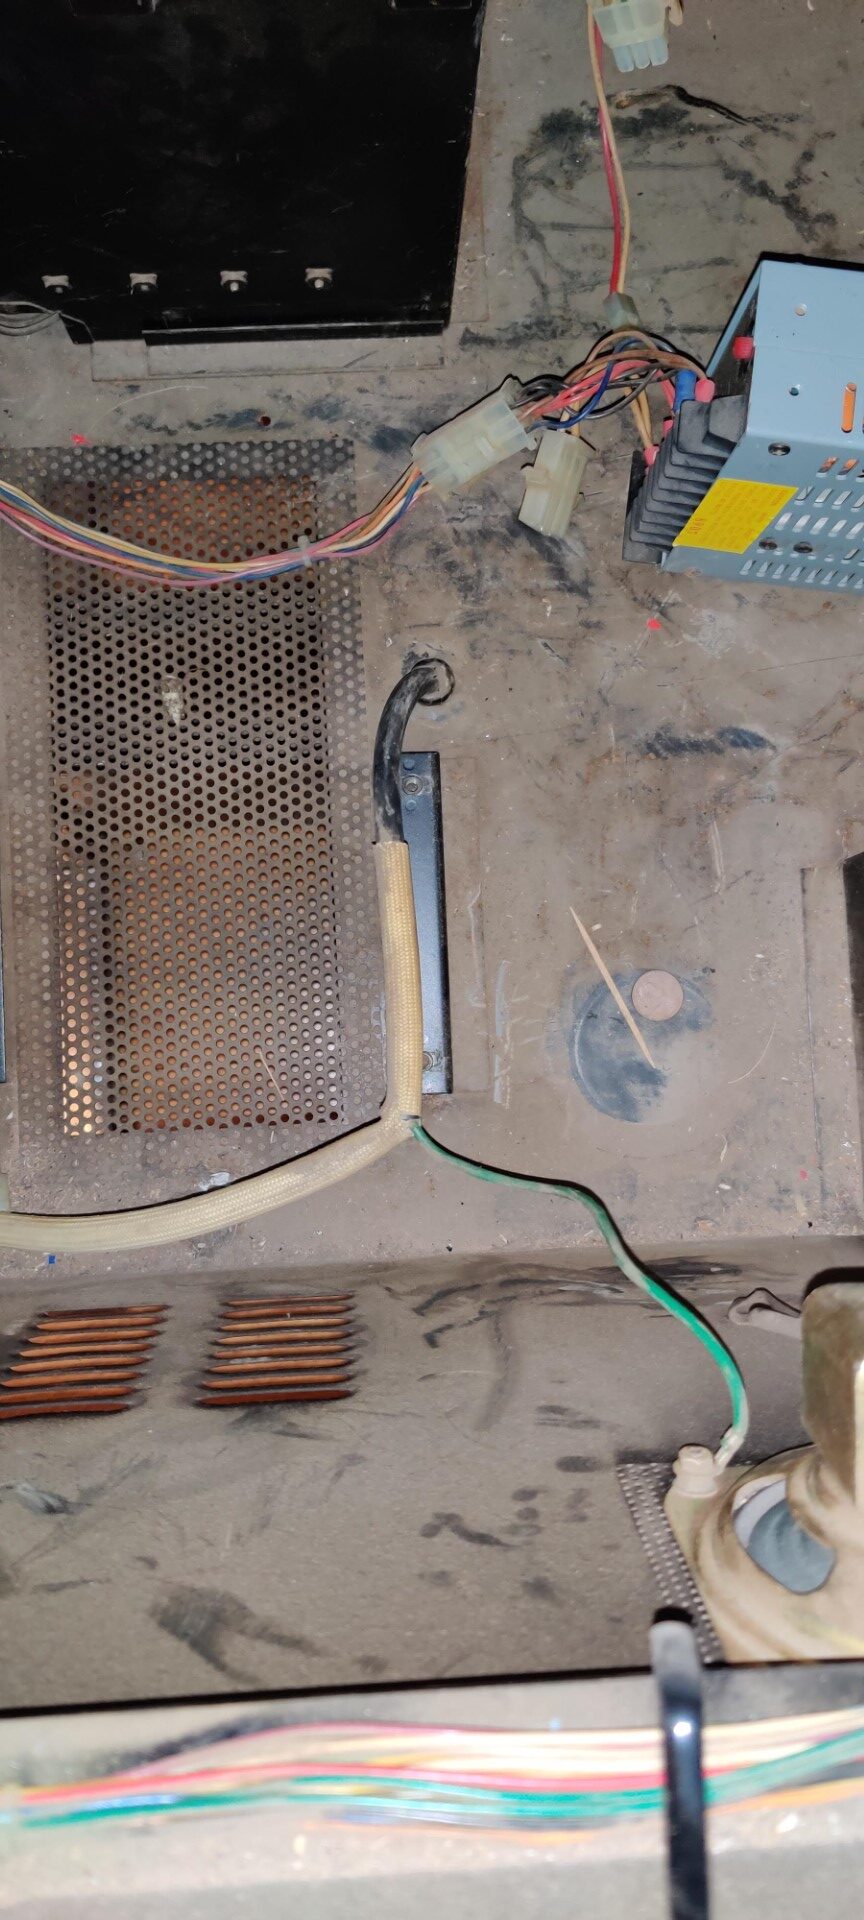
Cracked neck circled 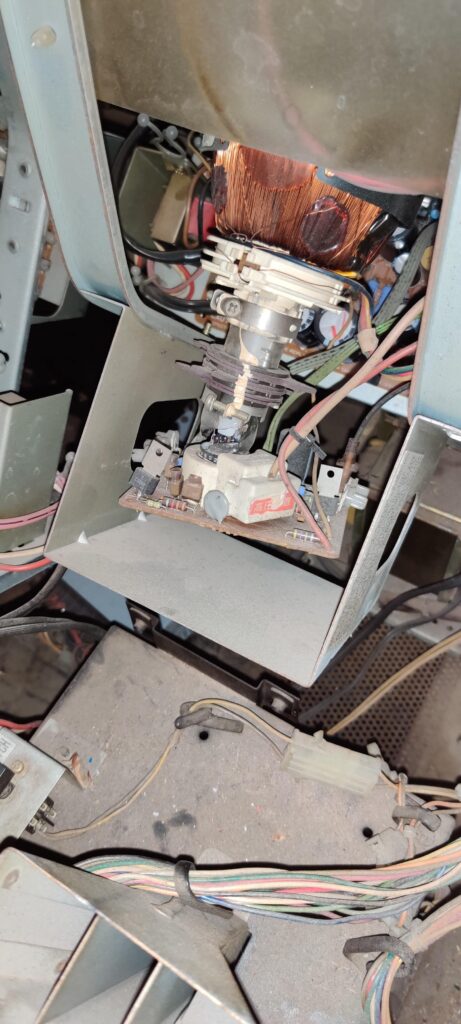
Cracked neck 
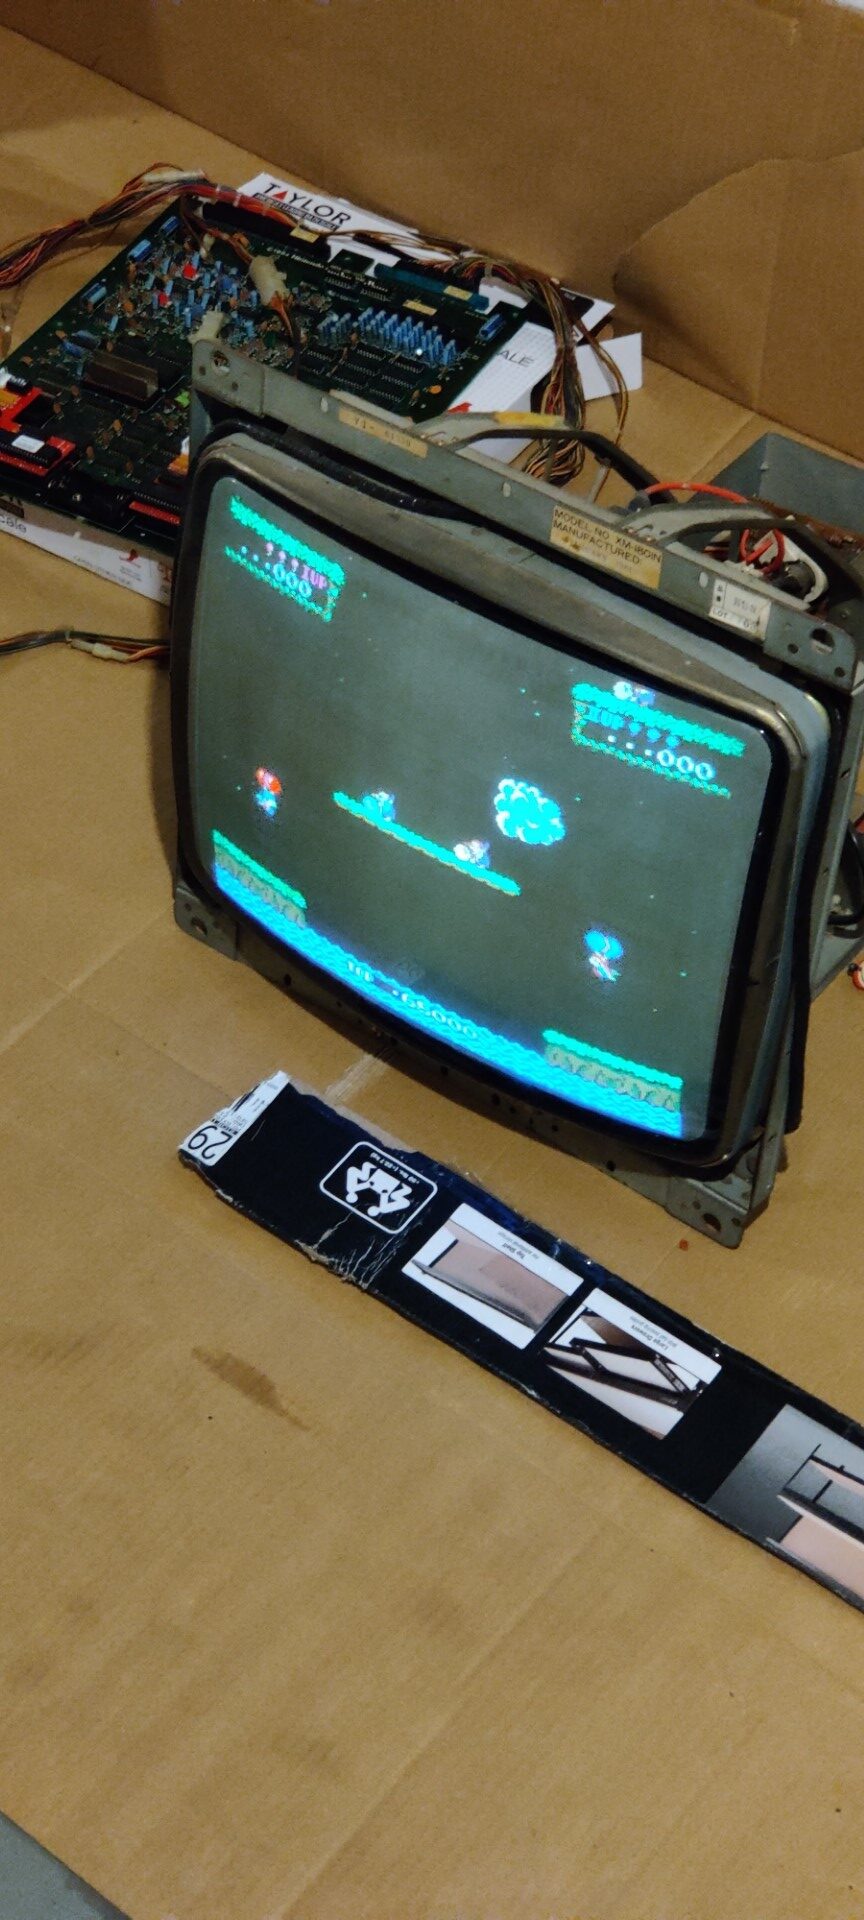
Dead monitor


You can see above I had some very bad news when the game arrived. Once plugged it in and immediately started hearing some scary noises so unplugged it quickly. Next, I opened one side up, plugged it in briefly again, and pretty quickly saw electrical arcing. And that’s when I realized one monitor had been necked! This is terrible news. It’s pretty much the one part of the monitor that cannot be fixed, the vacuum is broken and you need a whole new CRT tube.
In addition, these monitors are VERY hard to come by. They aren’t nearly as common as some other CRTs out there, which are all getting rarer by the day. So, I put the word out that I needed one on Facebook, KLOV, and elsewhere.
Monitor Found
Eventually, someone was willing to sell a spare in South Dakota which was even close enough for me to drive to; an 8 hour trip later and I had another working monitor.
As work began, I can’t stress how important having proper diagrams and manuals for this stuff is. I got mine from the John’s Arcade Nintendo Vs. site, which has most of the manuals for these machines and parts.
Sharp XM-1801 Monitors
More information about these Red Tent monitors. They’re 18″, an unusual size. They use inverted colors, like all Nintendo arcade games. They’re rare and they break a lot. In theory, I now had two “working” monitors but in reality they both needed work.
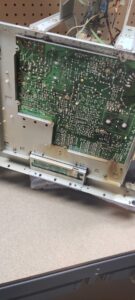
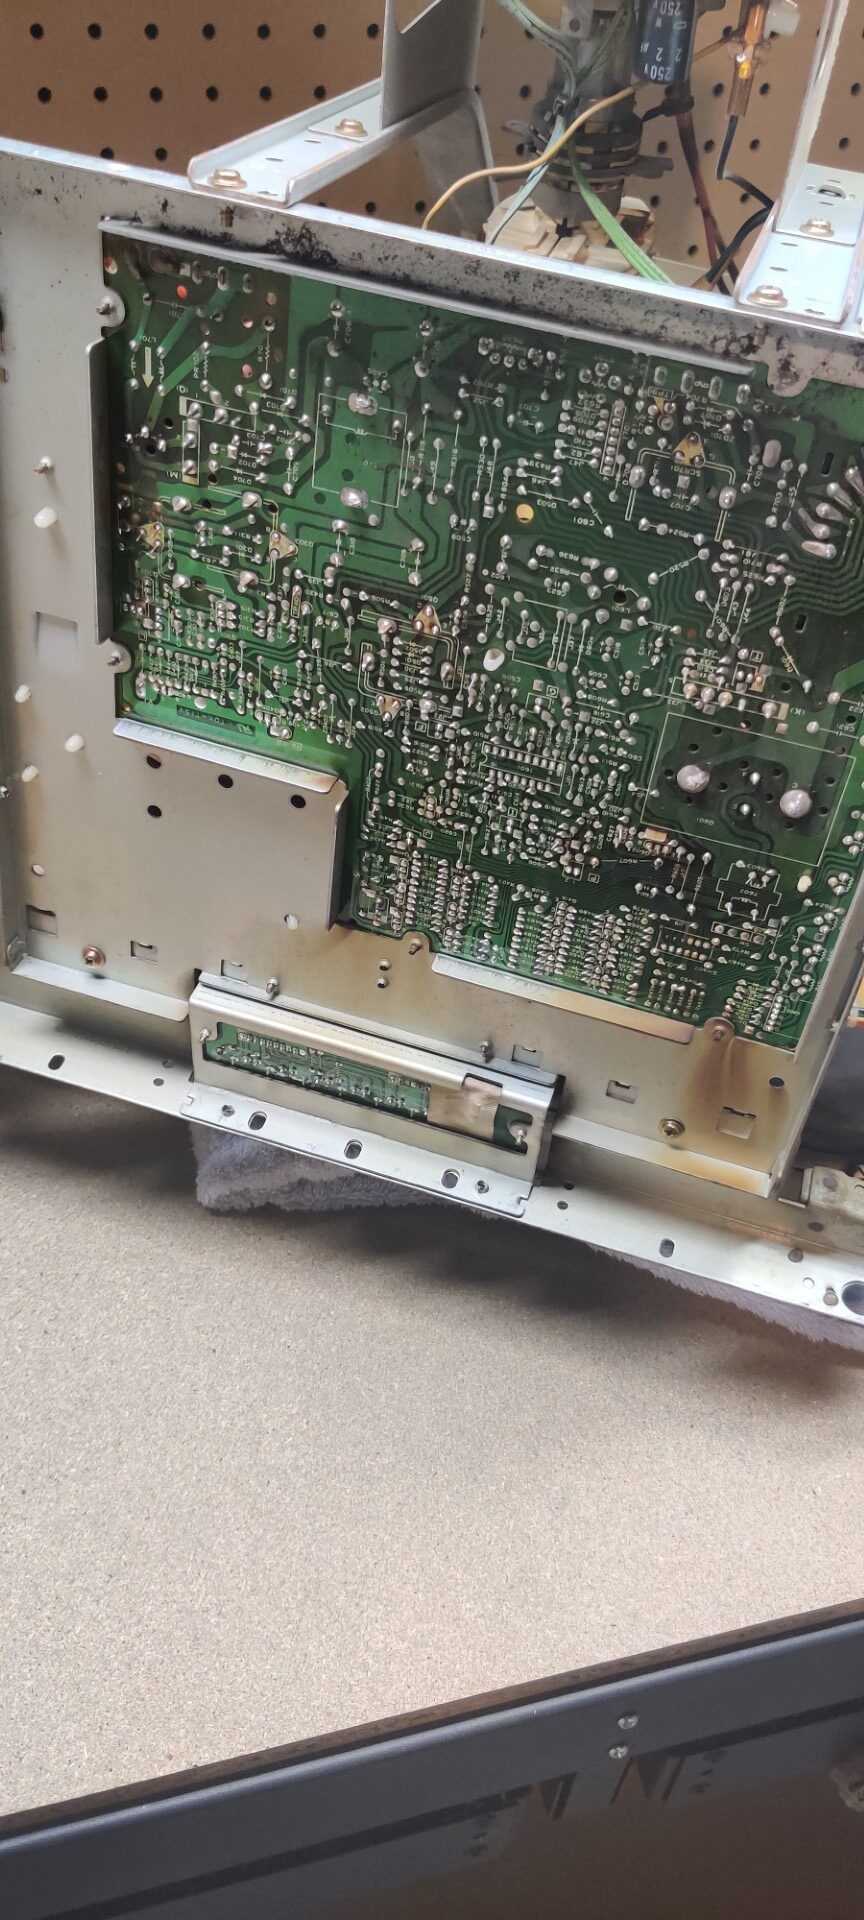
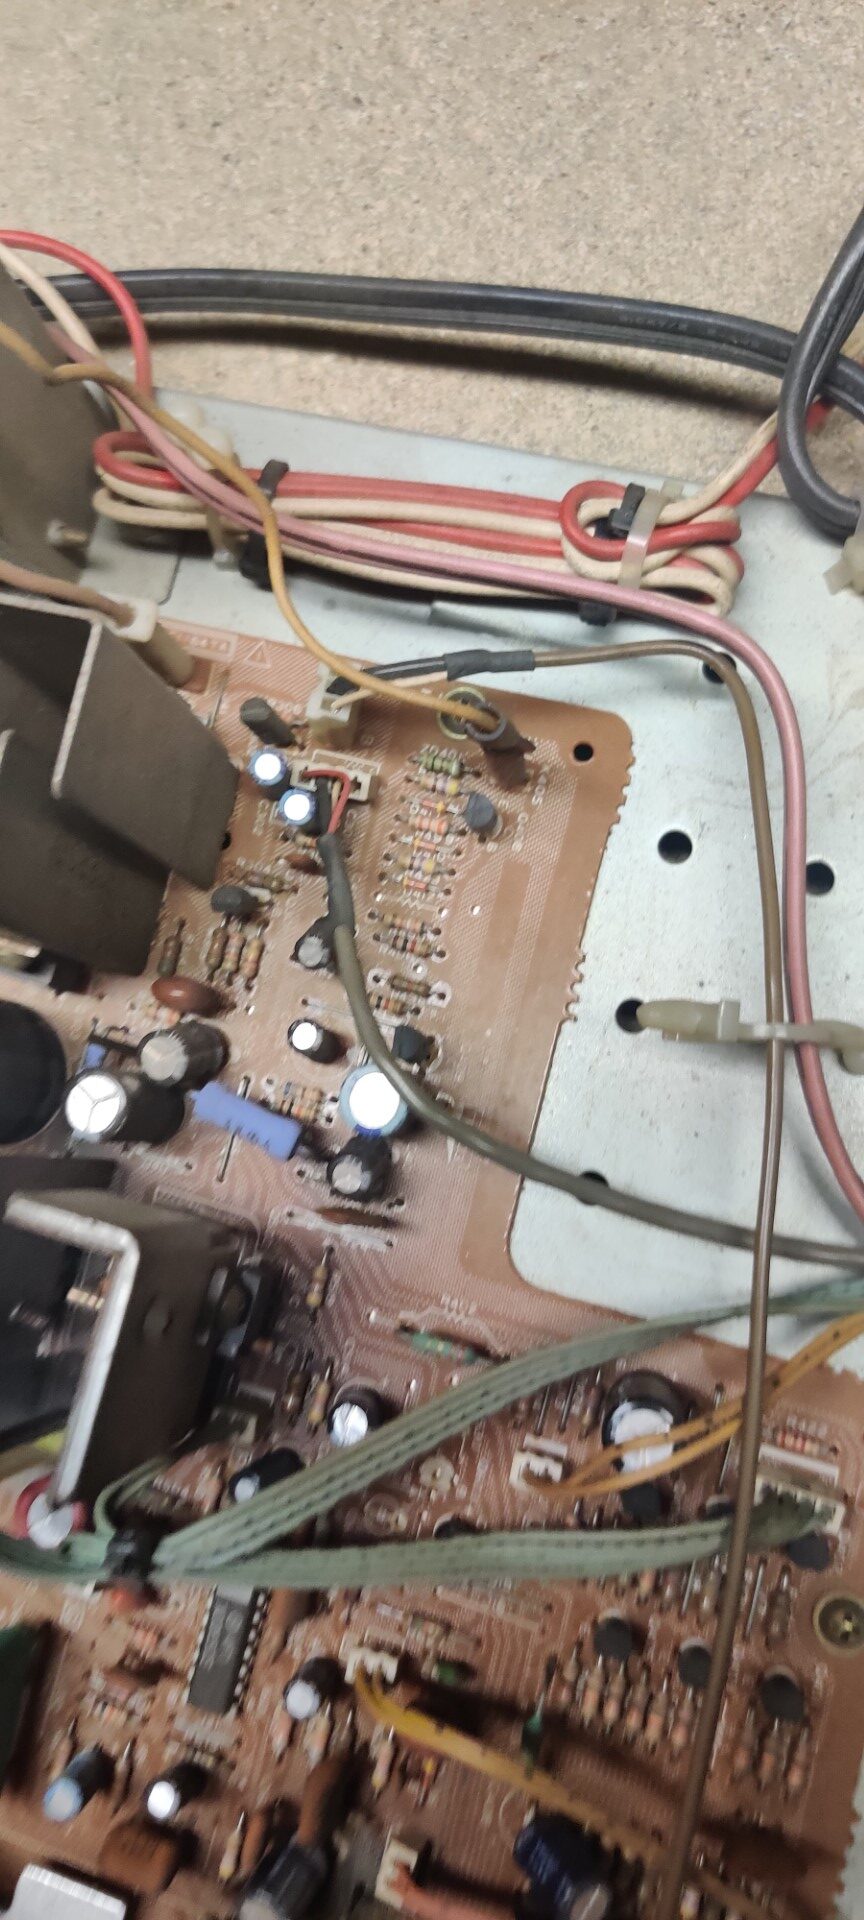
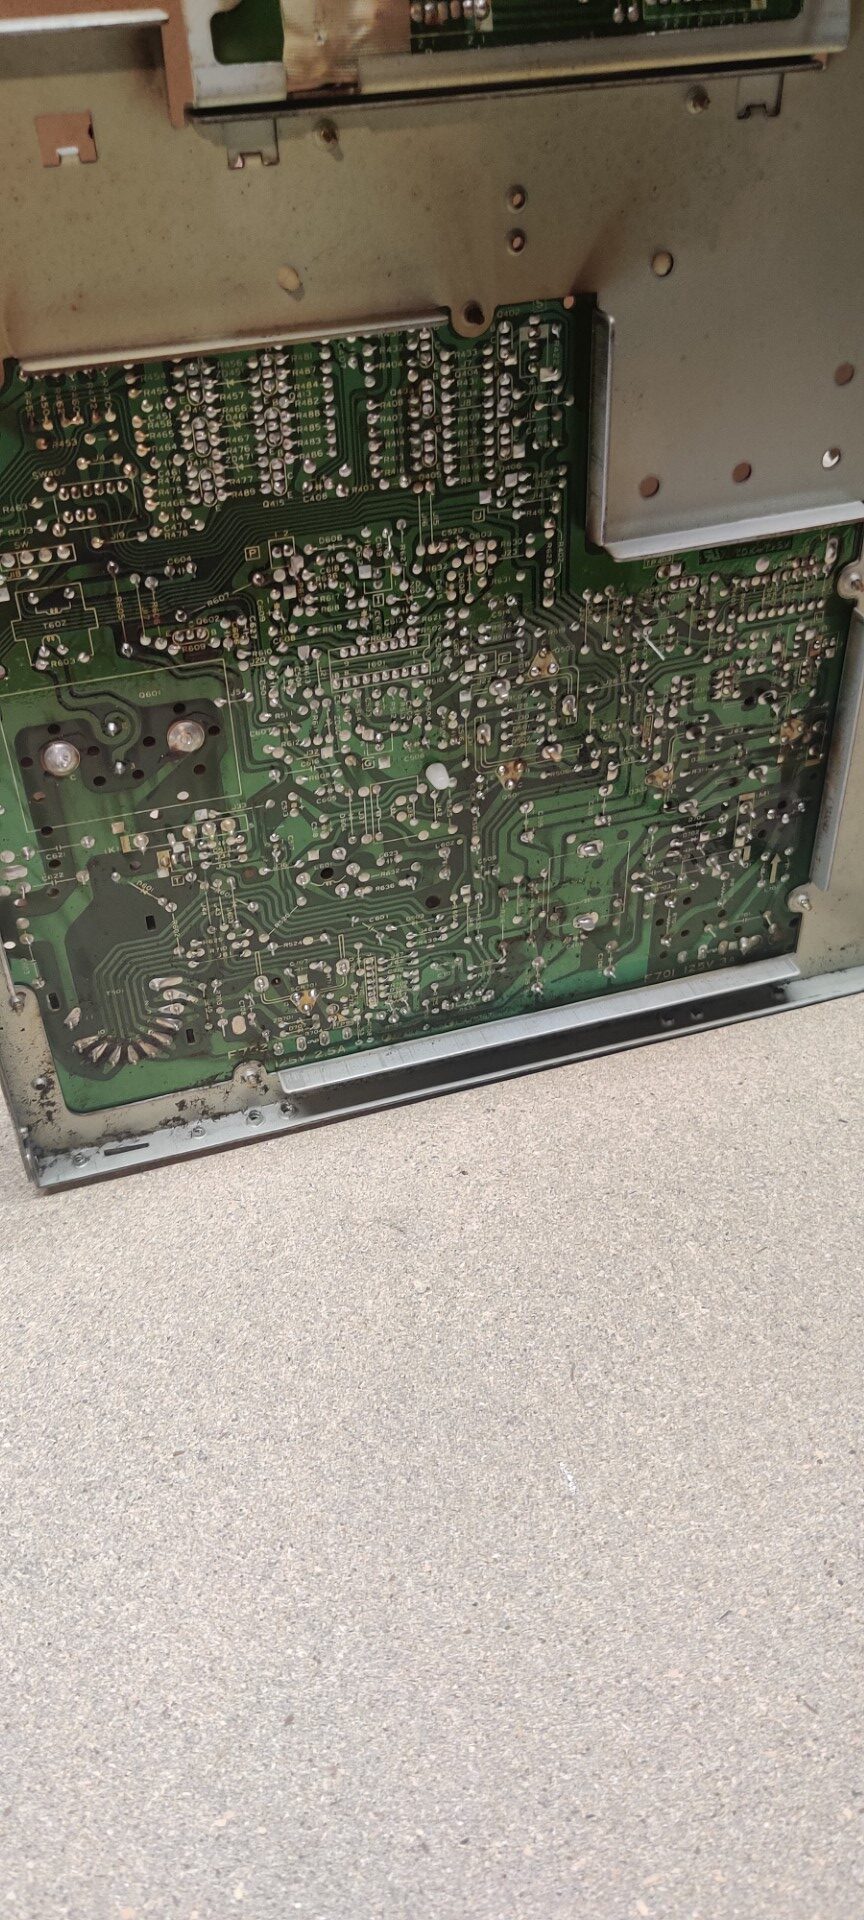
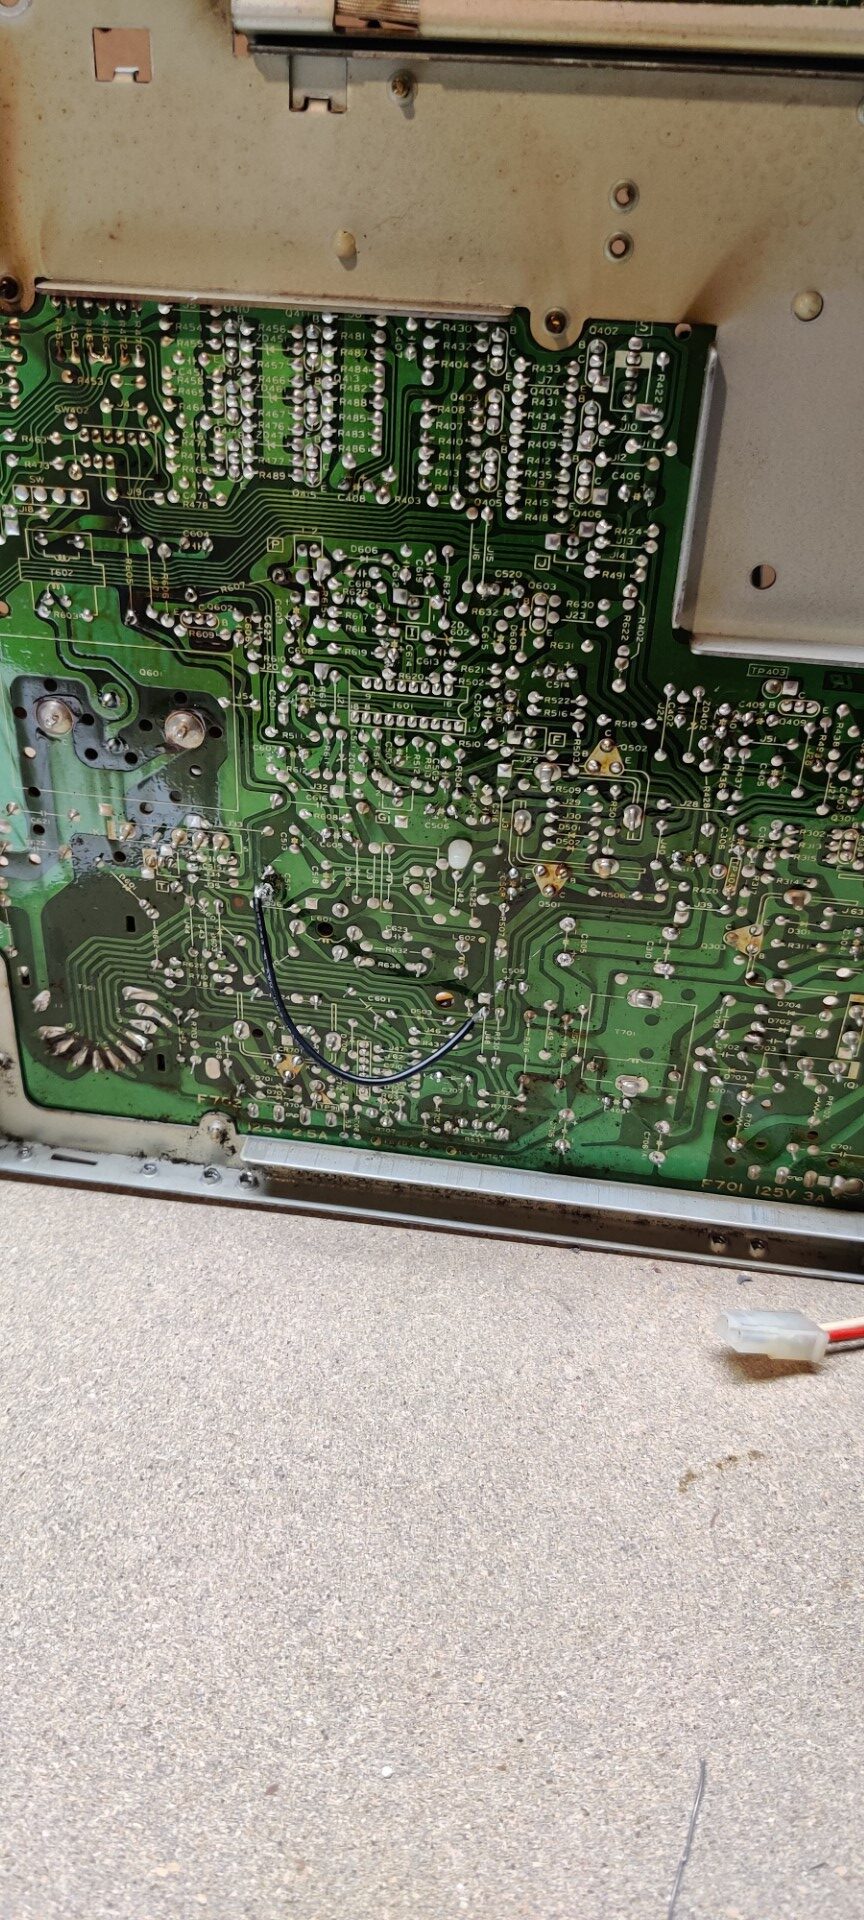
Bottom of the Sharp XM-1801 chassis 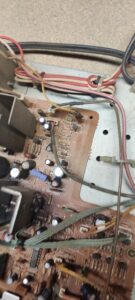
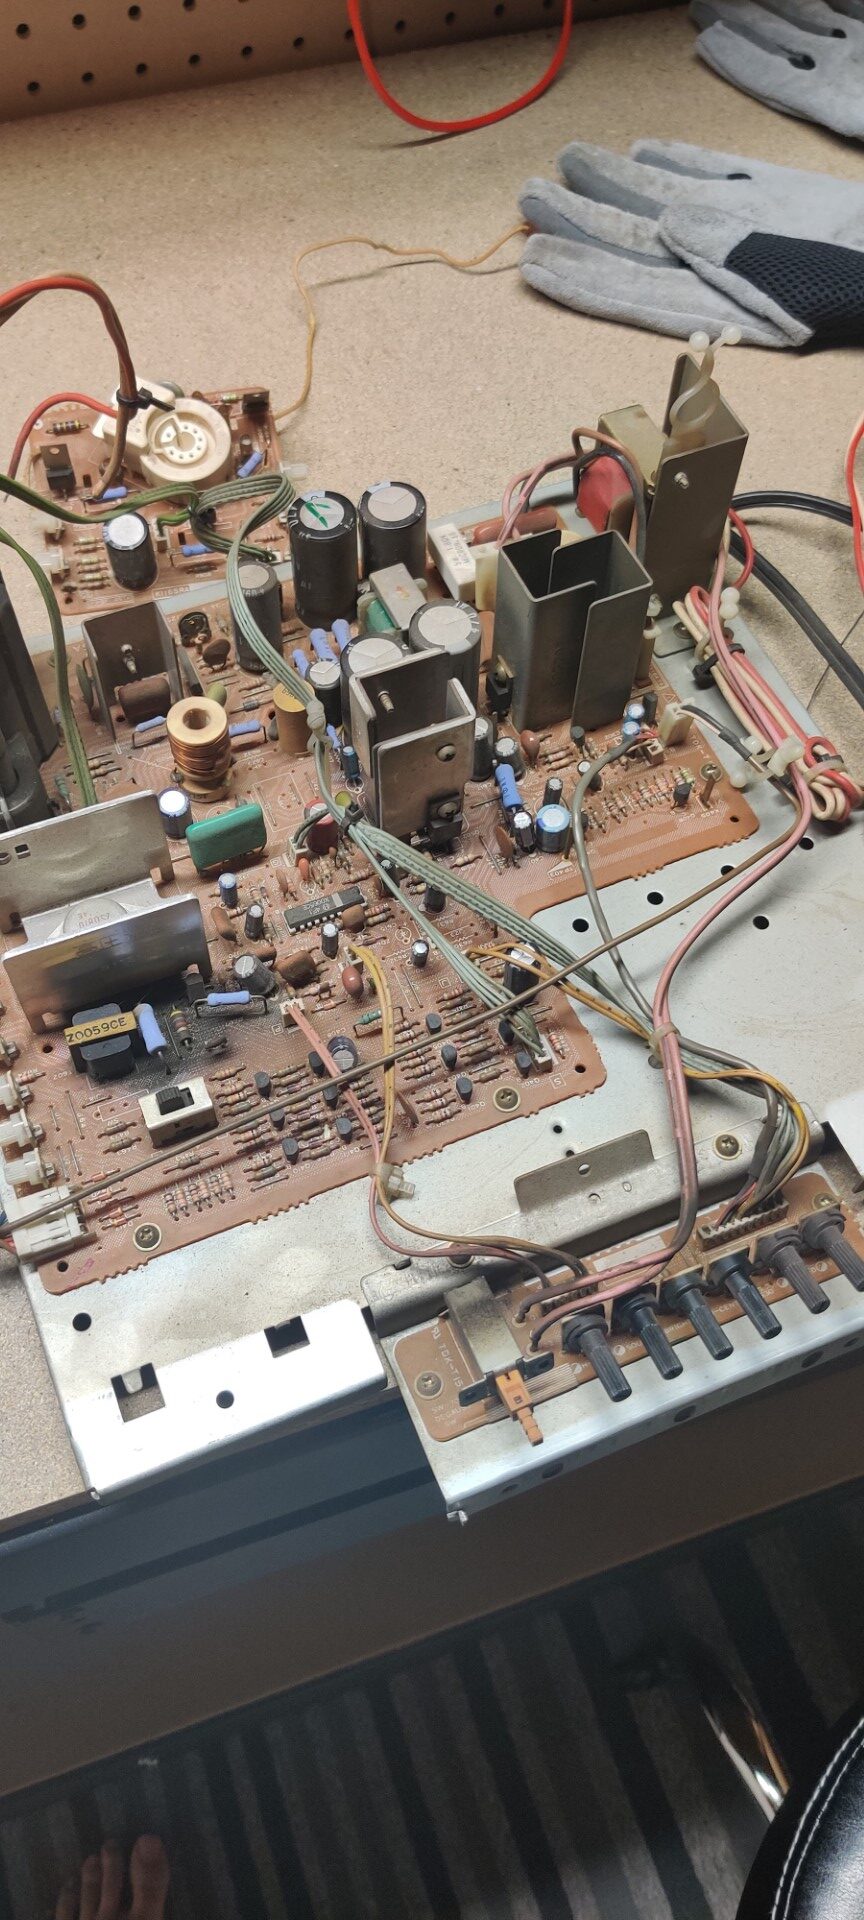
Top of the Sharp XM-1801 chassis 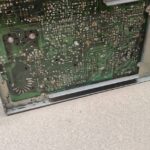
Bottom of the Sharp XM-1801 chassis 
Top of the Sharp XM-1801 chassis 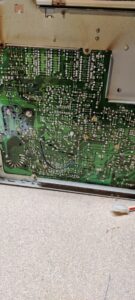
Bottom of the Sharp XM-1801 chassis 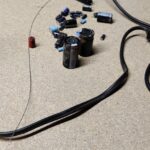
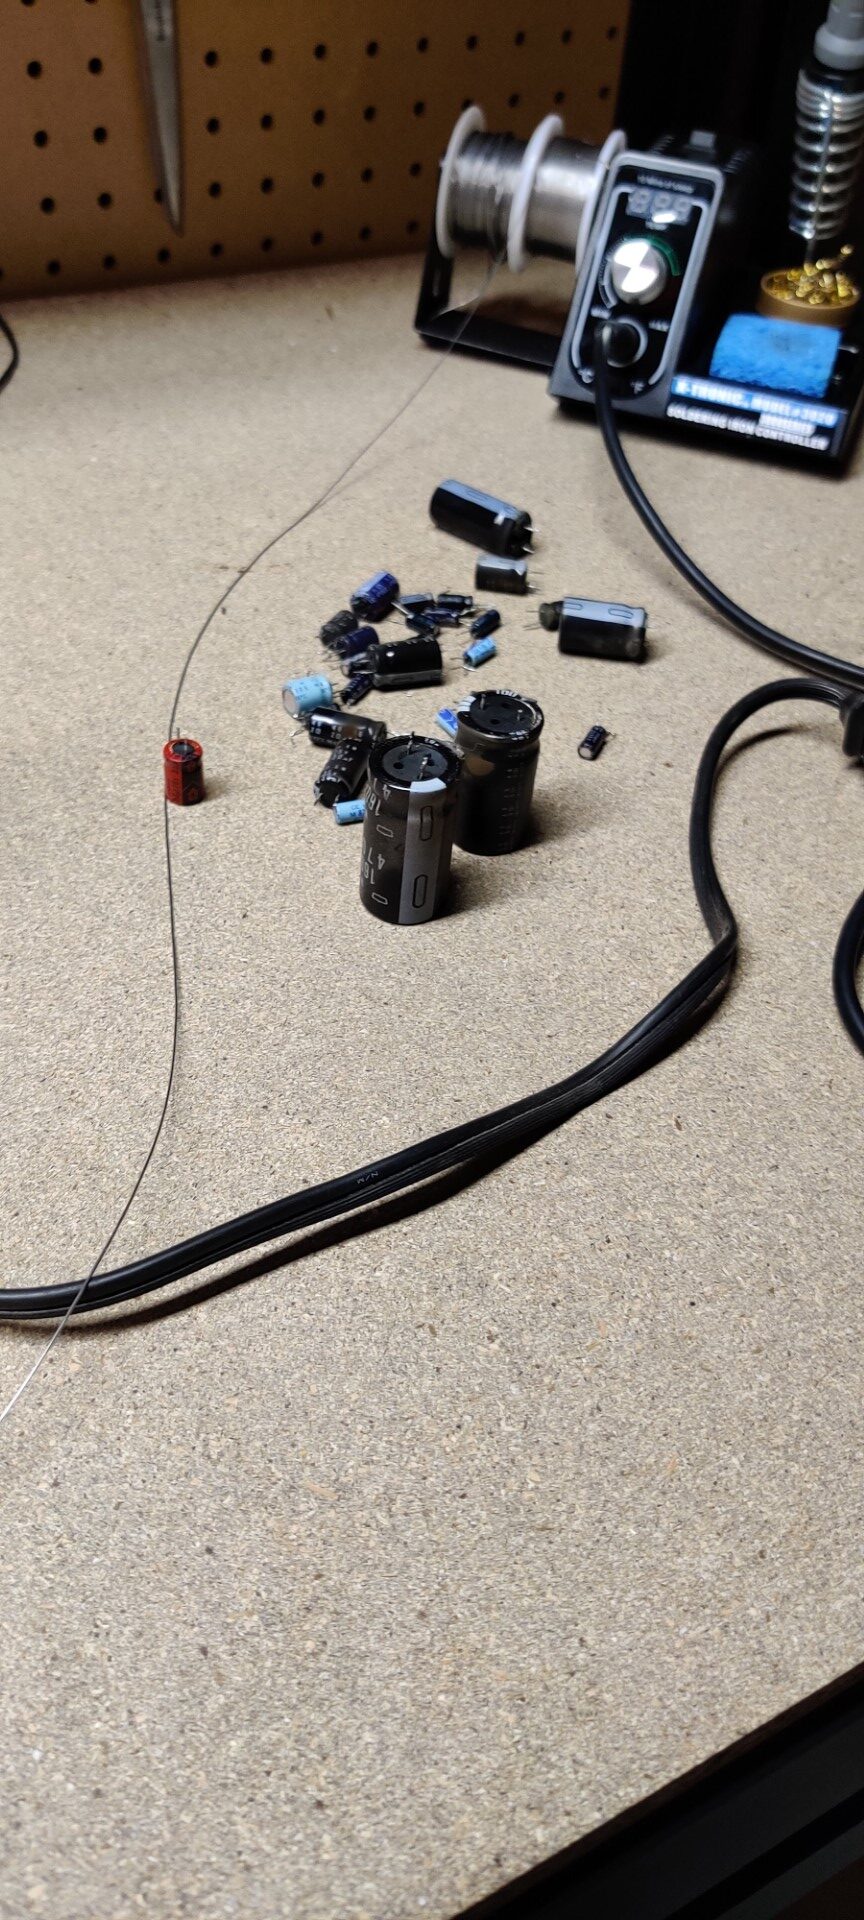
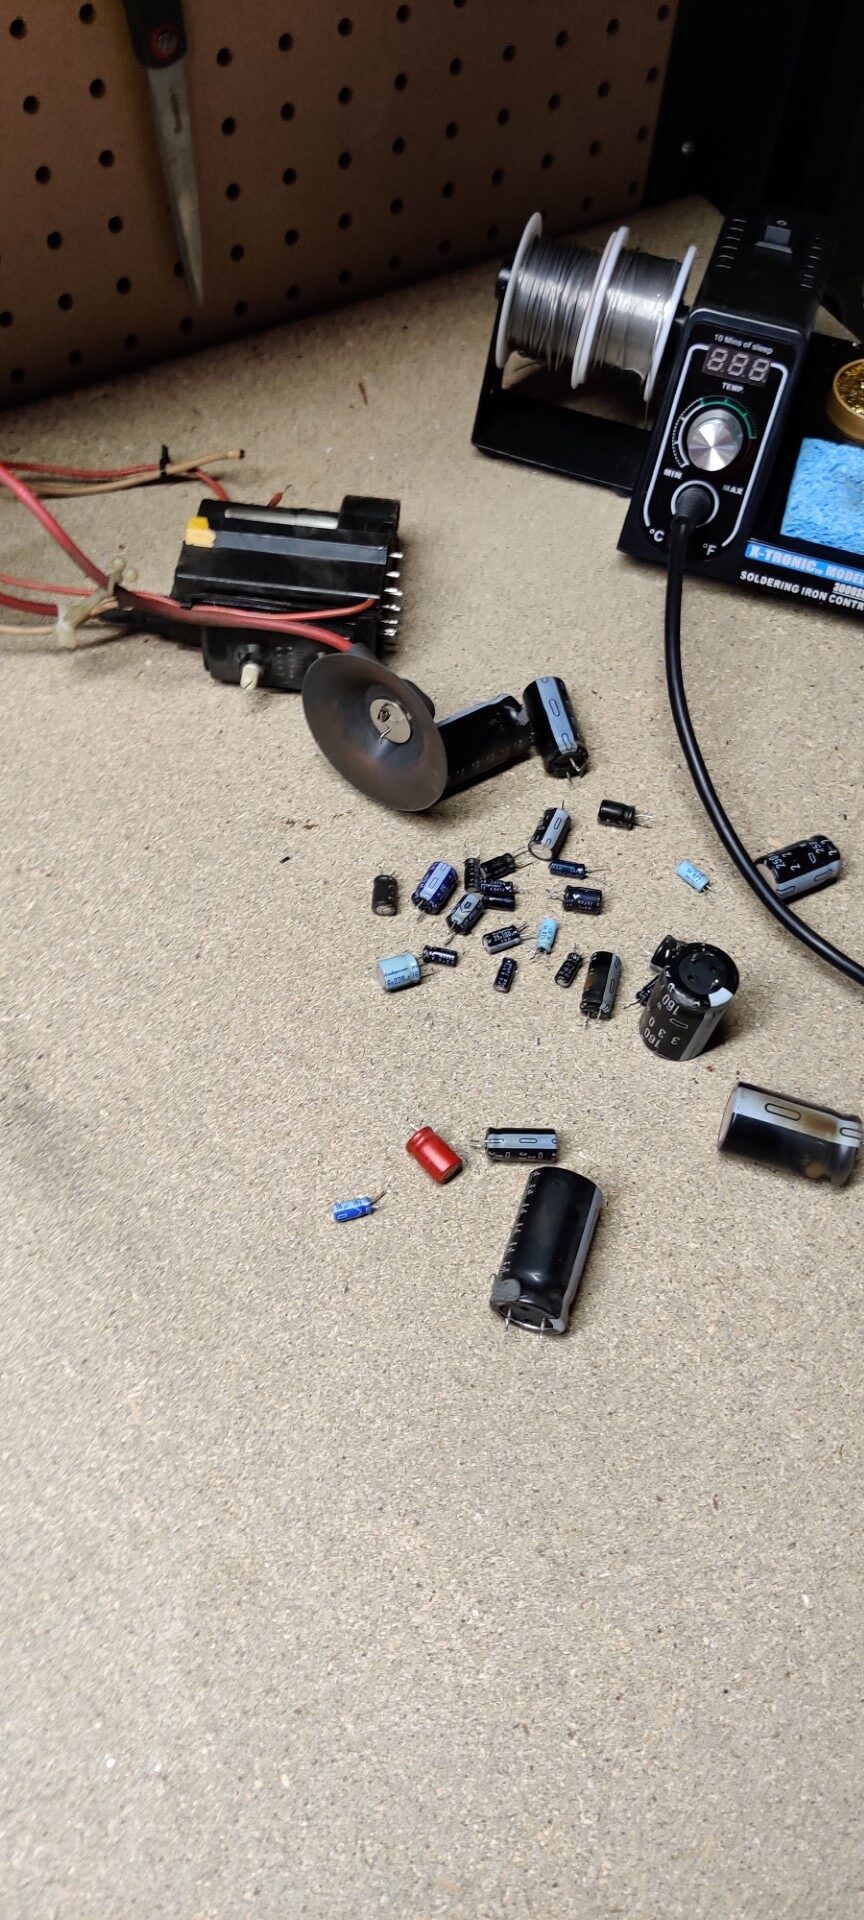
Old capacitors from the monitor 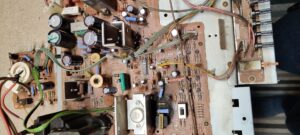
Top of the Sharp XM-1801 chassis 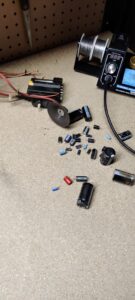
Old capacitors from the monitor 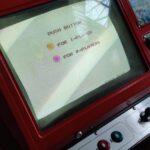
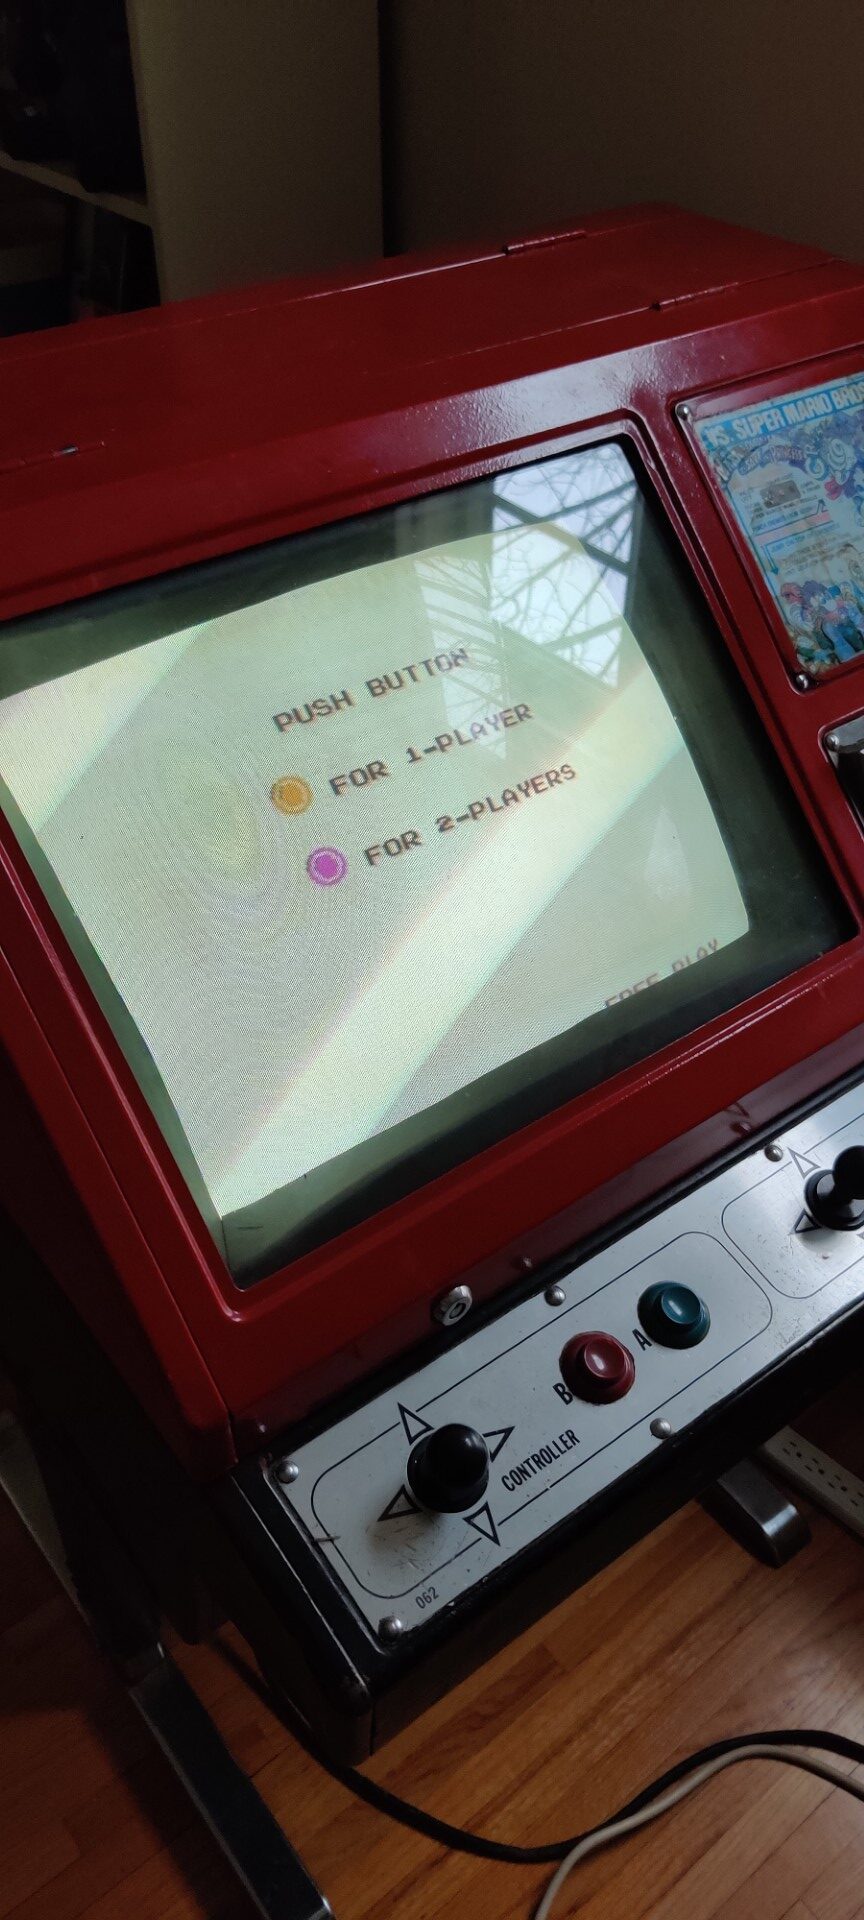
Colors when the monitor isn’t set to invert 
Correct colors now that it’s inverting 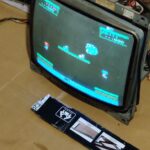
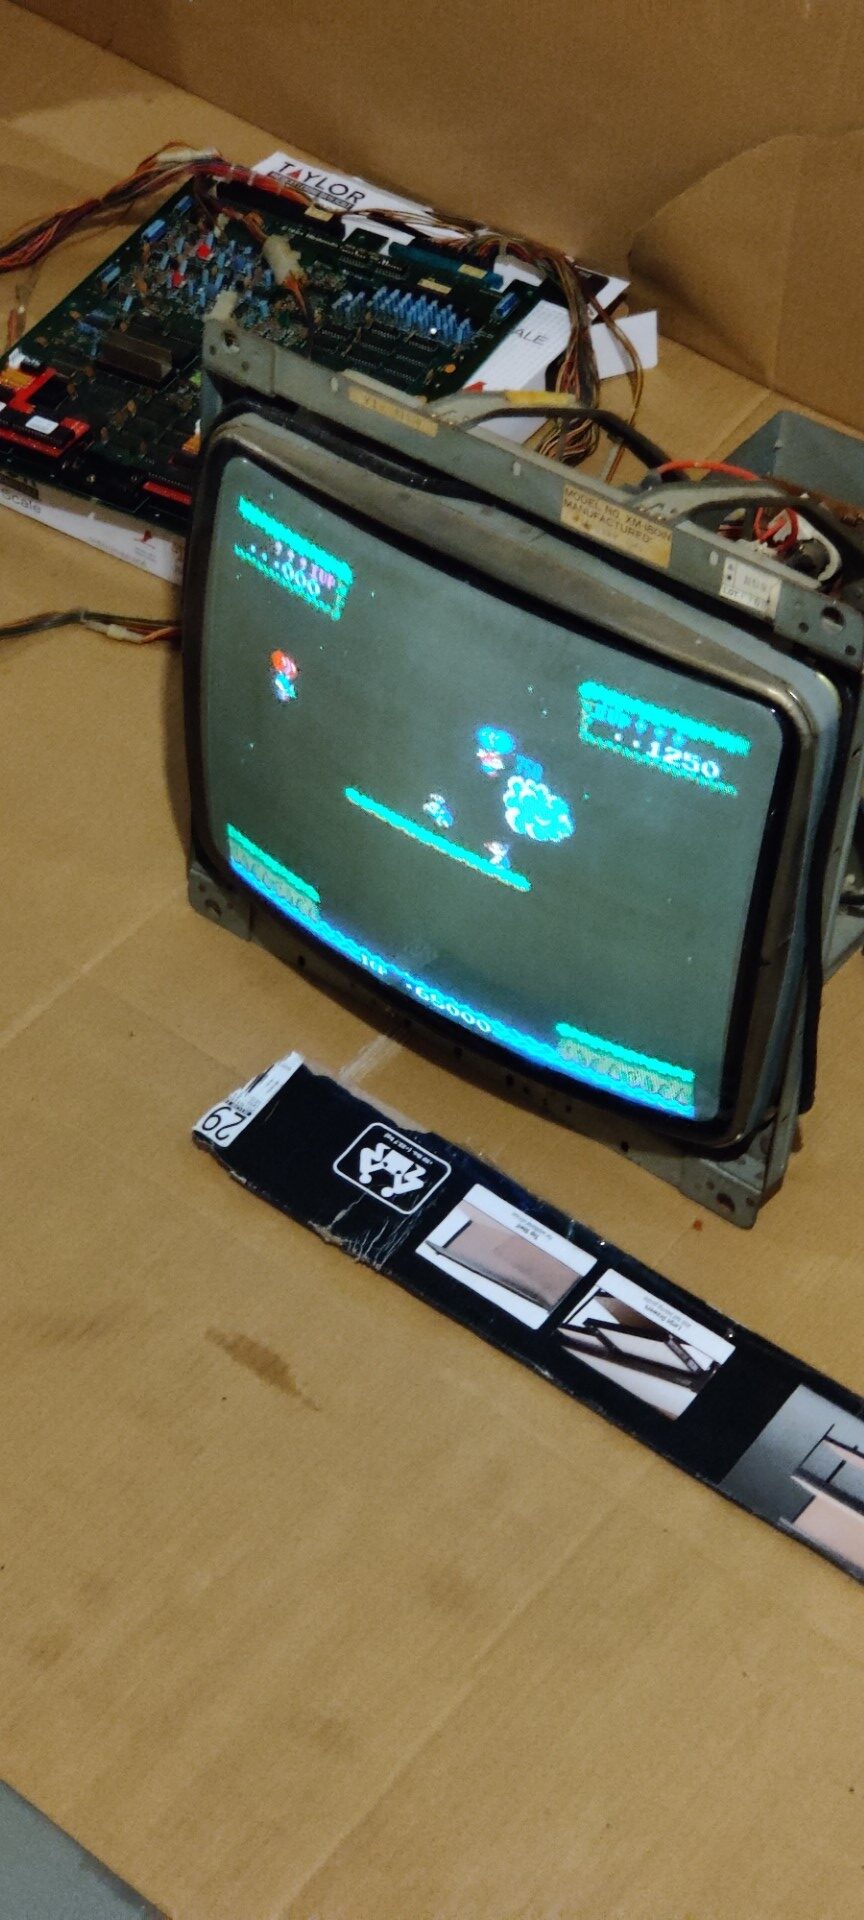
Balloon fight 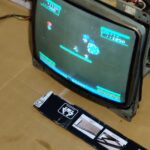
Balloon fight after some adjustments 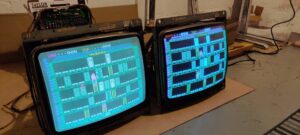
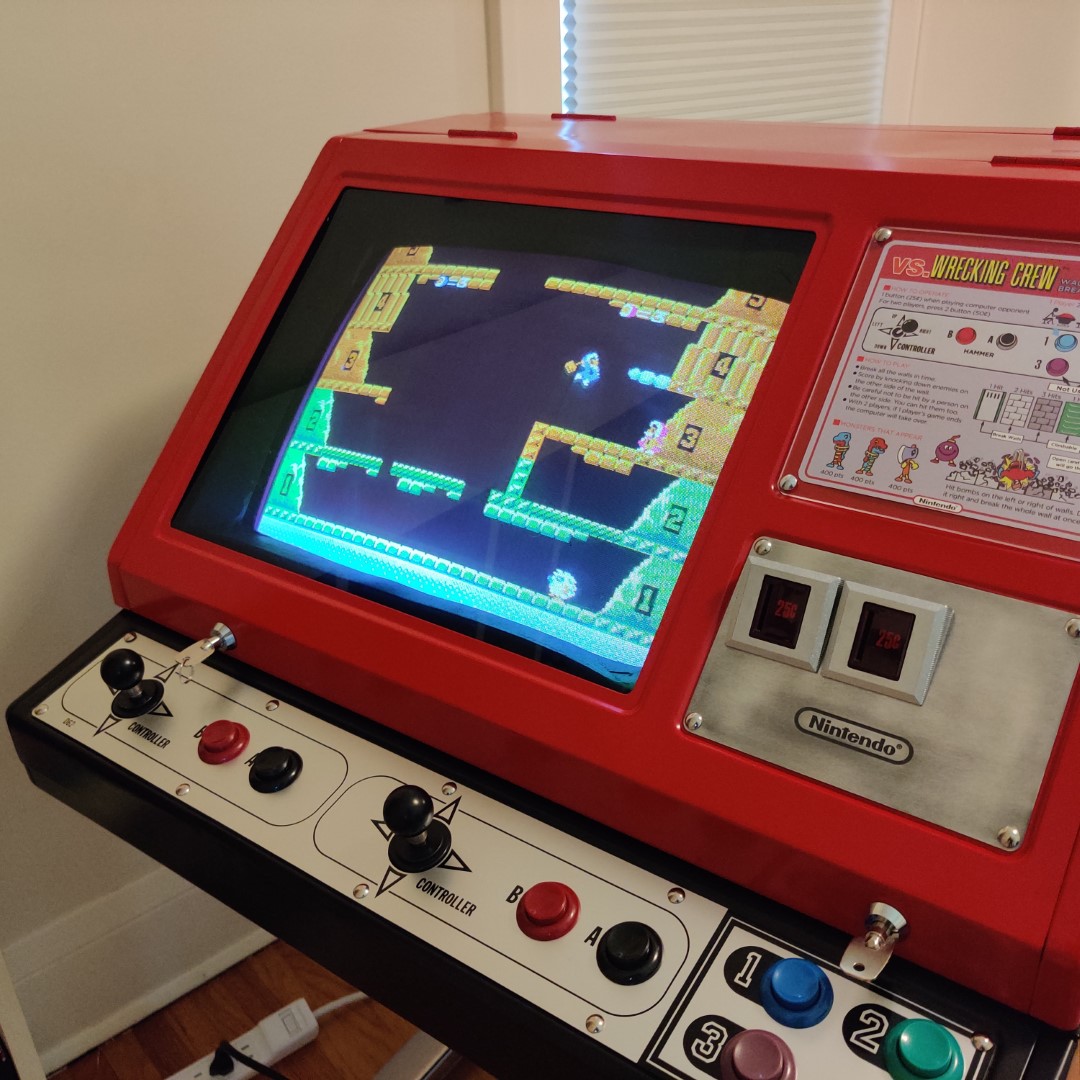
Vs Wrecking Crew on both monitors 
Vs Pinball and Vs Mighty Bomb Jack 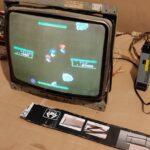
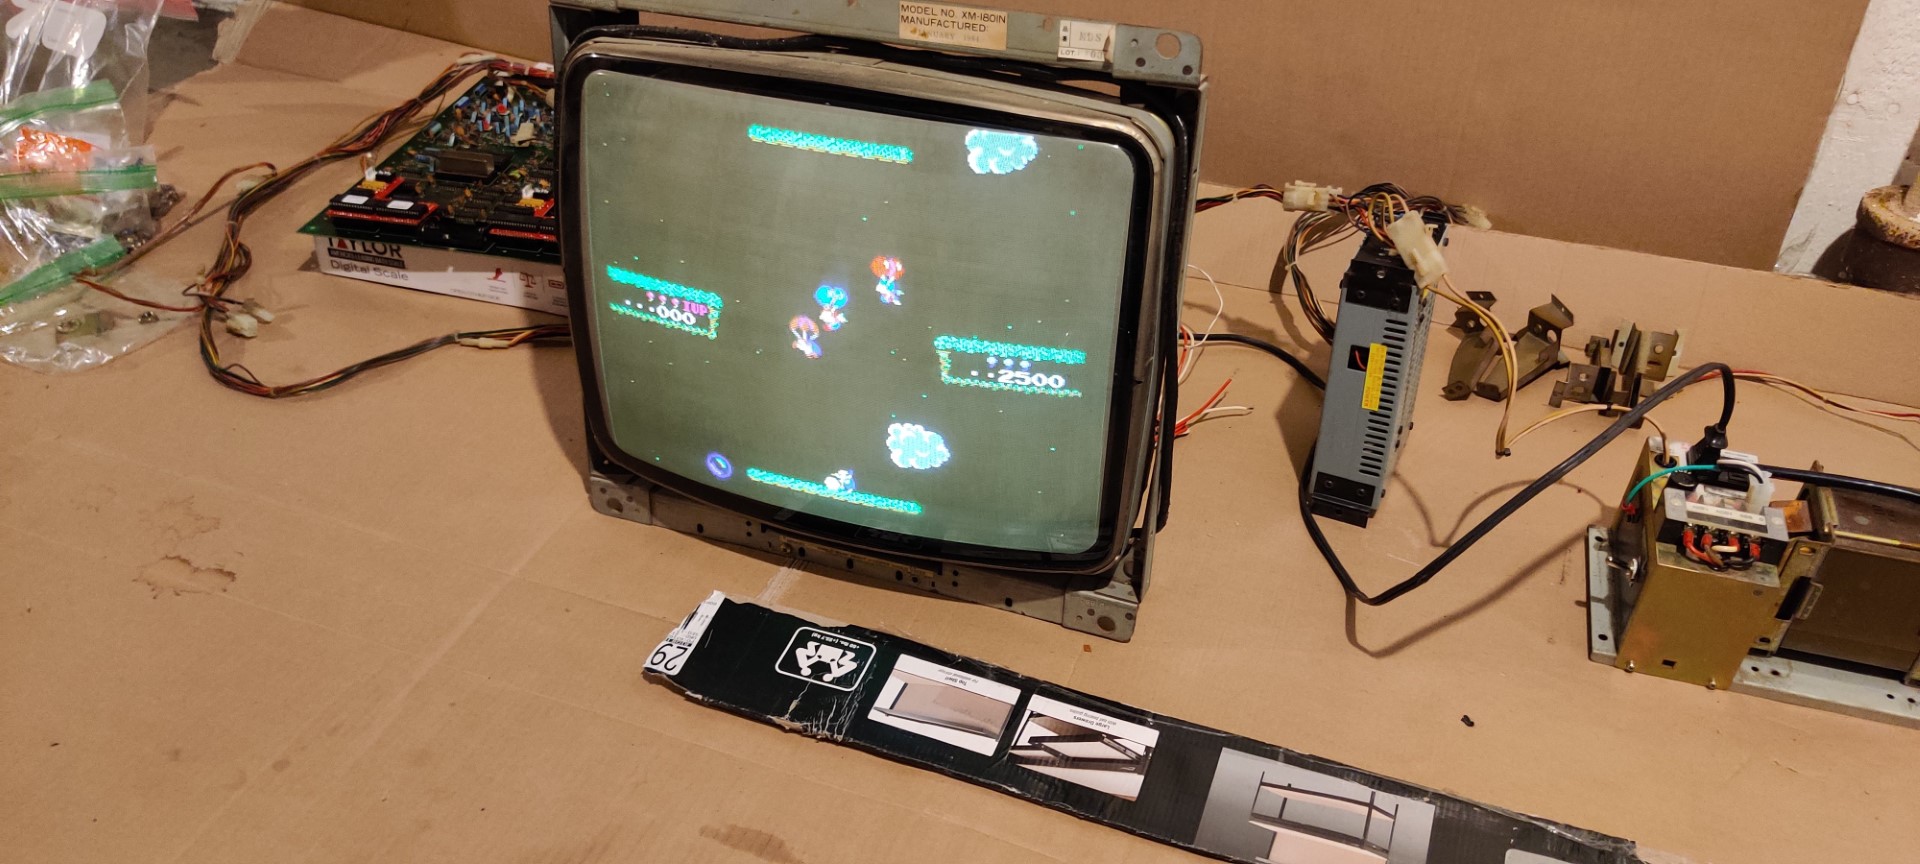
Vs Balloon fight with better colors 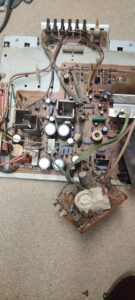
Top of the Sharp XM-1801 chassis


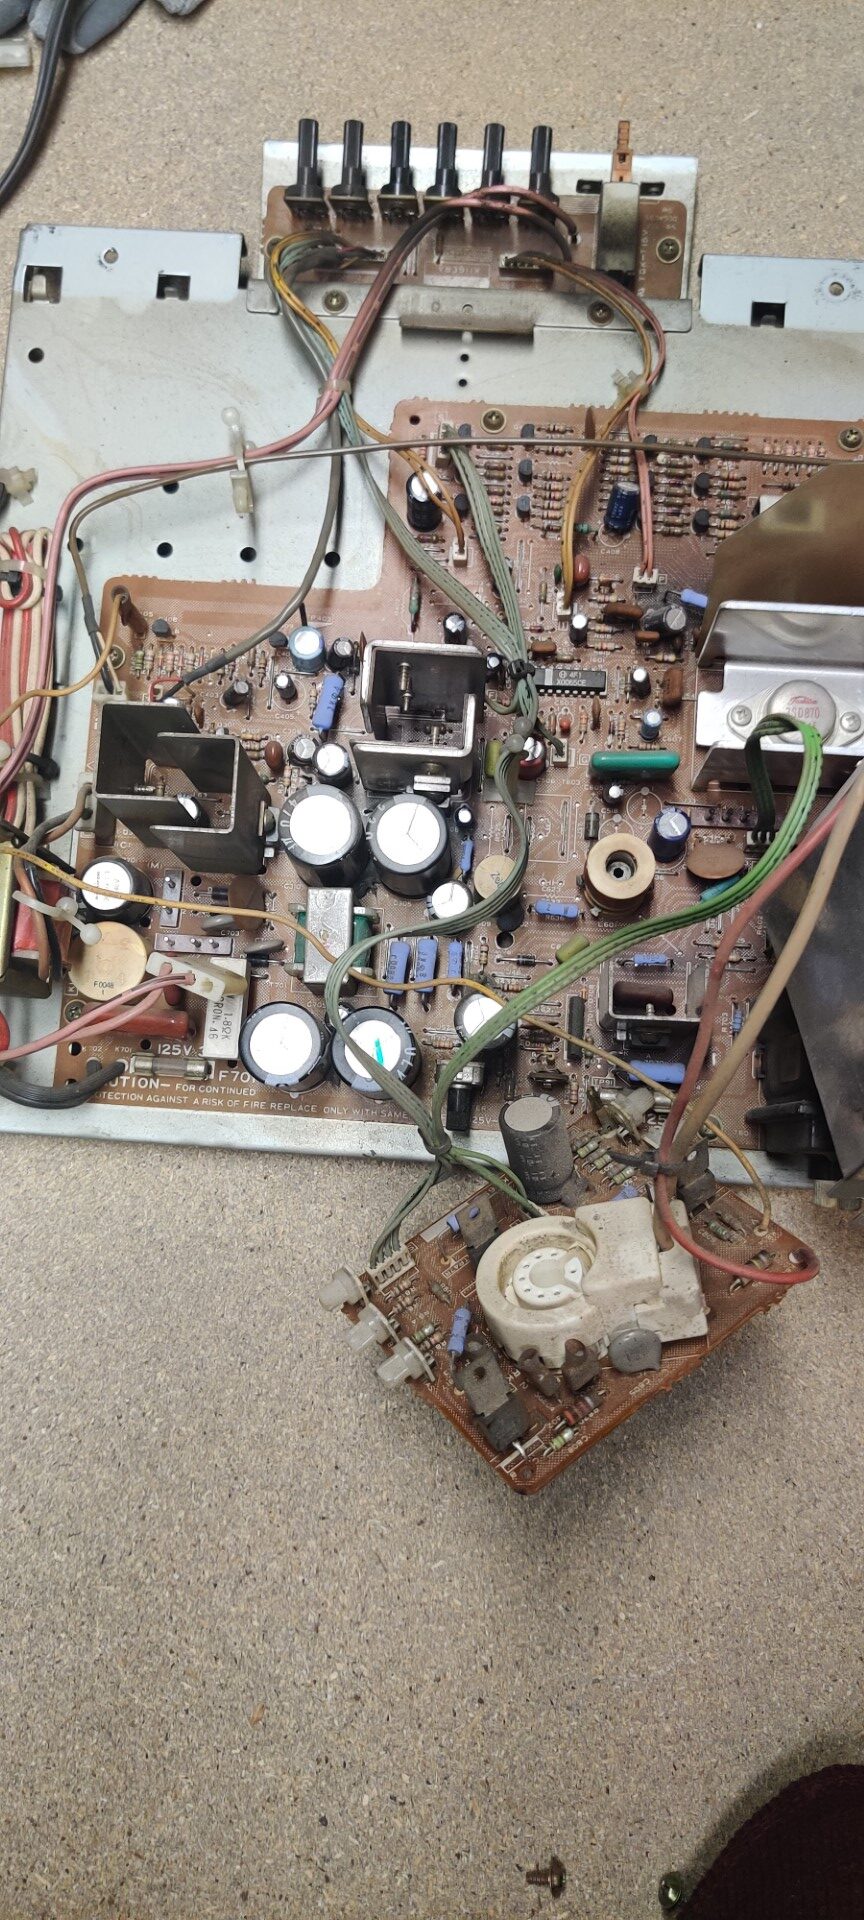
So, it’s time to work! I recapped one monitor and replaced the flyback. This was my first full recap job and I was super bummed when the monitor no longer powered on afterward. I had this monitor looked at by a professional and it turns out I did everything correctly but the replacement flyback I used was broken. Woot! At least, sort of good news. It wasn’t my fault. We put the old flyback in at it’s working again. Just have to hope it keeps working.
Monitor #2
Second monitor was working but no sound. Turns out it was just the volume potentiometer. The repair shop was able to diagnose this for me too, so just used the volume knob from the “cracked” monitor and it was good to go. Both monitors needed a lot of tuning in, and one is a little washed out no matter what I do. But at least my Nintendo Red Tent has two working screens again!
You can also see above what Nintendo arcade games look like if you don’t have a monitor that can invert the colors. These monitors, although pesky, do have a built in inverter switch so they’re easily compatible with both positive and negative color settings.
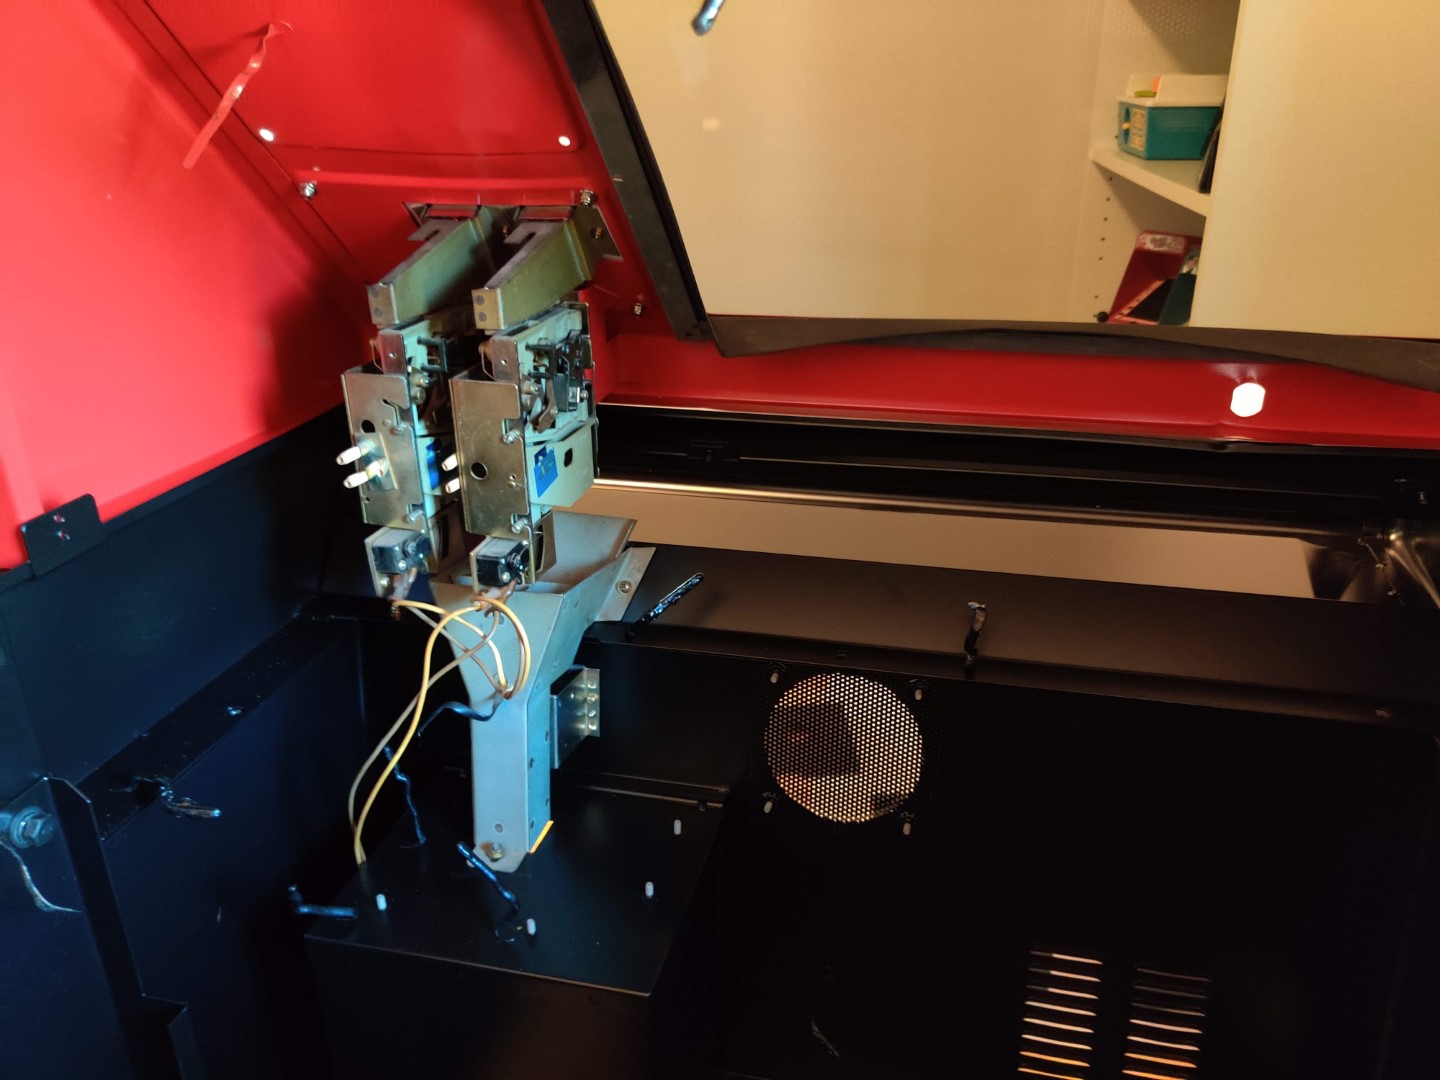
Multiple Games Switcher
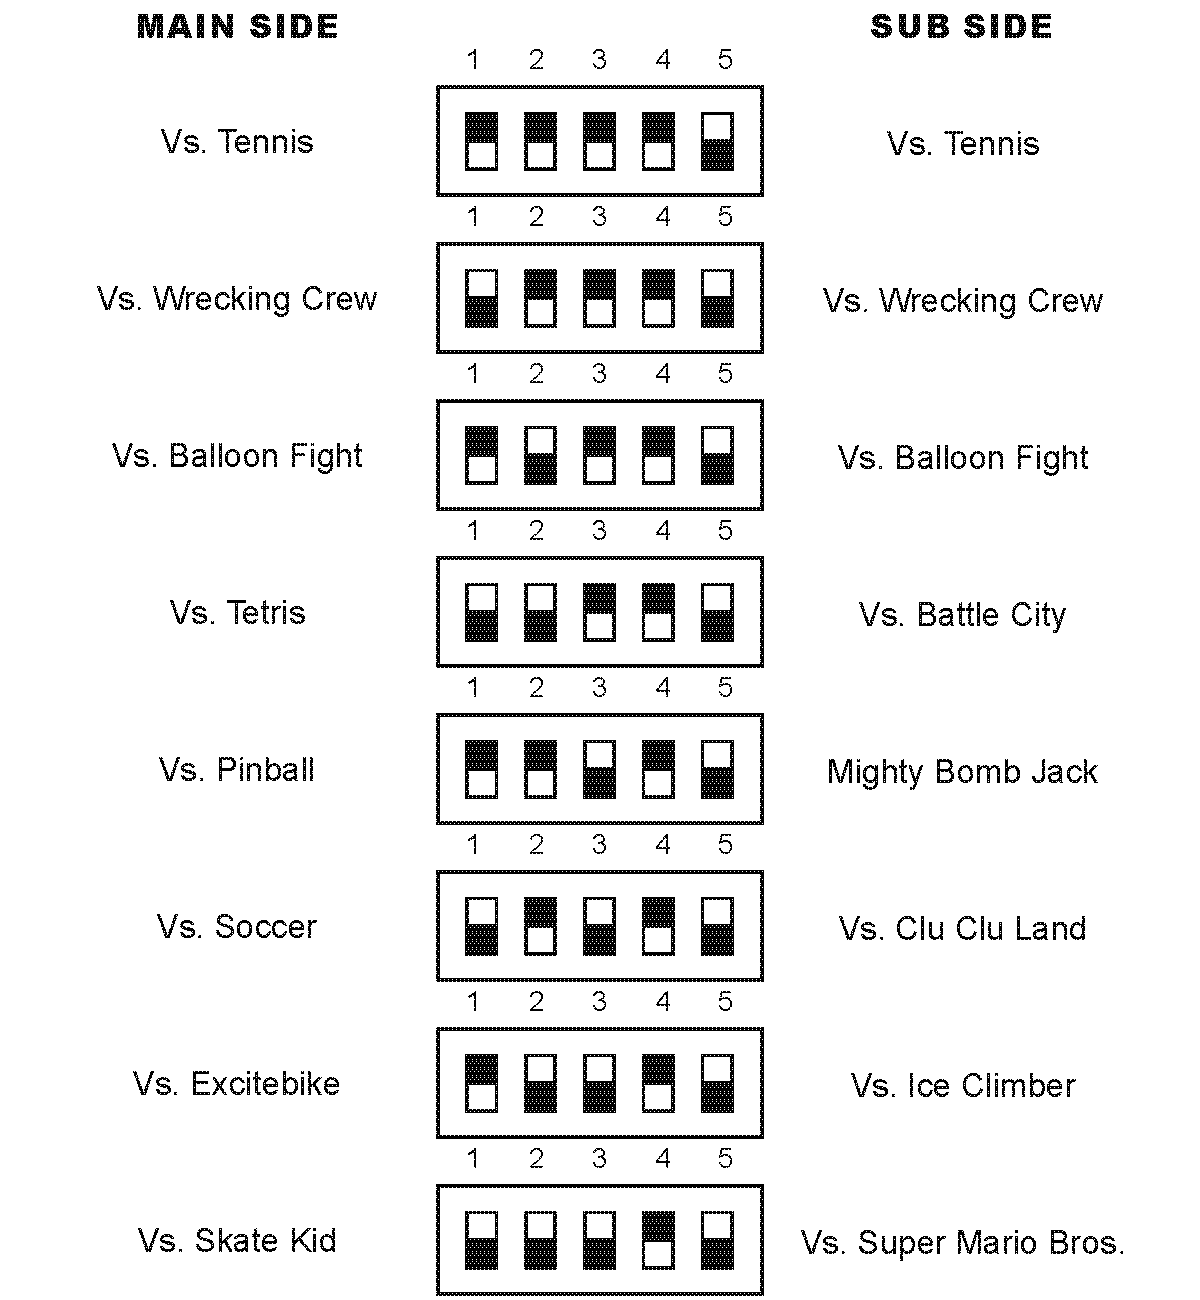
A great decision for any Red Tent is to add two of the Multi Vs Lite Kits from HighScoreSaves.com. These let you easily switch between multiple games, all using the same PPU and CPU. You’ll also save a lot of money, no need to buy multiple PCBS!
For my cabinet, I created a little cheat sheet so I’d know what dips to quickly adjust for which games.
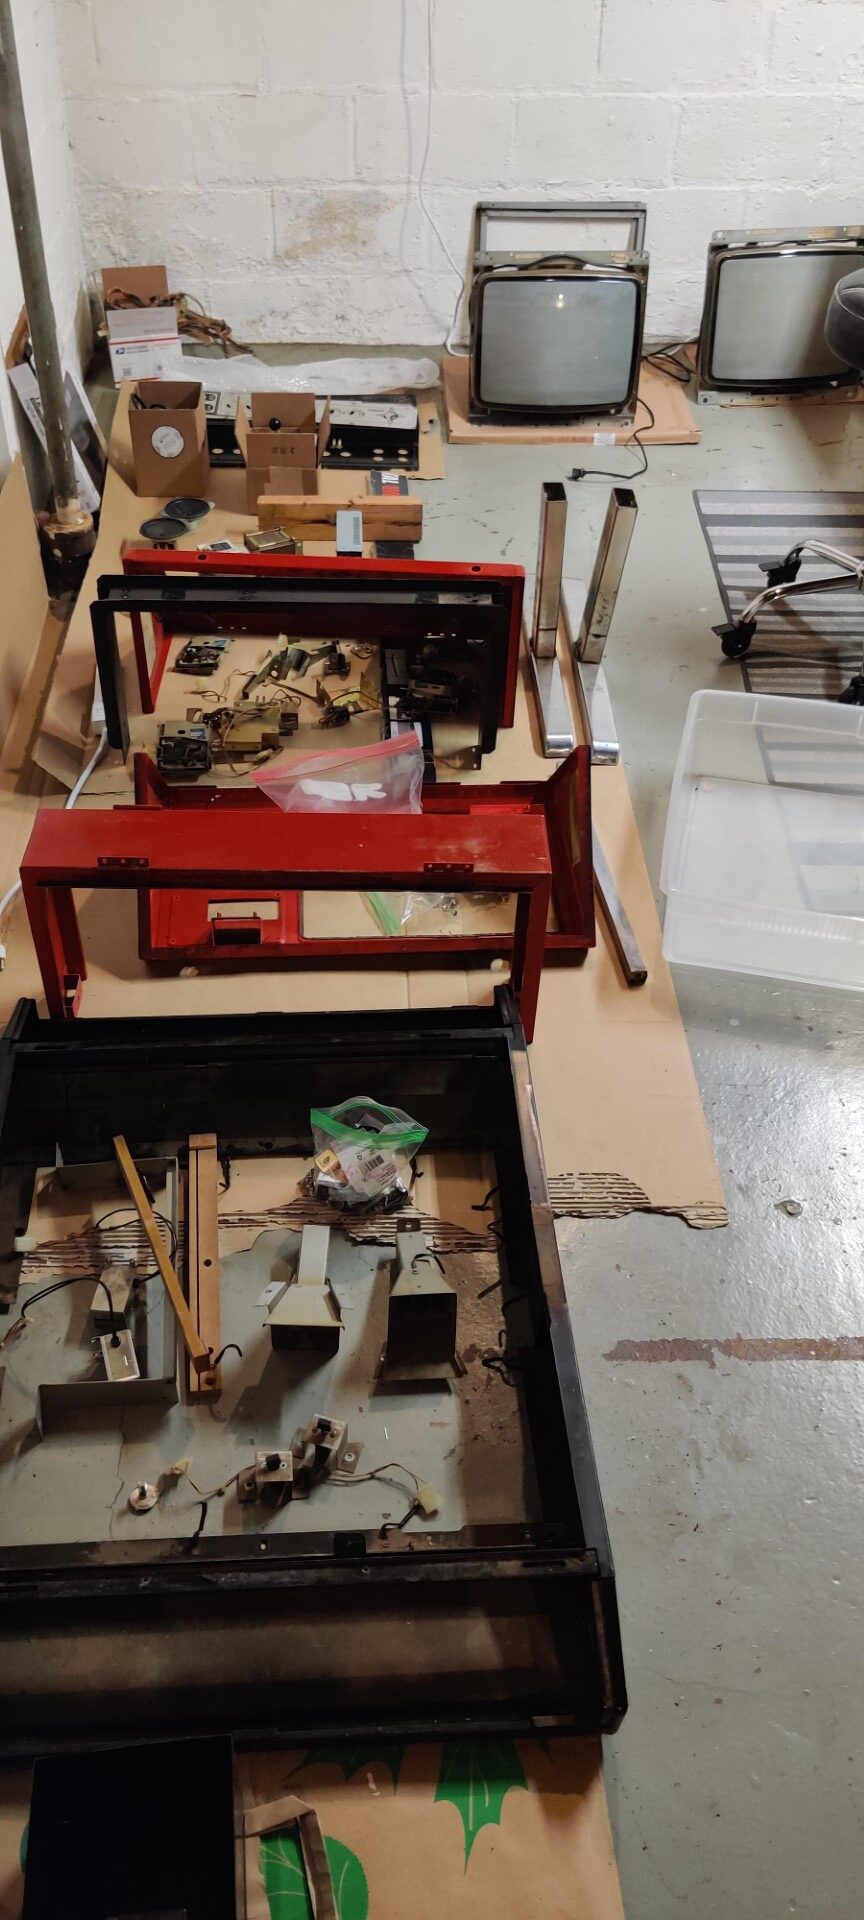
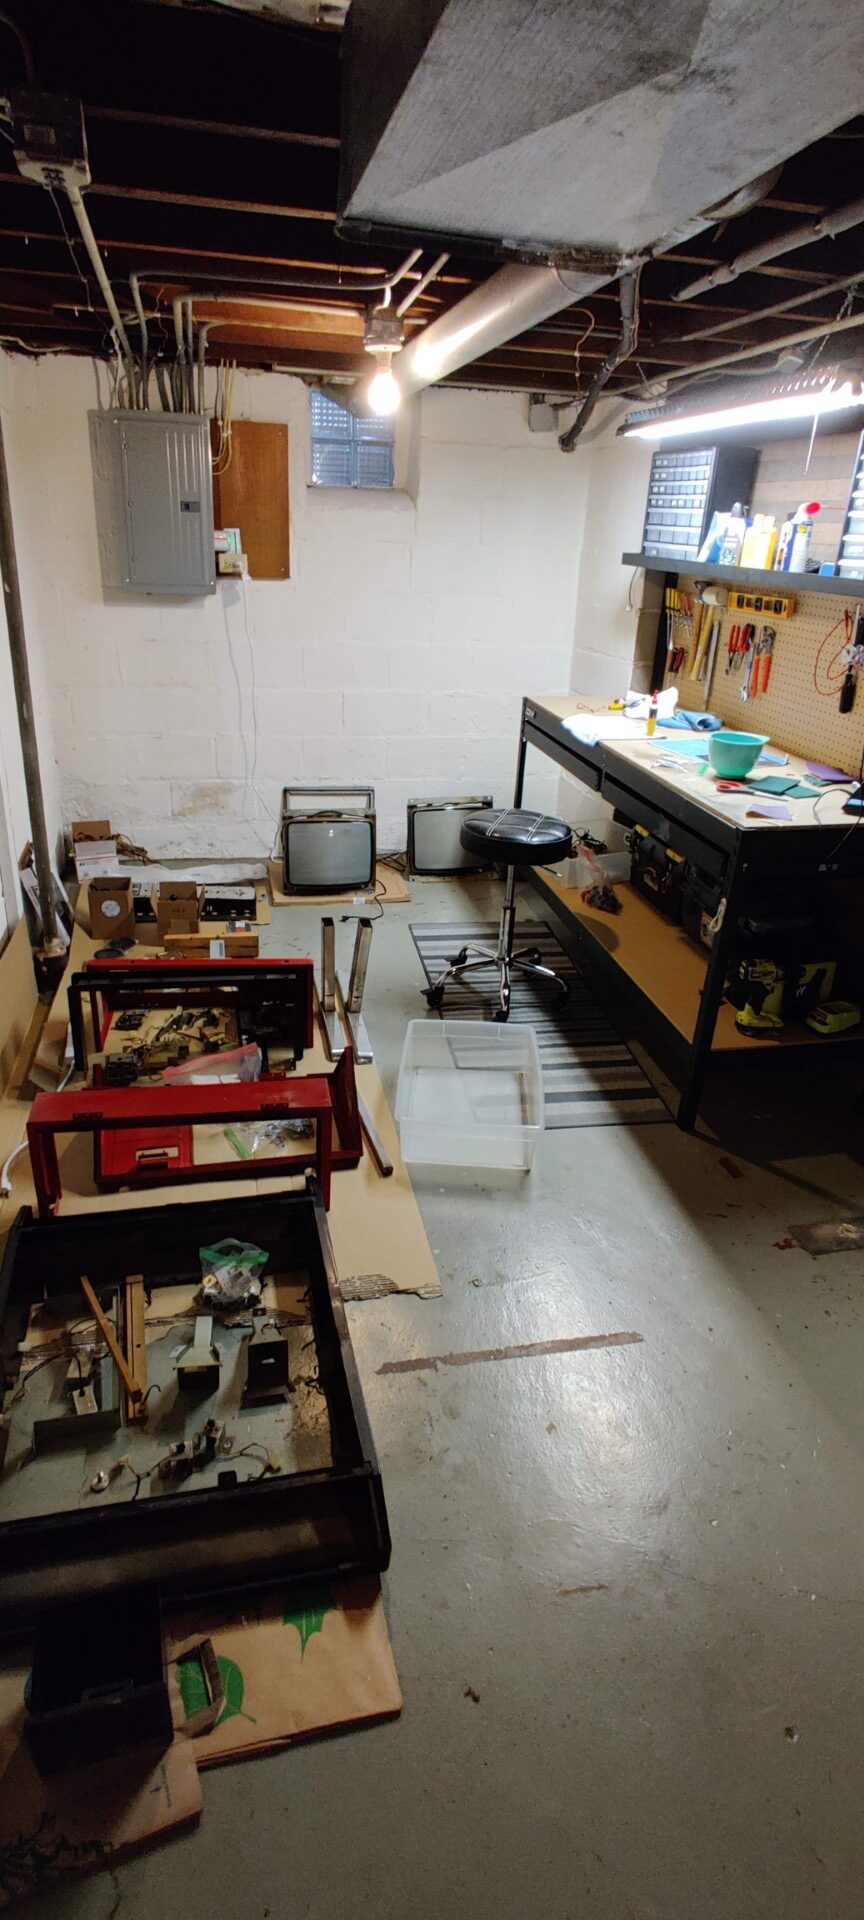
Disassembling a Nintendo Red Tent
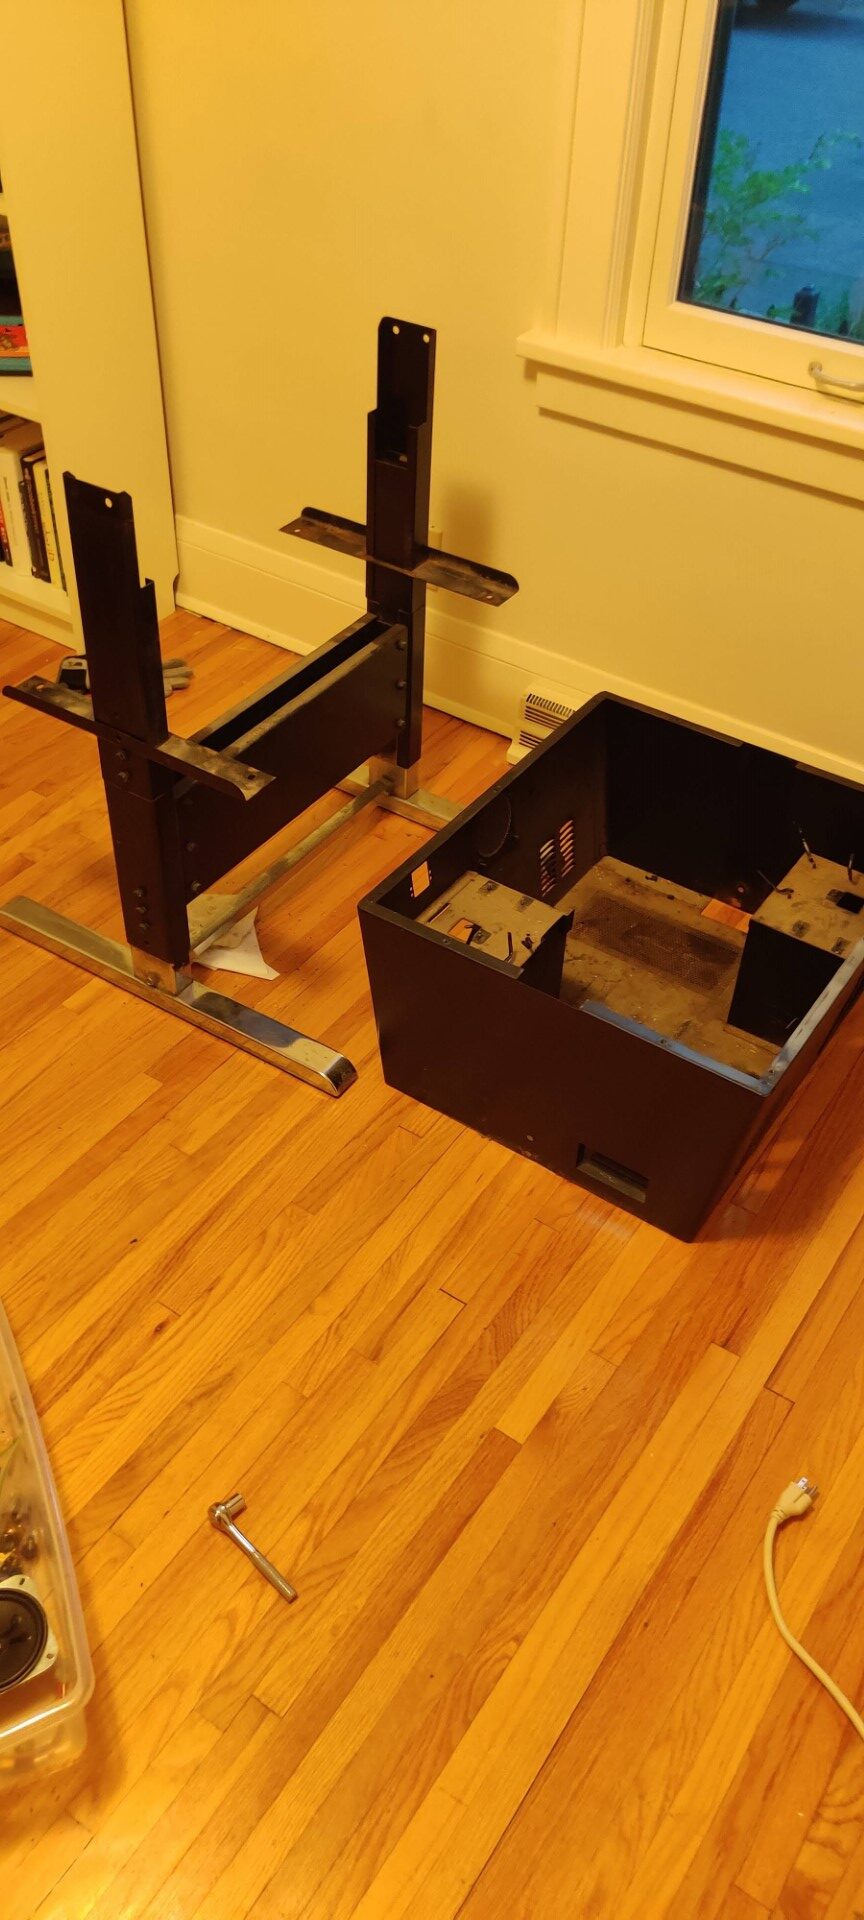
Now it was time to take everything apart so I could clean it. Disassembly is NOT easy on something like this, which has bolts that haven’t been touched in 35 years. I’m telling you, getting this thing apart was a bear and I did it over 1 or 2 weeks time.
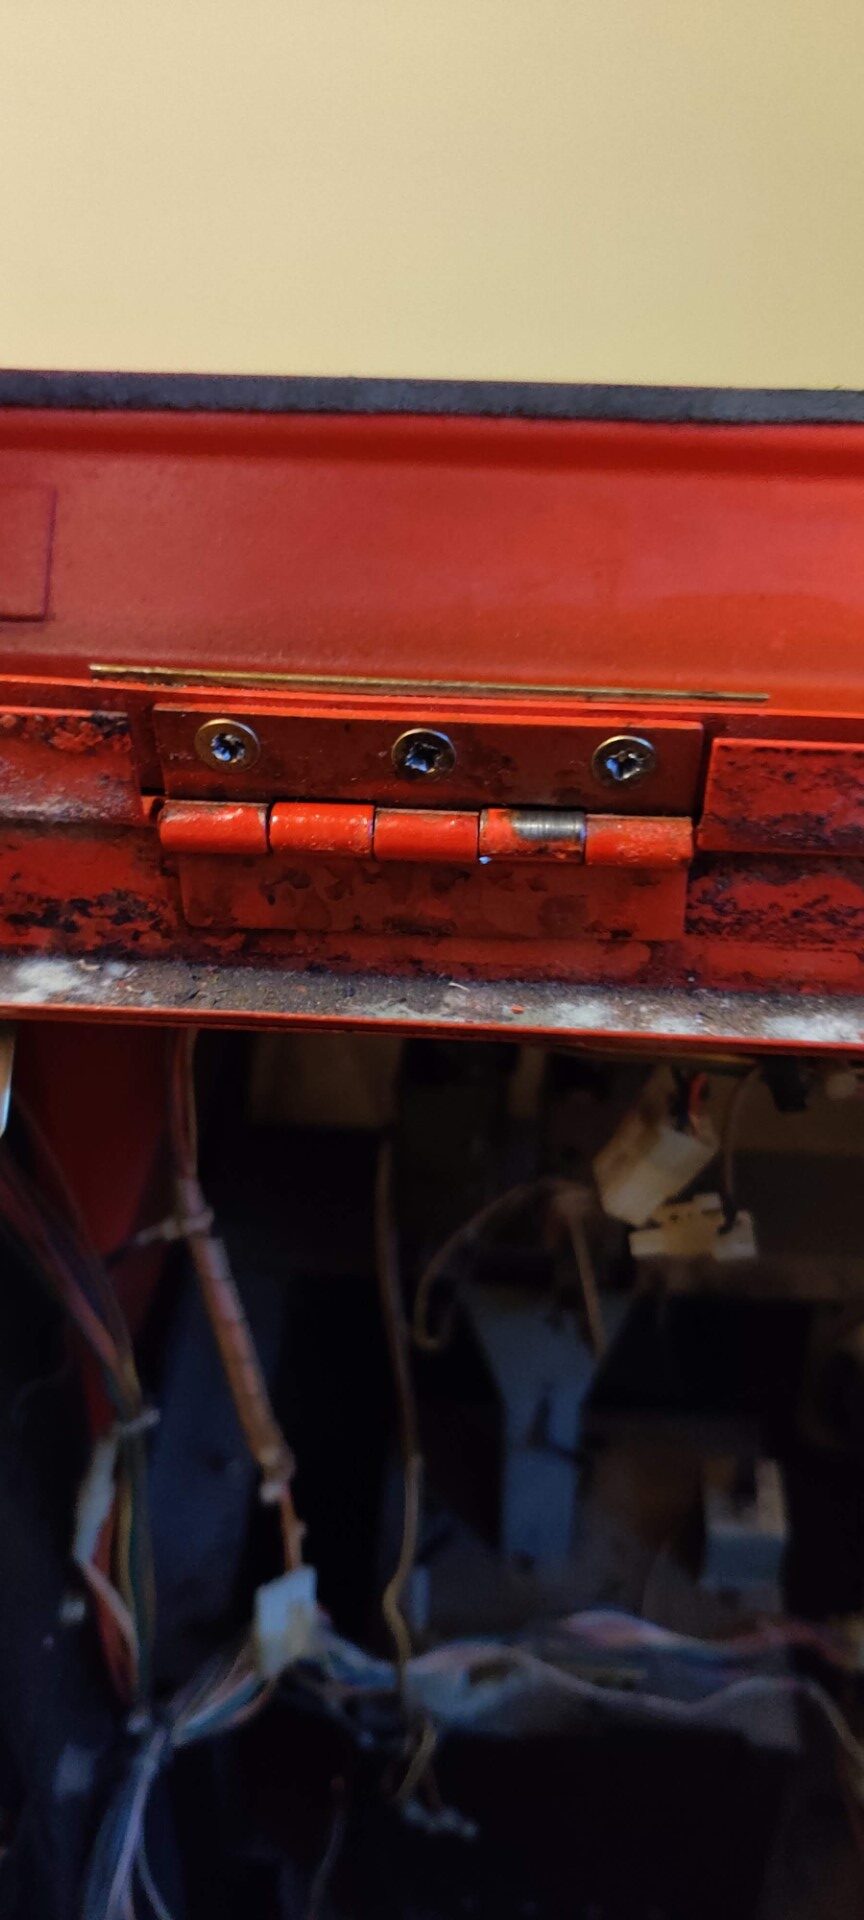
The hardest pieces were removing the hood (which uses much too small countersunk phillips screws that strip super easily). These hoods are seemingly too heavy for the hinges also.
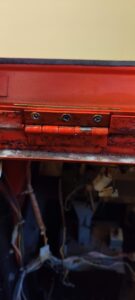
Red Tent hinges 
Main cabinet off legs 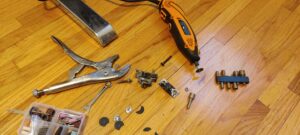
removing the extra lockbar bolts 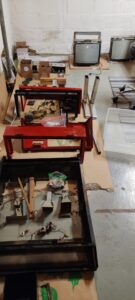
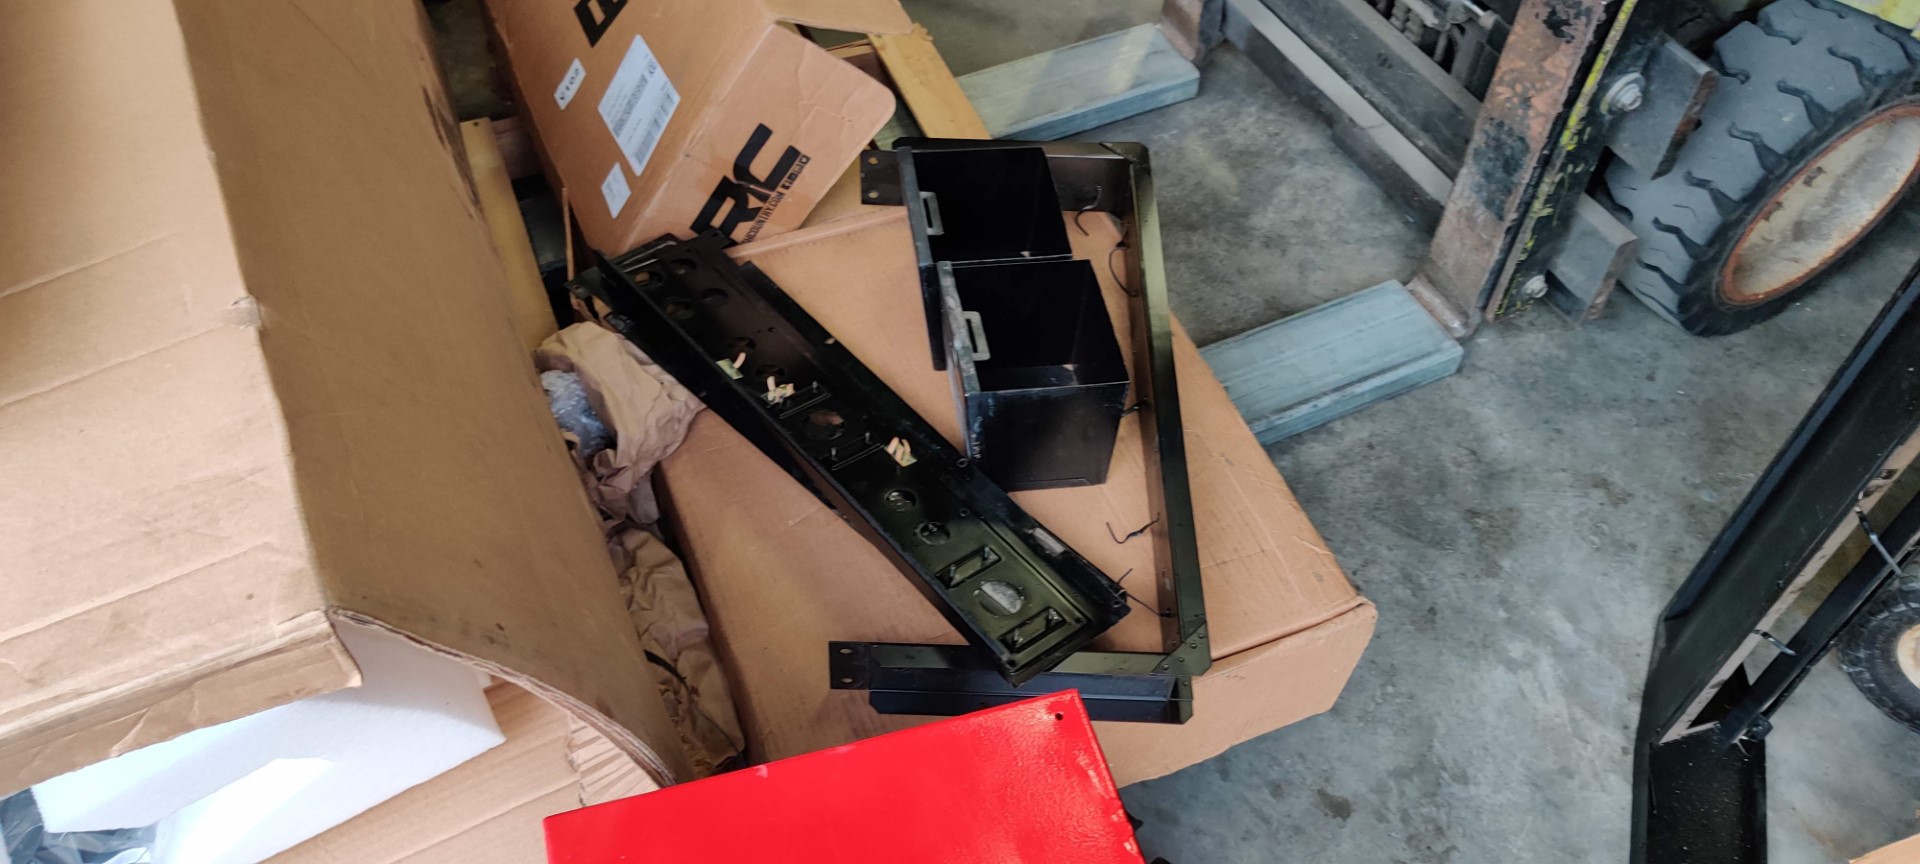
All pieces 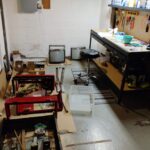
All pieces plus monitors 
Power transformer section and cord

Two other sections were a real pain to deal with. First, the power cord was held in place with a special strain relief device. I’d never encountered anything quite like this. After numerous attempts to tear this bad boy out, someone on KLOV helped me identify what it was and the proper way to remove it (little tabs you squeeze in from both sides)
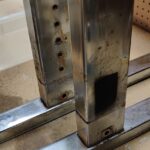
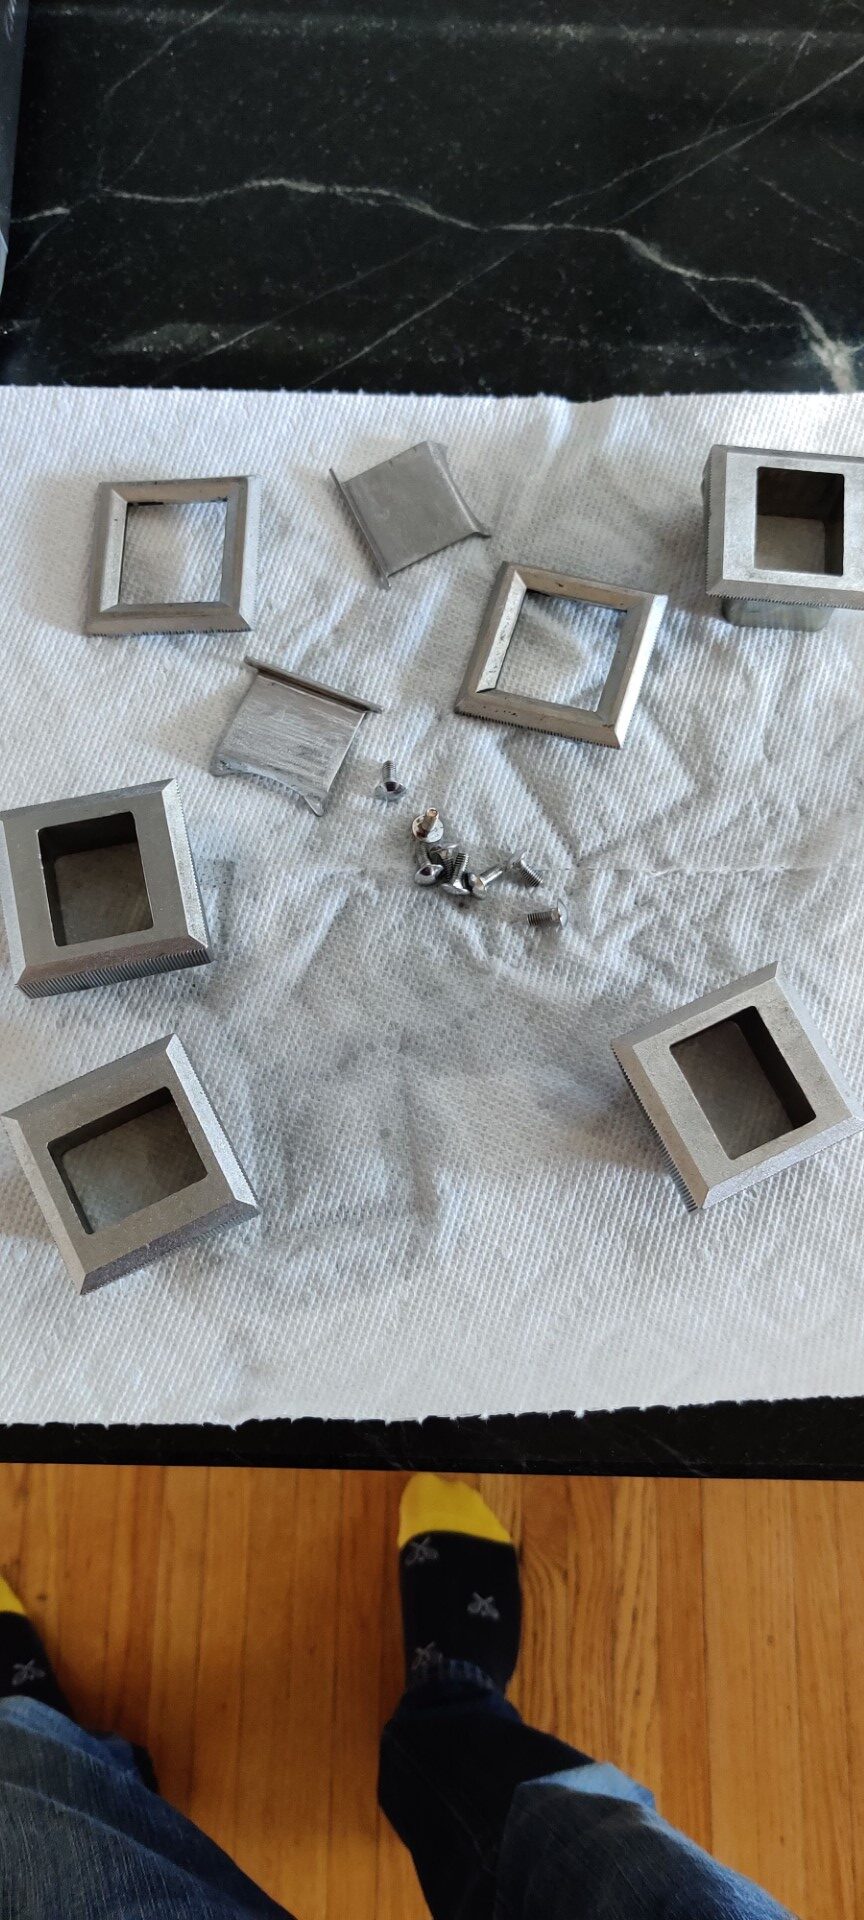
Second, the someone had added extra lock bars to both coin buckets. They used carriage bolts to hold these lock bars in place but the holes themselves were round. Meaning, unscrewing the nuts from the back was damn near impossible! Add on top of that, the nuts were square instead of a typical hex shaped. Long story short, I ended up grinding some of entire bolts off, others I was able to remove with a combination of a wrench and quarter turn after quarter turn.
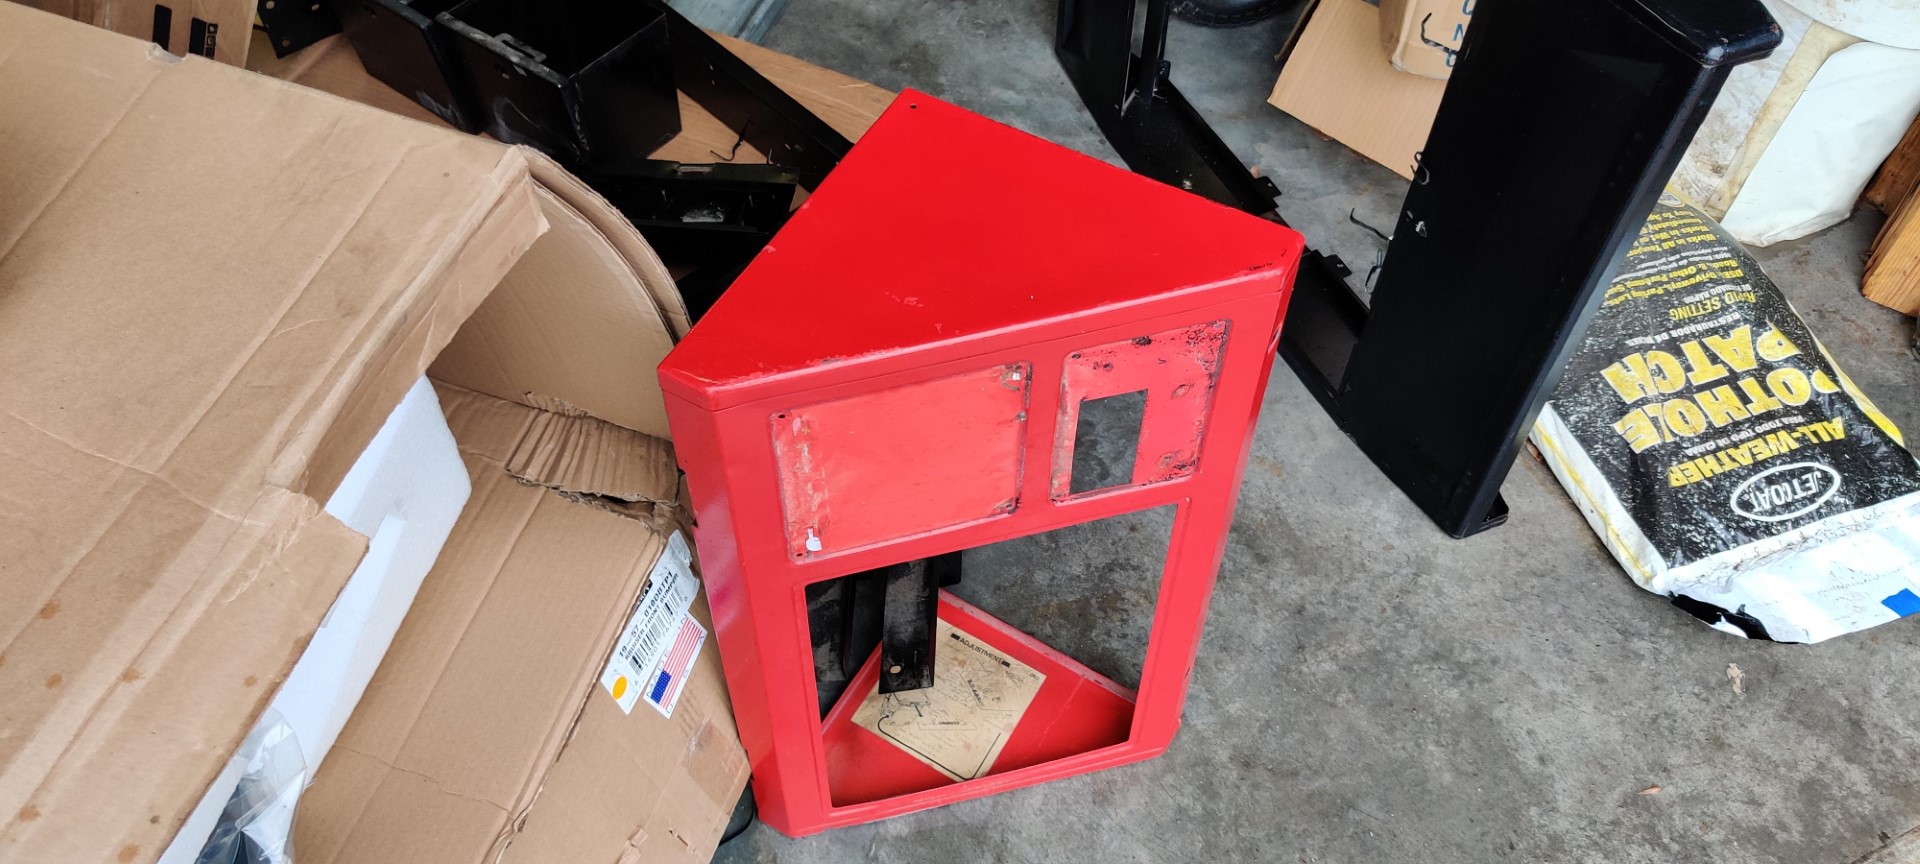
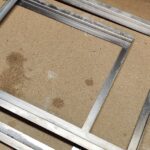
See a before and after patching the holes 
Strain relief for power cord
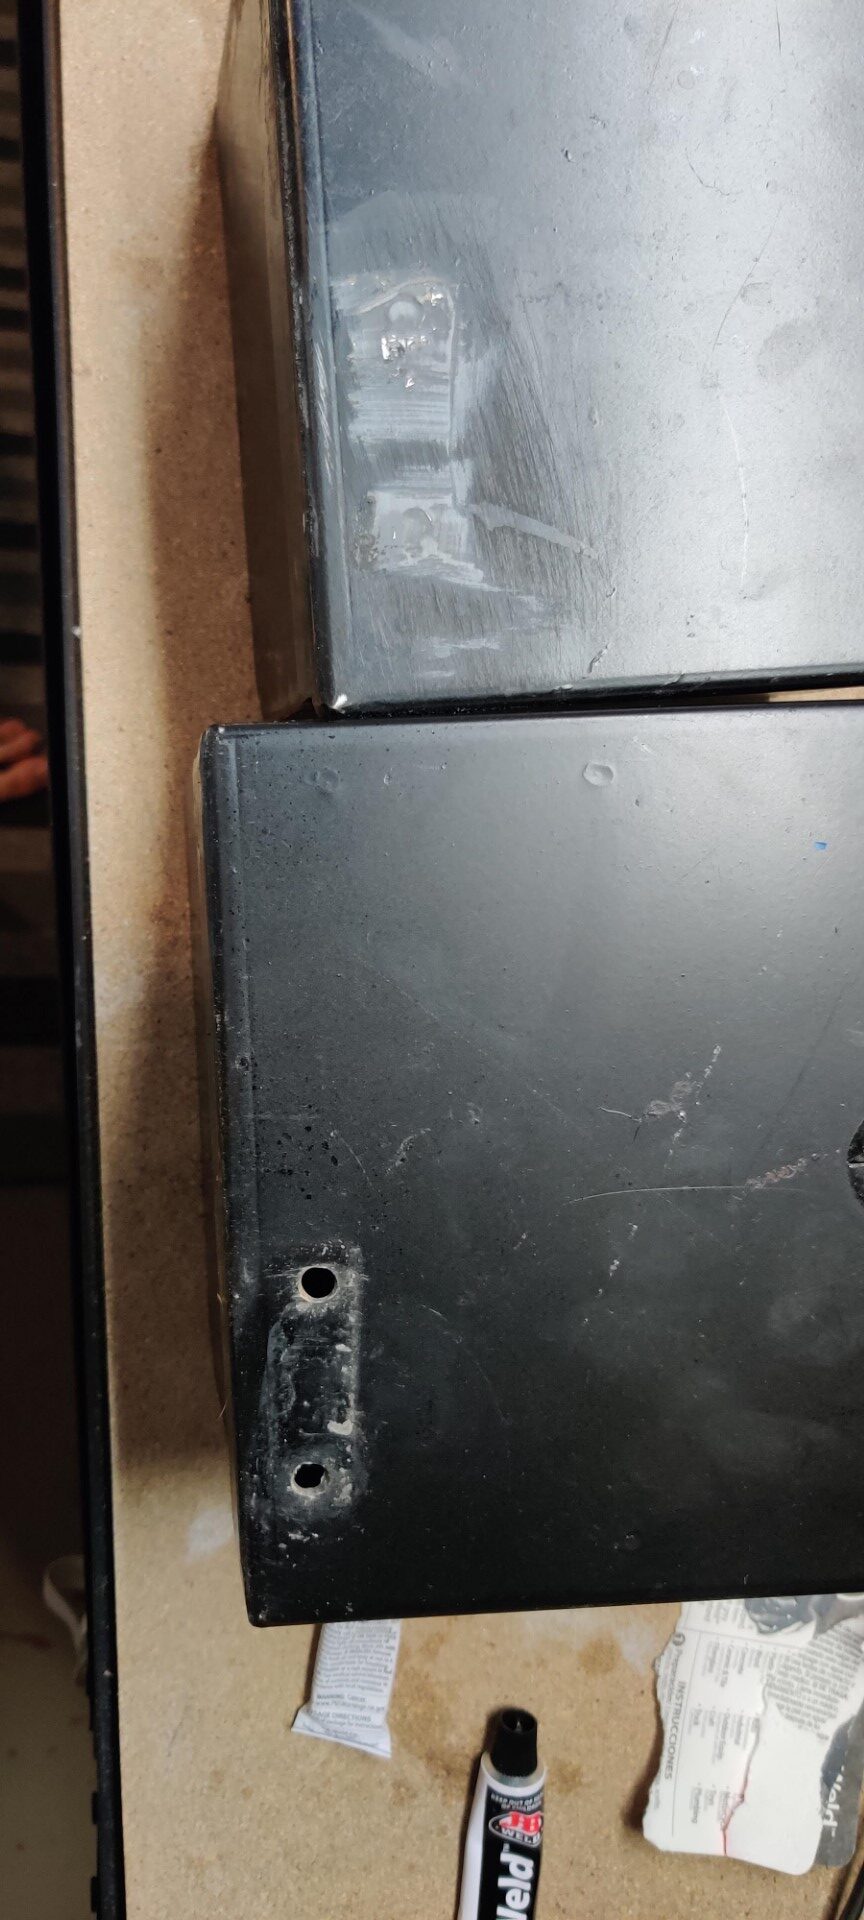
After the bolts were out, it was time to patch those holes which wasn’t difficult using some JB Weld. Some heavy sanding later, and I was pretty pleased with the results.
Fixing the Body Parts
Now that the game is disassembled, it’s time to make it pretty! I had two choices for this; paint or powder coating. Let’s look at the differences:
Painting
- Can do on my own
- Relatively cheap
- Practically unlimited color choices
- Hard to get perfect
- Time consuming (for me)
- Requires substantial sanding and prep work
Powder Coating
- Professionally done
- Durable finish, long lasting
- Cleanest look
- Expensive
- Have to wait for shop to have time
- Limited color selection
So, which way did I go? Since this is my first restore, I wanted it to be darn near perfect. Powder coating it is. I brought all the parts to a local powder coating and played the waiting game!
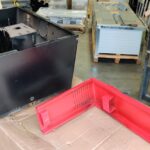
Waiting to be powder coated 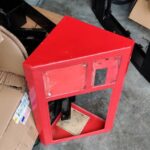
Waiting to be powder coated 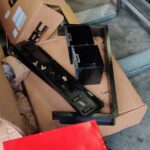
Waiting to be powder coated 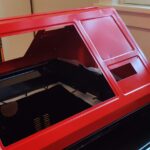
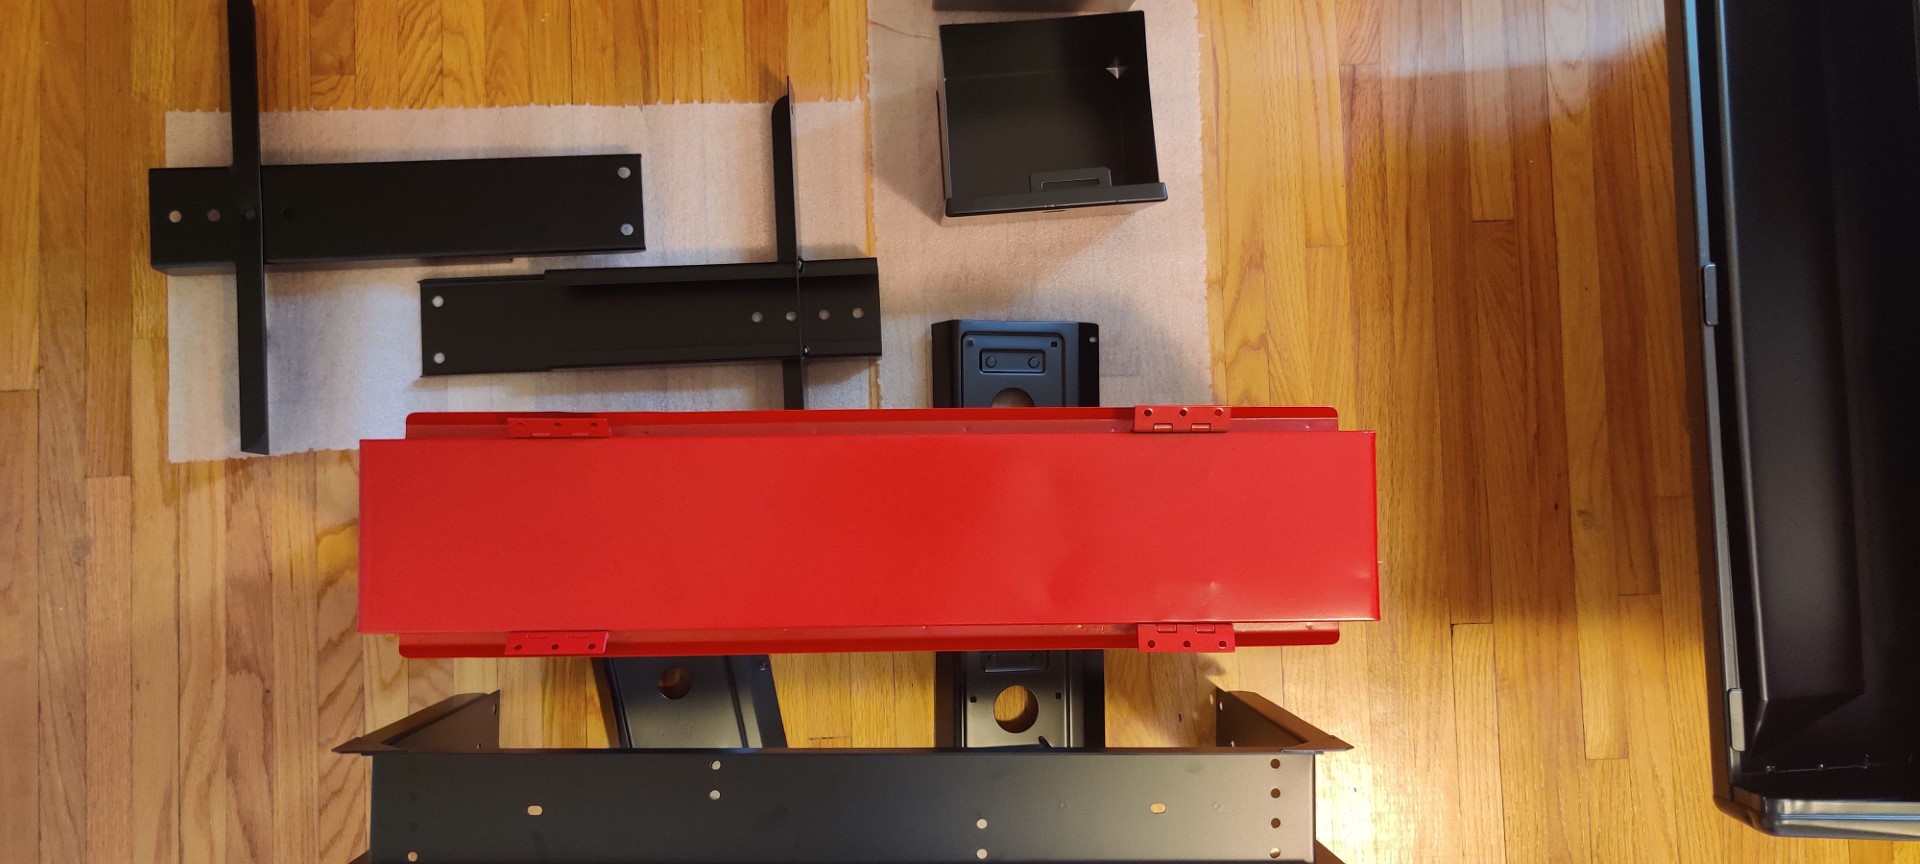
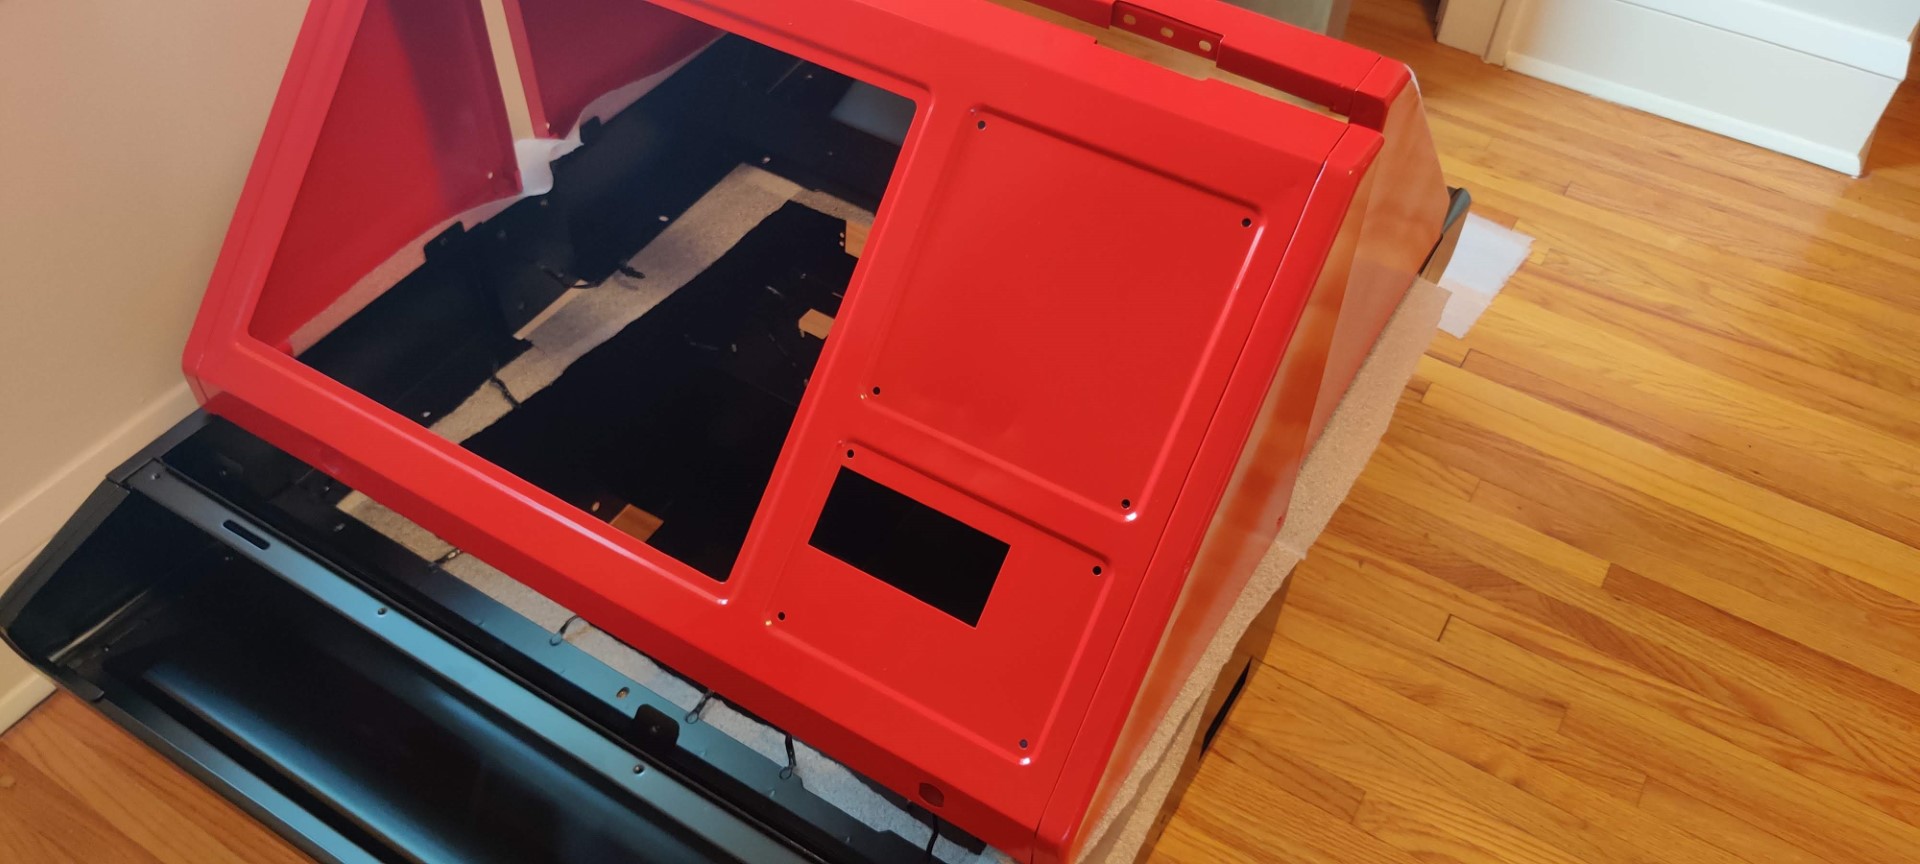
The freshly coated pieces! 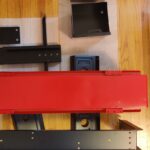
The freshly coated pieces! 
The freshly coated pieces!
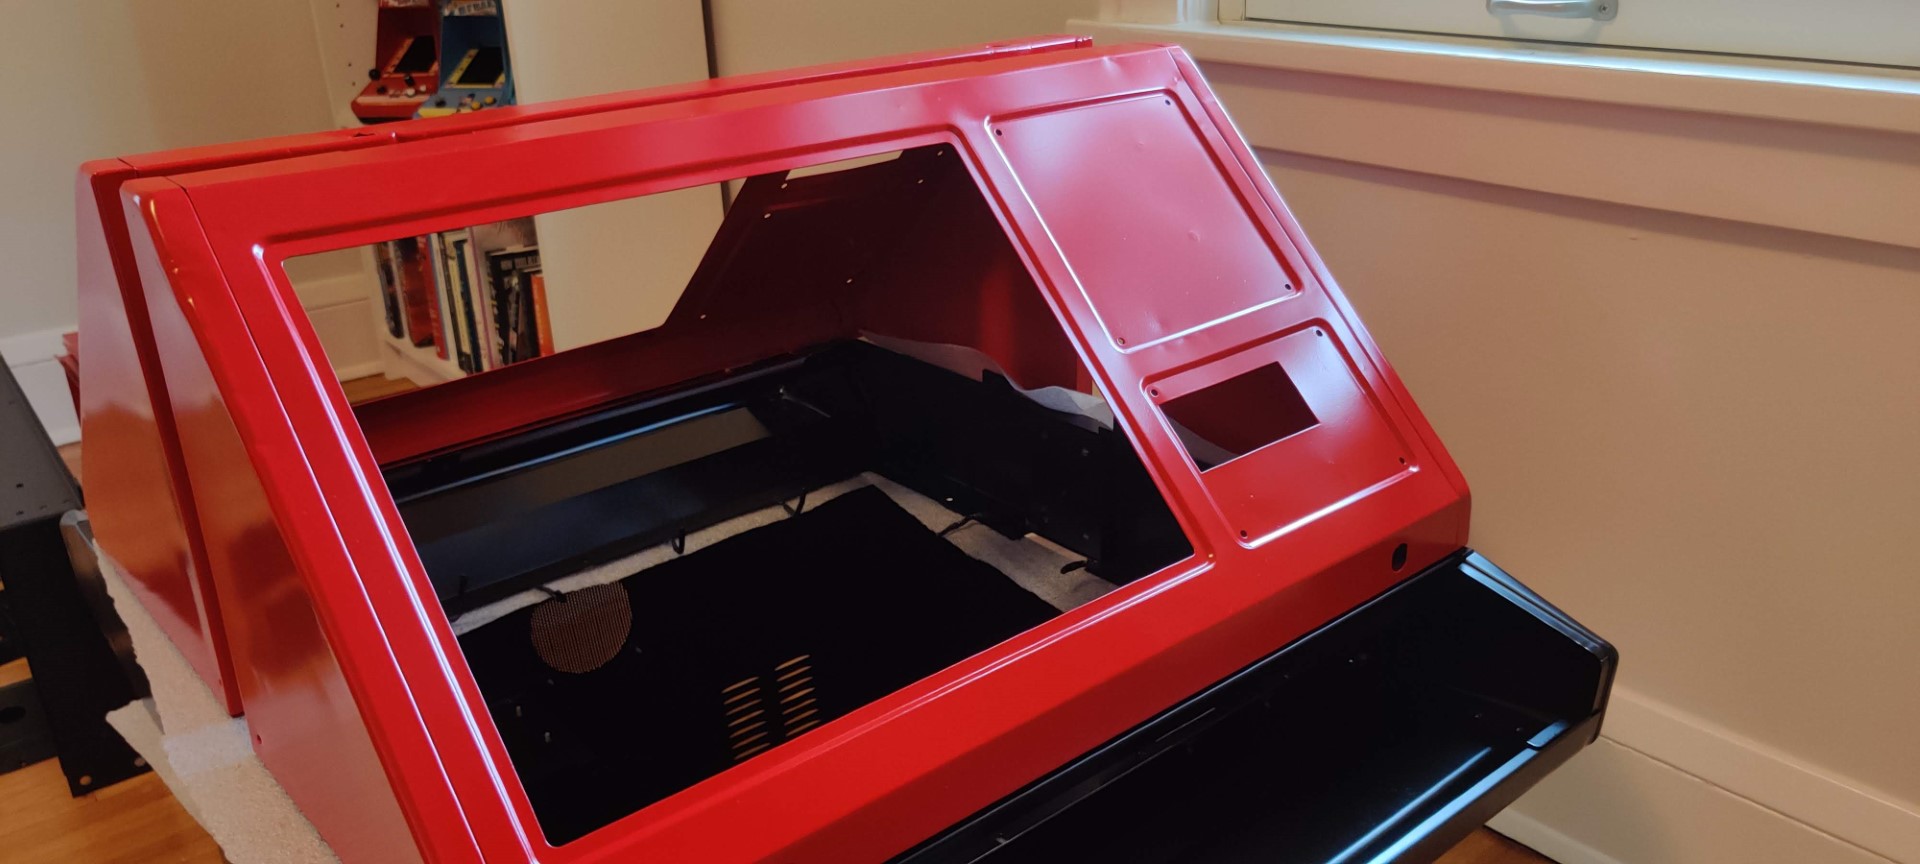
I think the final results speak for themselves. Powder coating just IS the superior options for painting metal pieces. And their sandblasting process for cleaning the parts ensures they’re in great shape.
The only downside is, since the paint is so perfect, some dents or bumps are more easily visible. There’s no way to avoid this without many, many hours of metal work beforehand which just wasn’t worth it to me.
Cleaning The Remaining Parts
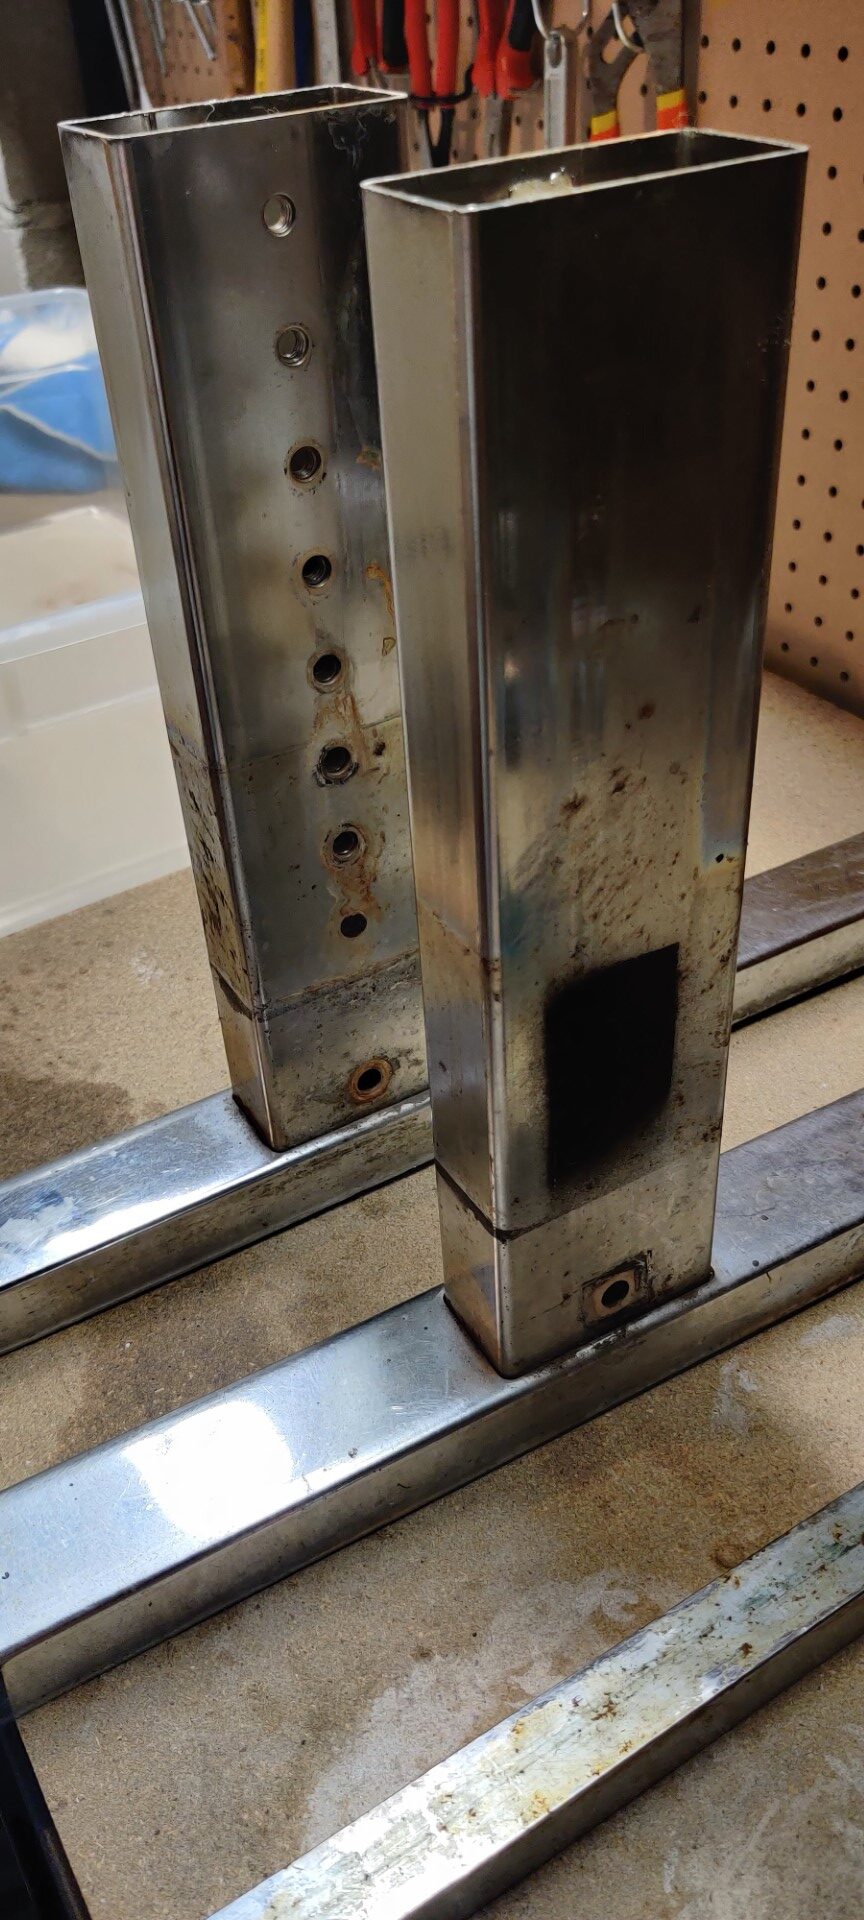
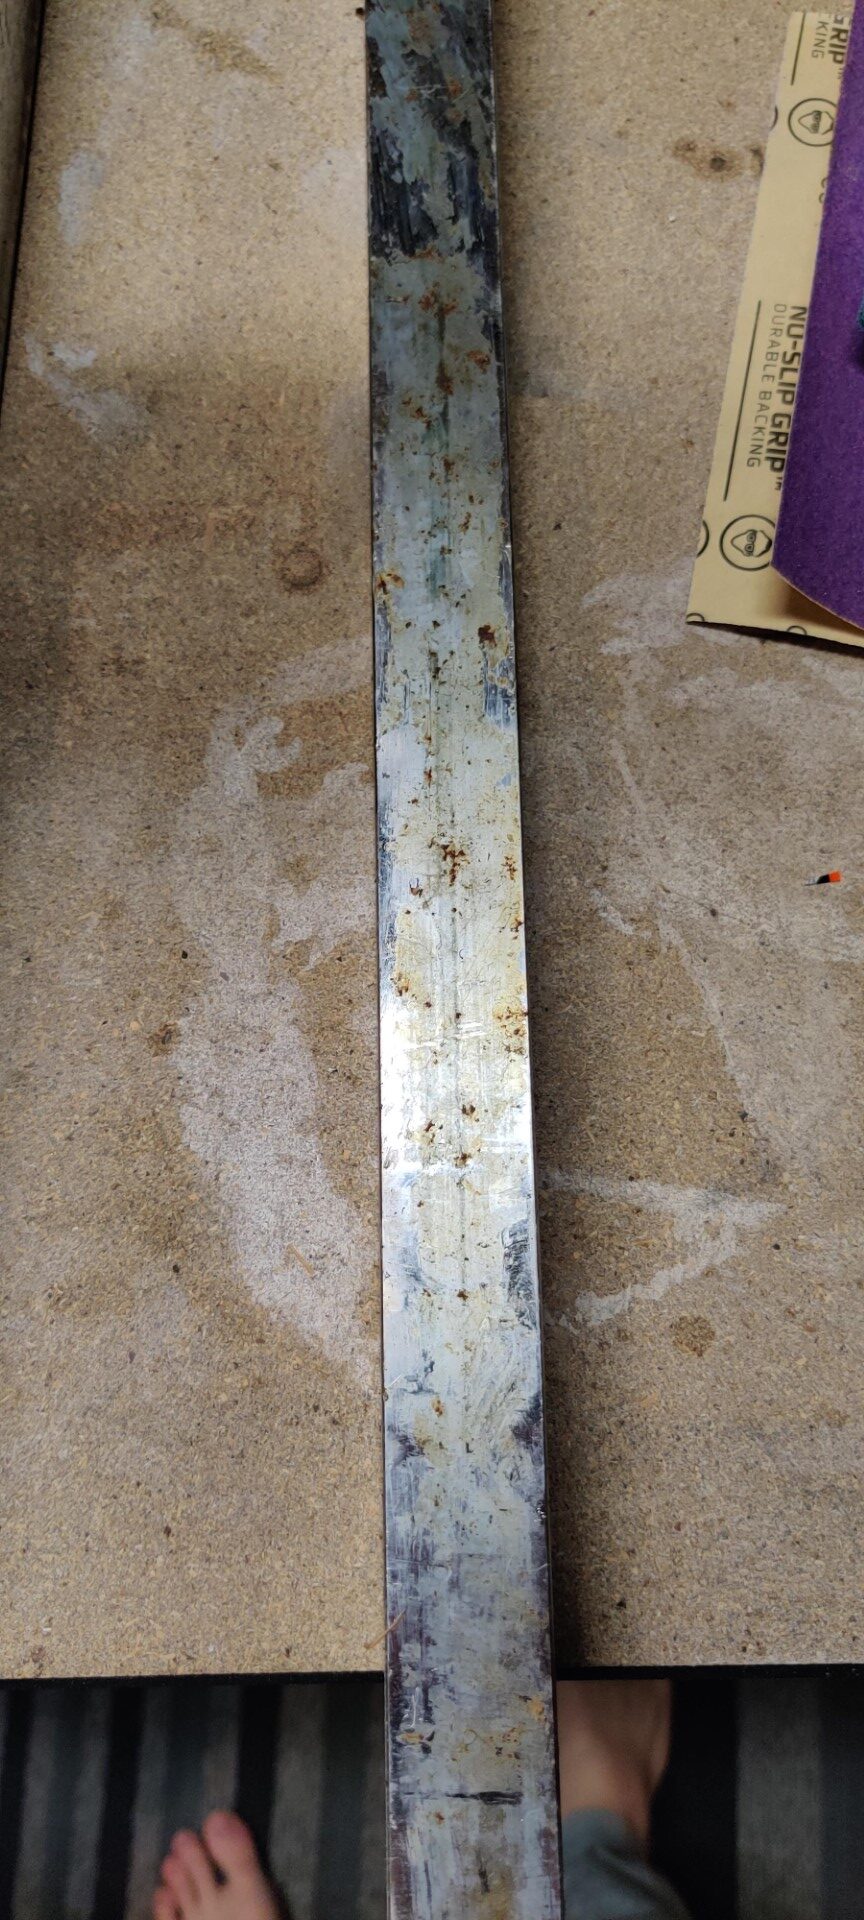
With the main body parts all set, I set my eyes on the remaining metal parts that needed to be cleaned and restored.
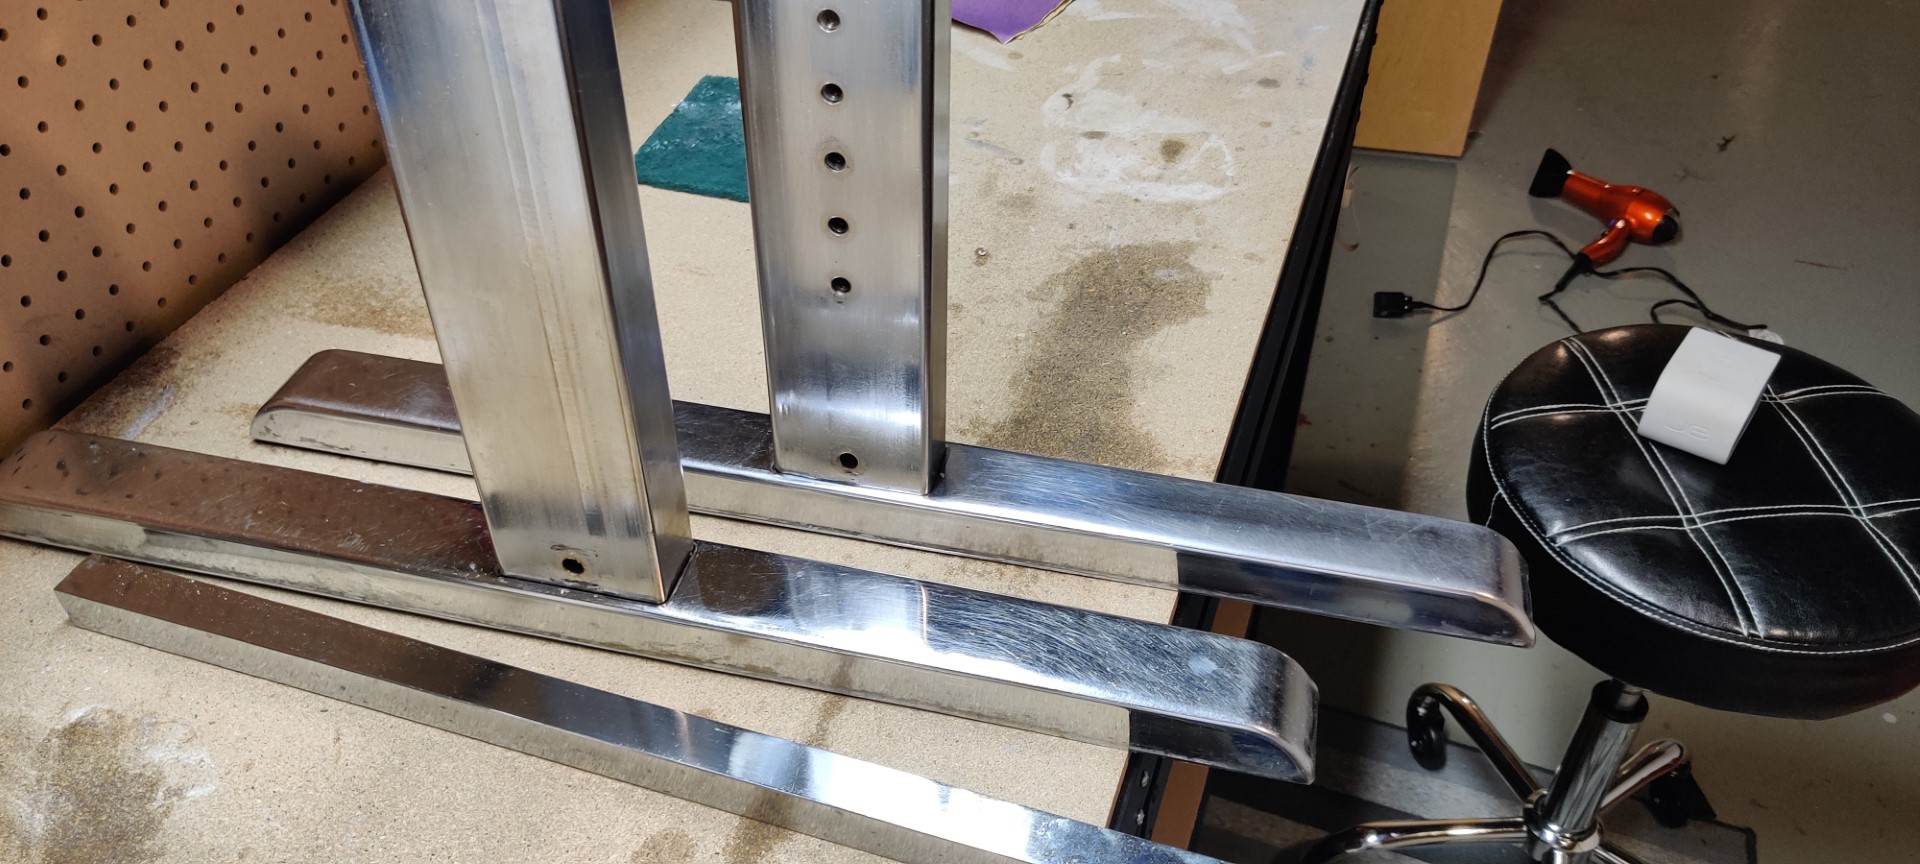
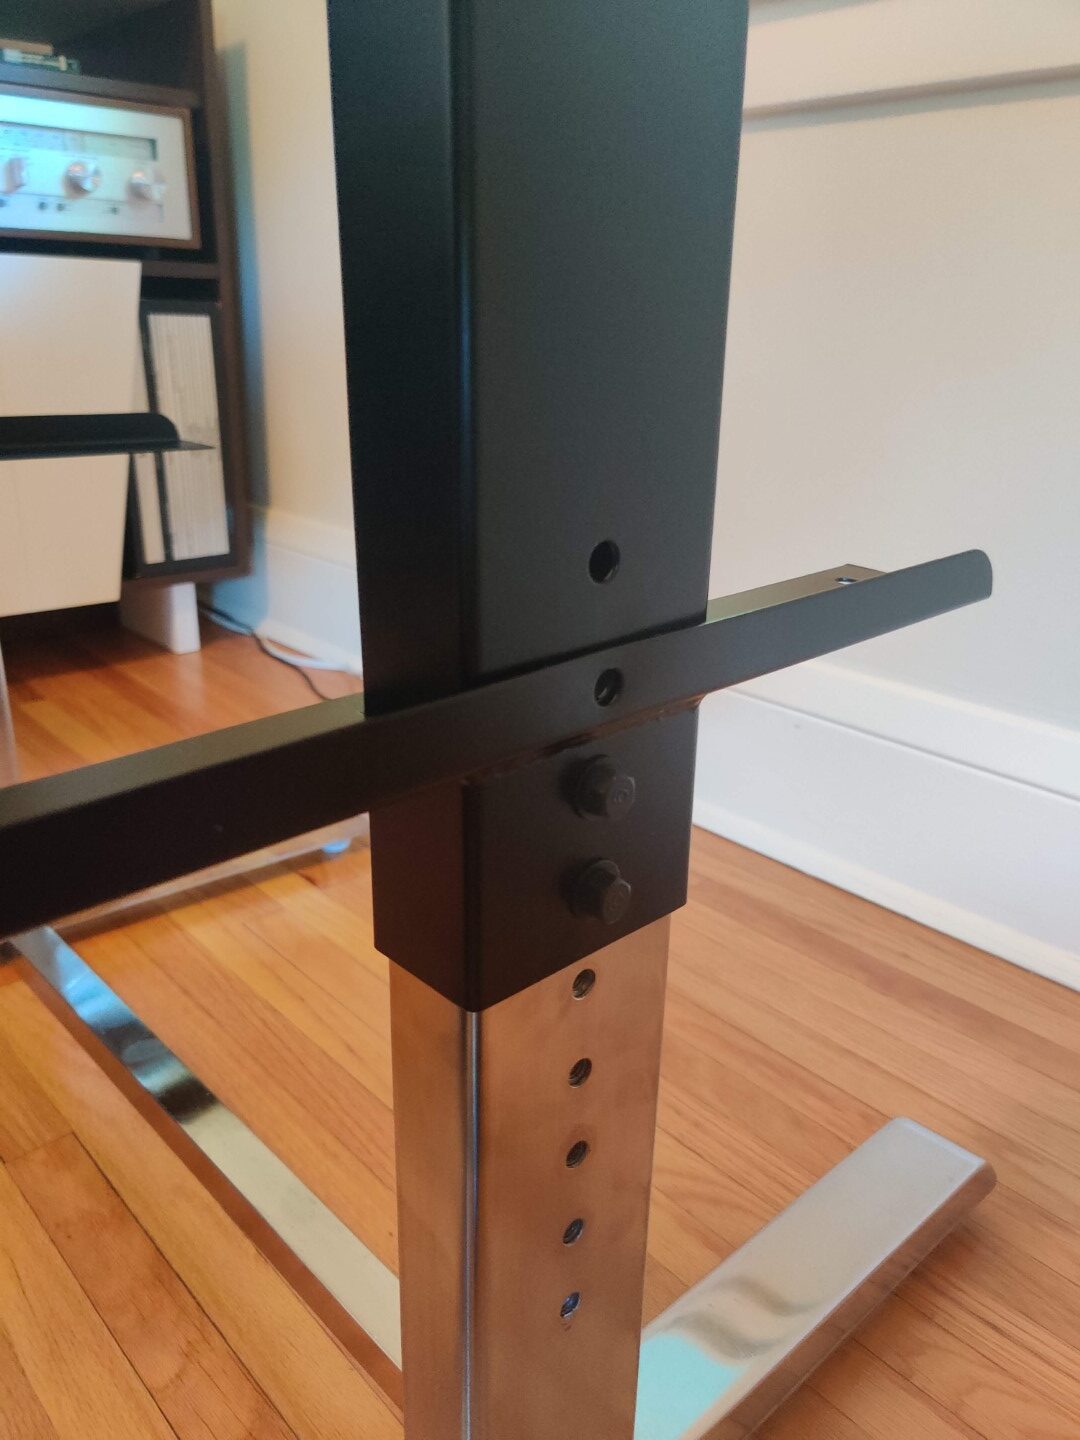
For the legs, I used a combination of diet coke and aluminum to clean the rust off. Then, I applied a buffing compound to finish them off. While not perfect, they’re much better.
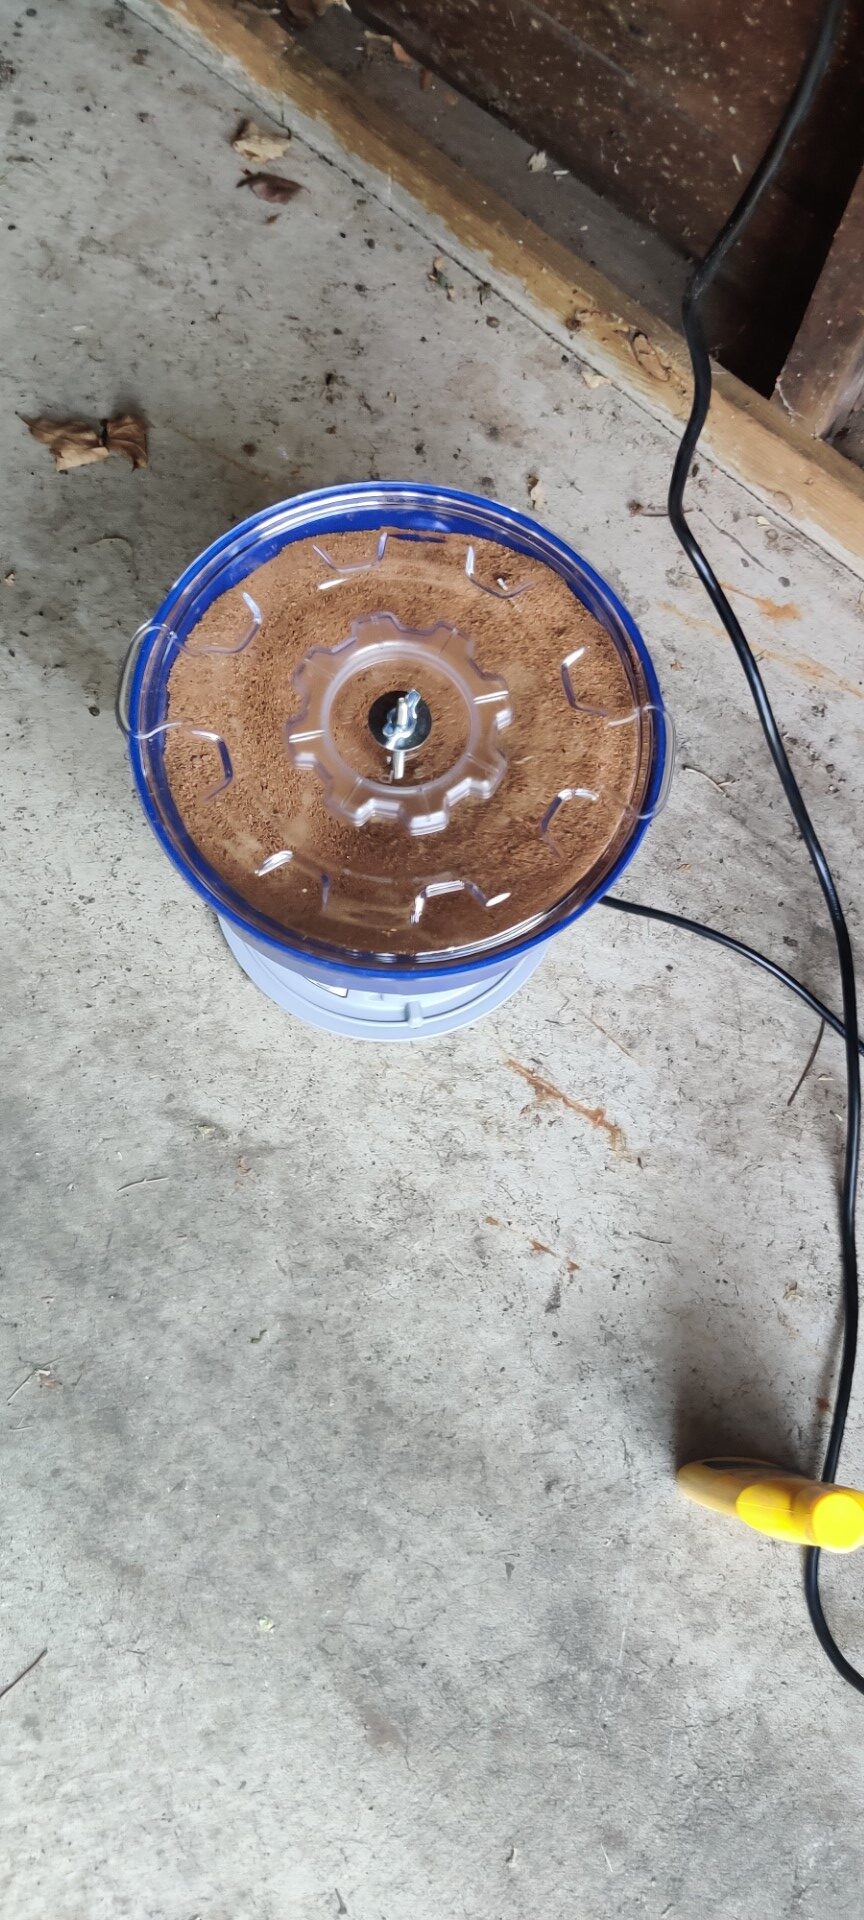
Looking at the coin acceptors and plates, I used a tumbler to bring the pieces to a great new shine. I suggest running these types of items for at least 24 hours, doing some sanding/cleaning if necessary, and then maybe even running them again.
Rusted legs 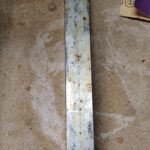
Rusted legs 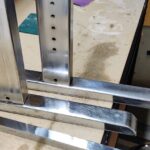
Nintendo Red Tent legs restored 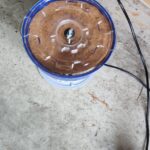
Tumbler in action 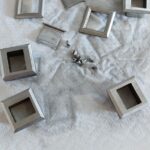
Restored coin pieces 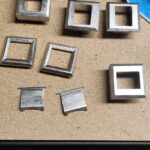
Restored coin pieces
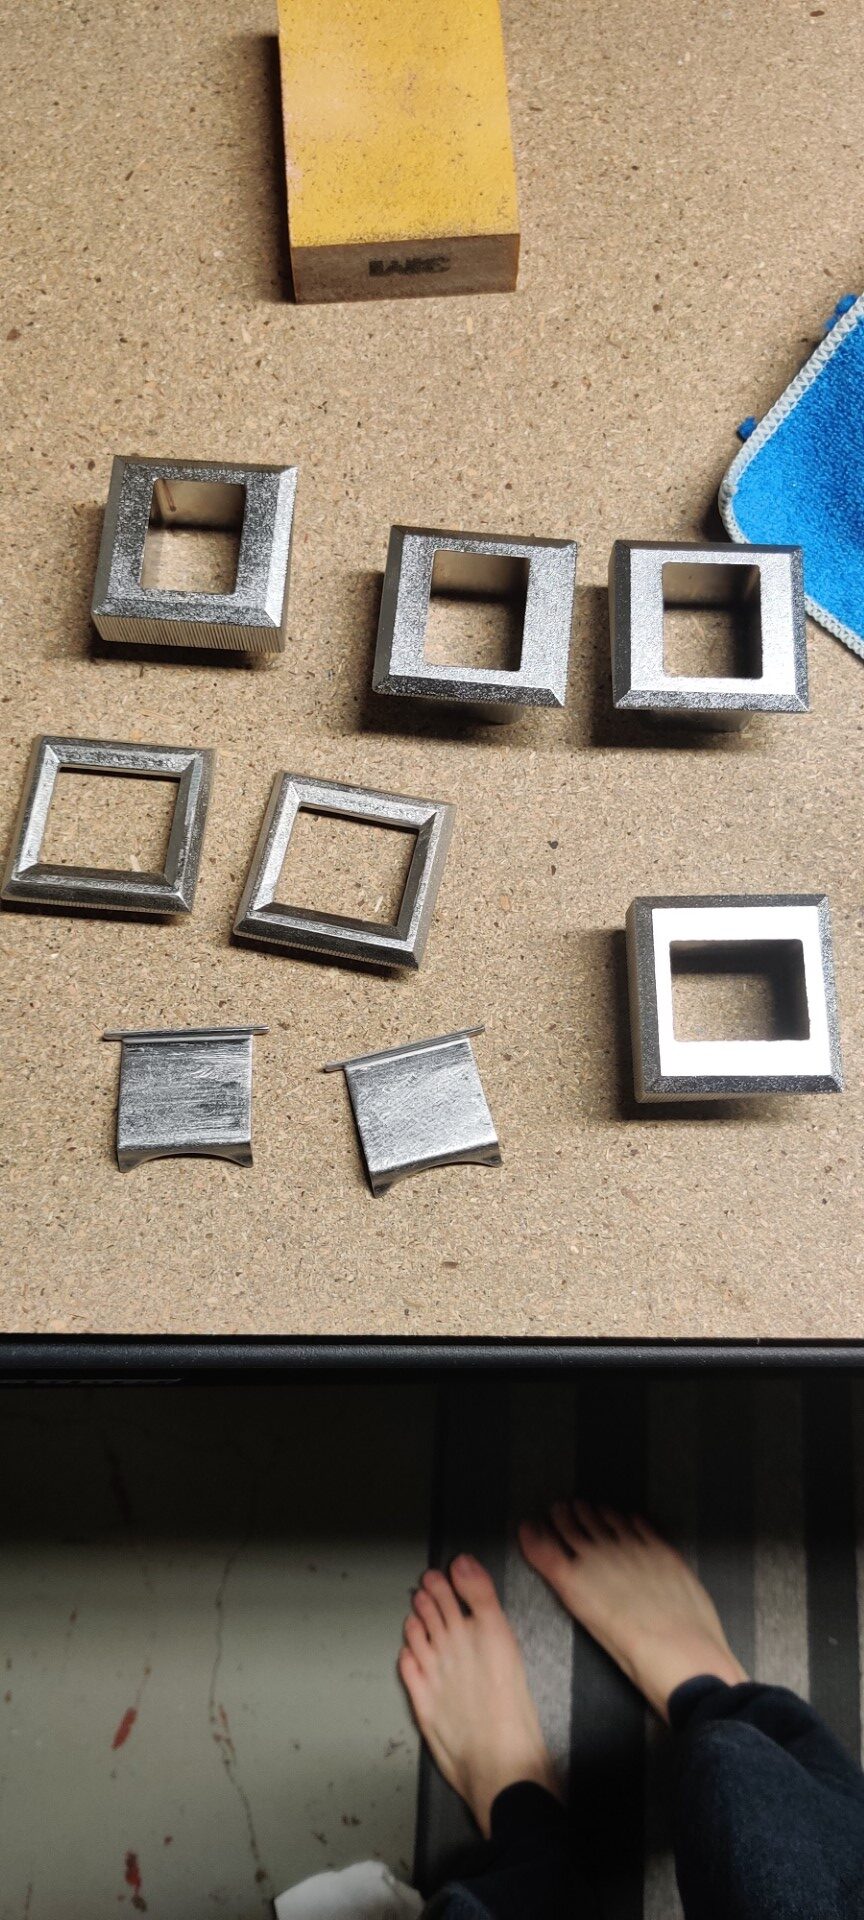
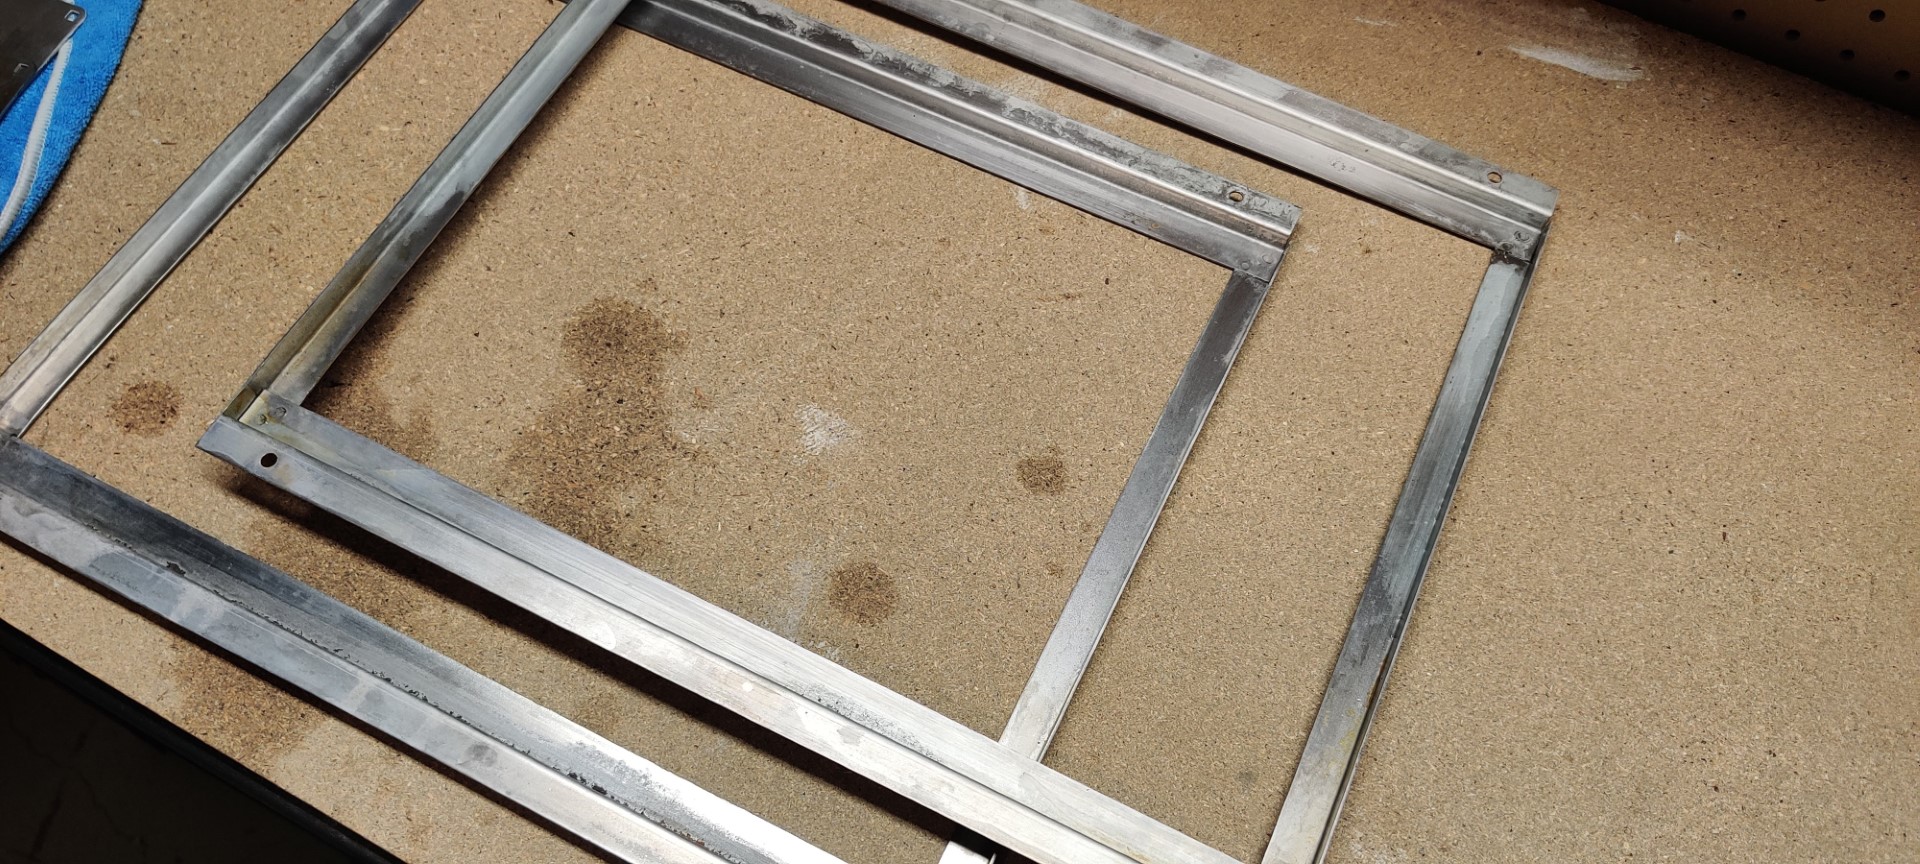
A few more metal pieces needed work, as well. The bezel retainers and PCB frame. I started with sandpaper on these and then switched over to metal rescue from Menards. This did a great job of putting them in acceptable condition.
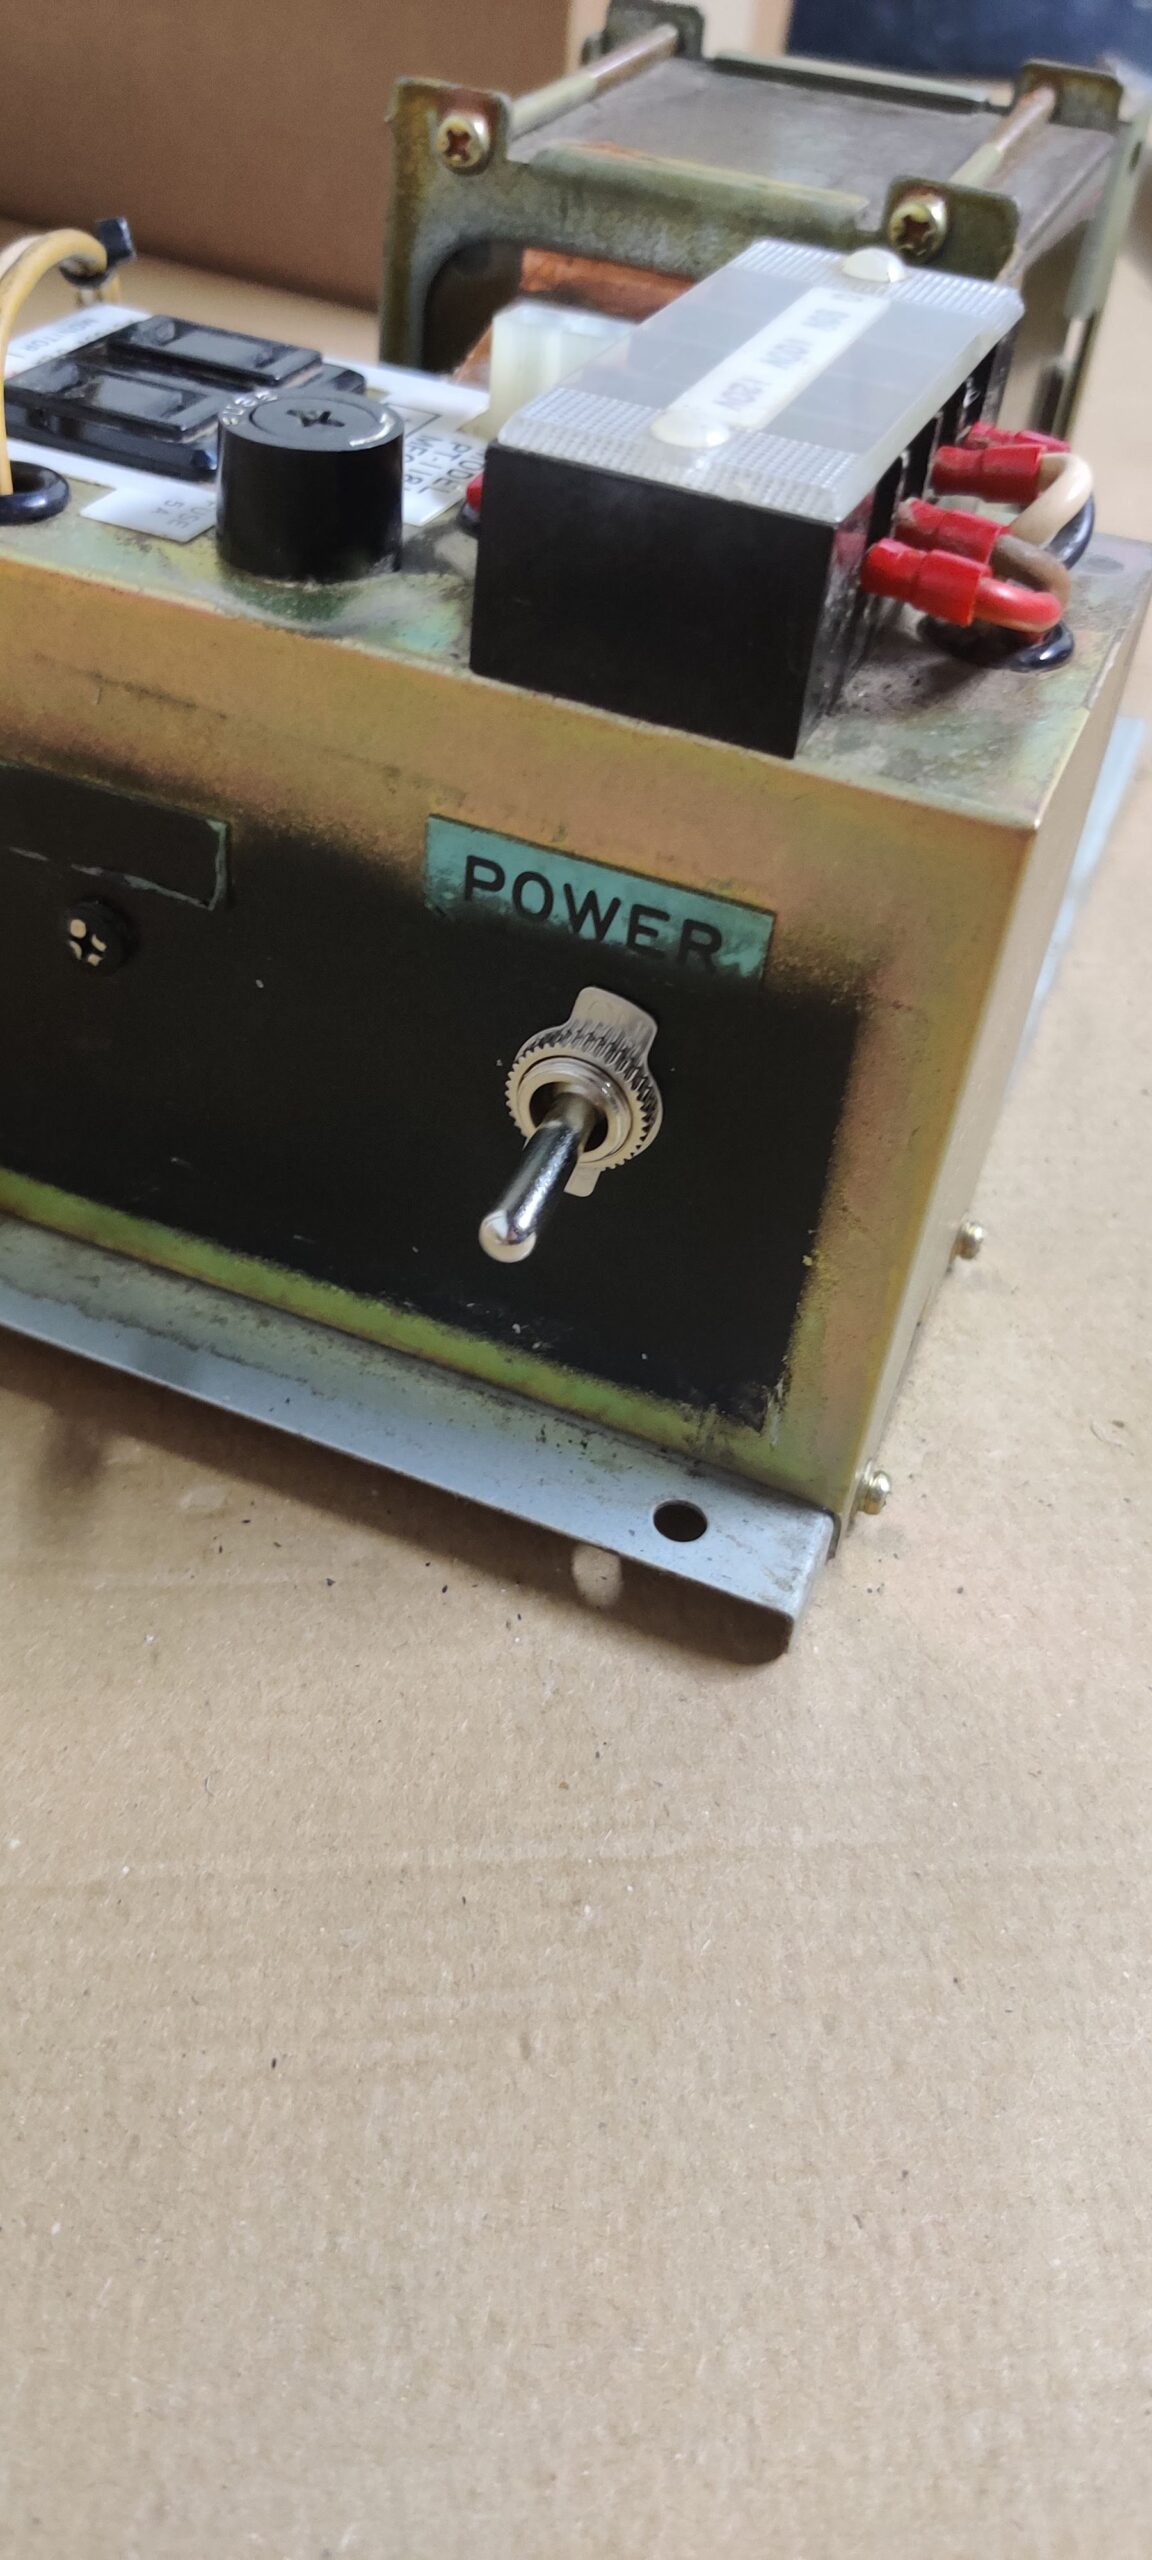
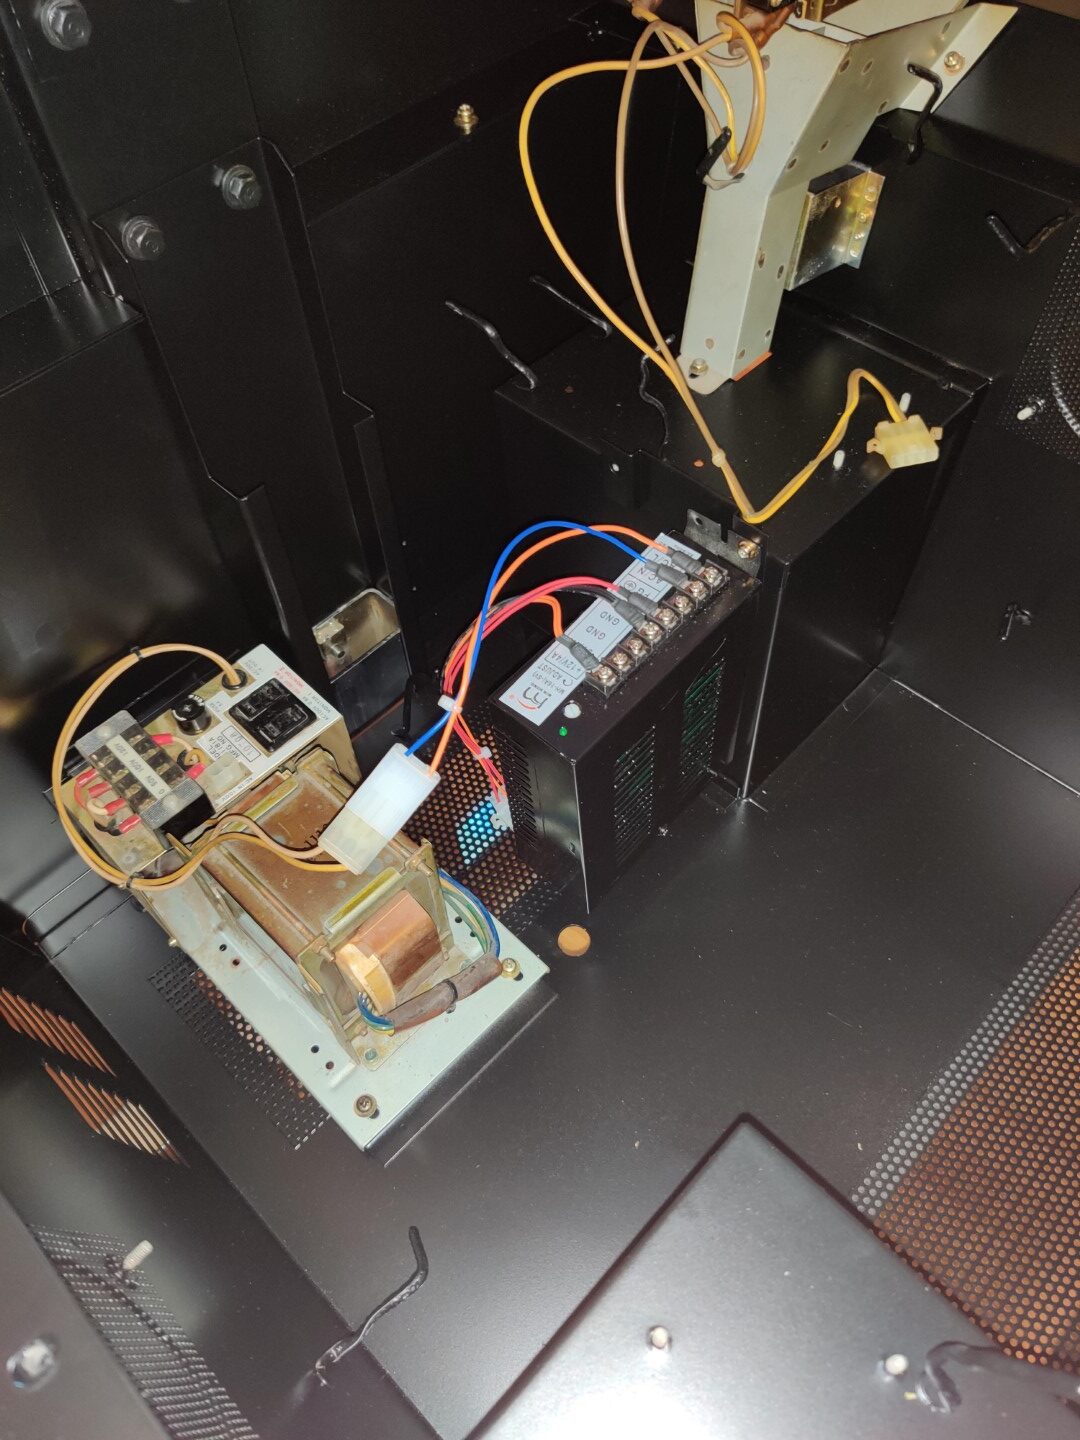
I also took this time to add a power switch back to the power transformer, which someone else had previously cut out. Wasn’t too difficult, just bought a switch at the hardware store, and spliced the cables that originally led to it back in place.
Cleaned metal parts 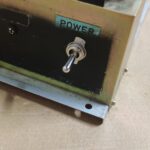
Power switch added to transformer
Restoring the Nintendo Arcade Joysticks
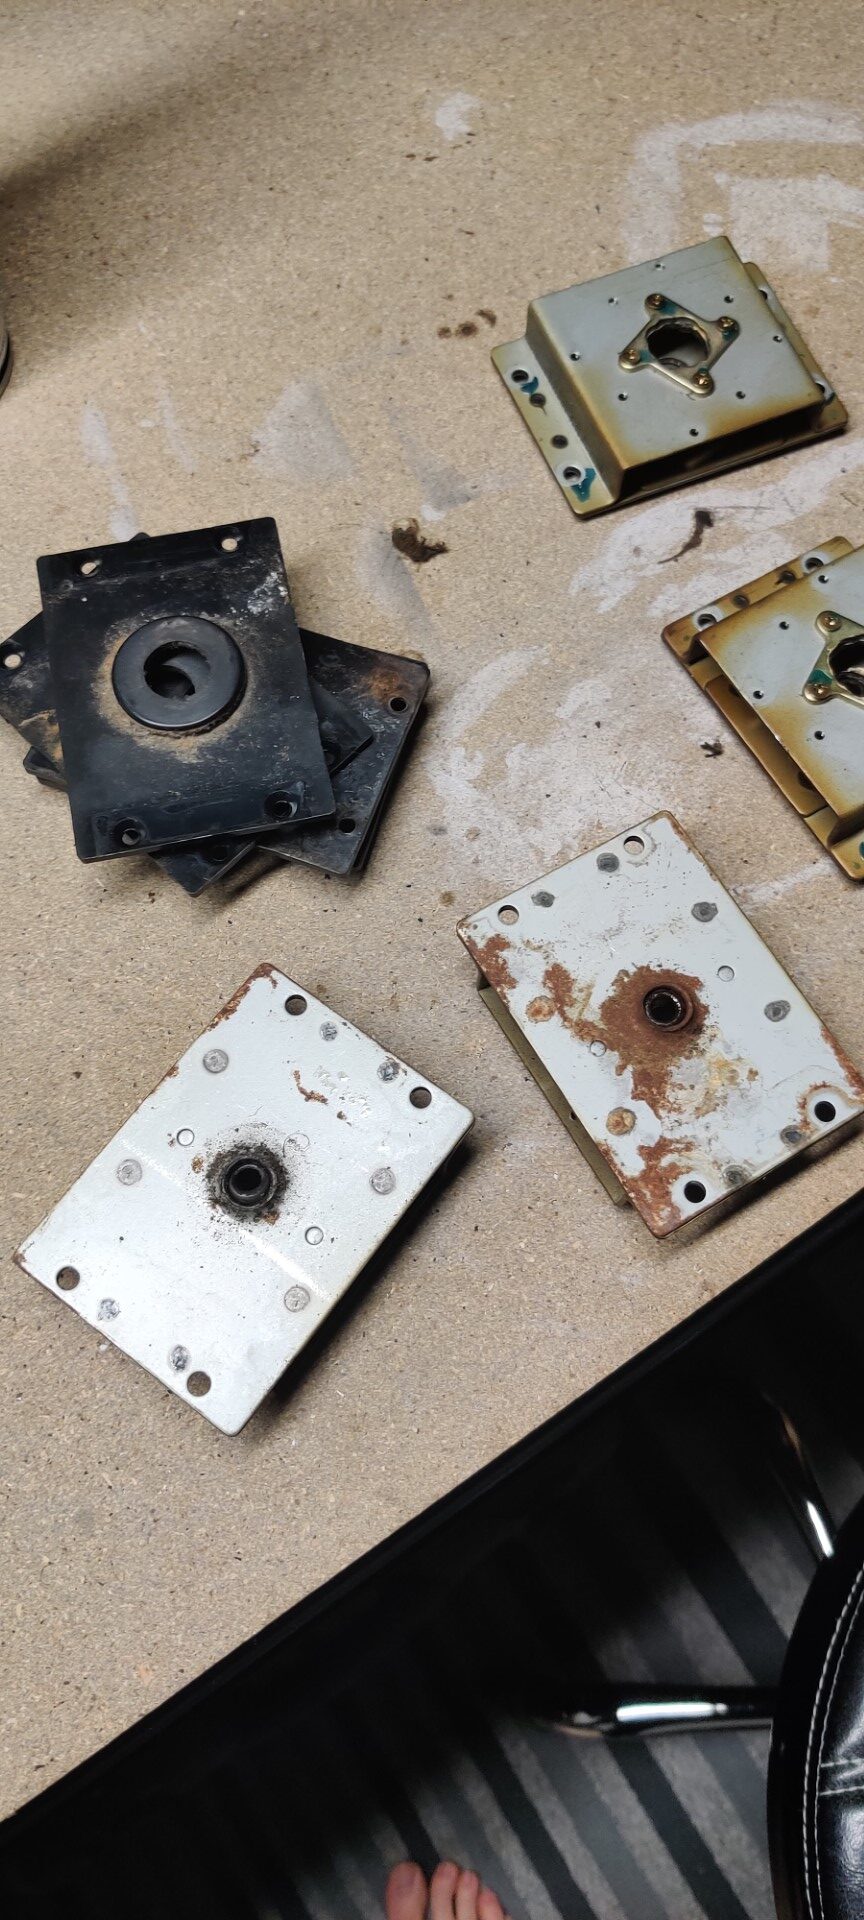
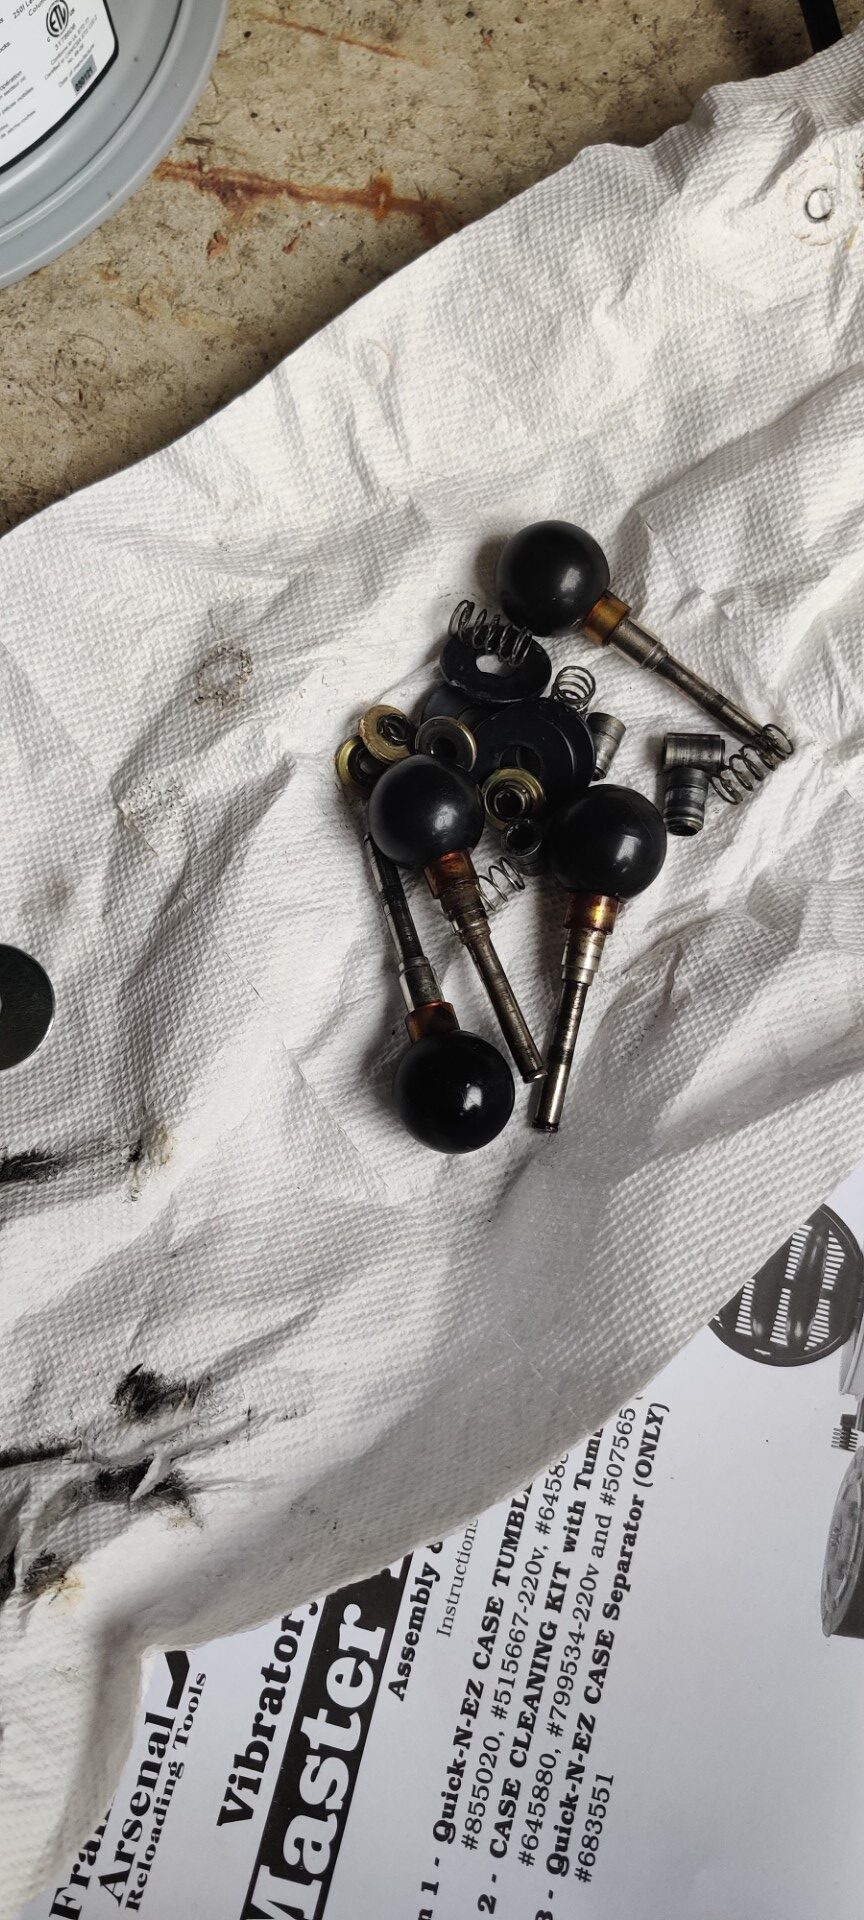
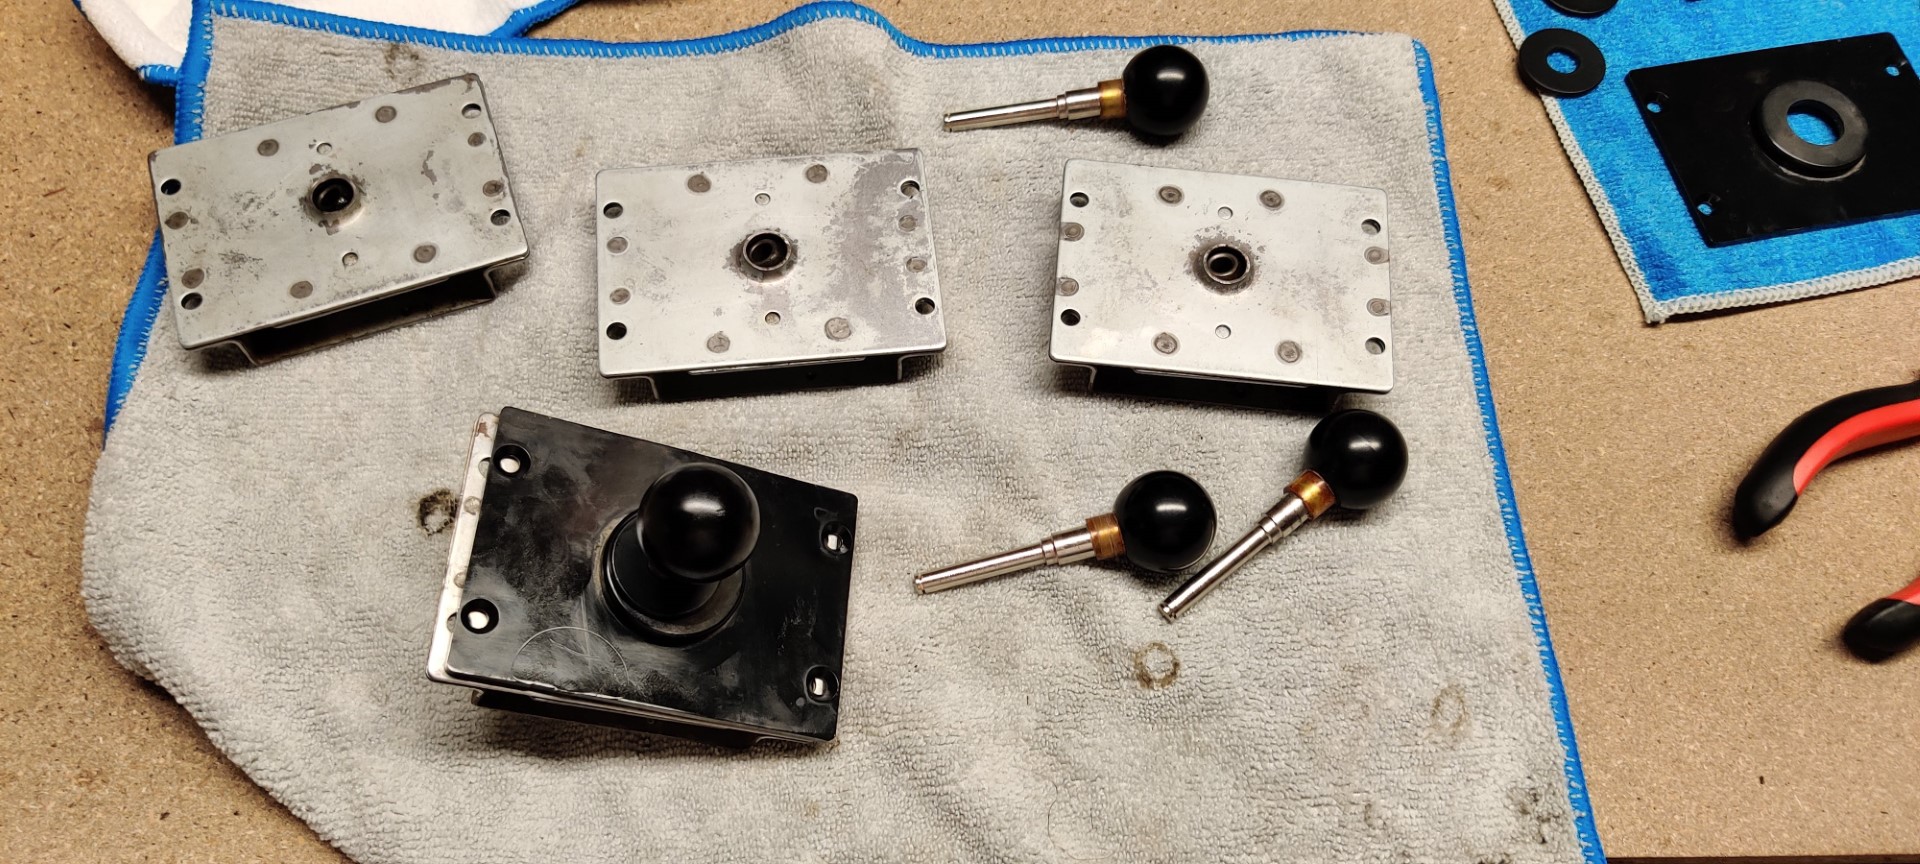
Although the joysticks looked to be in bad shape, since they’re almost entirely metal-on-metal, cleaning them up isn’t too difficult. Numerous rounds of sanding, cleaning, WD-40, and polishing brought them to like new status.
Rusted Nintendo joystick 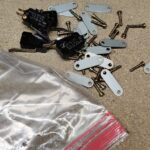
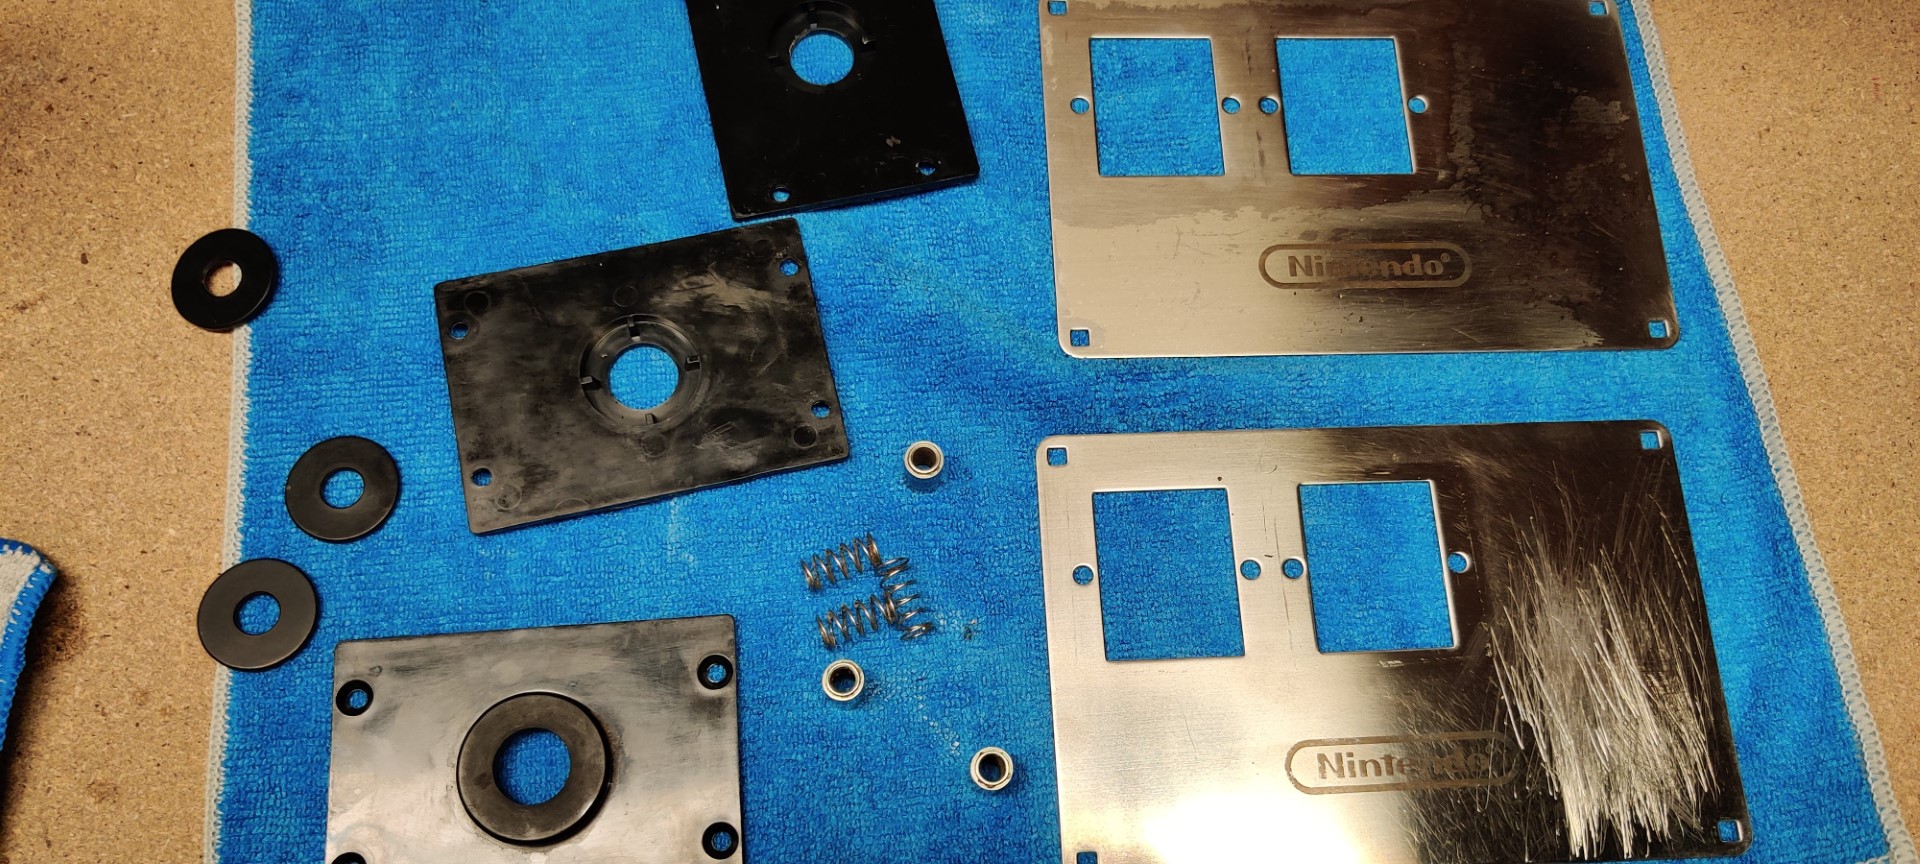
Joystick parts 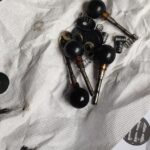
Joystick shafts 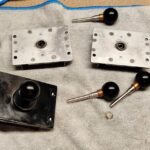
Cleaning the joysticks 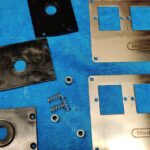
Washing the plastic pieces of joystick 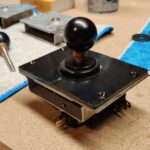
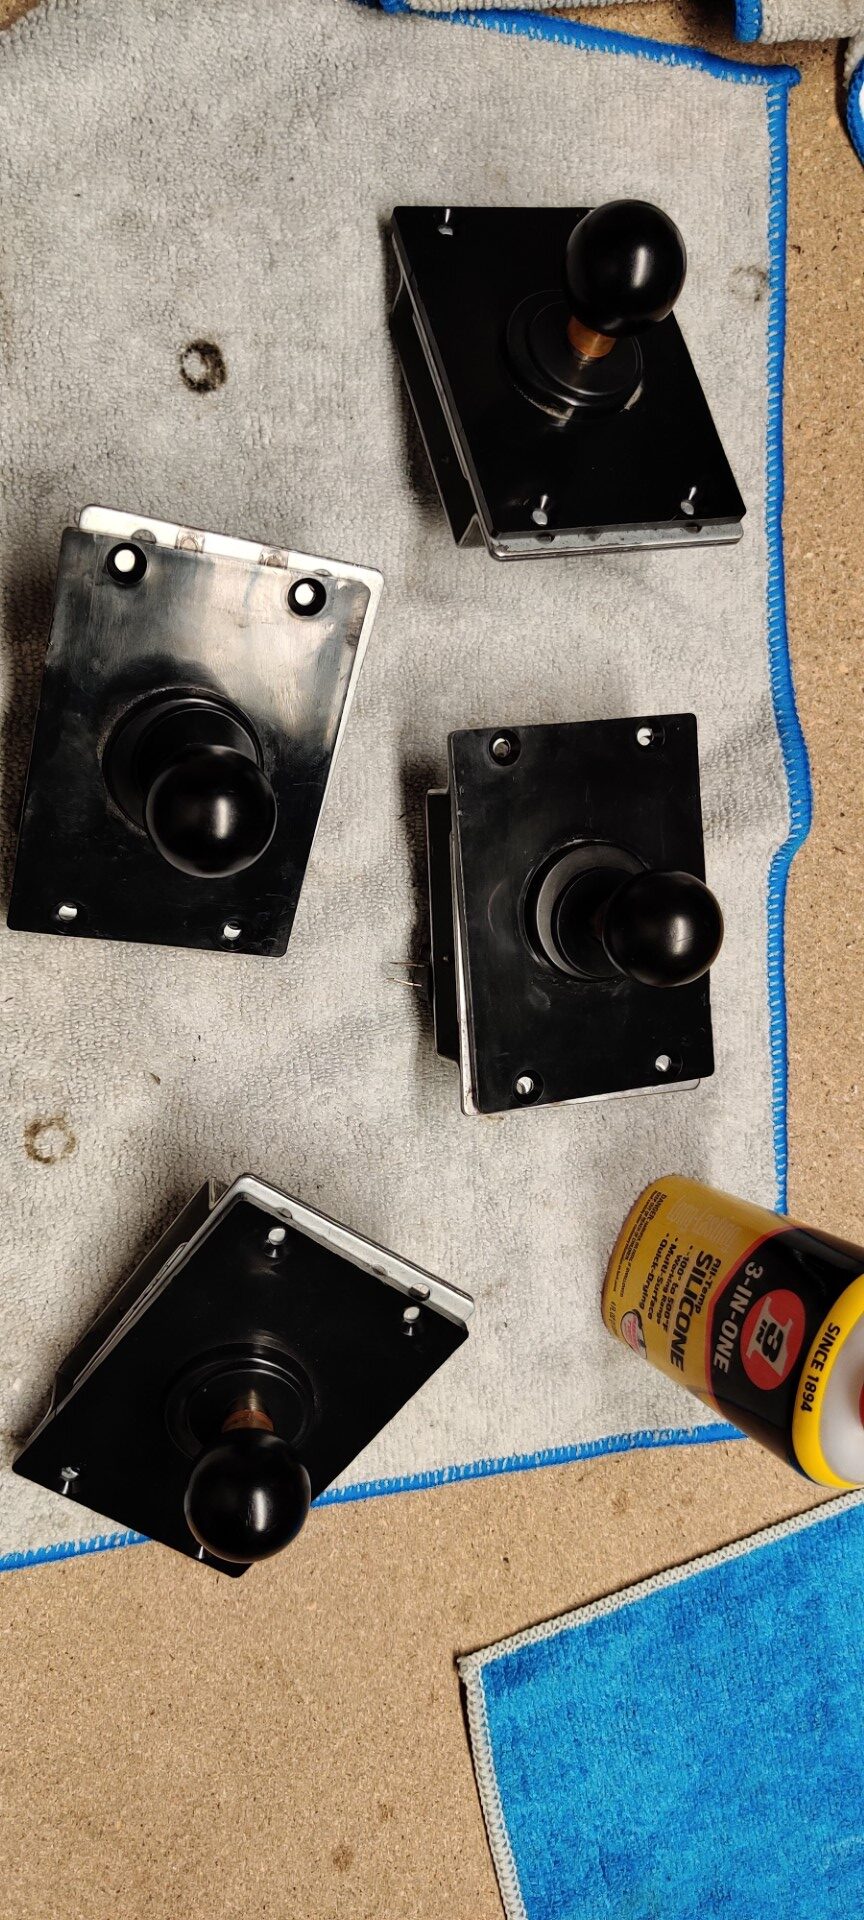
An almost finished joystick 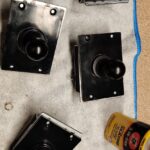
Final step was adding just a couple drops of lubricant
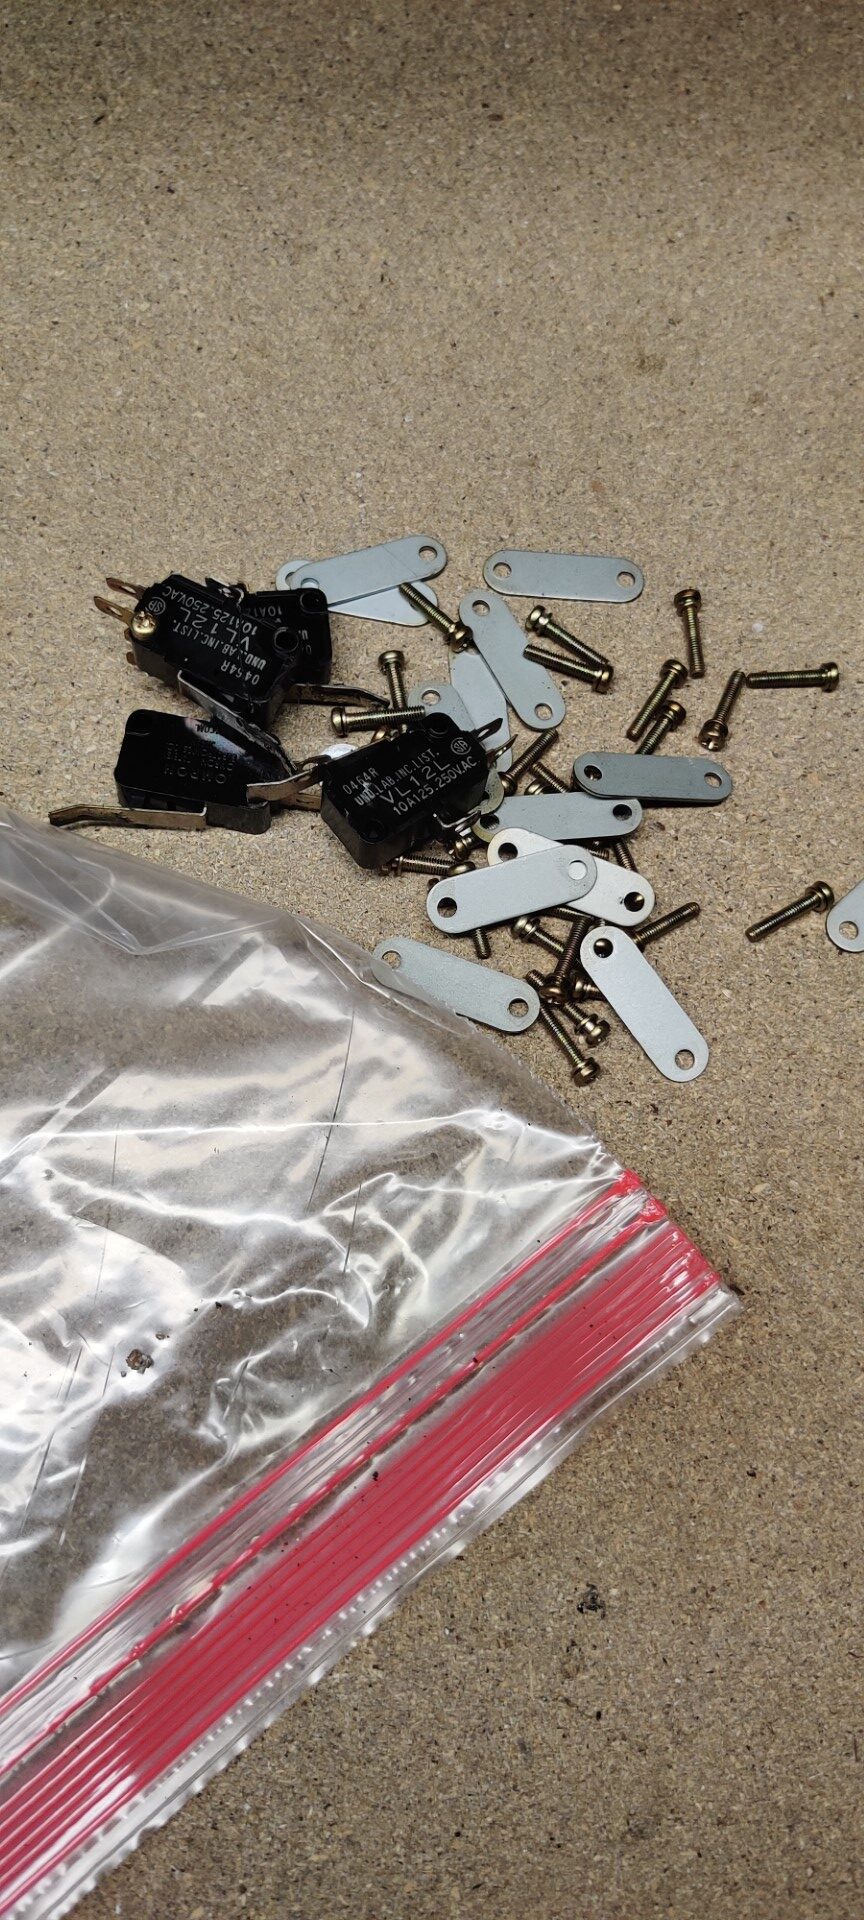
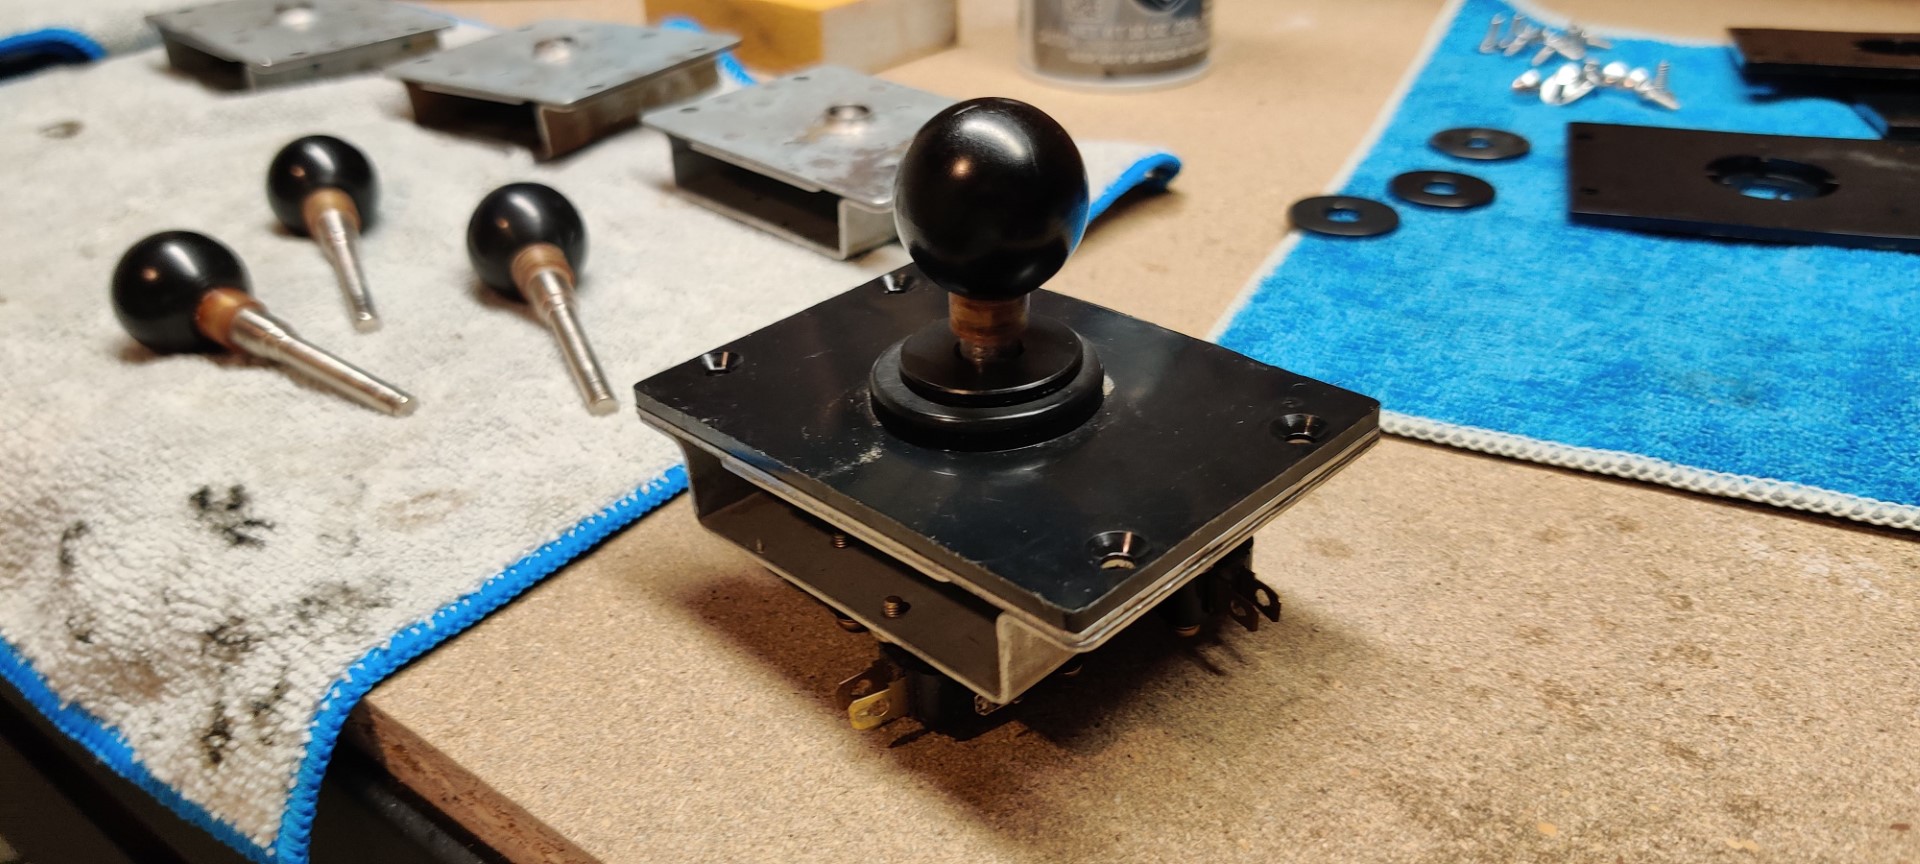
Check out this video which I found helpful, especially the tip about using clear plastic tubing to replace the sheath on the original shafts. The video was made by Canadian Arcade who has a lot of good tips.
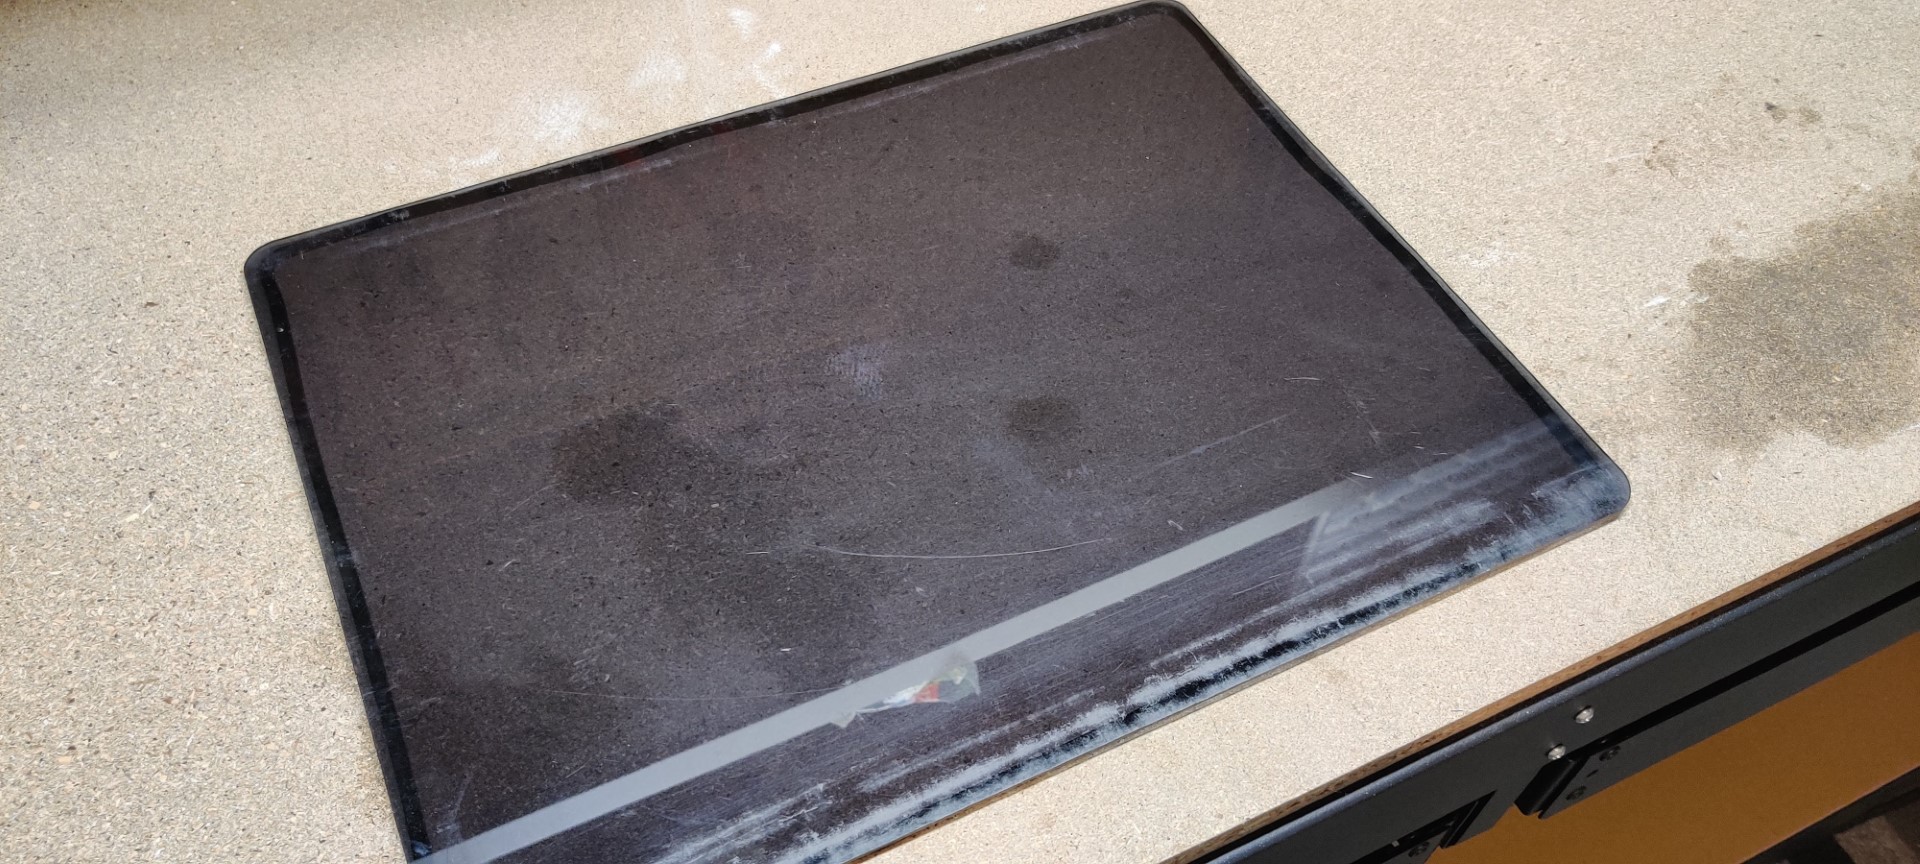
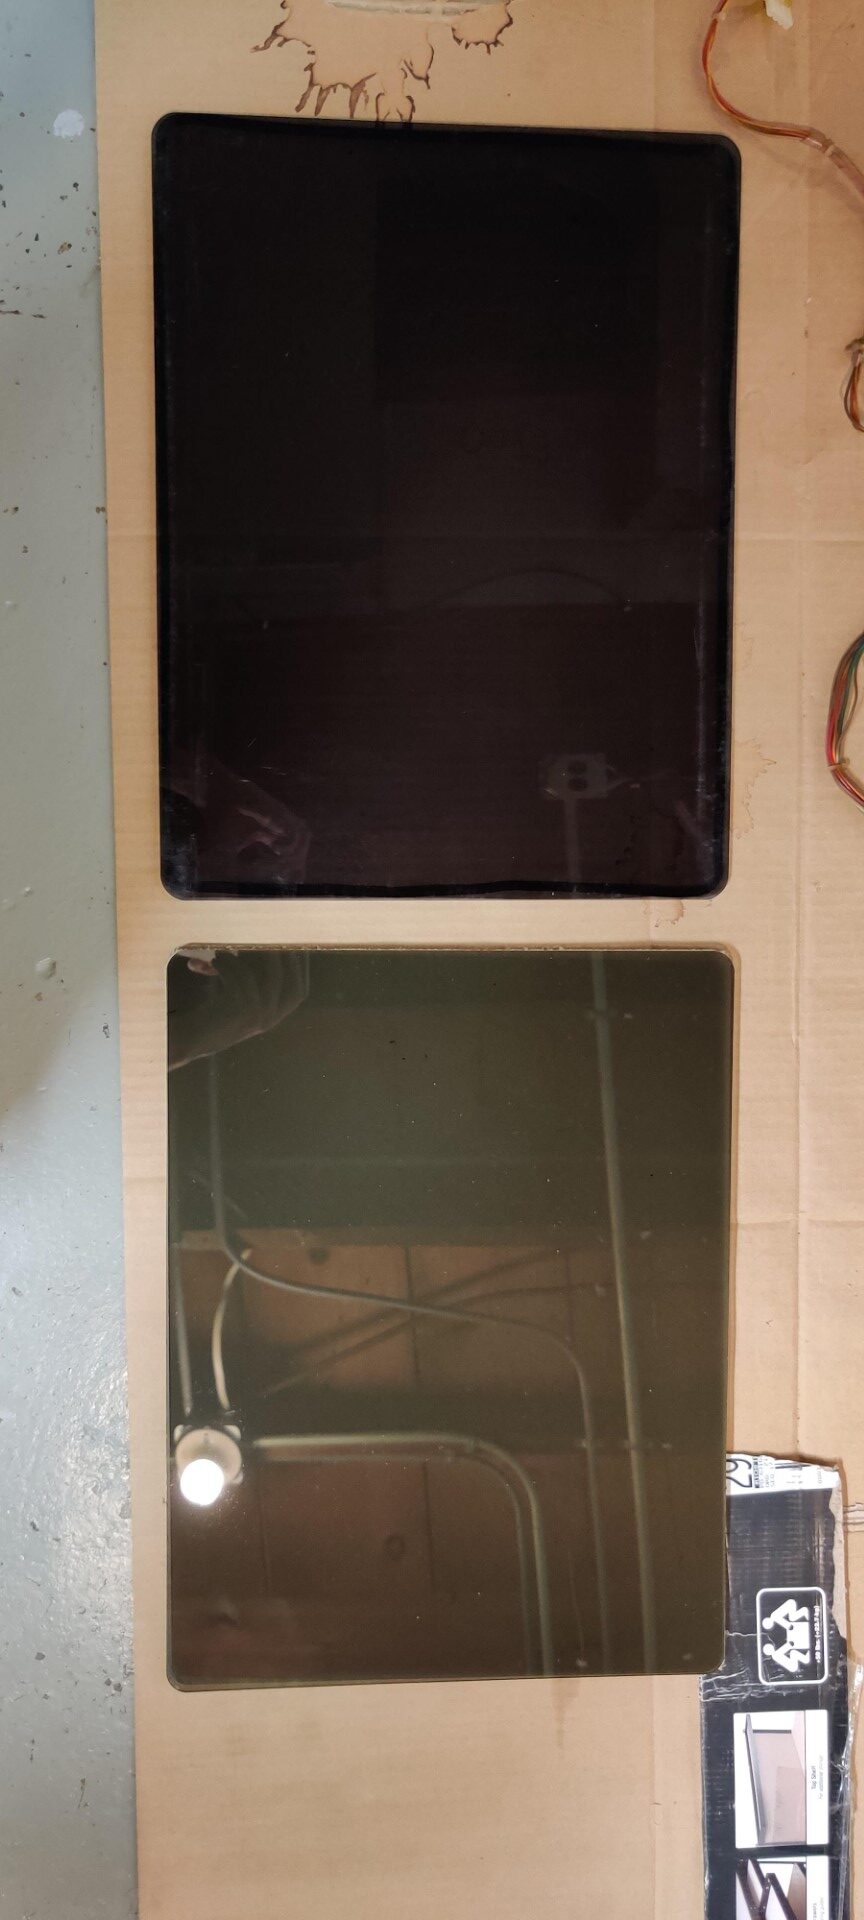
Creating Replacement Coin Plates and Plexiglass
I had a couple more pieces to clean up. Tinted, plexiglass bezels are used in front of both monitors and nickel-plated metal plates are used in front of the coin reject buttons. Sadly, both of mine were not in great shape. The plexiglass had scratches all over it and no amount of cleaning would. Also, I only had one! I ended up measuring them and having brand new plexiglass cut. However, the new ones aren’t quite as dark as the originals but are very close and look beautiful.
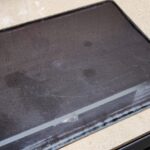
Original plexiglass 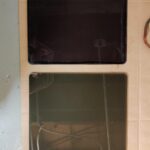
New plexiglass next to the original
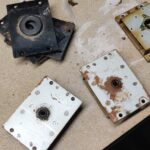
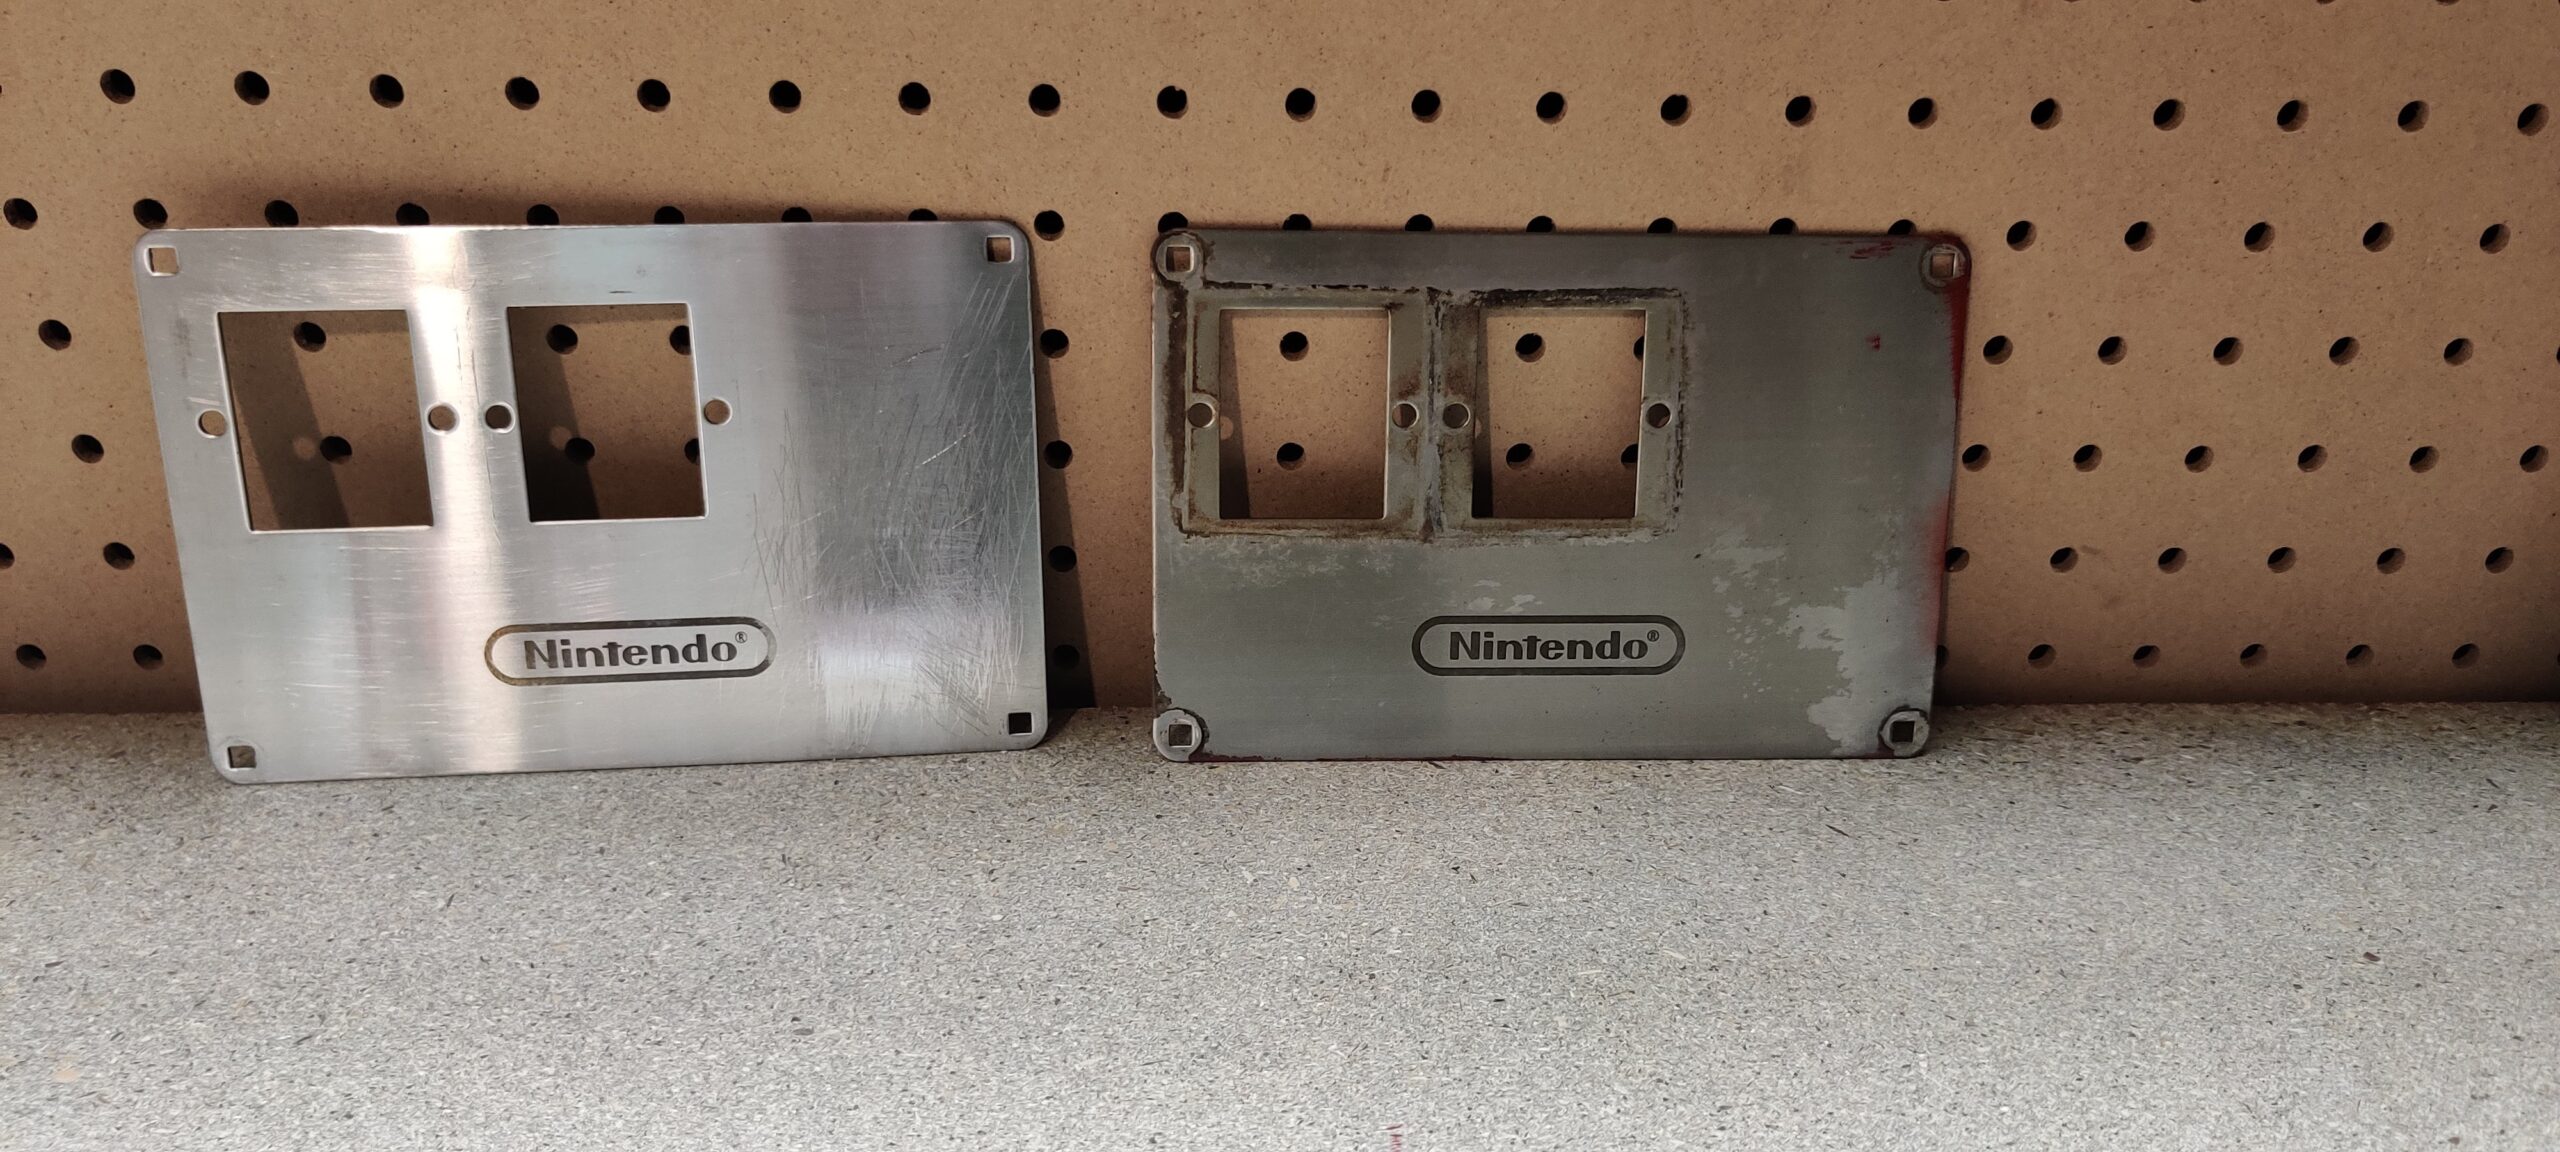
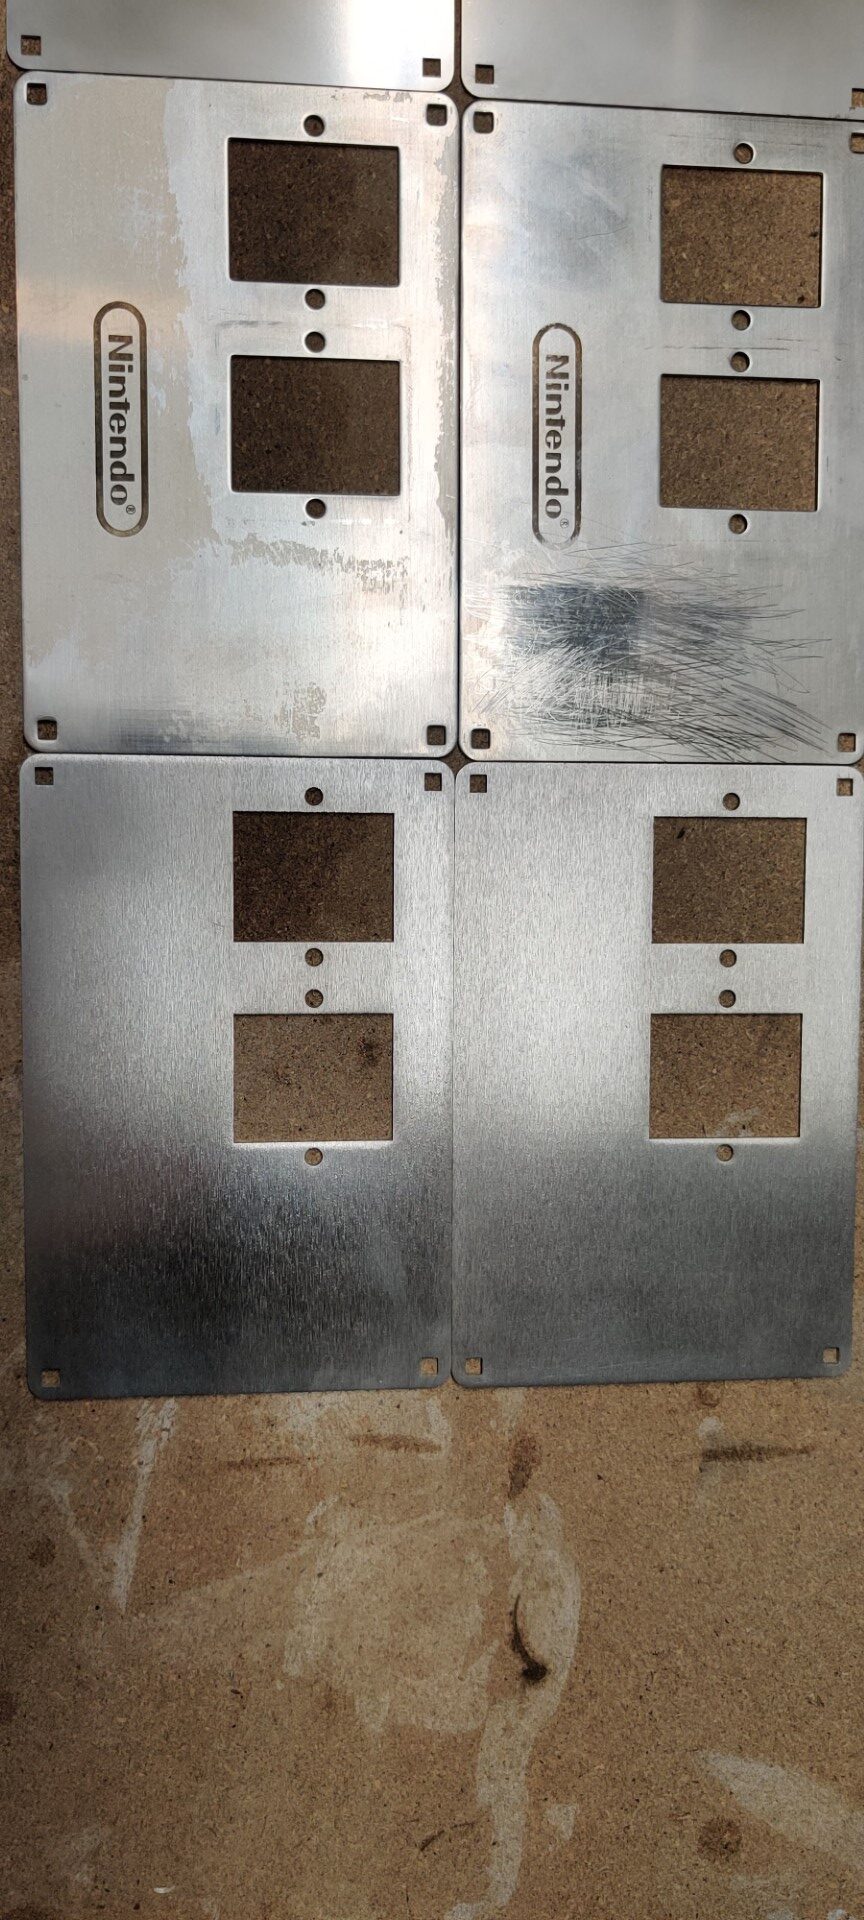
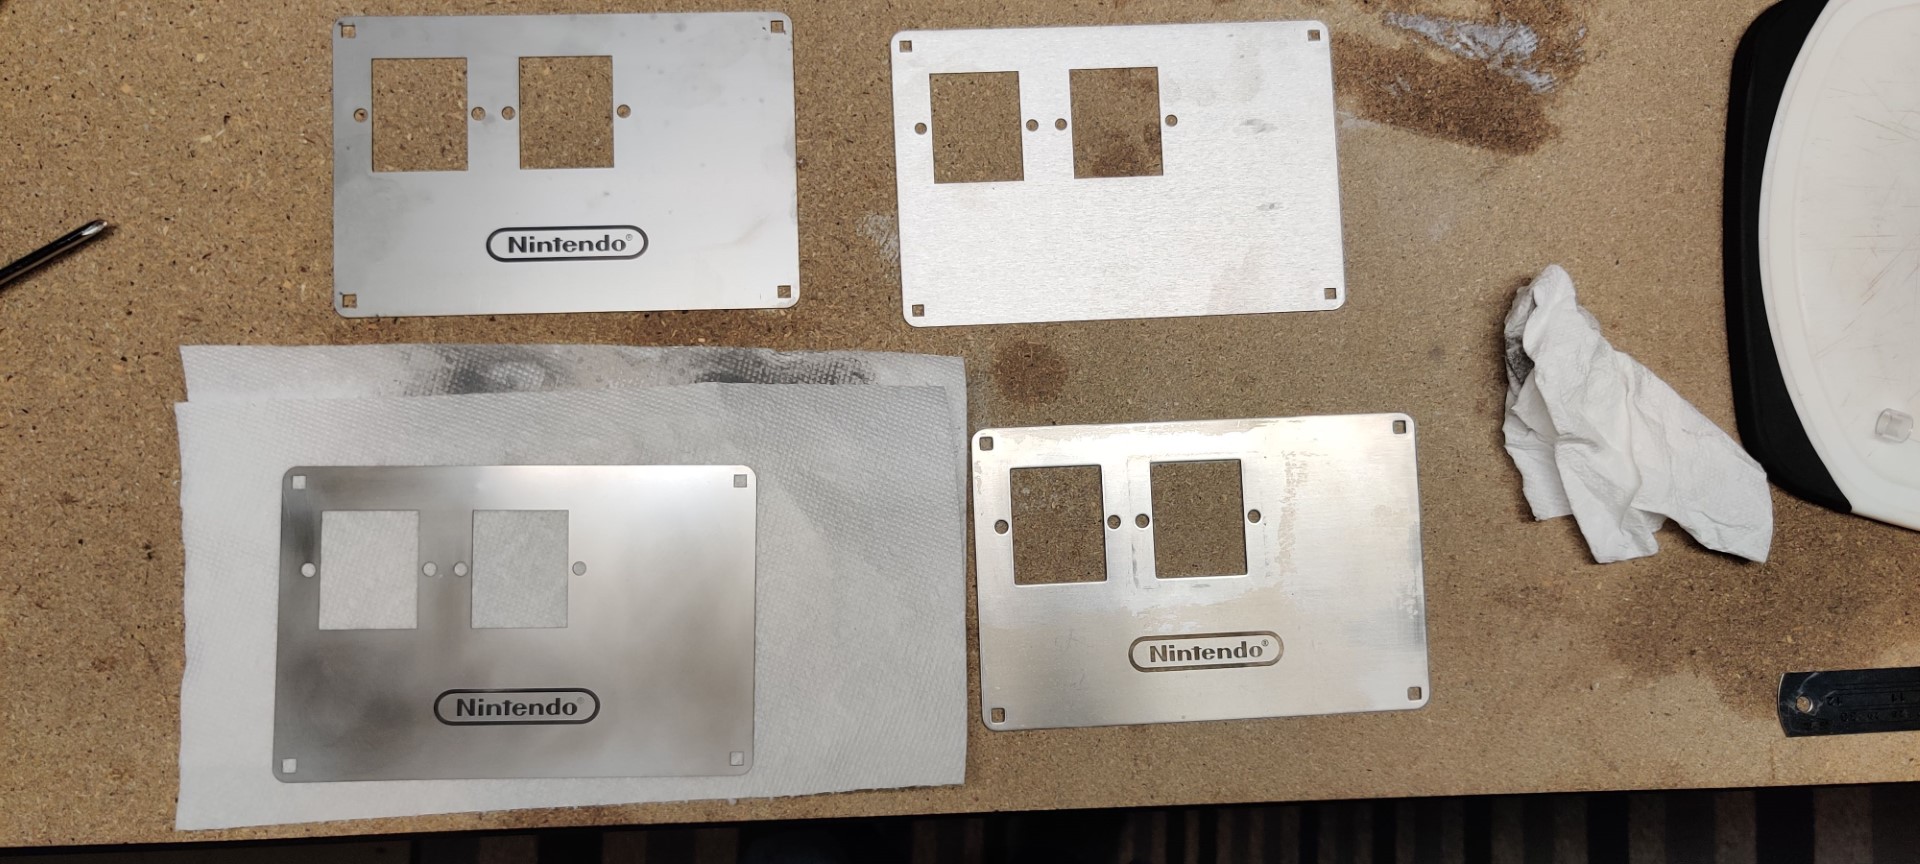
Next up was the coin plates. Mine had a lot of red paint and scratches all over them. I spent so much time trying to get these perfect and I’m actually pretty happy with the results. Ultimately though, I thought, “Why can’t I just make new ones of these too?” I scanned one up, traced it in Illustrator, and had a few different online laser cutting services send me some. I had copies made in stainless steel and aluminum. With one service, I tried carbon printing. Another, I went with etching. All of them needed buffing to get shiny, and none of the reproductions are as shiny as the originals. But they also don’t have any scratches or blemishes. You can see some examples of my work below. I’ll let you try and guess which I ended up using!

Original plates, cleaned vs not 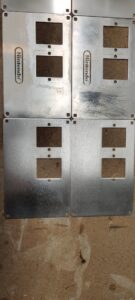
Originals against blanks 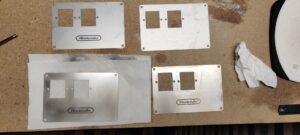
Clockwise from top left; Aluminum with carbon printing, blank aluminum, original, stainless steel with etching
Reproduction Parts for a Nintendo Arcade Cabinet
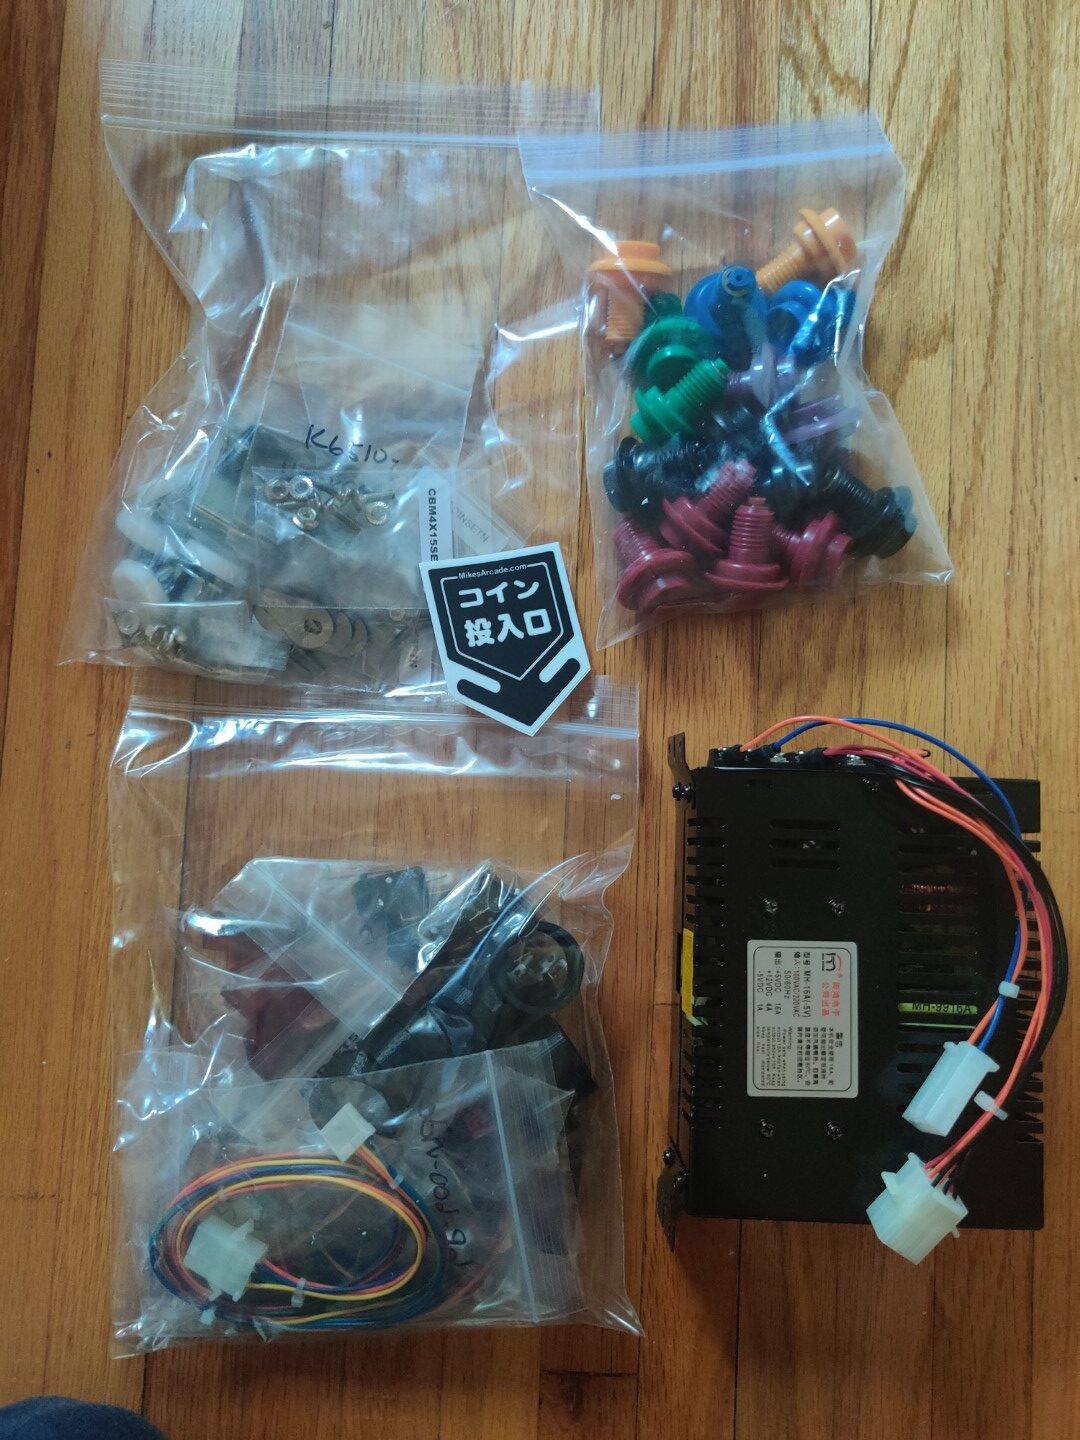
If there are parts you just can’t replicate on your own, then look no further than Mike’s Arcade. He is the only source I know of with some very specific parts (reproduction Nintendo Red Tent button sets, perfectly matching coin reject buttons, correctly sized shiny carriage bolts, and Nintendo cocktail feet). Also, Mike also sells a variety of wiring harness parts that would otherwise be difficult for me to create. I put in an order several months ago but sadly Mike’s Arcade suffered a tragic fire and lost almost all of his inventory and building. Of course, this meant I had a longer wait than usual but it was well worth it and I’m happy to support a business like his.

Mike’s Arcade parts order 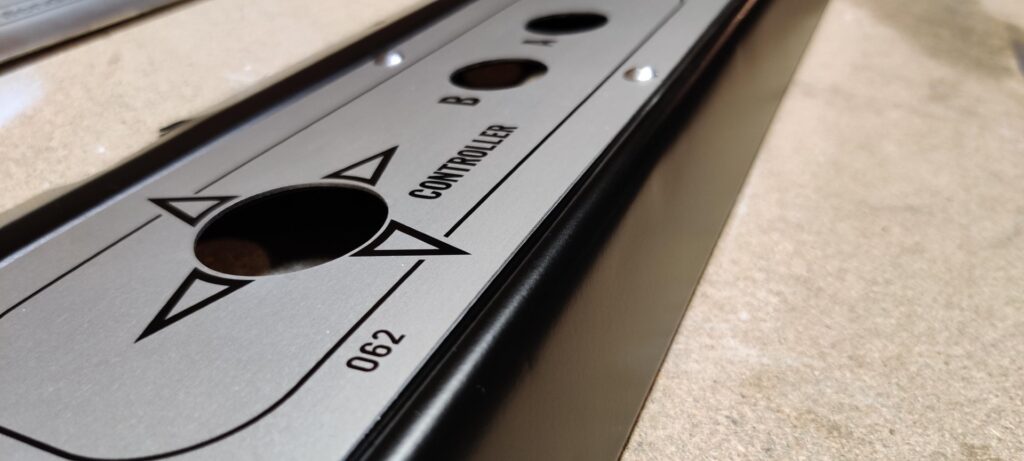
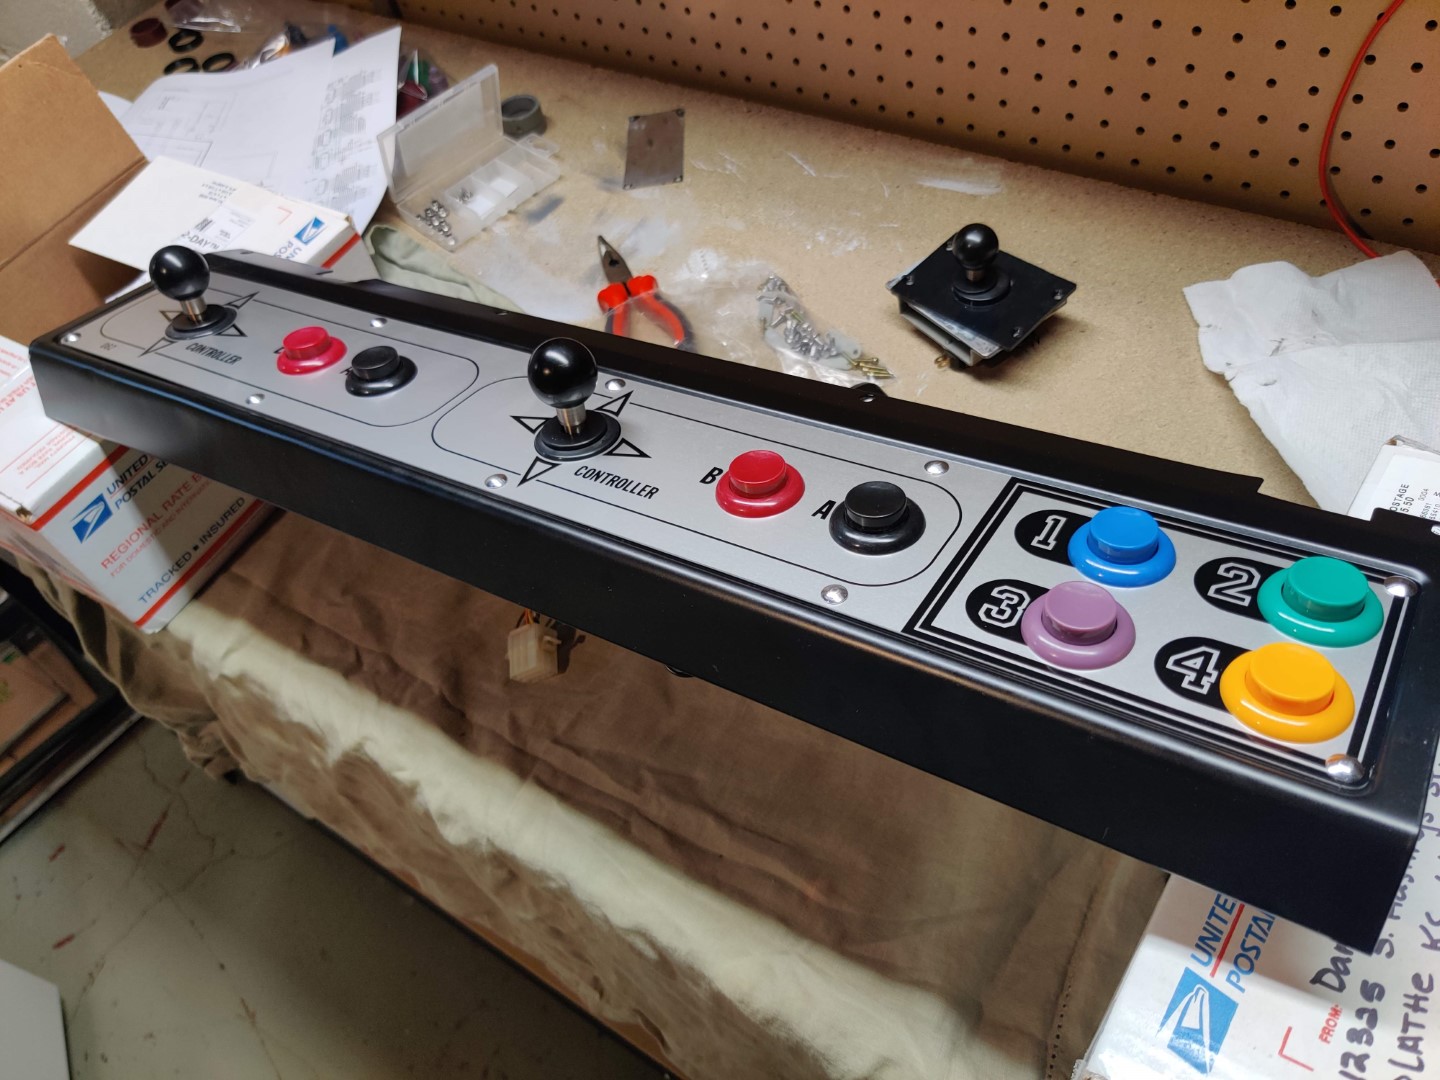
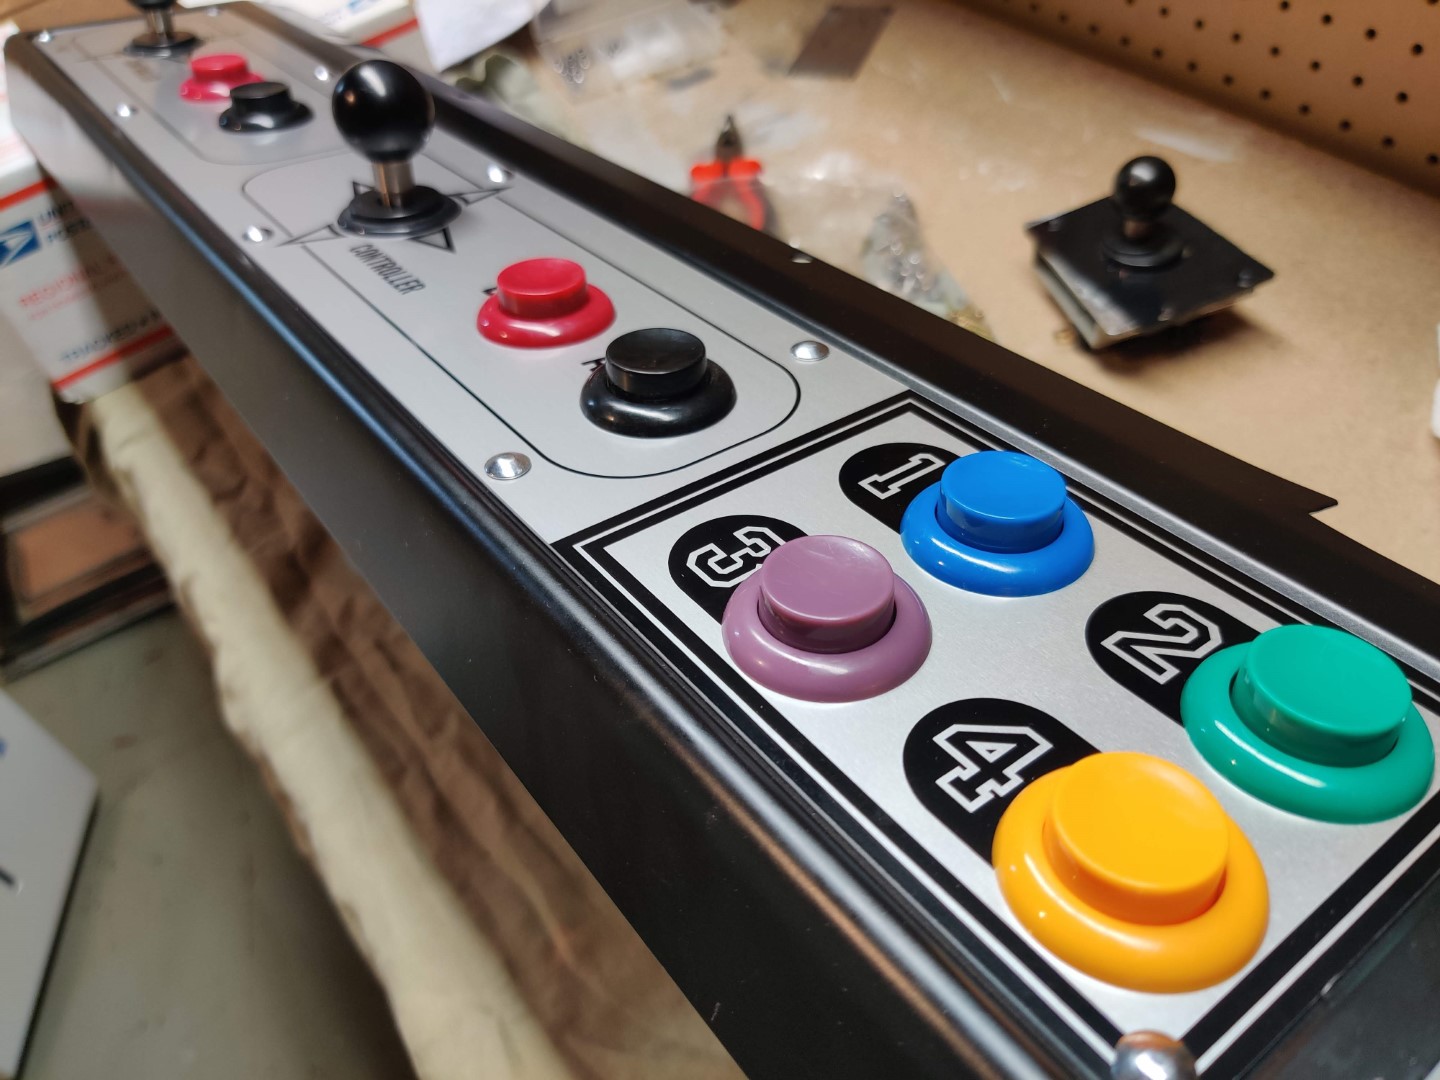
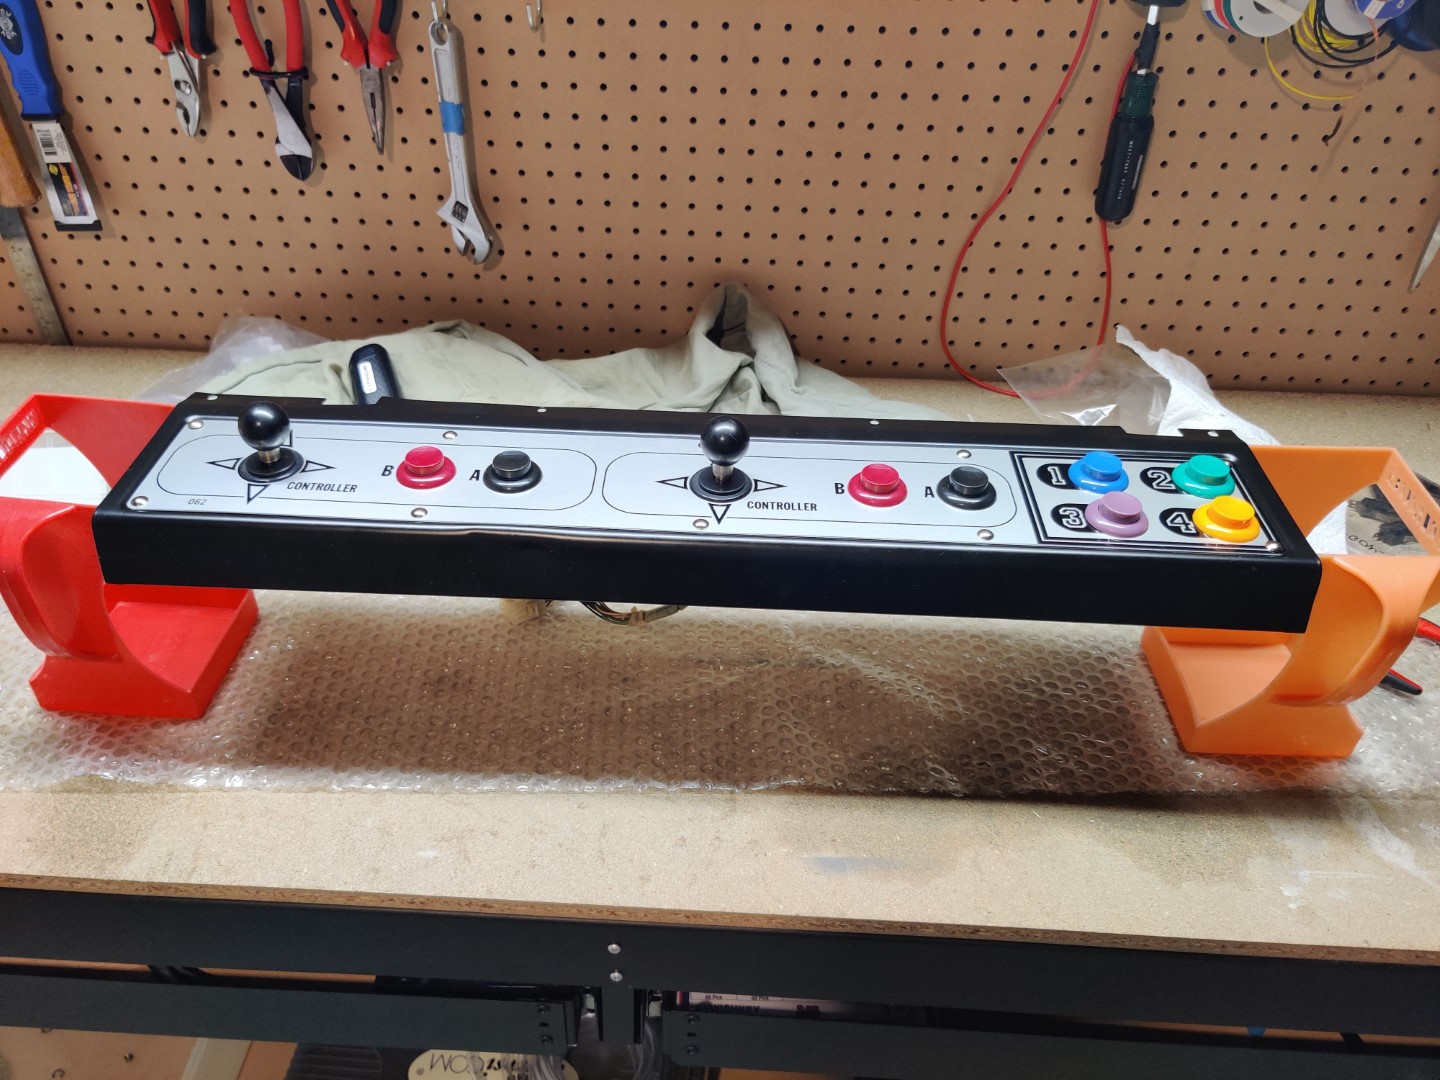
Control panel assembled 
Control panel assembled

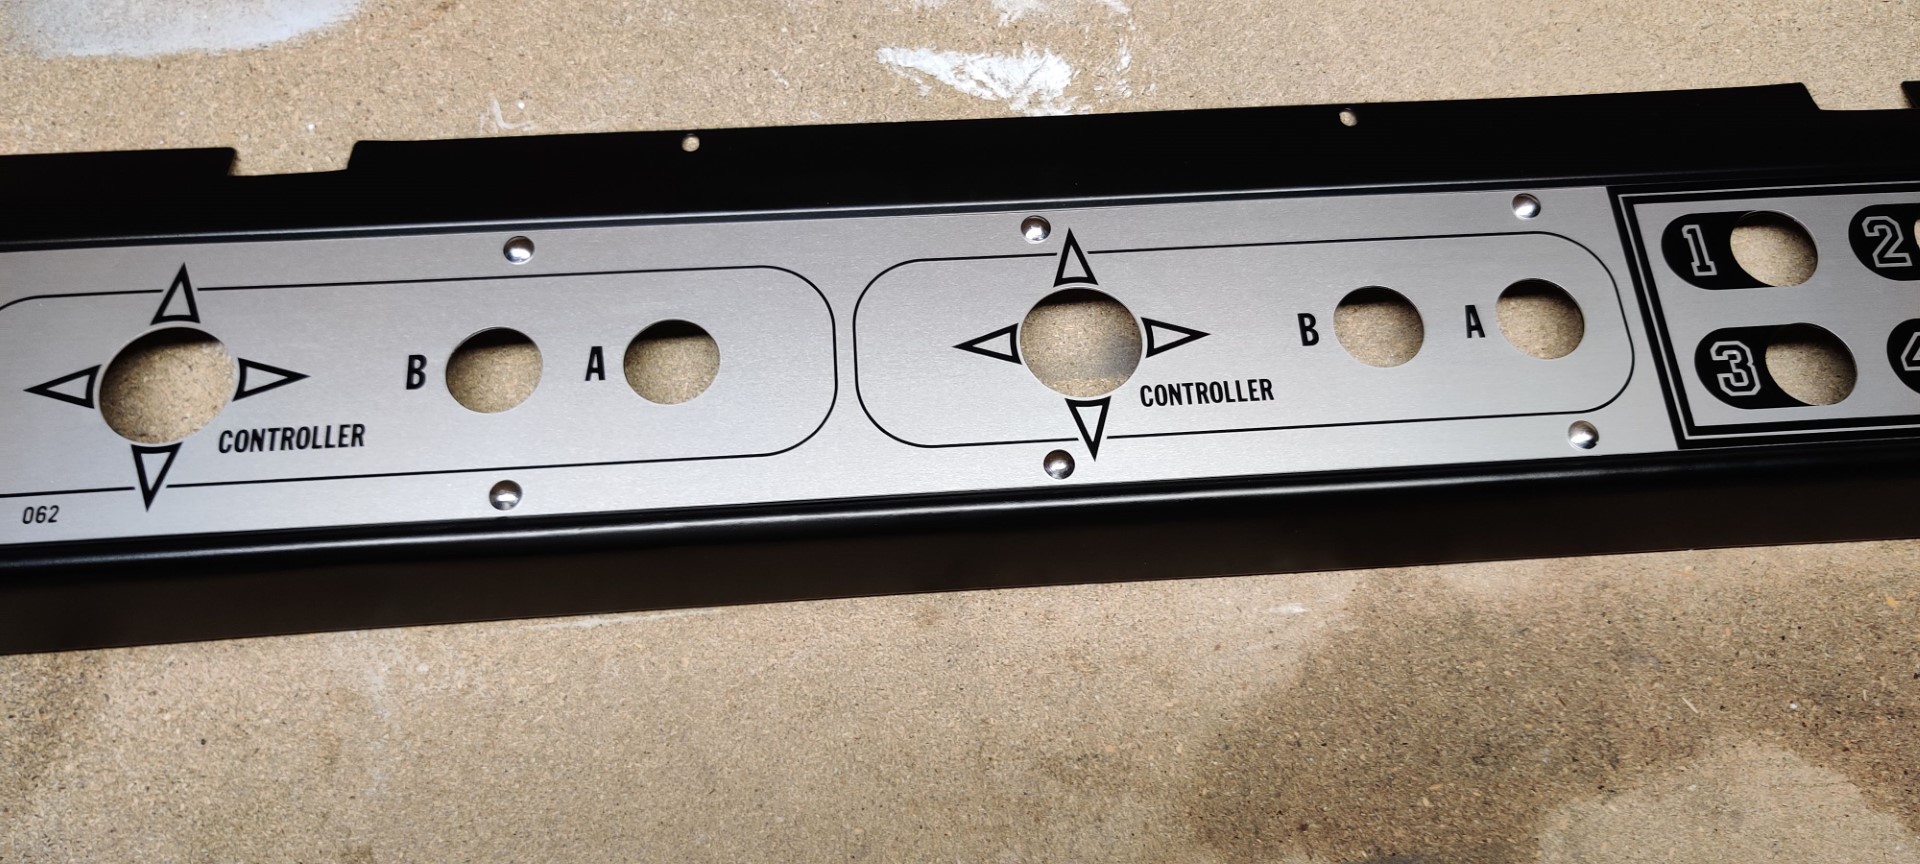
It was also a good time to see how my new powder coated control panels looked with their brand new, reproduction overlays on them! You can purchase these from user Vs City on KLOV. Don’t worry, I kept and cleaned the originals, as well. While they aren’t bad, I know that in this business it’s often best to by new items when you can, you never know when they’ll stop being made.
Assembling the Restored Nintendo Red Tent
Time to put this baby back together! Certainly not much else to say here, so just enjoy some pictures of the assembly process.

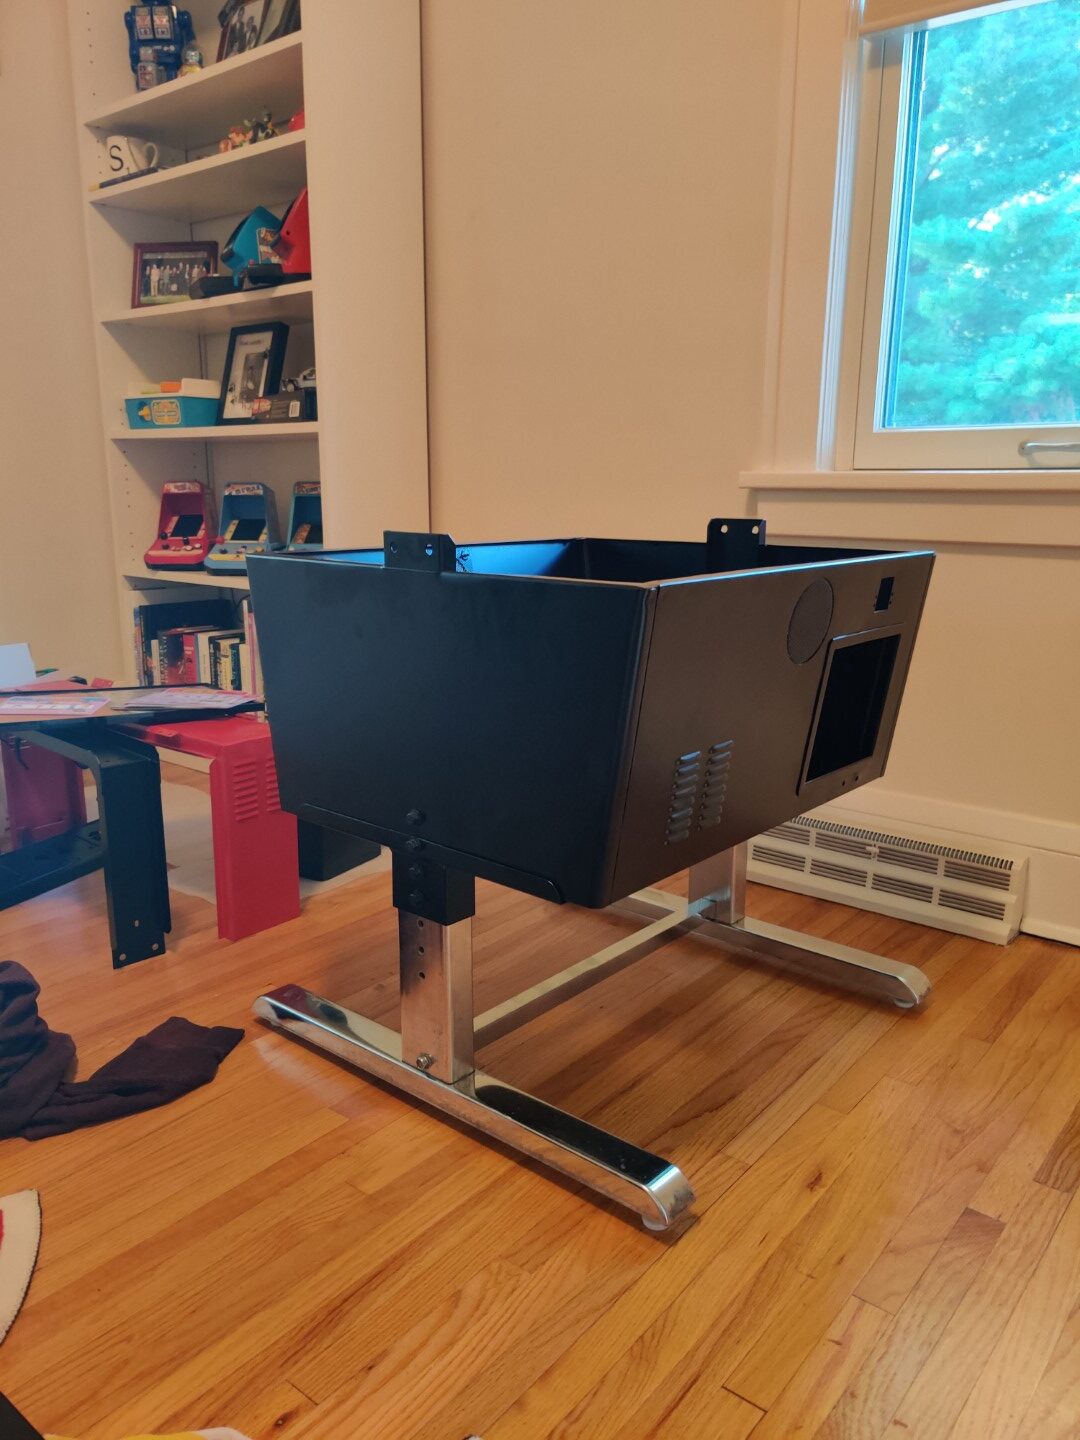
Attaching legs to cabinet base 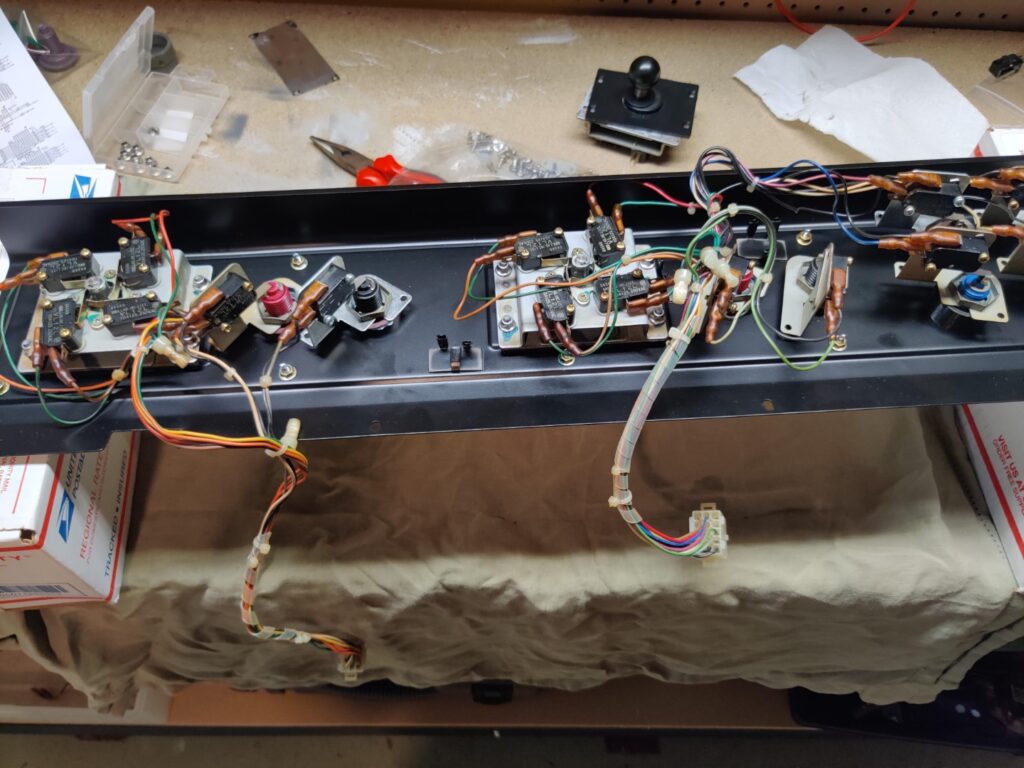
Assembling control panel 1 
Assembling control panel 1 
Assembling control panel 1 
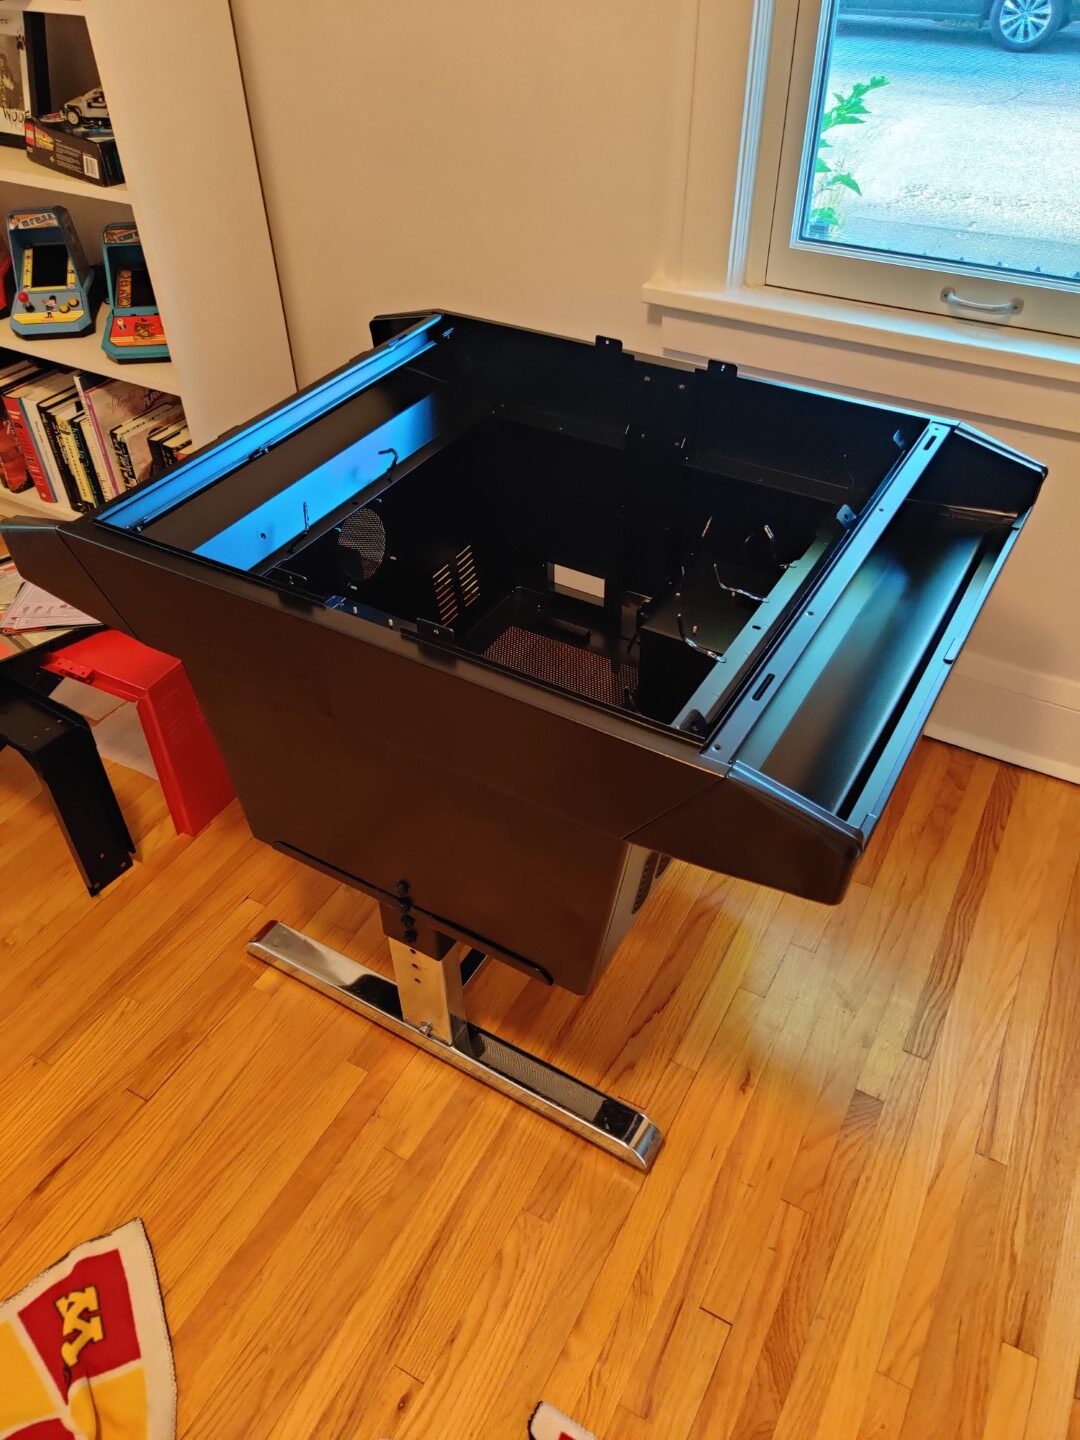
Main body assembled 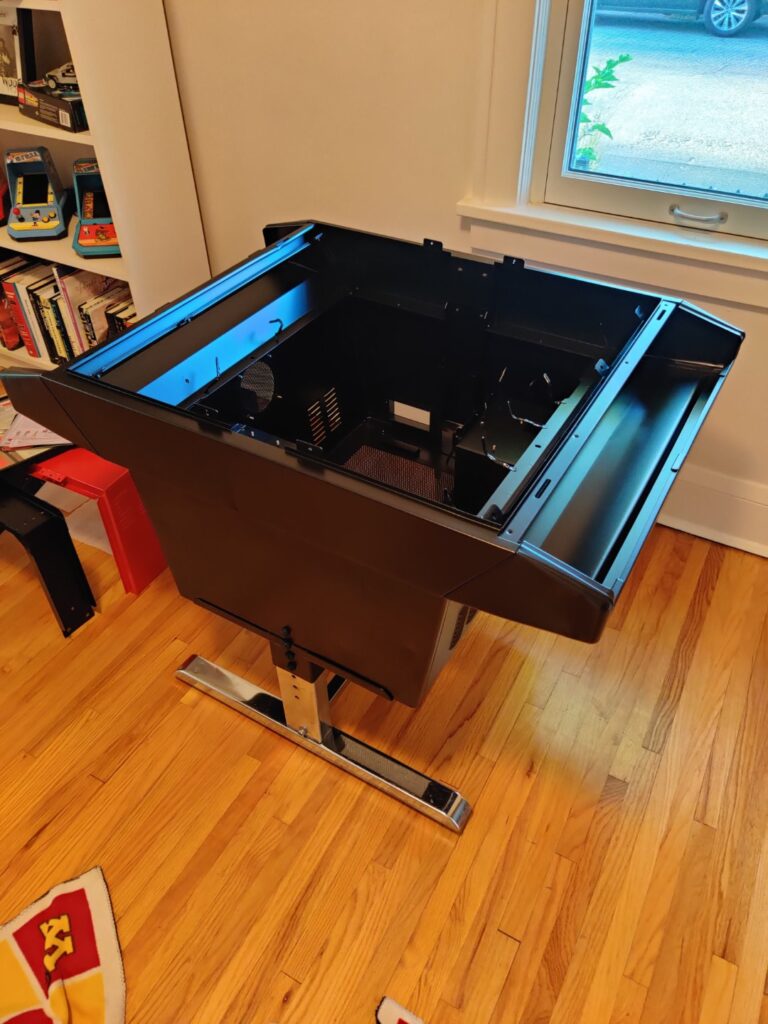
Body with control panels 
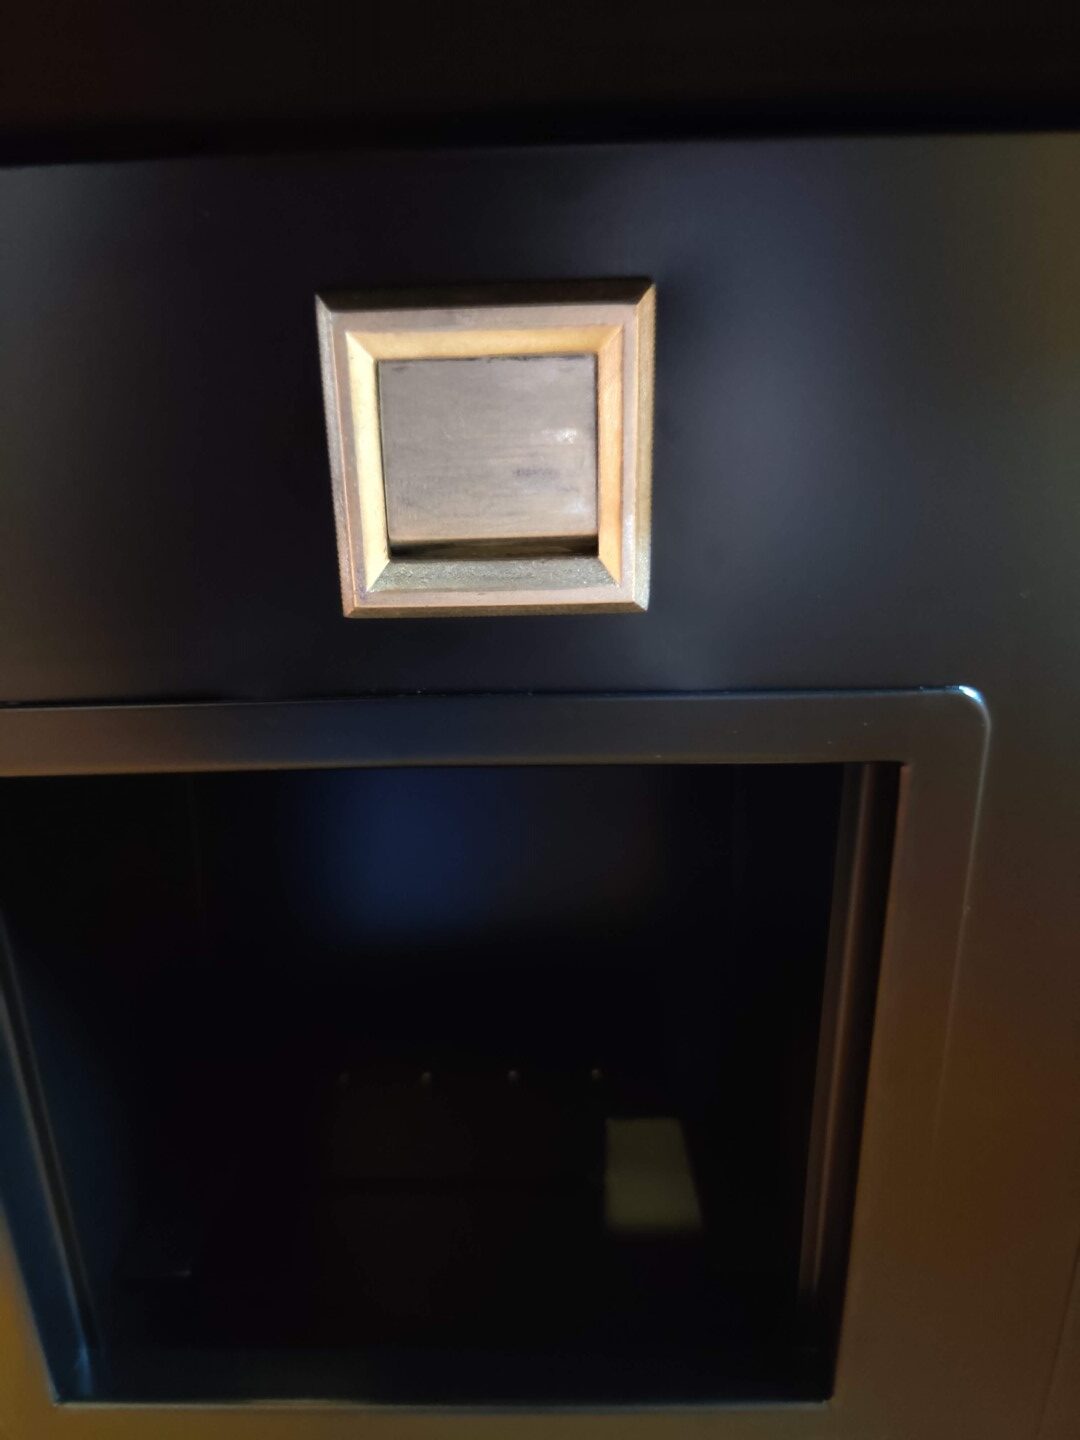
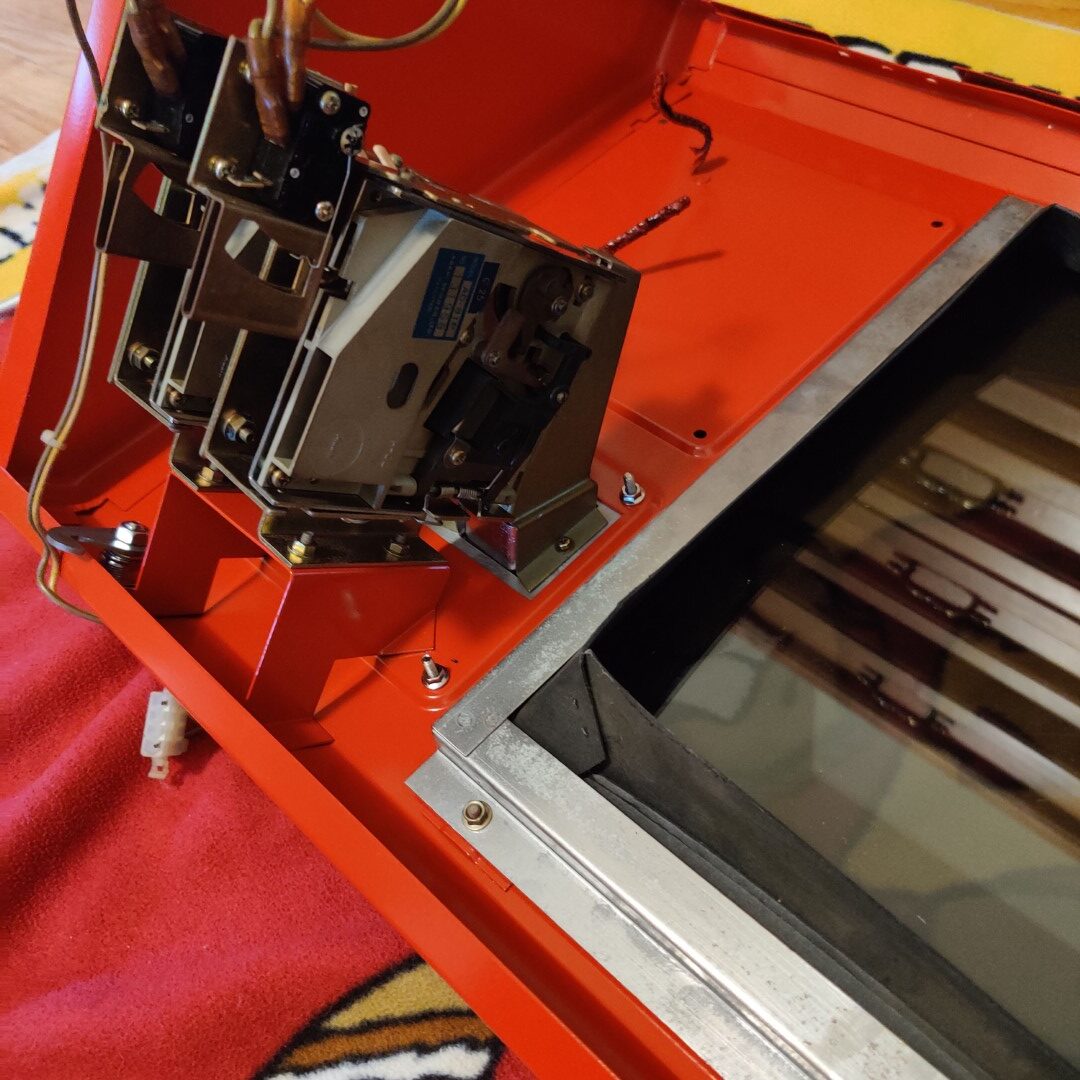
Coin return slot 
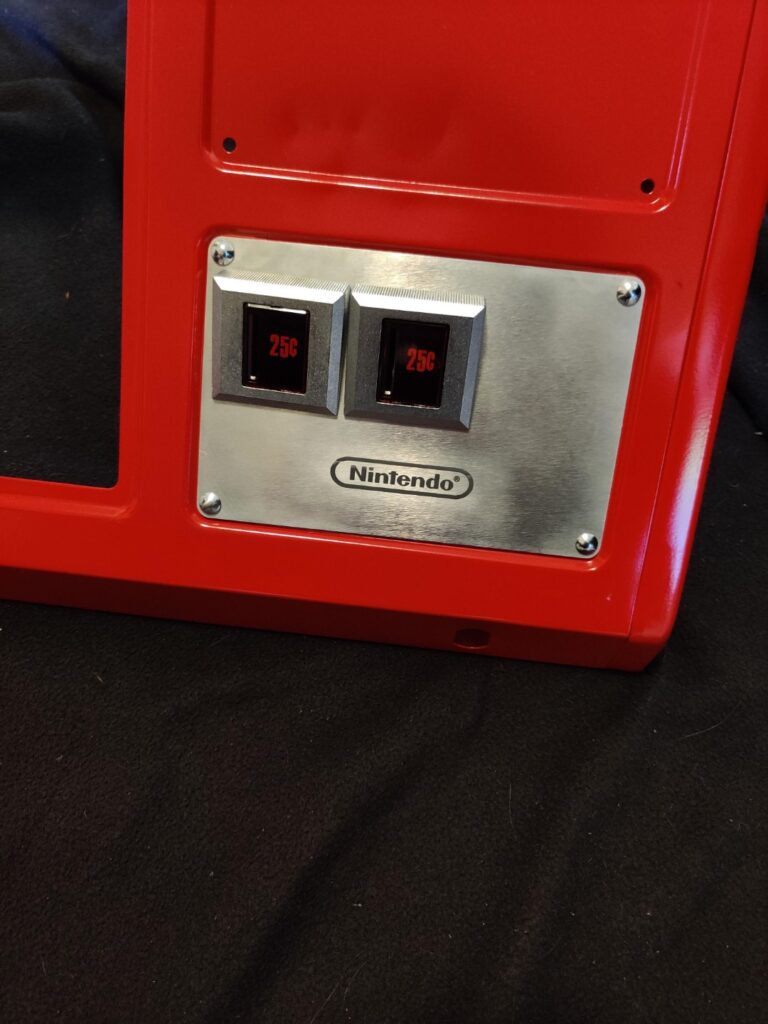
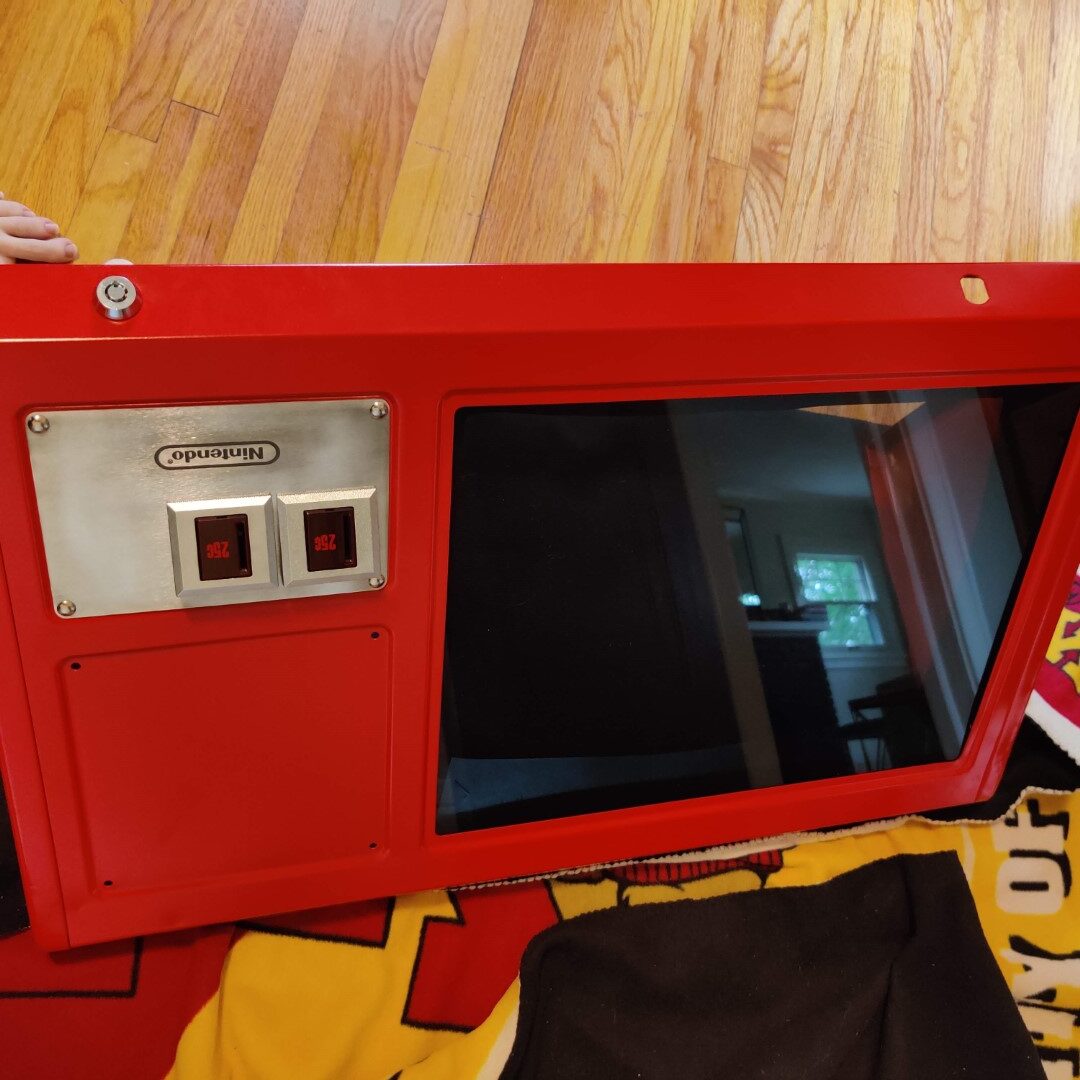
Coin plate on hood 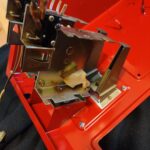
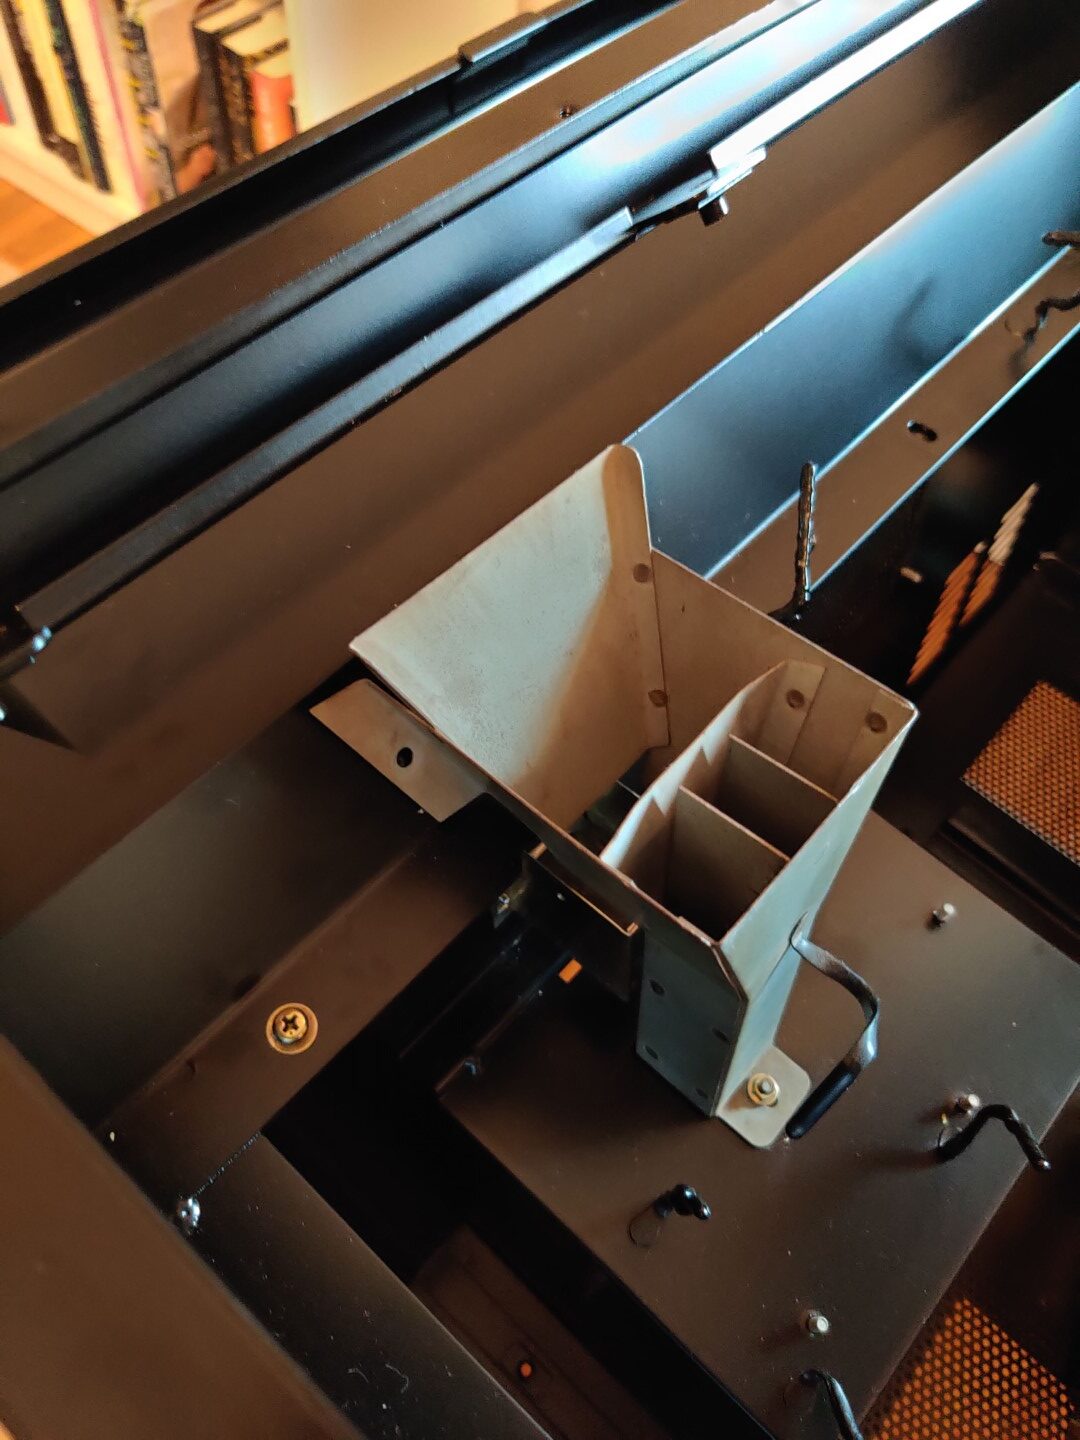
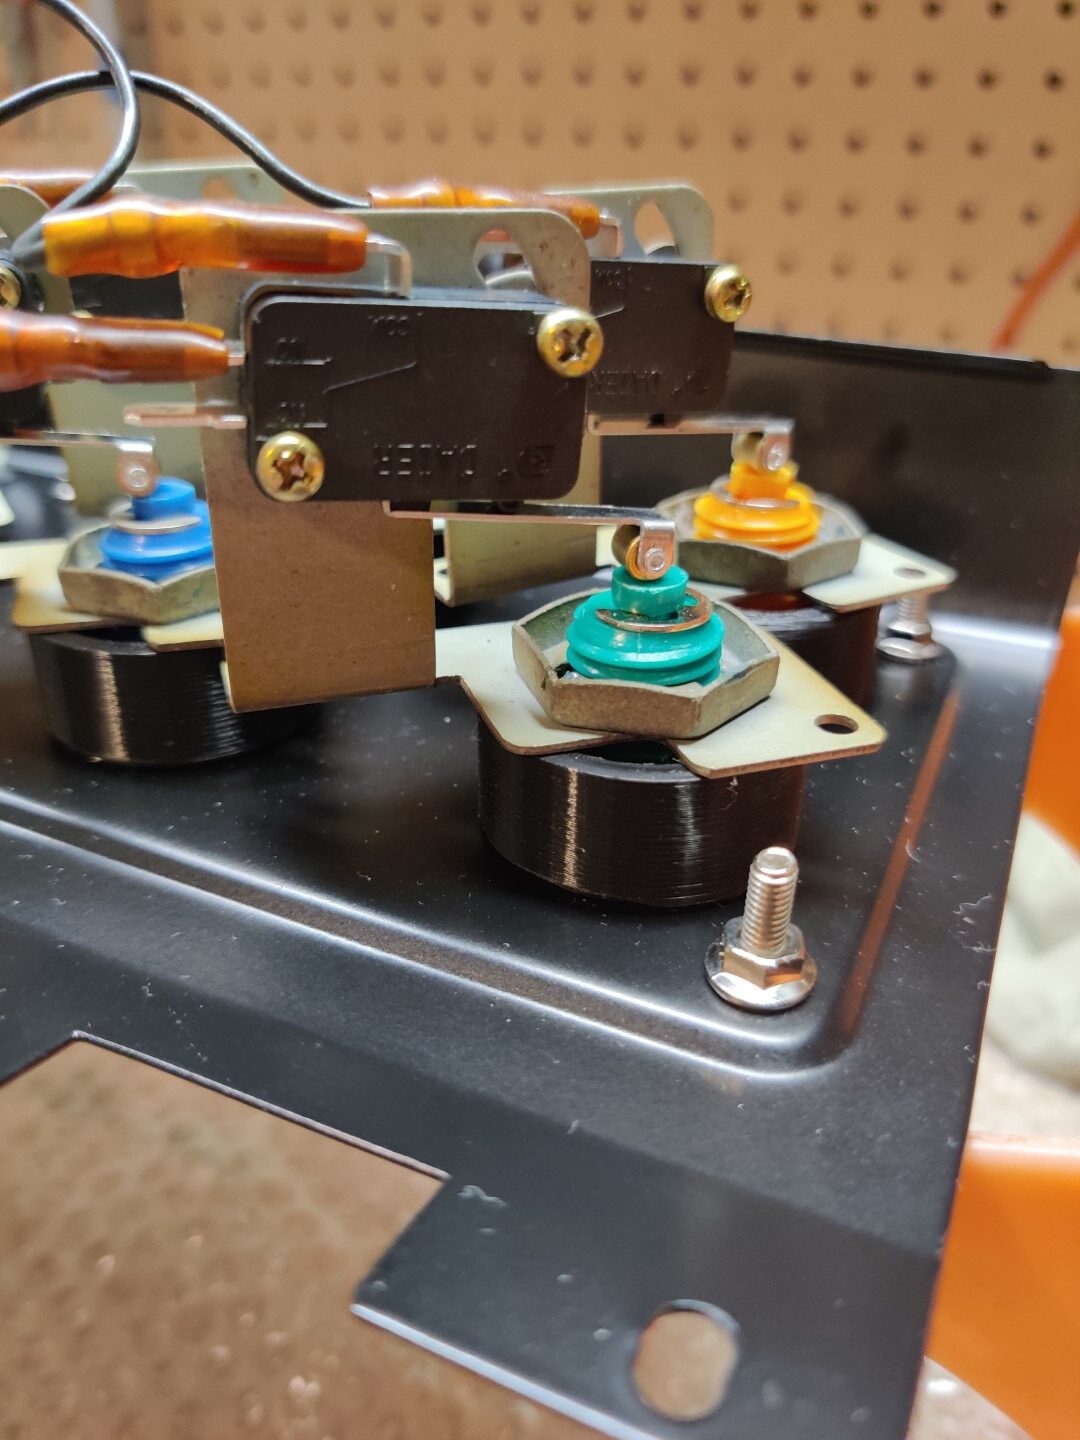
Coin acceptor holders 
One hood on 
One hood on 
One hood on 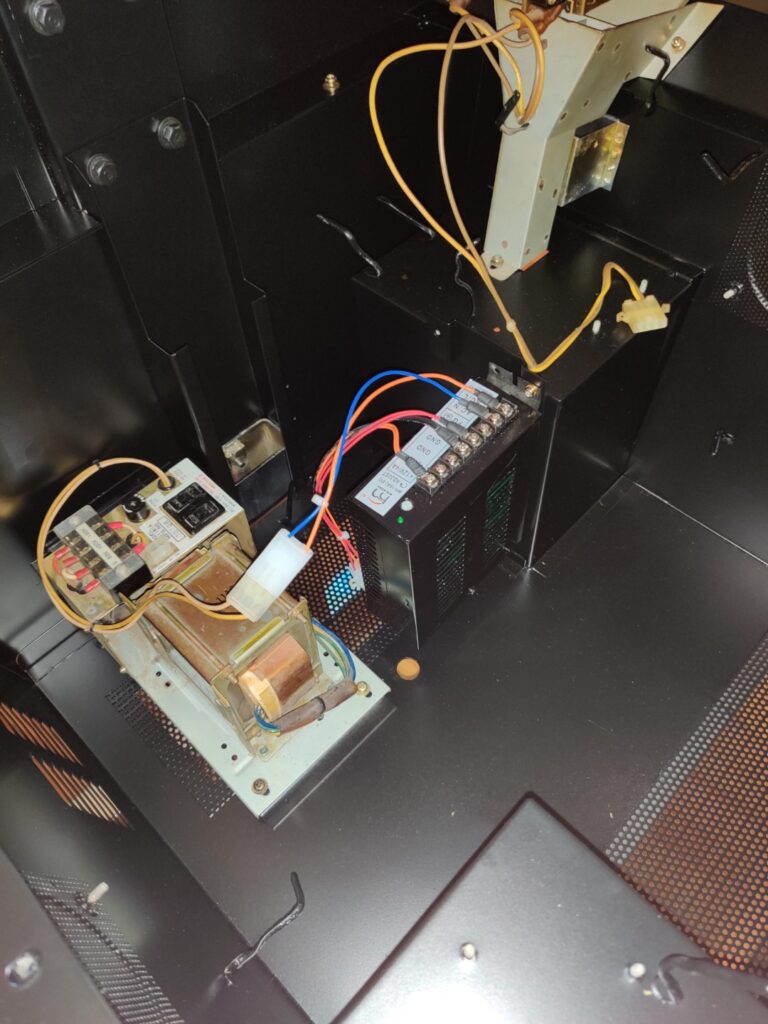
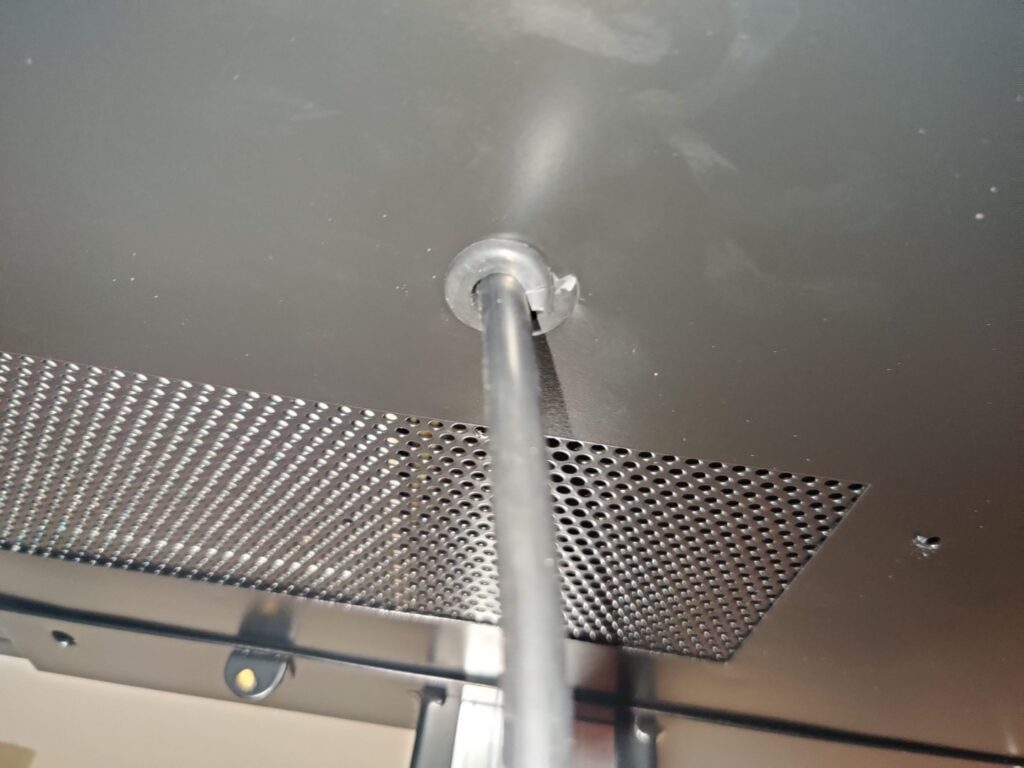
Power cord 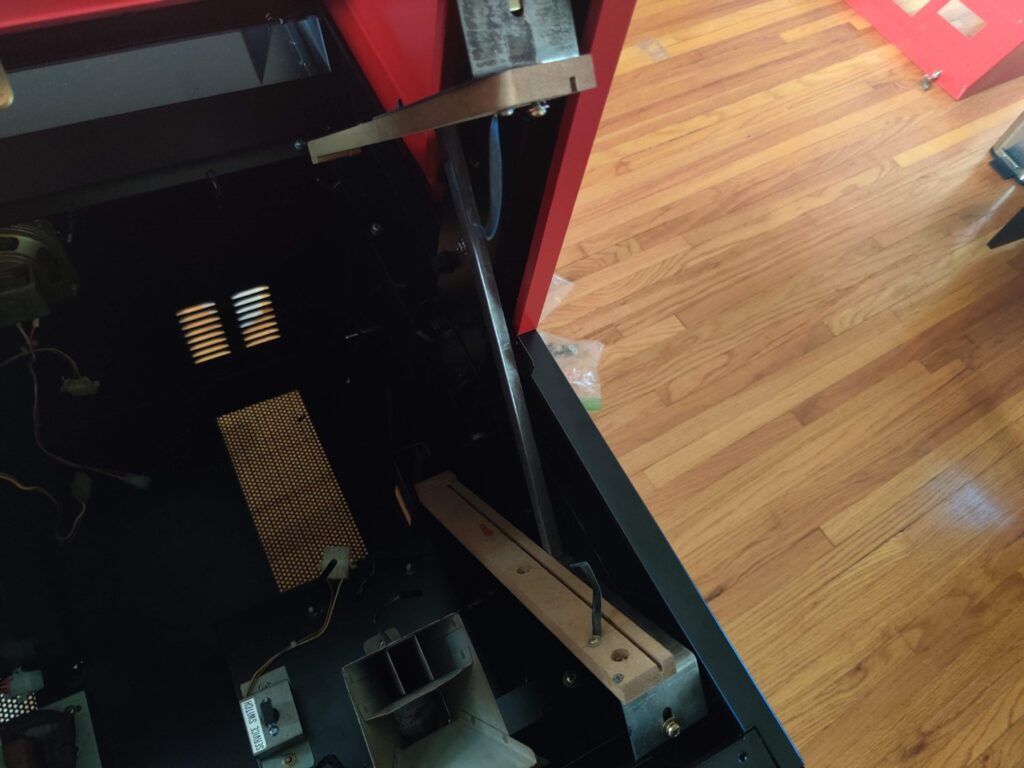
PCB Holder 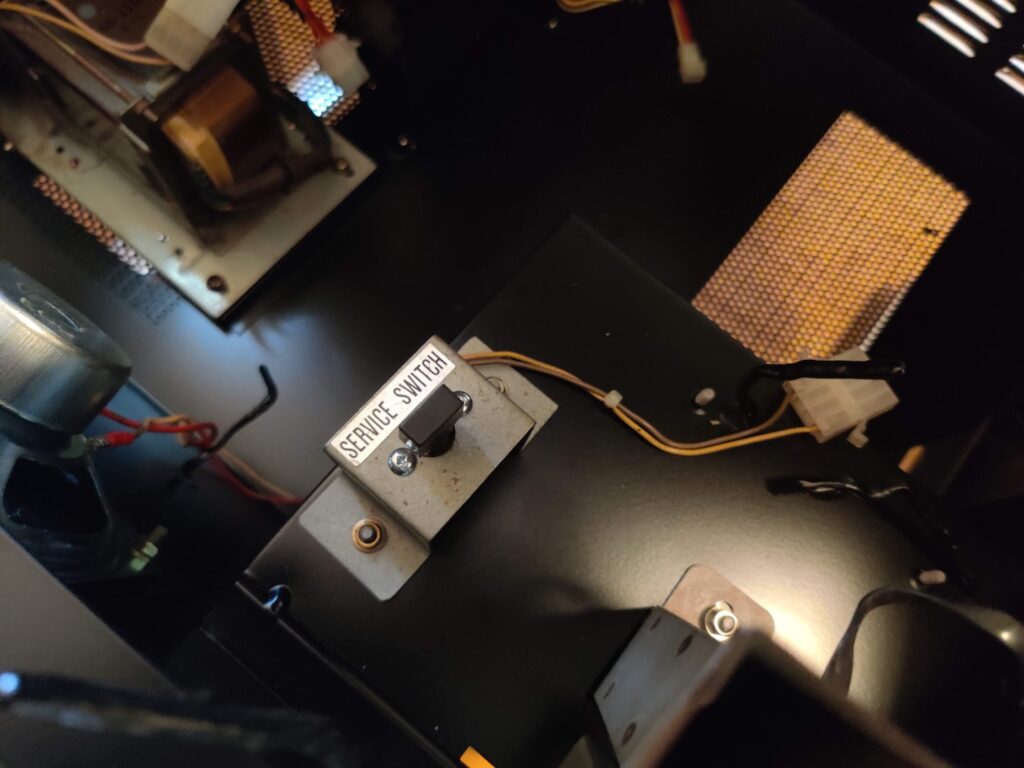
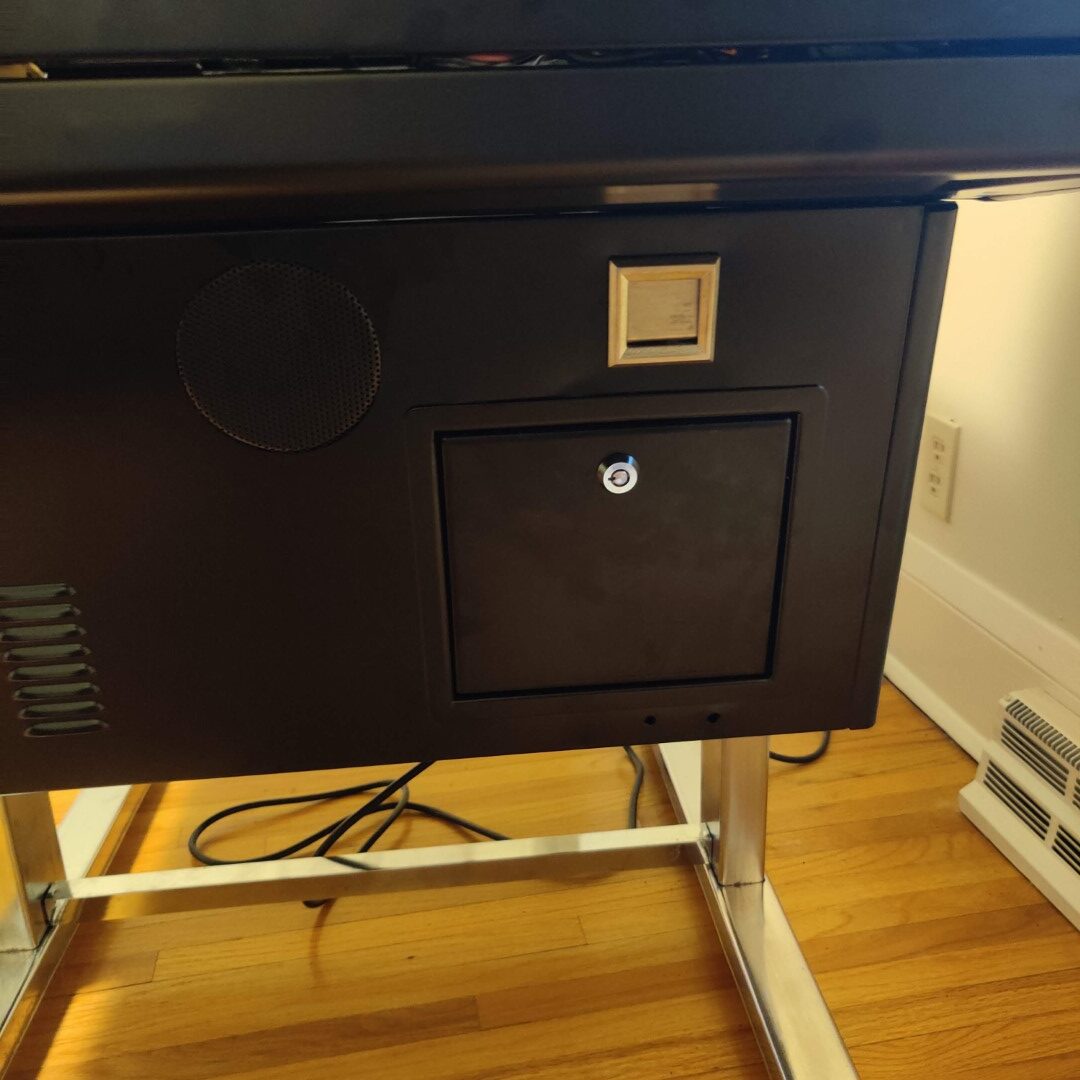
Service switch 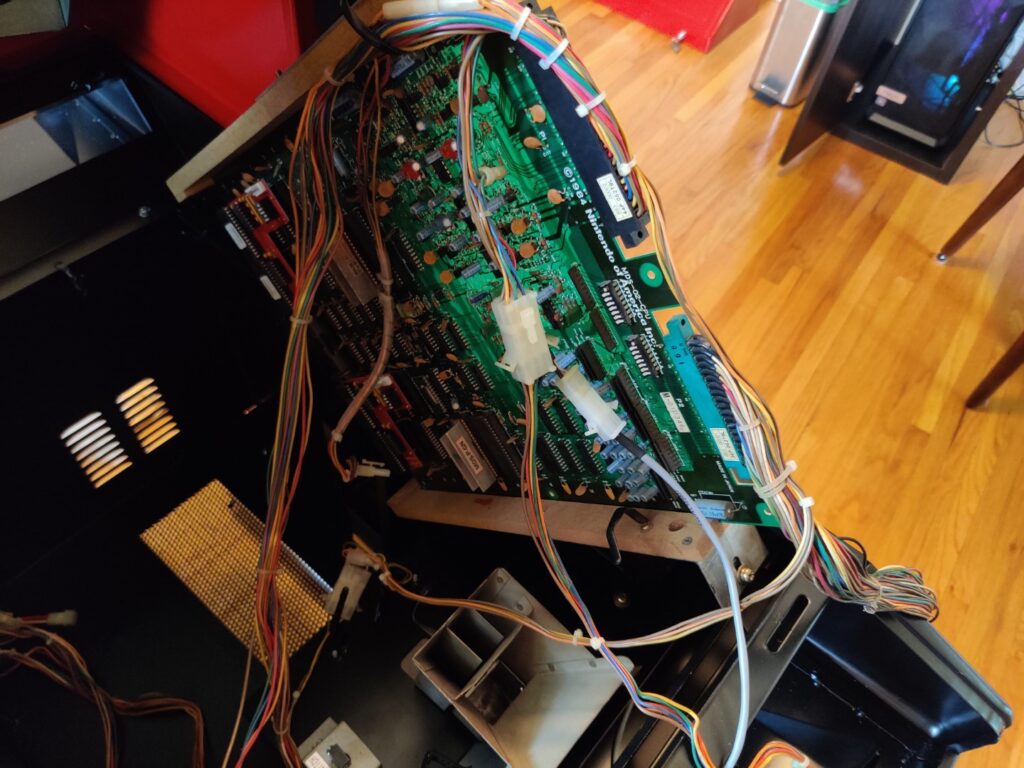
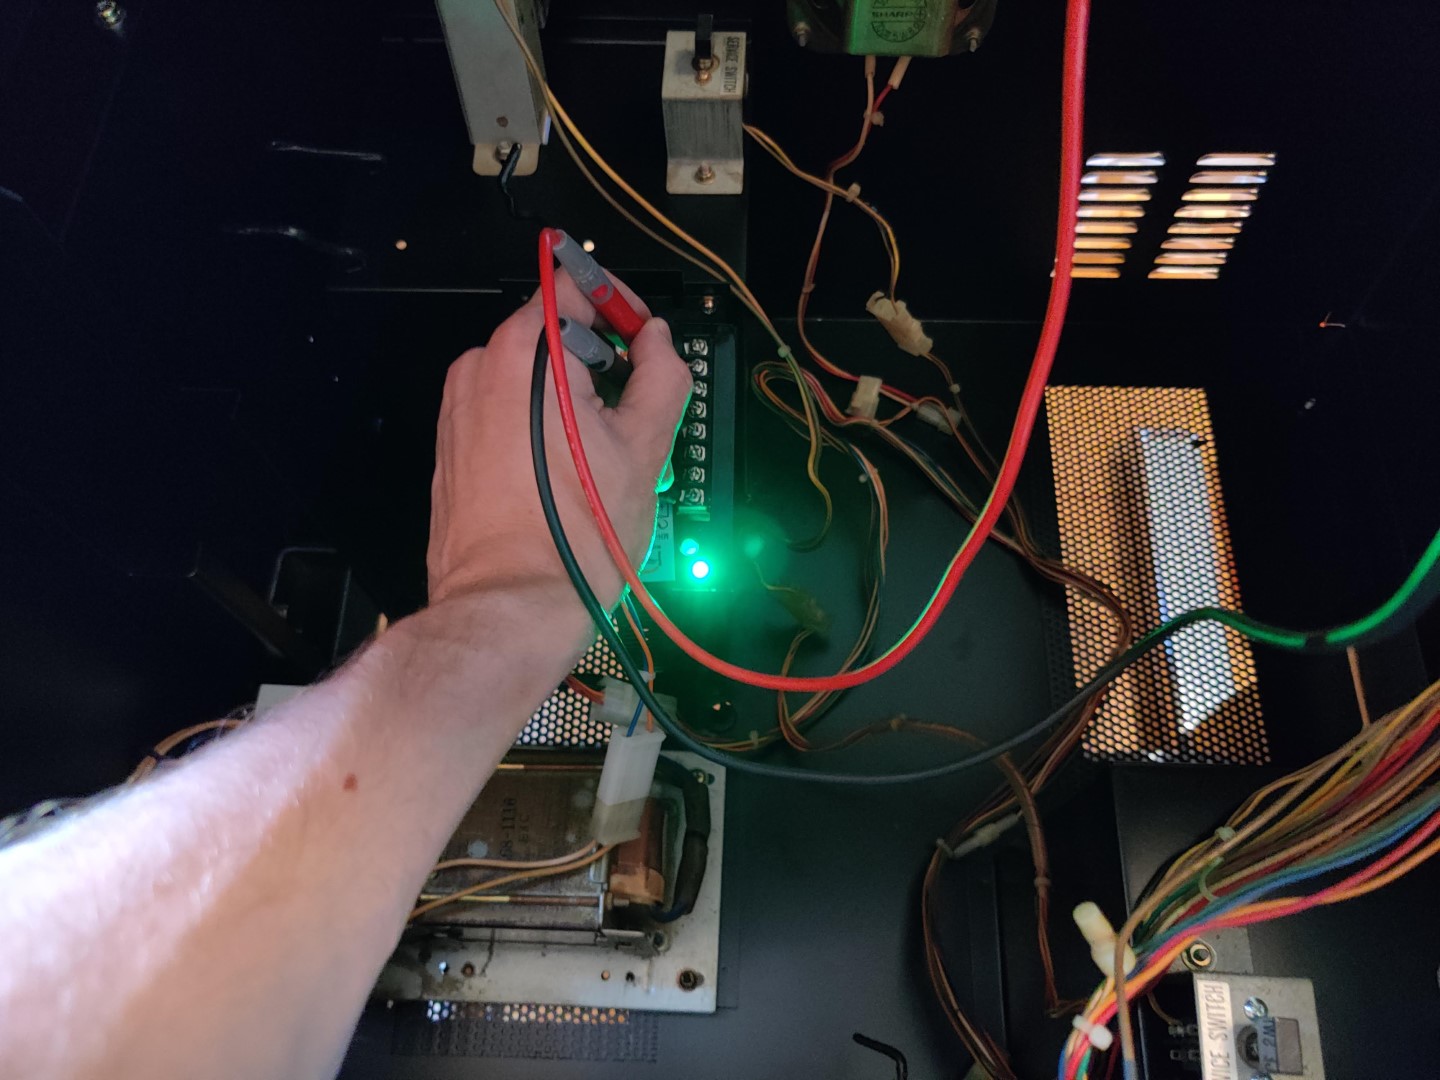
Wiring the cabinet 
Testing voltage 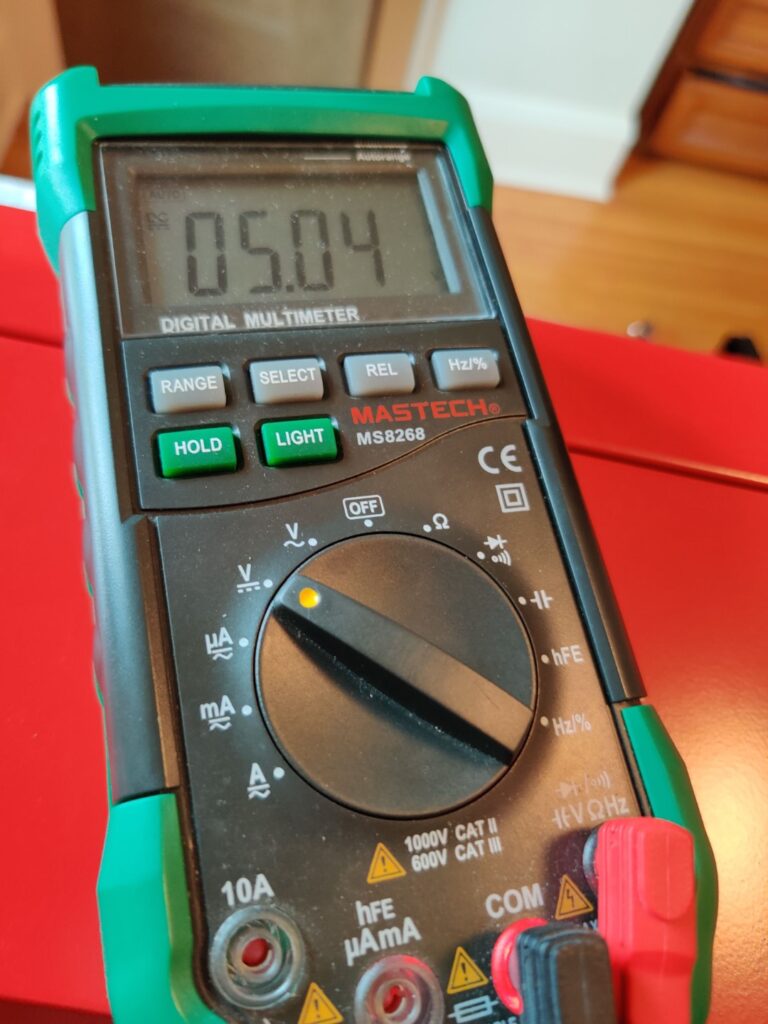
5v lookin ggood 
Labelling main and sub side connectors 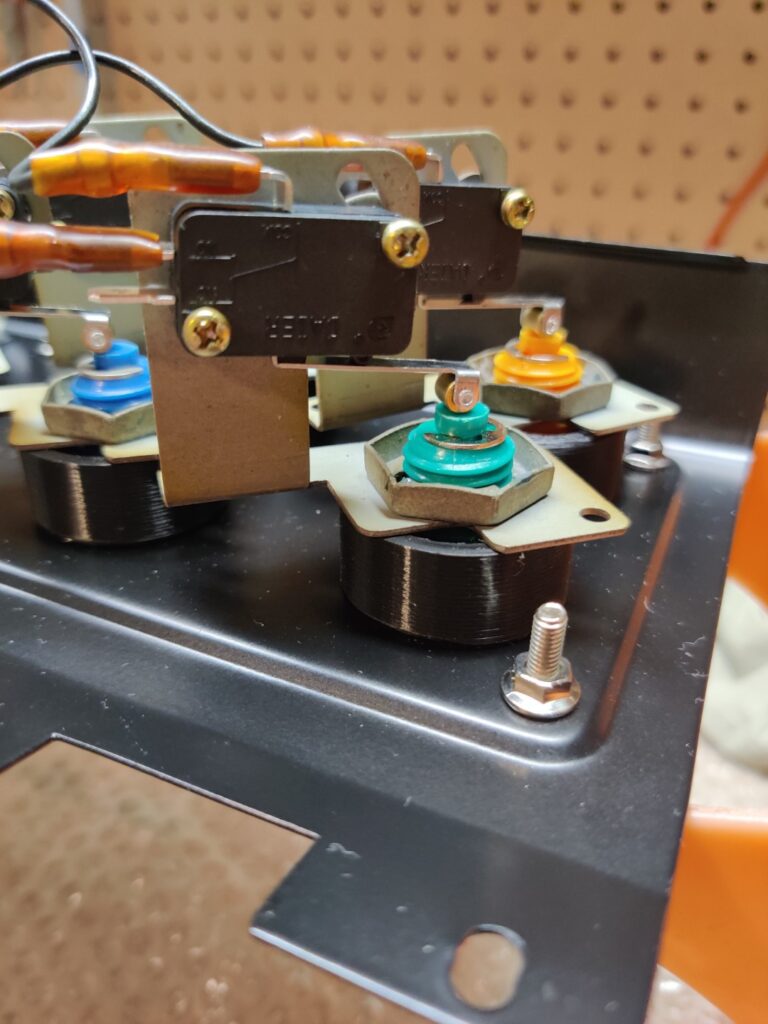
Assembling control panel 2 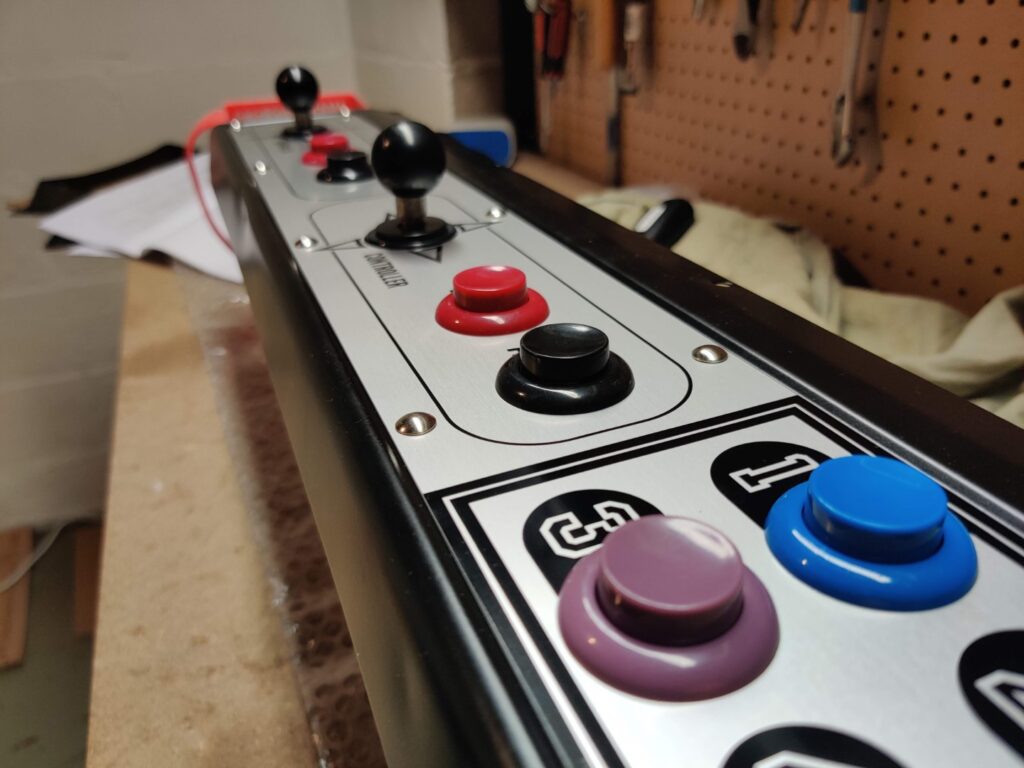
Assembling control panel 2 
Assembling control panel 2 
Hood 2 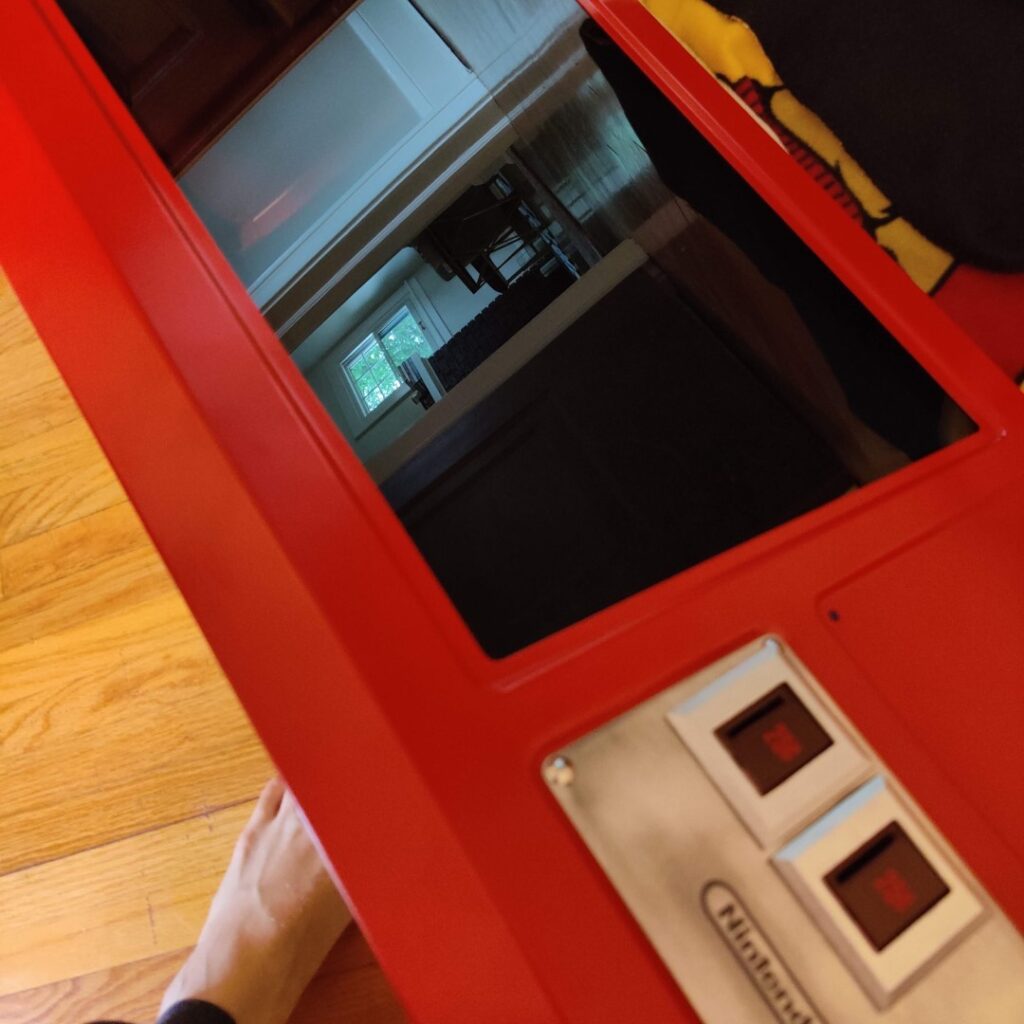
Hood 2 
Hood 2 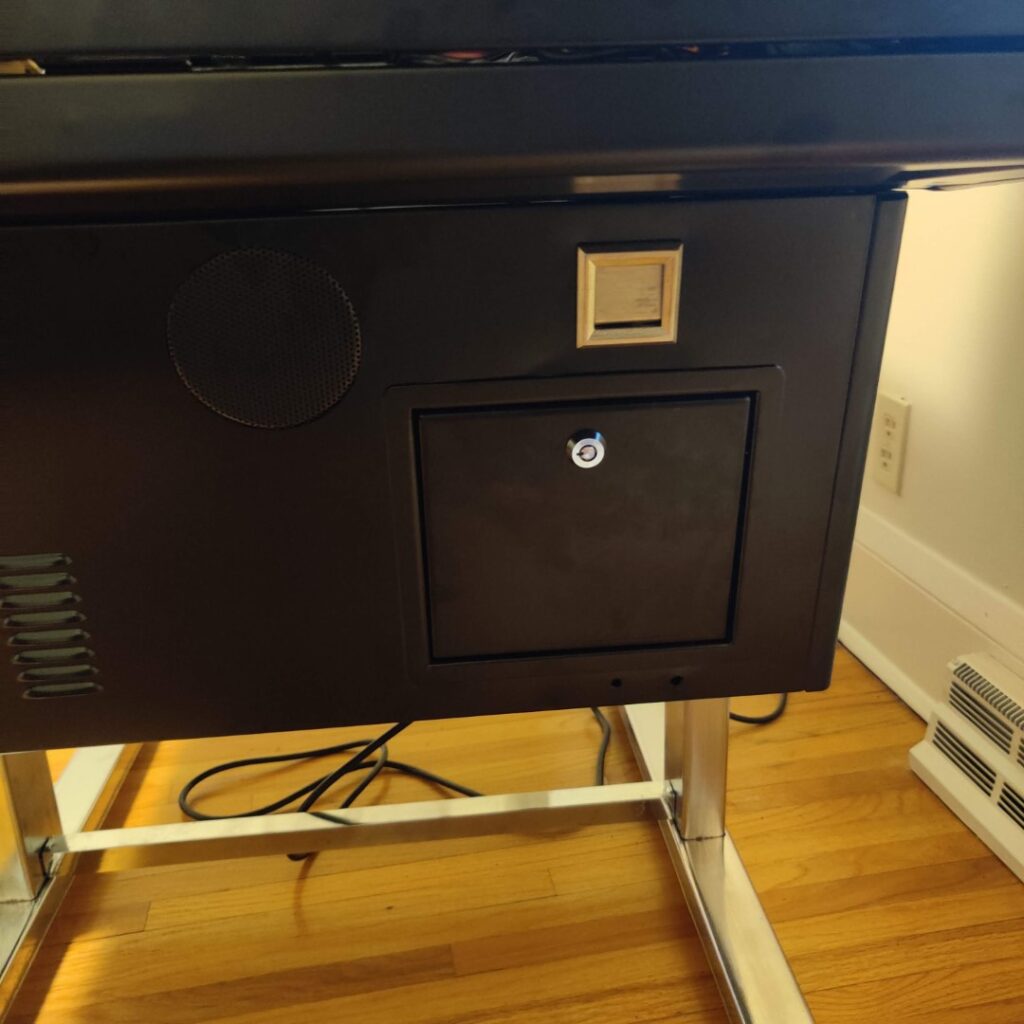
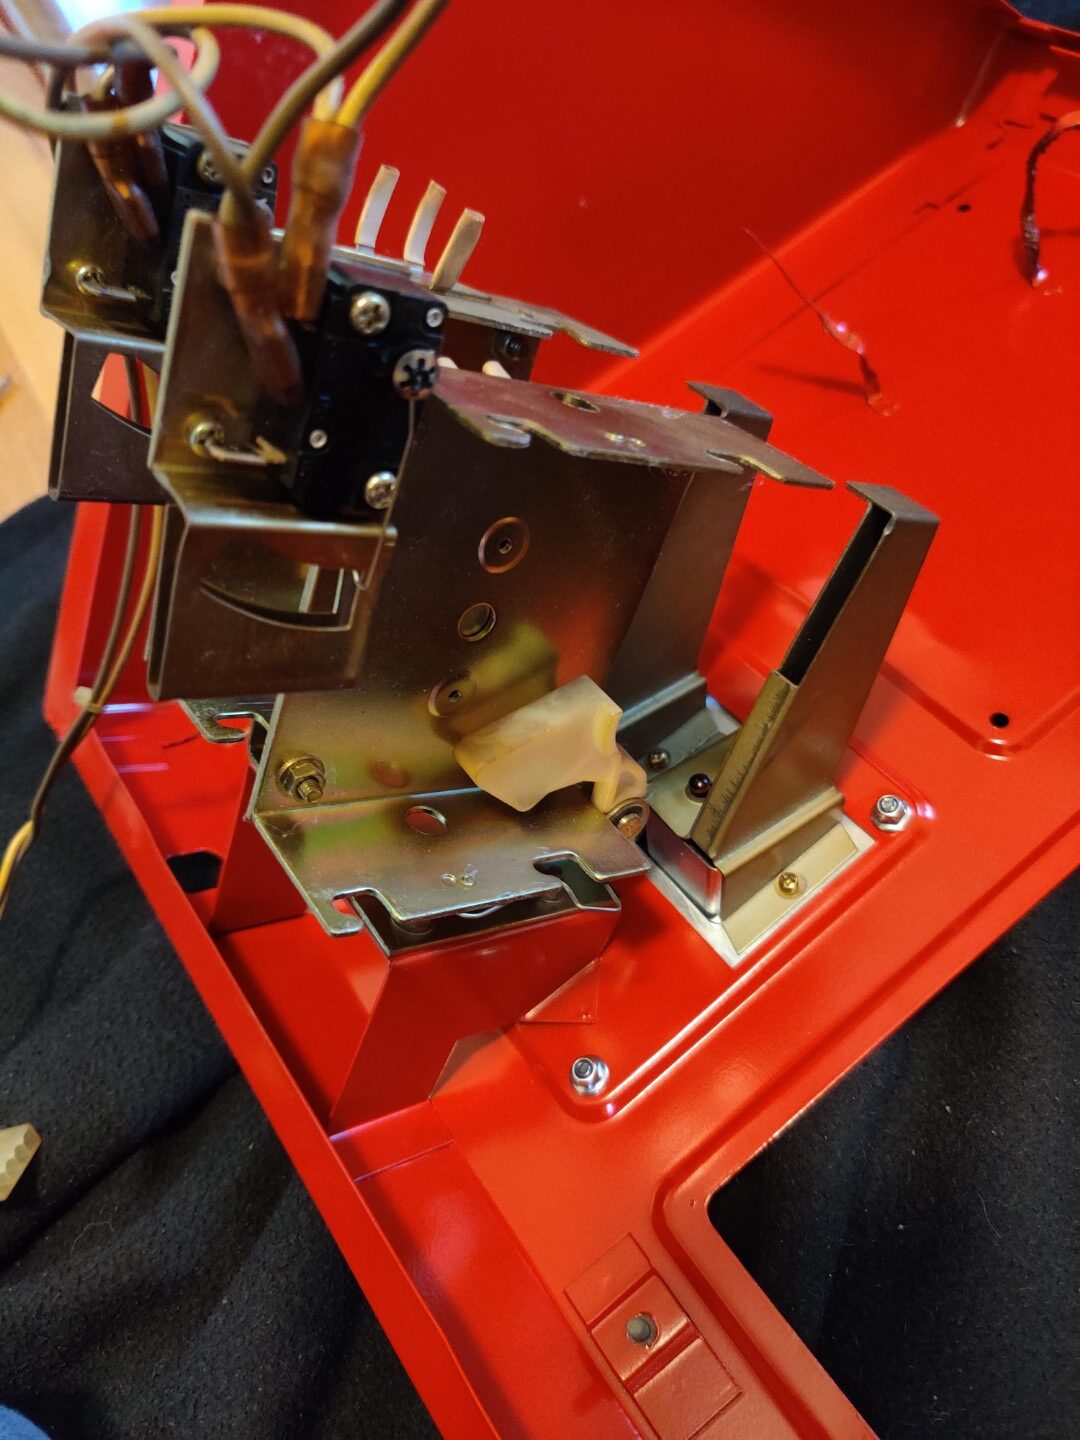
Coin buckets with locks 
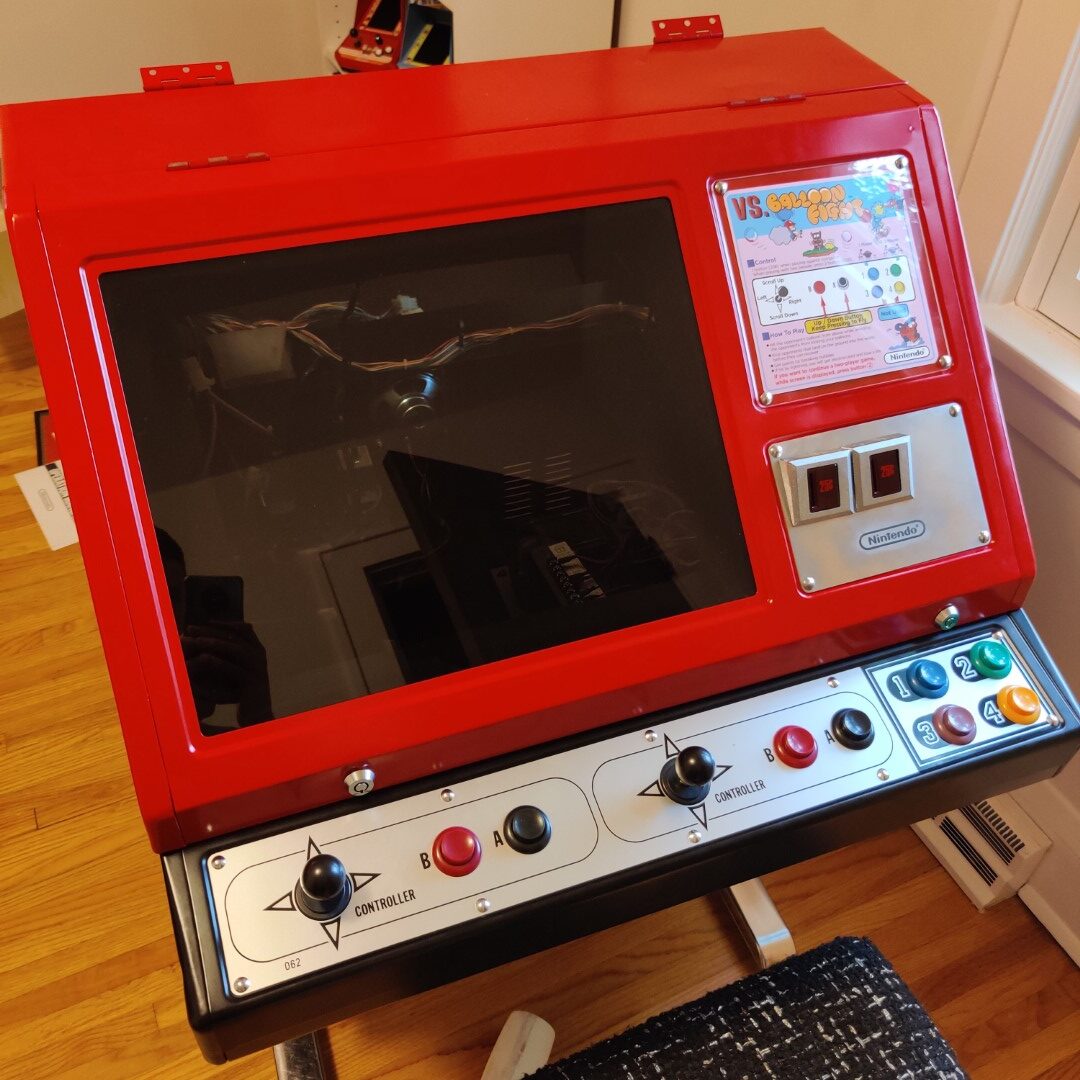
Fully assembled body 
Fully assembled body 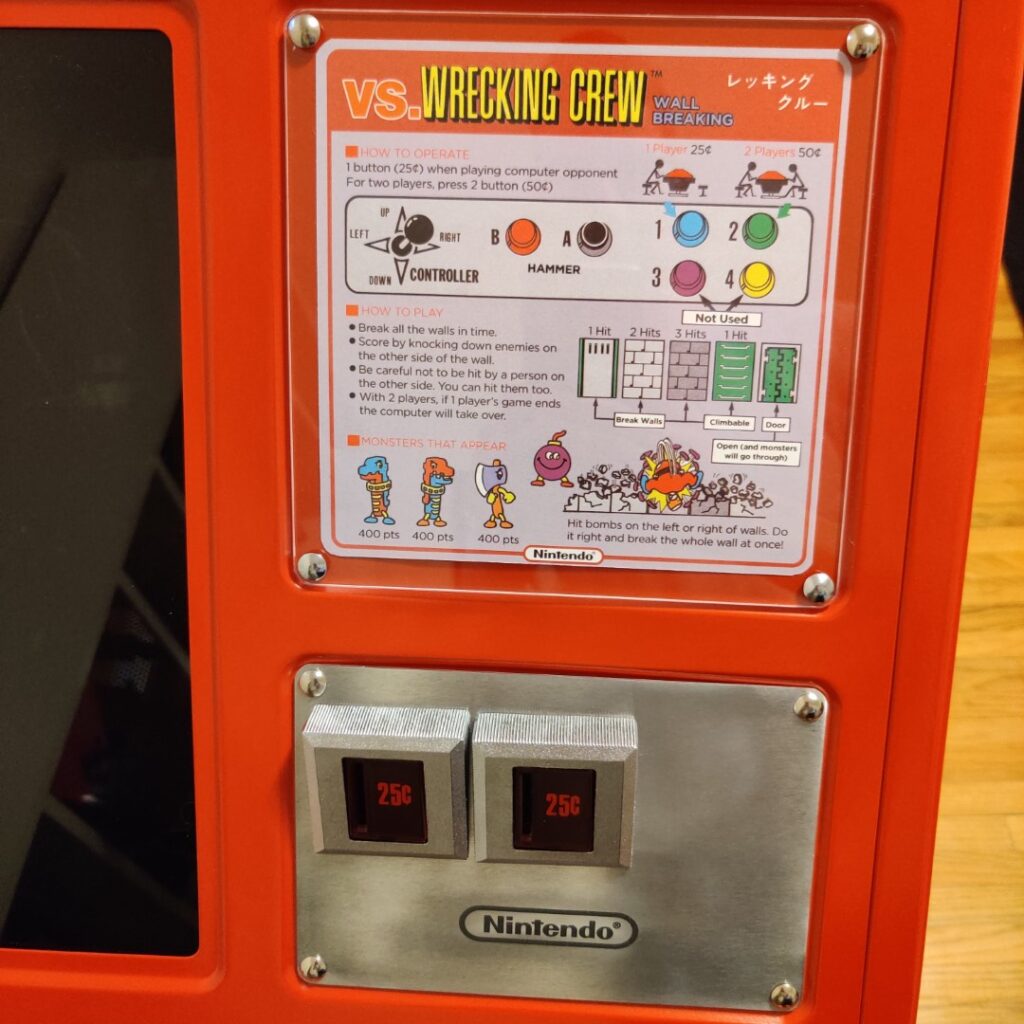
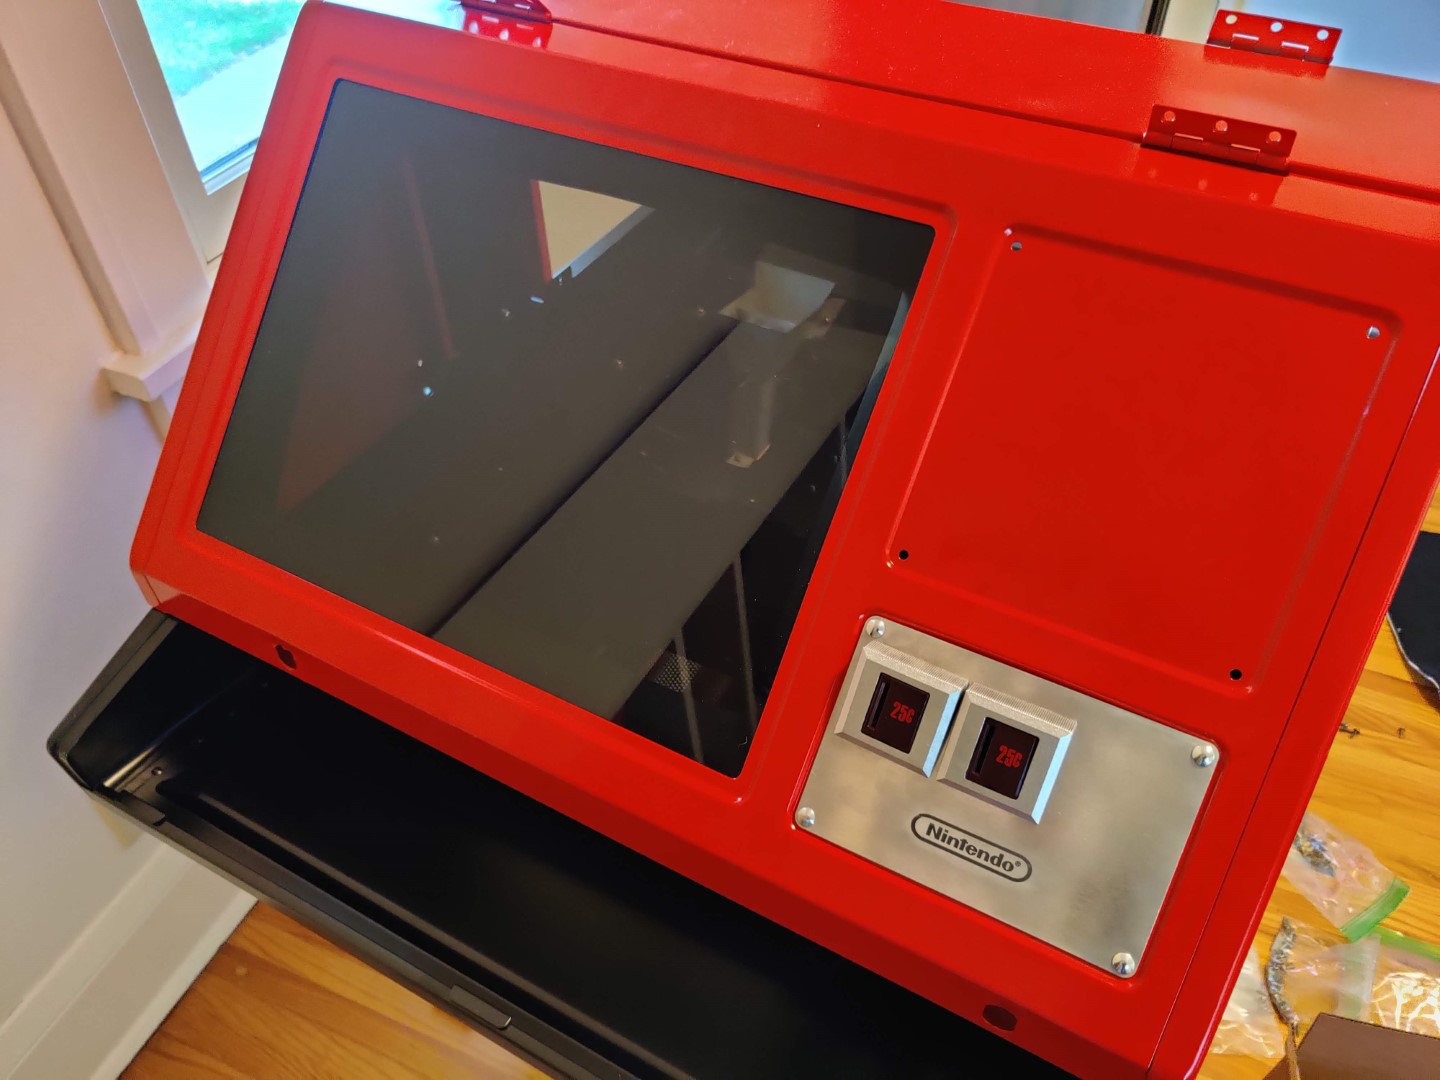
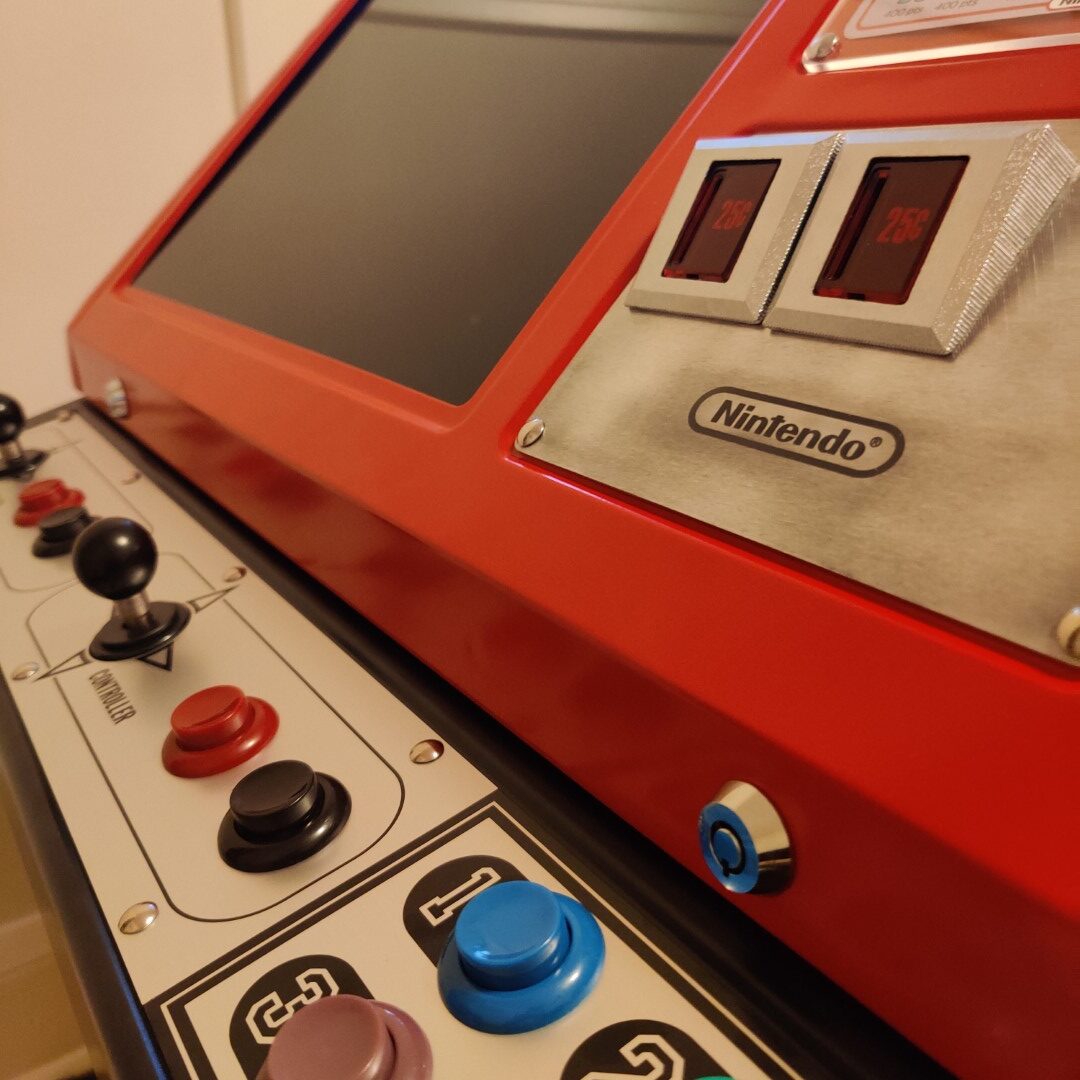
Close up of the marquee area 
Close up of control panel area Restored Nintendo Red Tent Vs. DualSystem


Nintendo Red Tent Instruction Cards
Anyone with an arcade cabinet knows how important the marquees are! Well, the Vs. DualSystem Cocktail cabinet doesn’t really have a marquee but what it does have are unique instruction cards with some really neat artwork. Most of these are easy enough to find but some of my favorites were never made available (at least in the United States)!
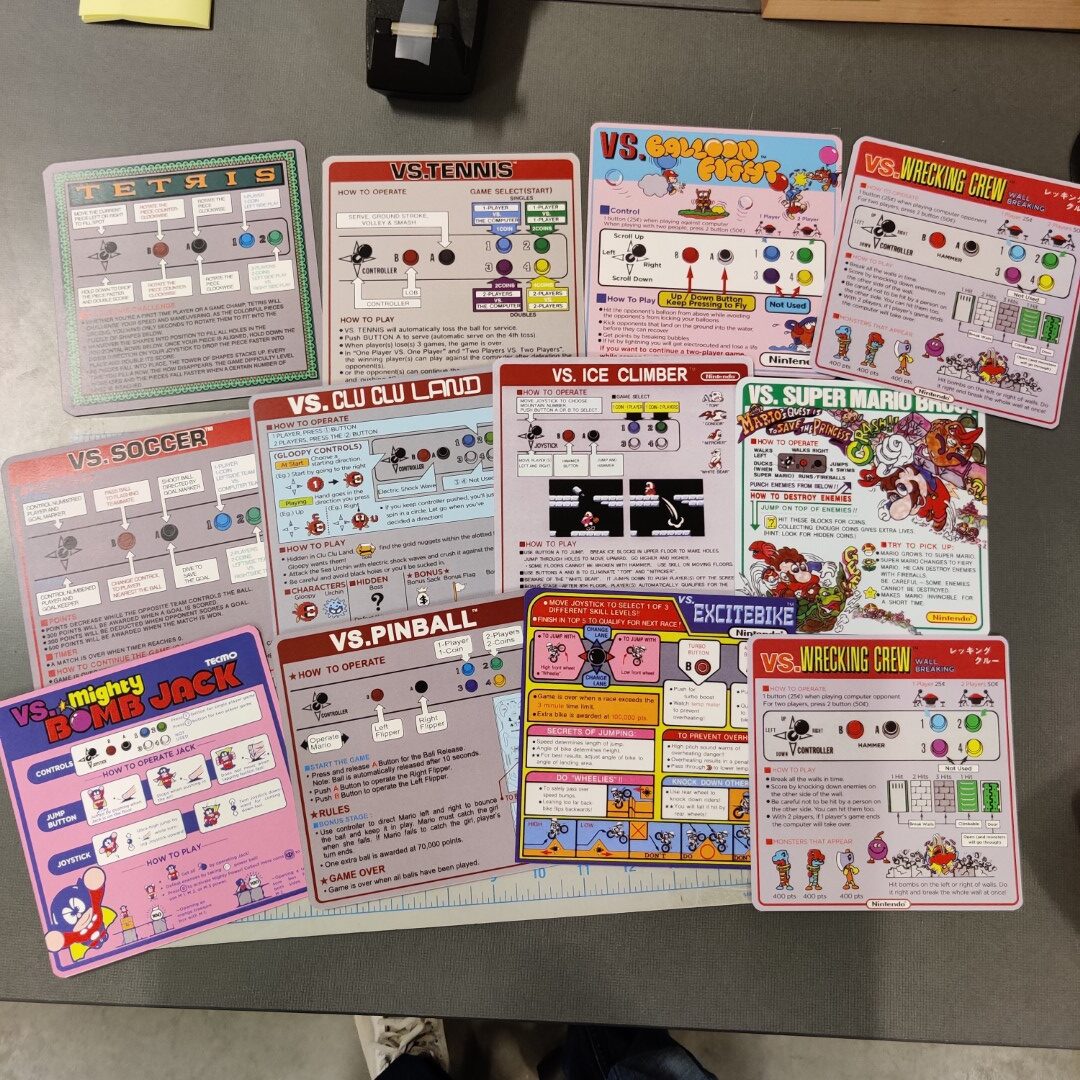
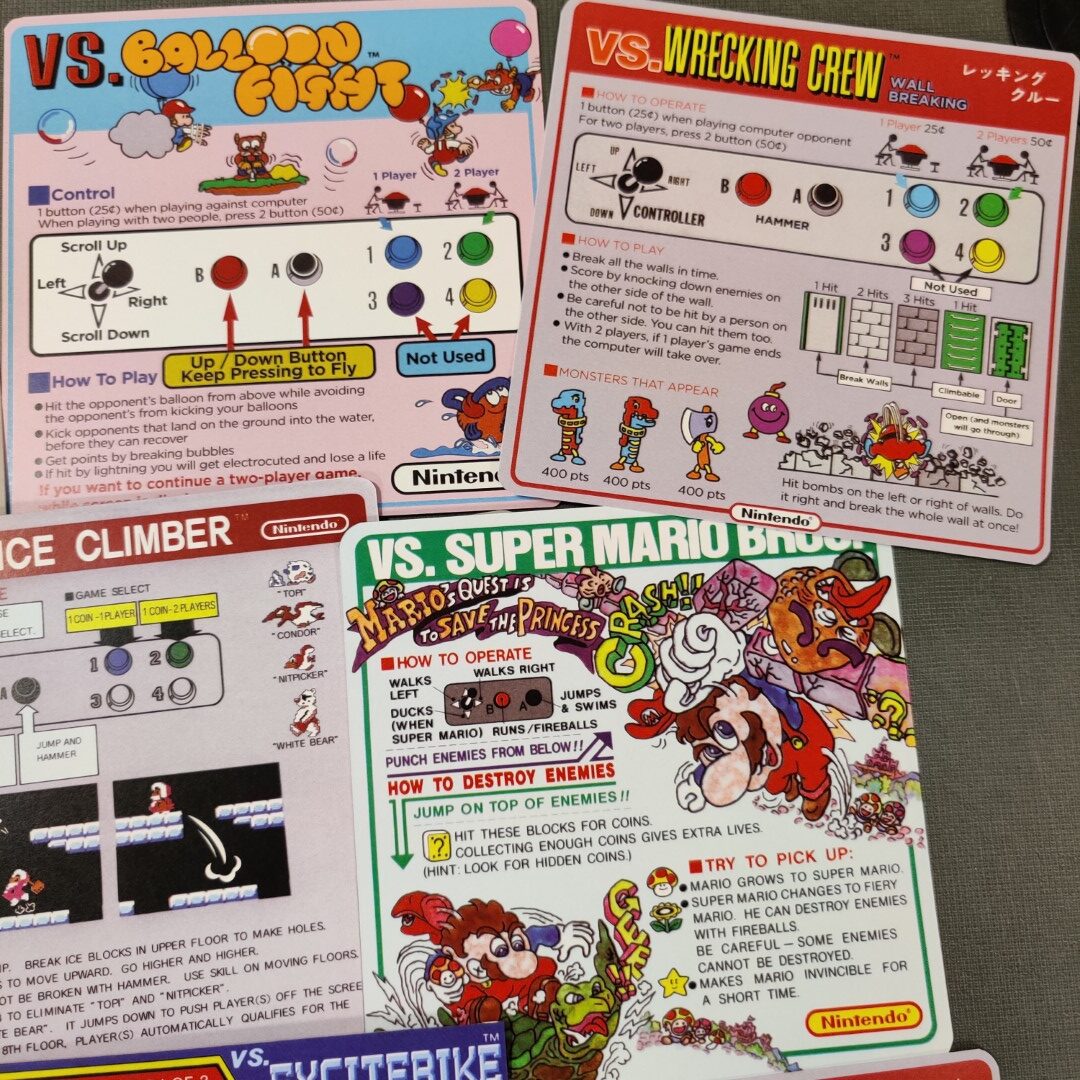
With some helpful scans from members on KLOV, I was able fix this up though.
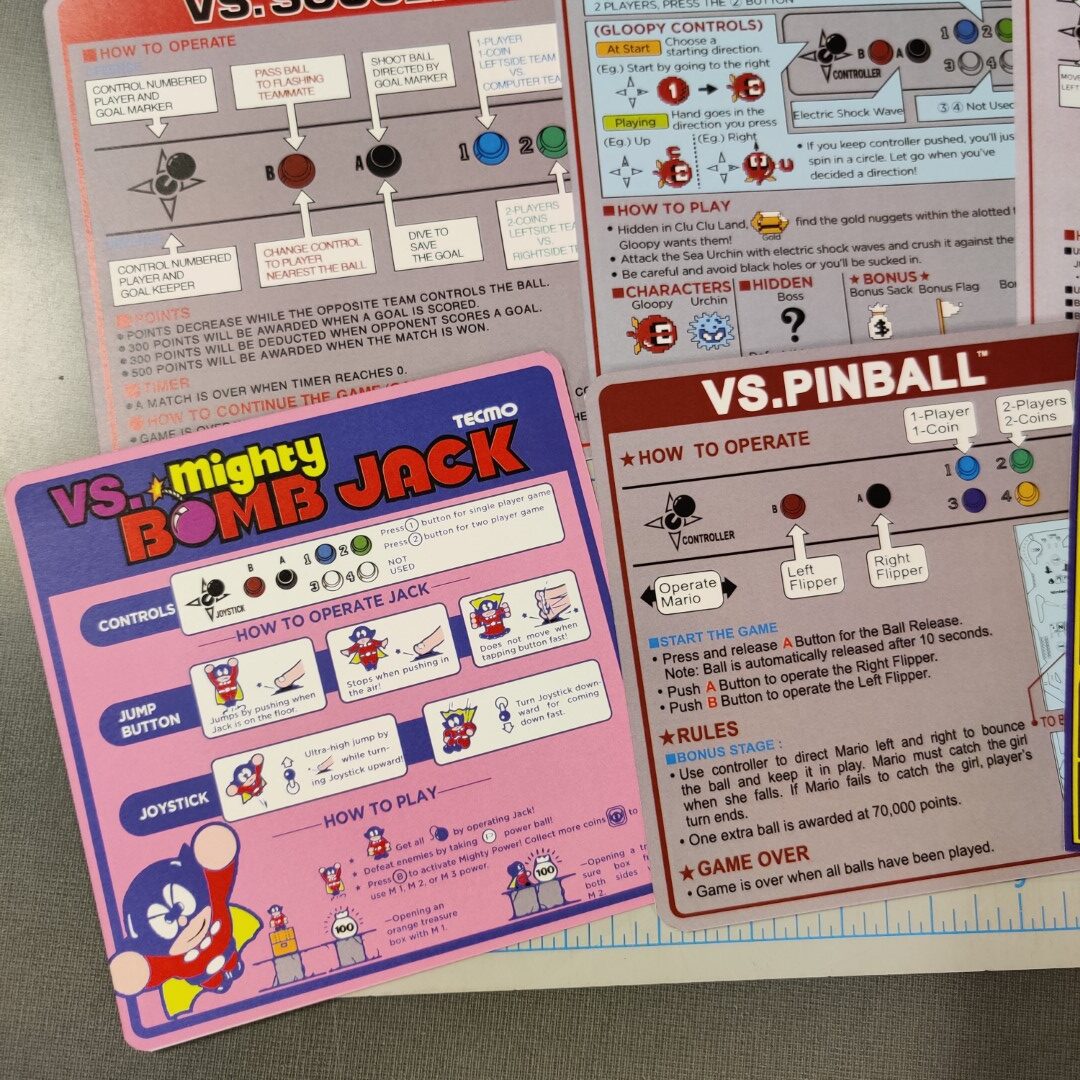
- Vs. Mighty Bomb Jack: Never existed, created by me
- Vs. Balloon Fight: Only available in Japanese, translated and cleaned up by me
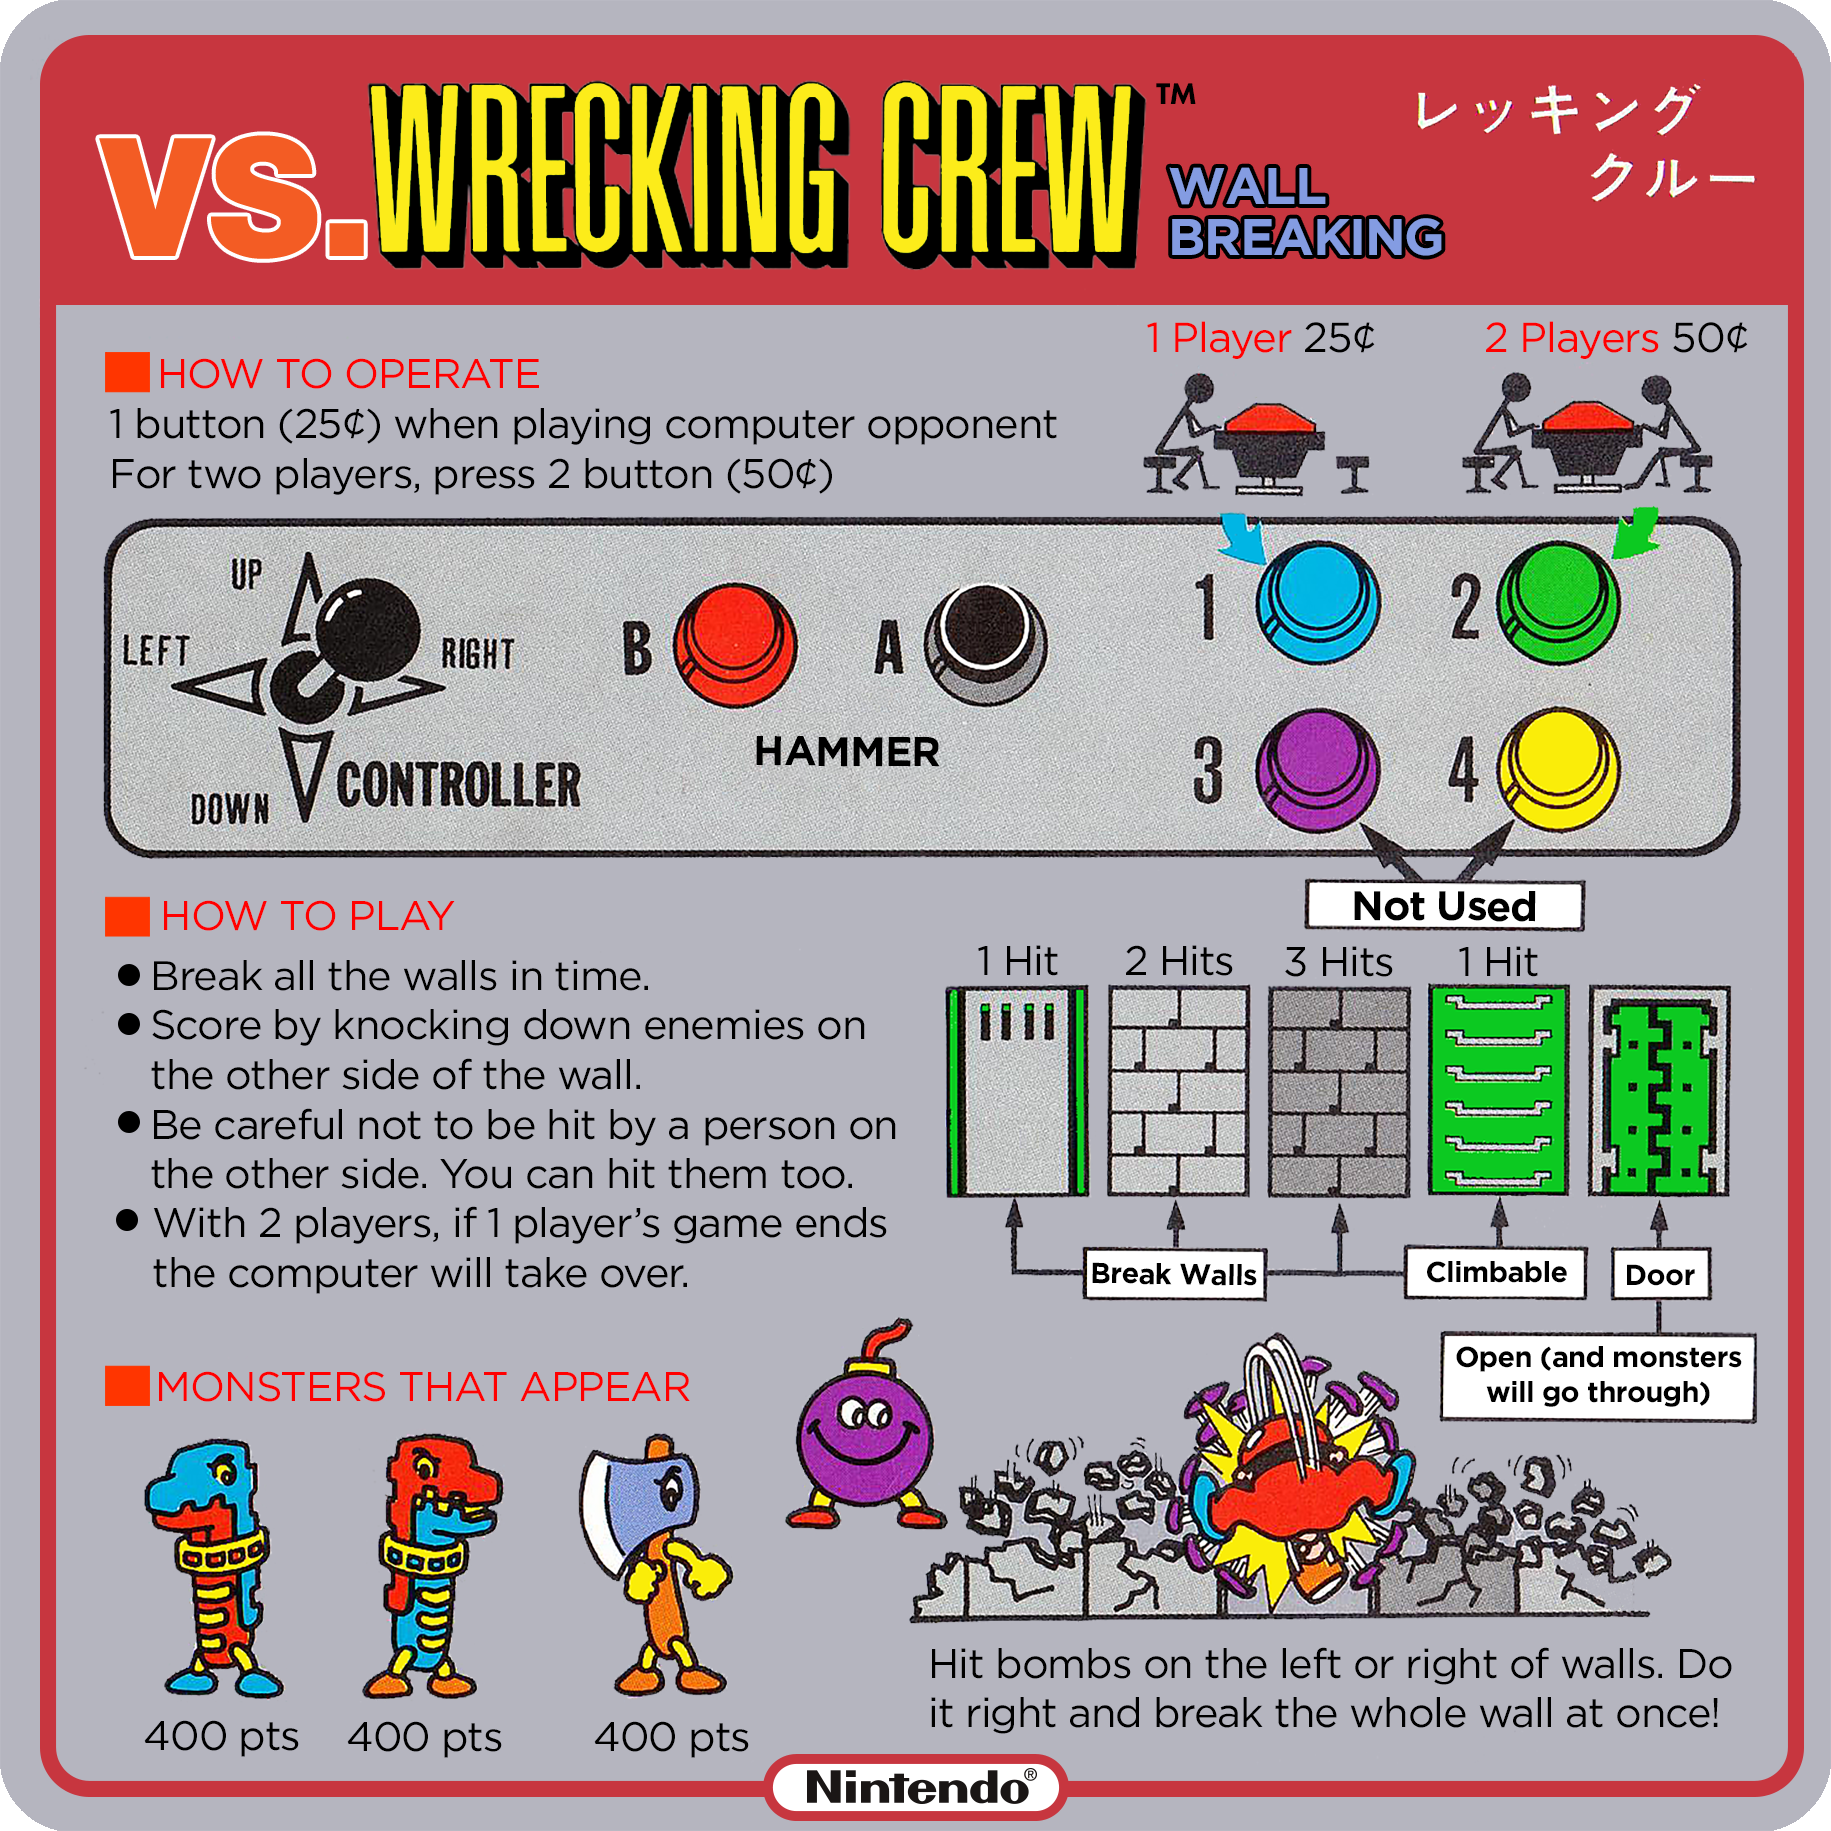
- Vs. Wrecking Crew: Only available in Japanese, translated and cleaned up by me
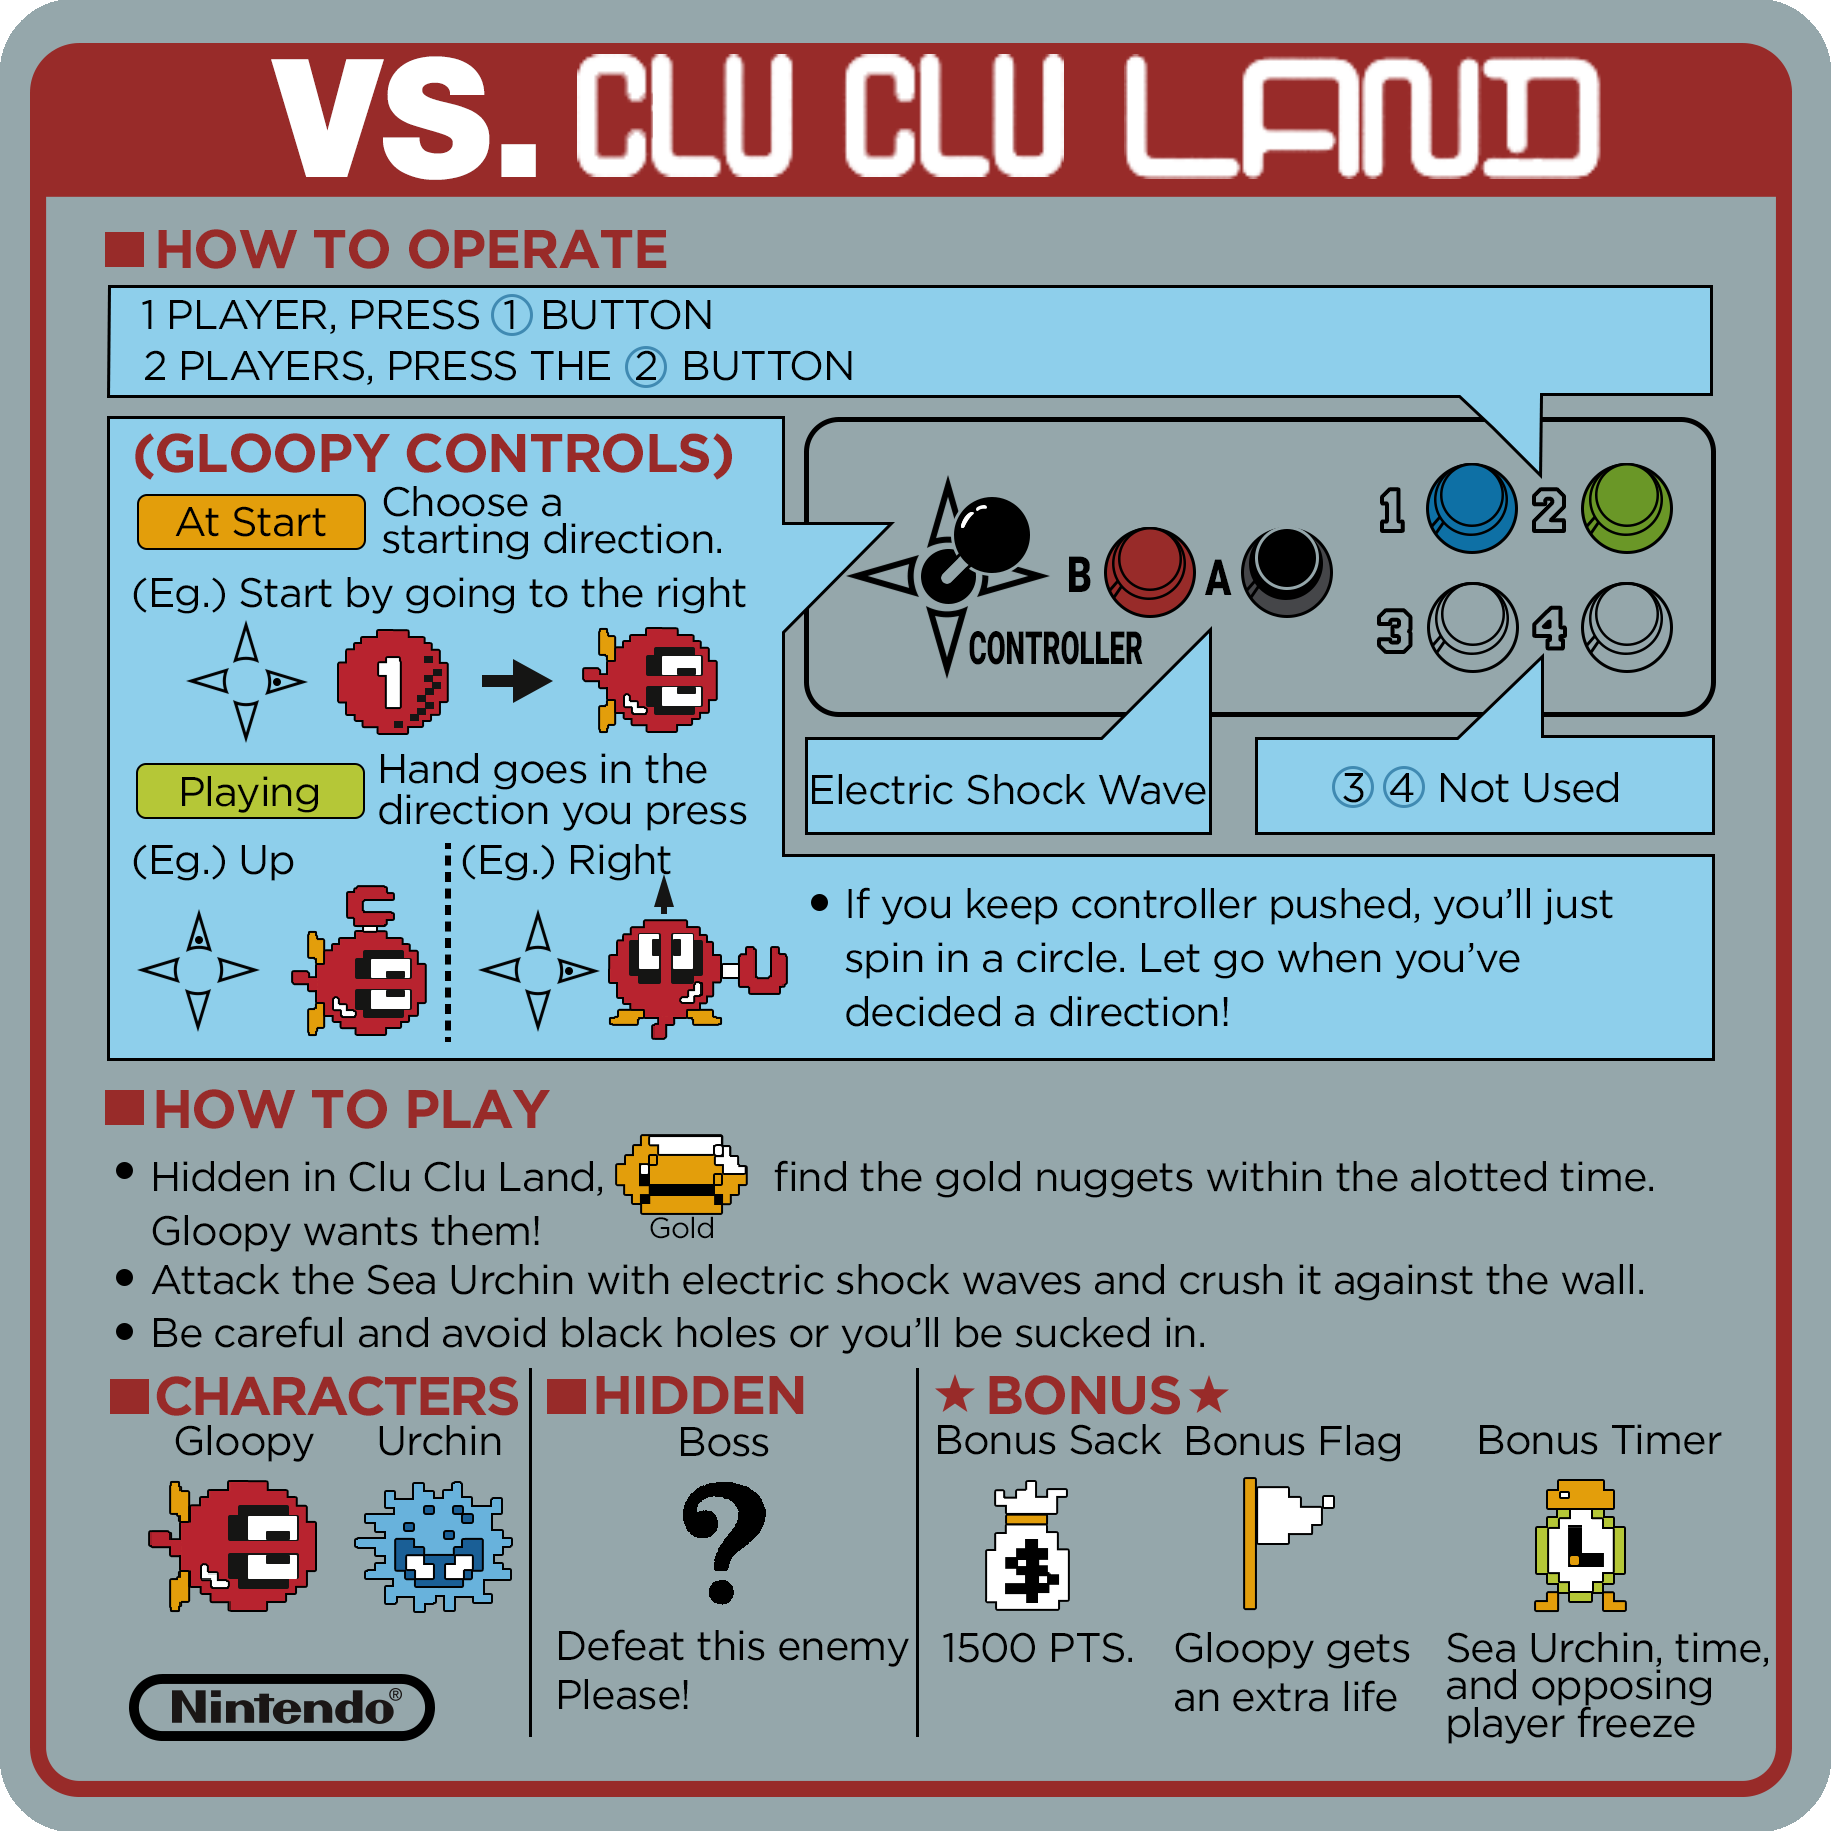
- Vs. Clu Clu Land: Only available in Japanese, translated, traced and vectorized by me
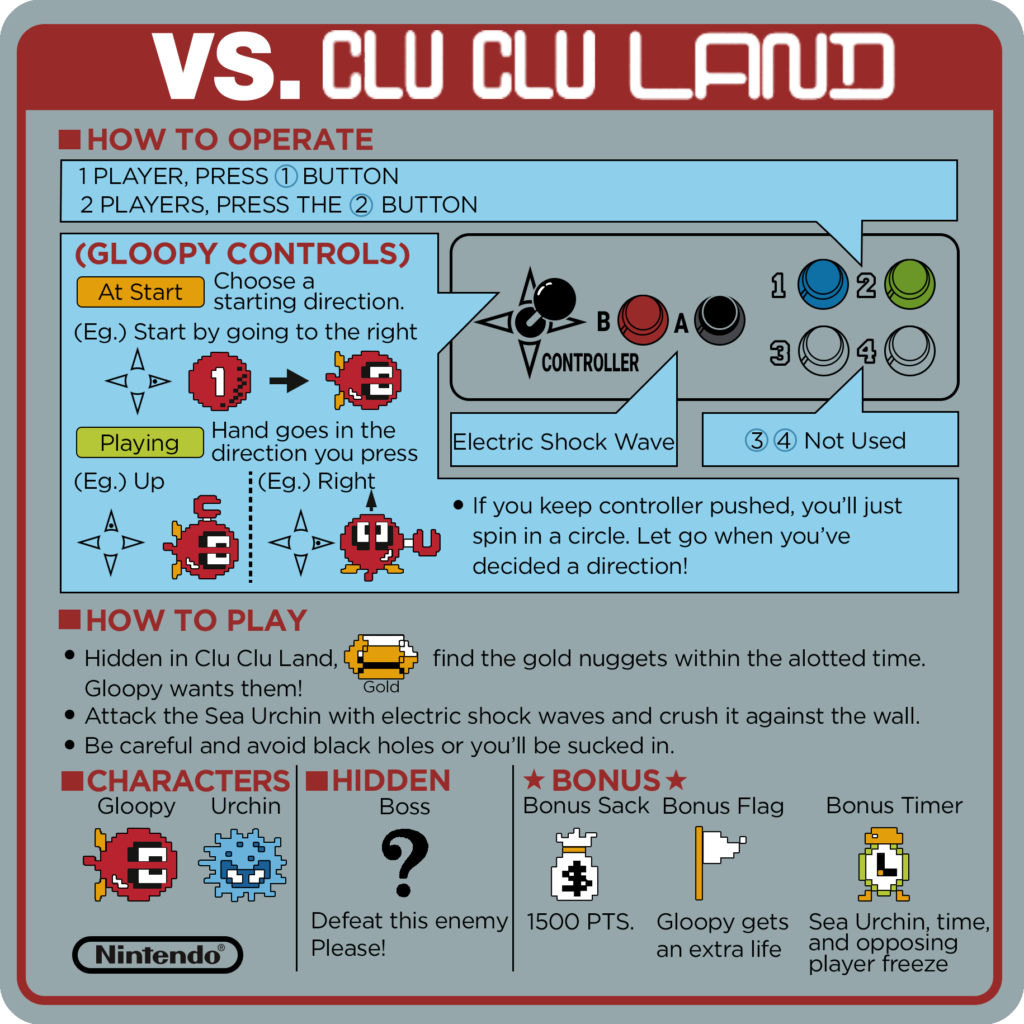
A translated, traced, and cleaned Clu Clu Land instruction card 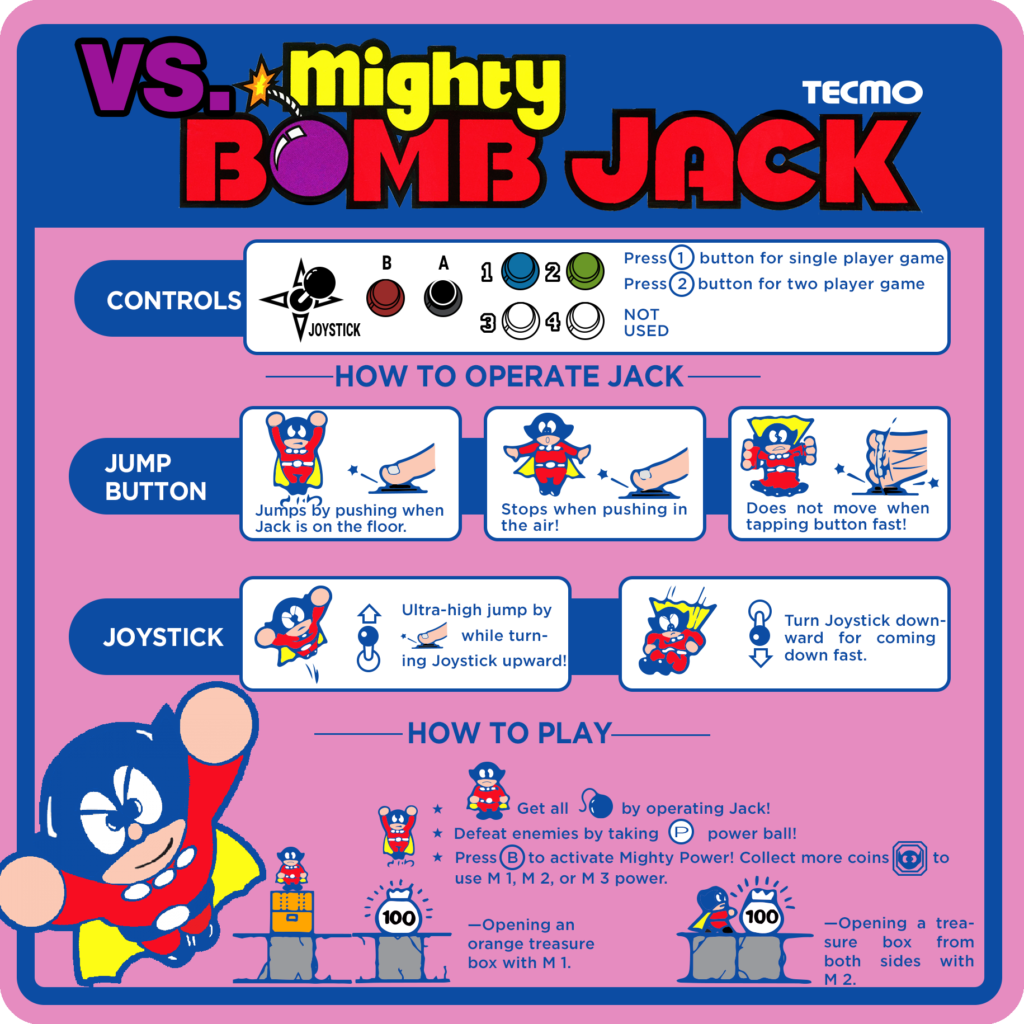
An original creation, Vs Mighty Bomb Jack Red Tent Instruction Marquee Card 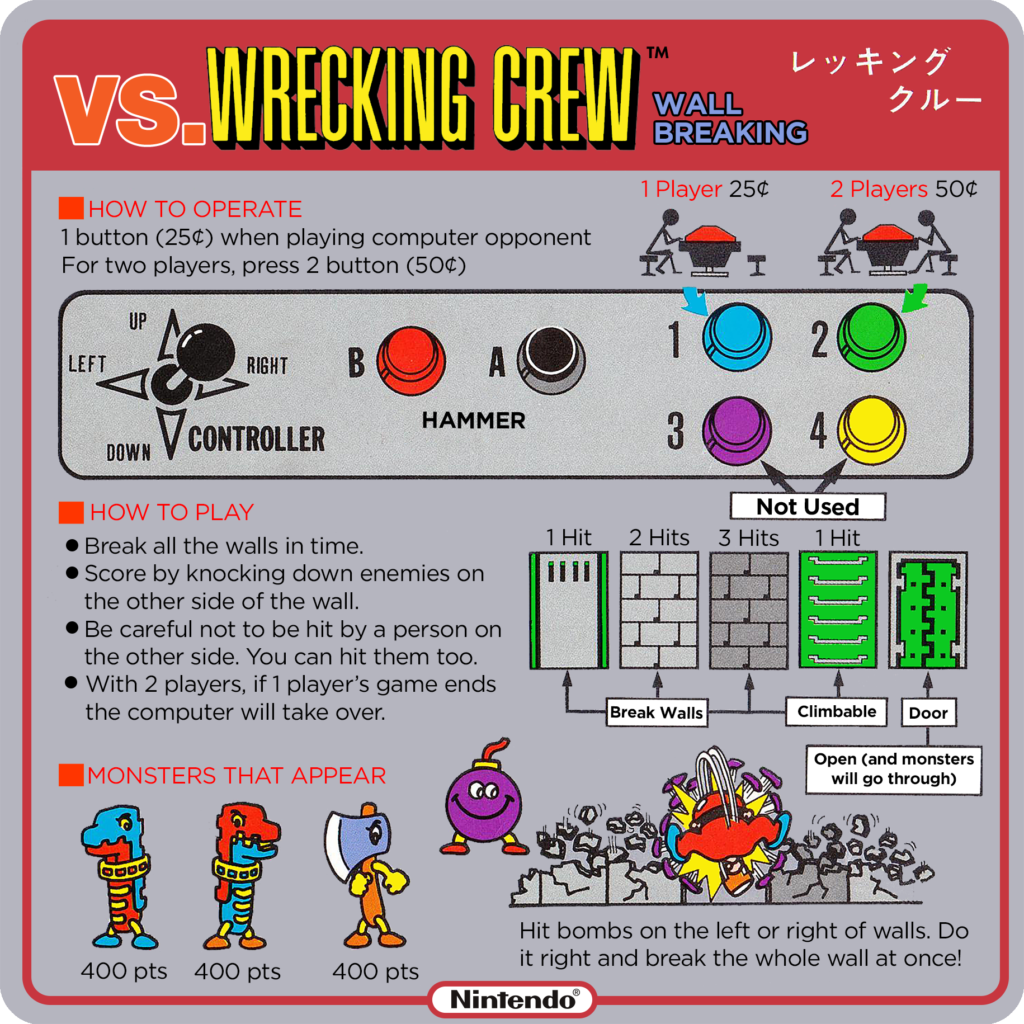
Vs Wrecking Crew translated and cleaned 
Vs Balloon Fight translated and cleaned


See the Machine Working
Download Vs DualSystem Files
Many of the items I created for this restore are available to download! Find my repository on GitHub.