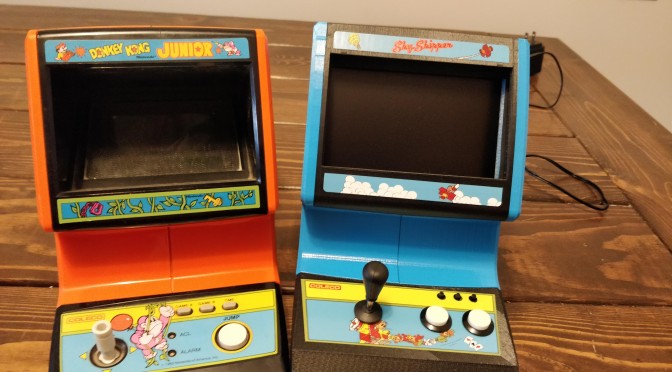
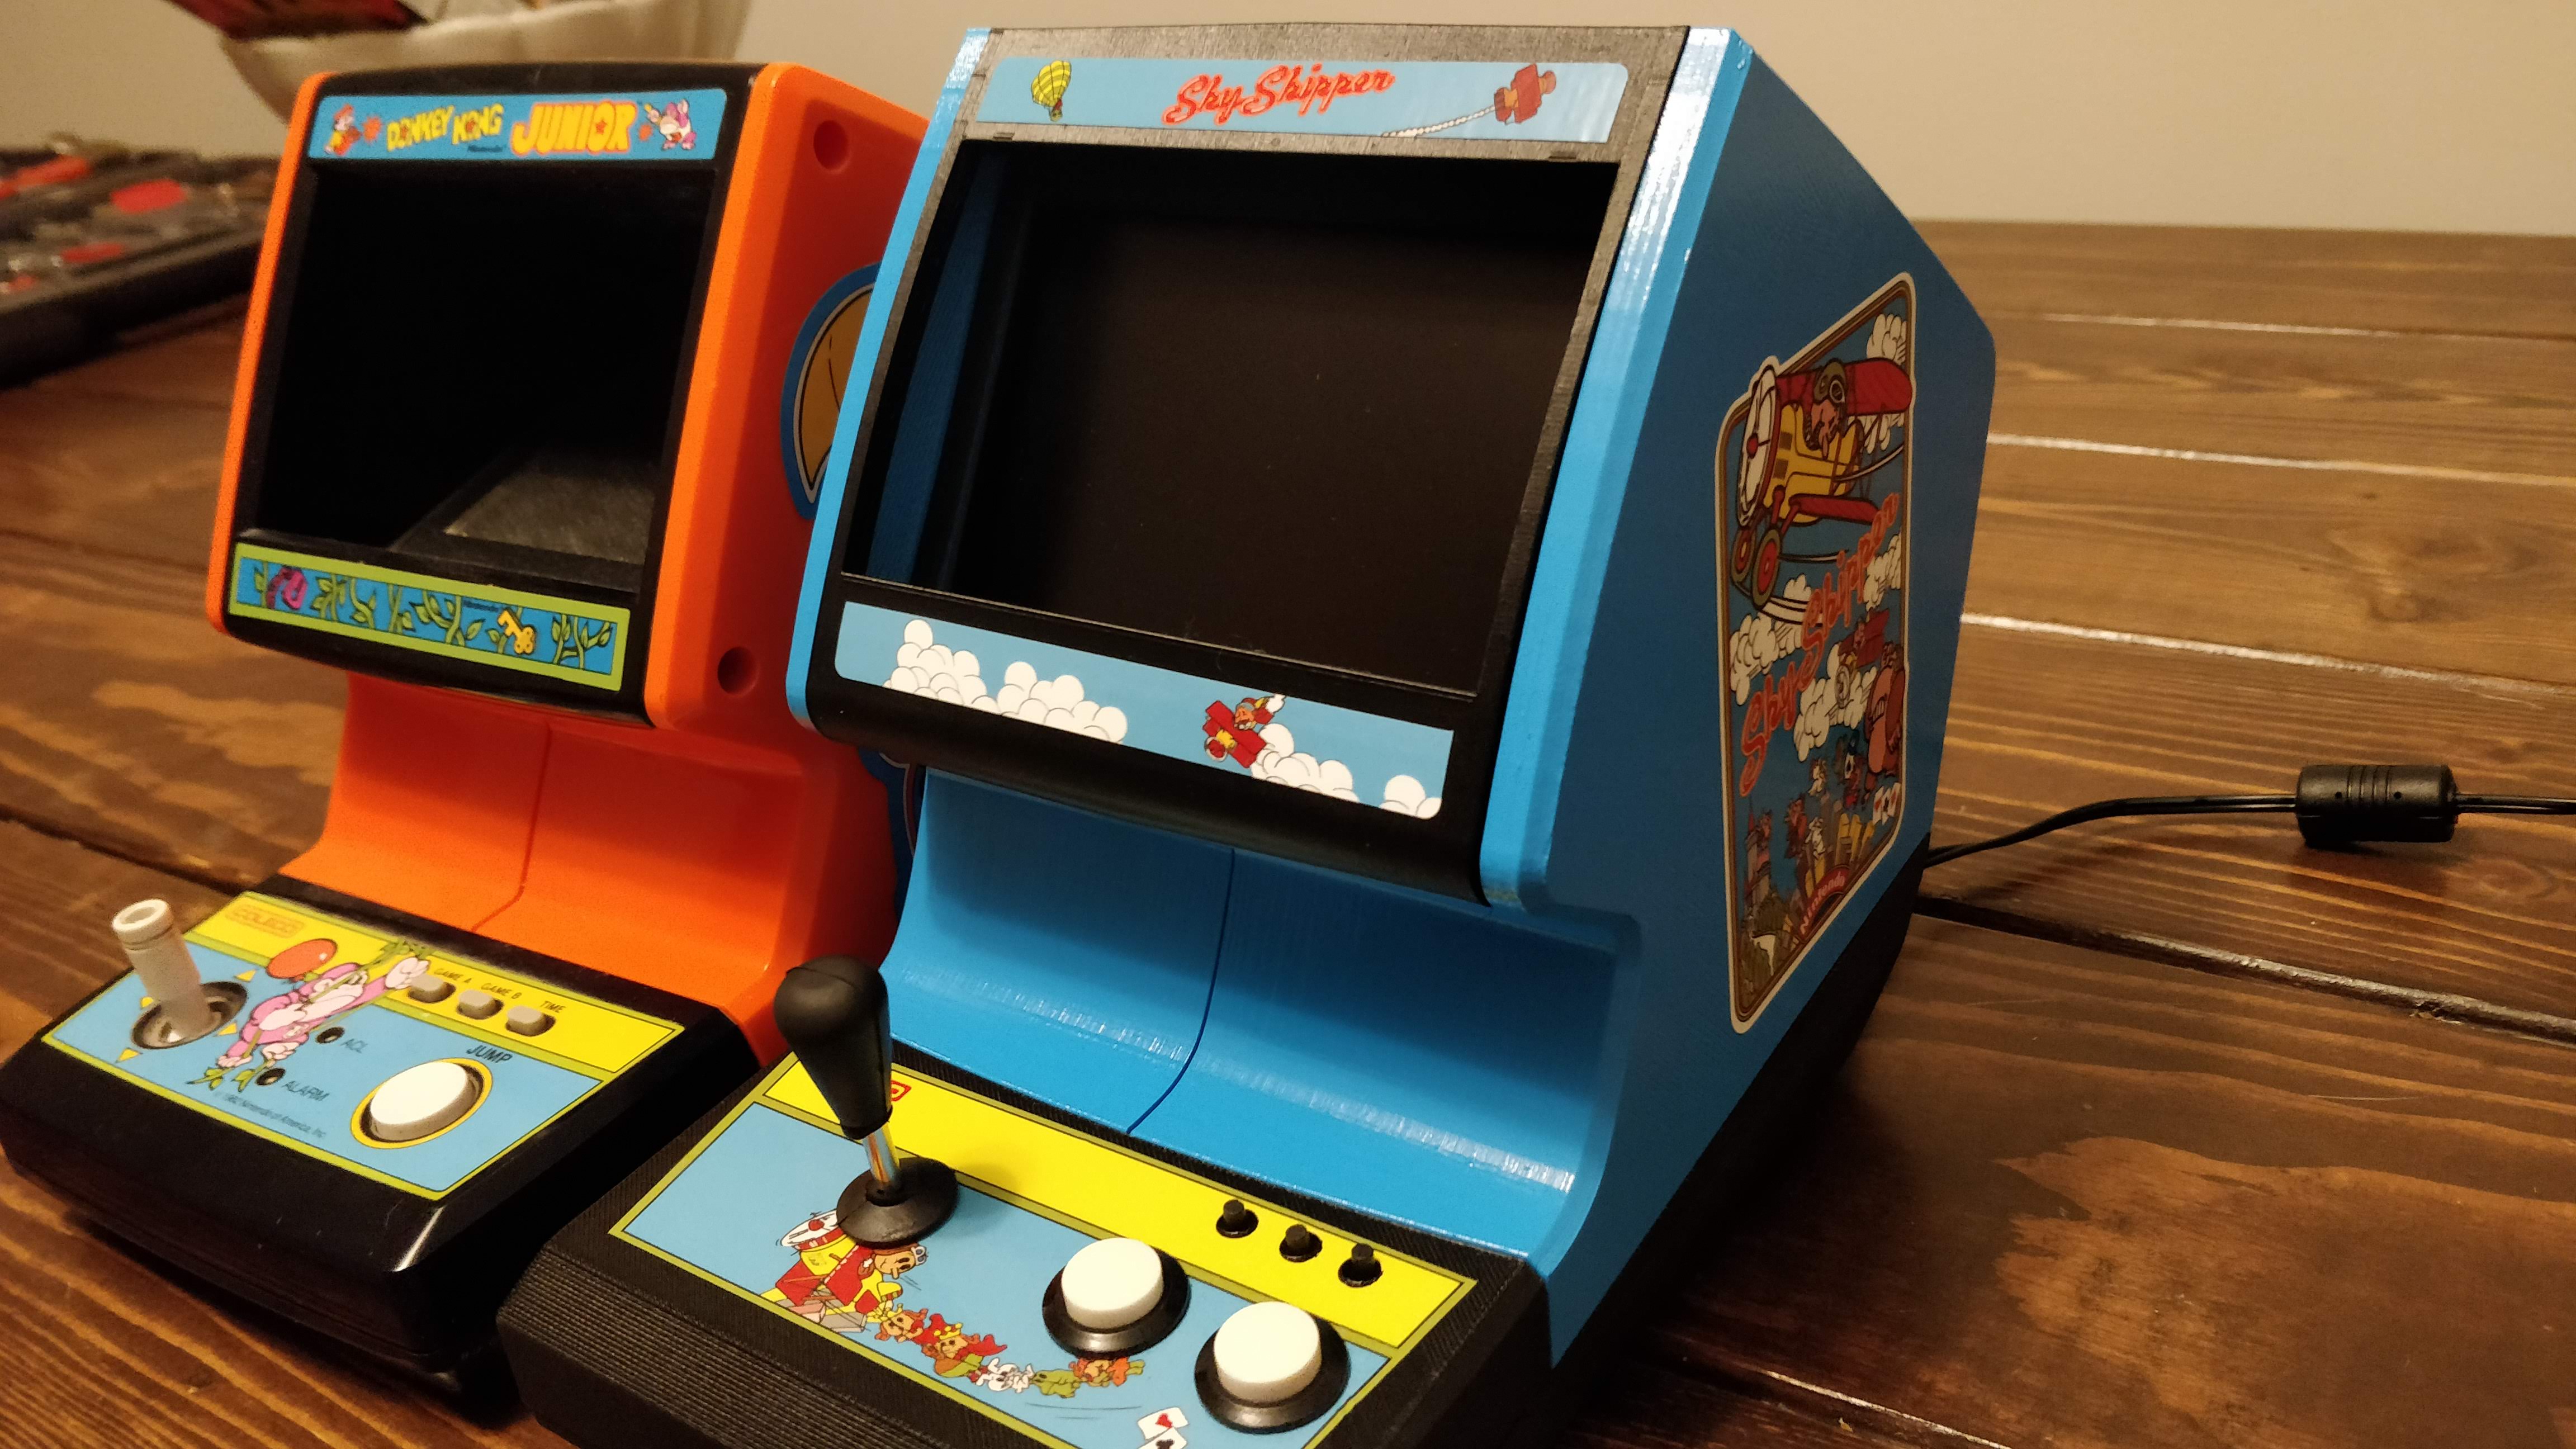
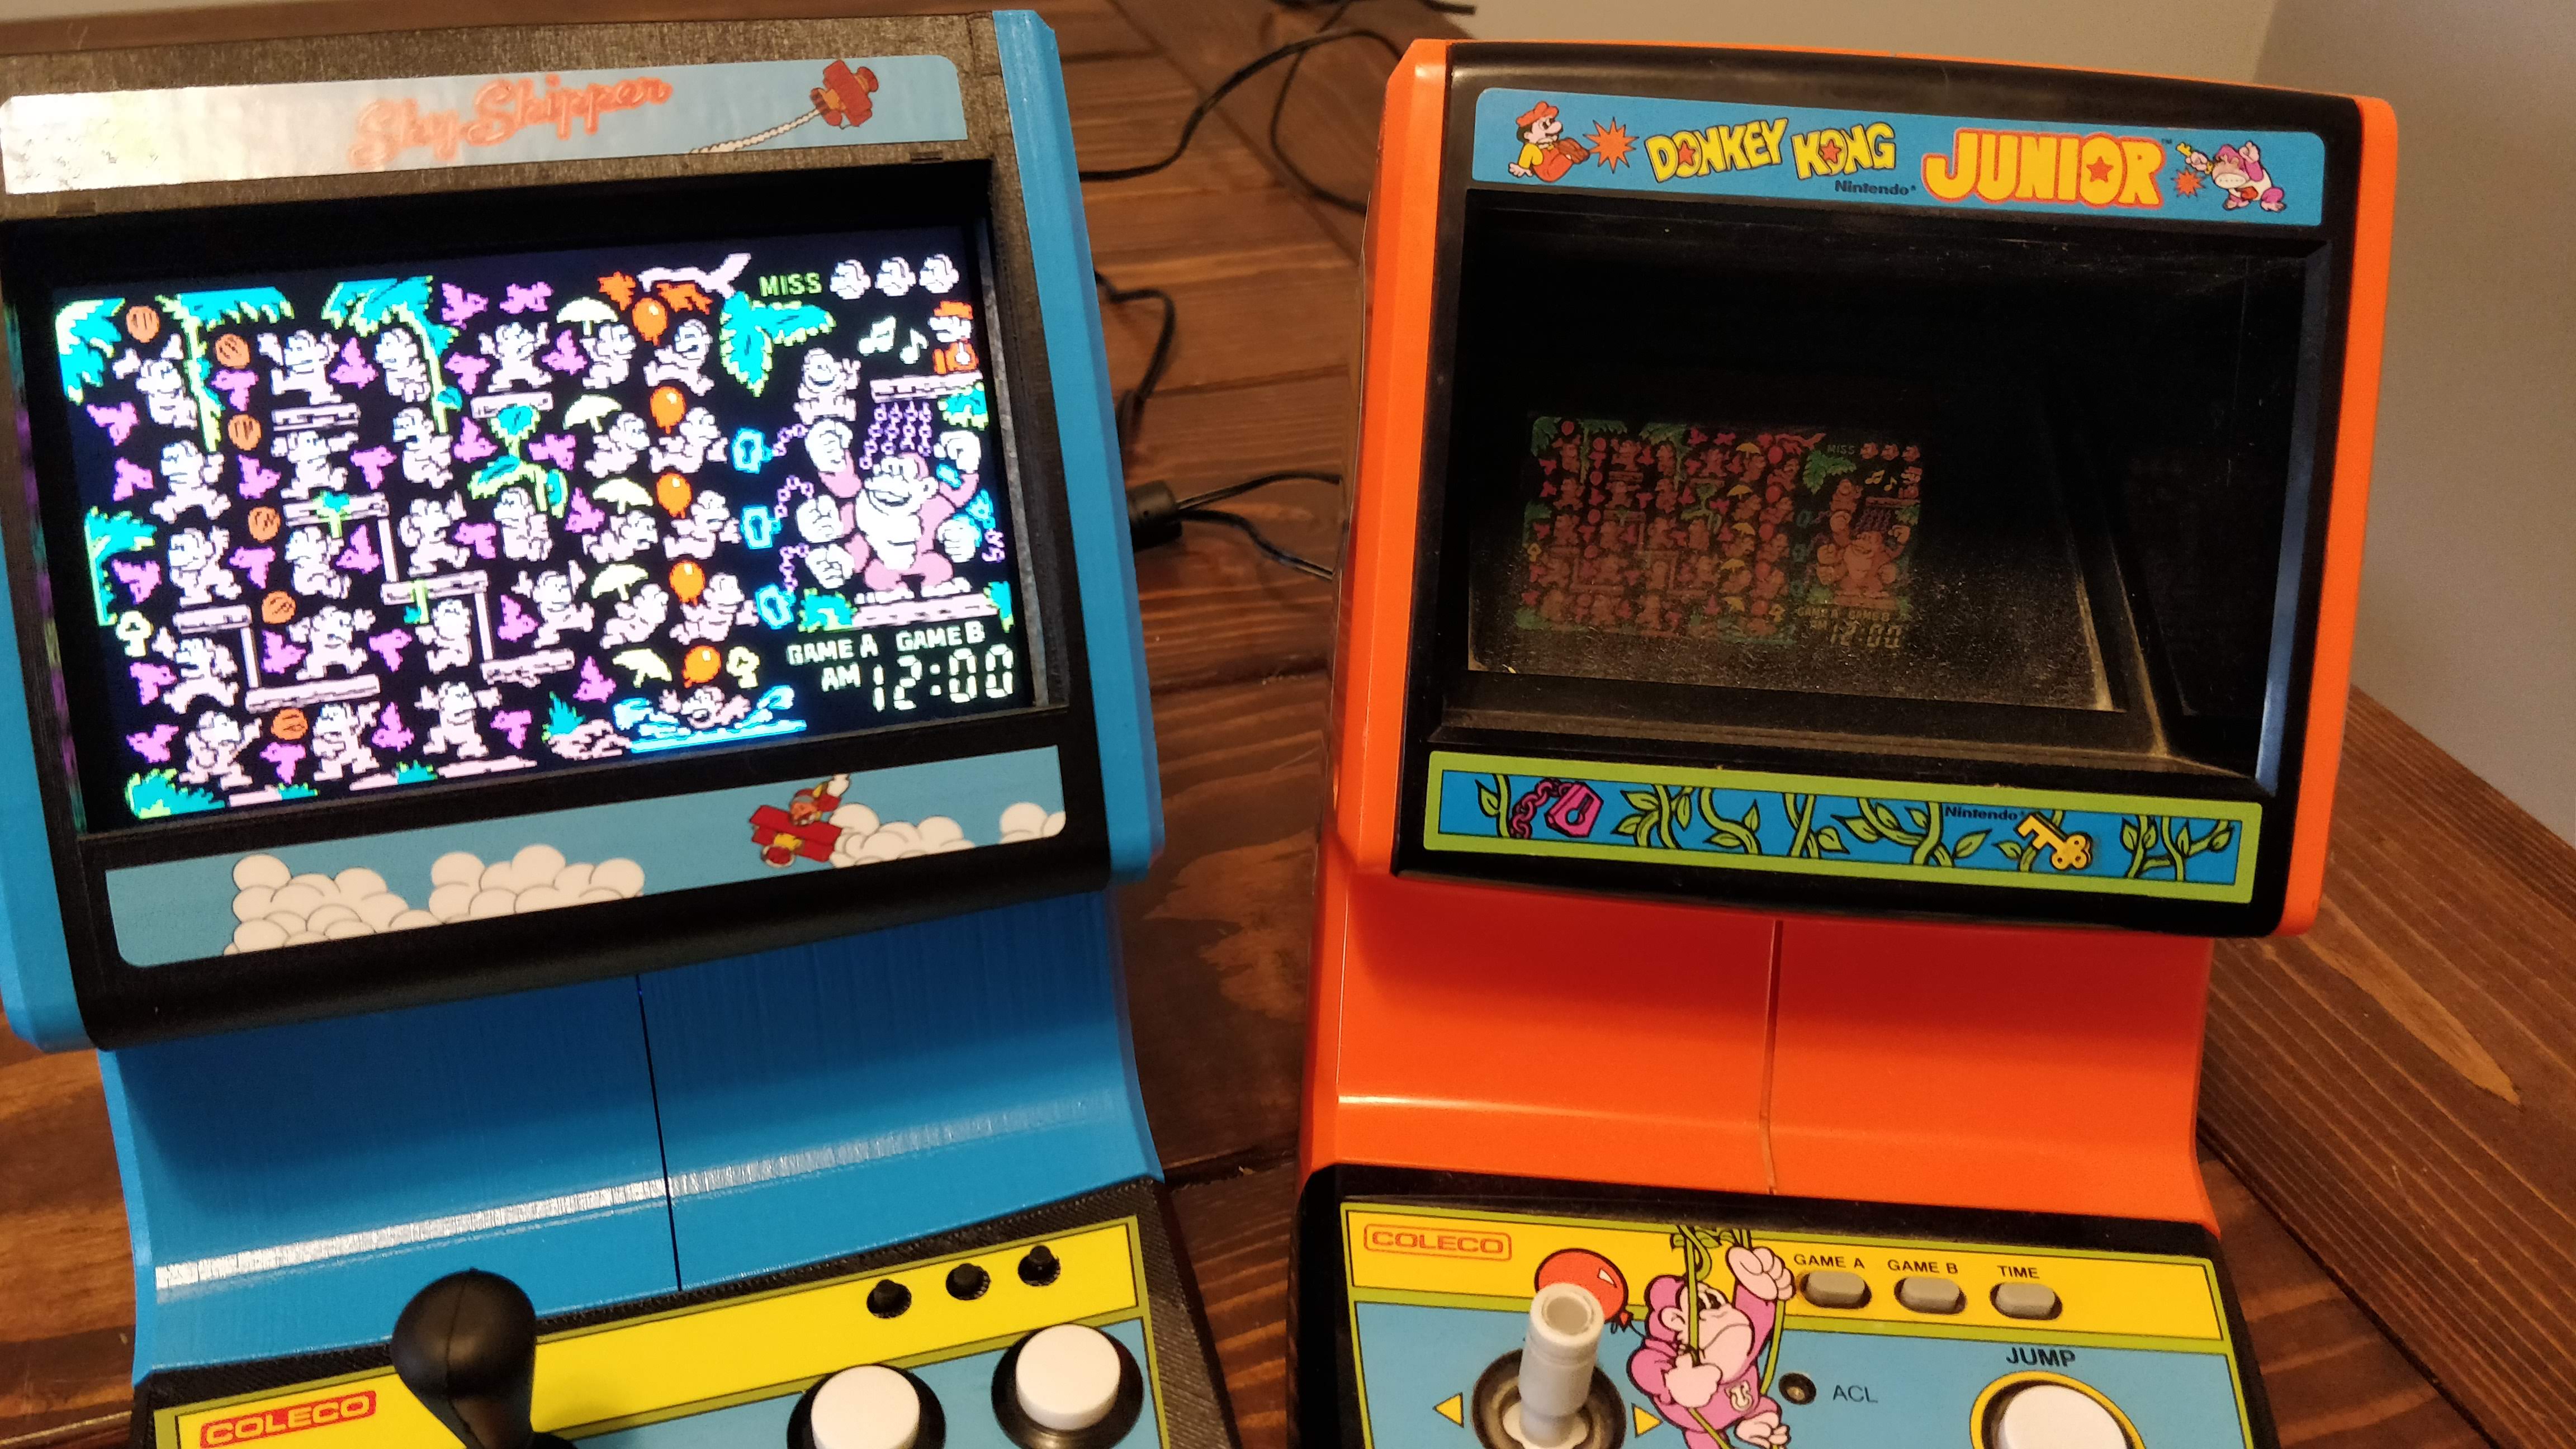
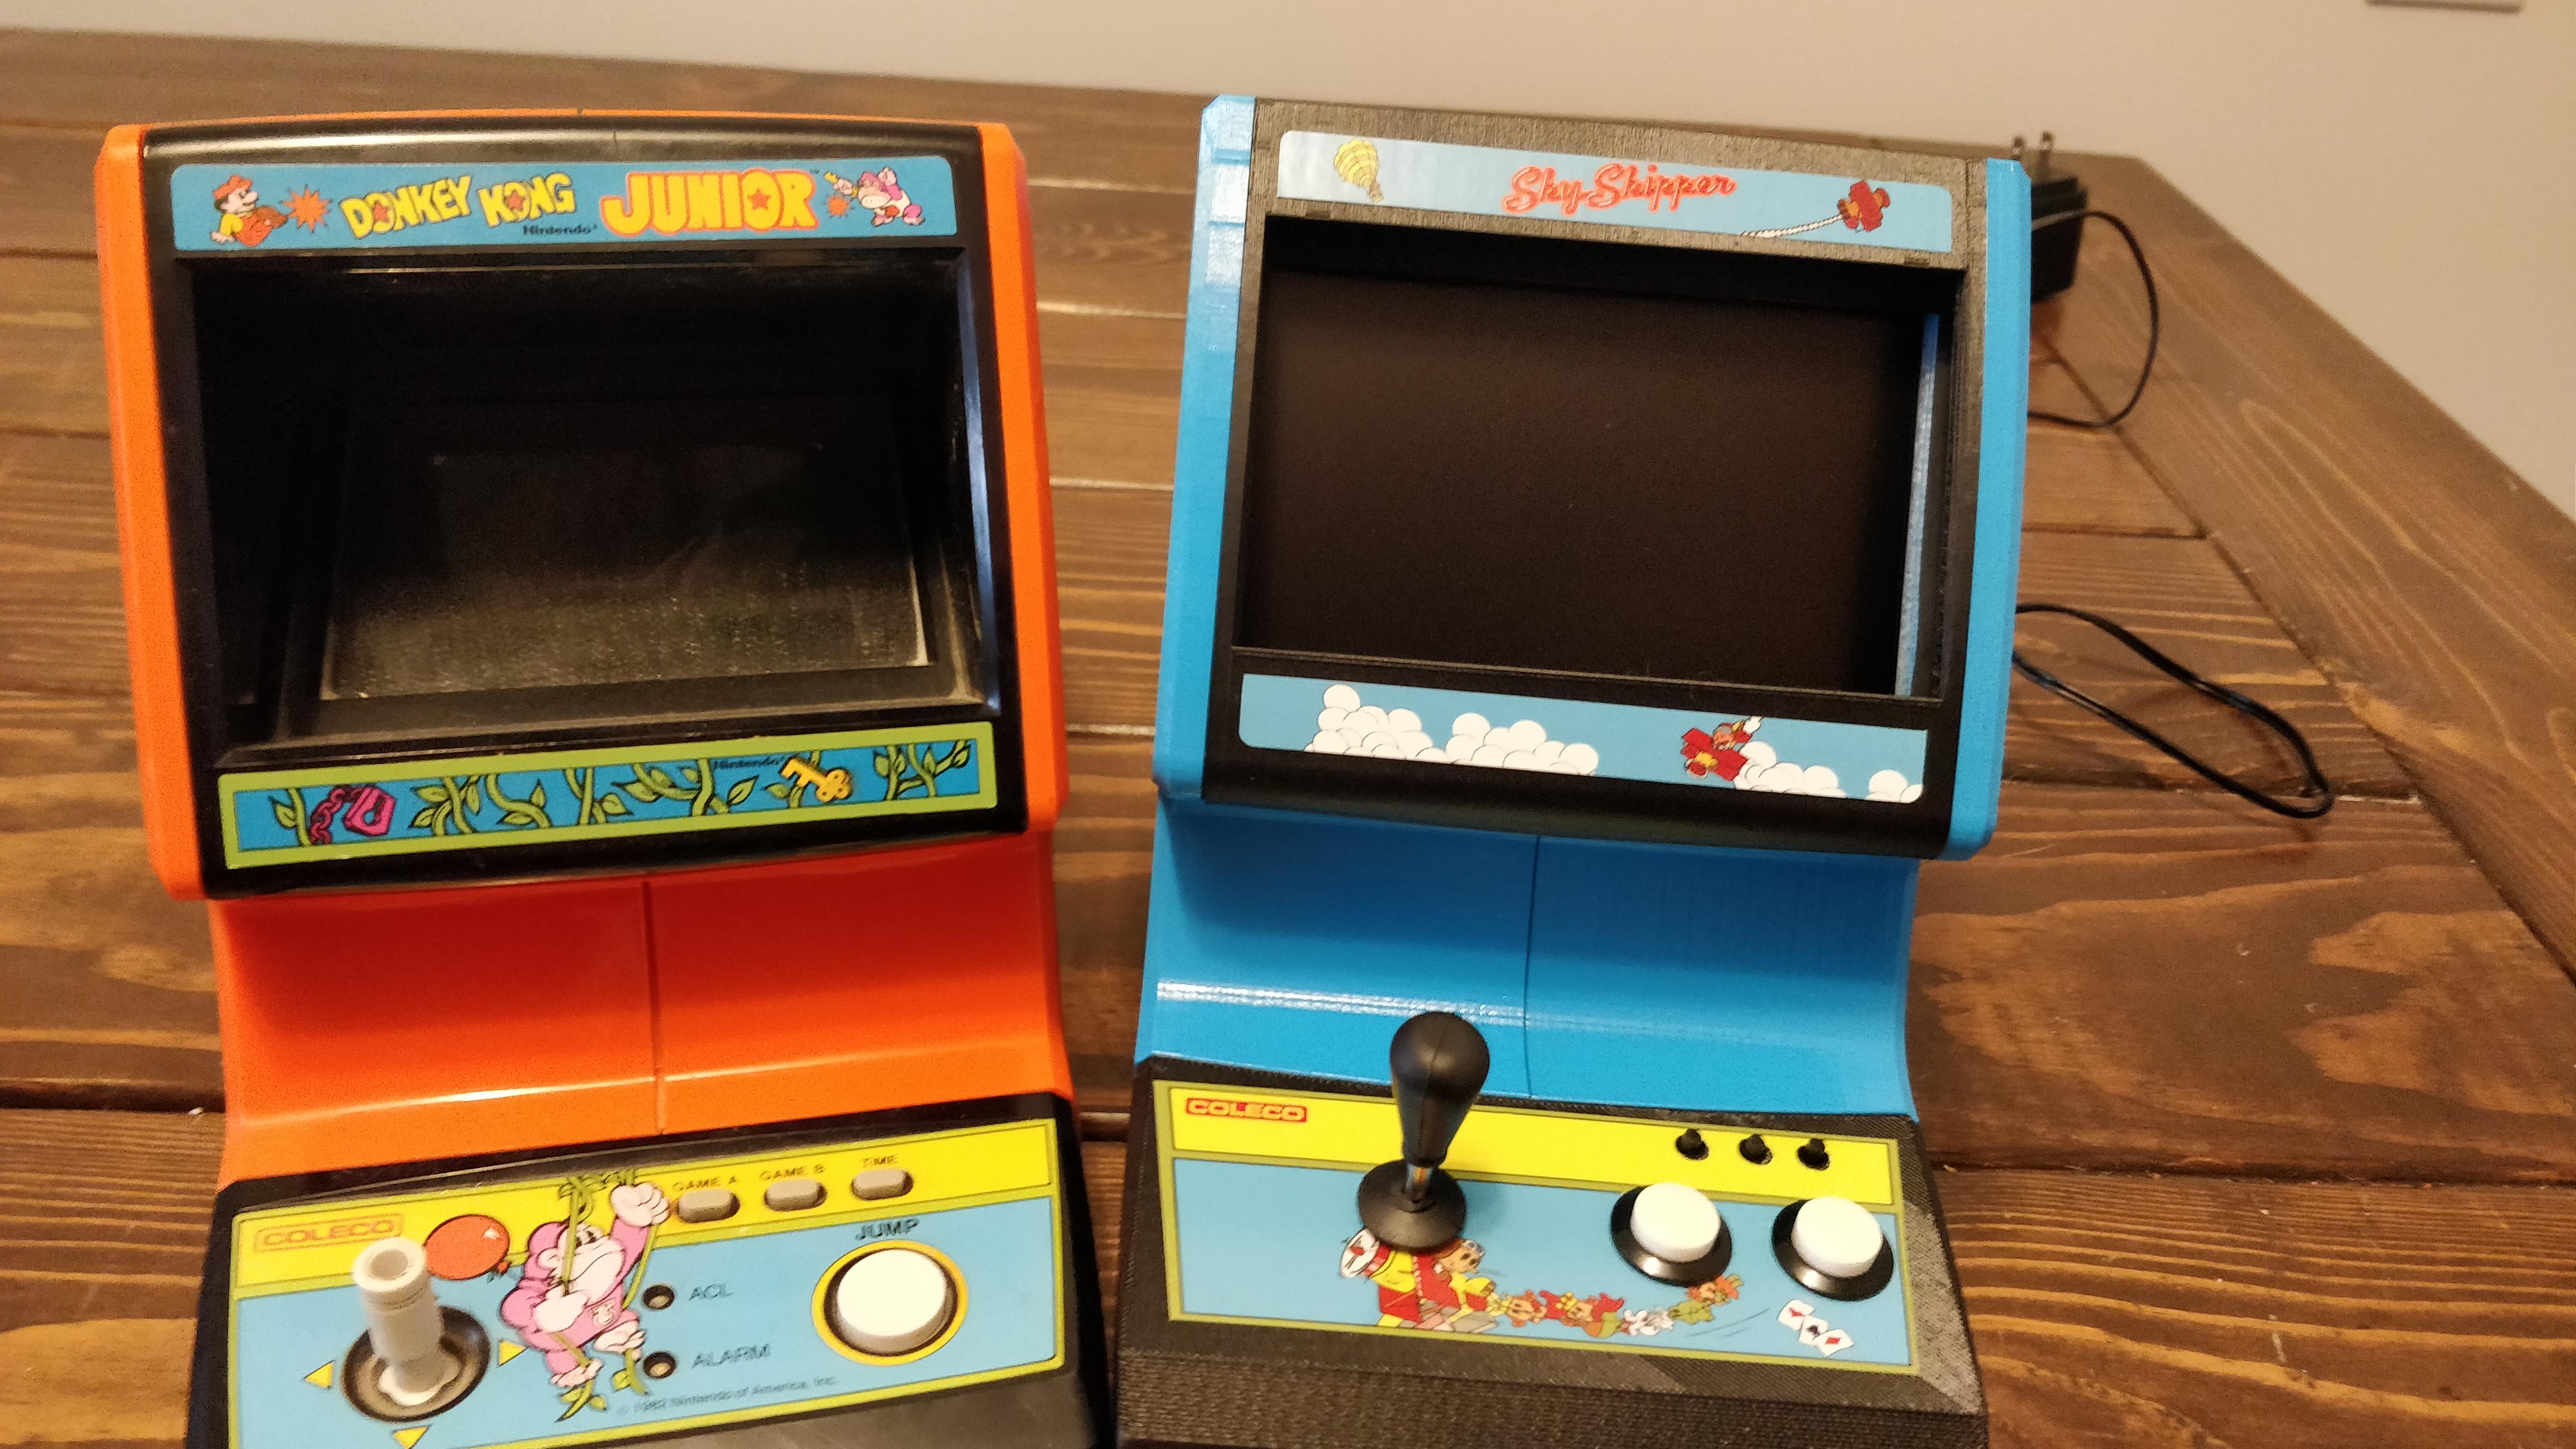
Another project is finished! This one is meant to mimic the Coleco Tabletop Donkey Kong Jr. game (which itself is mimicking the Game and Watch Tabletop games from Nintendo). It’s time to see the Coleco Sky Skipper!
Funny enough, this is actual my first build using a Raspberry Pi. Be sure to read all my other posts for some of the introduction stuff to that.
Painting and Theme Picking
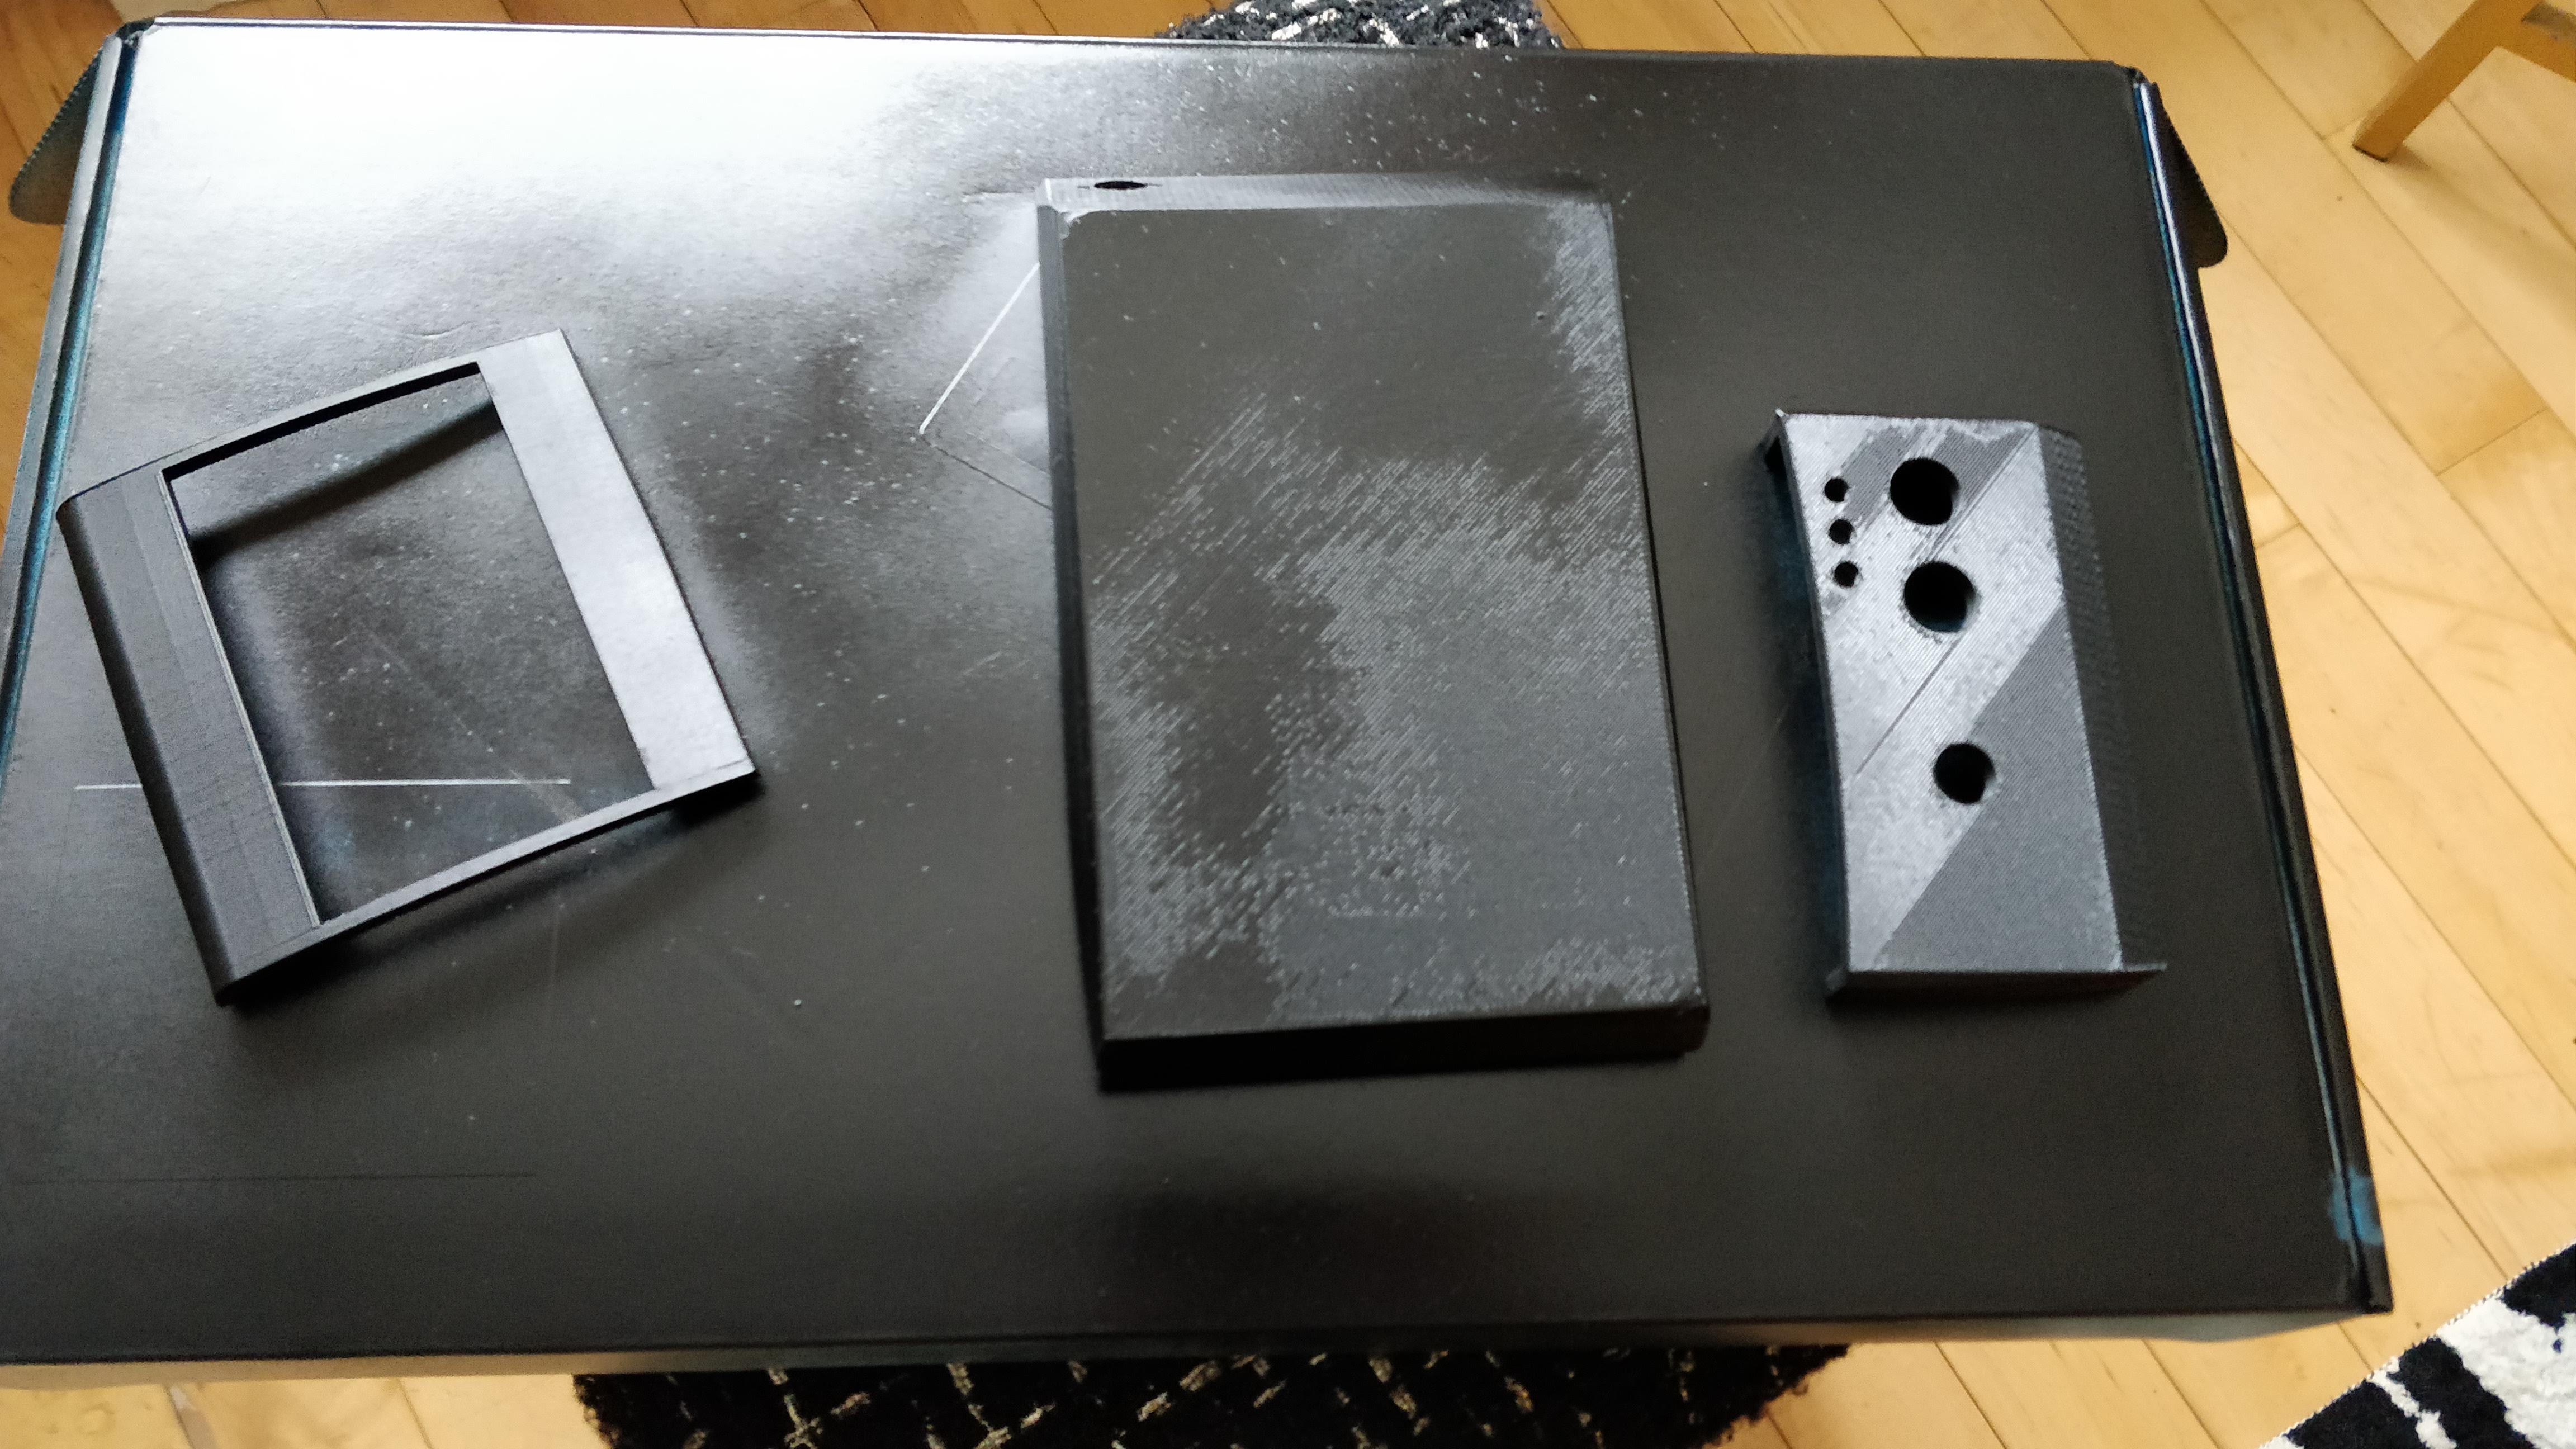
After finalizing my 3D digital design and getting my shell 3D printed it was time to paint this bad boy! I’ve been keeping it on the down low but now it’s time to reveal my theme…
Sky Skipper
How and why did I pick sky skipper? Well, this game will most replicate the Donkey Kong Jr game by Coleco, which meant it had to be Nintendo. I didn’t want it to be a Nintendo game that Coleco had already published of course (eliminating DK, DK Jr.). I didn’t want it to be a Nintendo game that their Game and Watch series covered either (eliminating Popeye, Mario Bros, and many more).
I also needed it to be a game that the older versions of MAME on Raspberry Pi could play. I wouldn’t be programming a custom game for this one.
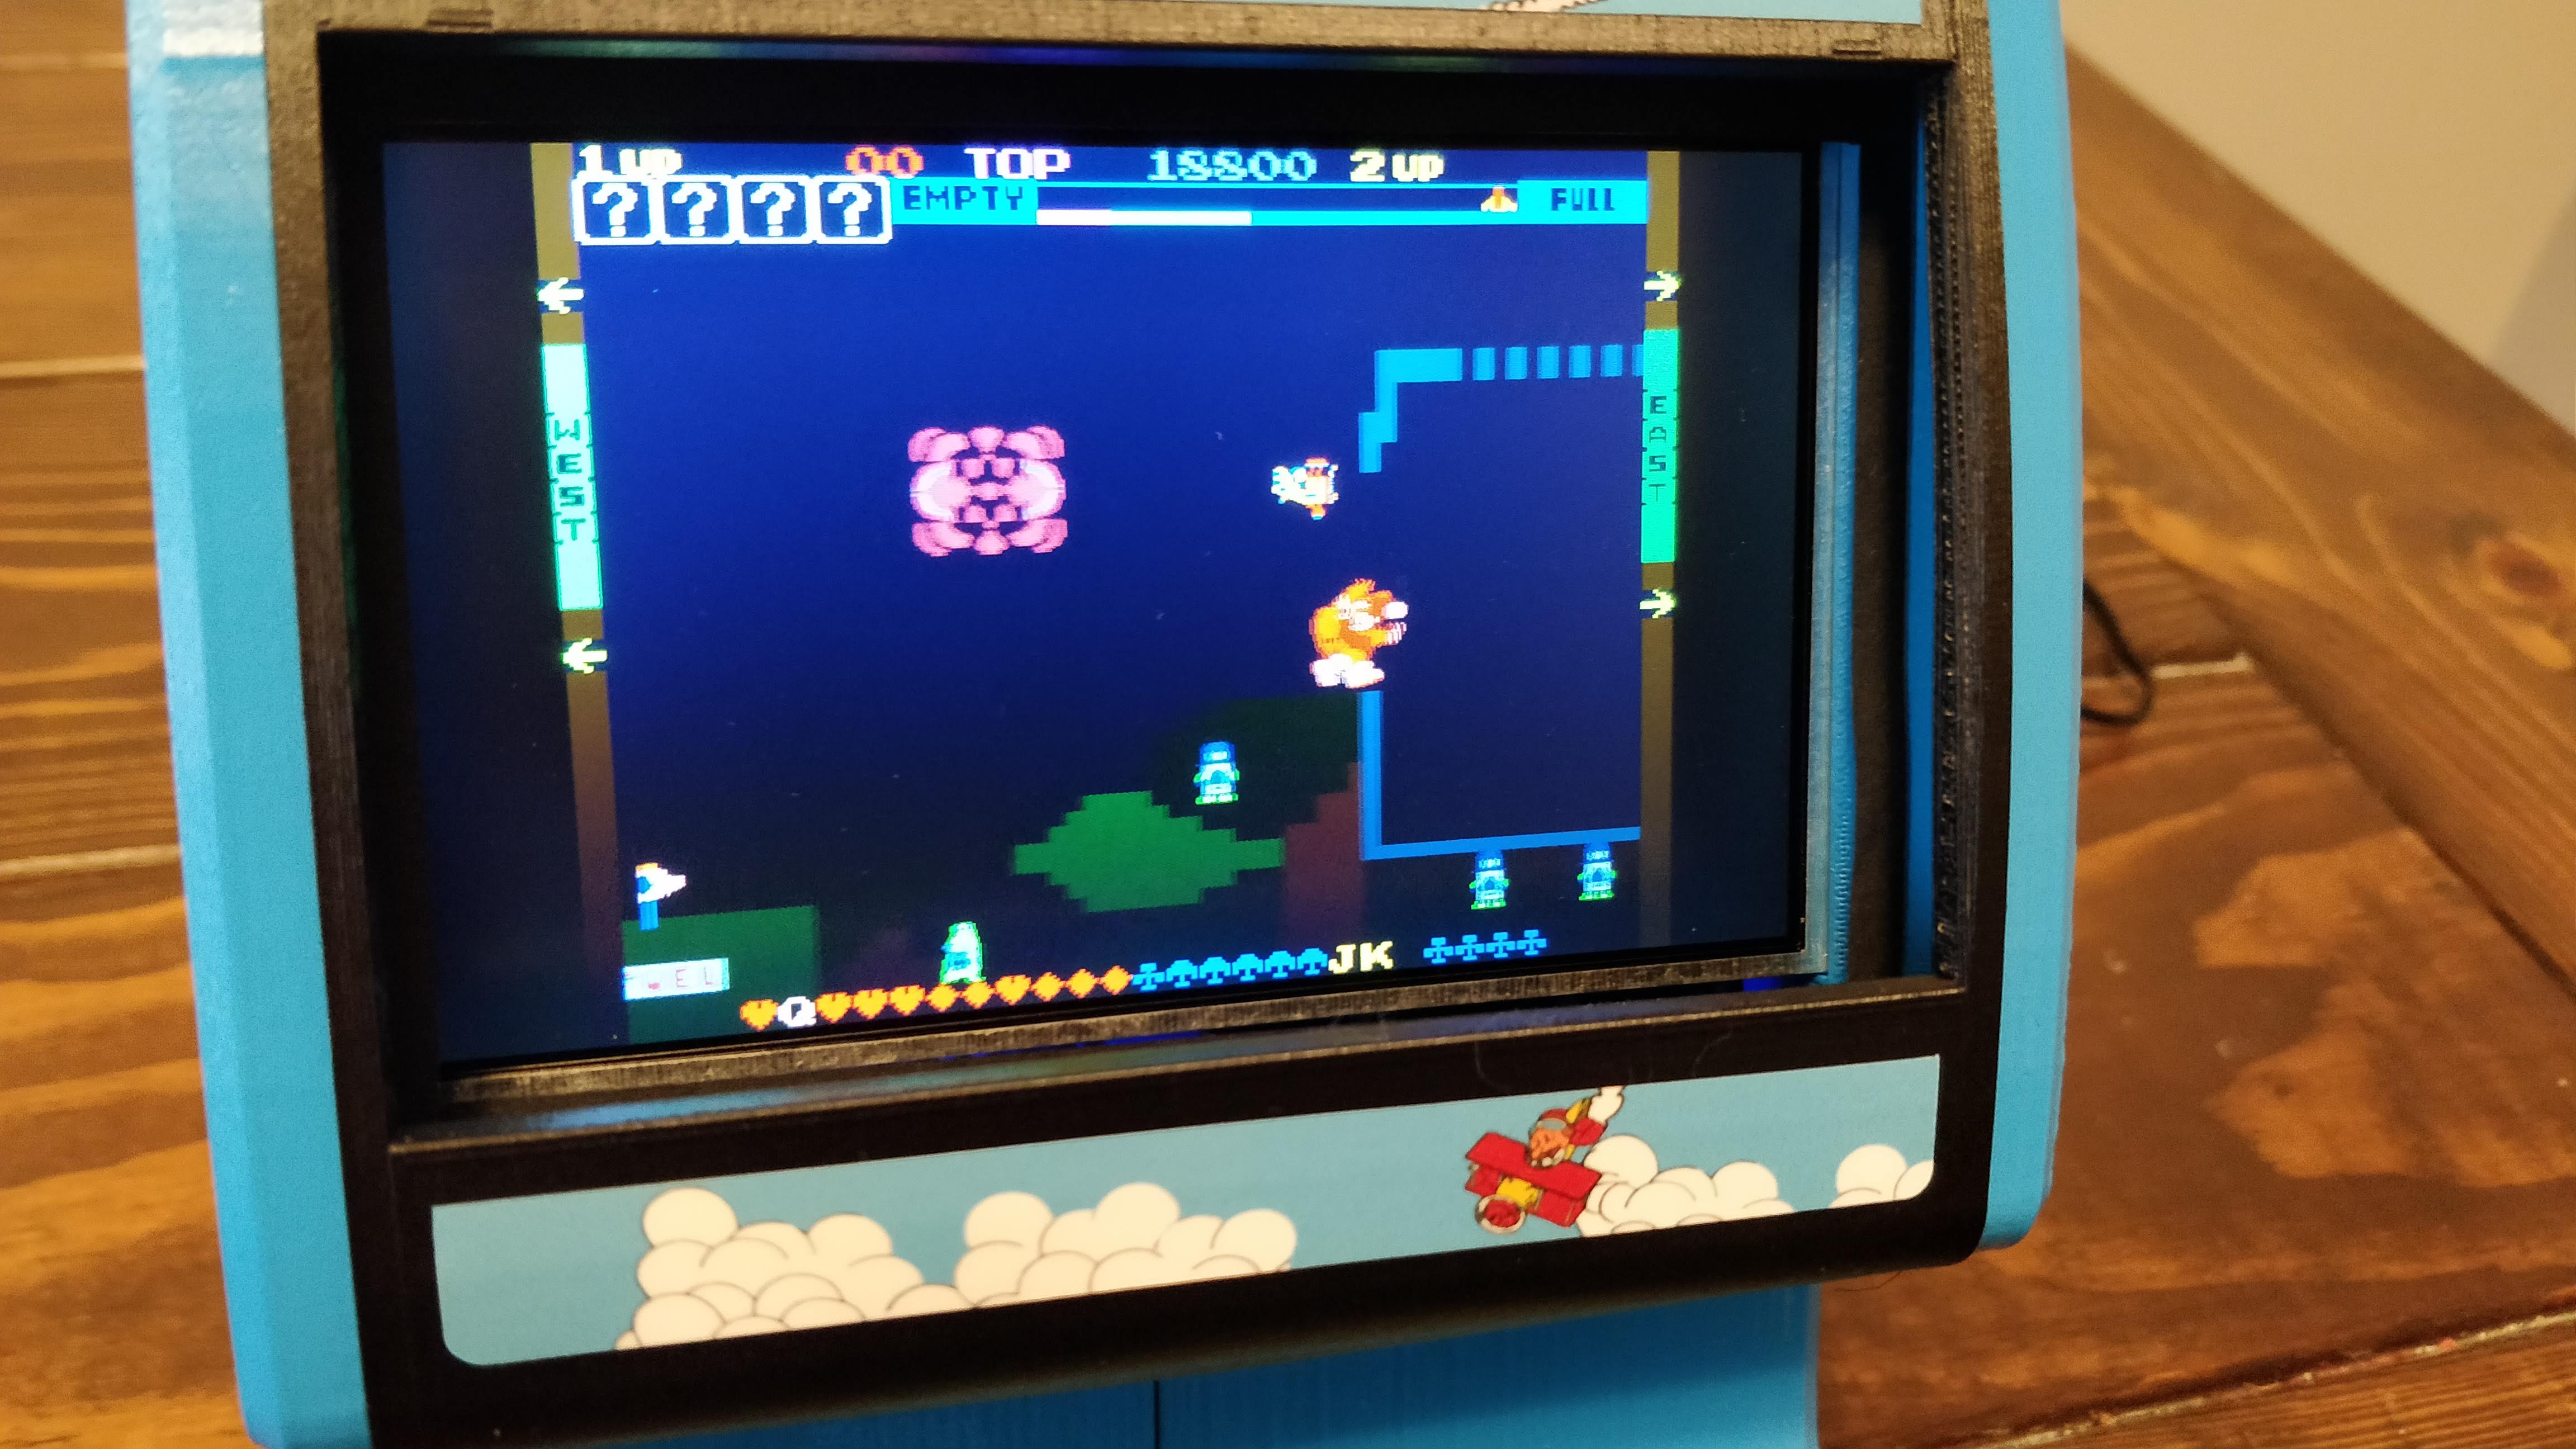
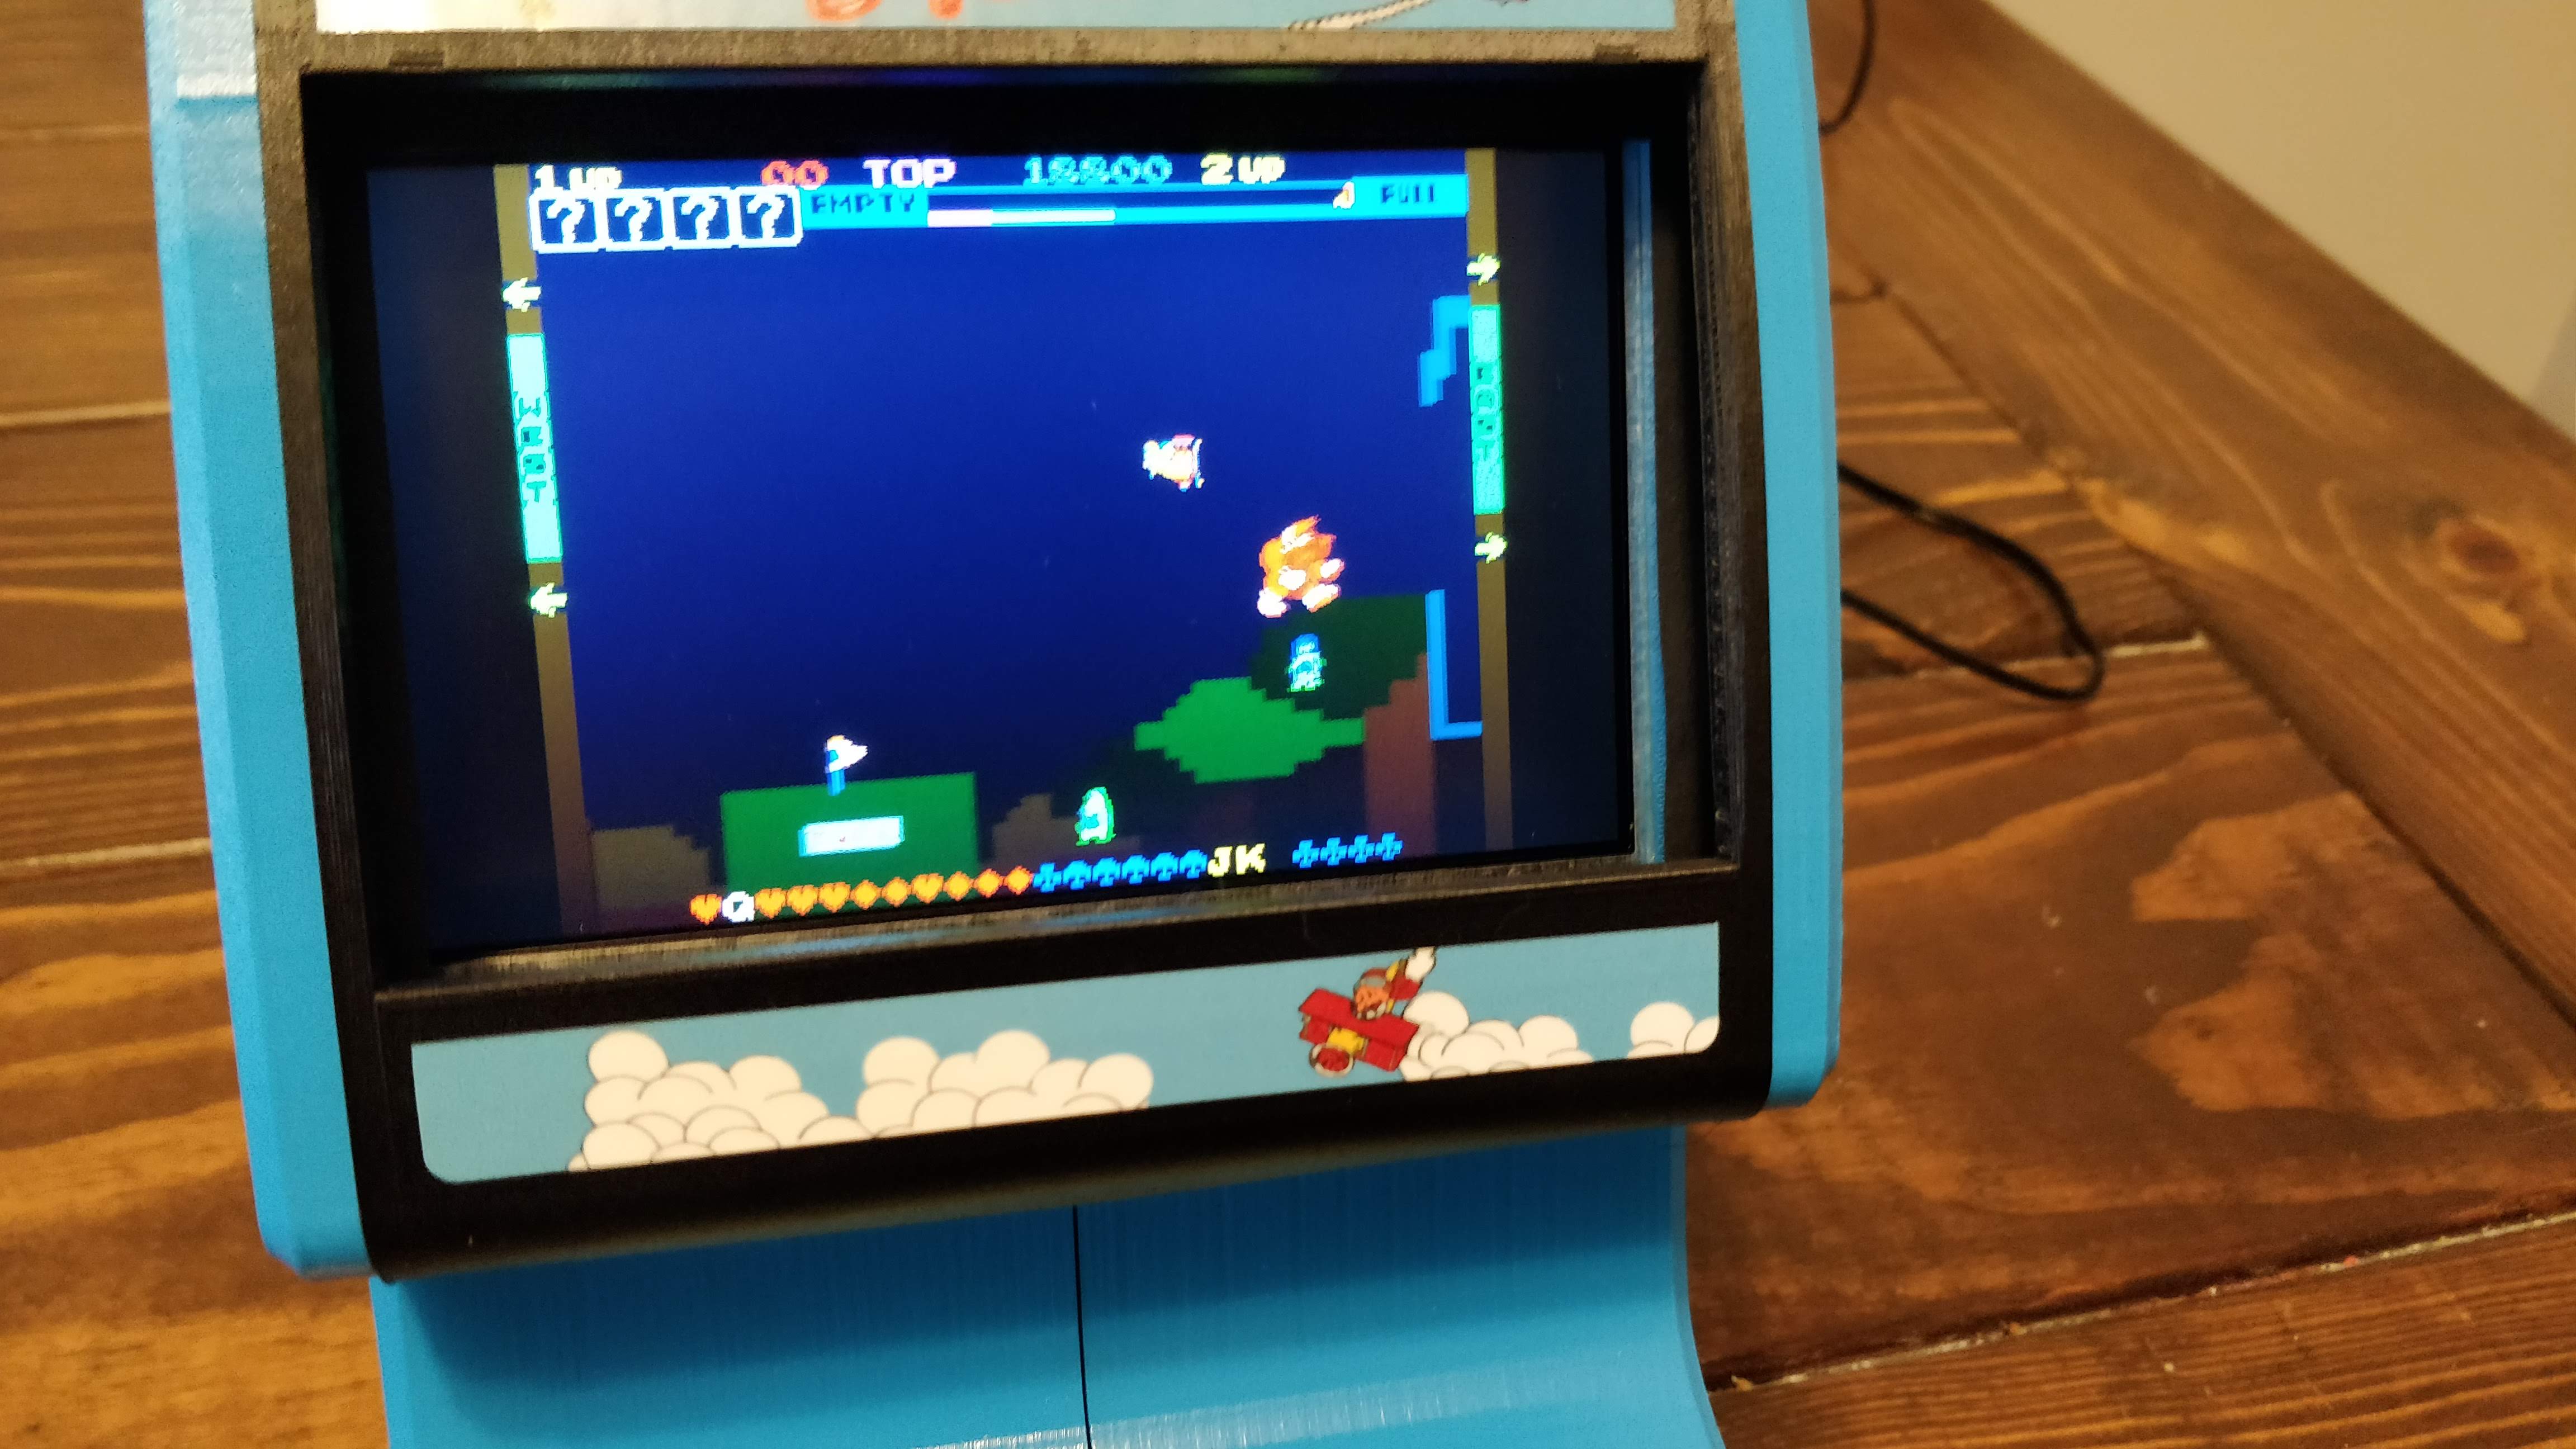
Skyskipper was one of the few choices left! It’s horizontal, by Nintendo, and neither Coleco or Nintendo ever made a handheld version of it. It’s also playable in MAME 0.78
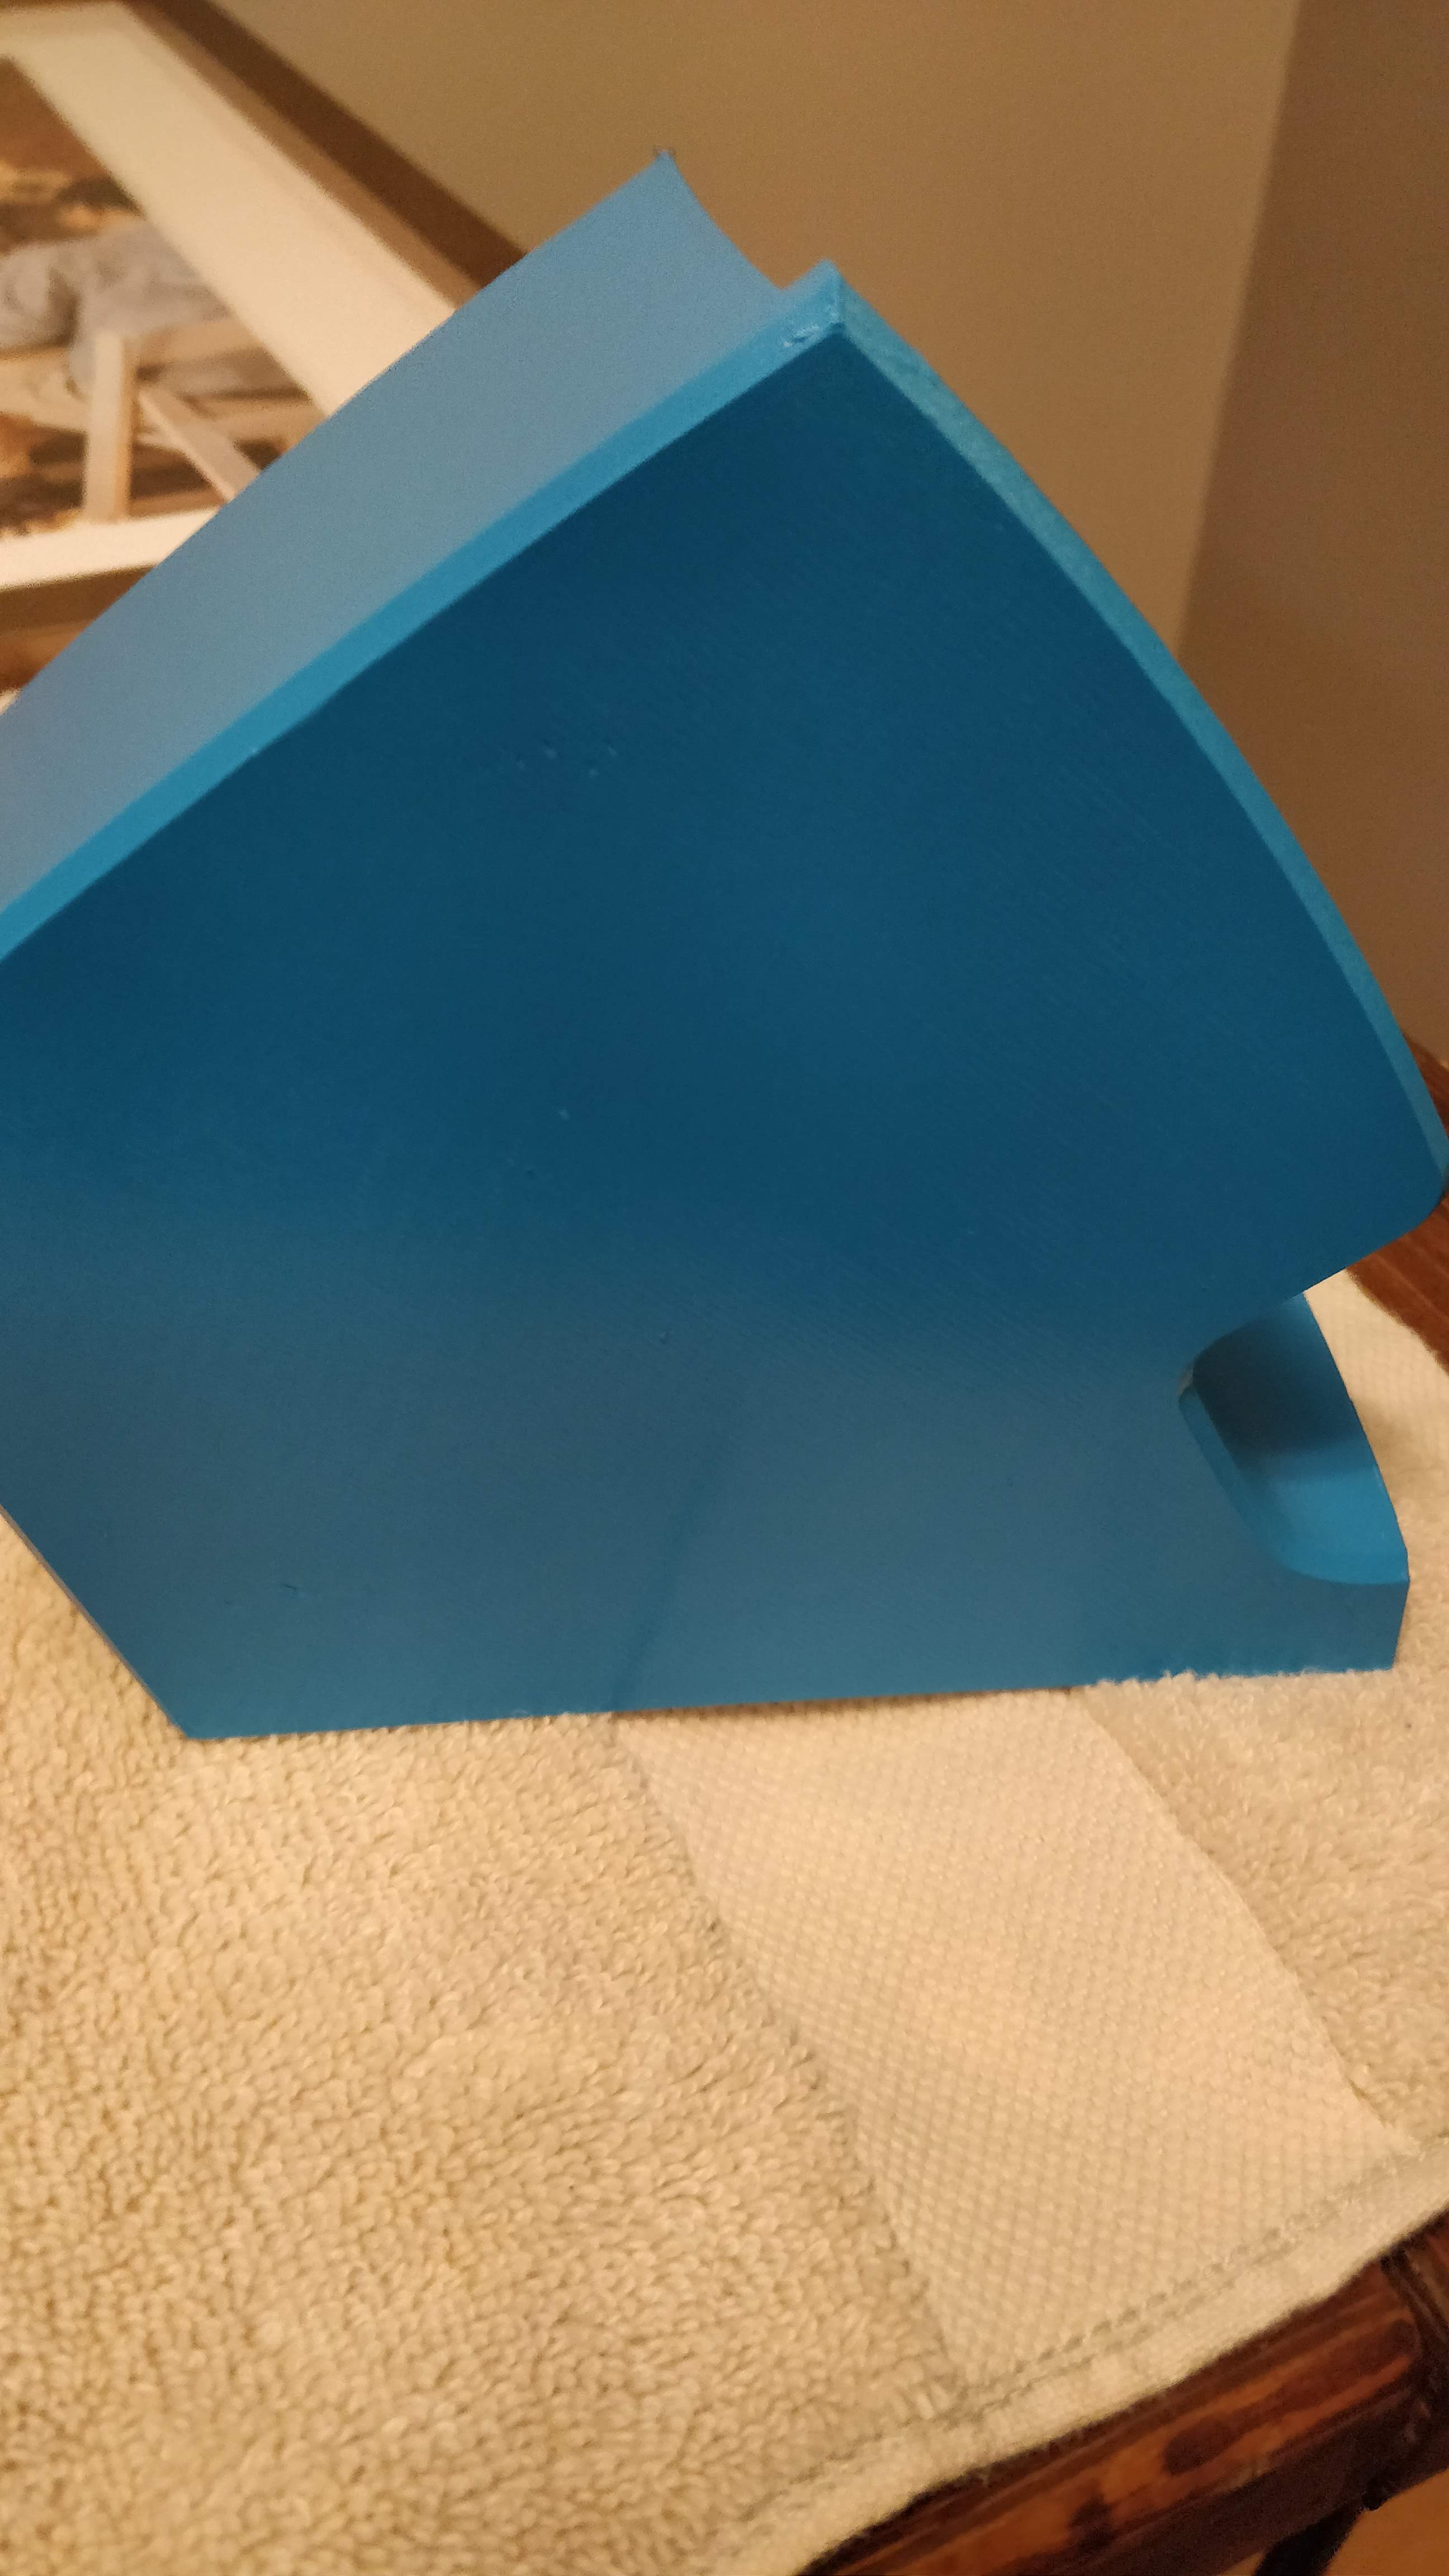
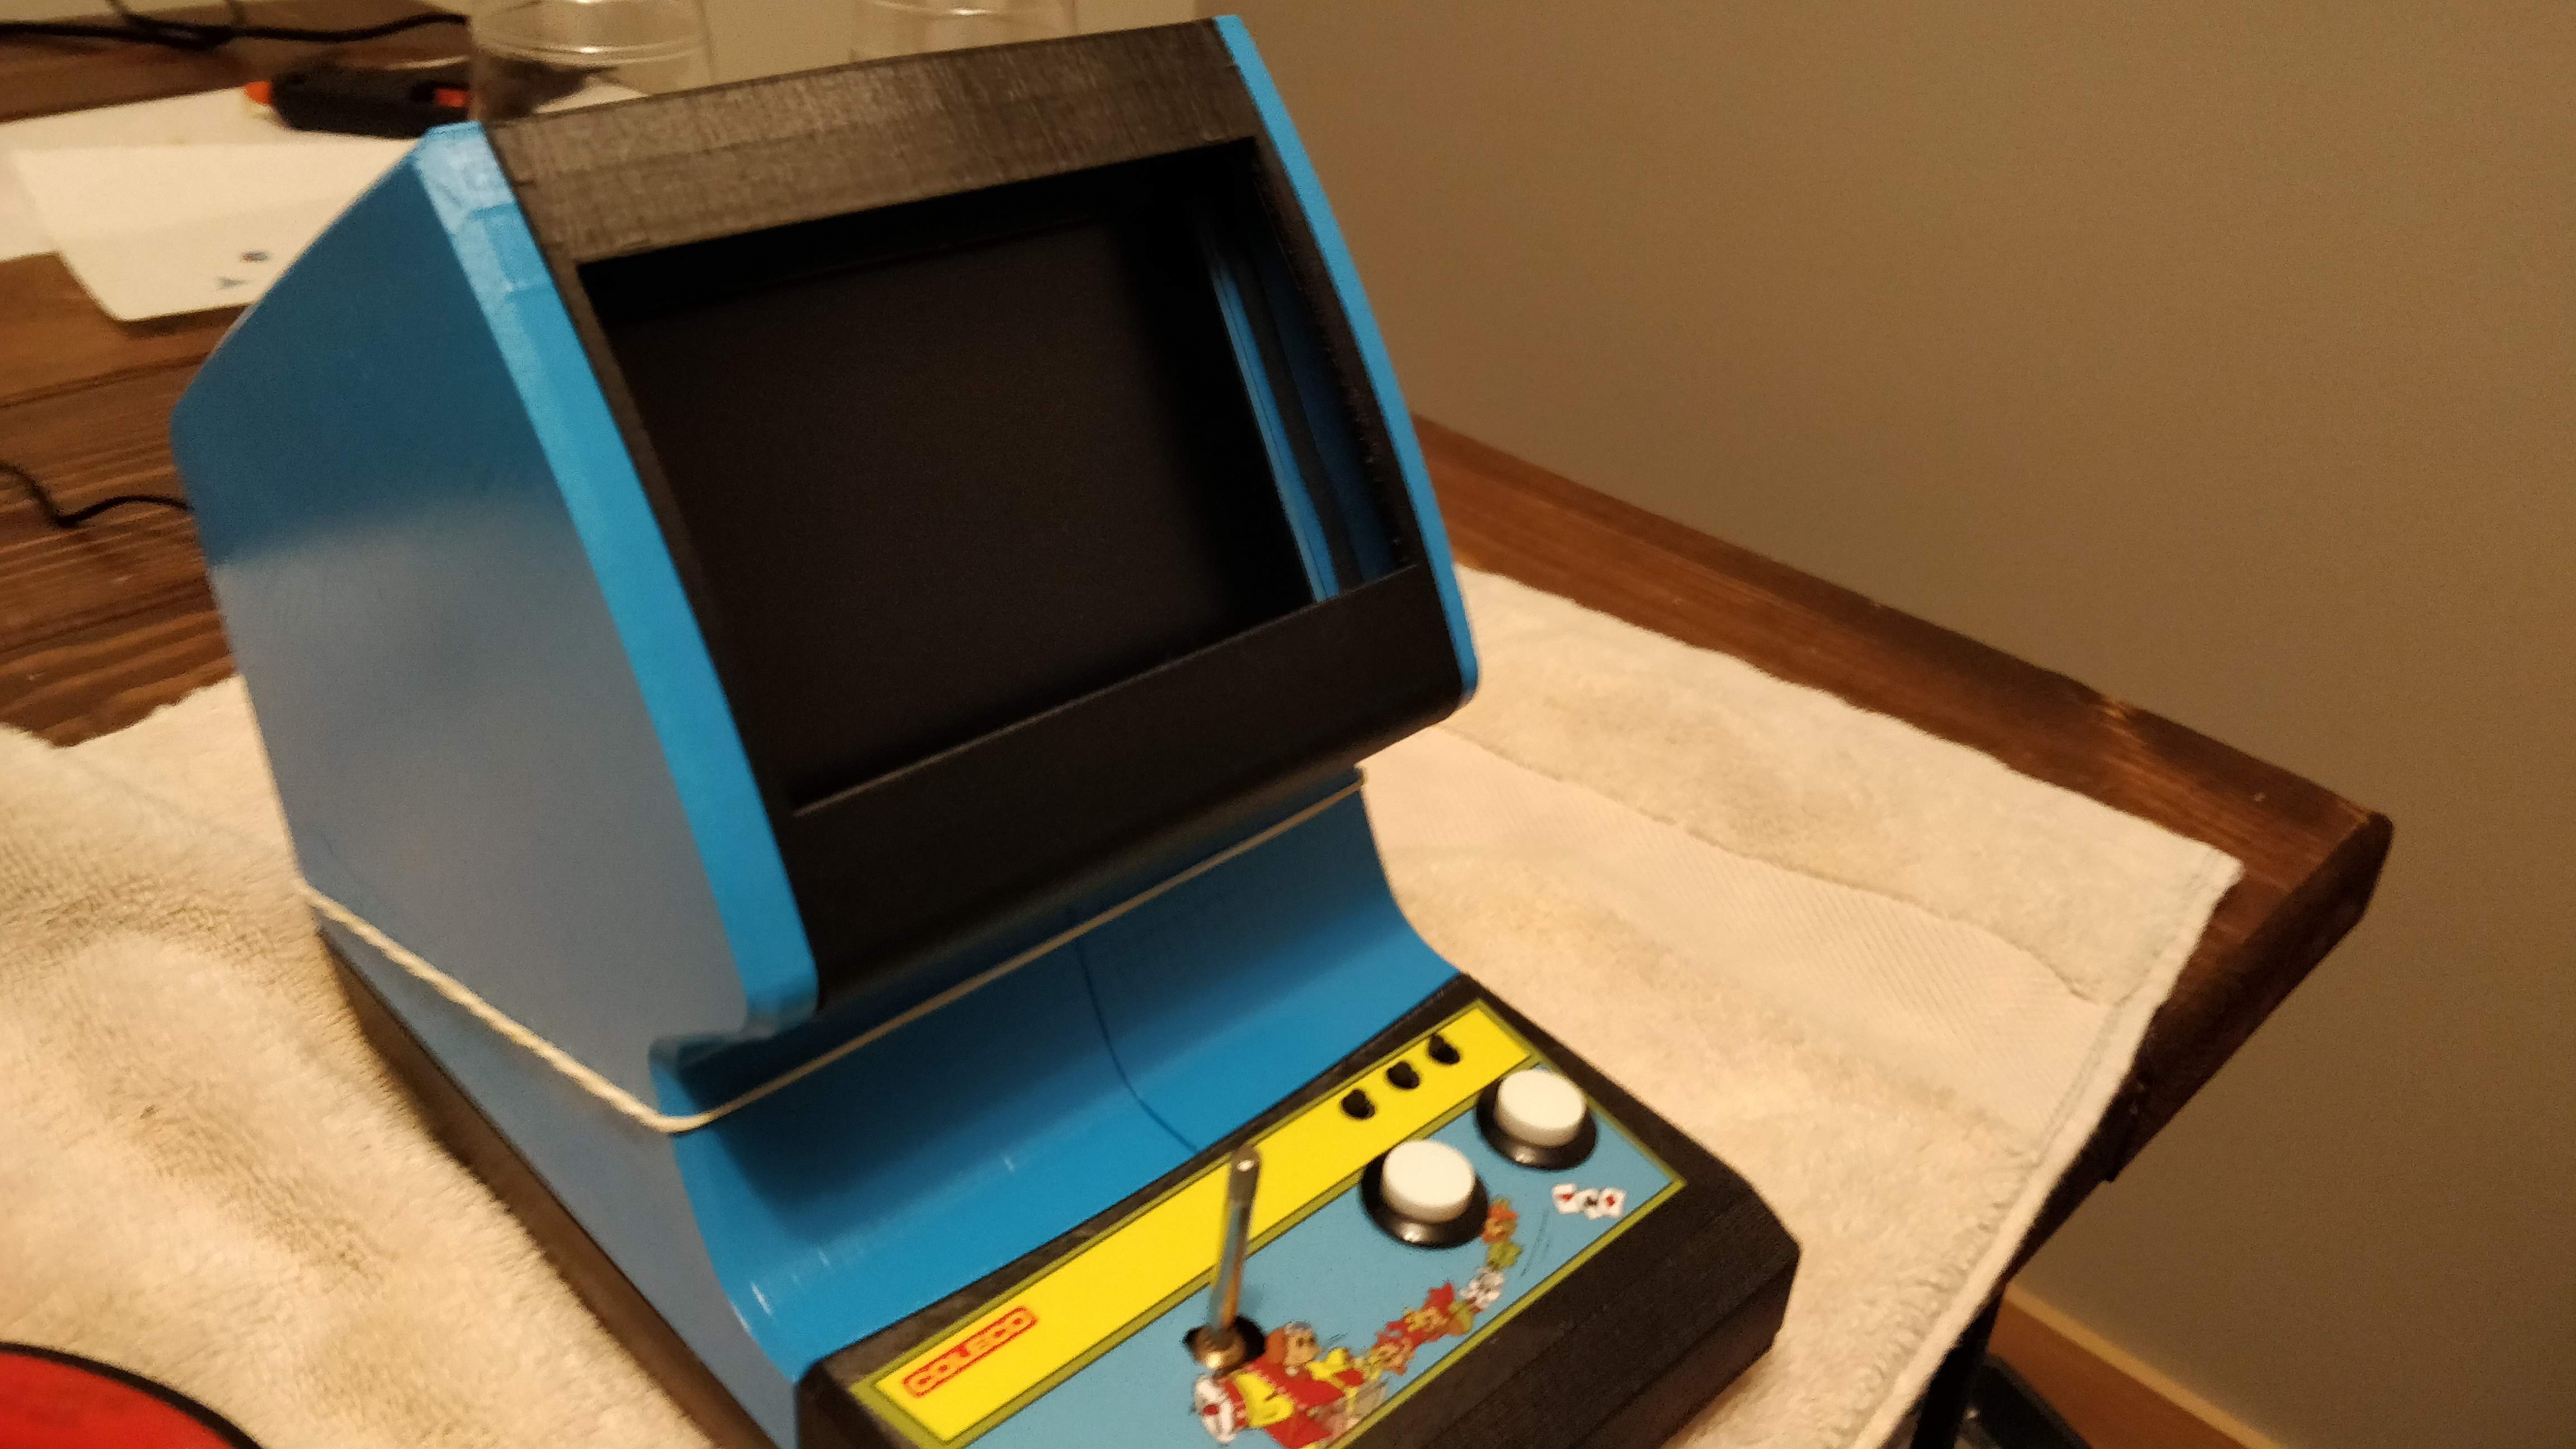
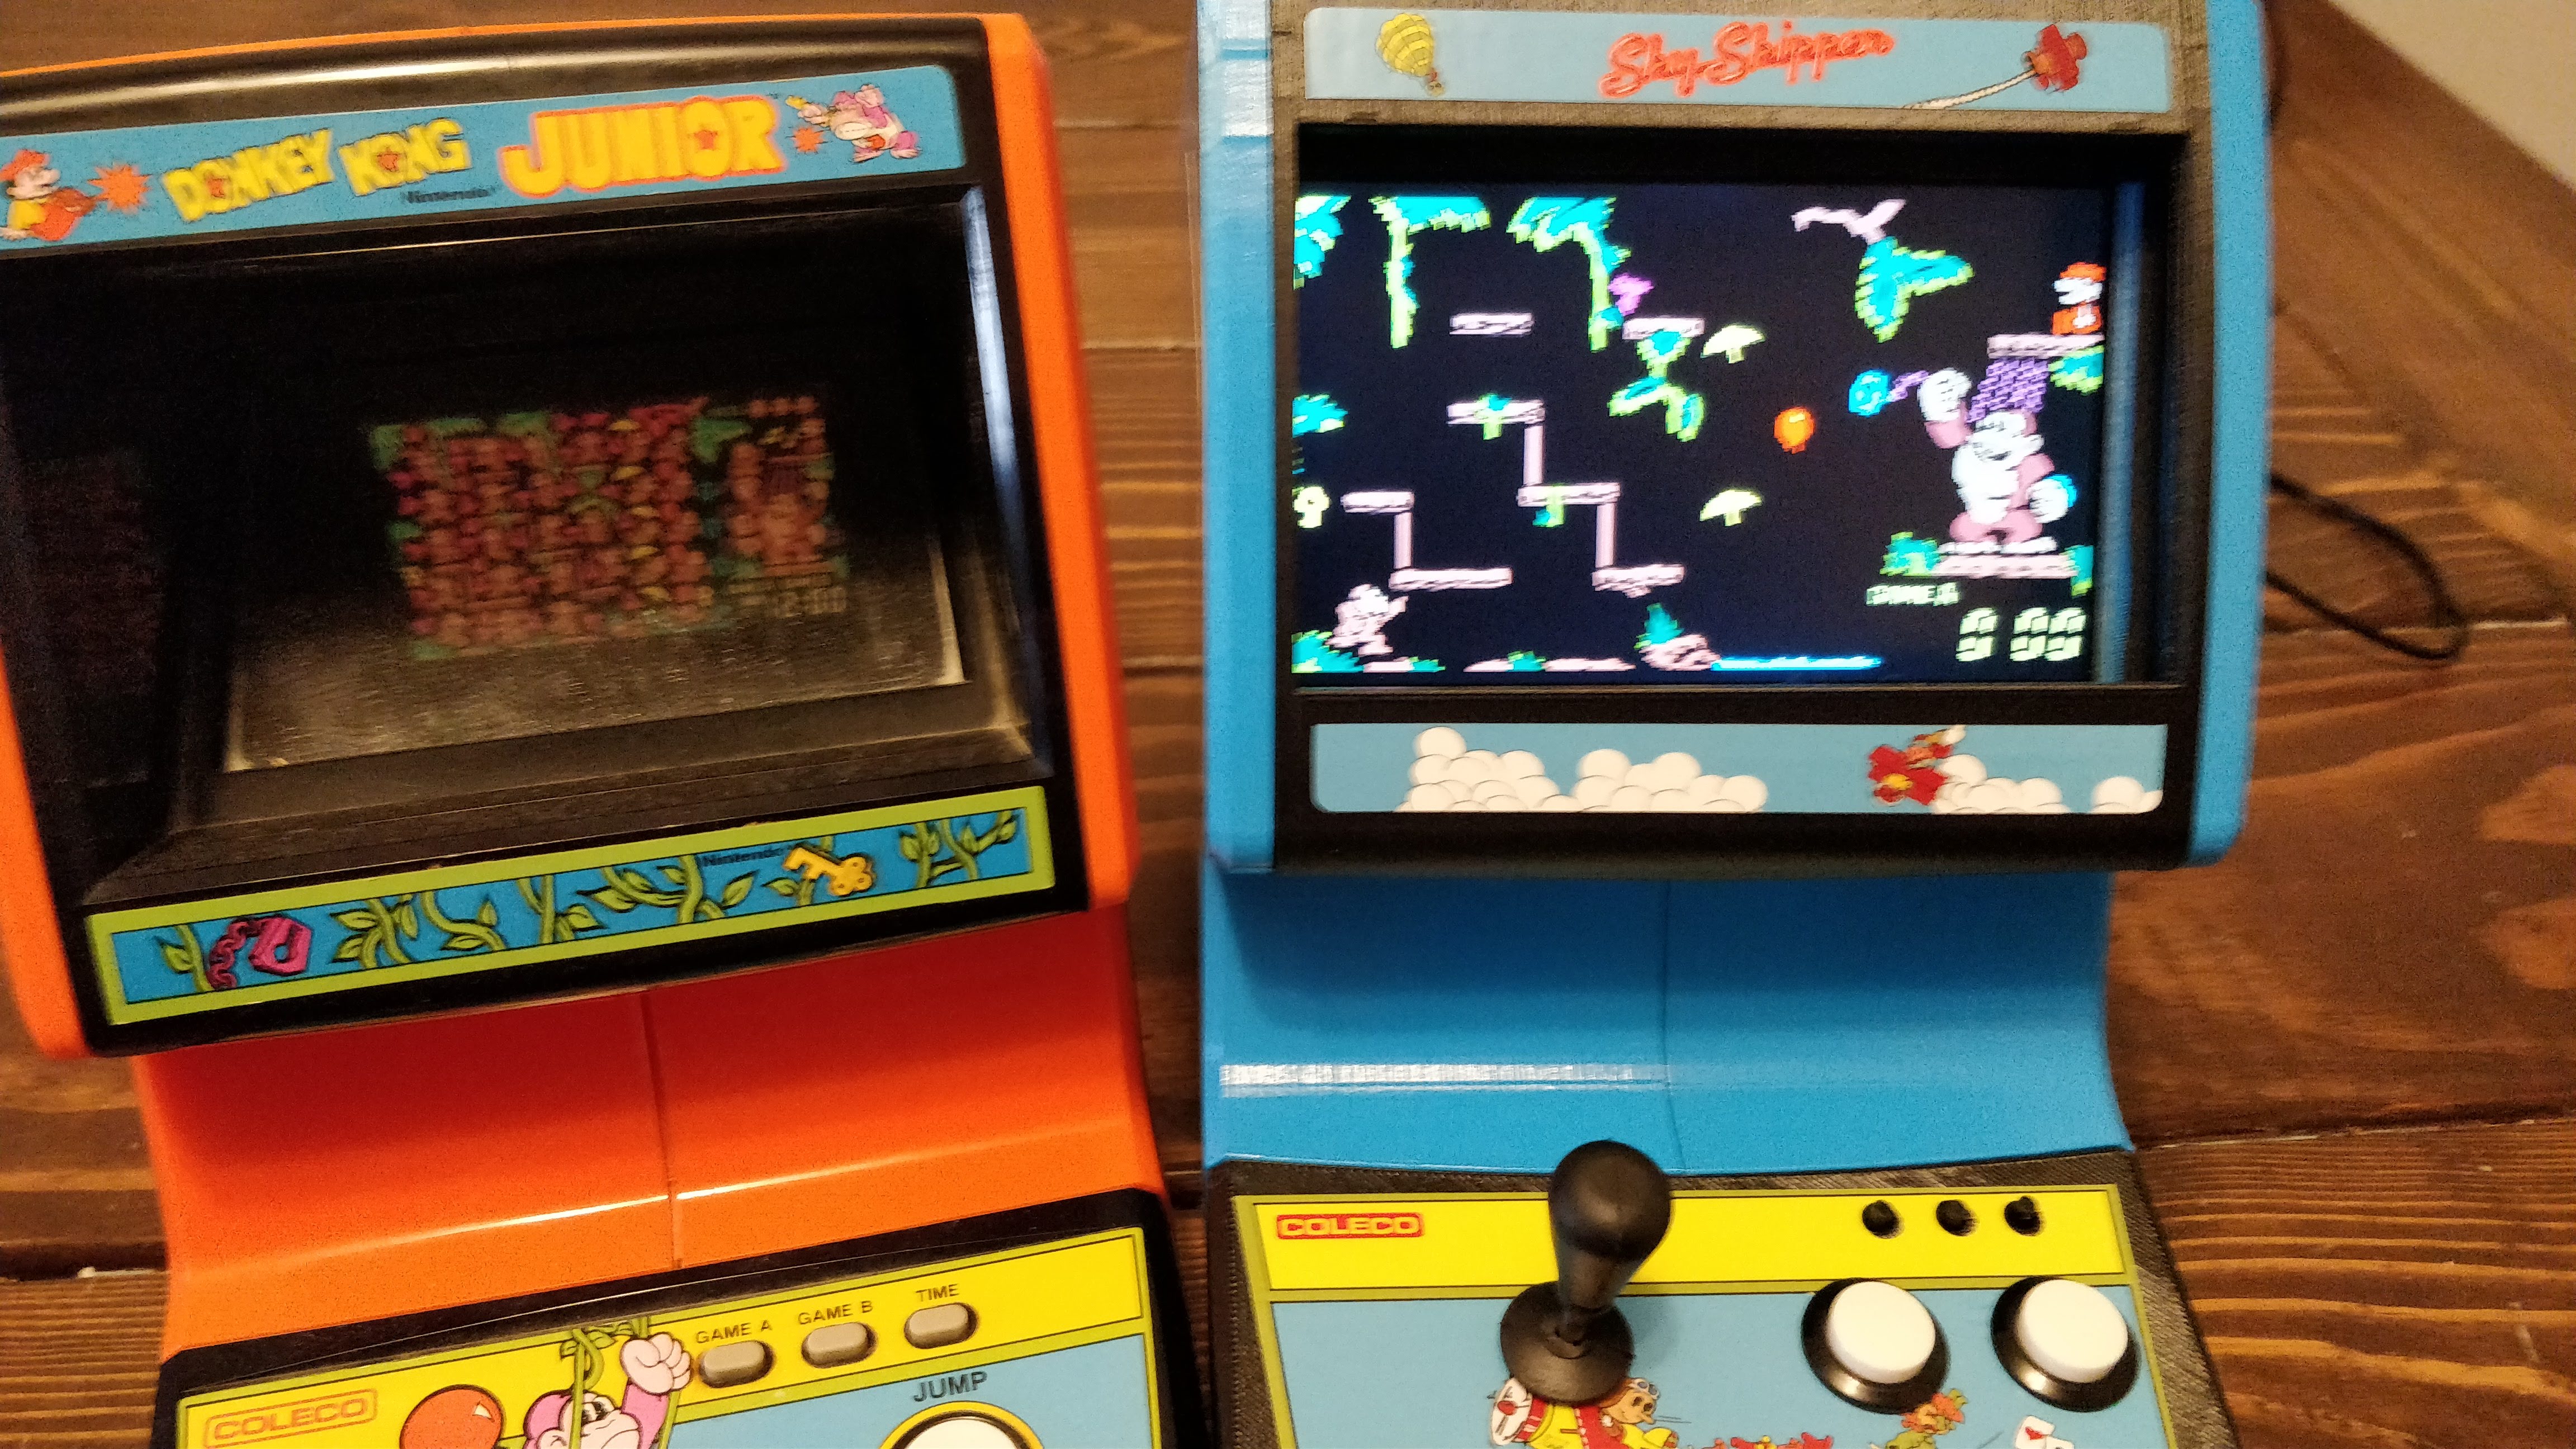
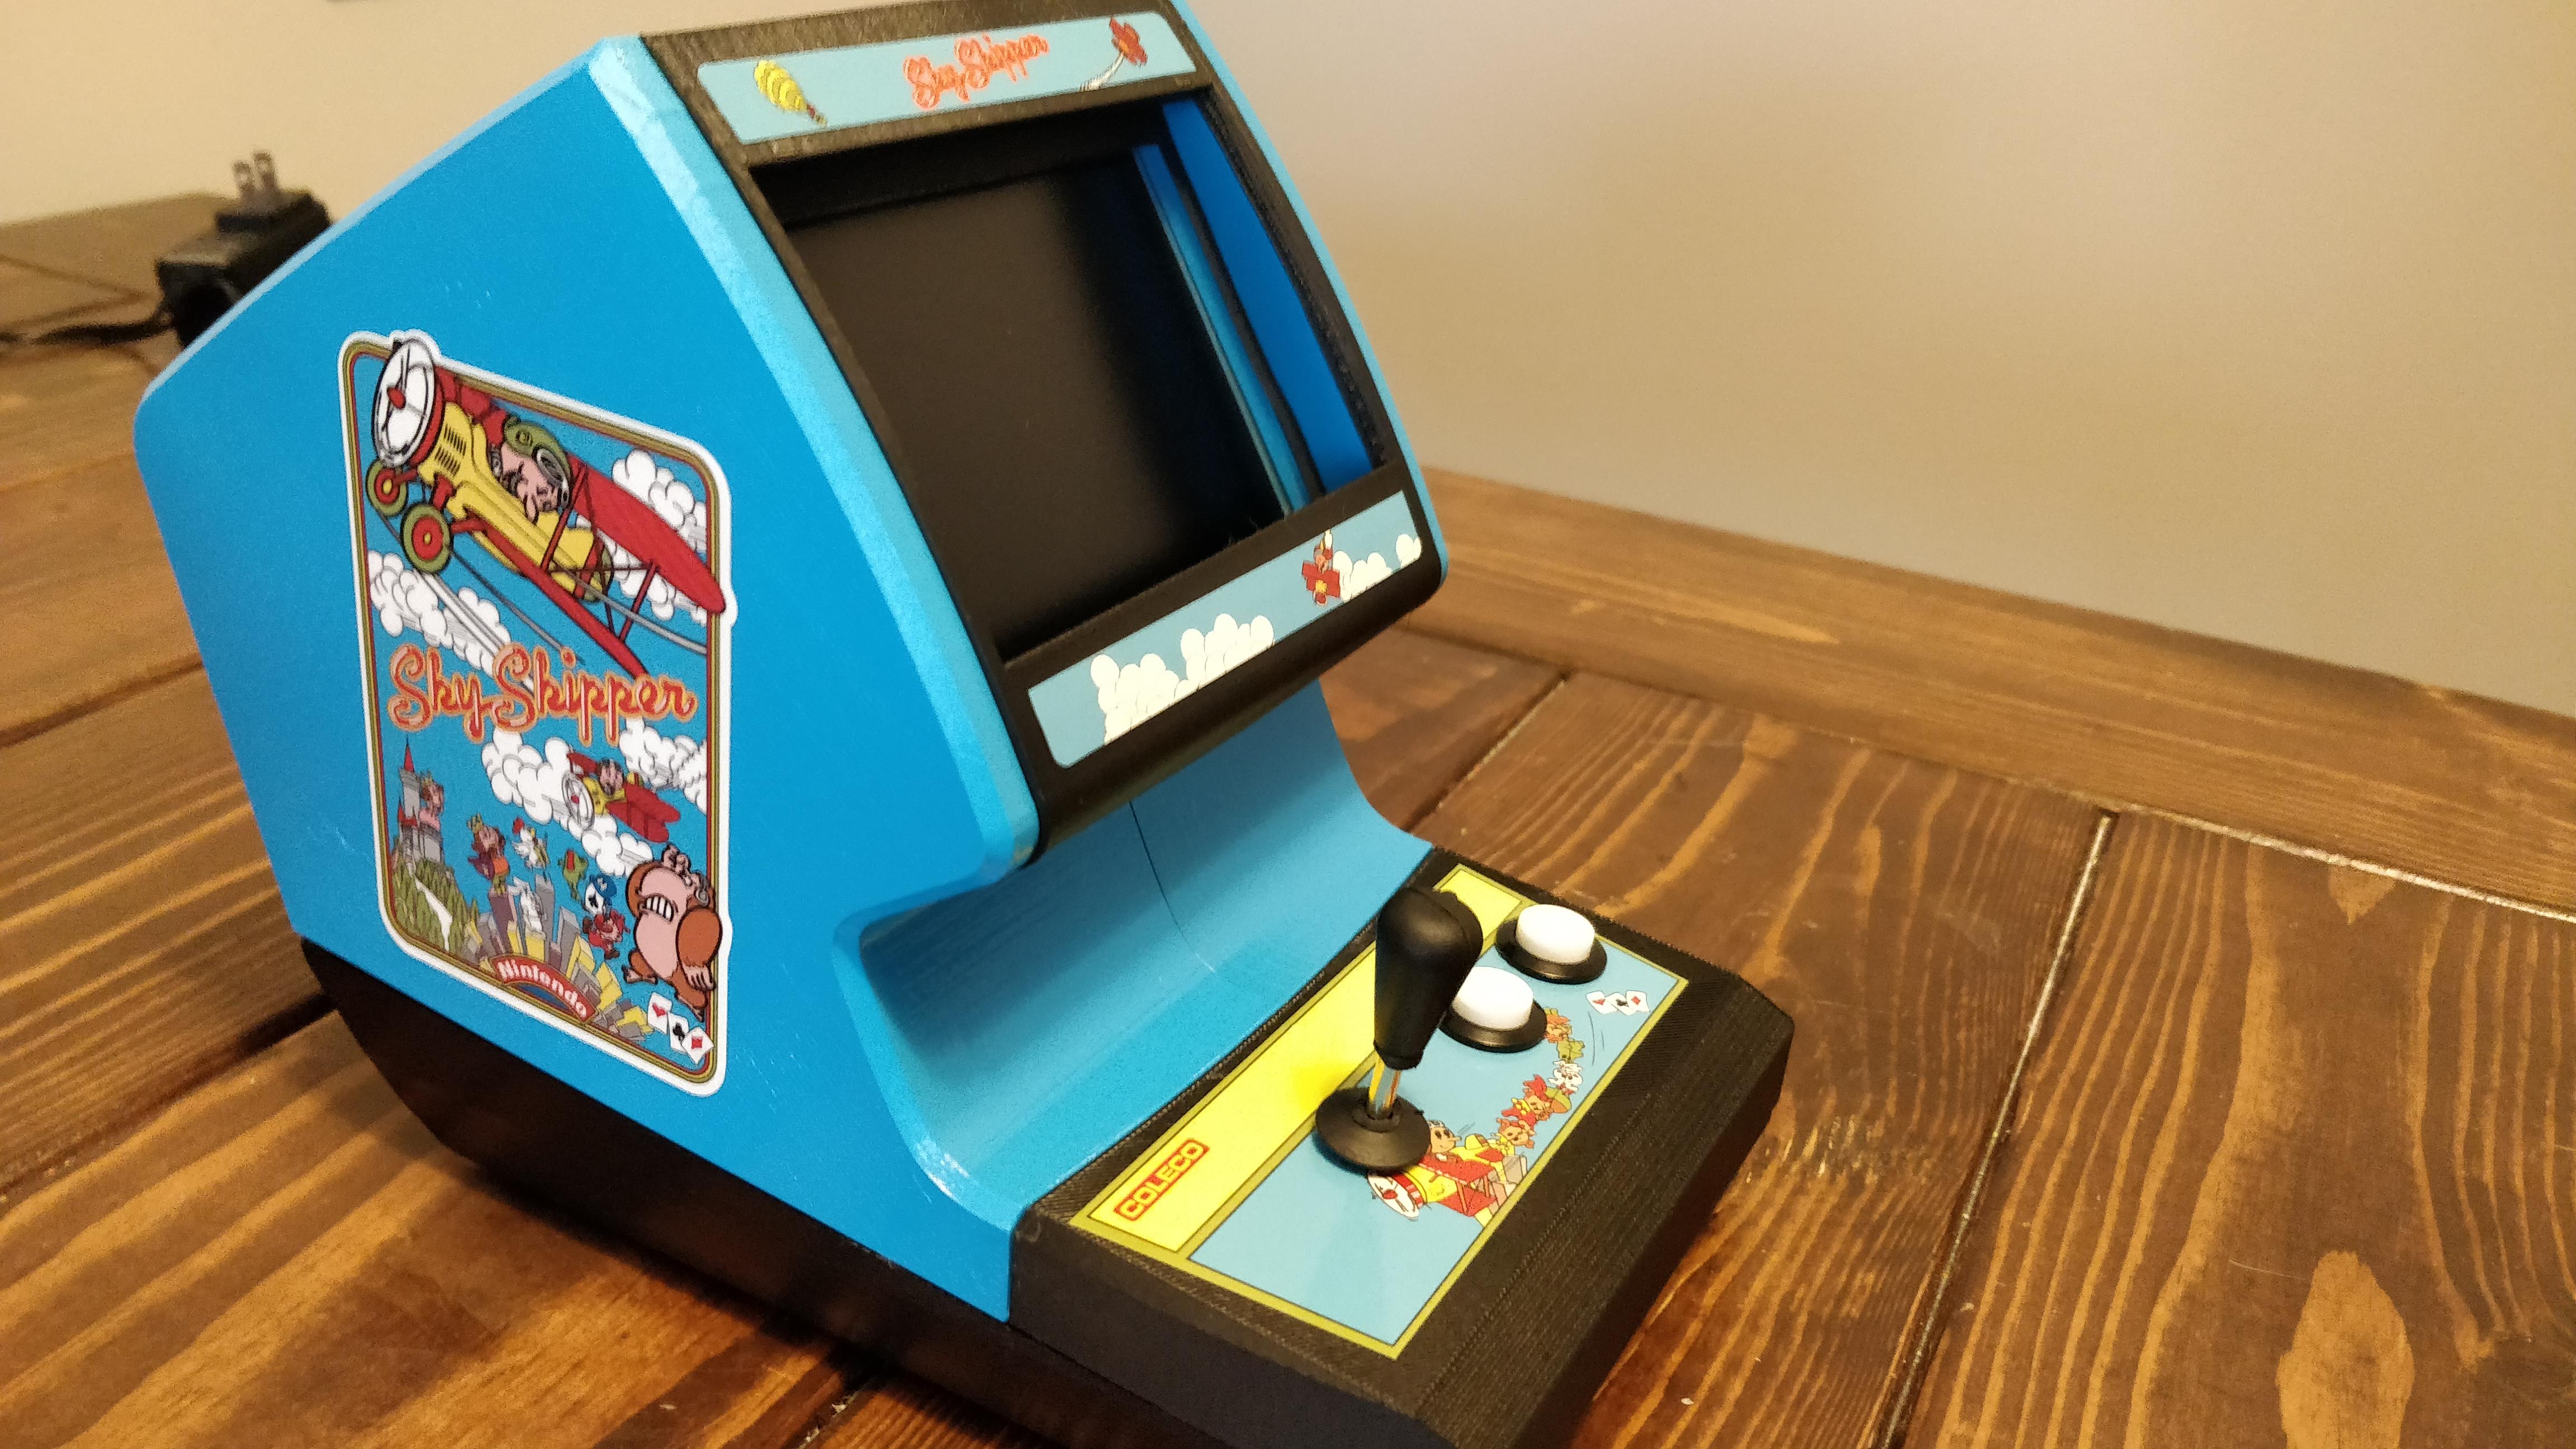
The original Skyskipper cabinets are Donkey Kong blue so I found a spray paint that’s very similar. The rest of the pieces are black.
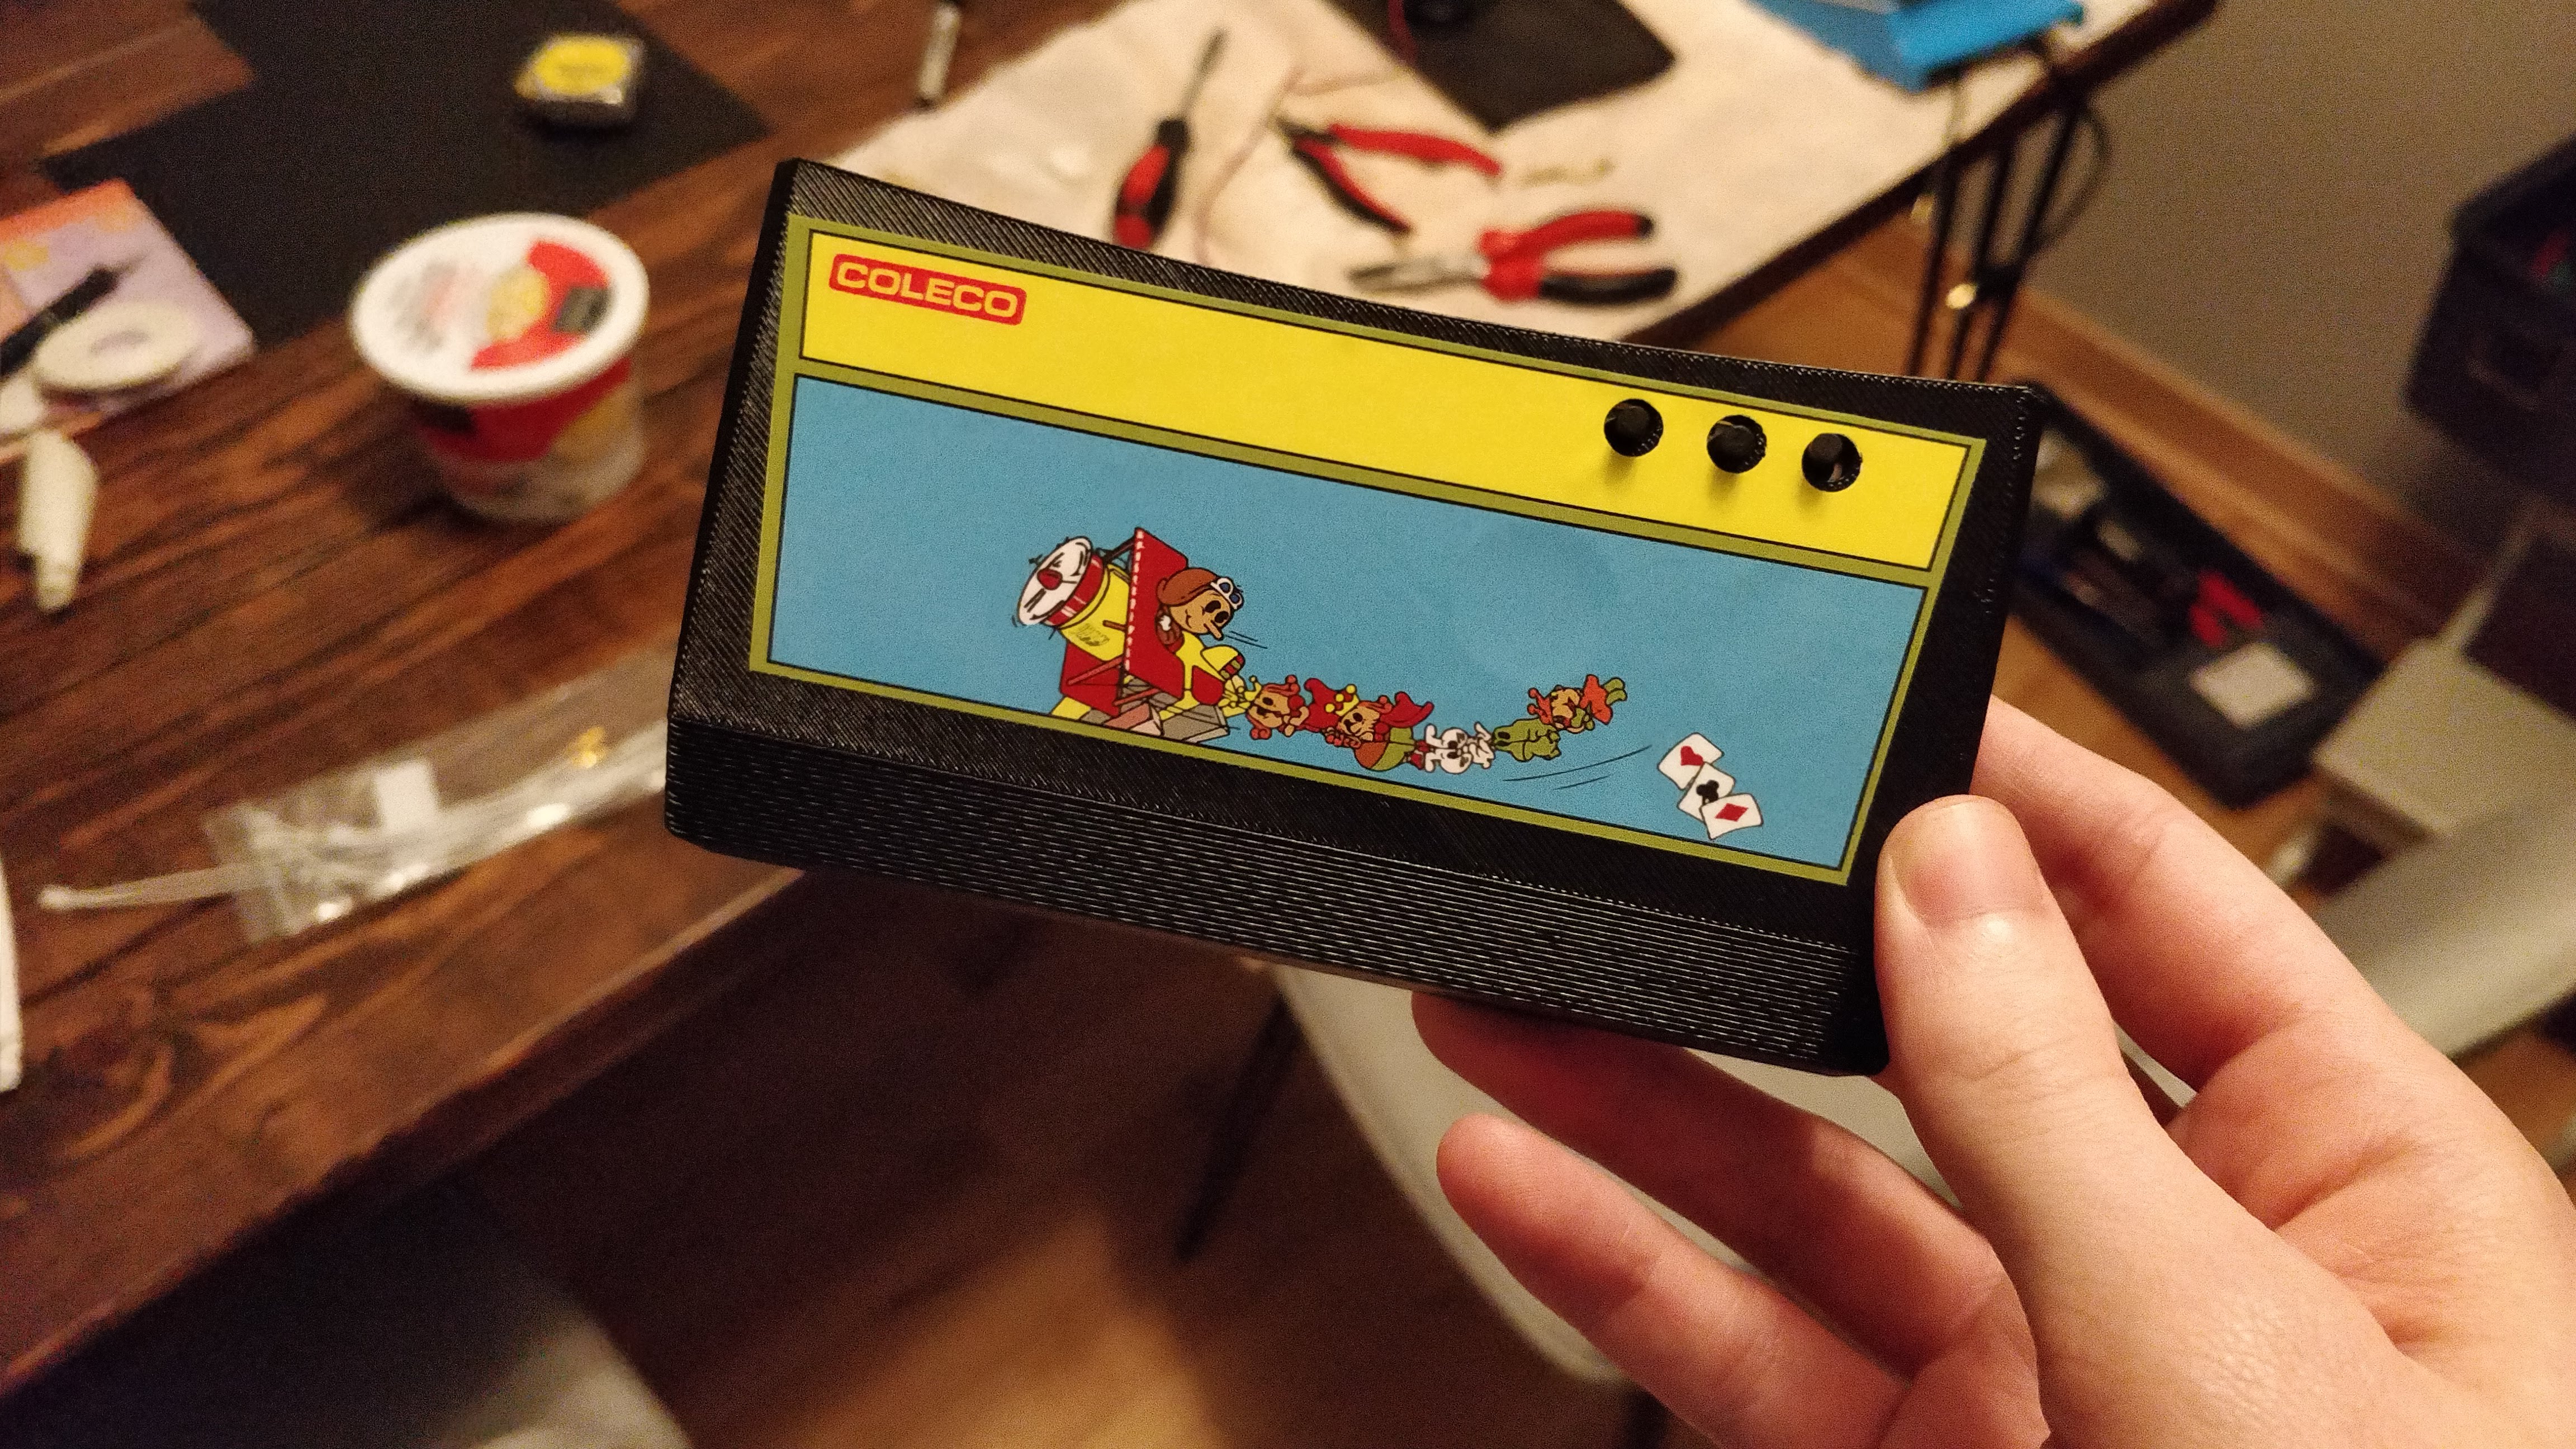
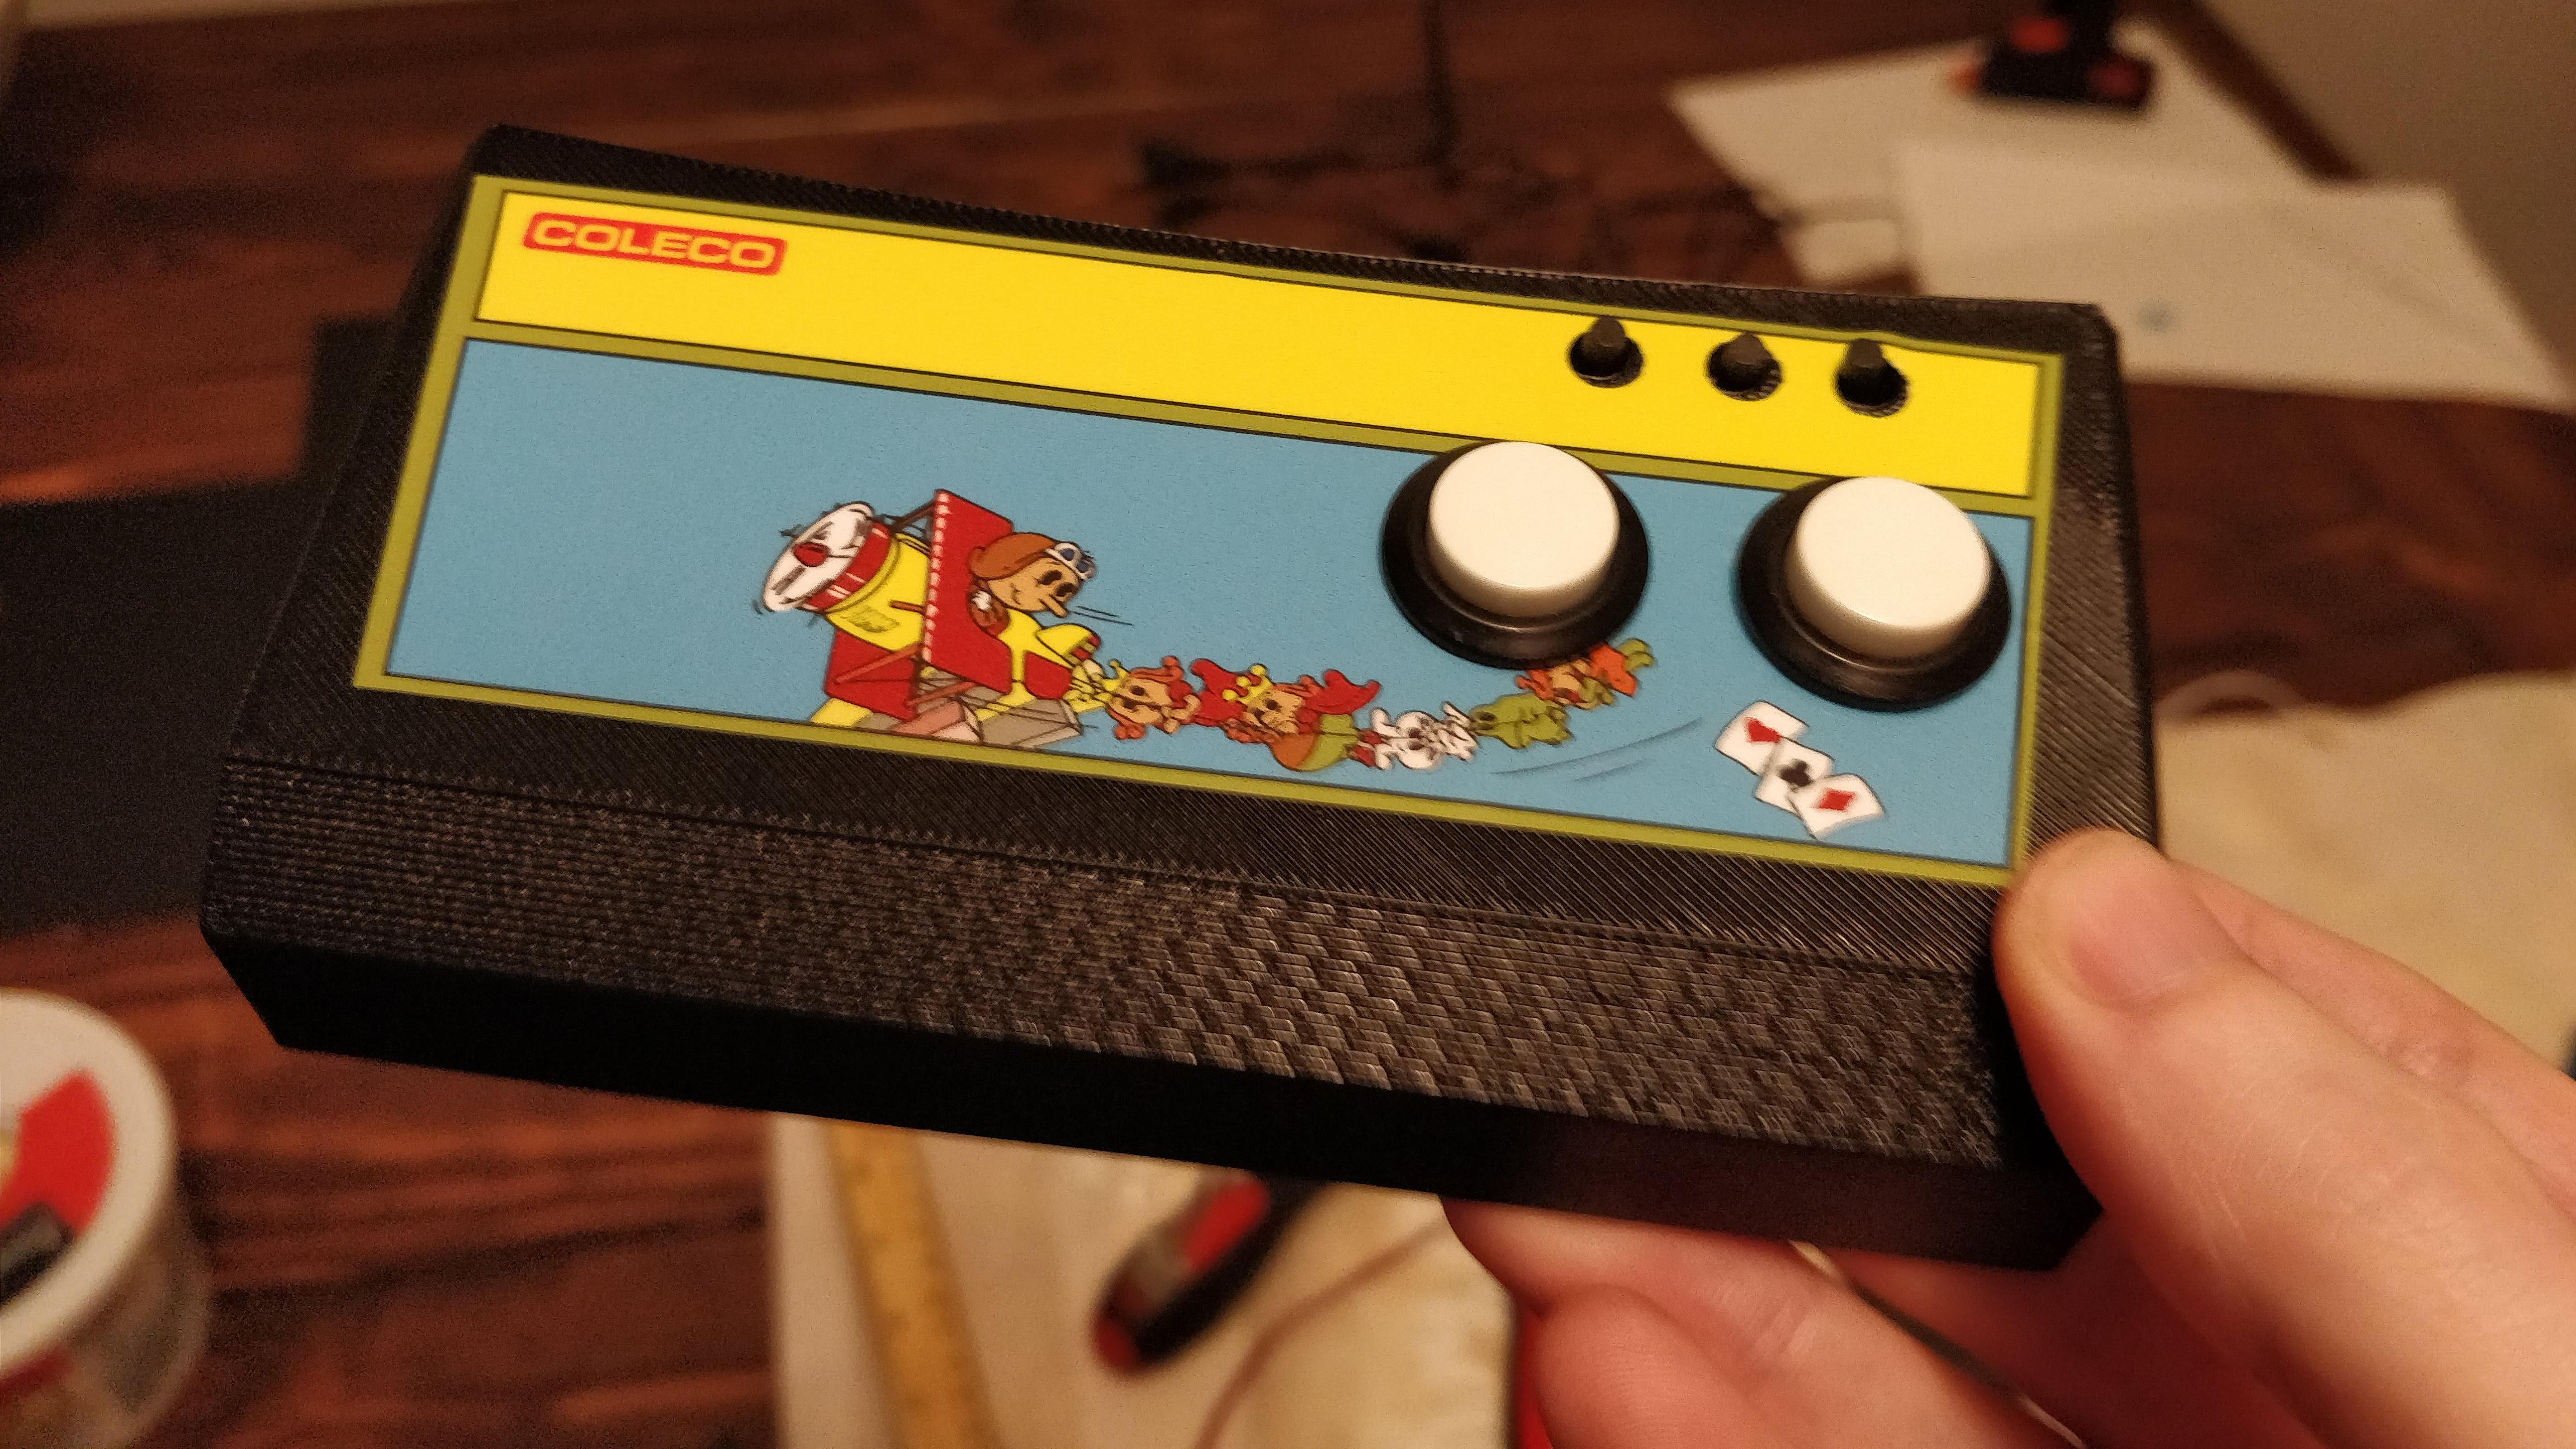
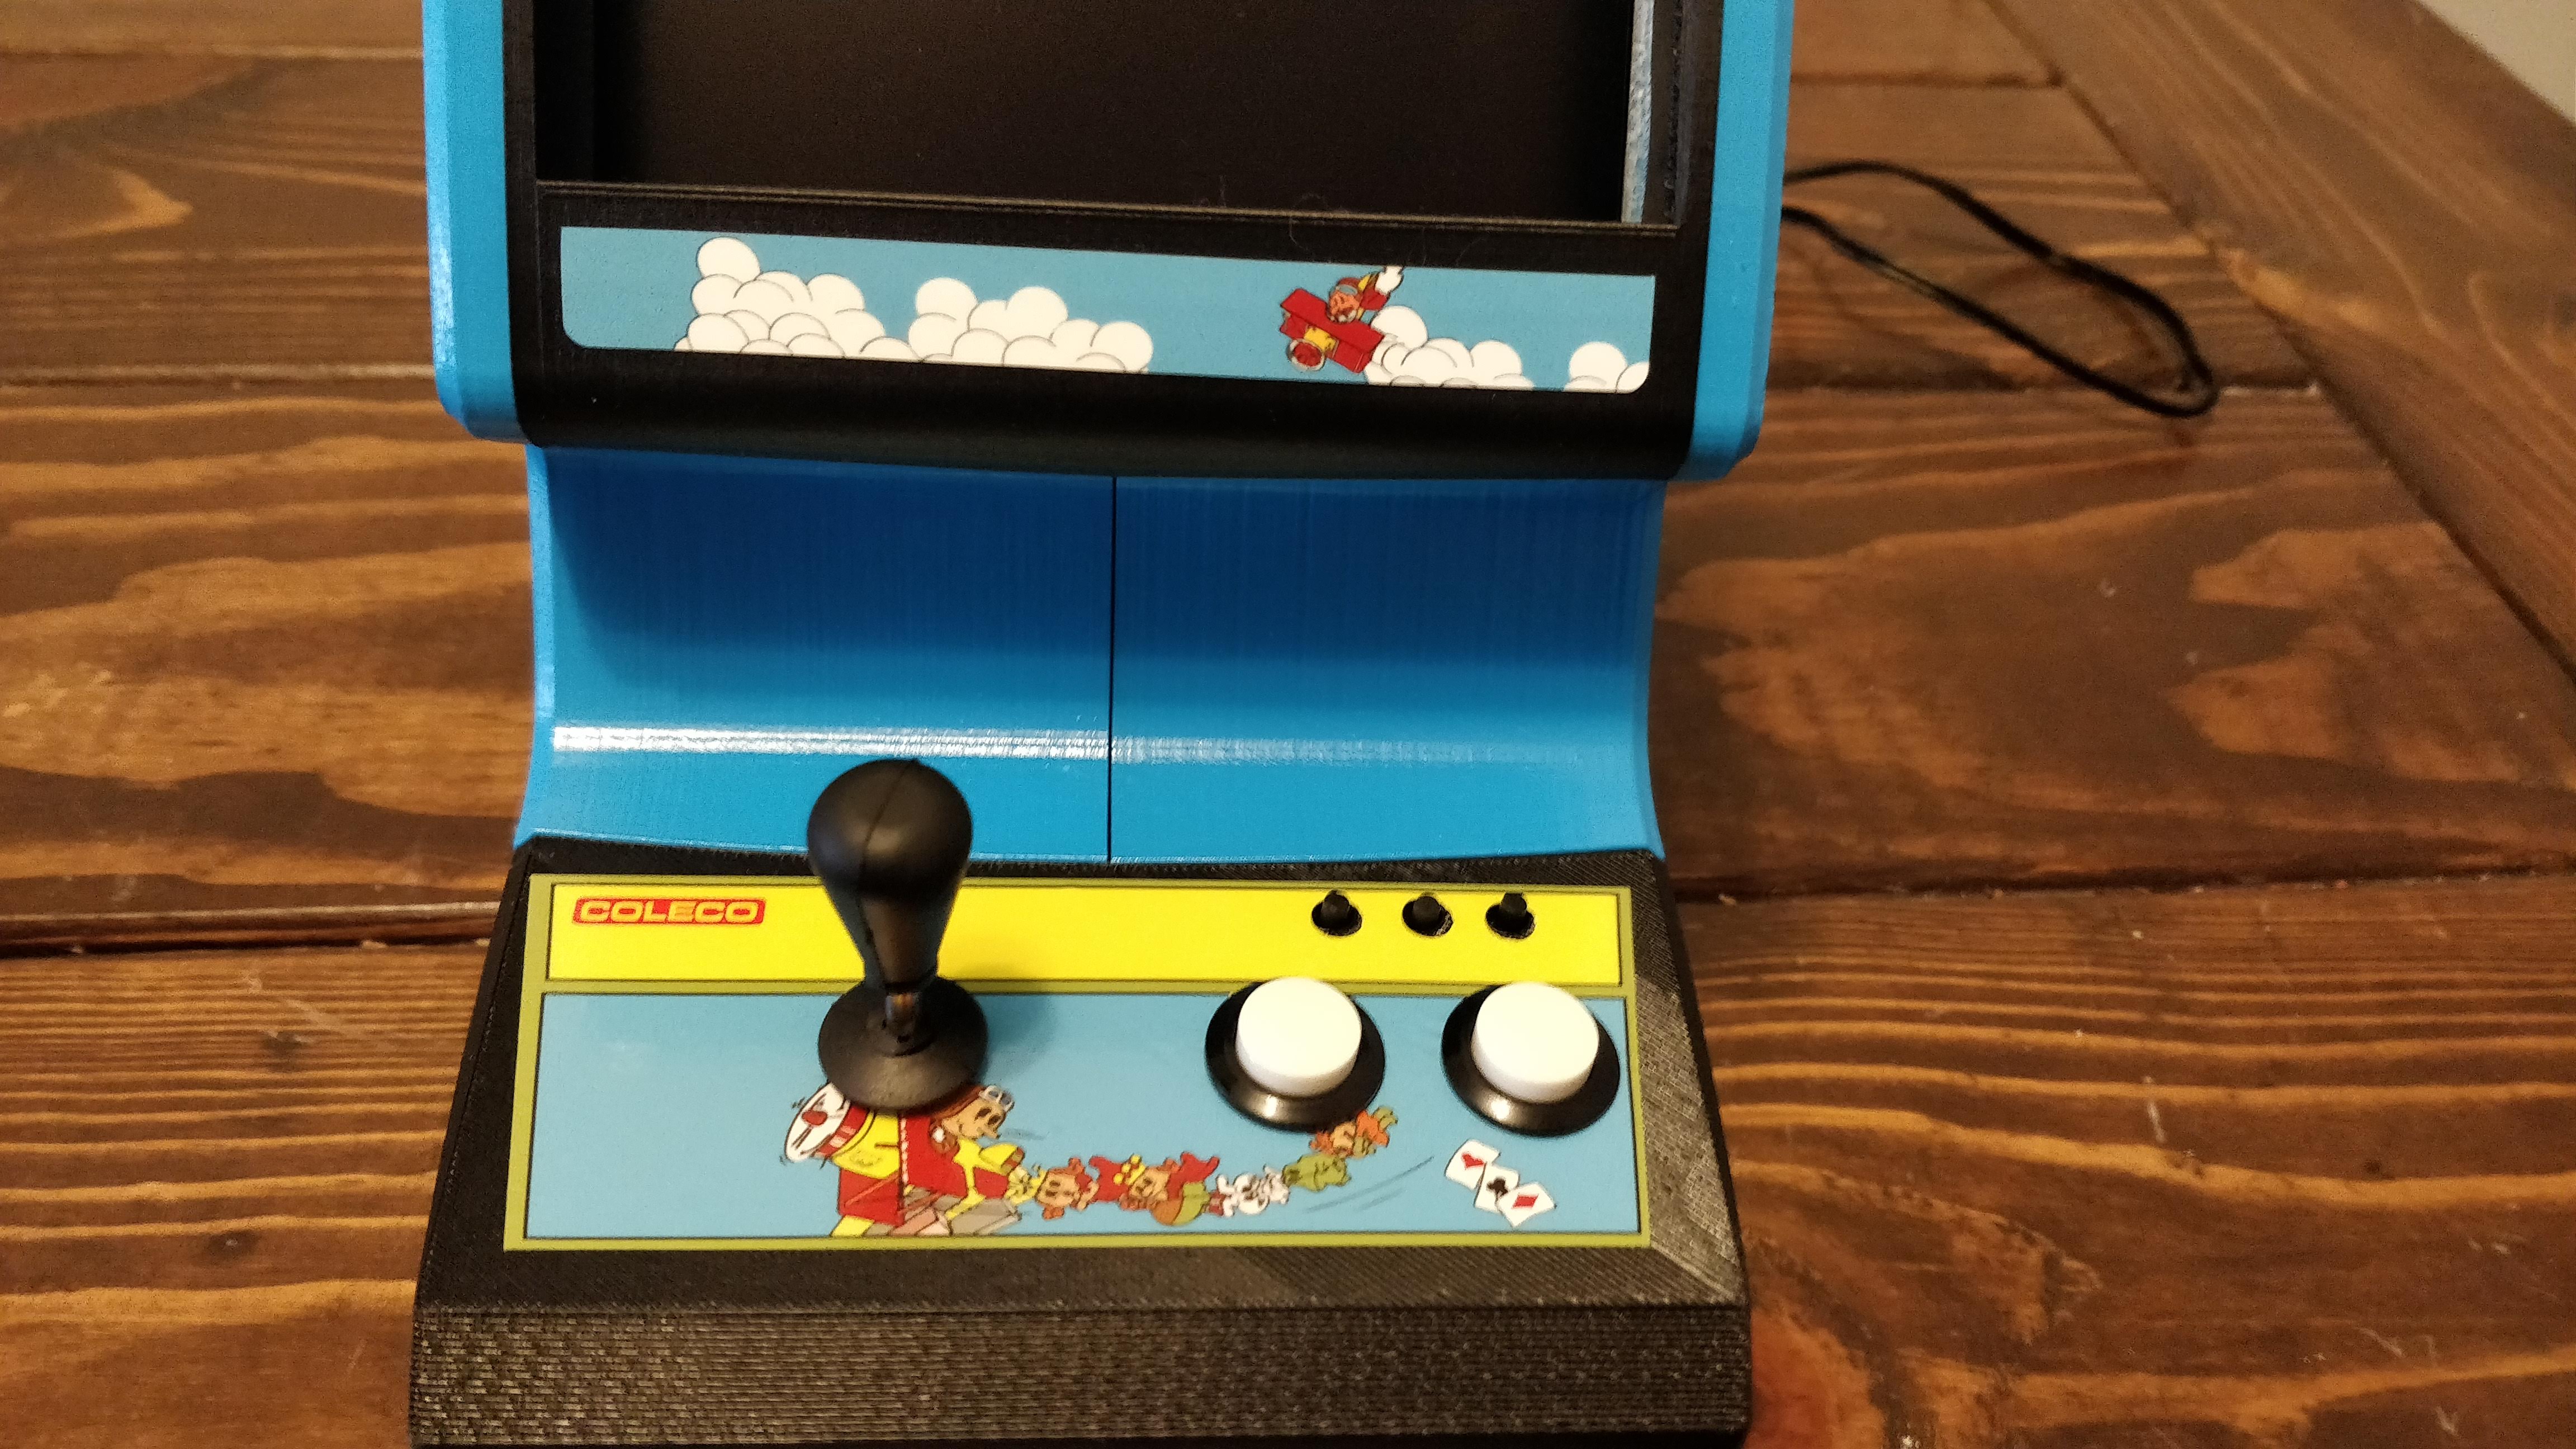
Coleco Sky Skipper Artwork
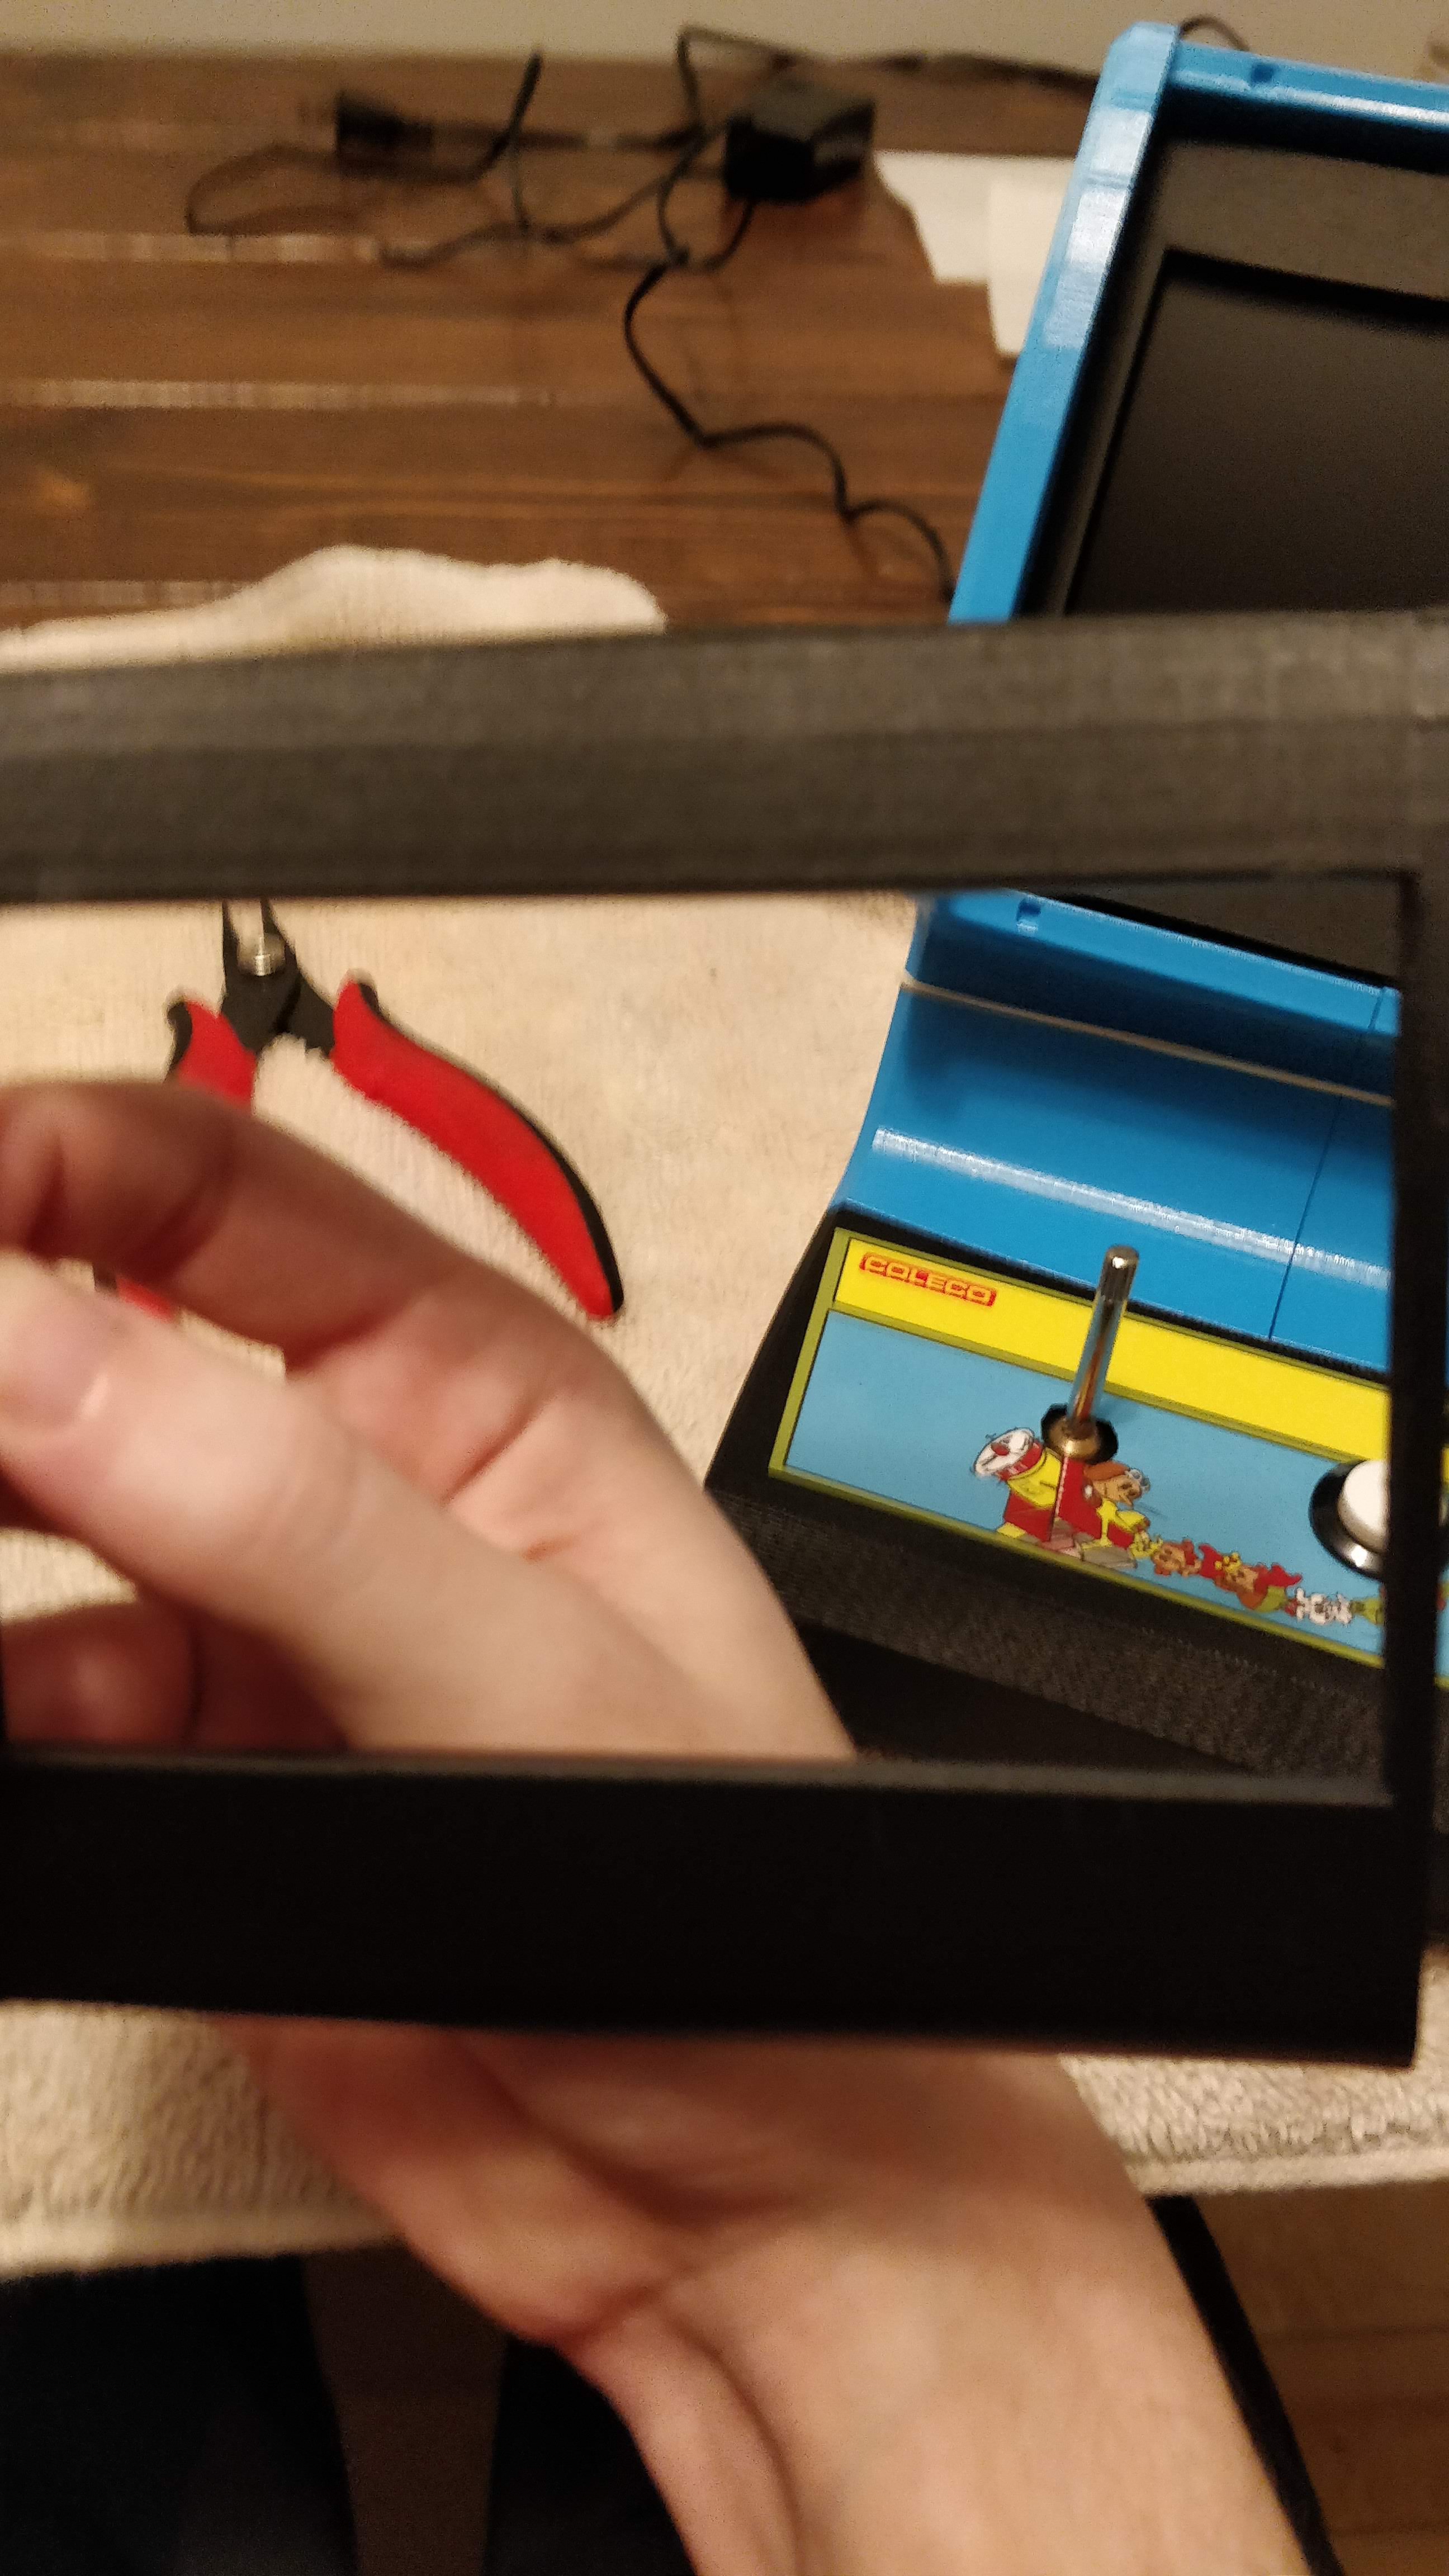
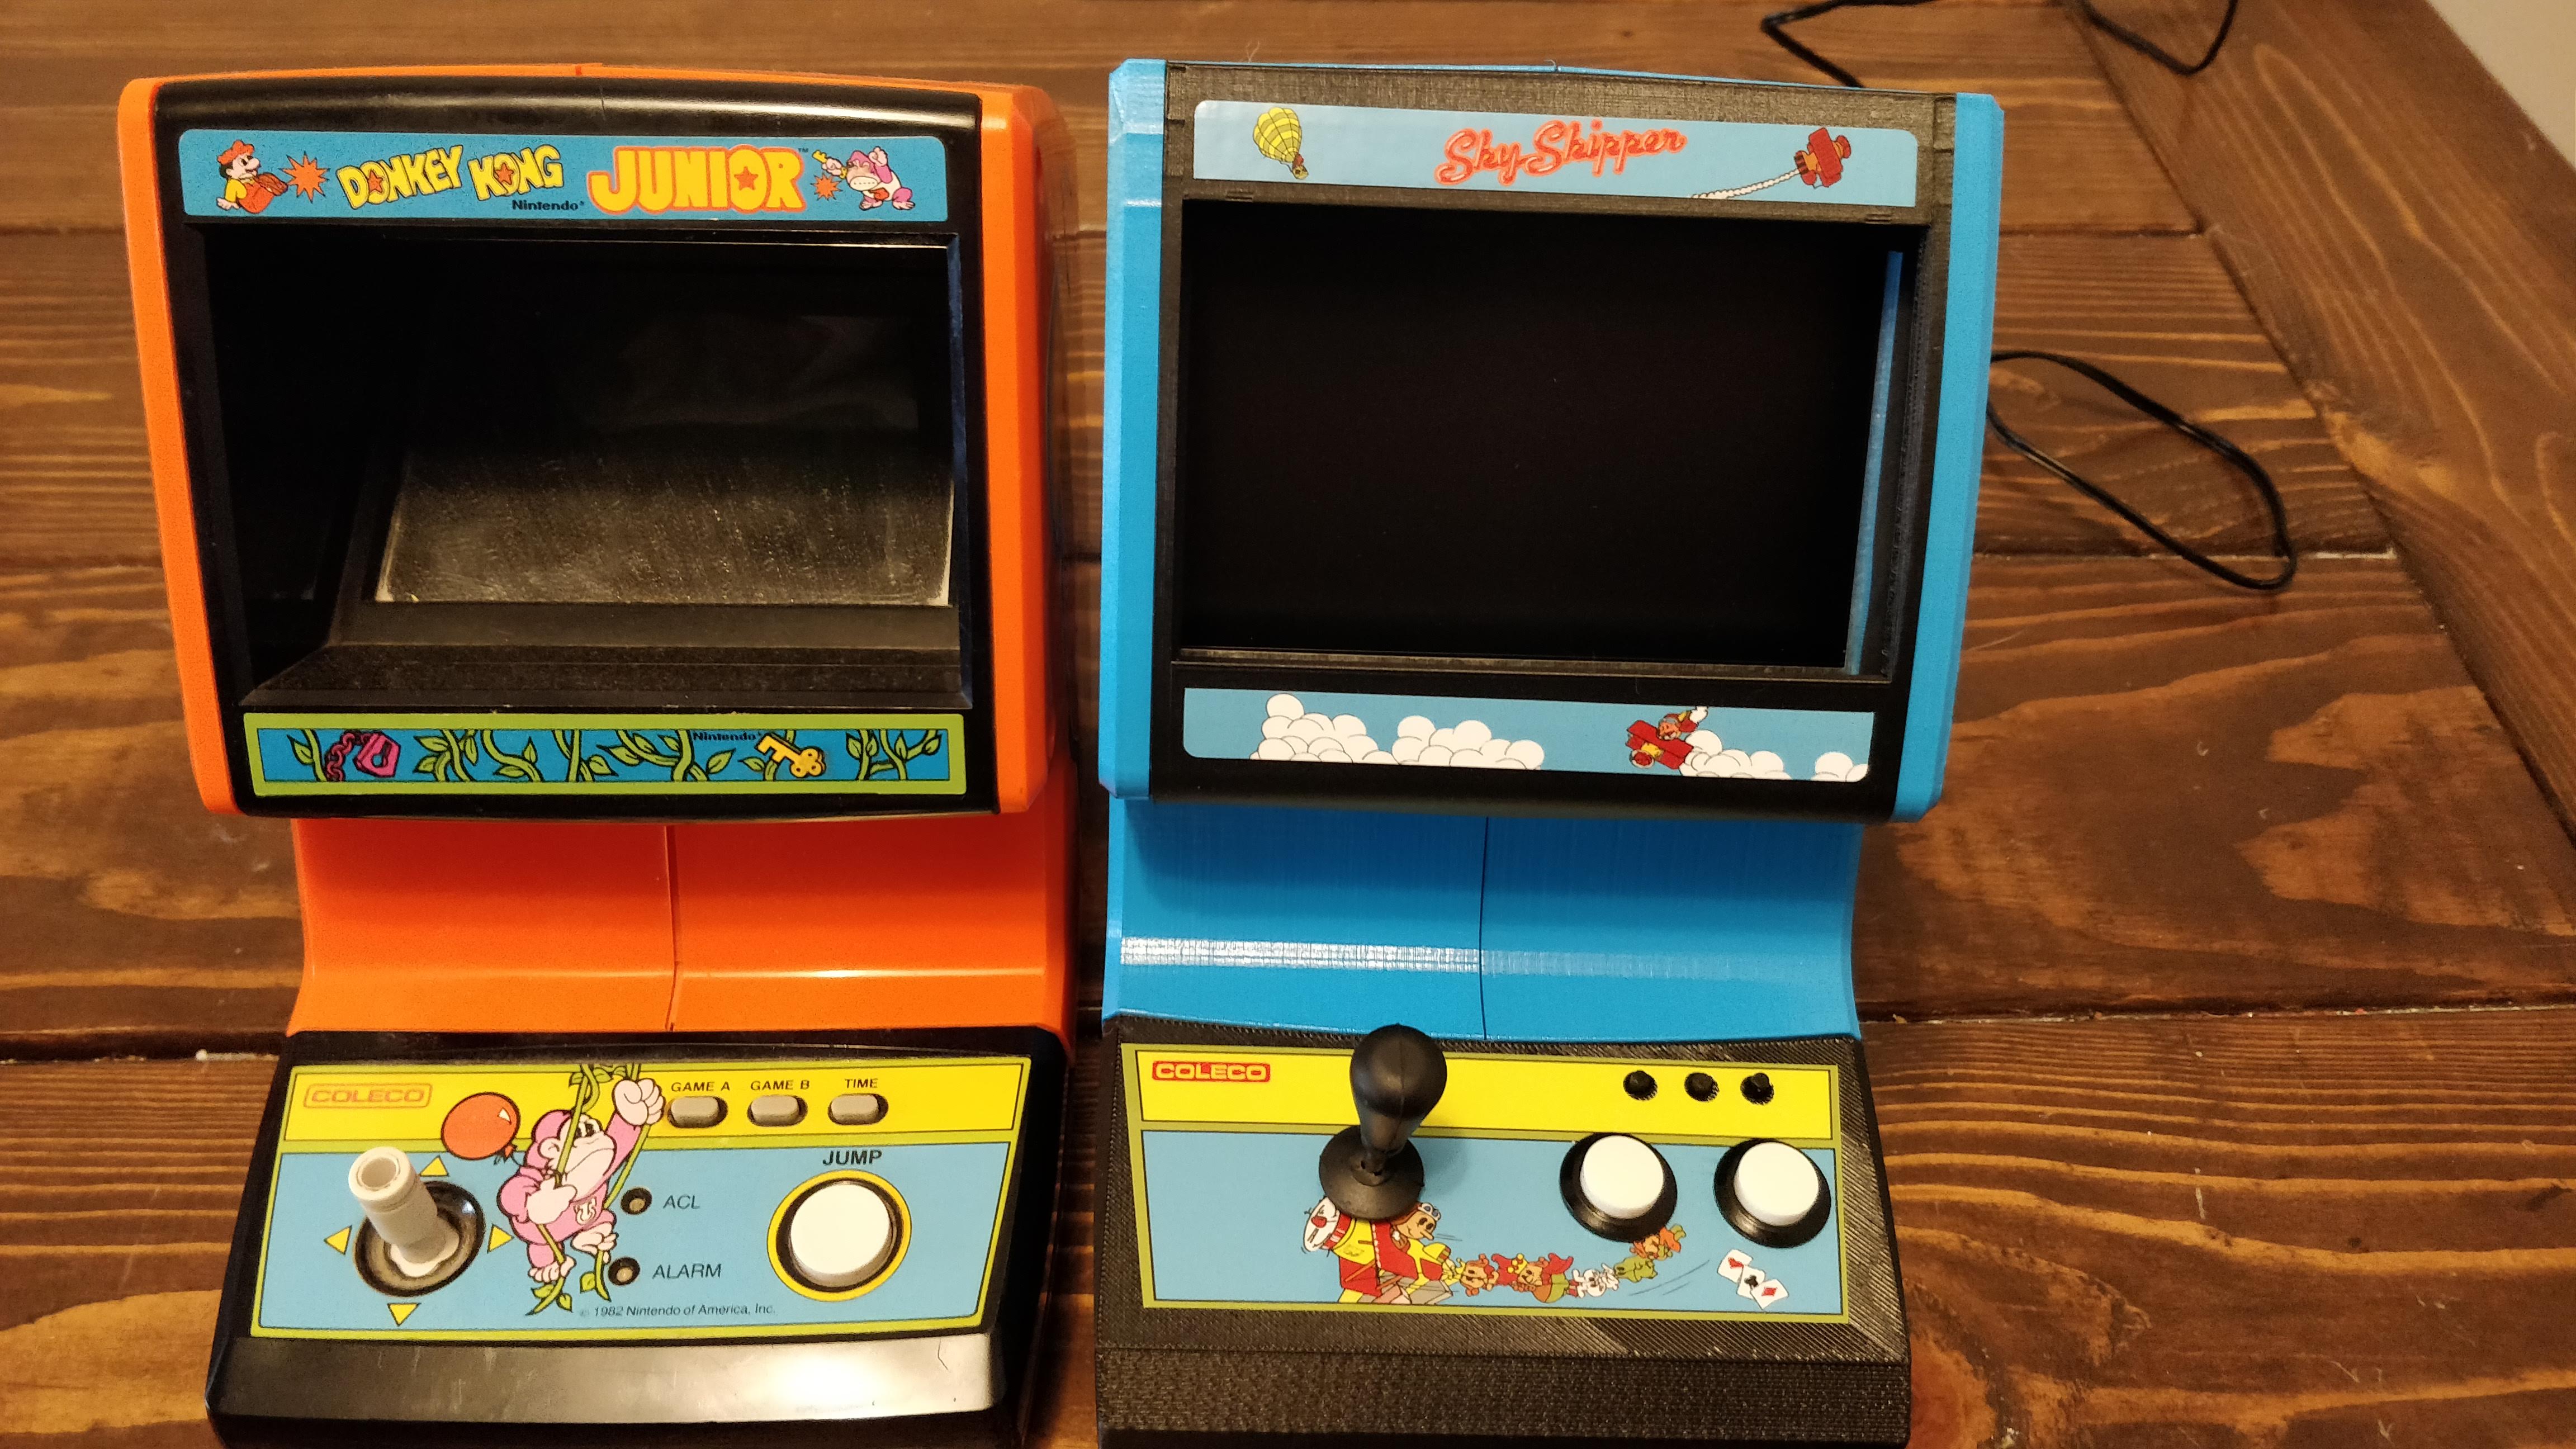
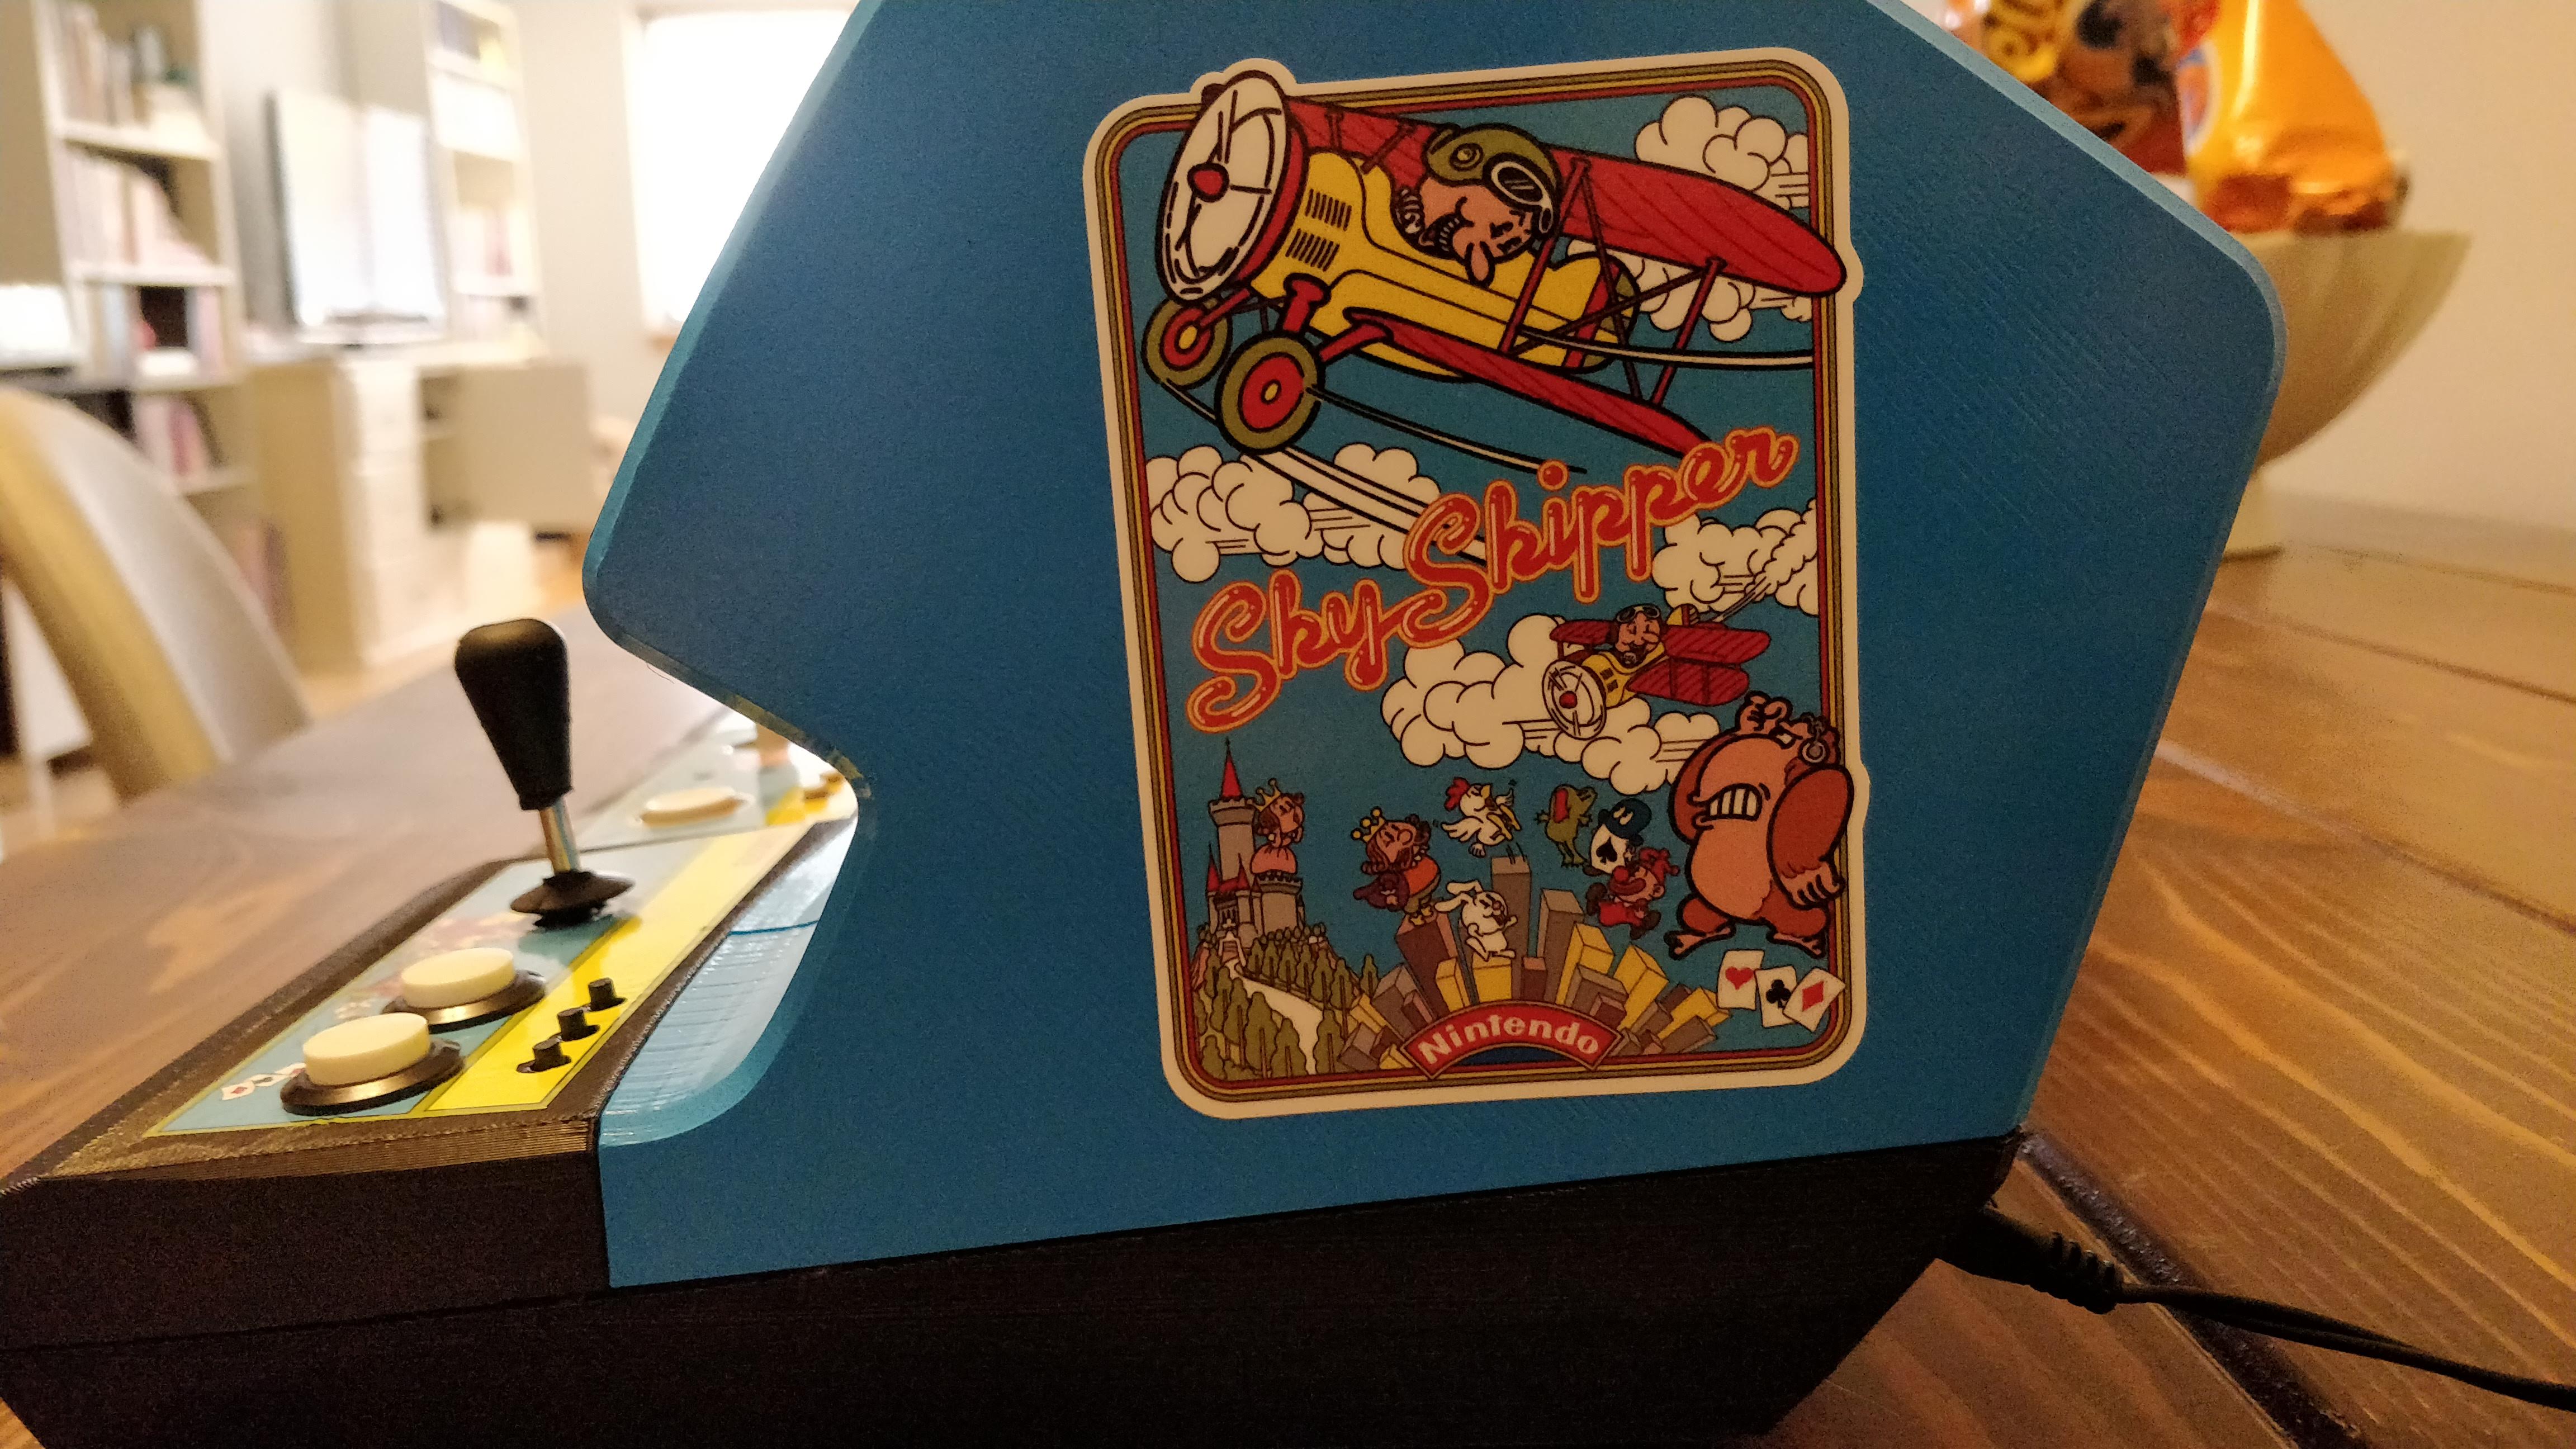
The Coleco tabletop game actually has a fair amount of artwork on it, so I went the same route. I knew I’d want sideart, top bezel, bottom bezel, and control panel overlay. I used inspiration from the original cabinet as best I could.
This artwork is not widely available, since there is only one original cabinet left (and two rebuilt ones). That meant working from low rez photographs. That’s okay though – it’s small and the artwork on these machines was relatively simple.
I had the artwork printed by BYOAC forum member SlammedNiss. He has done all my miniature build artwork and it always comes out looking great and on high-quality material.
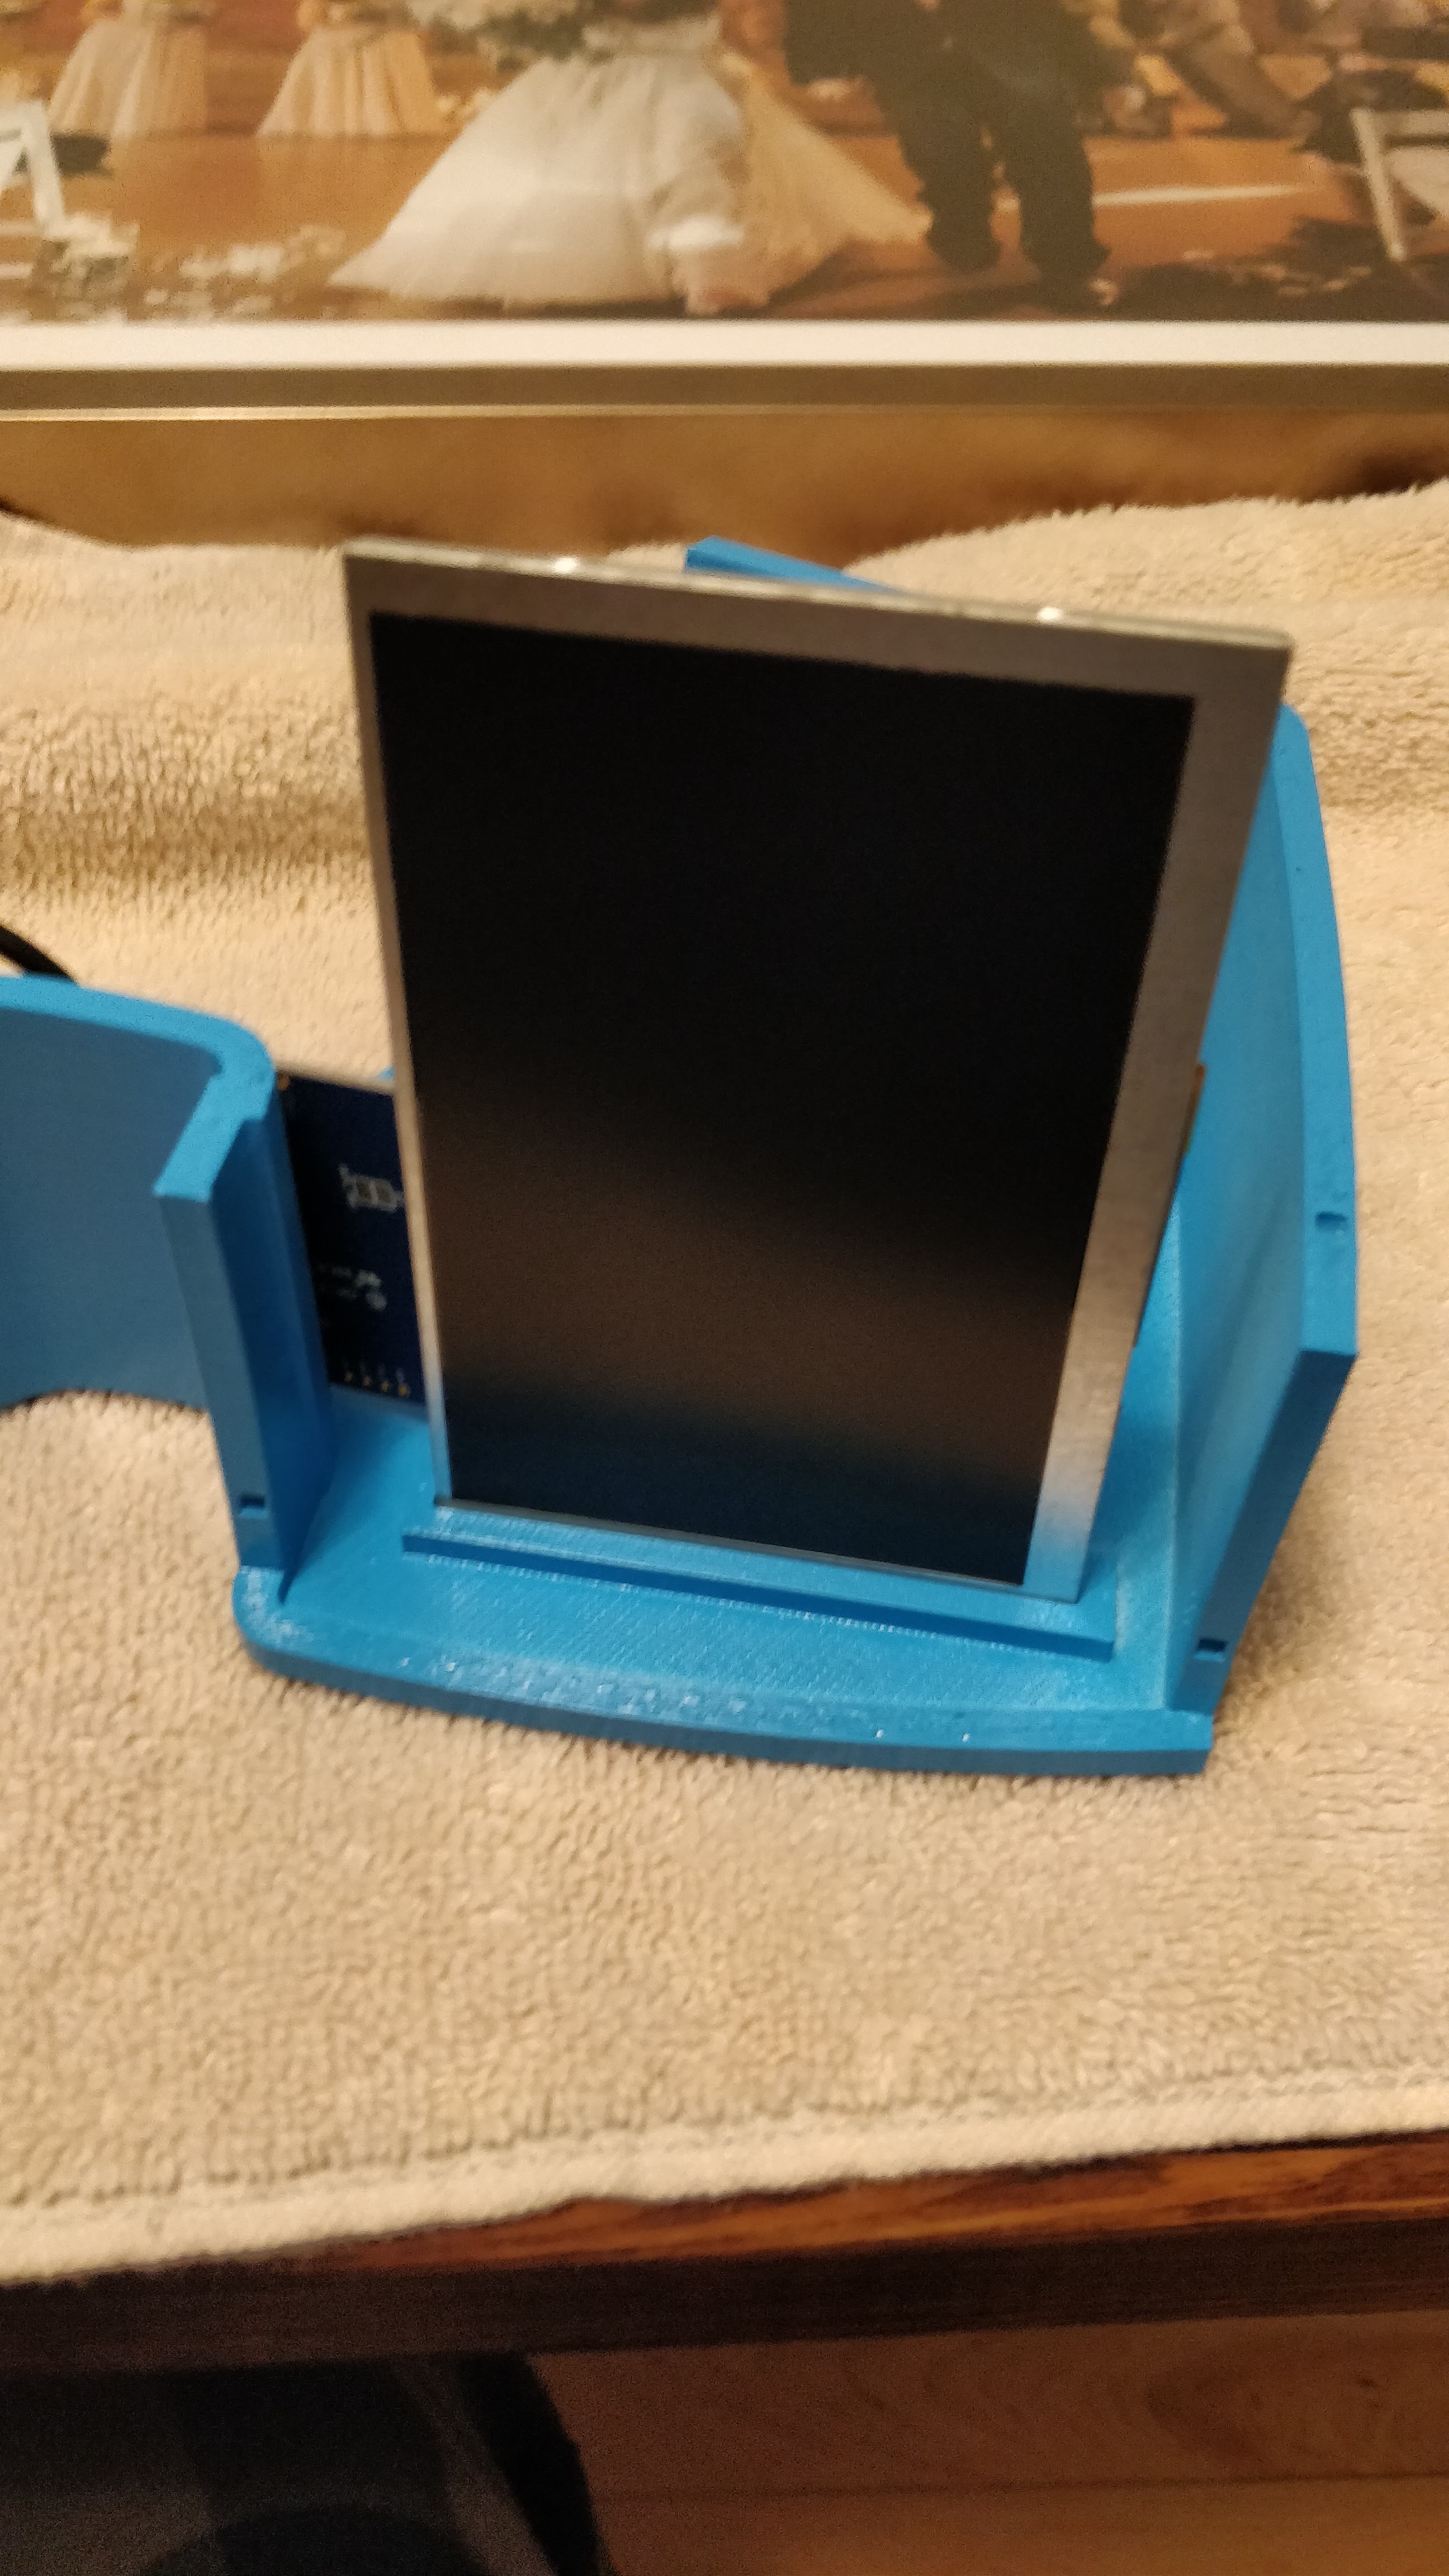
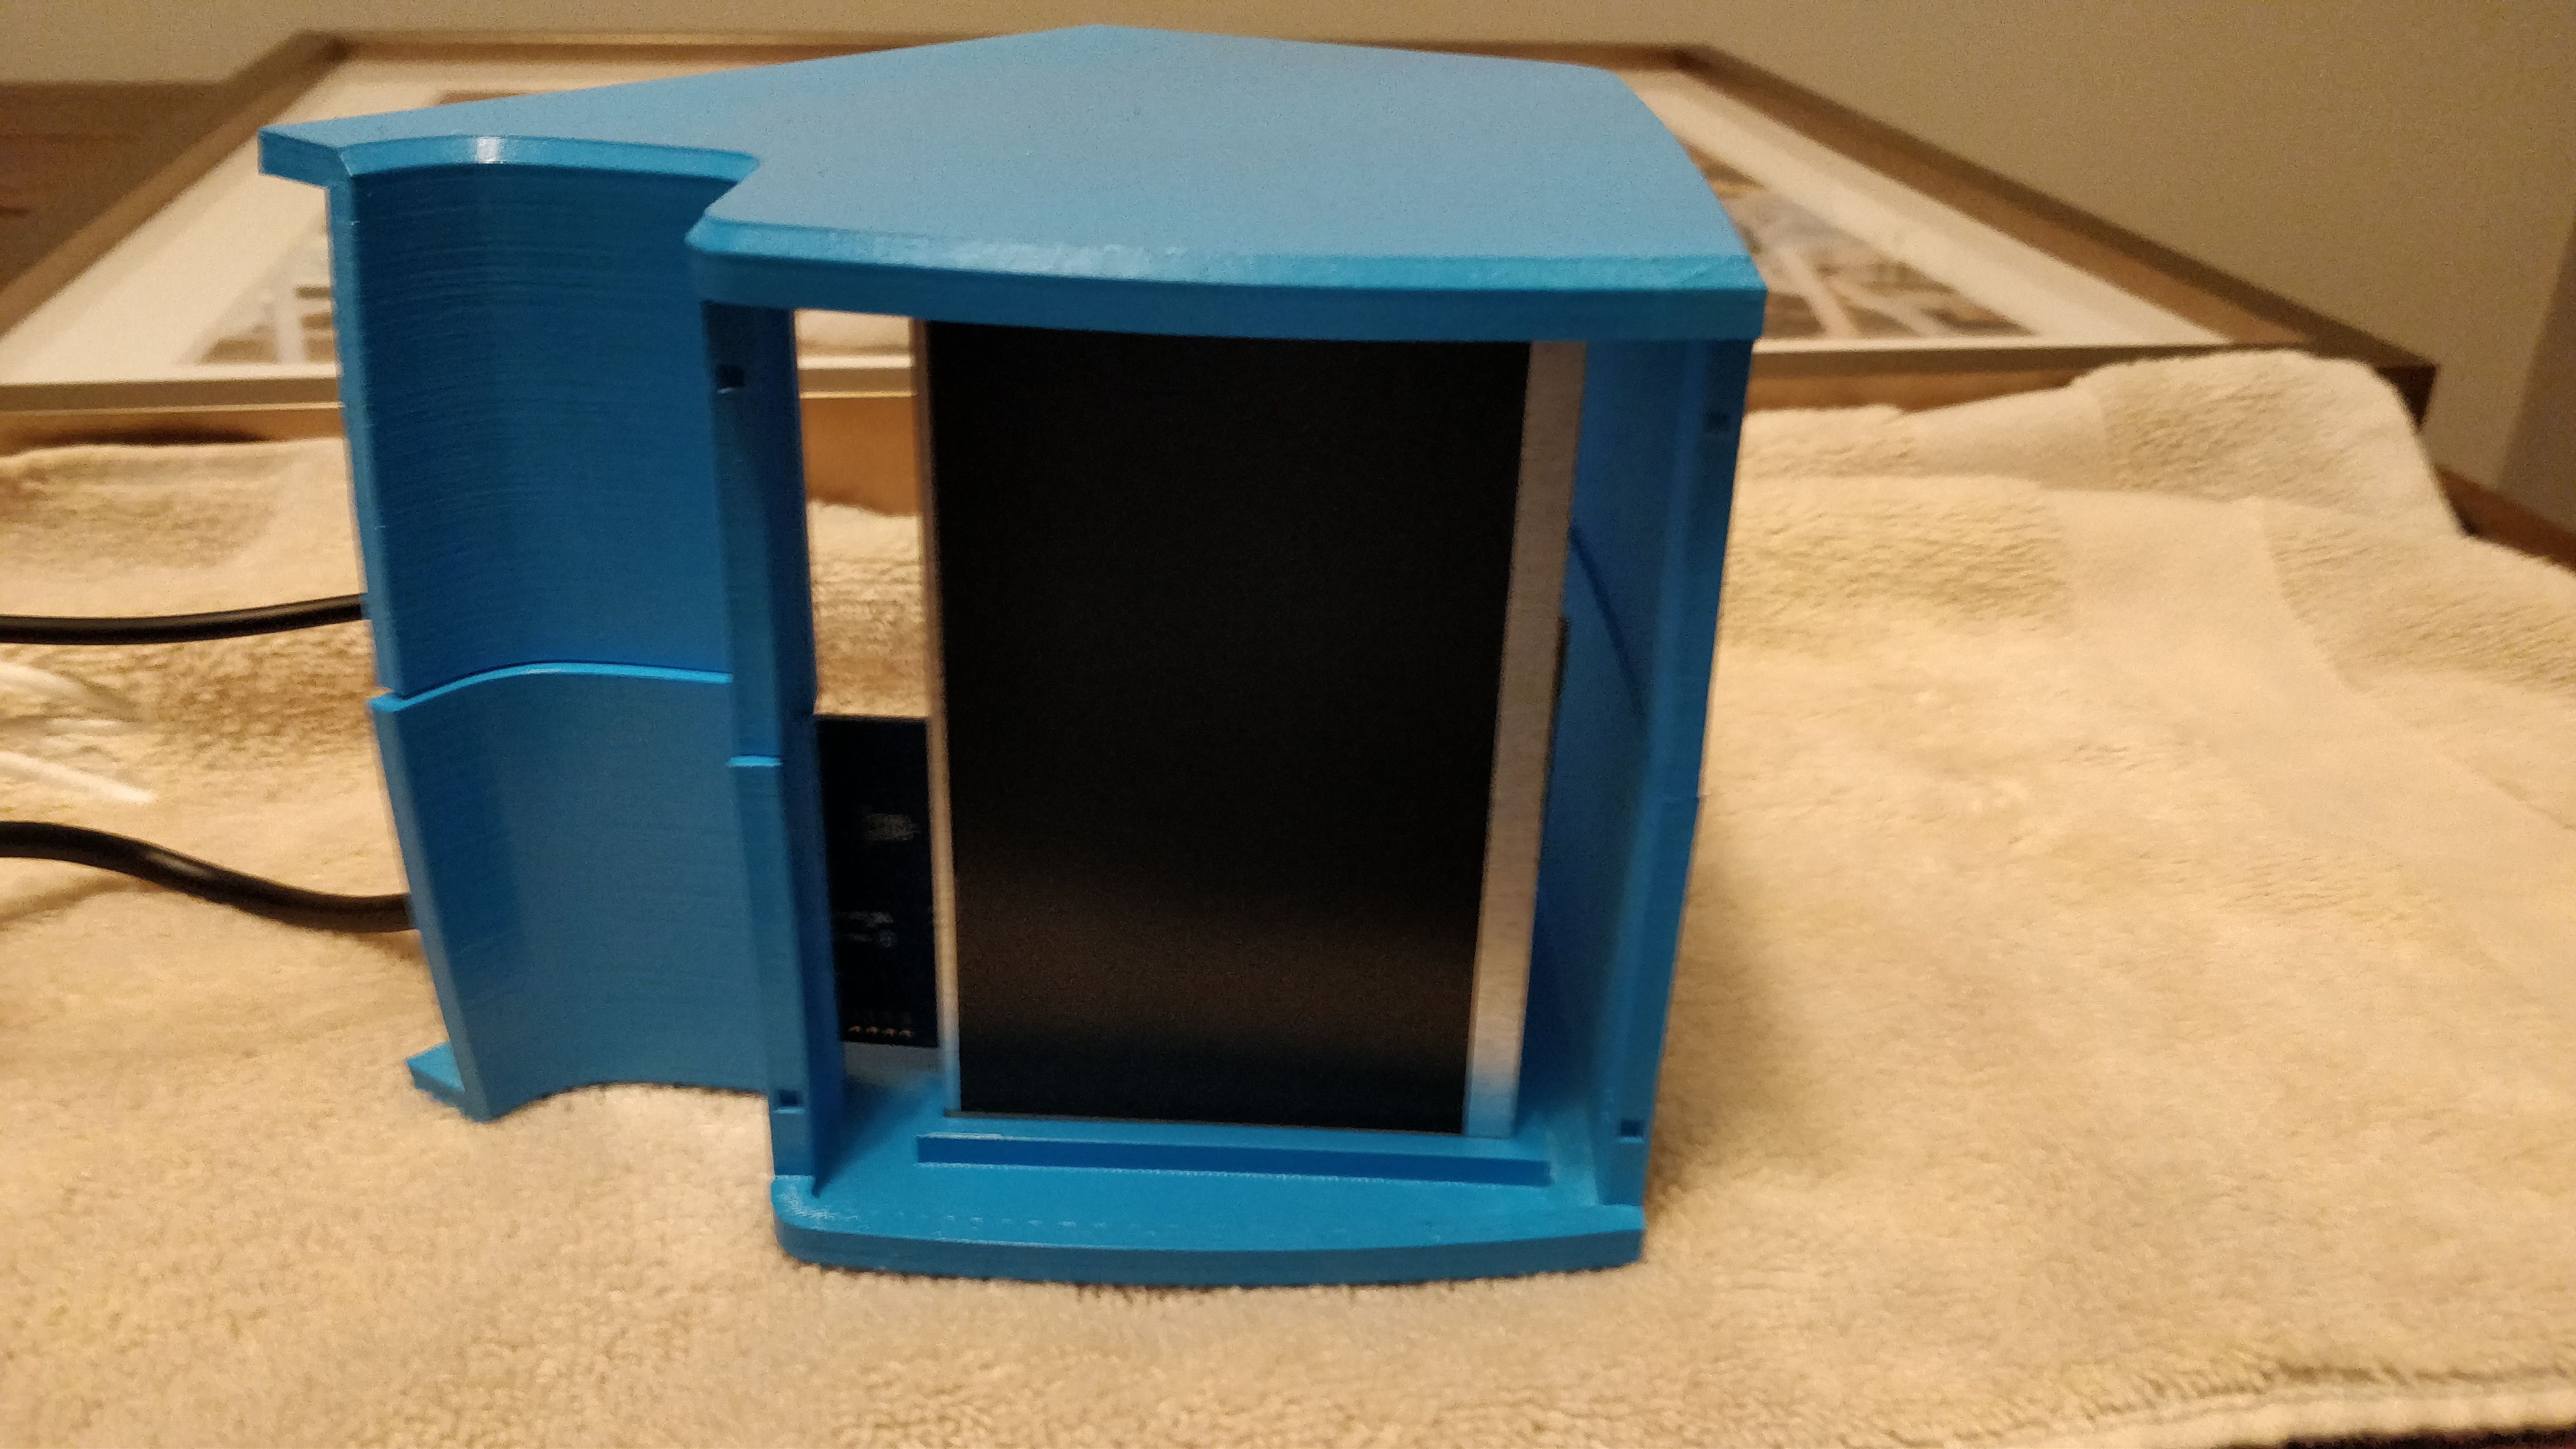
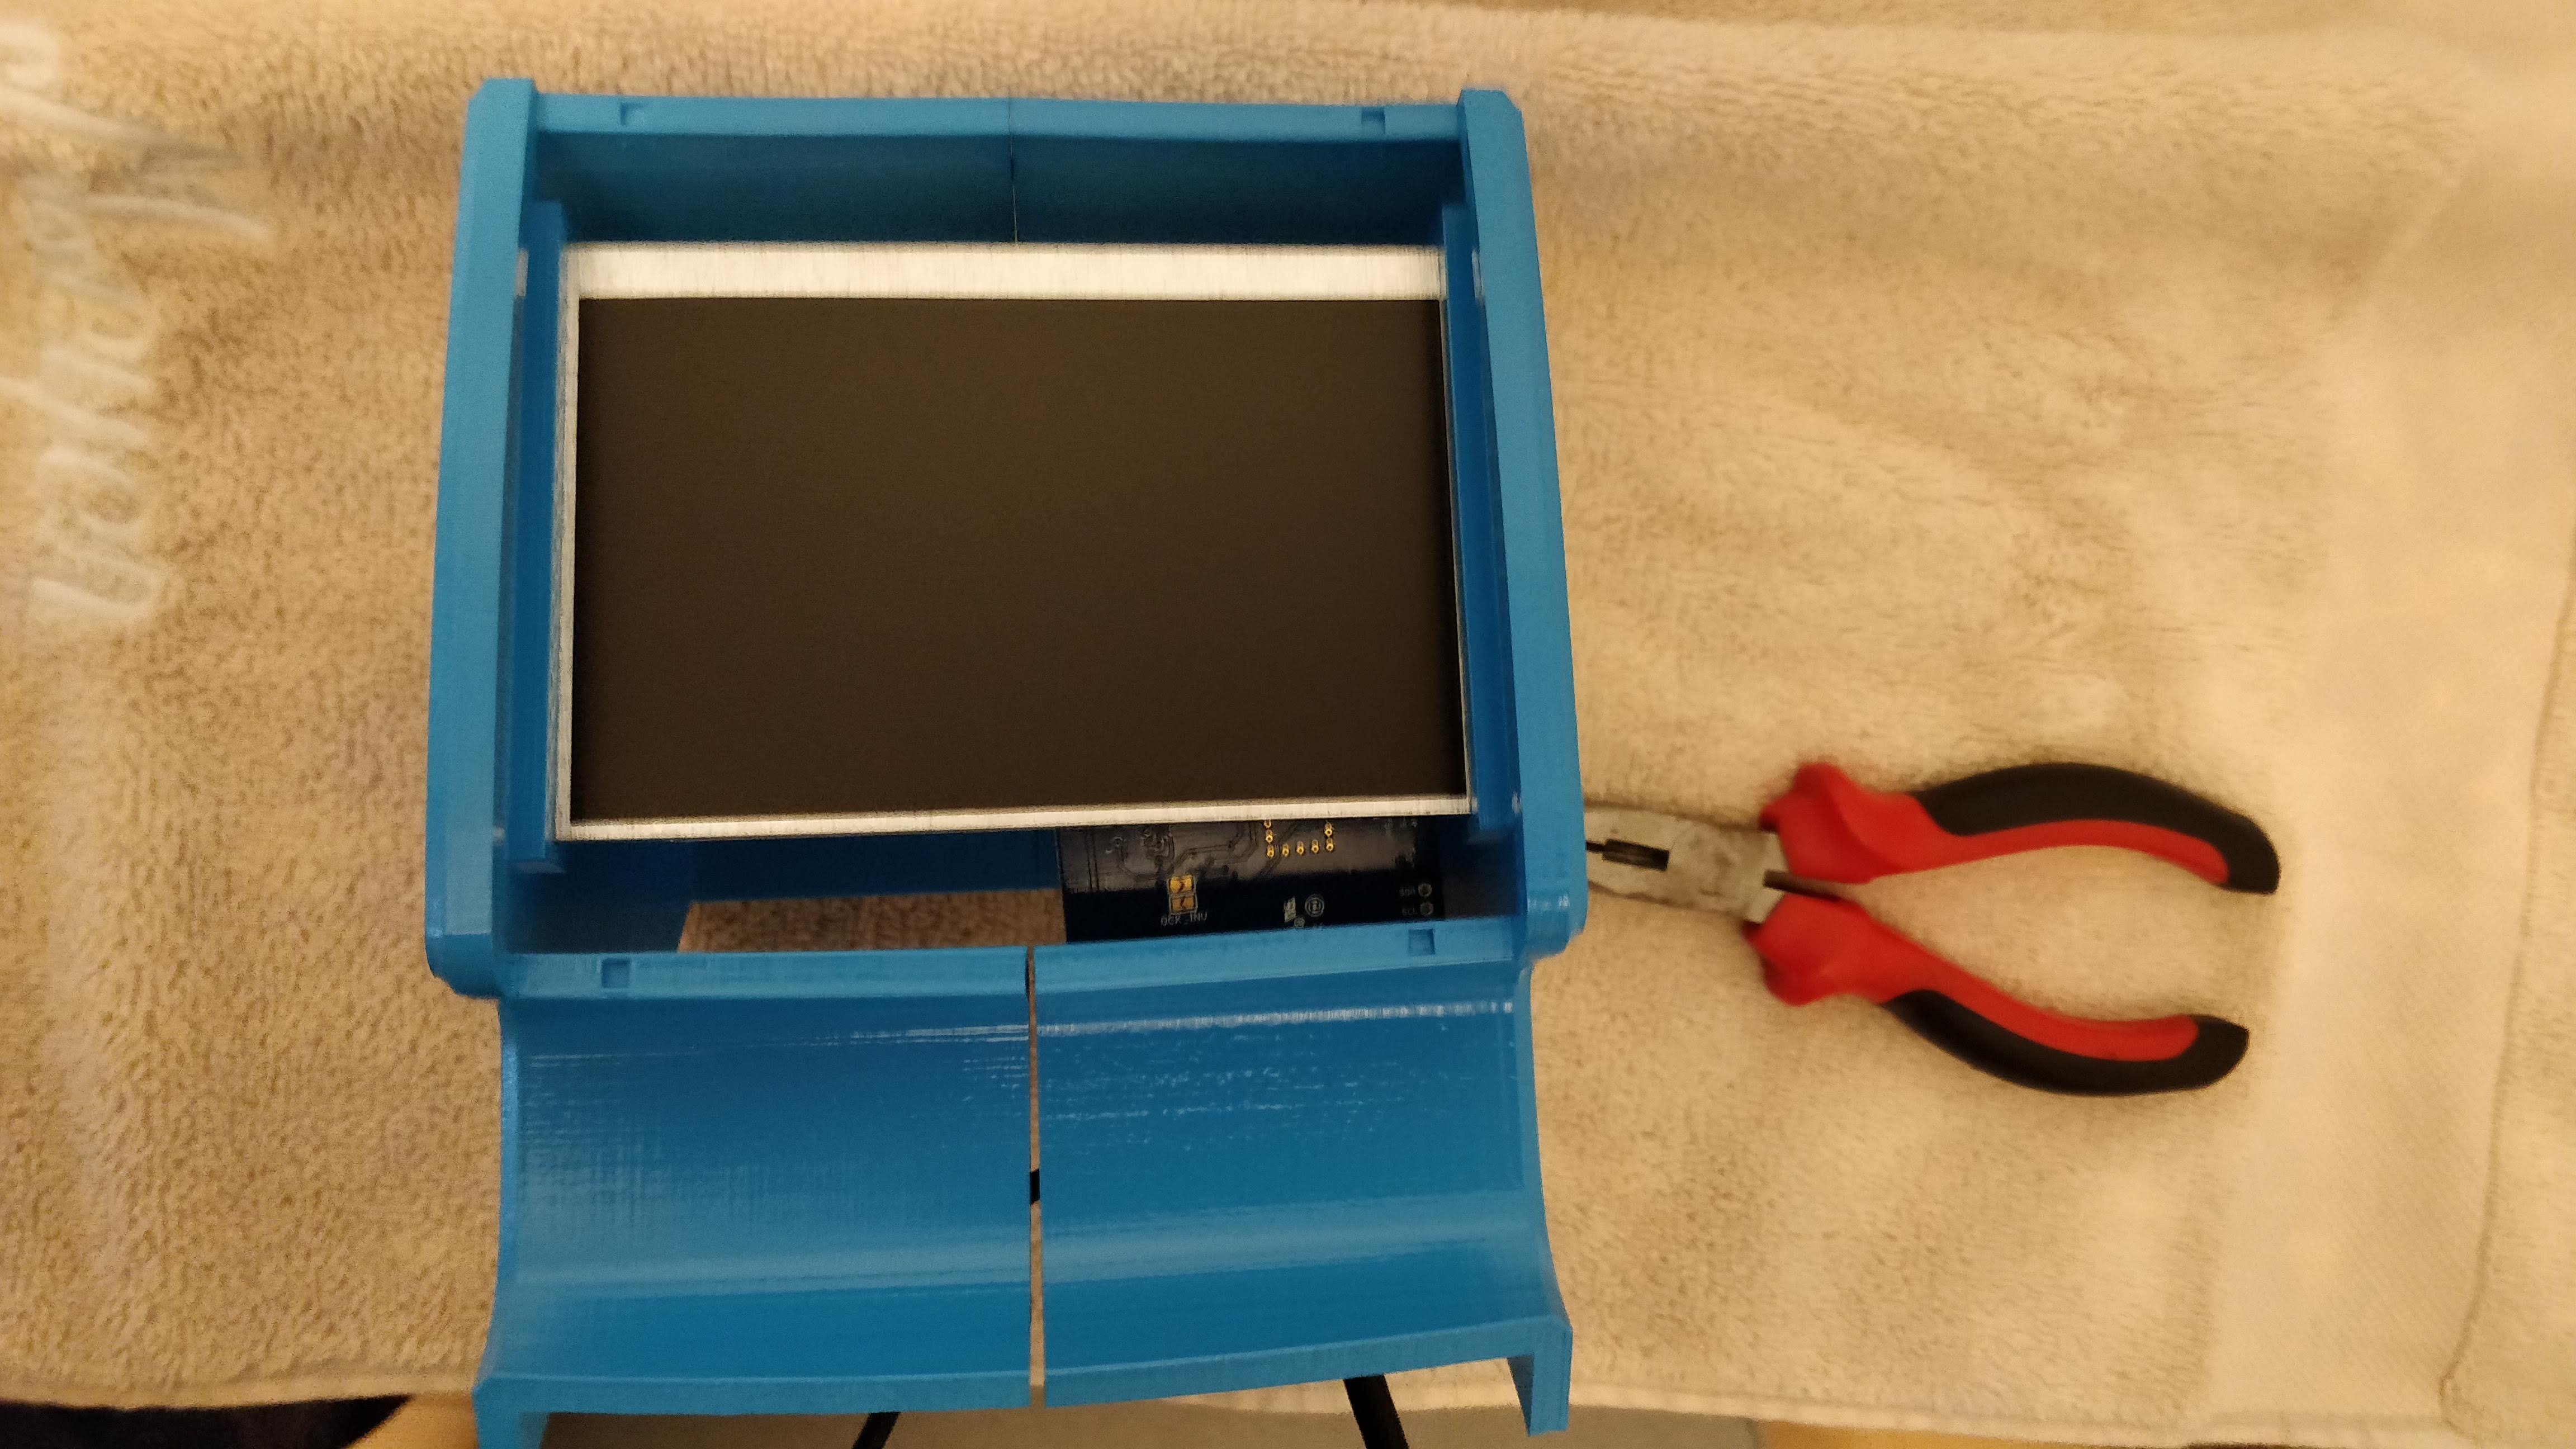
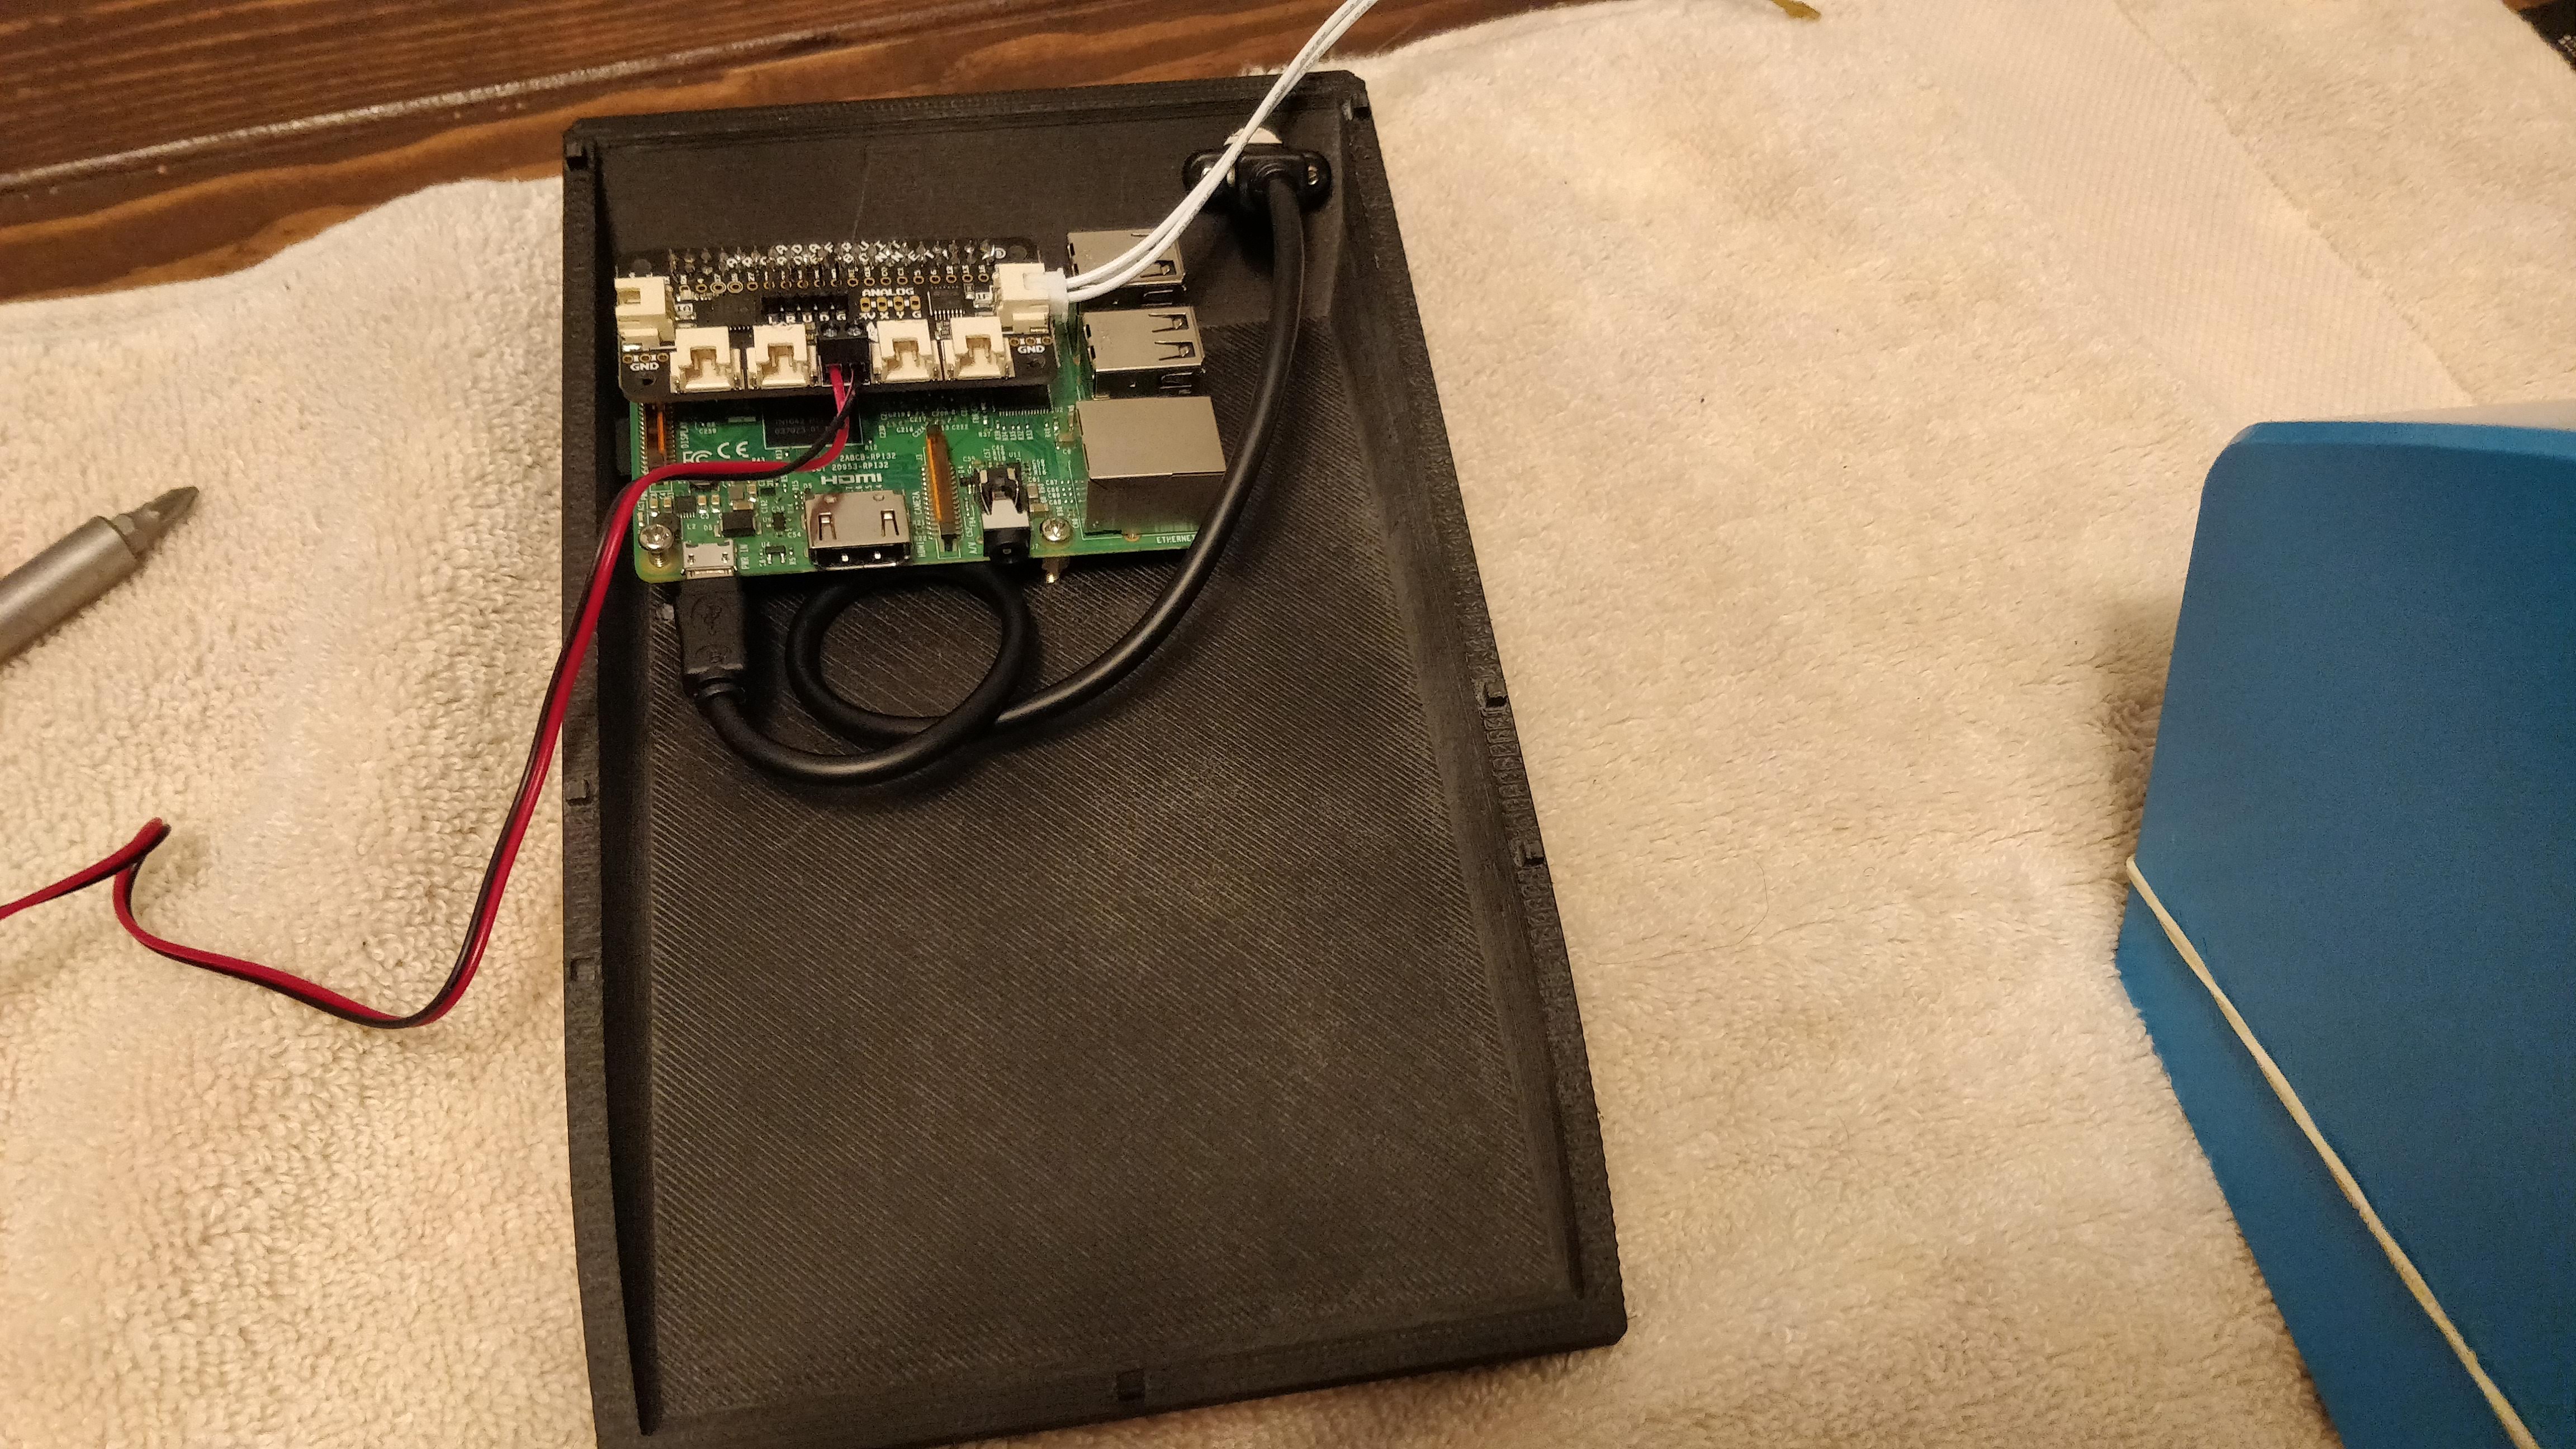
Putting in the Hardware
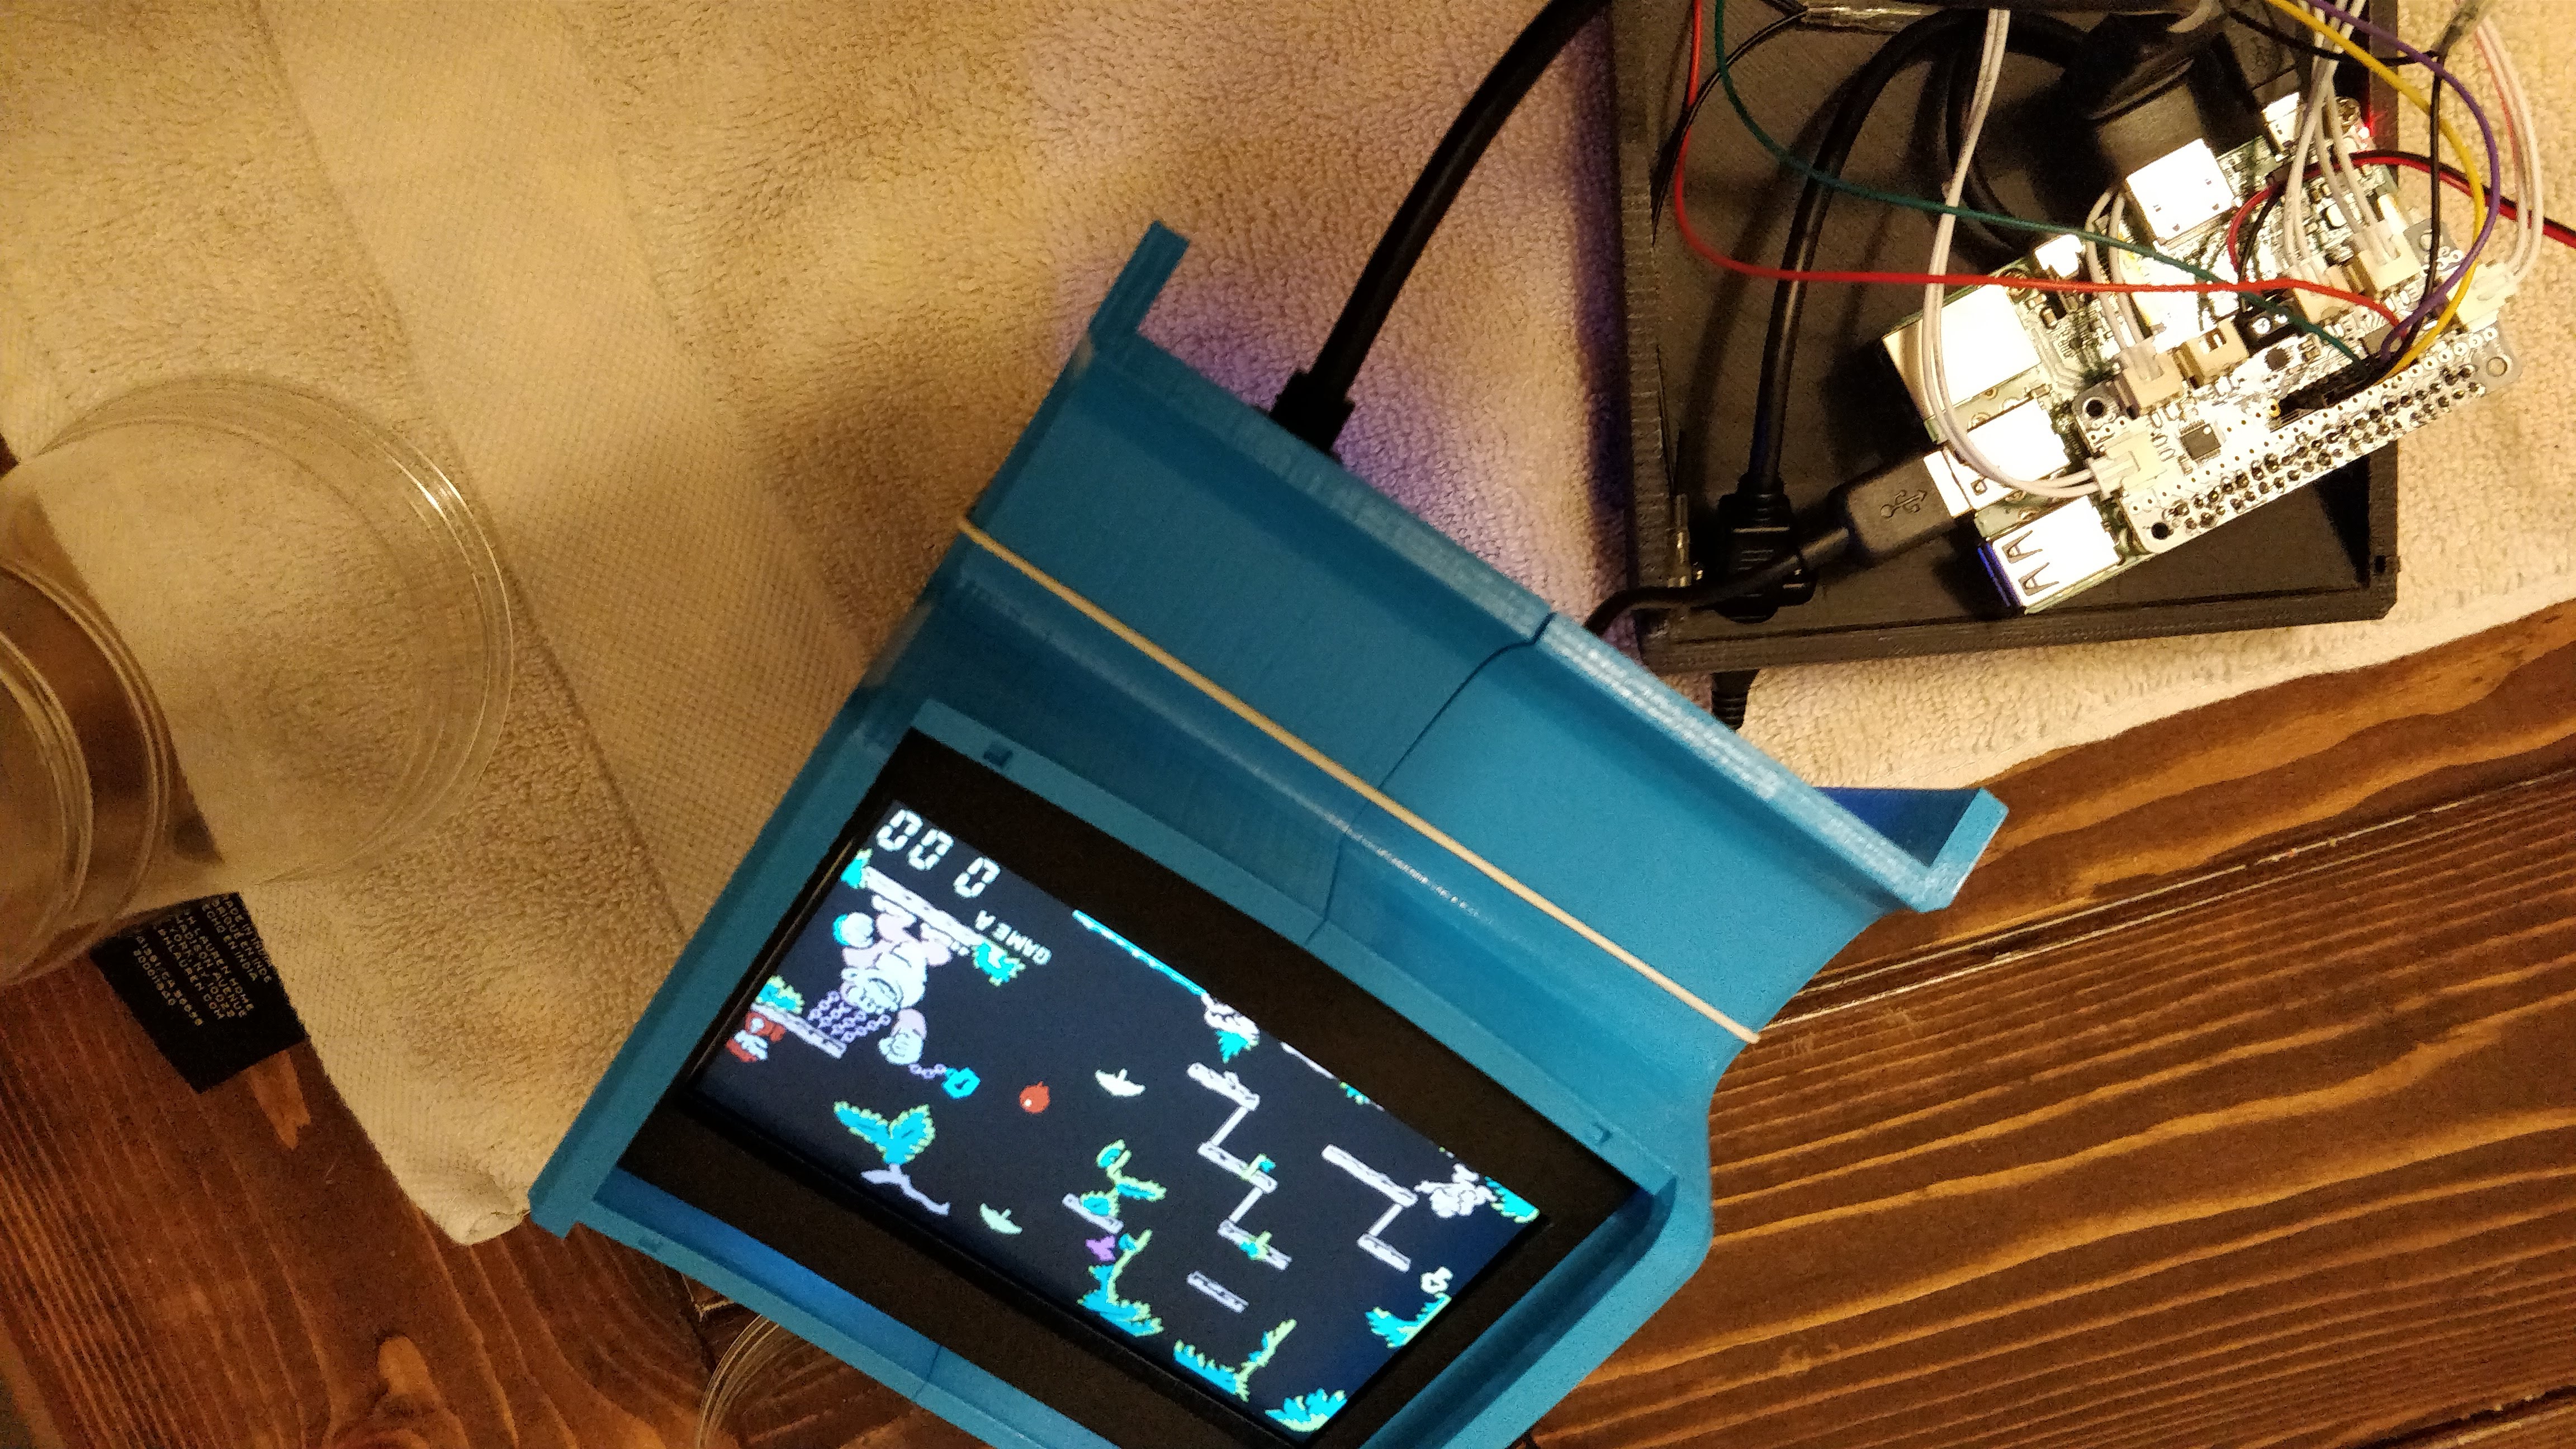
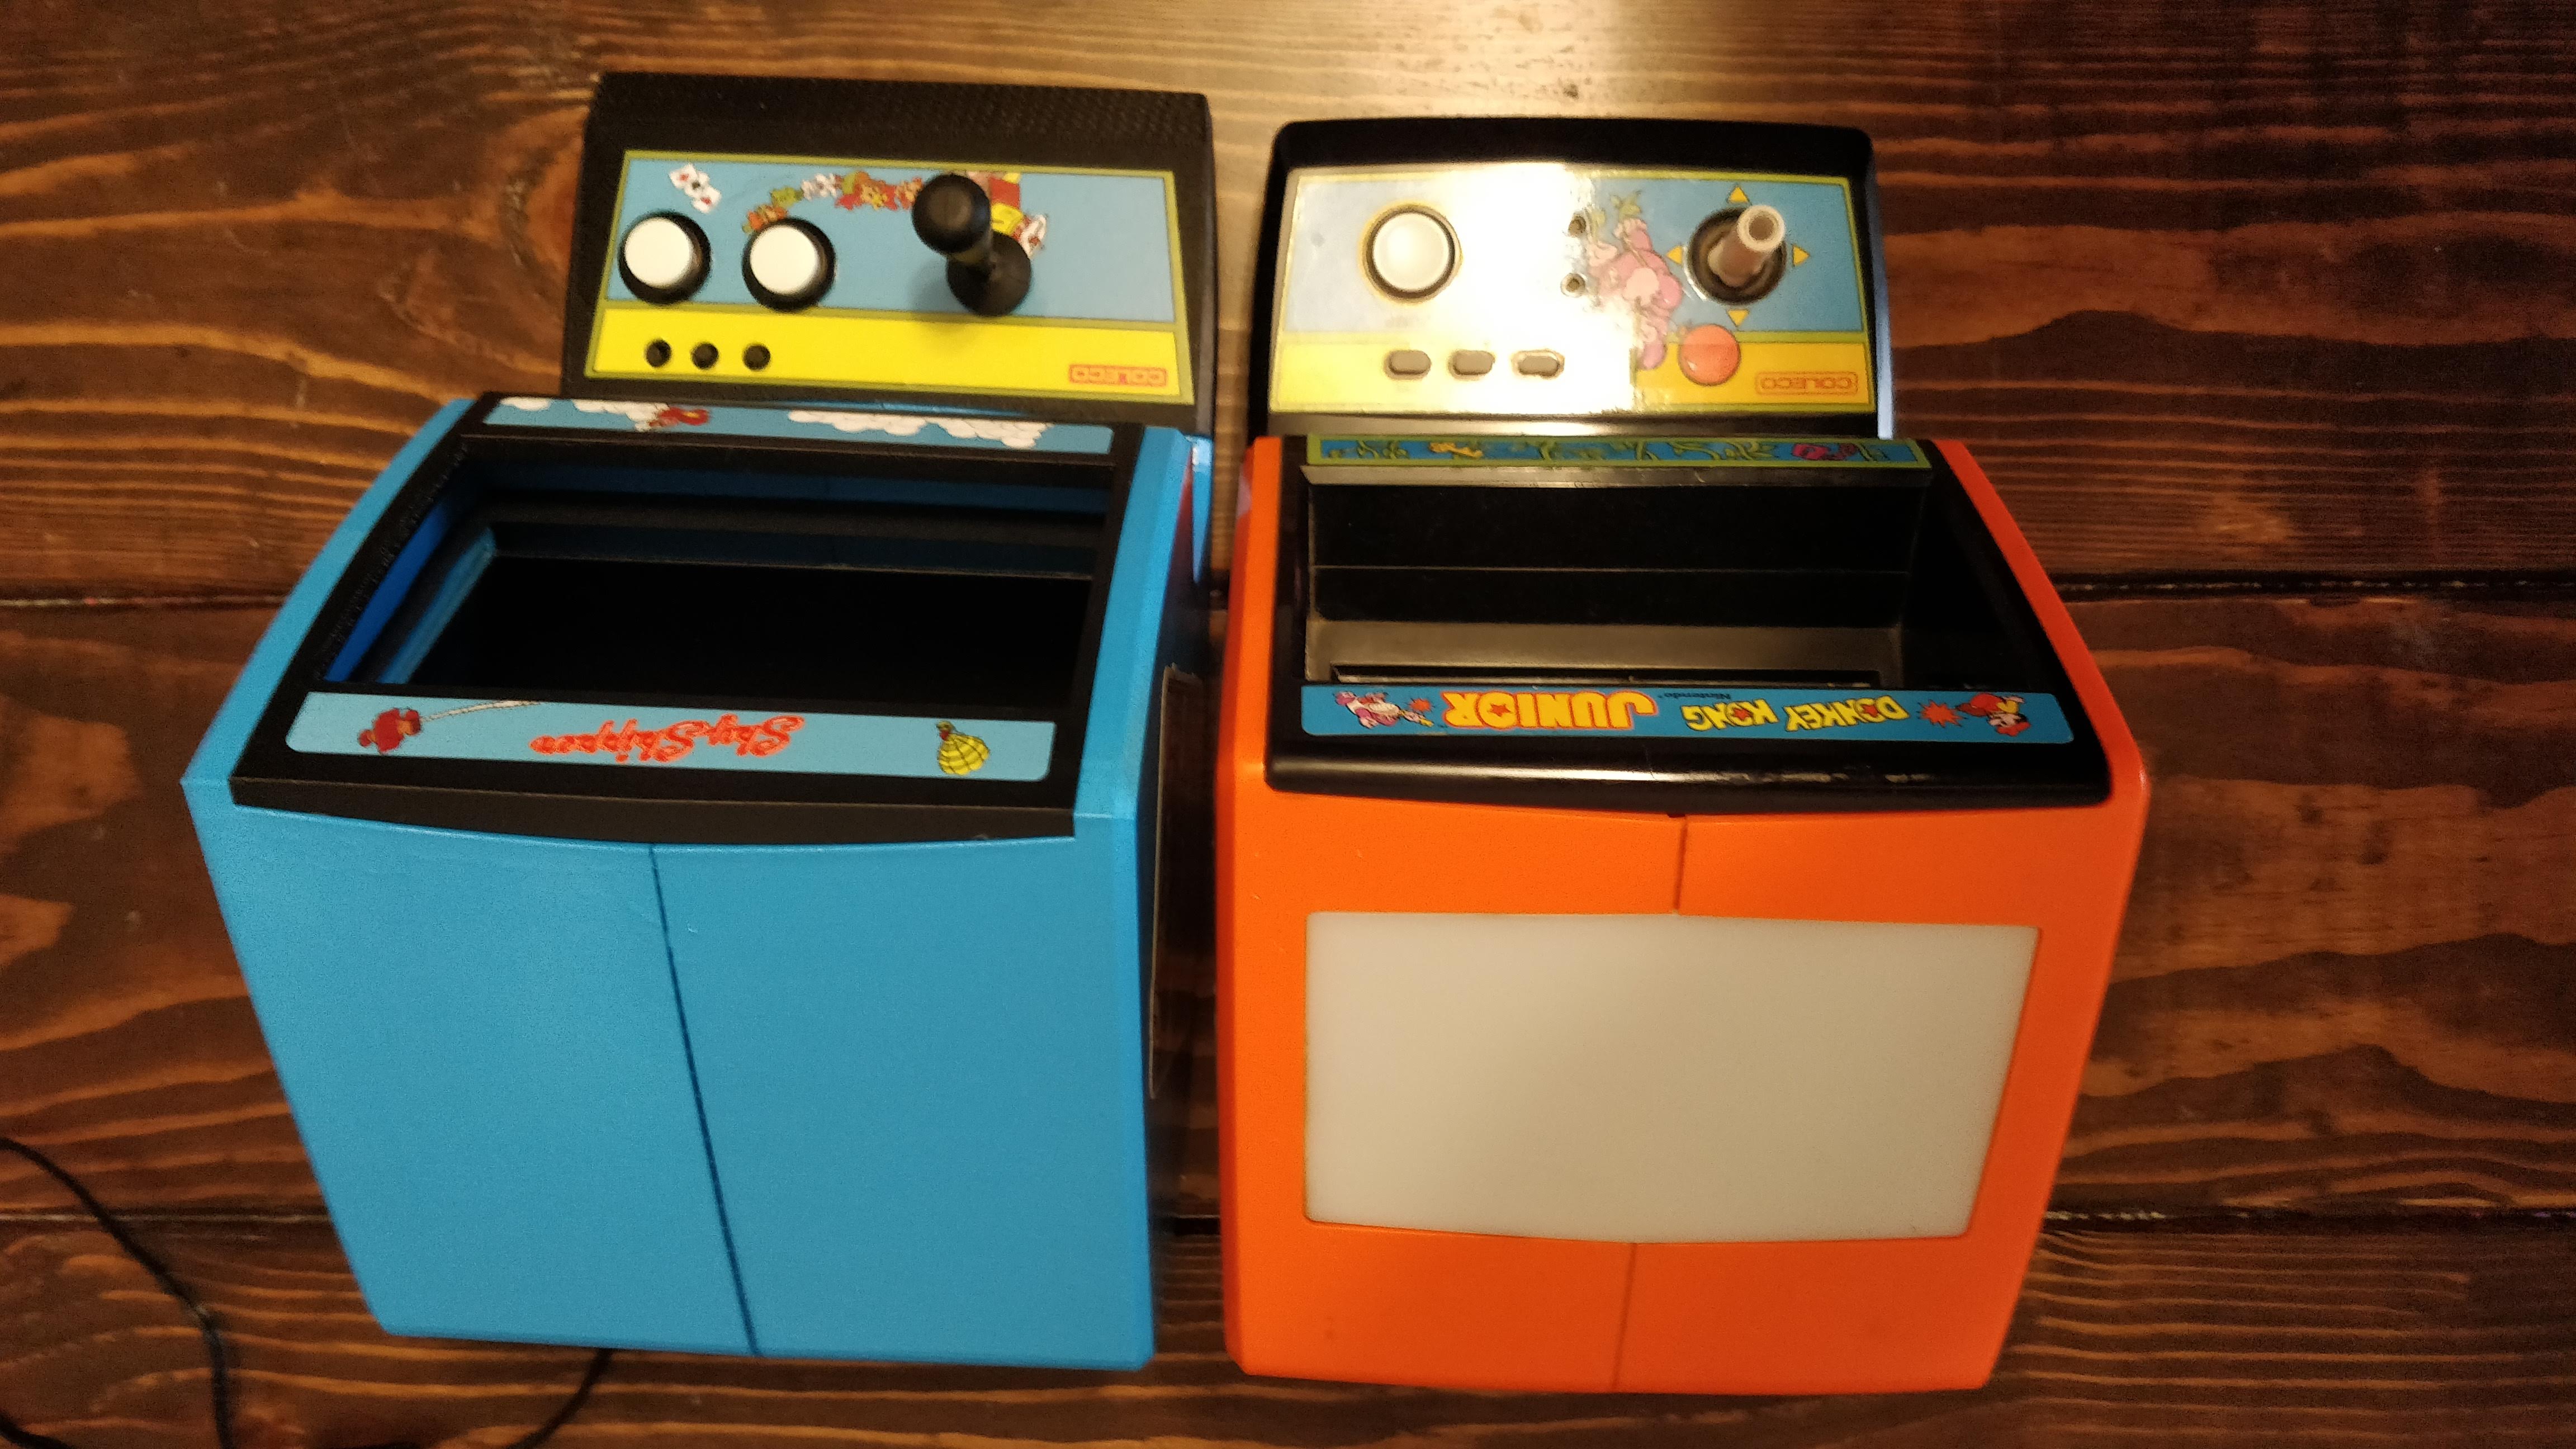
The pi fits nicely in the bottom of the shell on some standoffs. My Adafruit Arcade Bonnet mounts on top of that. There’s only one exterior port (USB for power) which leads to the back. A speaker attaches to the bonnet. The LCD screen is actually mounted upside down (and then rotated in software) so that the ribbon cable bends nicely to the back where it connects to the HDMI decoder. This way I can mount the decoder to the back of the screen with Velcro and all the ports point straight down to connect to the pi.
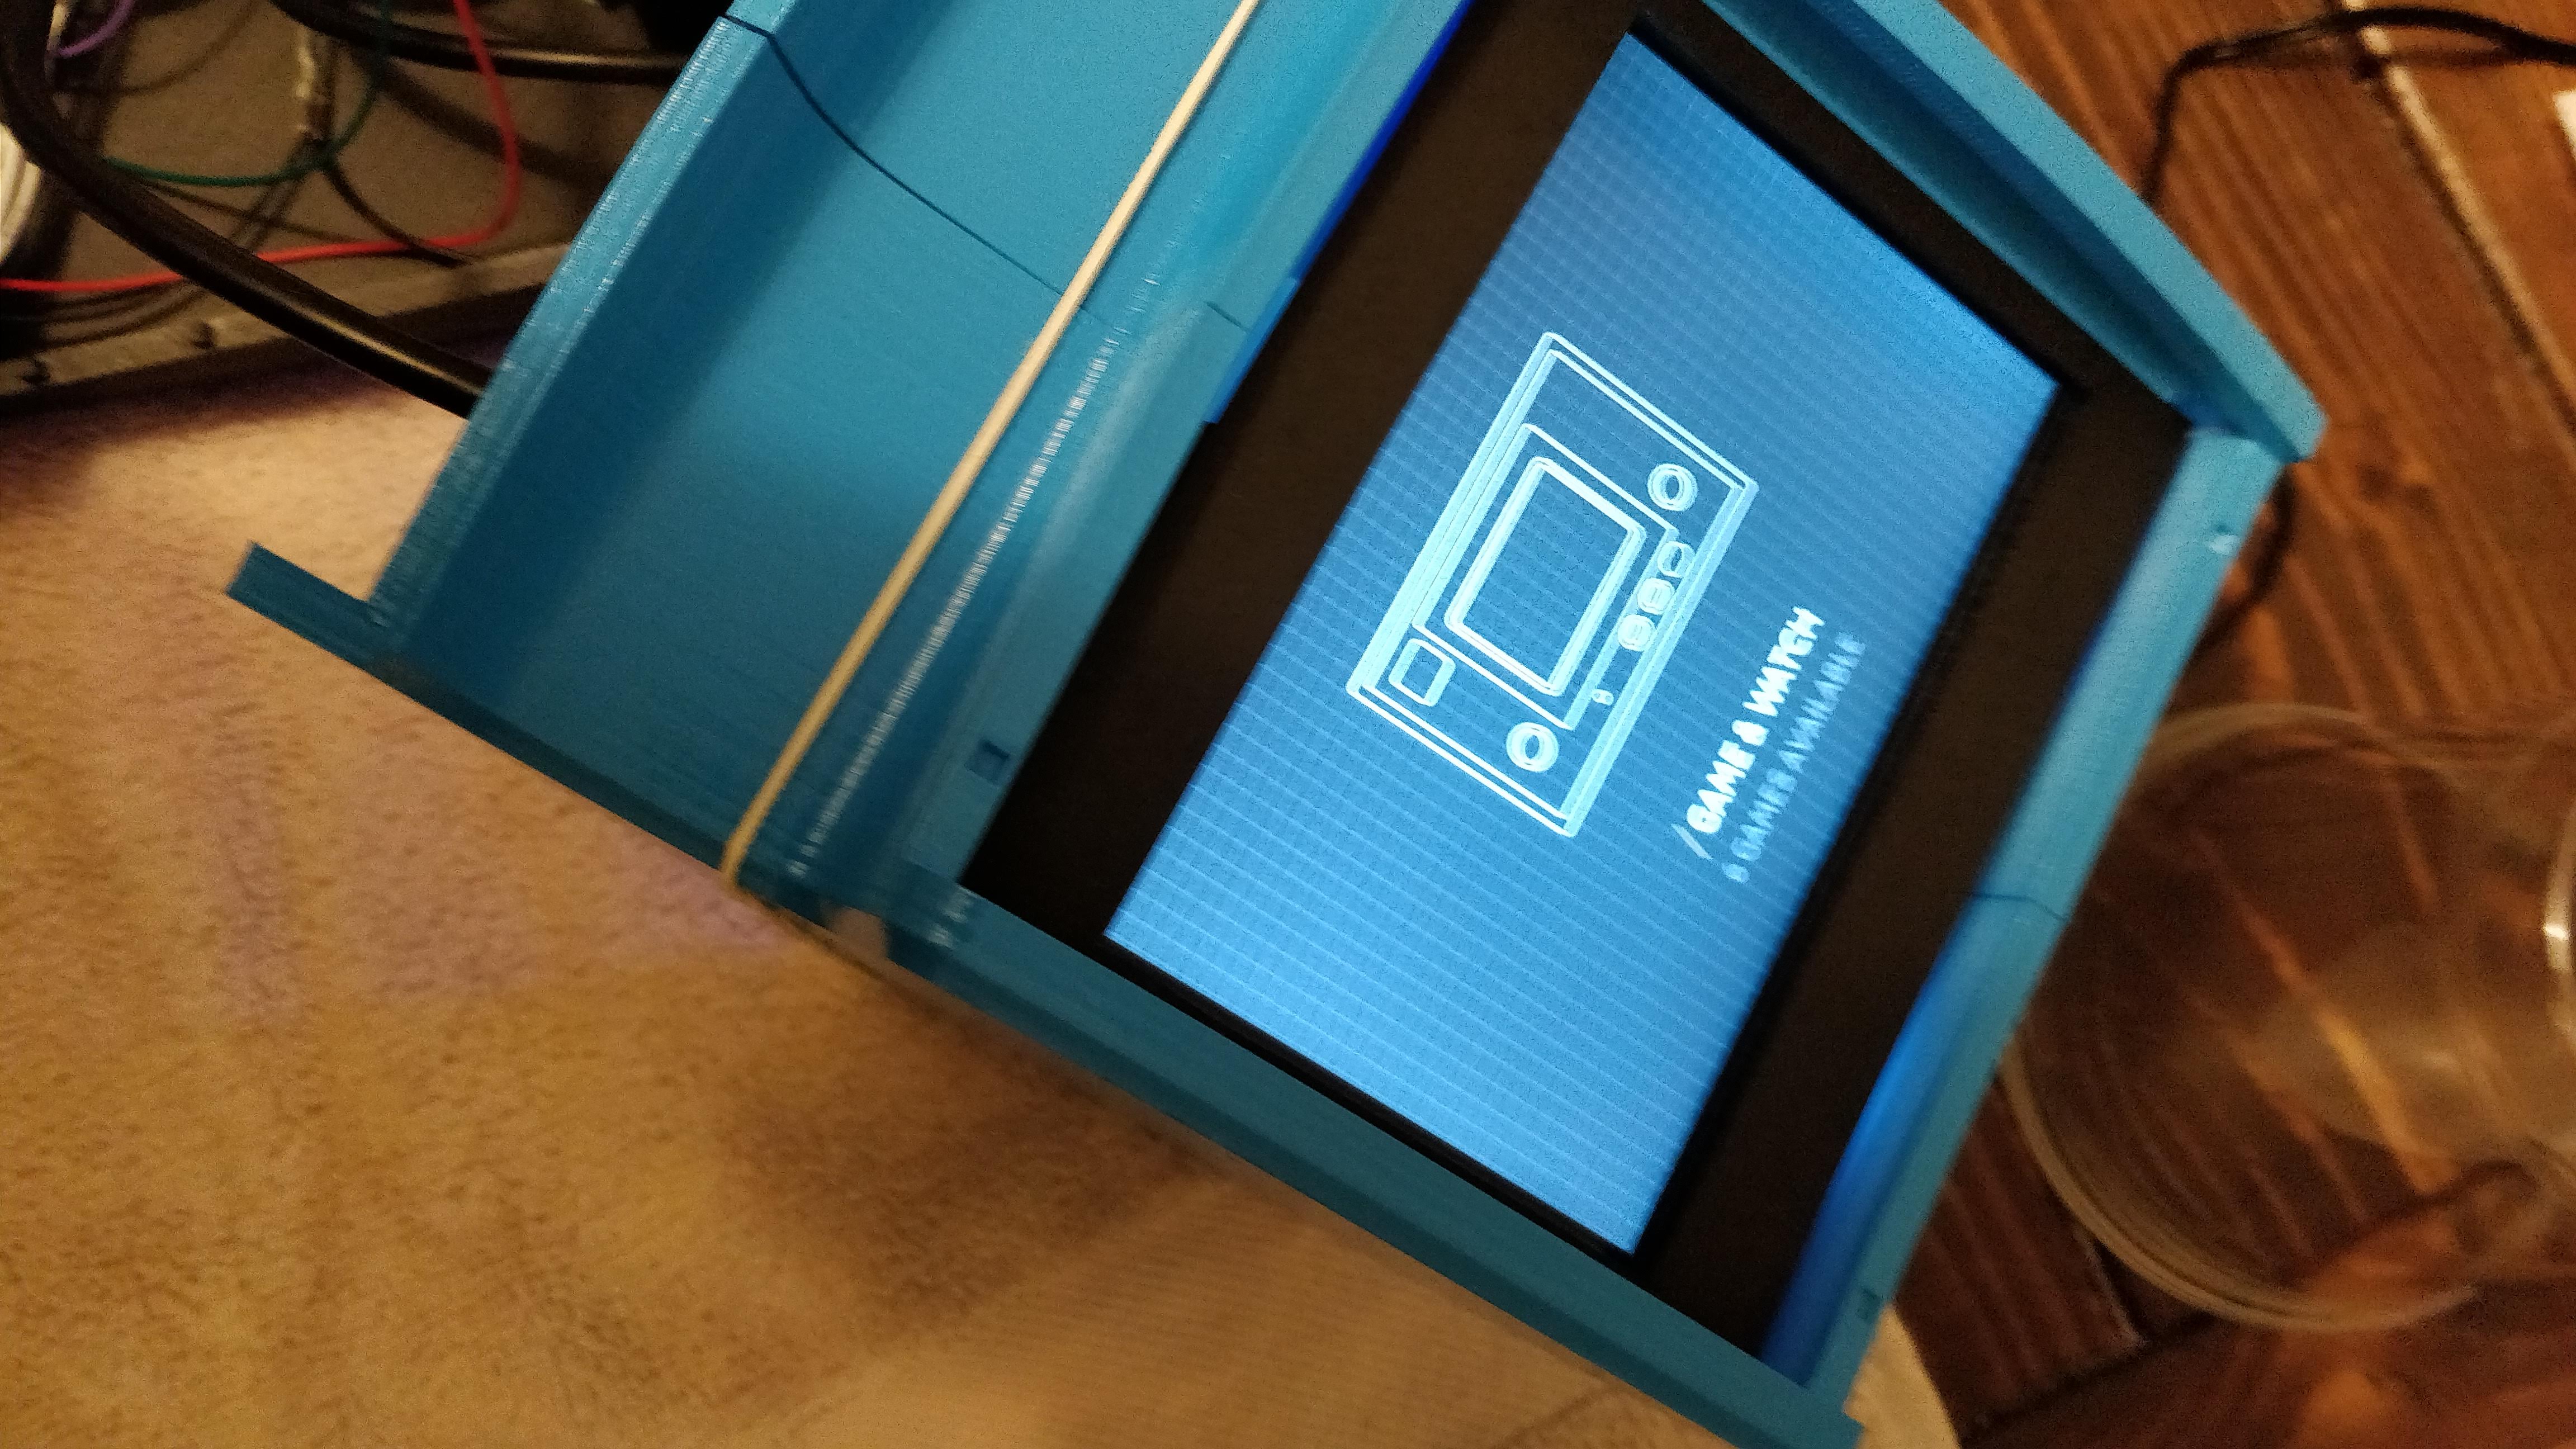

Software
As I’ve explained a bit in other posts, I’m running Retropie with the Emulation Station frontend. The control panel has two main action buttons and a joystick. I tossed a few other Nintendo Vs. games on there since they have the same number of buttons and such. Also, loaded up the Madrigal Simulators to play the Game and Watch games that were in these shells. The downside to these simulators is they don’t start in fullscreen, so the illusion is slightly ruined, but such is life. I have some thoughts on how to solve this in a future build I’m already working on.
Photos and Tour
See below for photos and a video tour of the Coleco Sky Skipper Tabletop!
3d Print STL Files
By popular demand, I’m sharing my .stl files for this build. I’ll warn you though – they aren’t great! It’s the first thing I’ve ever modeled so some of the tolerances are pretty tight. I don’t have much experience creating holding pins and such so you may have to sand them down a bit, bend them slightly, etc.