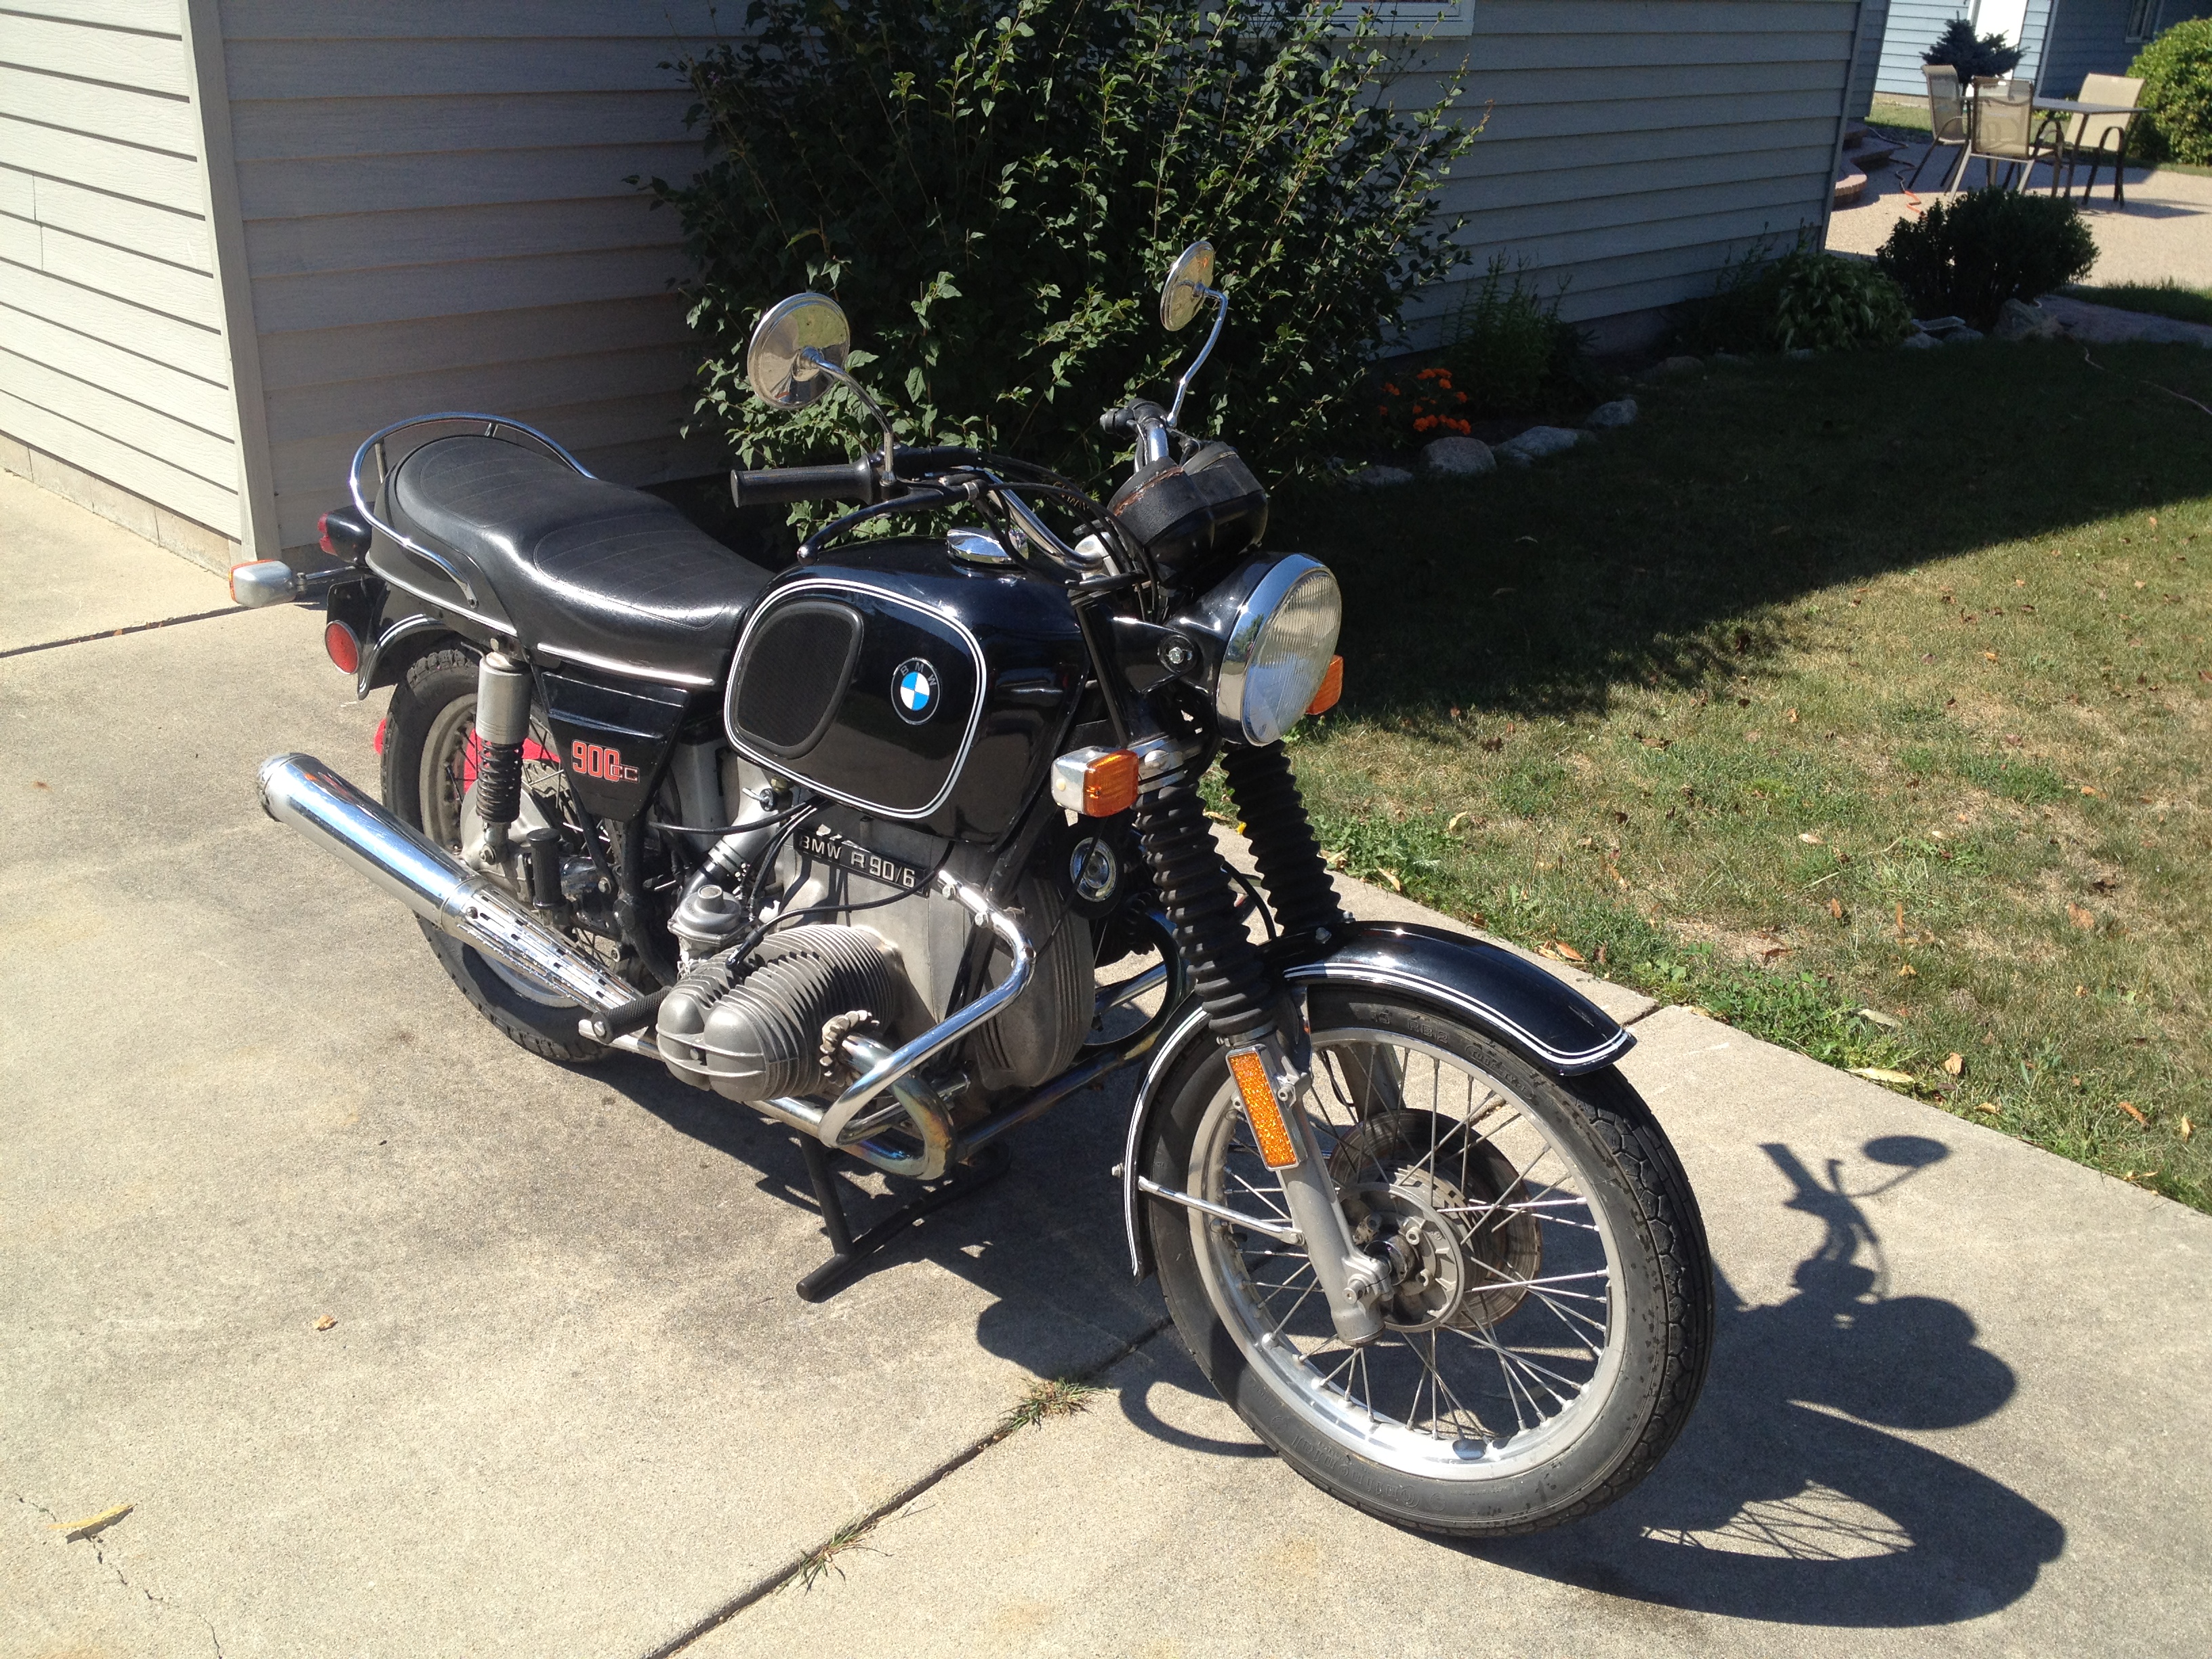
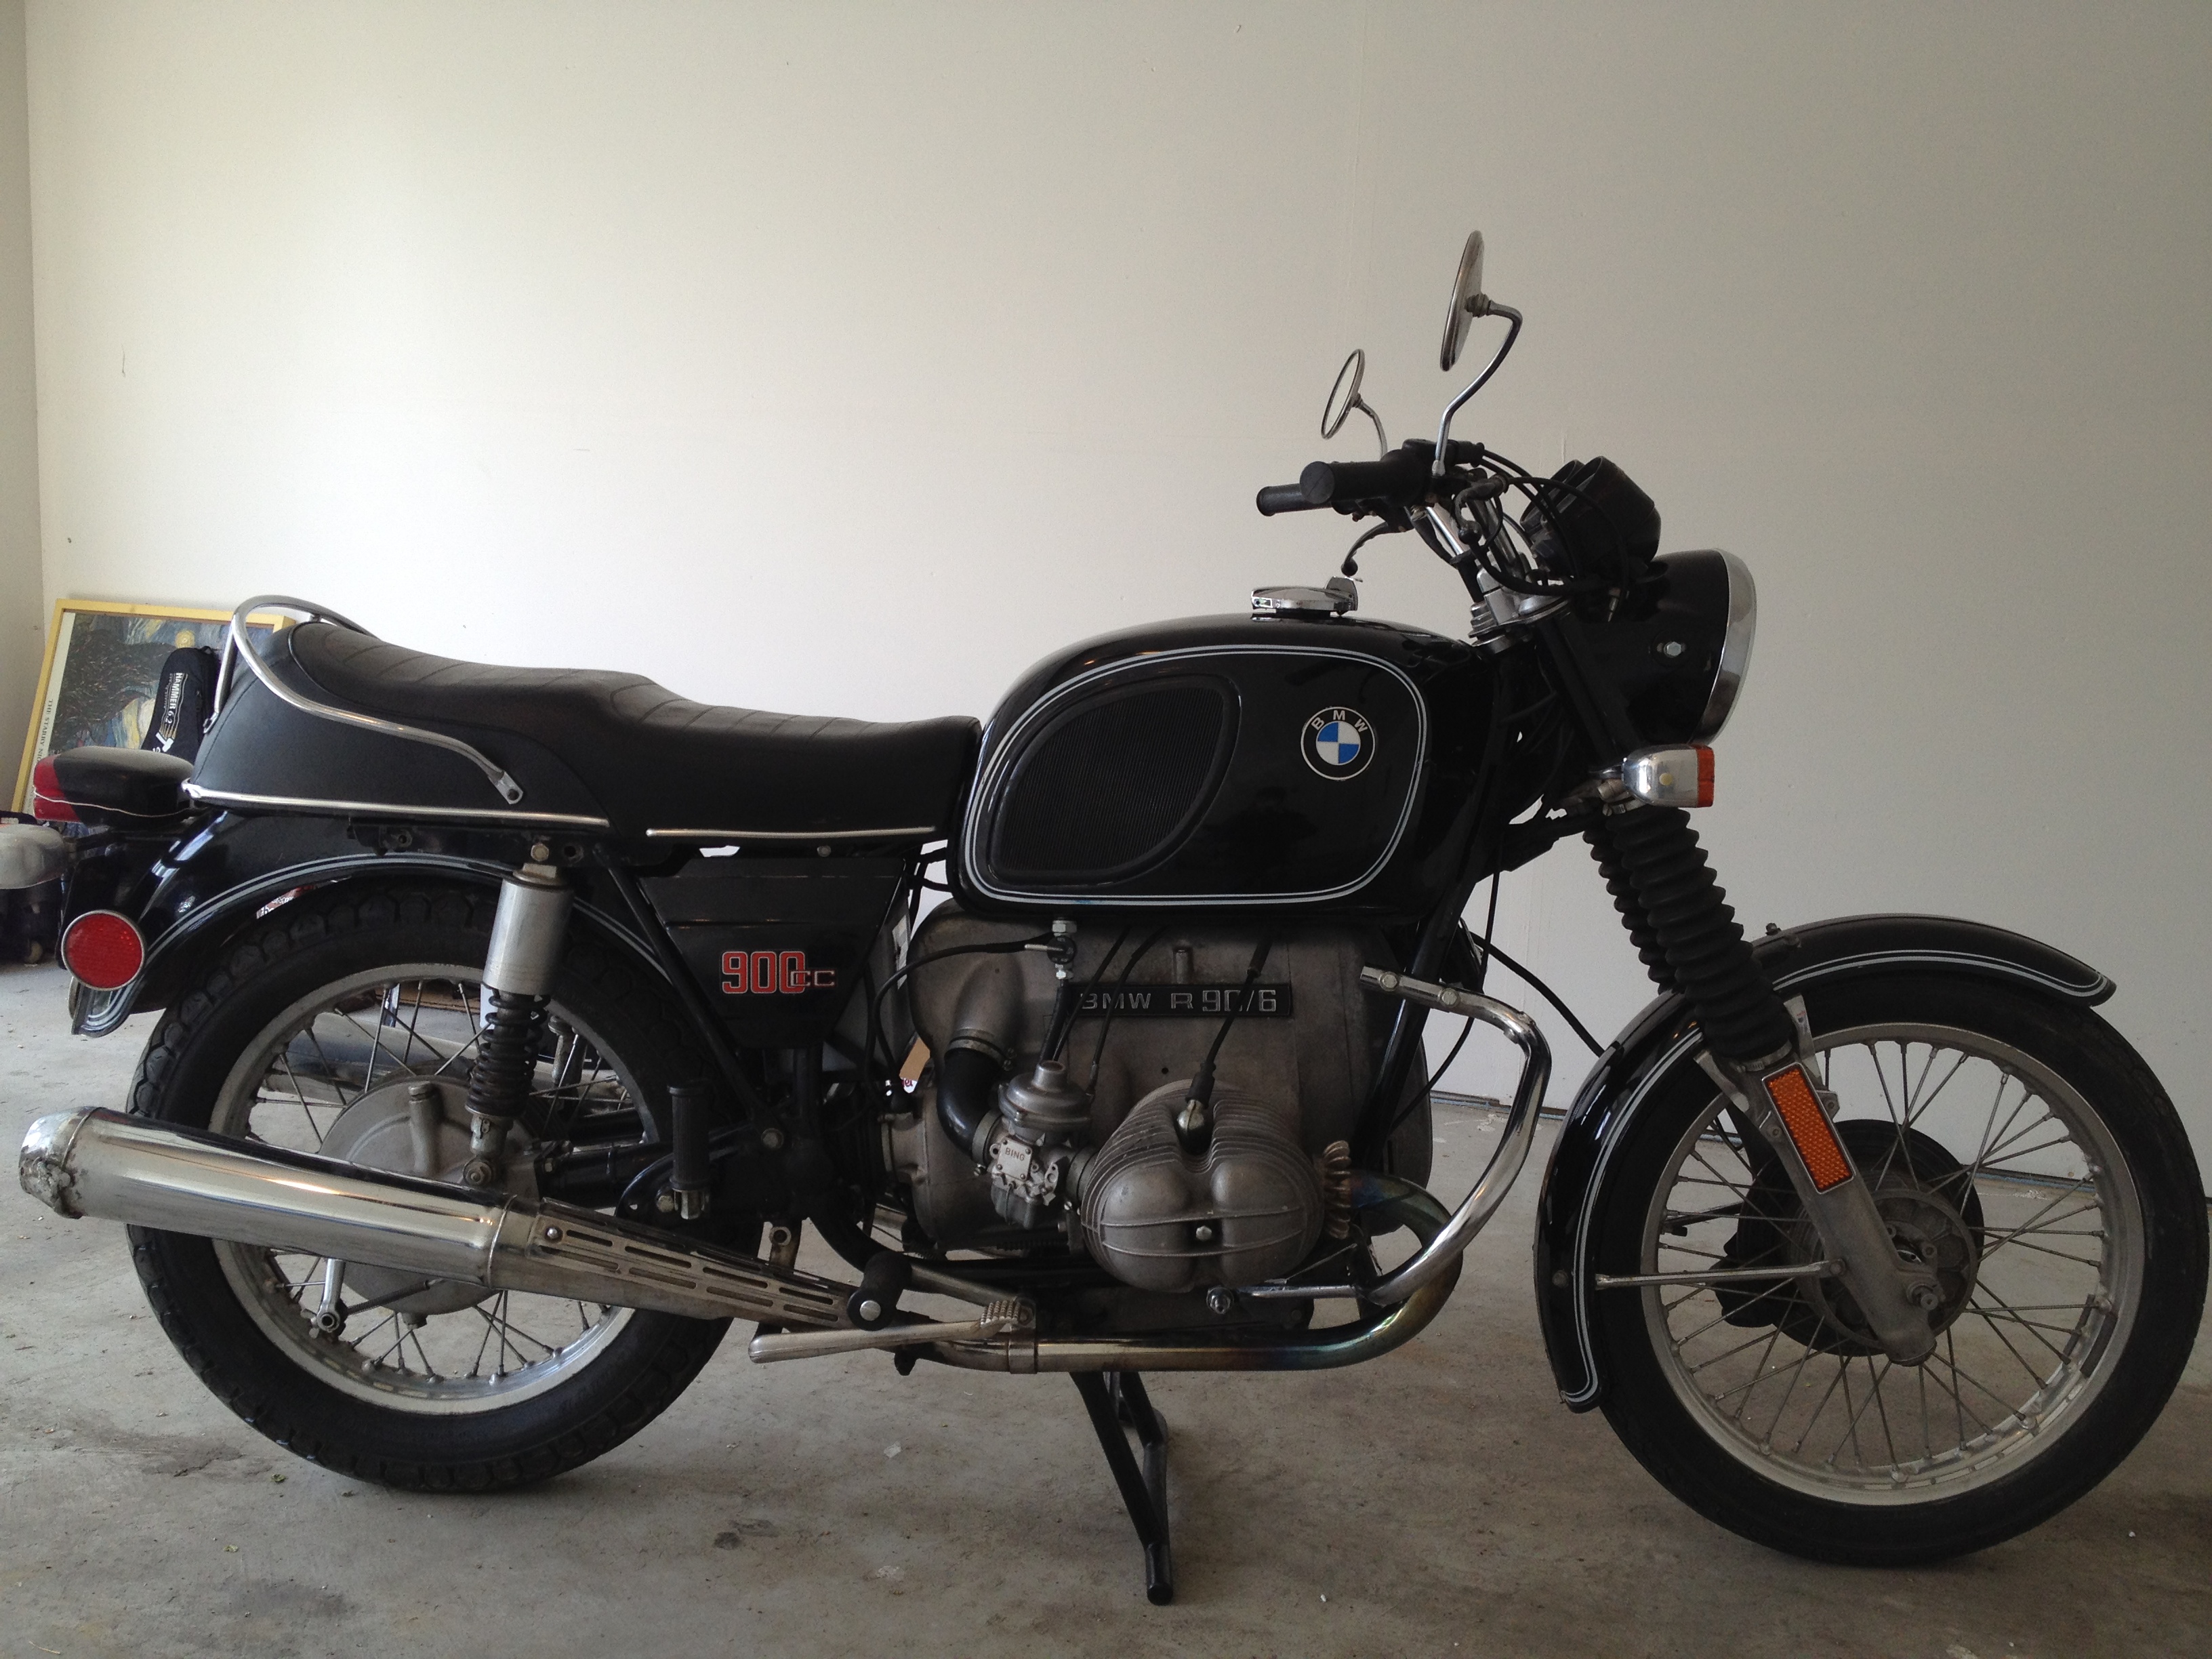
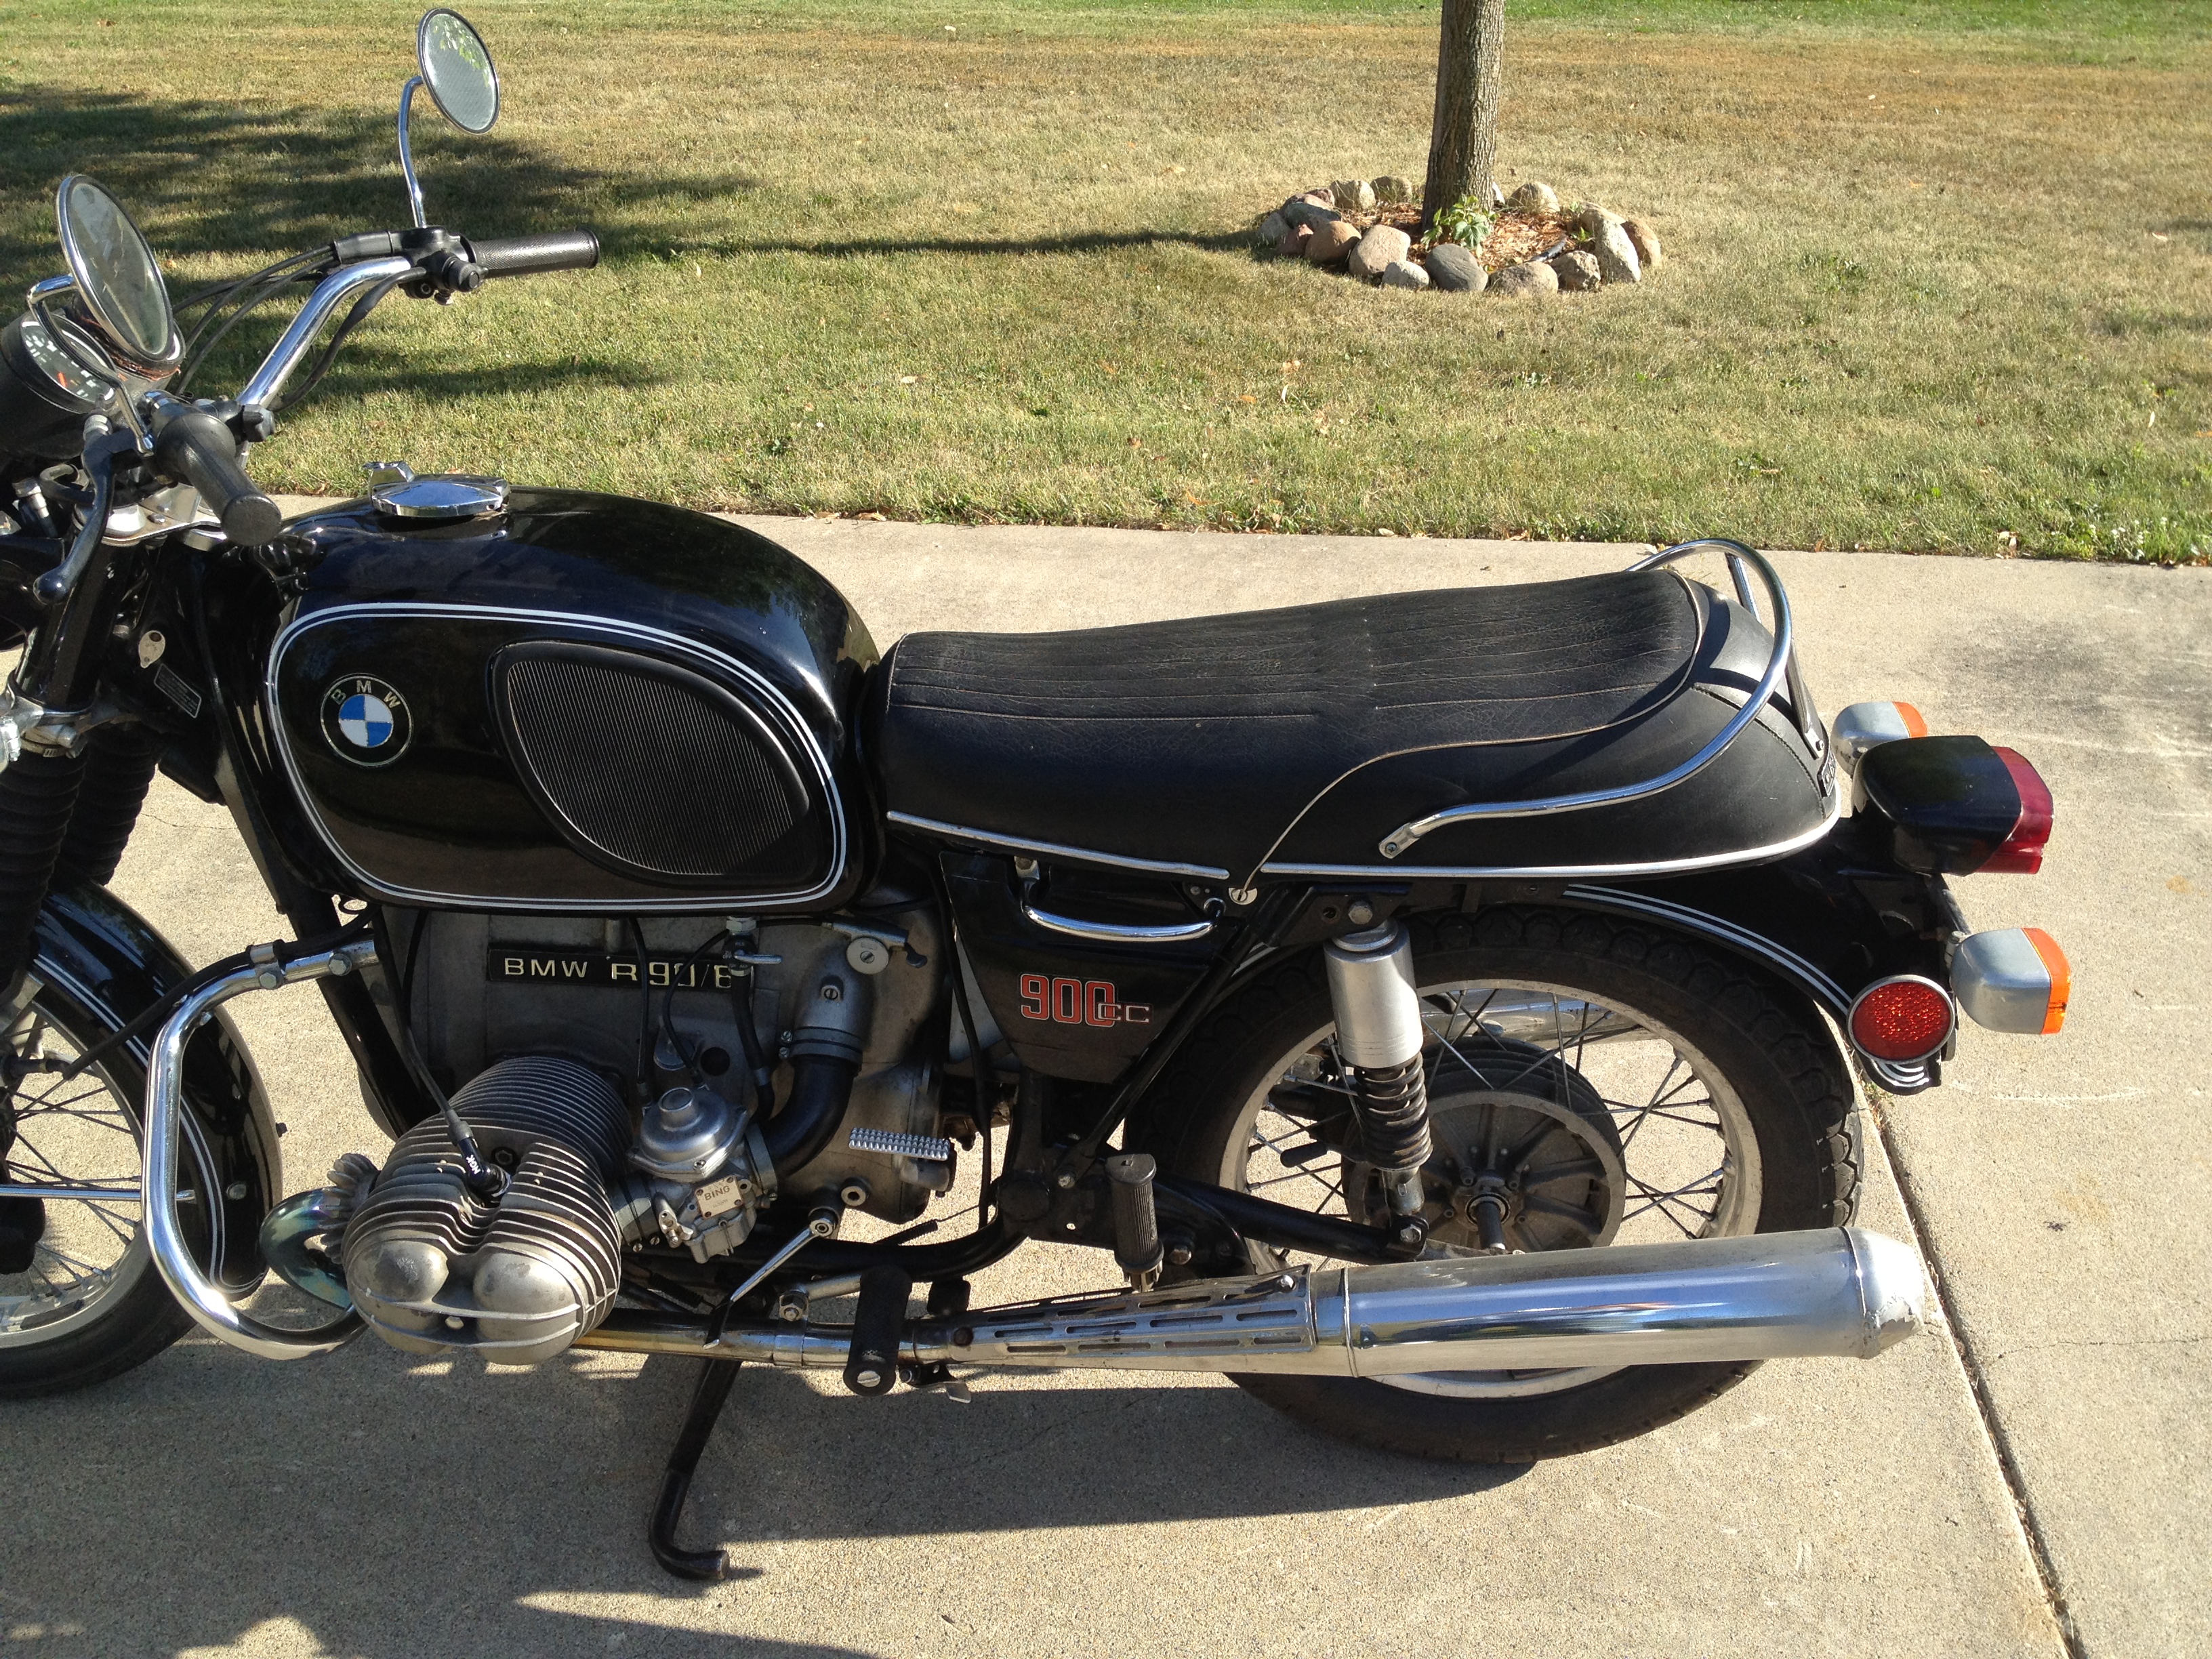
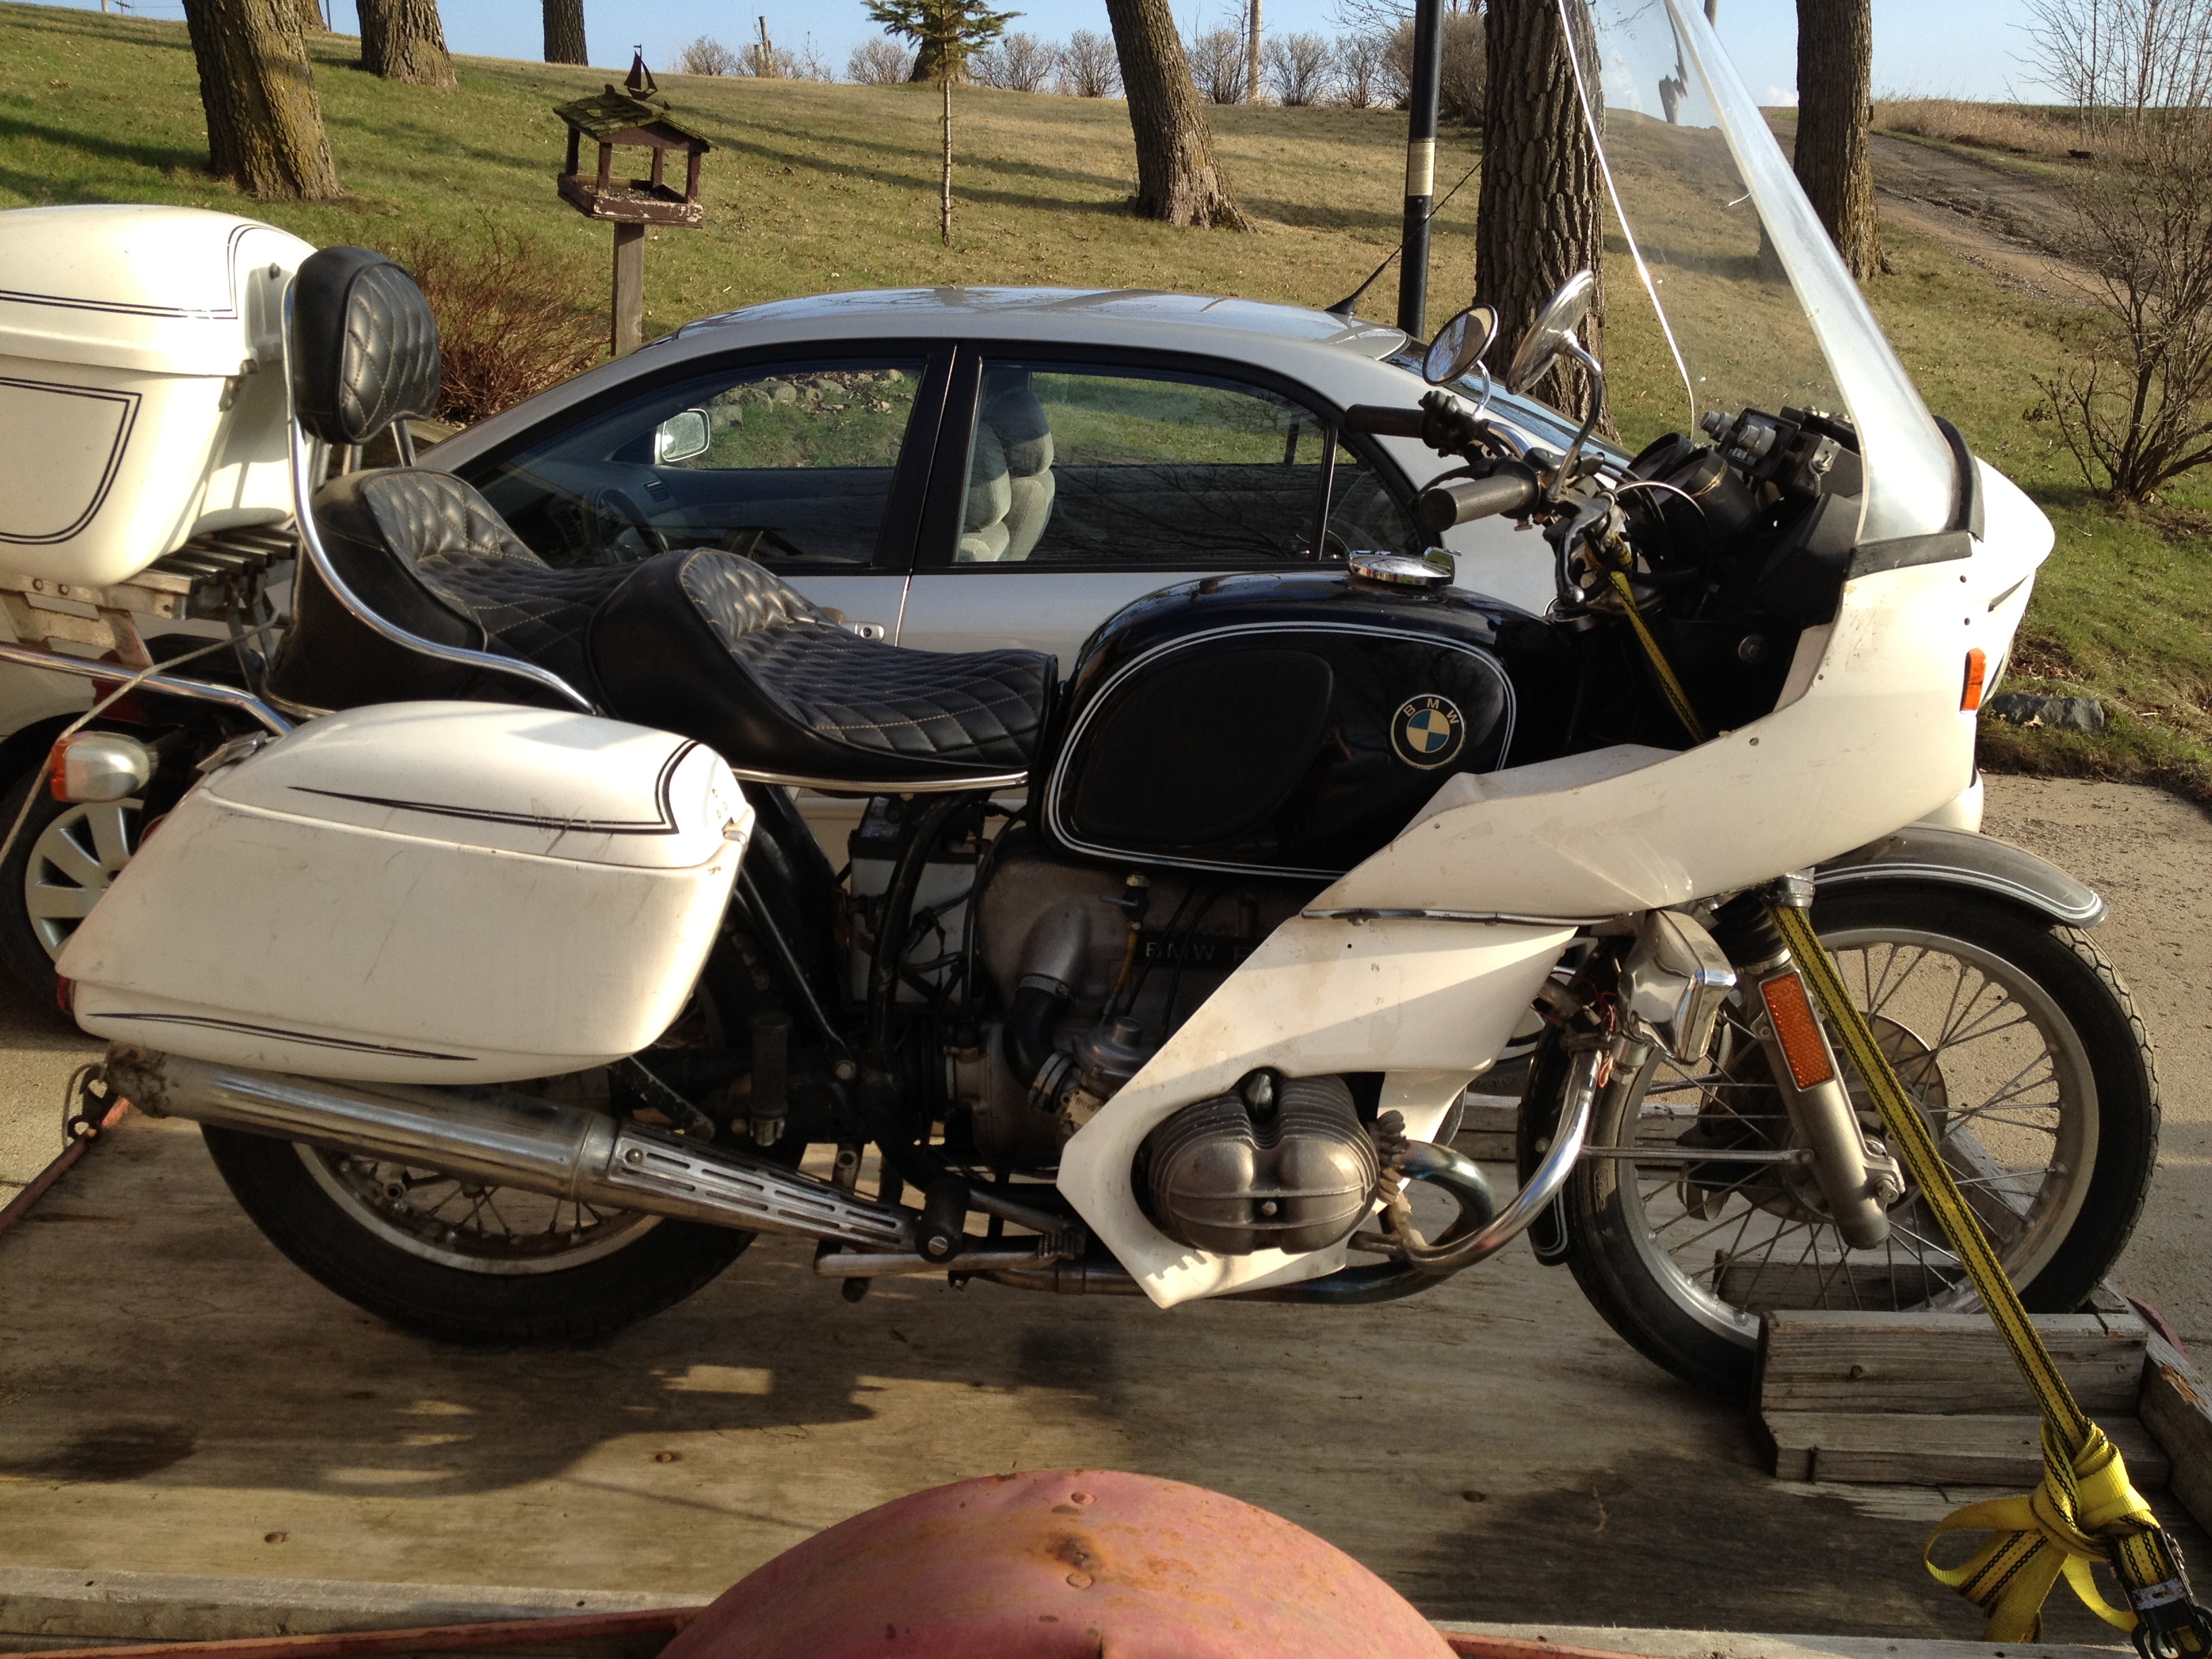
Intro: I love old motorcycles. There’s just something right about them. The BMW r90 /6 is perfect in my opinion. Simple, elegant, beautiful. Only problem? It was made in the mid 70’s. After lots of searching I found this 1974 in my hometown actually. It’s a transition year for BMW and is the only model with both a kick and electric start. The beemers from this era are called “Airheads” because they were air cooled and the unique shape of the cylinder heads.
In 2012 I finally decided to buy one, to my father’s great delight. The problem is I couldn’t especially afford one in pristine condition. The other problem is they’re getting hard to find. Buying a bike turned into somewhat of a project that I learned A LOT from and had fun doing too.
r90 /6 Find
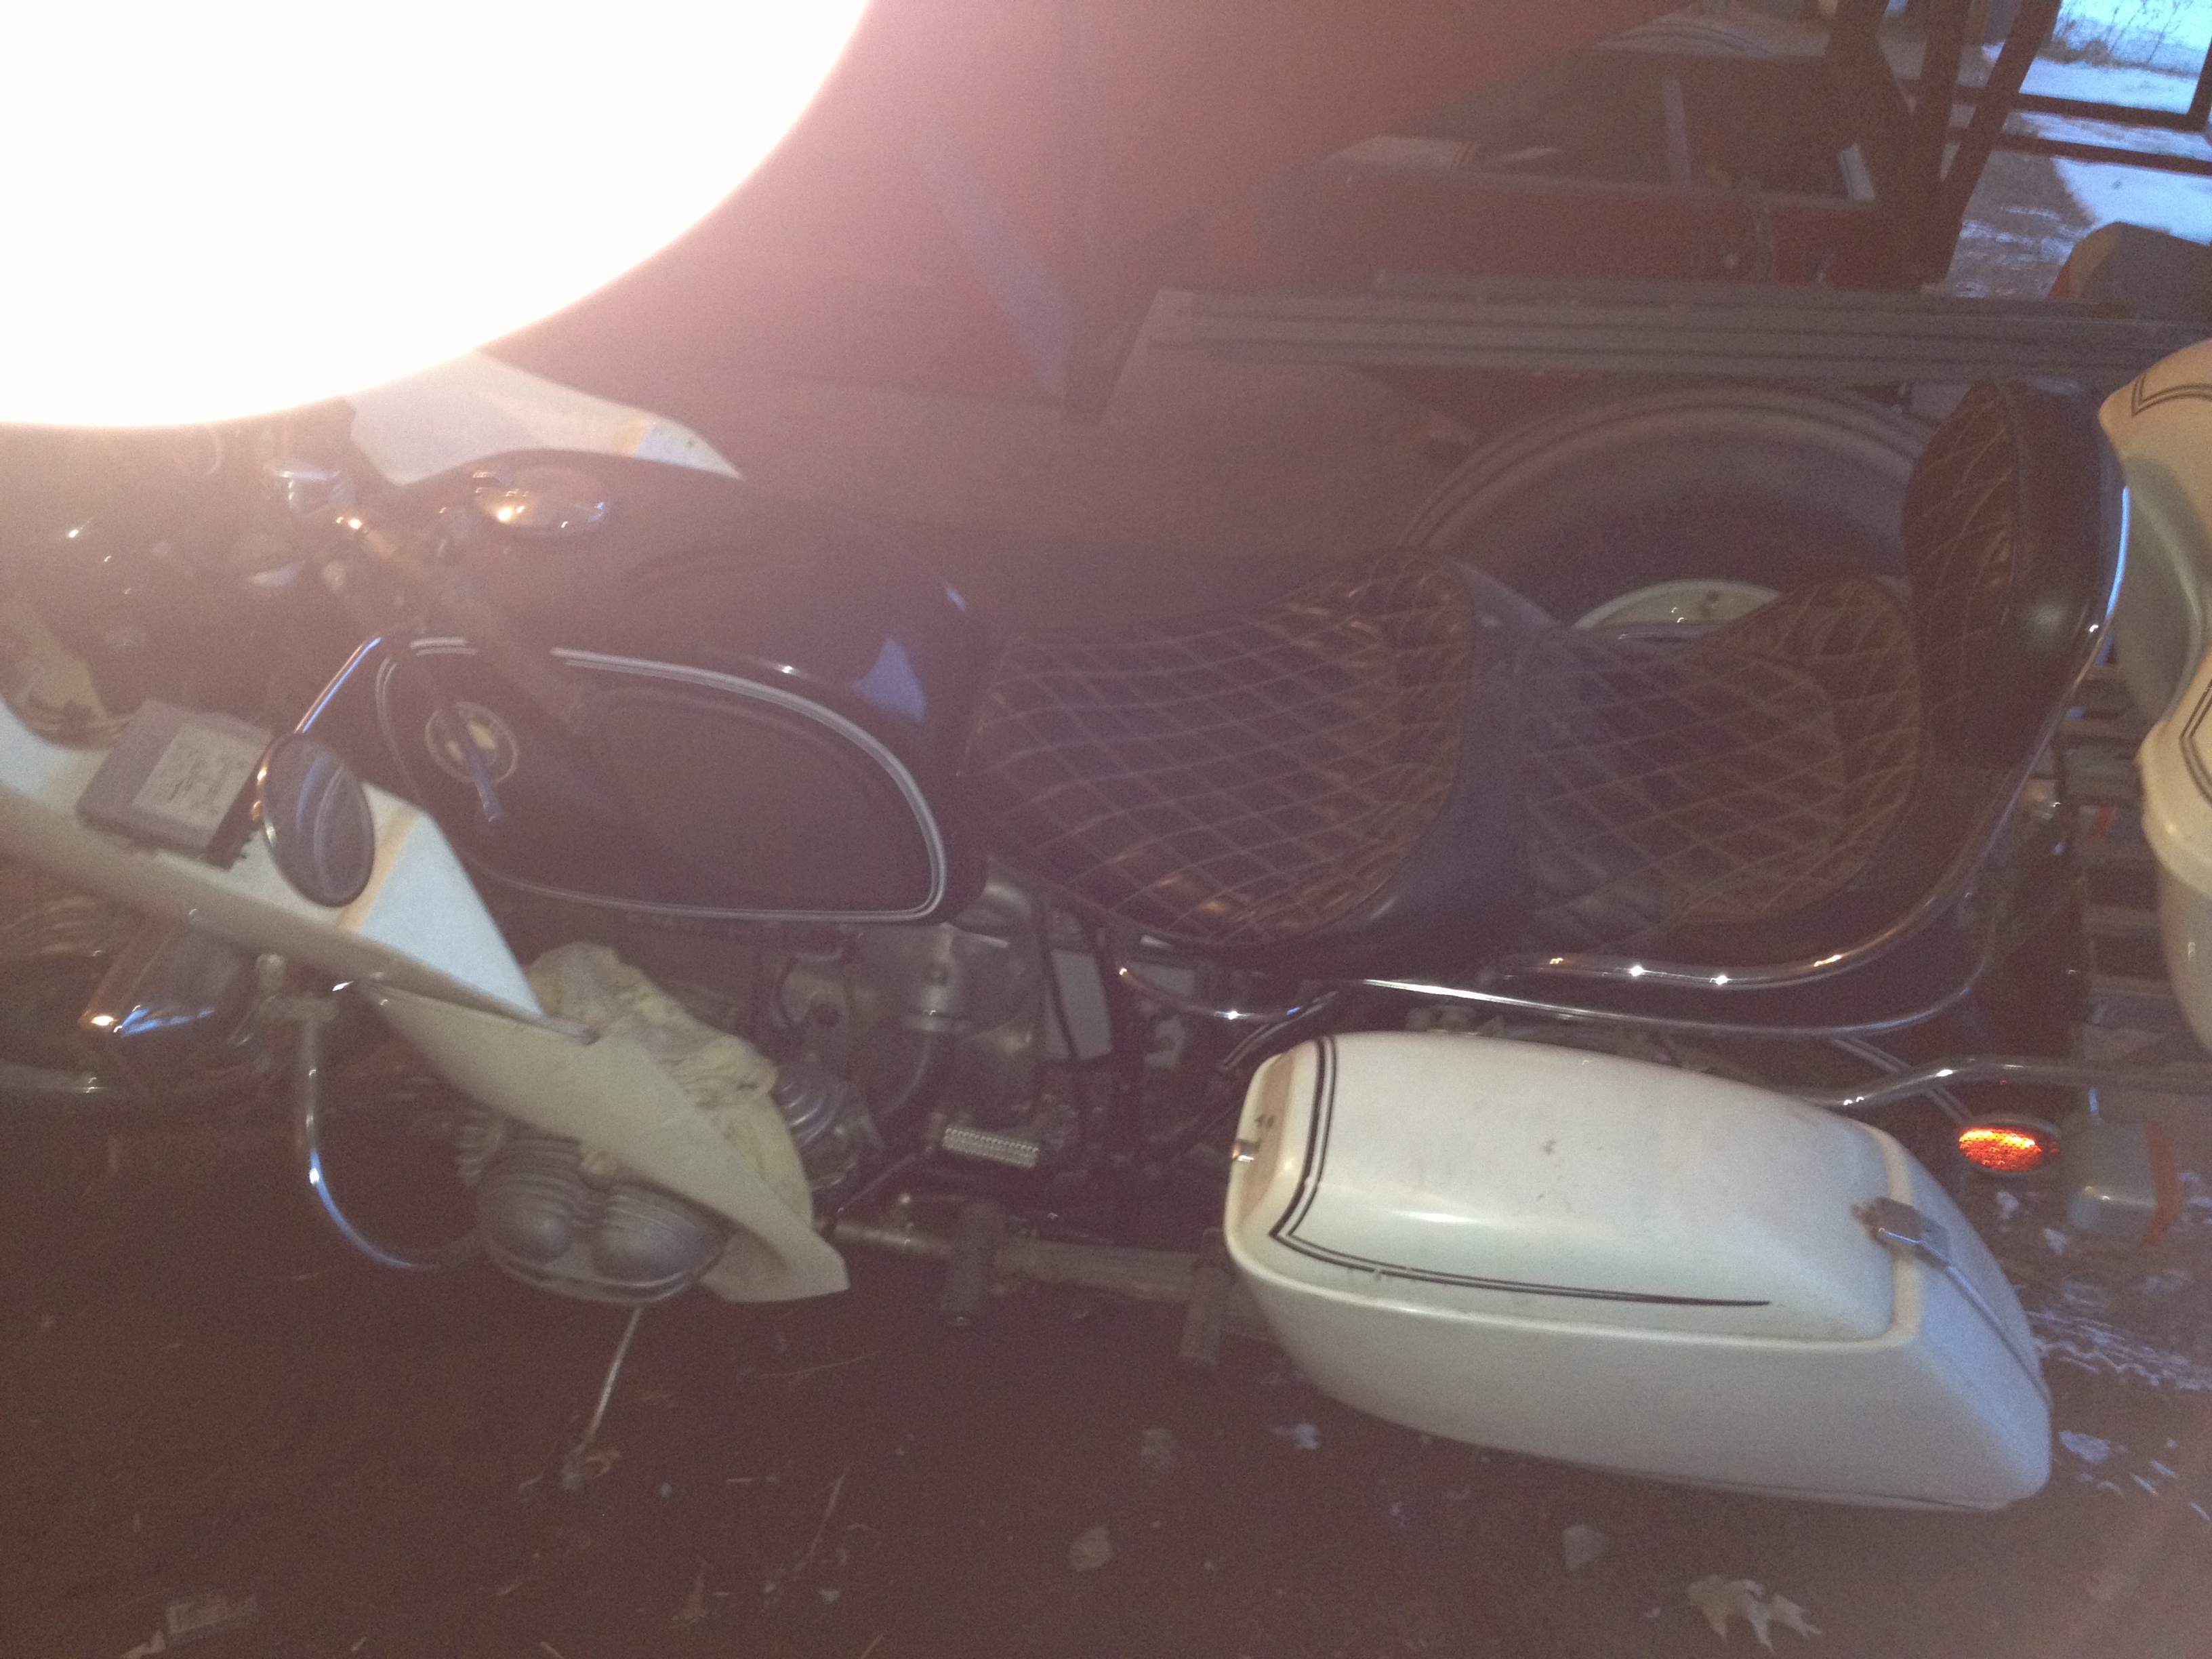
First, some photos of where I found it. I bought it from the original owner, who hadn’t really driven it in years. 22,000 miles on it so relatively new still but really needed some taking care of. (he mostly just left it sit all those years)

2012: r90 Week 1
Take home day! Pretty exciting. Here’s where I need to thank Mike R. for all the assistance. He came with me on a site visit, looked over the bike, told me what HAD to be done, and what probably needed doing too. He also let me use his garage to do all the work. Mike has owned three airheads and without him, basically none of this would have happened. Especially this quickly.

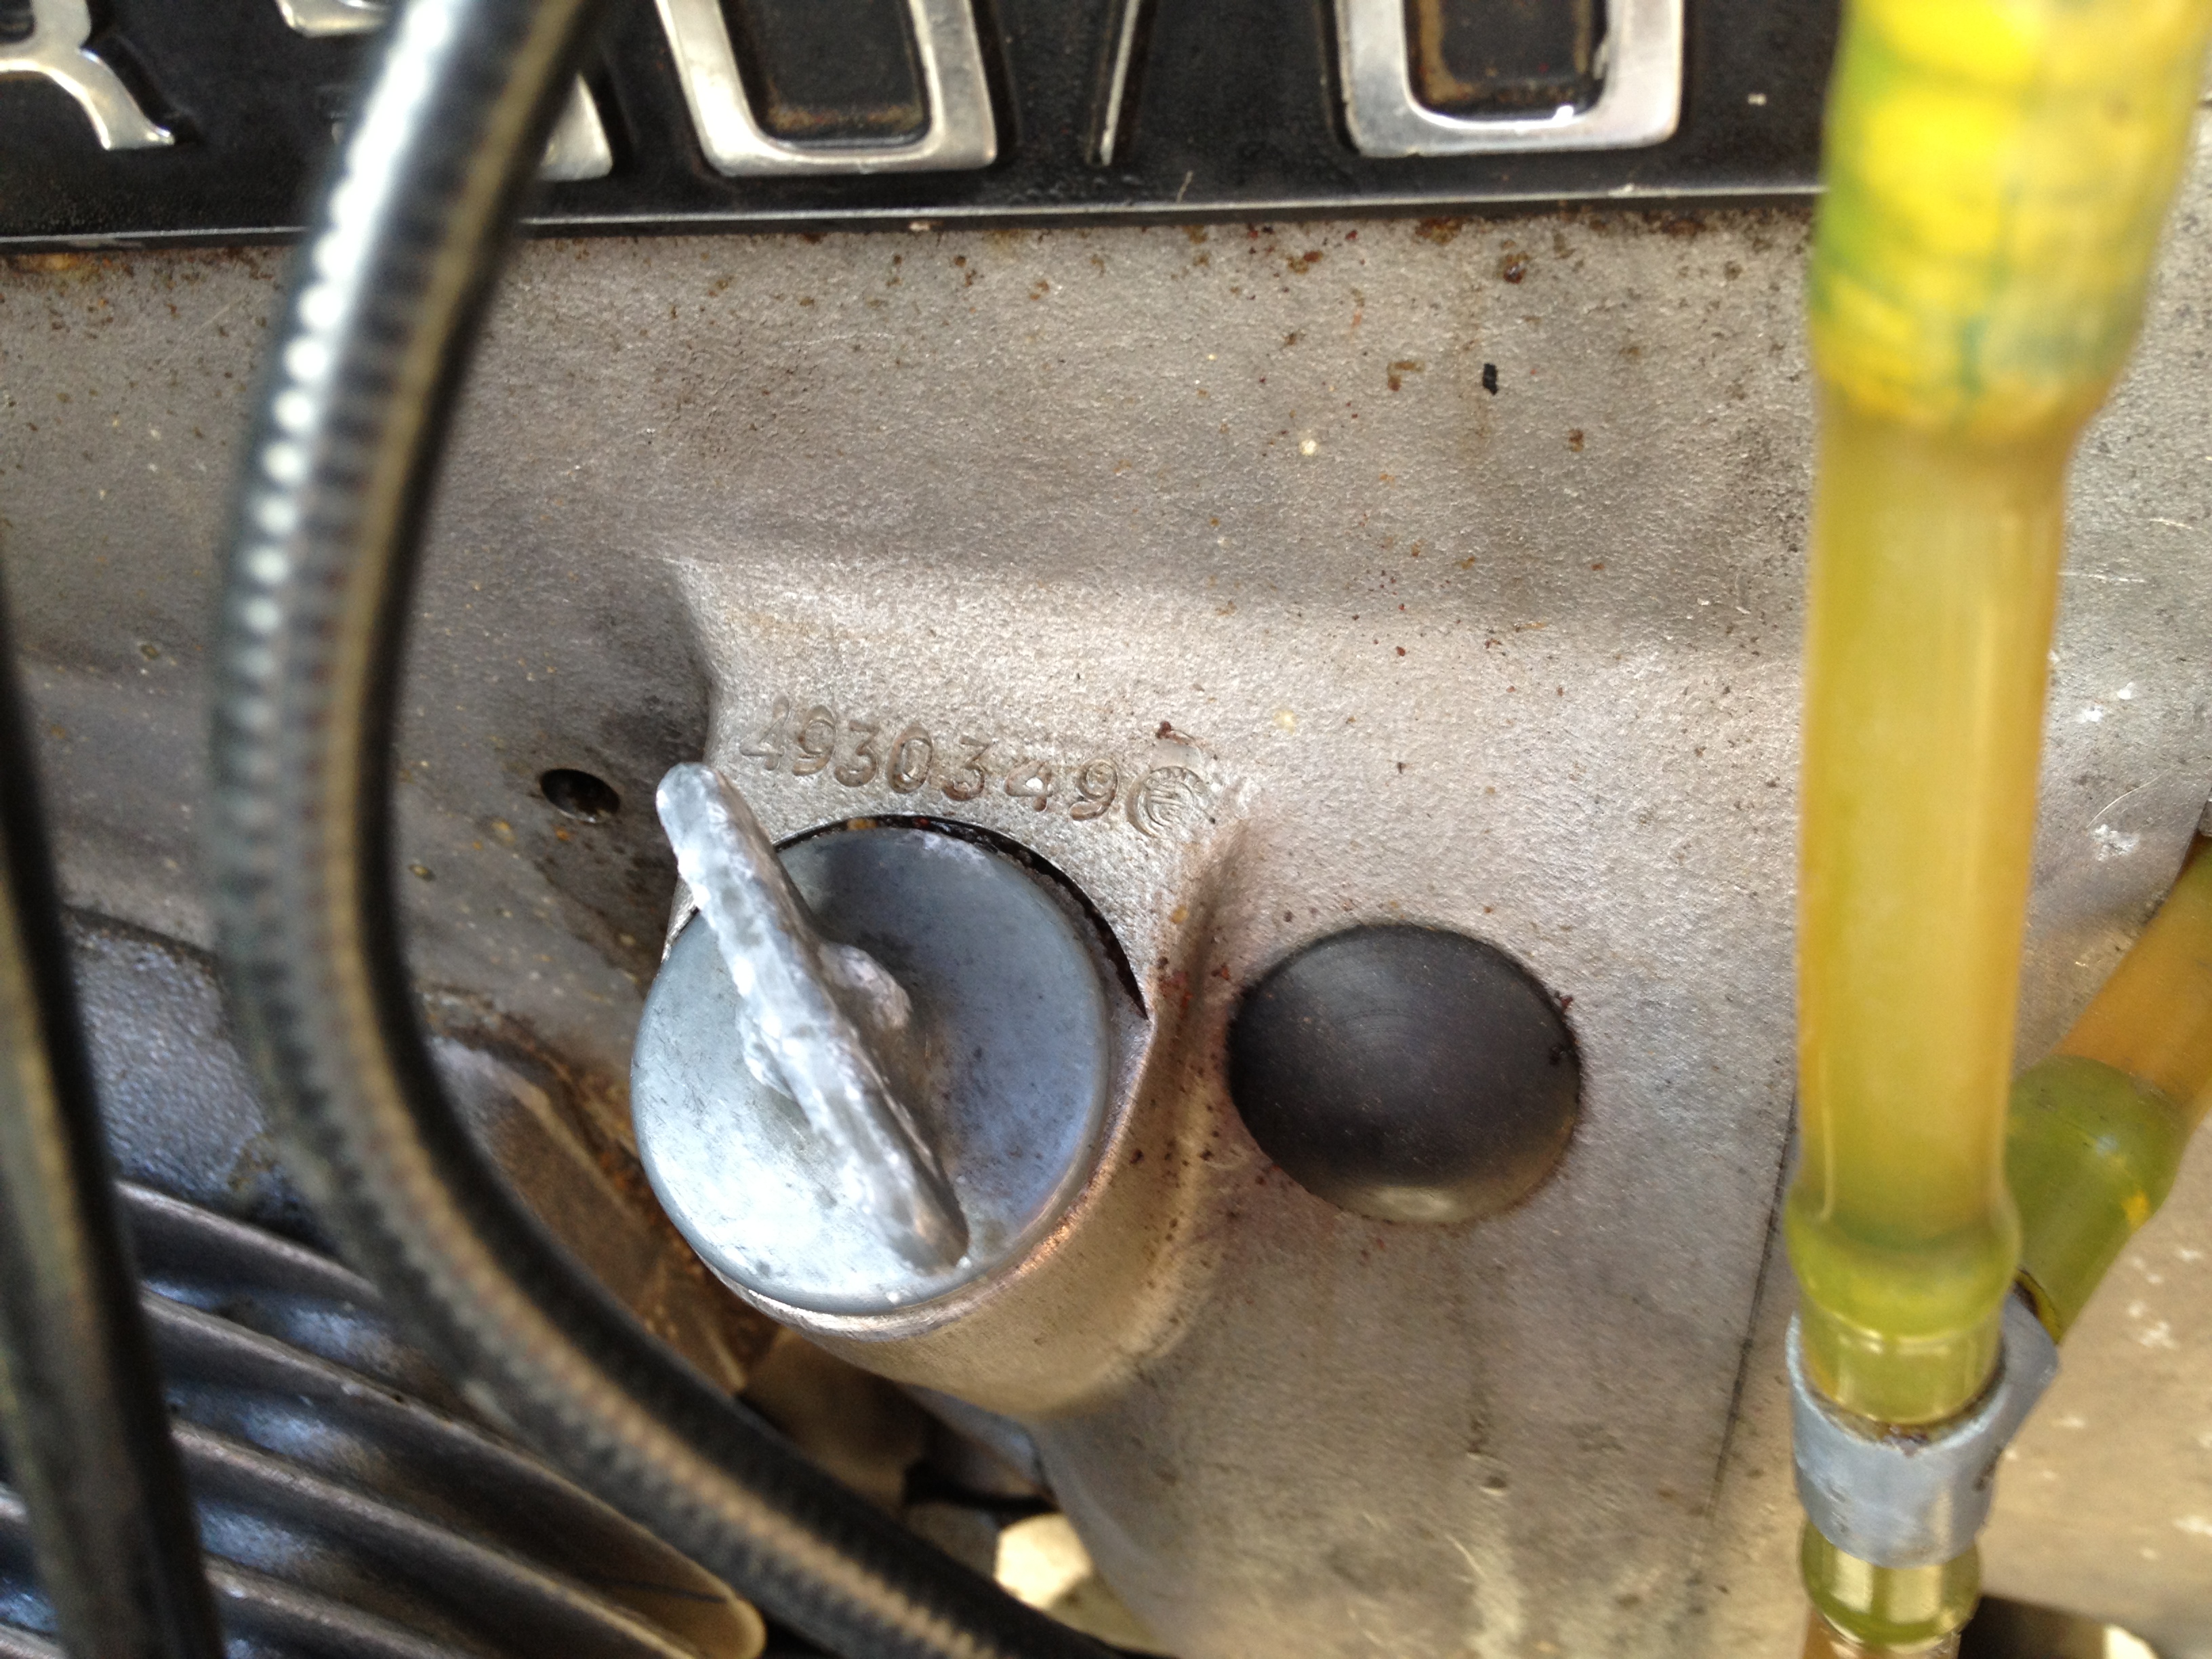
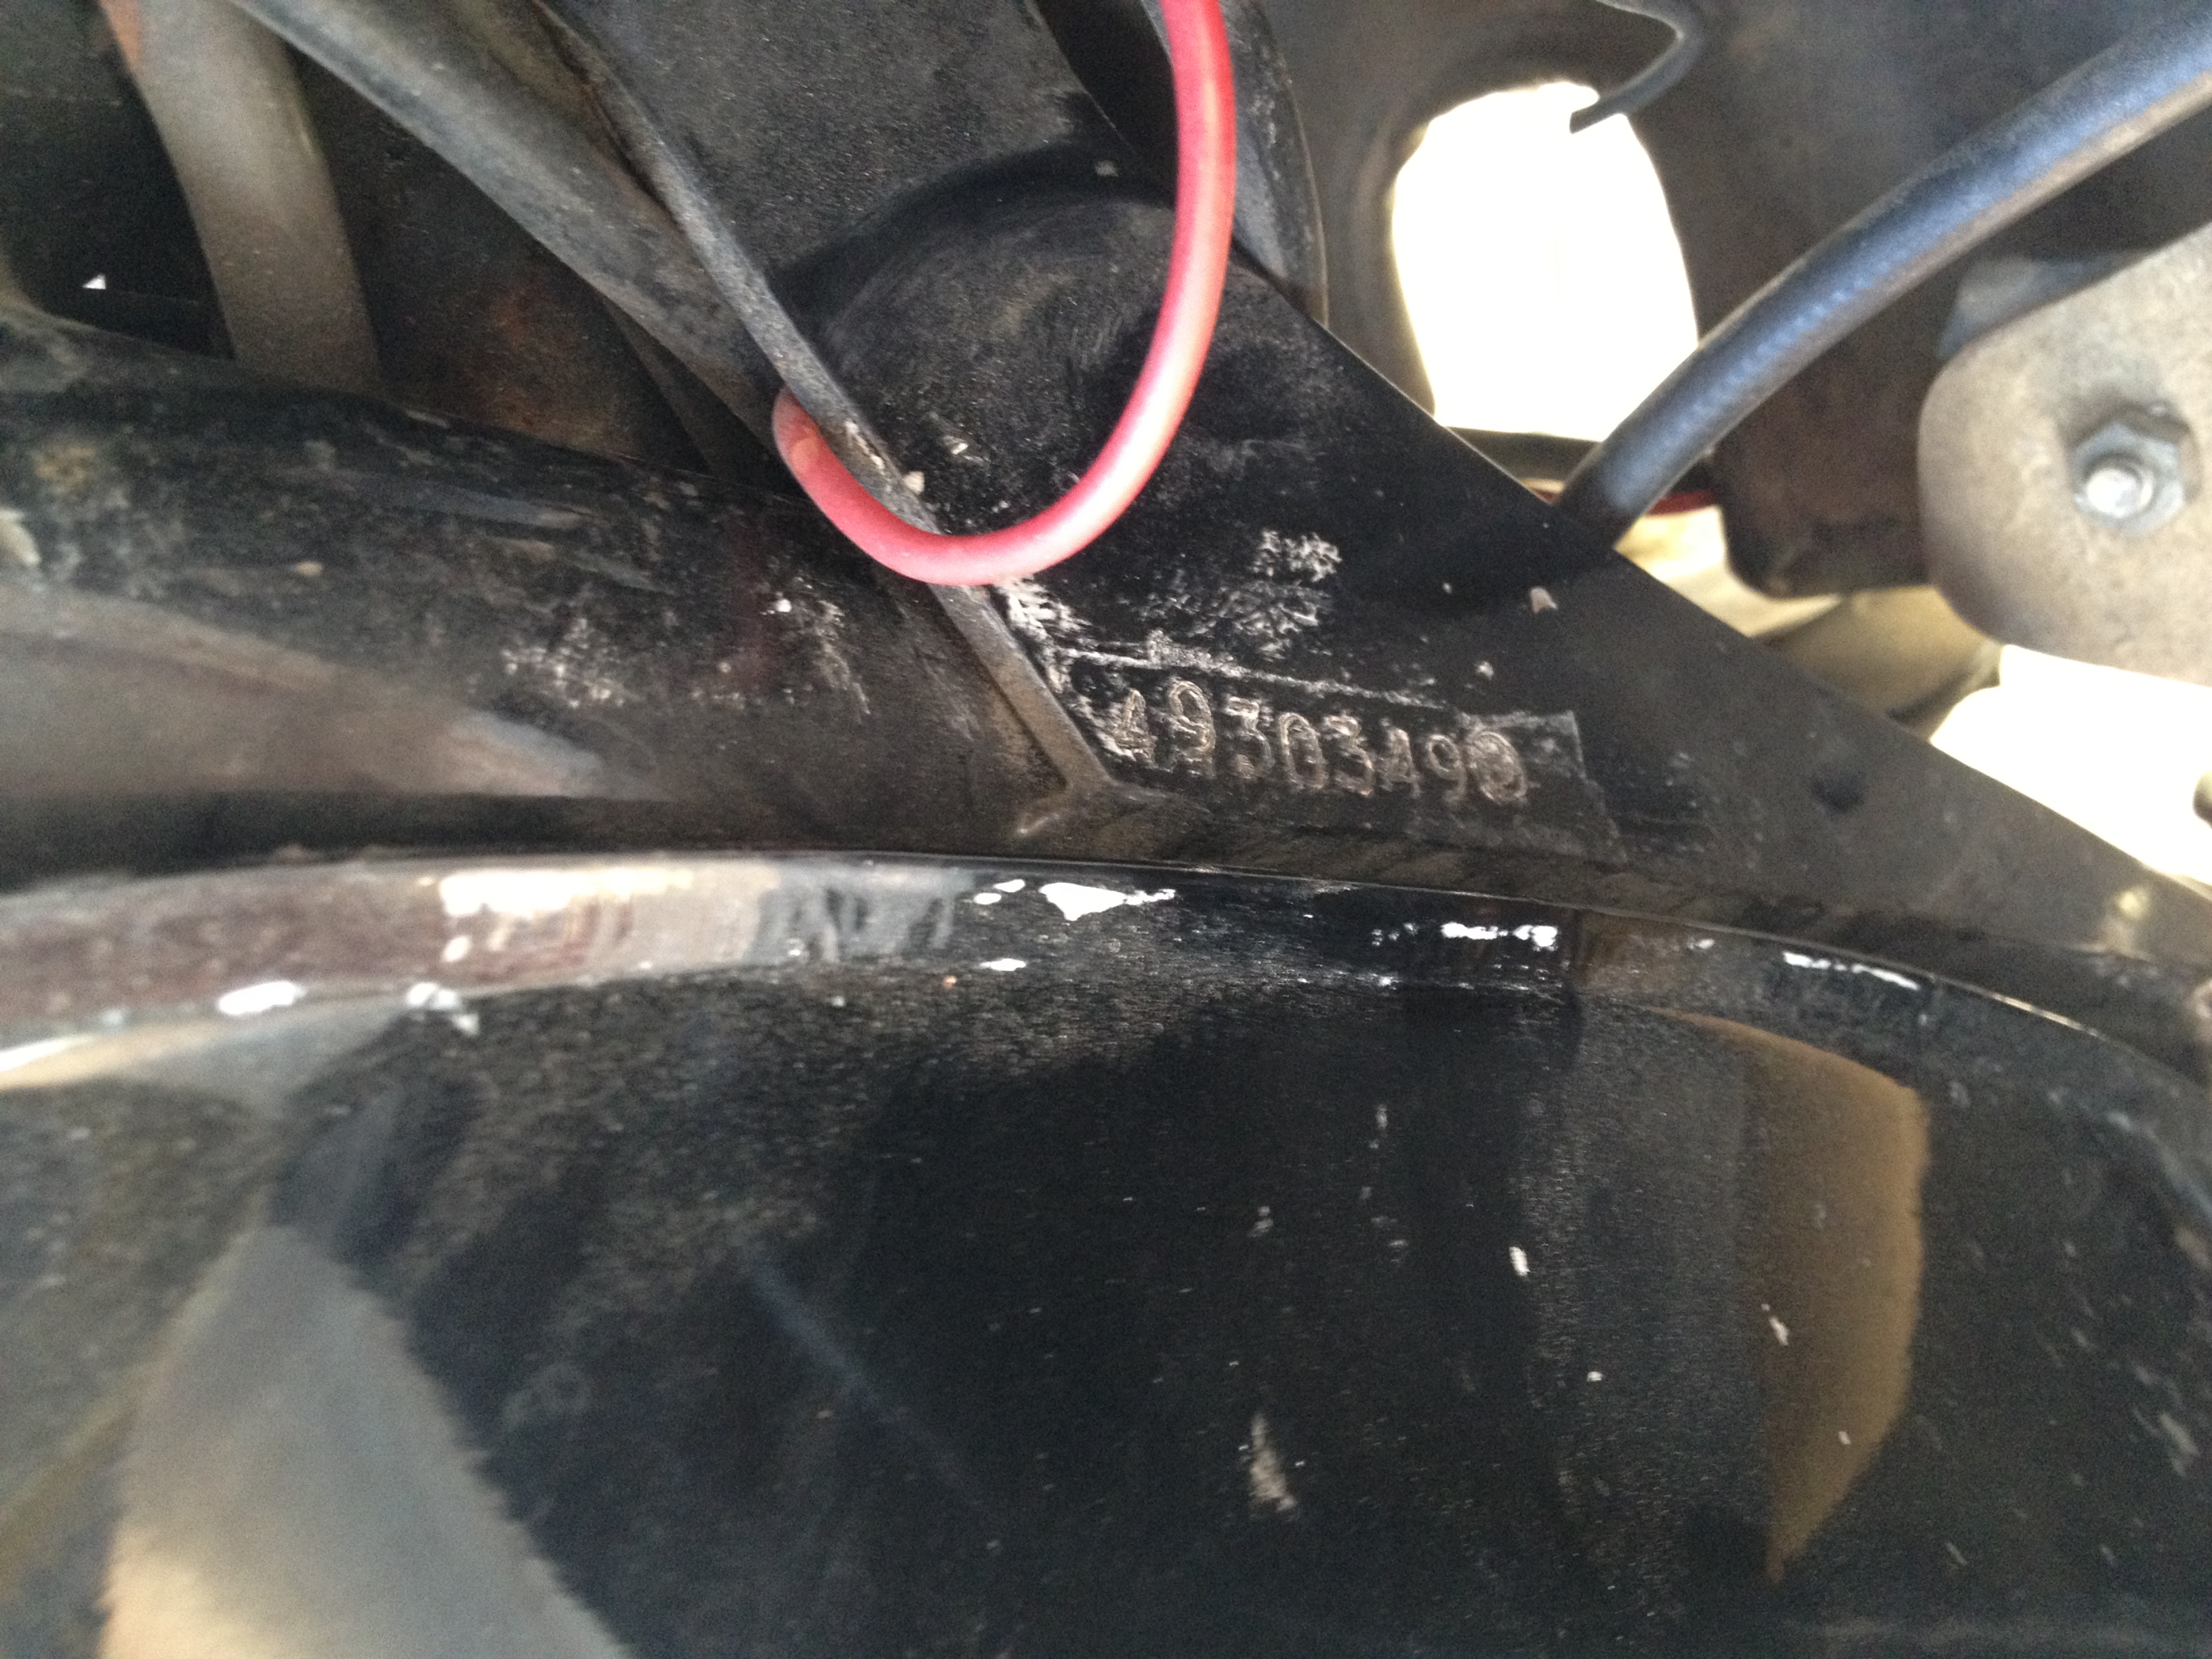
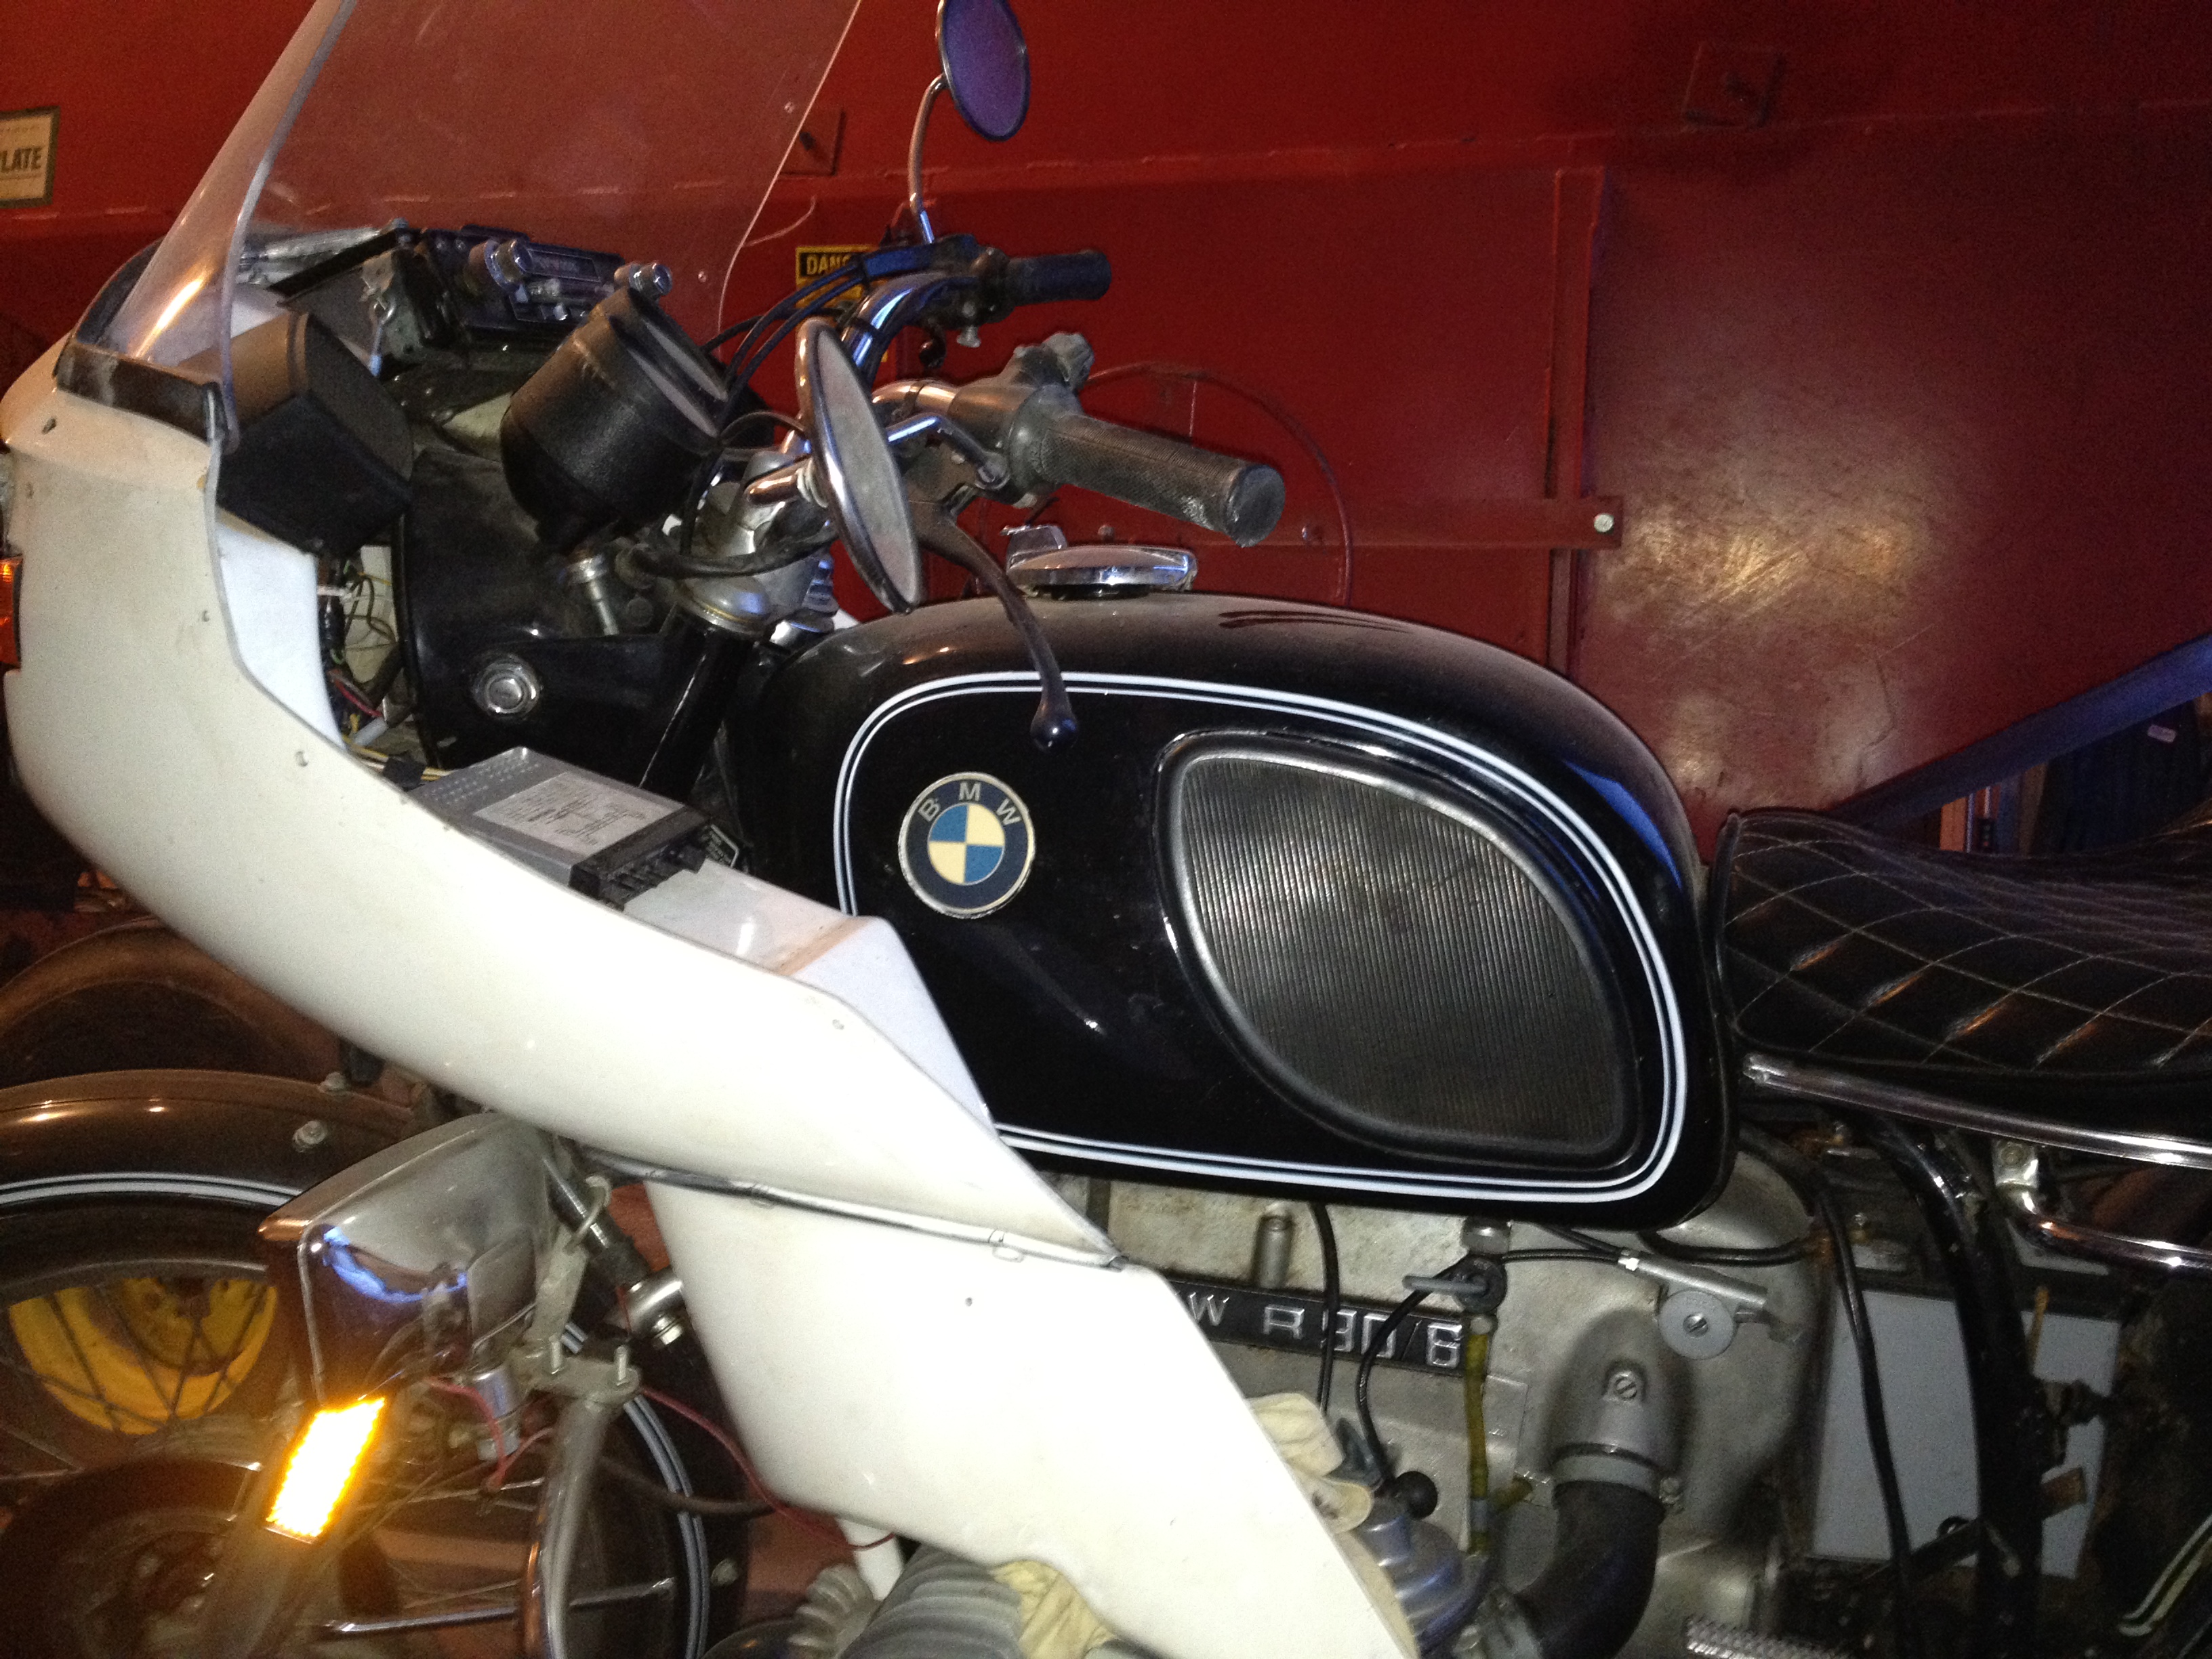
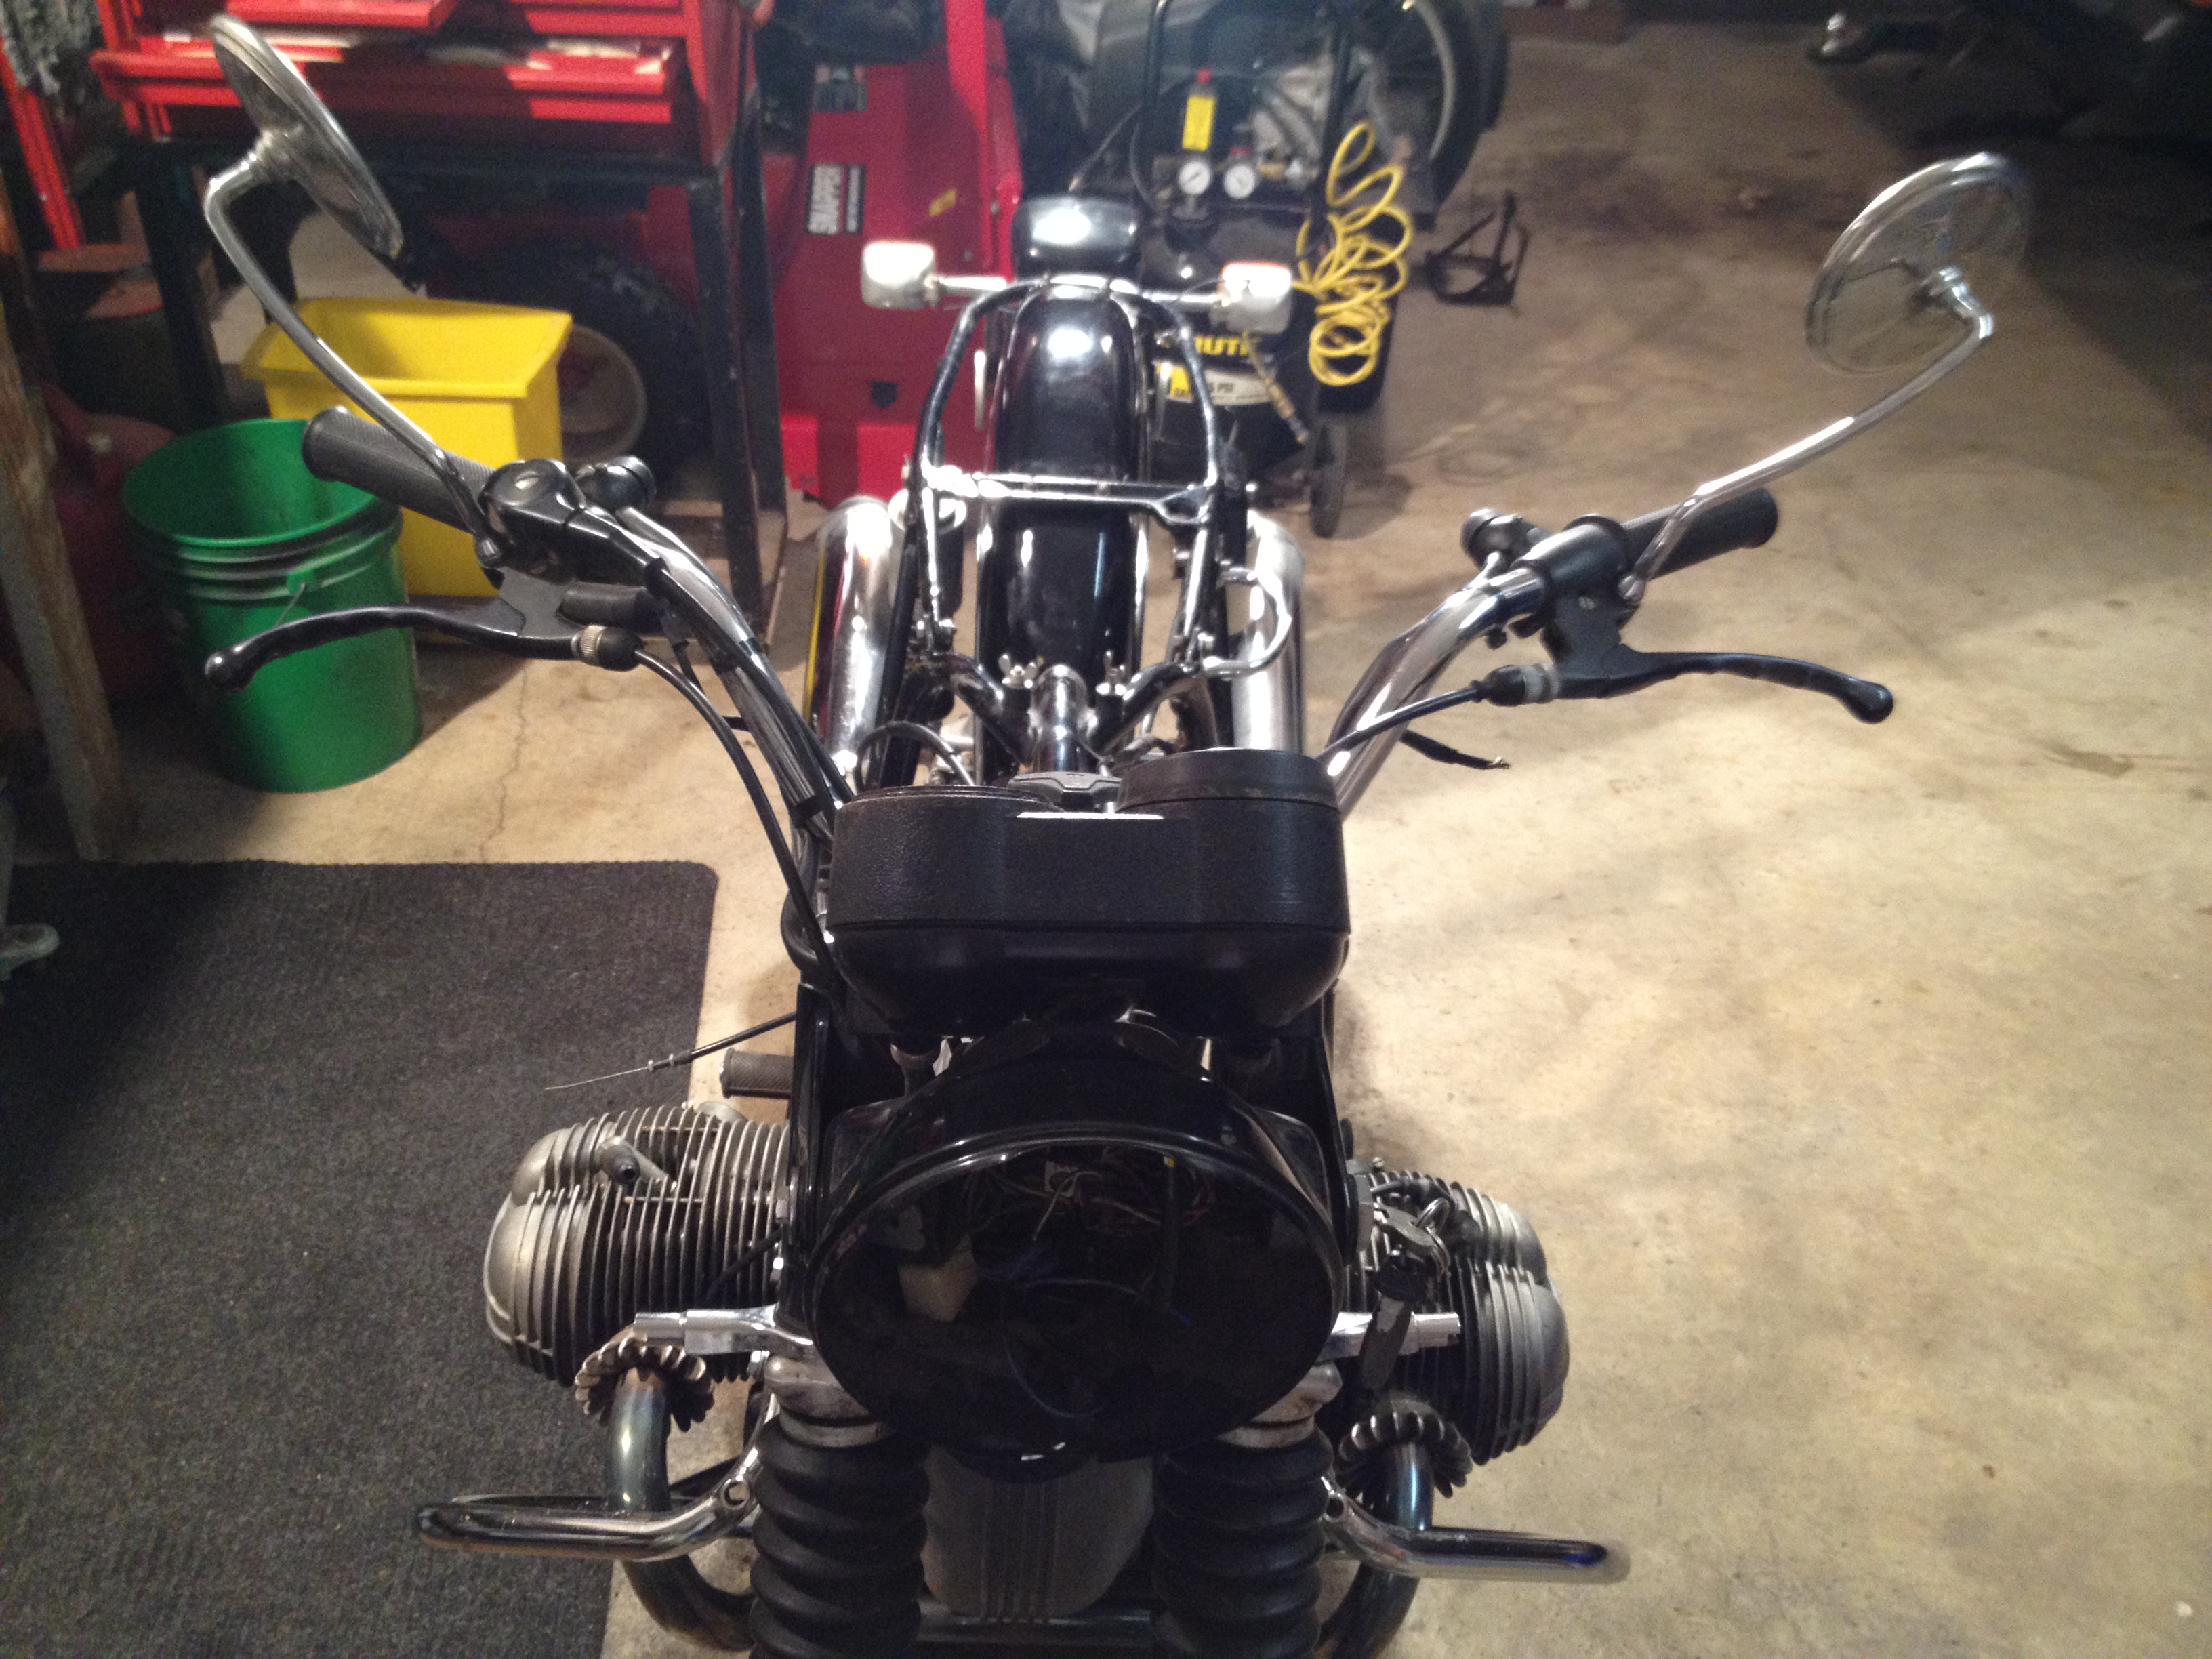
Right away we started stripping it down. Removed fairing, seat, bags. Found some rust and old thick grease. So we did some cleaning. You can see in the top down picture two things that we didn’t notice right away. The front master had busted and leaked fluid all over at some point causing the rust on the frame. Also, on the left side of the photo where the battery box would be was a small hole in the frame from a battery he must’ve let sit too long. (we got that welded)
Week 2
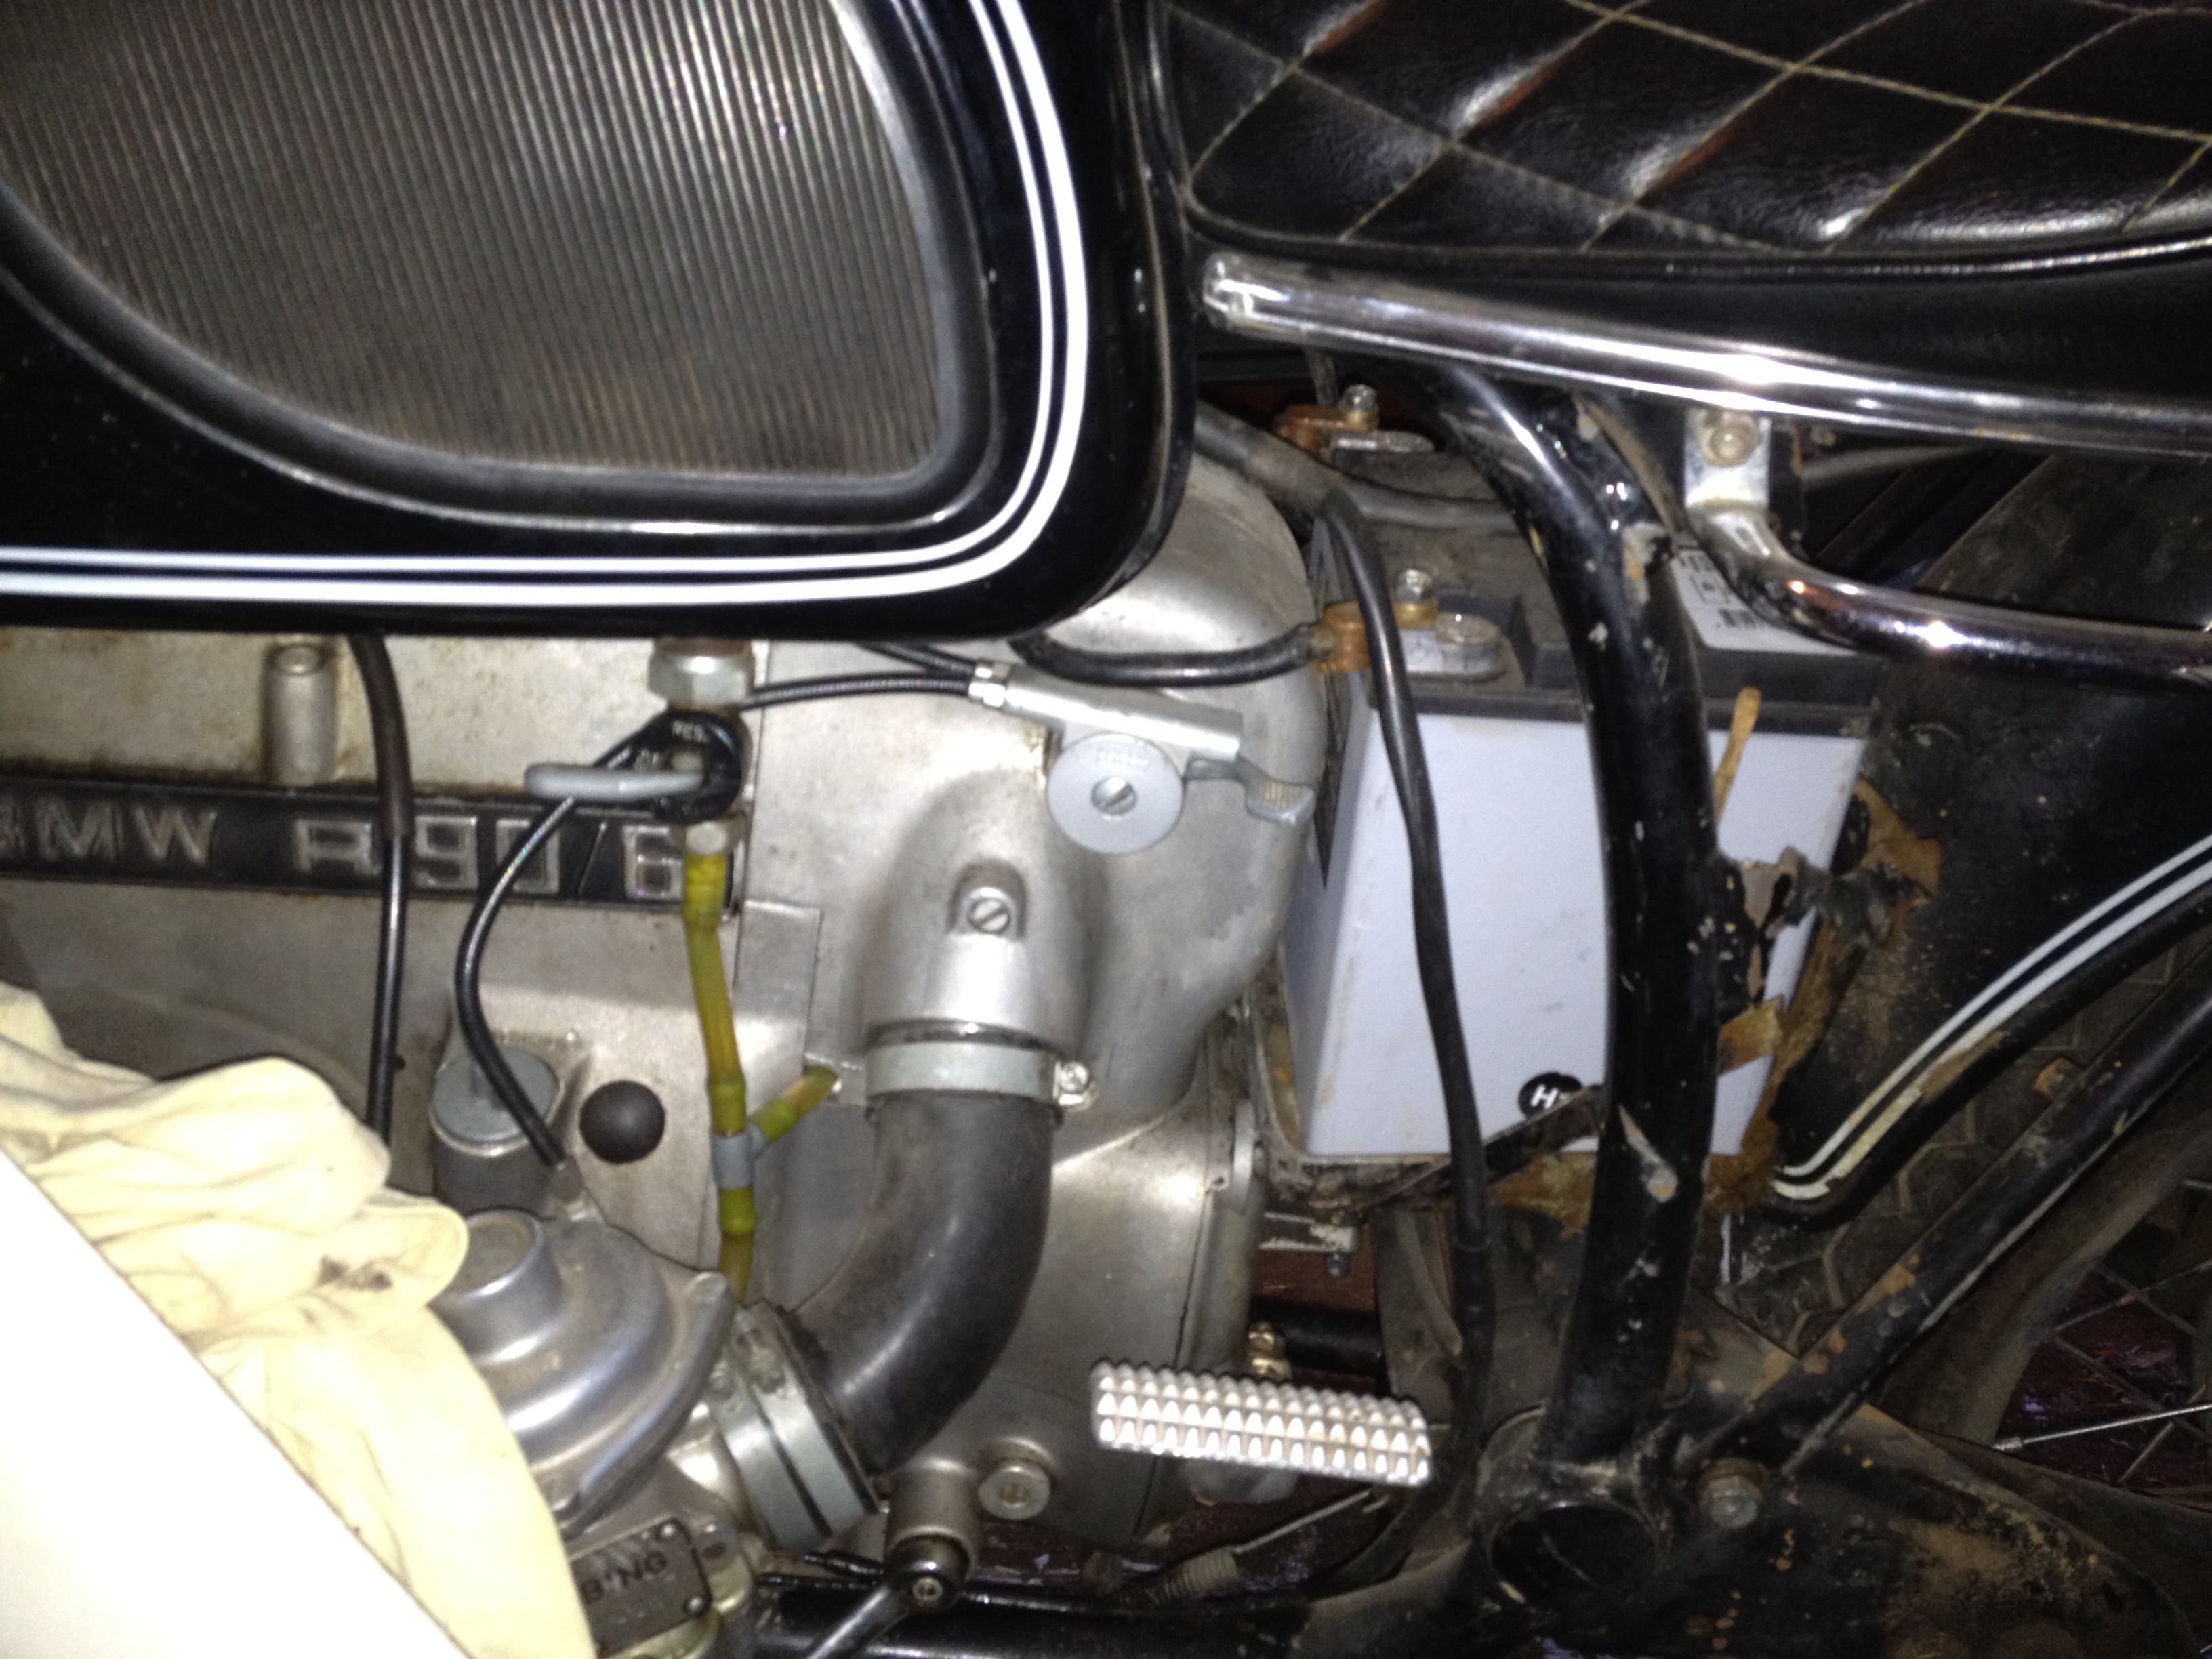
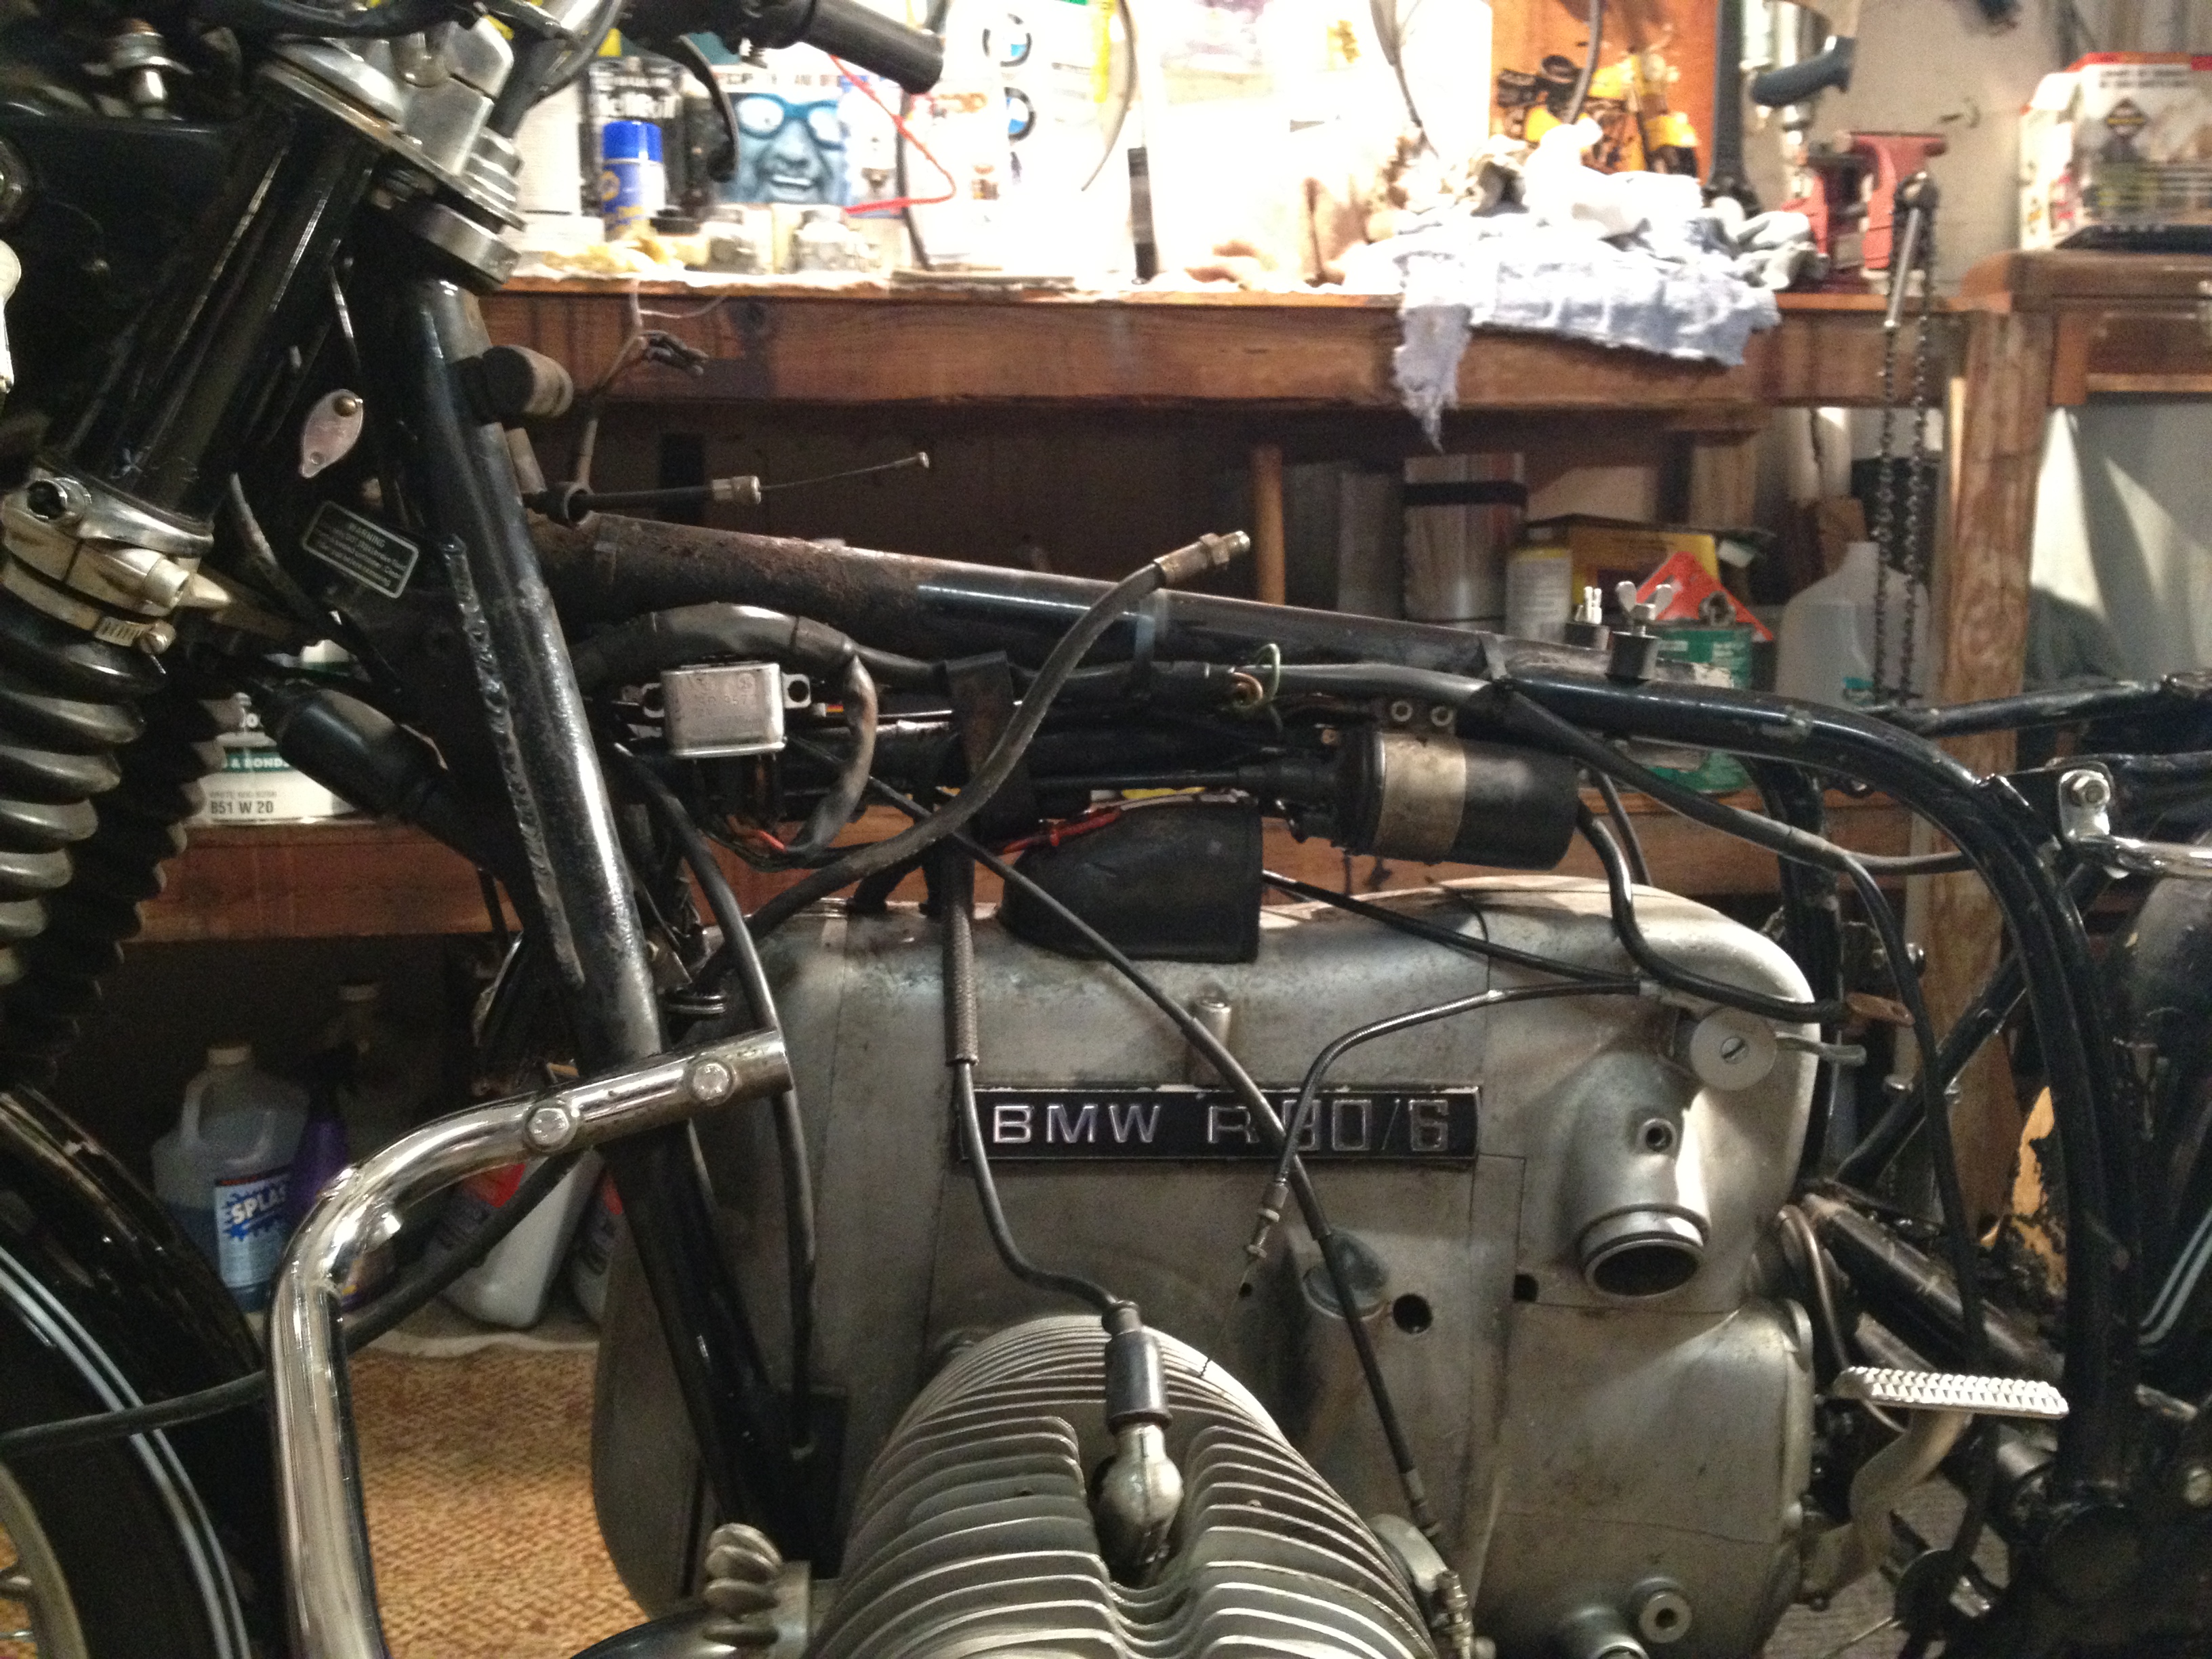
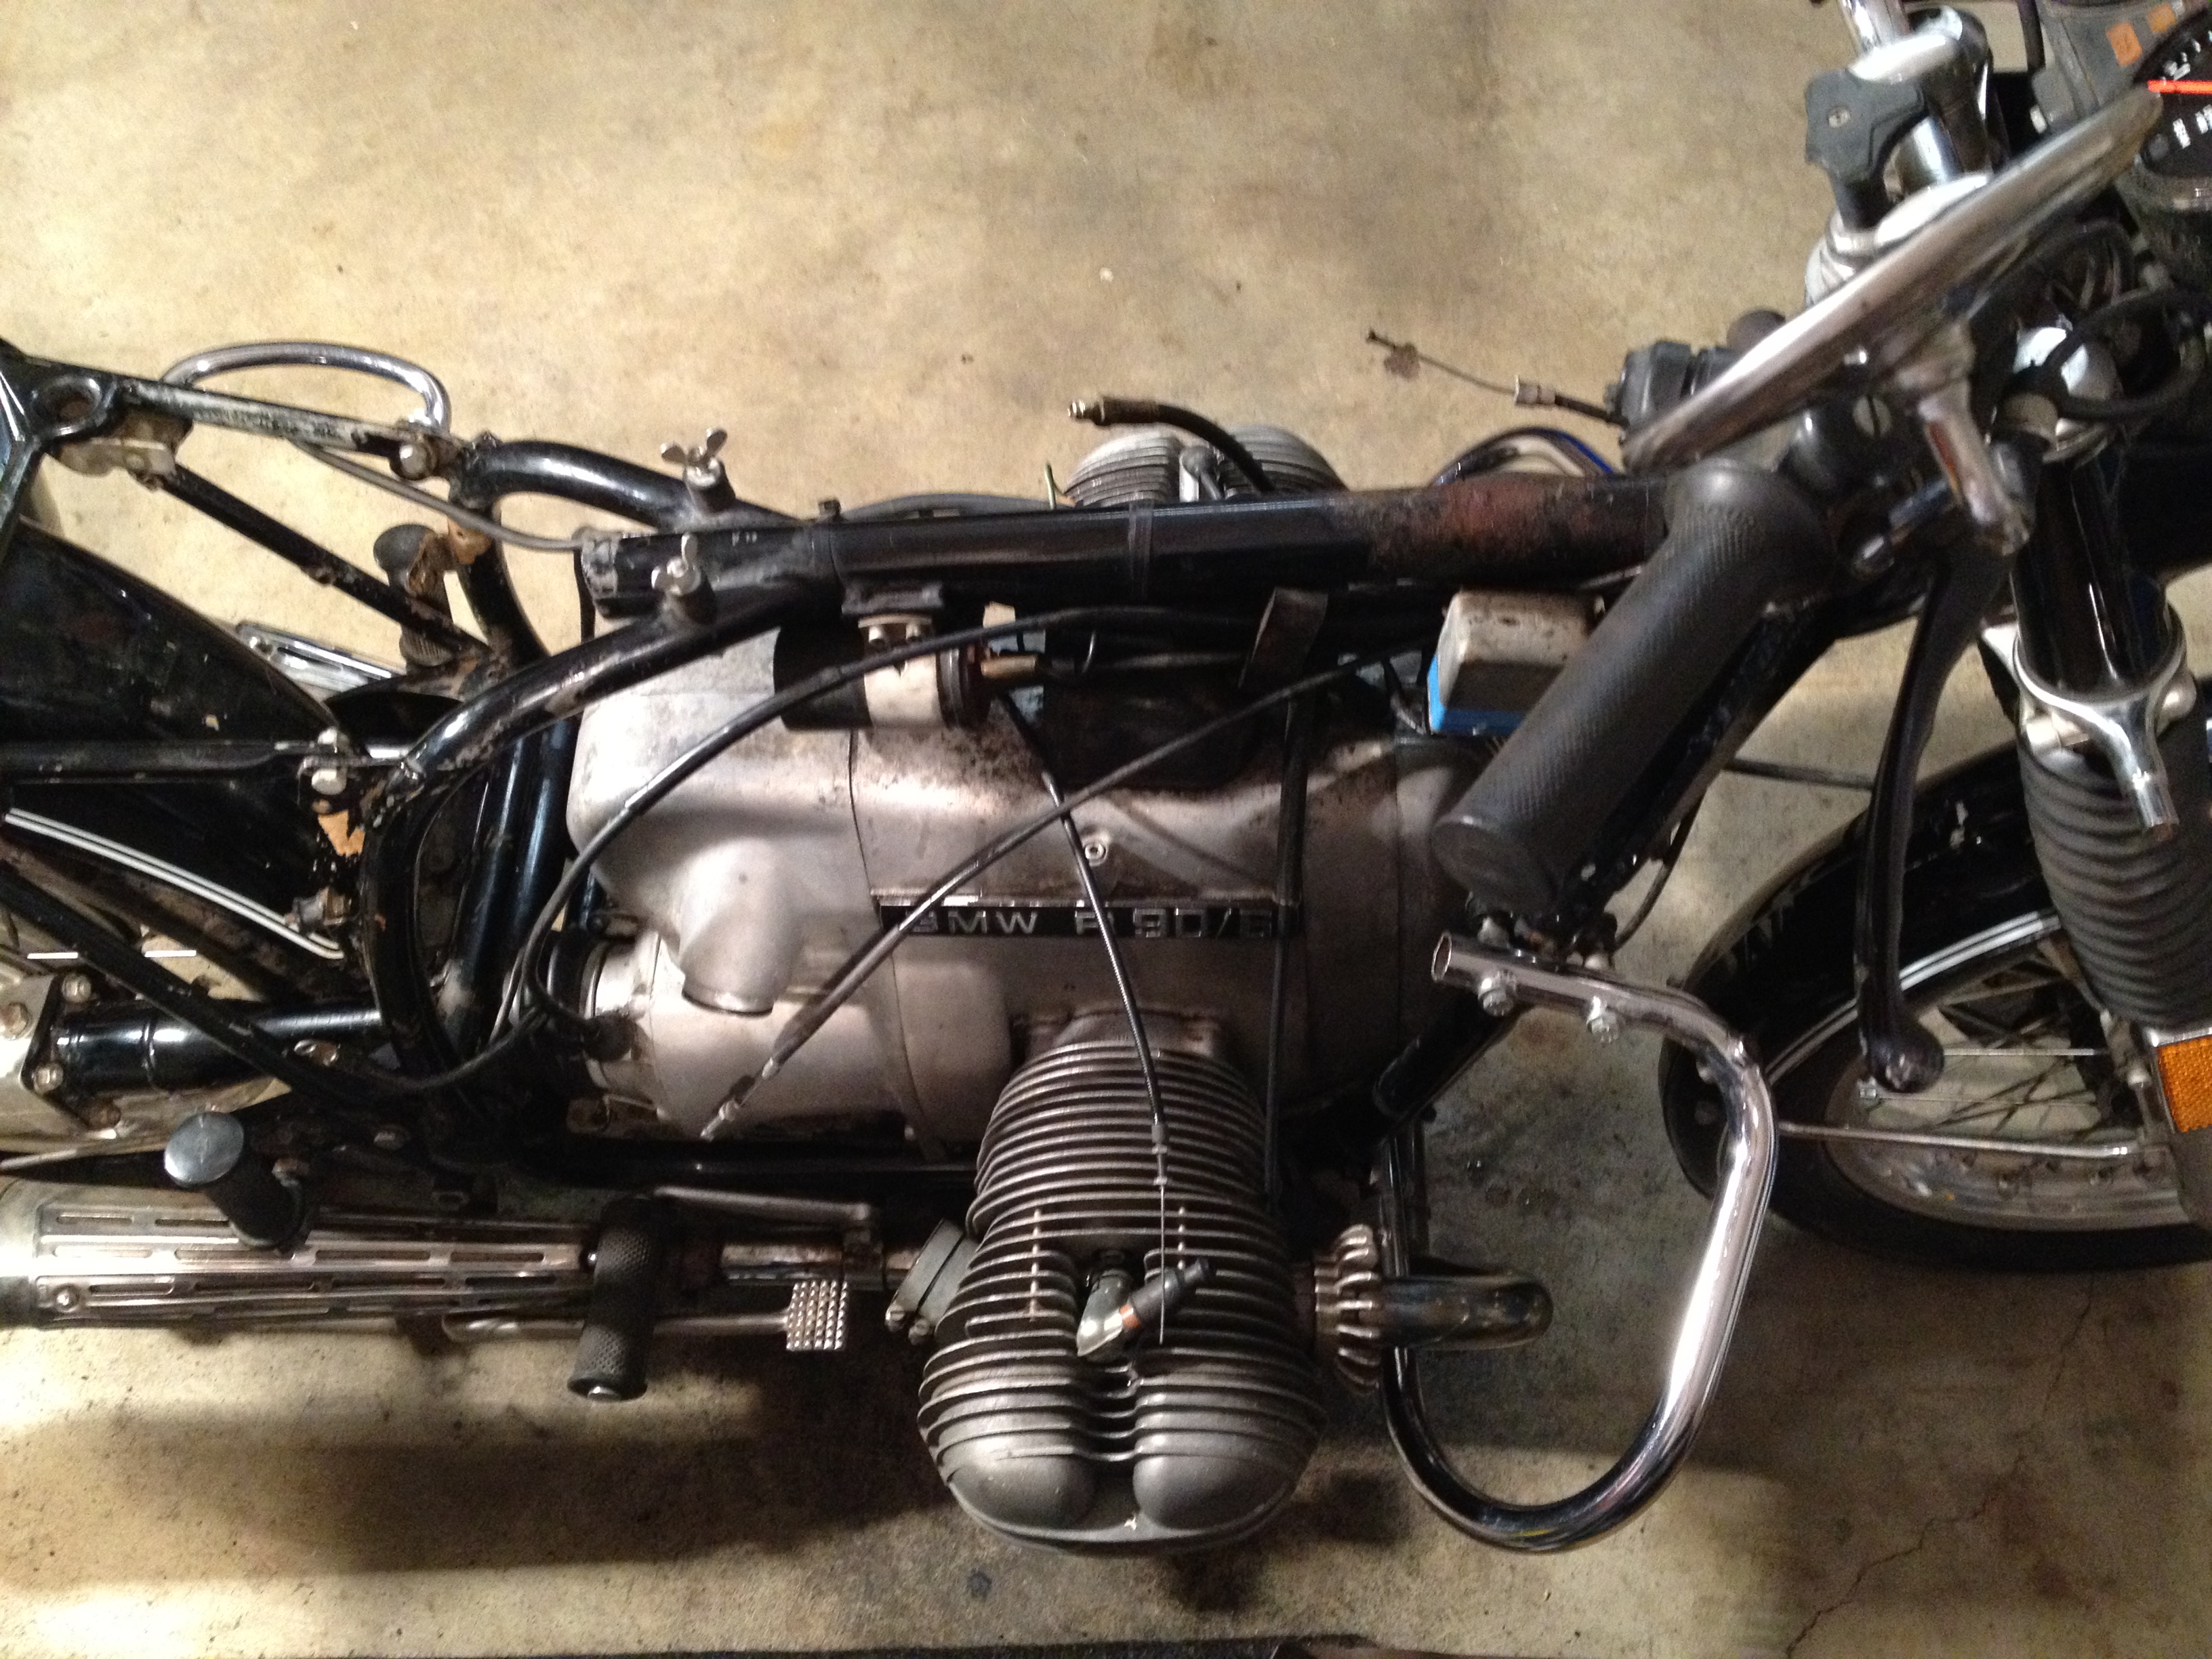
Next photo you can see we did a lot of sanding and then touch up paint where the various rust spots were. You can’t quite see the fixed weld but the local we brought it to did a great job quickly. Also replaced fuel lines and changed all the oils this week. Below is also the old battery box and floats we replaced. It was in terrible shape. Also got a photo of the left carb. Left side of the bike turned out to be the biggest problems. There was a compression leak from the previous owner stripping the spark plug threads. We got that fixed in St. Cloud. Mike cleaned the carbs and replaced floats with the kit from MaxBMW but once we put it all back together he noticed at low idle the left side wasn’t getting fuel. If we turned up choke then it’d kick in but otherwise it wasn’t firing. So hopefully it just needs some adjustments/more cleaning but we’ll see.


New headlight and turn signals installed. (big thanks to Ontic for linking a great deal on headlights on ebay) All the electronics appear to be working, except after hooking the headlight up on running seems very dim. Turn it to bright and it looks great. We realized we had this hooked up wrong and got it running much better.


Week 3
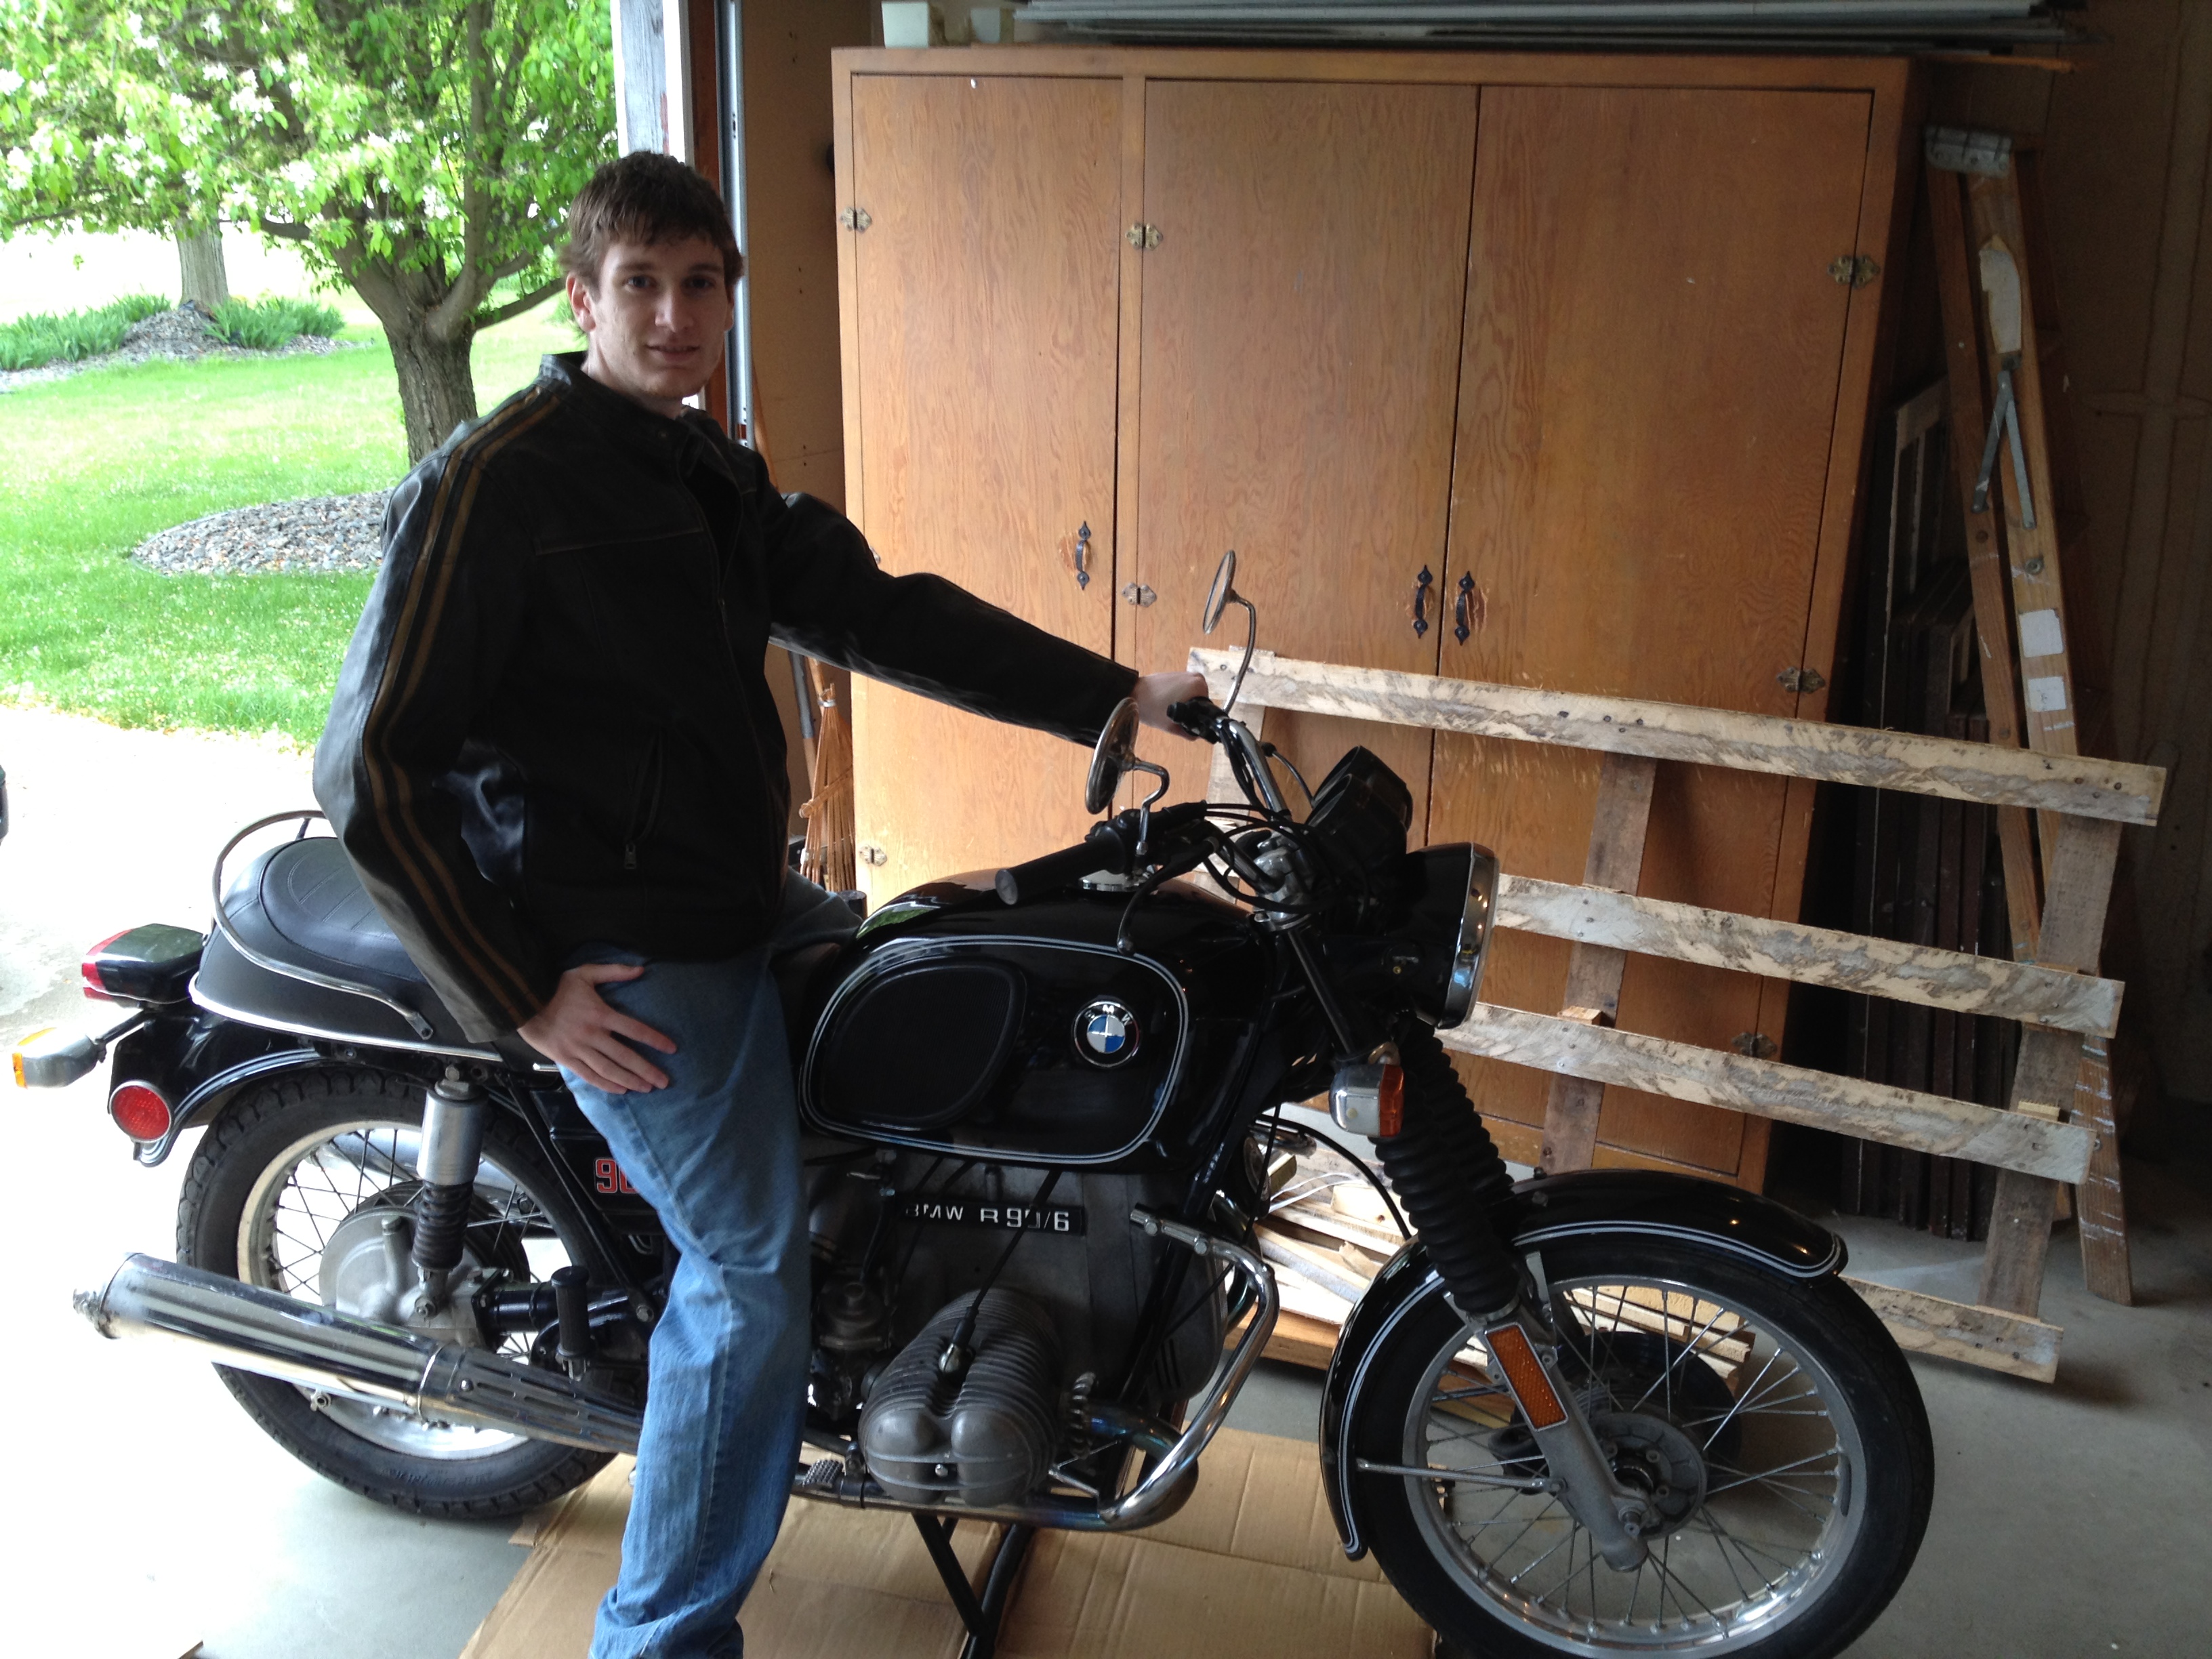
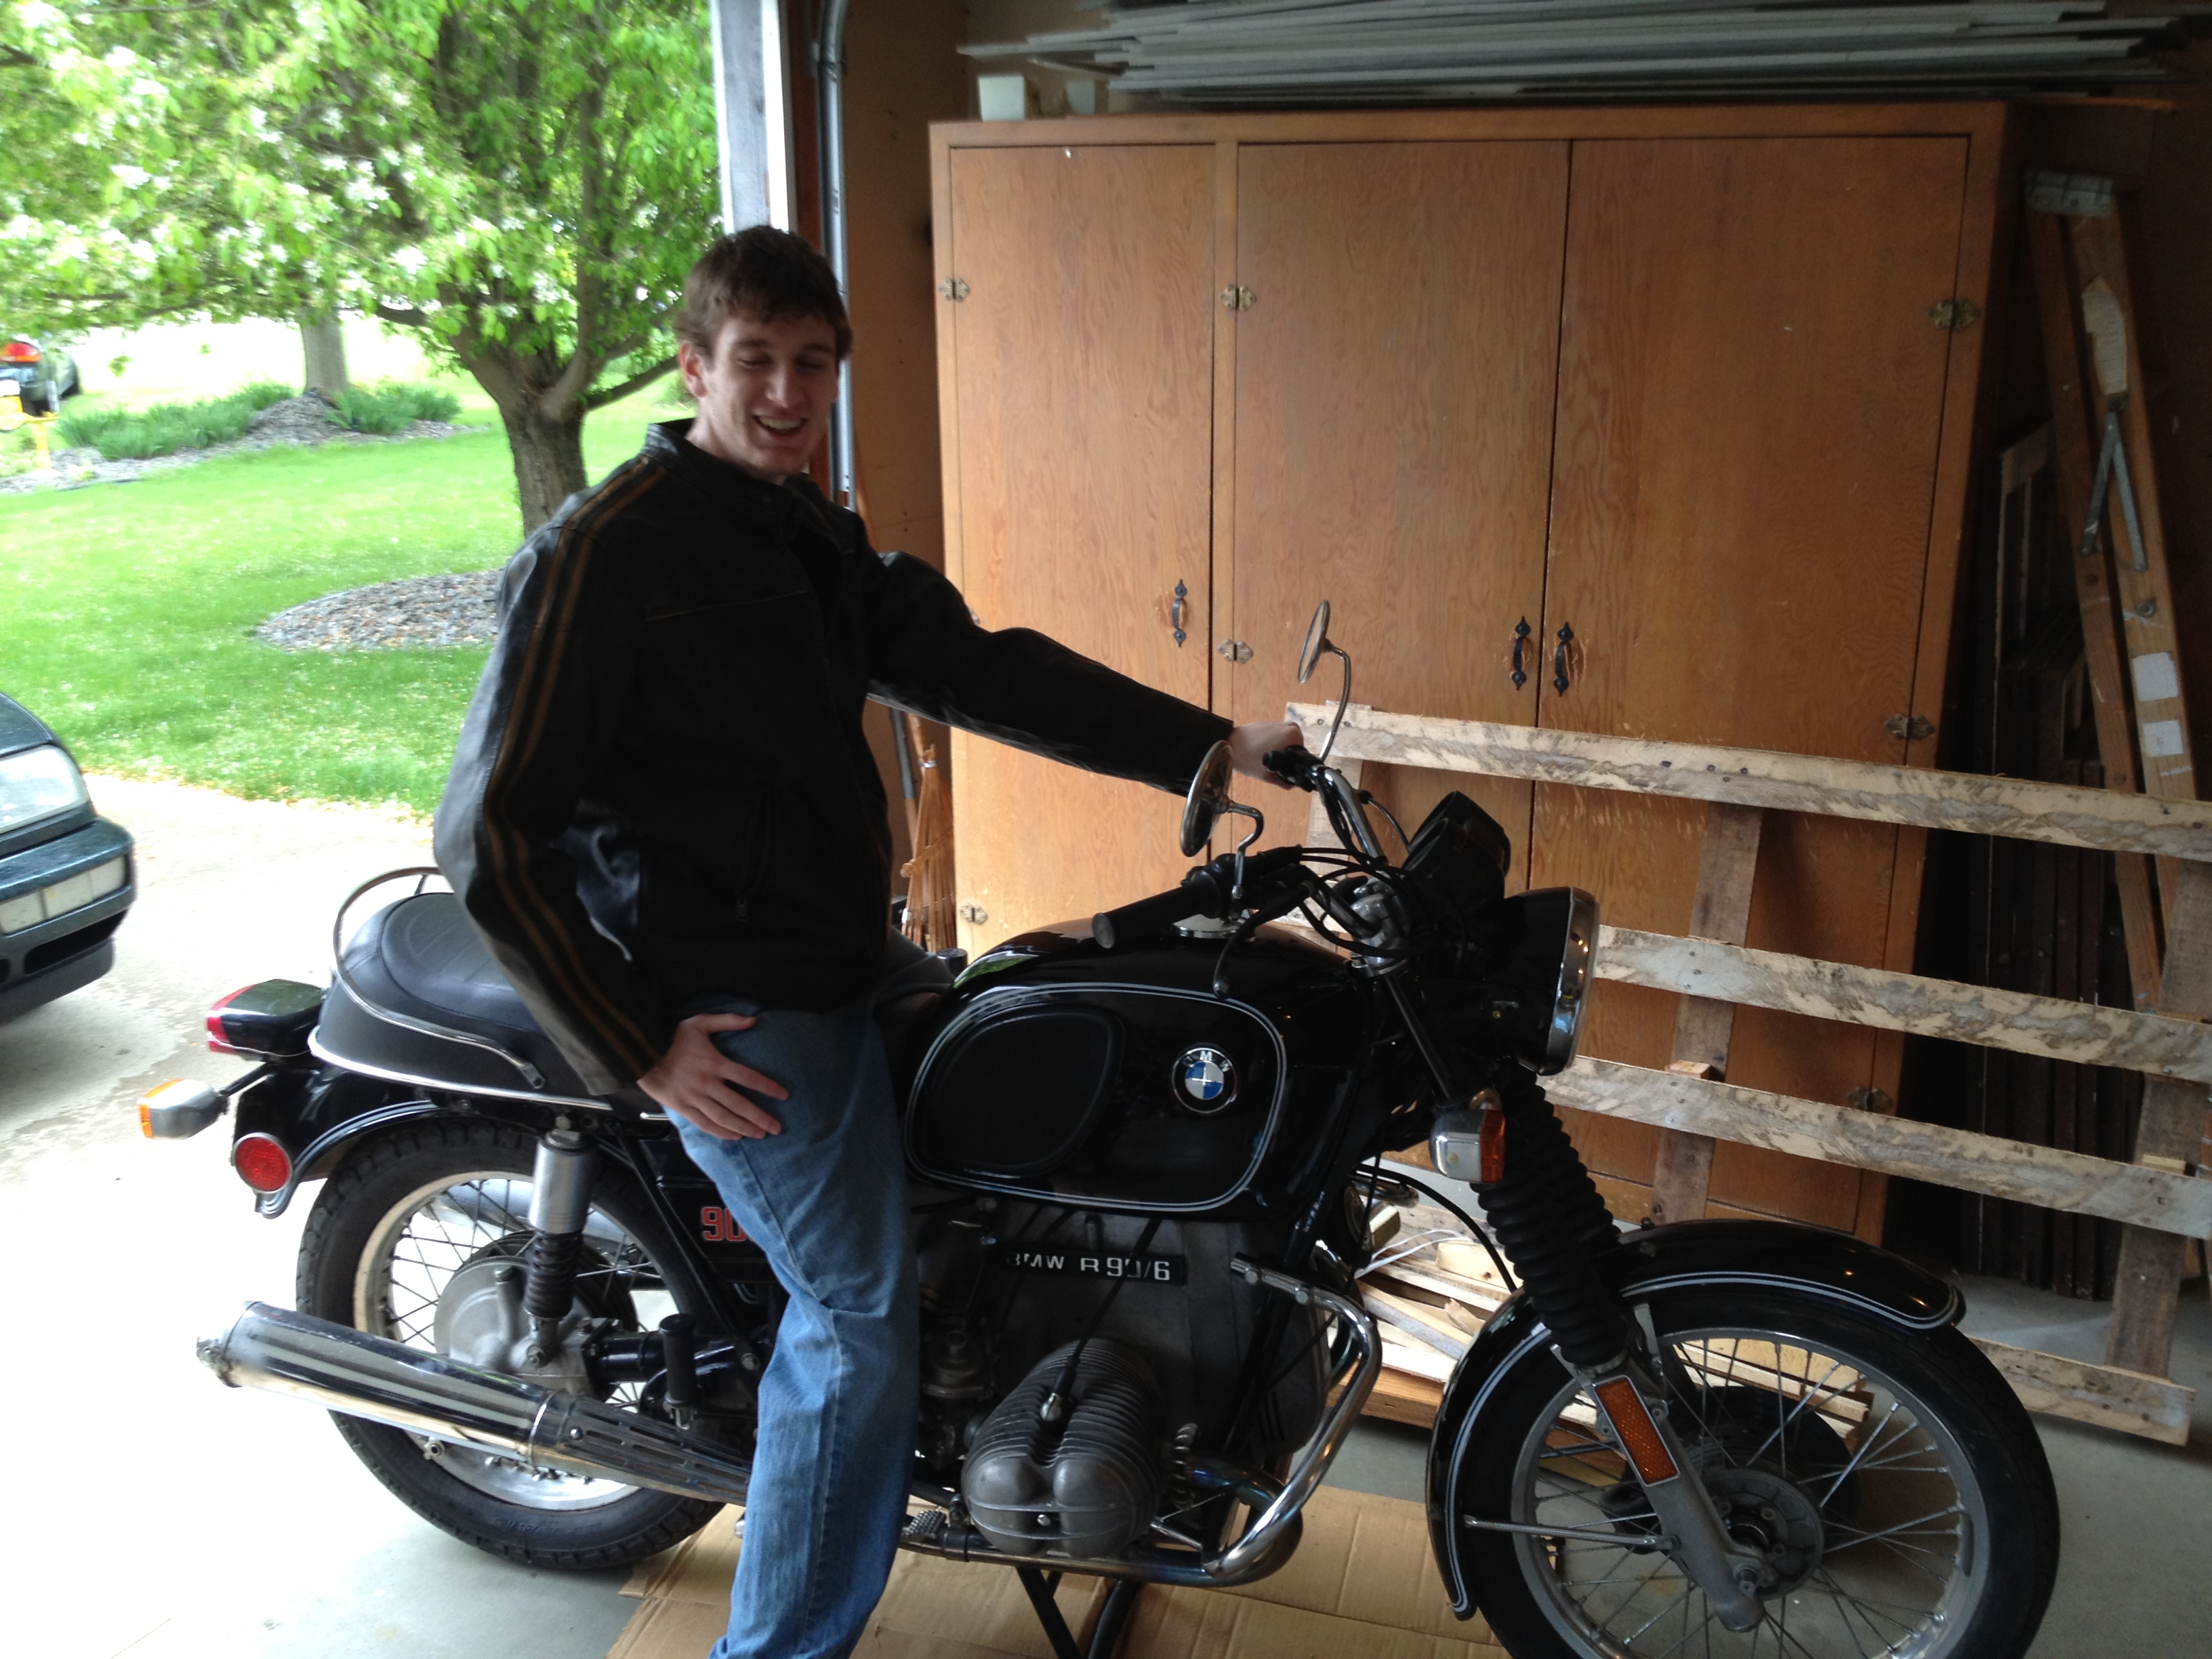
She’s almost ready. We did mock-up tonight with the stock seat I got and putting the tank back on. The PO had done lining on the tank about a 4 months ago. Looks good inside. Overall tank is in good shape.


The speedo cover had fallen off so we re-glued that on. I got to sit on it with it running for the first time tonight since we started working. We got the brake like working and tested everything with the headlight. I used the zip tie trick on that, seemed to work well.


The new (used) front master came in, and it’s soaking in alcohol right now prepping to rebuild. Once that’s ready, I just have to get some correct screws for the rear light. (previous owner was using wood screws to hold it) and replace the front engine mount. (not sure if that’s the right name, it’s the long bolt with threads on the both ends.) The PO was using what seems to be original, then added the crash bars but didn’t get a longer engine mount so it’s about 1/2 inch short. The bolts don’t go all the way on. Other than that it’s ready to go and hopefully be riding it soon.
Week 4
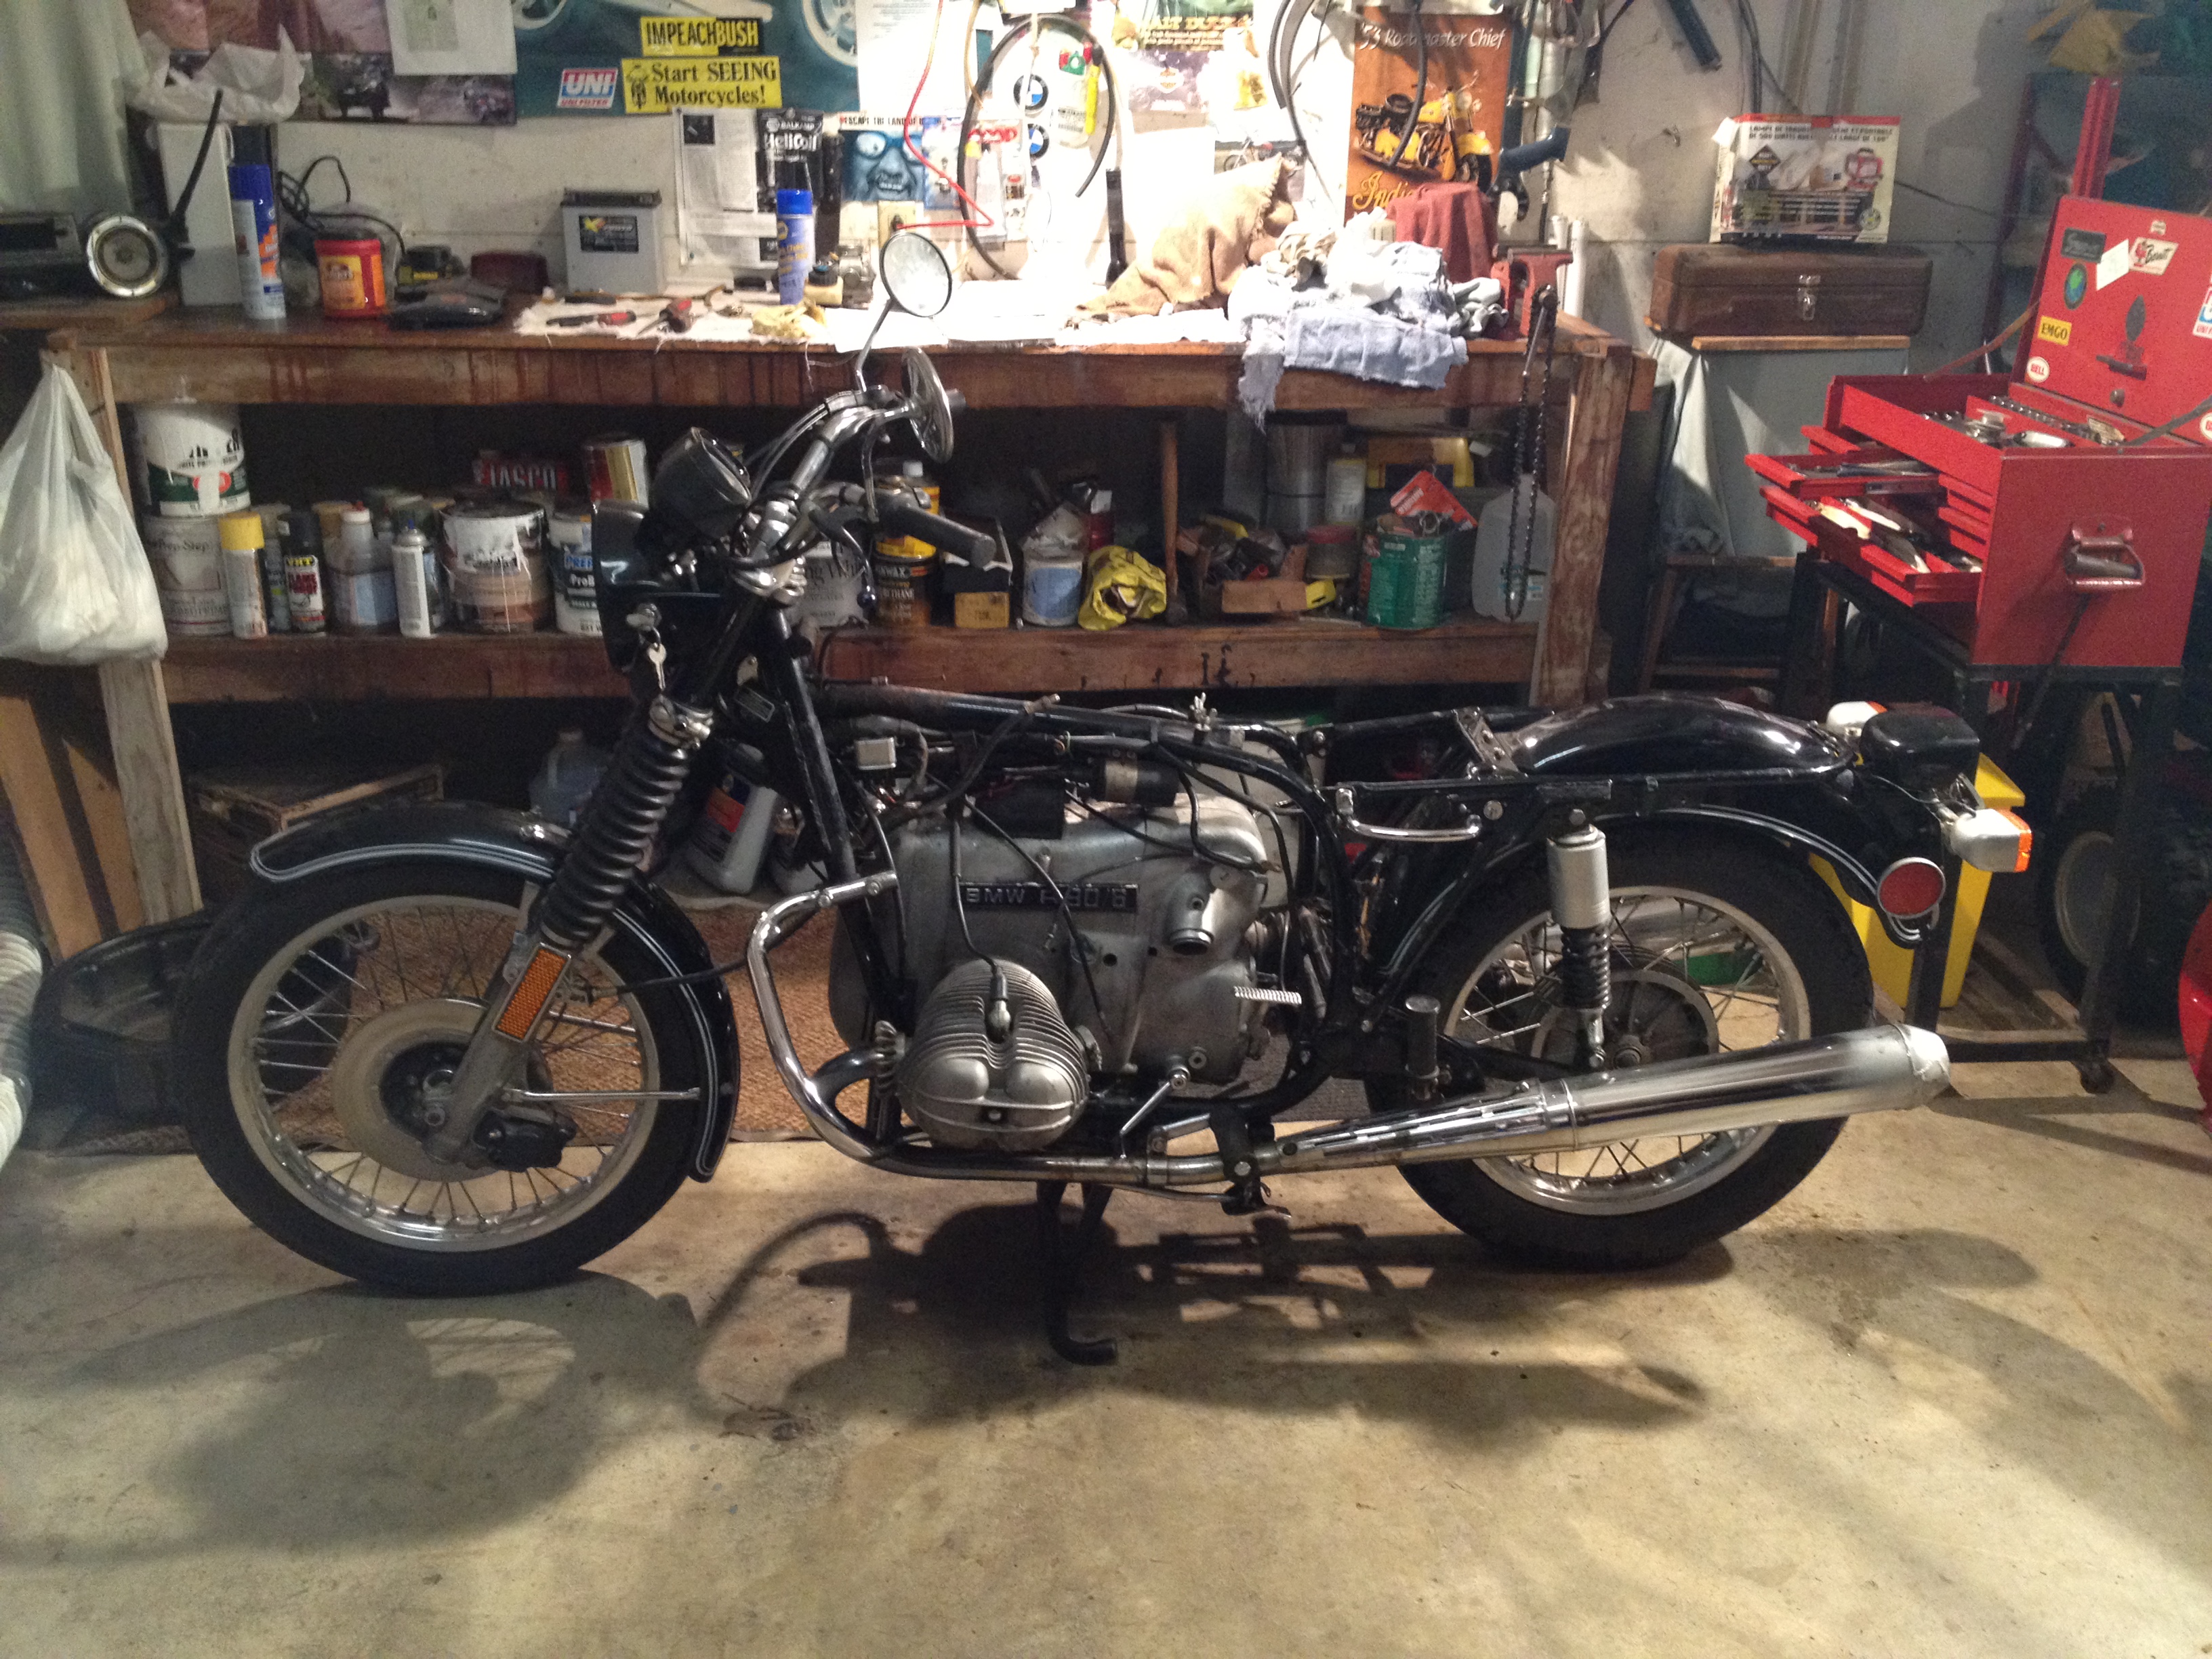
Only one picture this week, but it’s a good one! We took it out for the first drive. This week we did a lot of tuning and put fresh gas in it.

Week 5
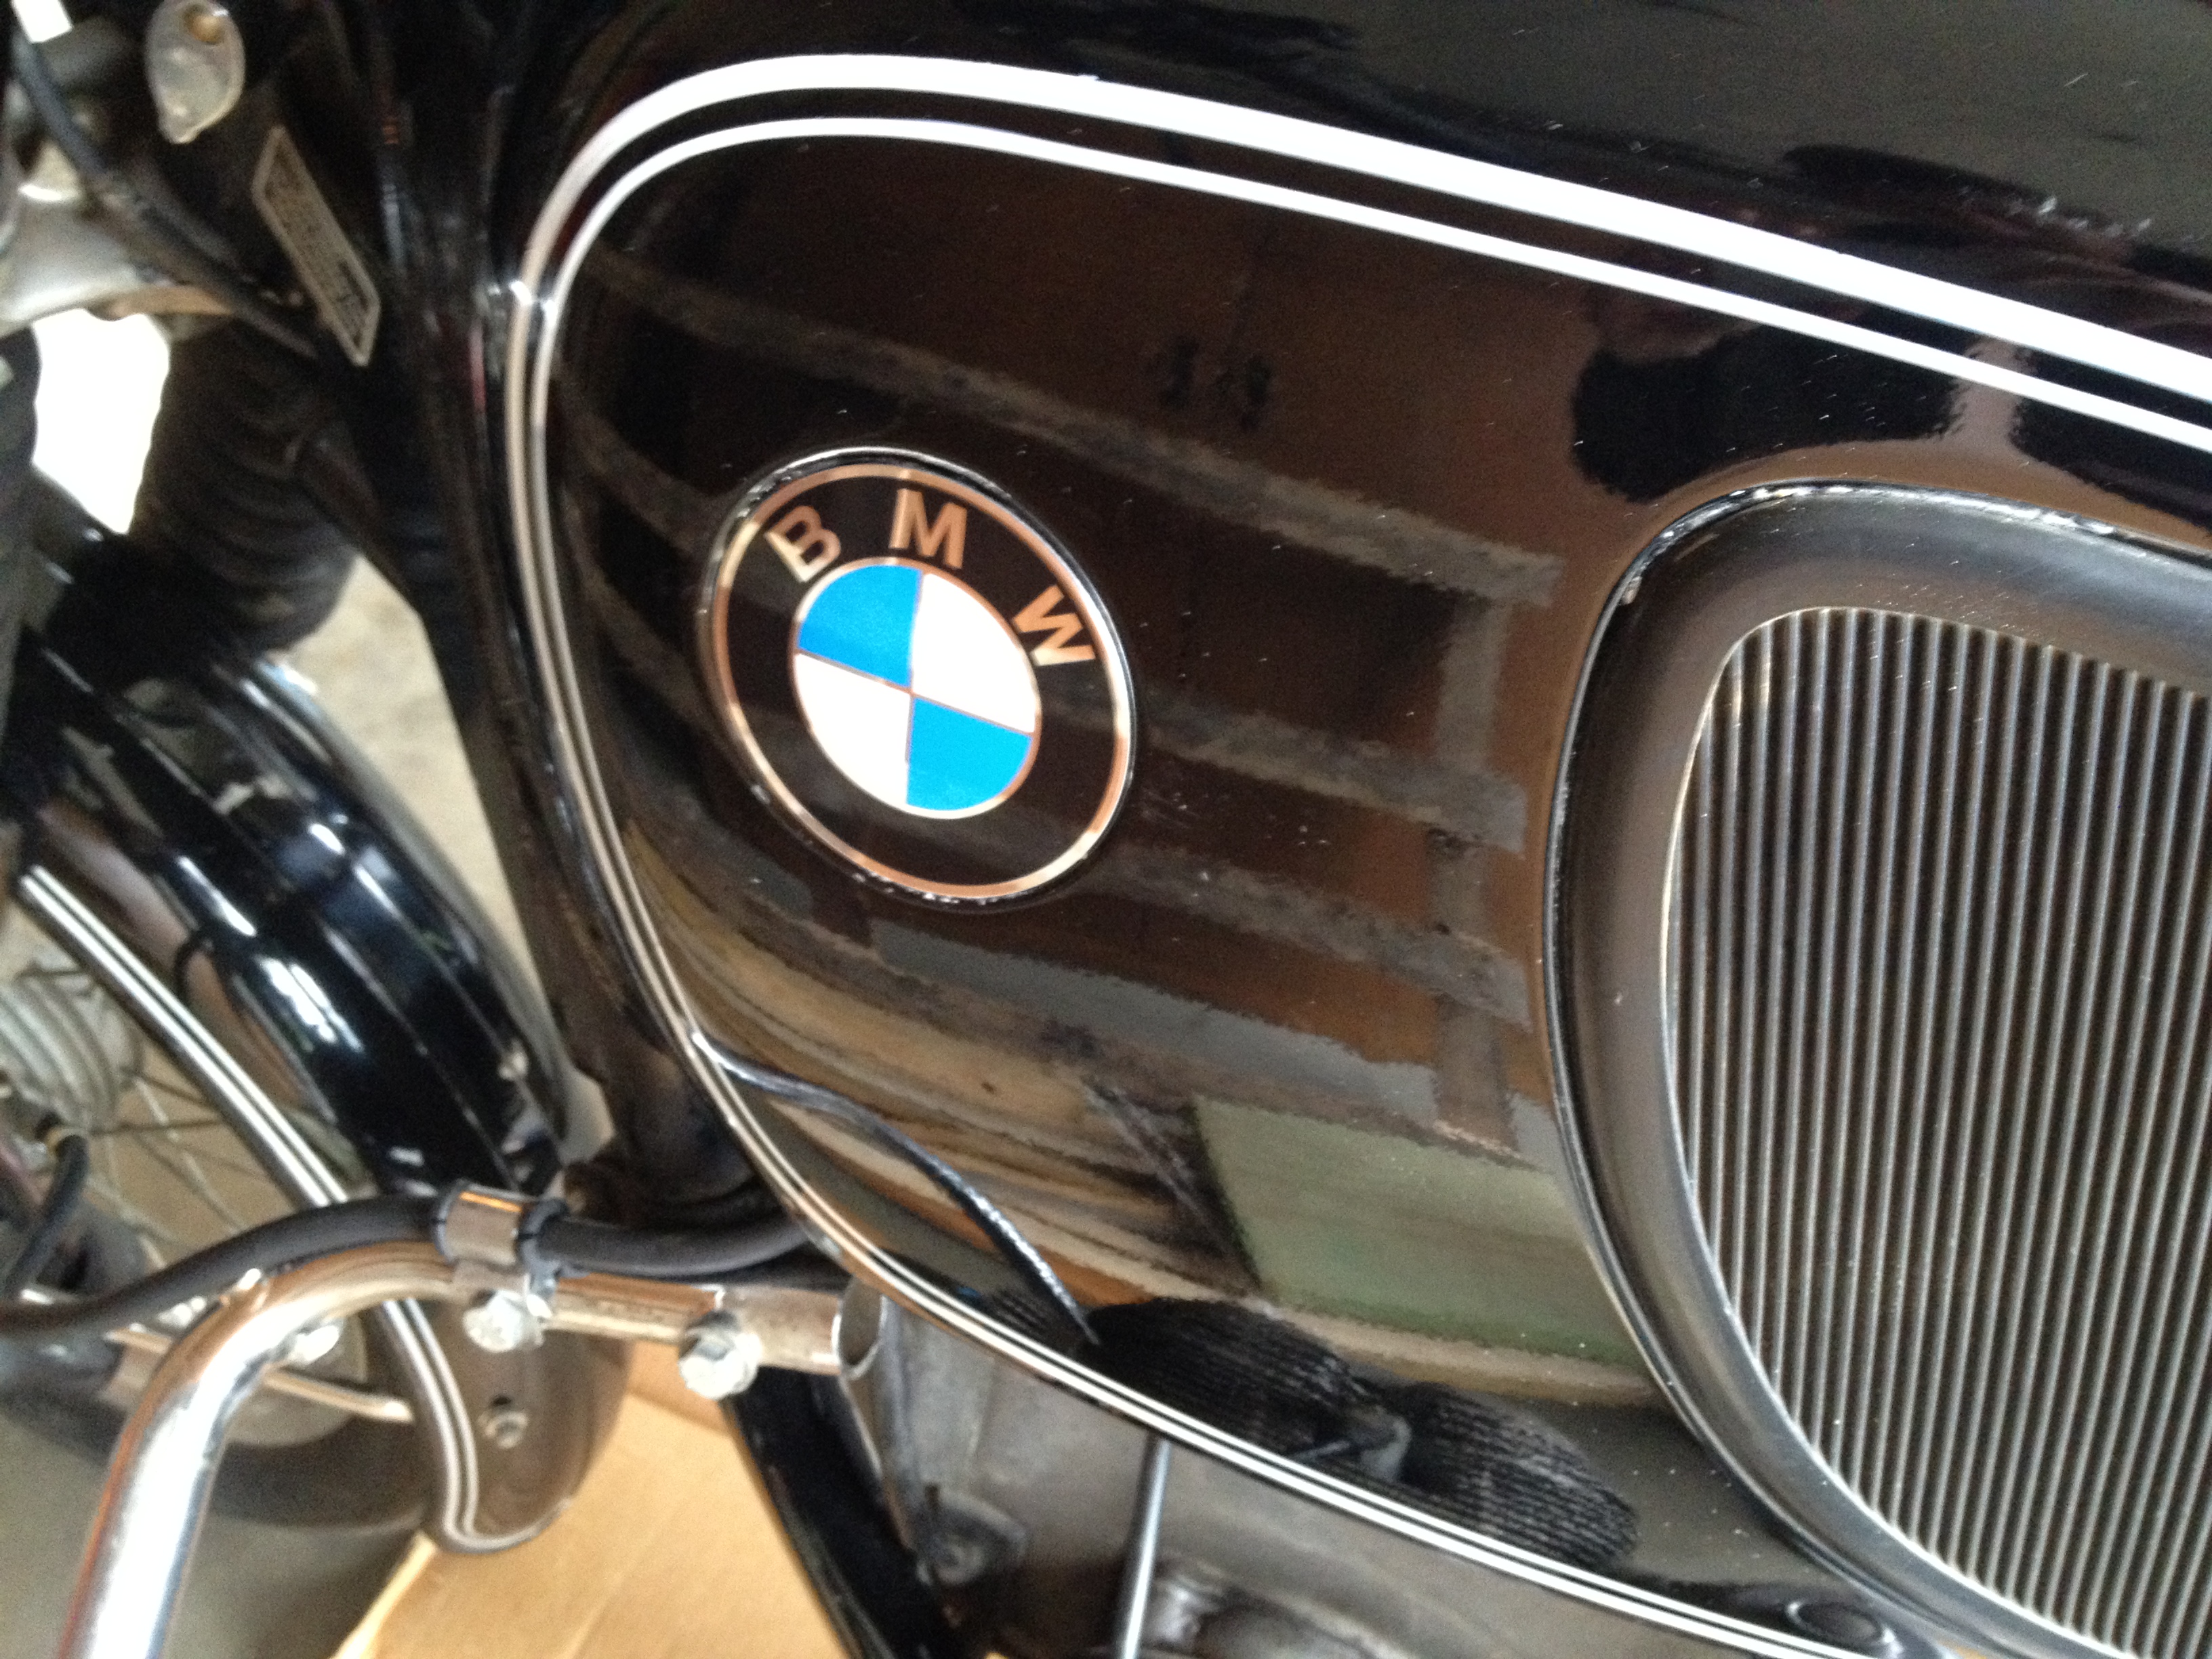
Well, she’s real close. I put new roundels on it this week and finally drove it home. It’s not all done but it’s rideable. I replaced the petcocks and that stopped leaks from up there. But left carb seems to leak sometimes, not all the time. Floats seem to work, we’ll have to keep looking at it. It’s not as bad as it was though.
Final
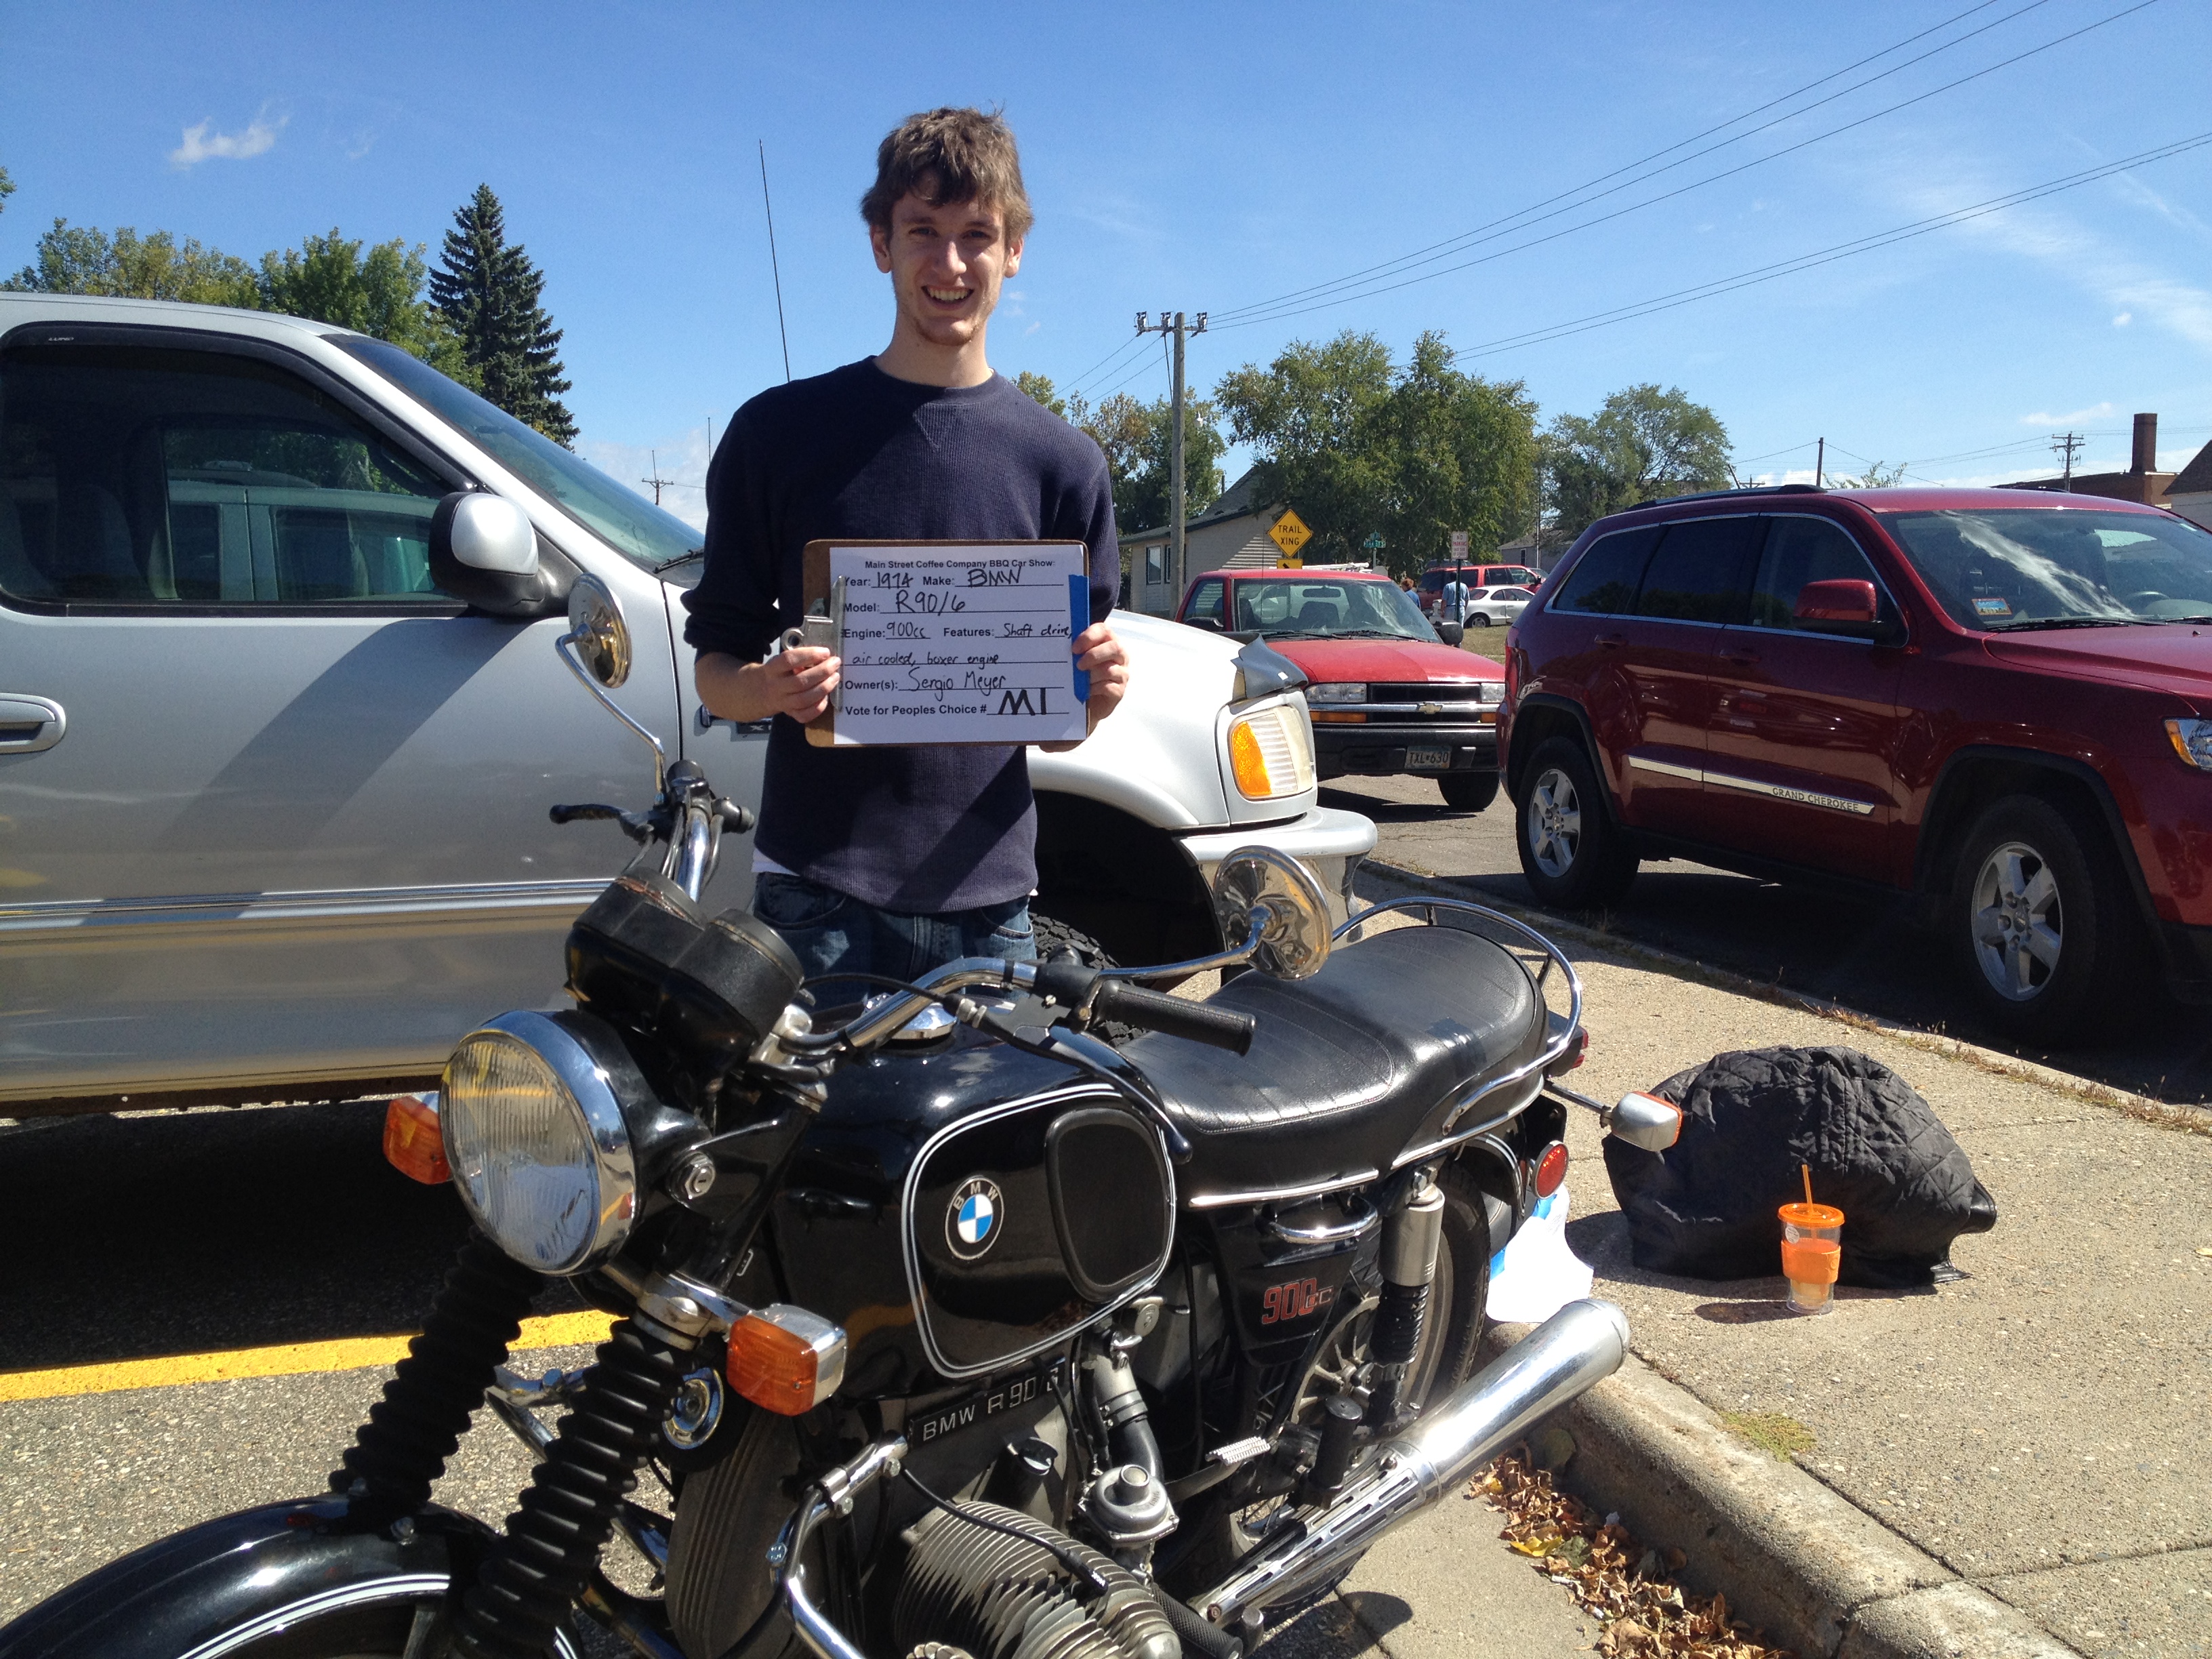
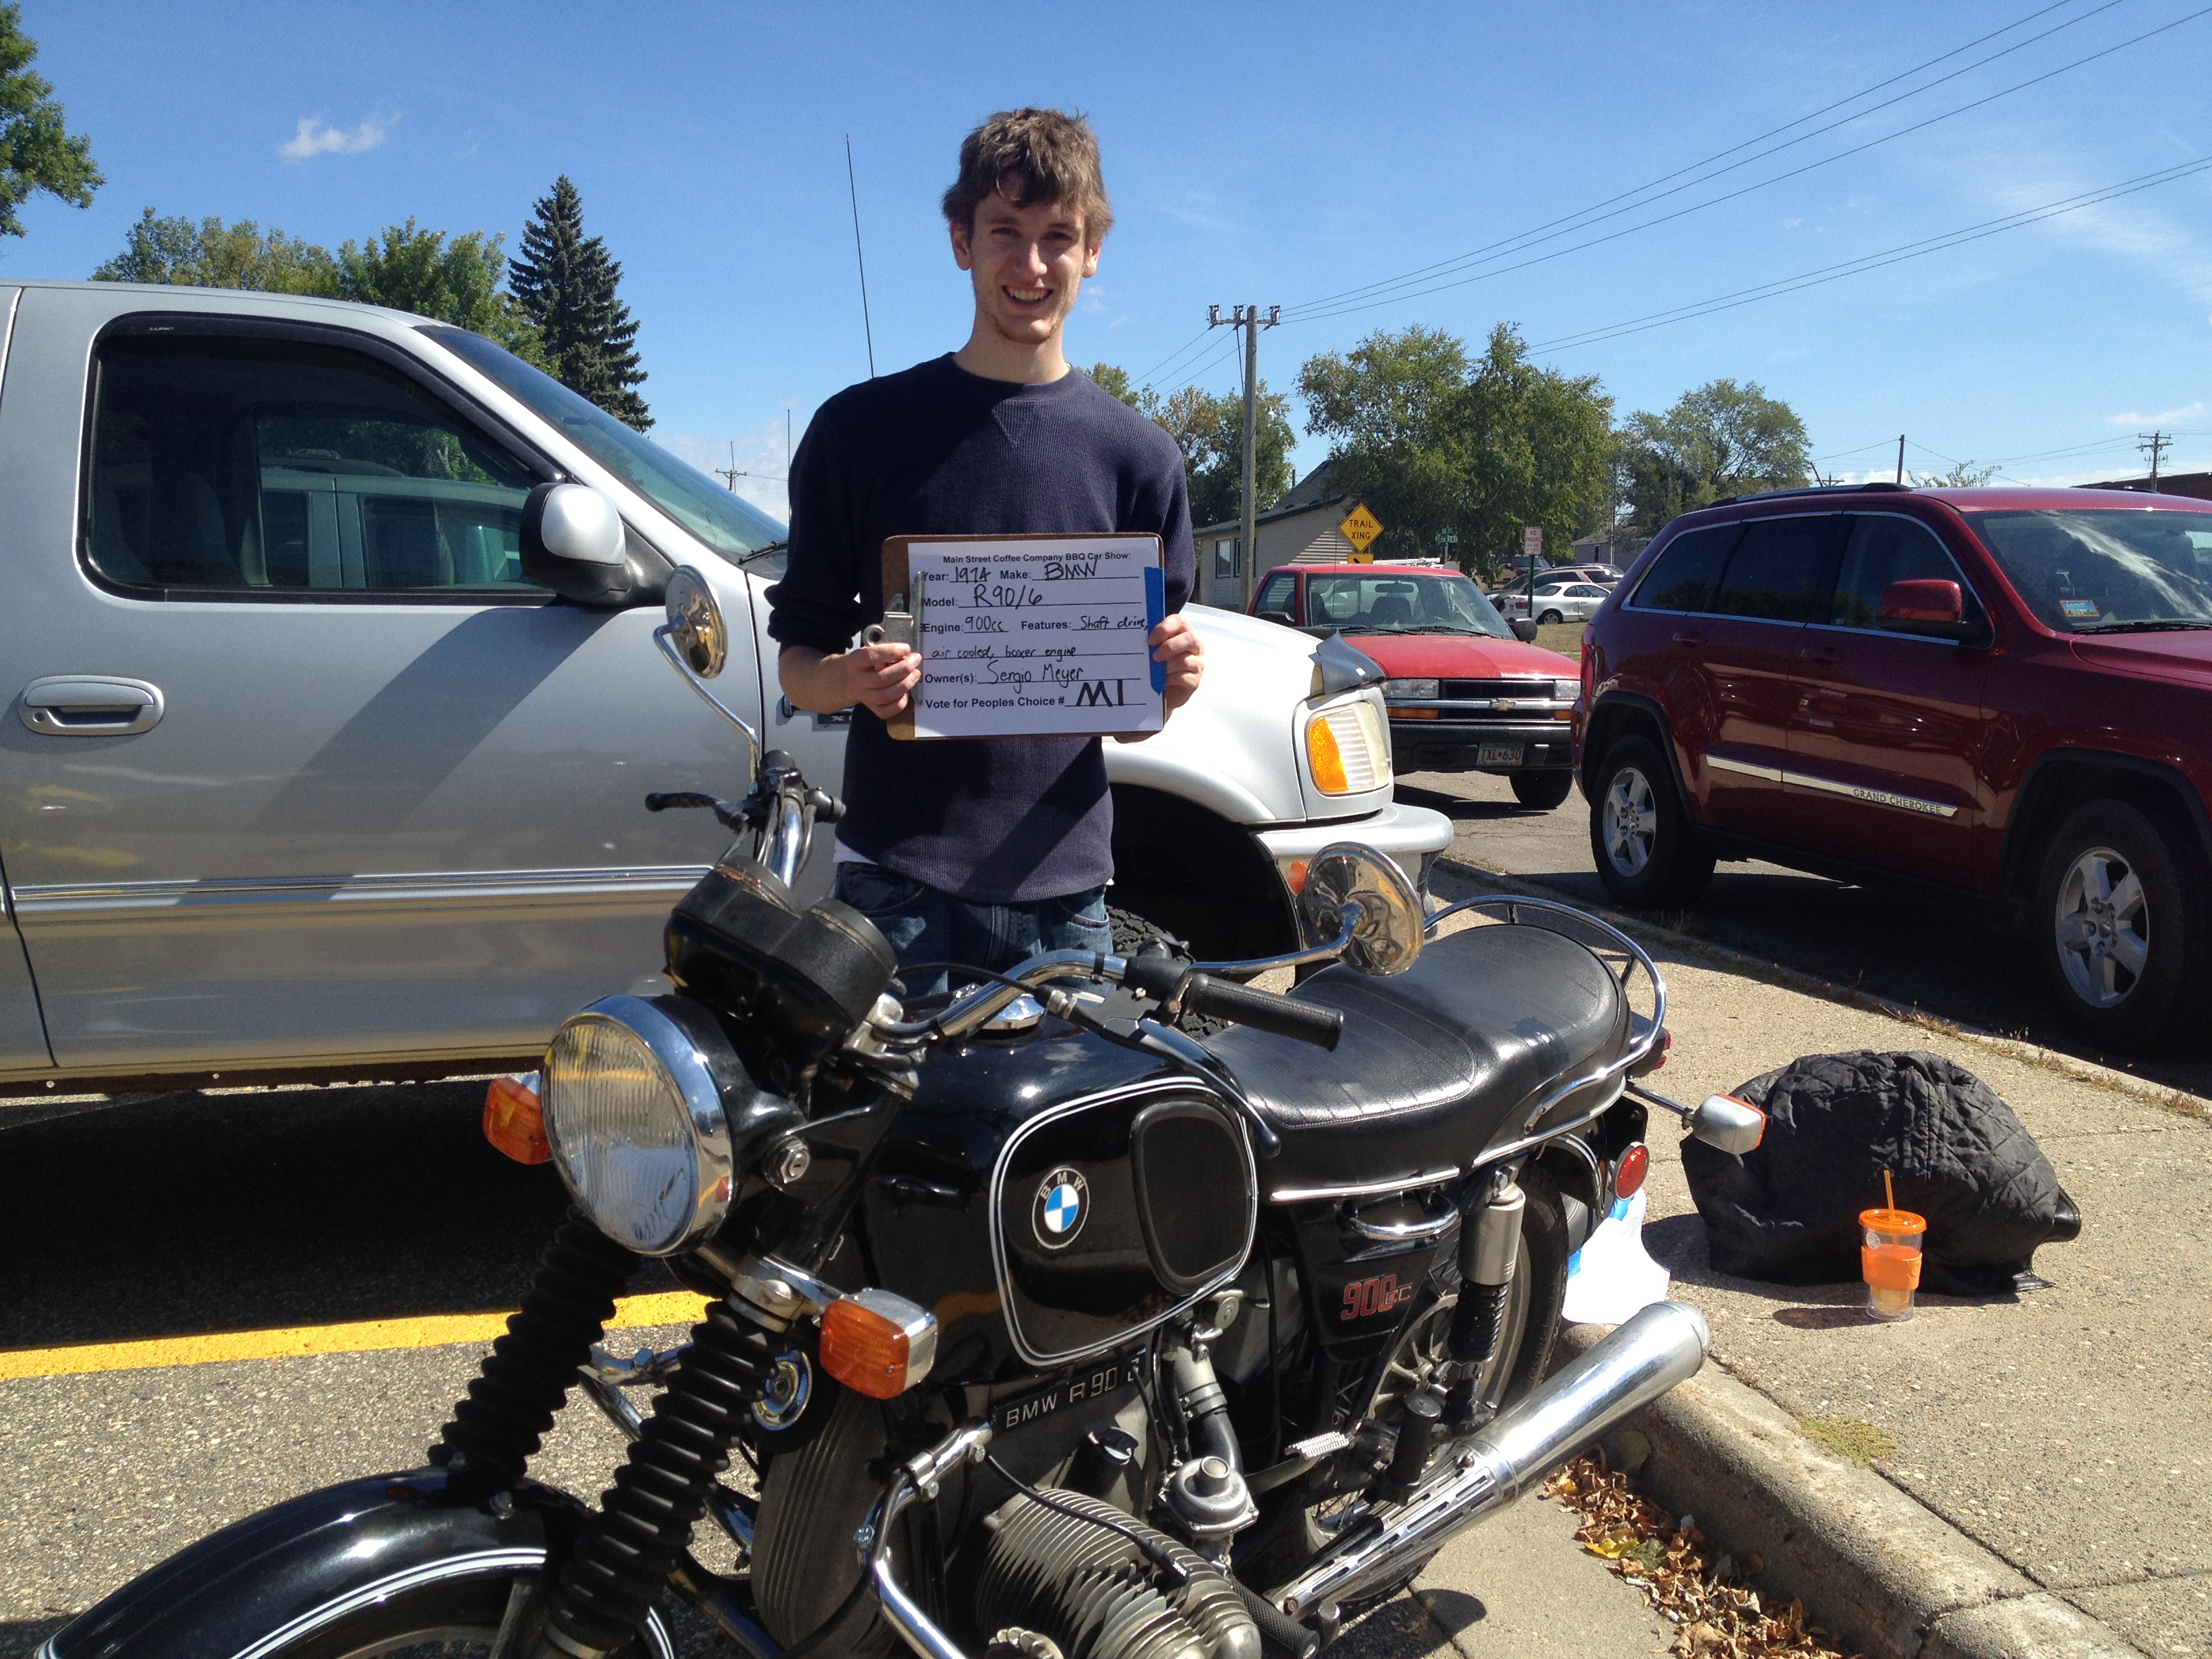
Well the rest of the summer was me figuring little things out, trying a different seat (didn’t like it) and entering it into a local car/motorcycle show. It was giving me a lot of trouble starting after about a month, or would just cut out randomly. I tried all sorts of things before replacing the spark plug wires. What a difference that made! She’s still not perfect and needs new tires/shocks but that will come. Thanks for reading.