FiF, Jr – Week 18: Bondo and Painting the Cabinet
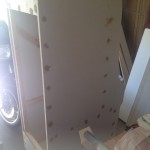
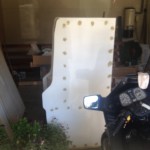
This week, we started our beginning of the end. Painting the cabinet requires a lot of prep work. I want it to look as smooth and clean as possible. I knew this going in, so we countersunk all the screws we made in anticipation of bondoing them later. So, this week we filled the holes (with Elmer’s Wood Filler actually – not automotive bondo) and it went pretty well. It took forever though. Fill the holes, smooth them out. Notice a slight mistake so fill more, smooth them out again. And probably again.
After all of that it’s time to sand. I started with 80 grit to get the extra off then we switched to 120 for final smoothing. After ALL of that we still found a few minor flaws so had to fill some of the holes more, smooth them out, wait for them to dry, and then sand those holes again. In all, just to prep the cabinet for its first coat of primer took 3 days time! Granted, most of that was waiting for it to dry – but still. It didn’t help that we probably had close to 75 screw holes to fill since we went a little overboard when putting it together.
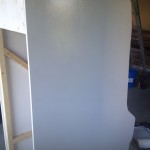
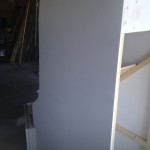
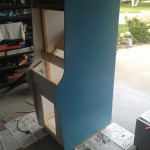
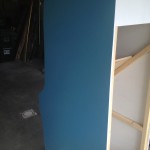
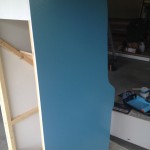
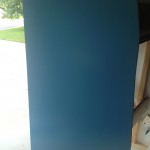
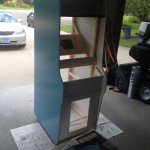
After putting a layer of primer on (using a roller) I sanded that down with 600 grit paper to remove any small flaws. That actually went pretty well. It’s important to remember ANYTIME after sanding to remove and clean up the dust. Anyway, finally got to put the first coat of DK Blue paint on and man it’s looking pretty nice! Not perfect of course, but I think with some very light sanding and a second coat it’ll be great. It’ll still have some texture to it no matter what I do, but it’s the best I can do.
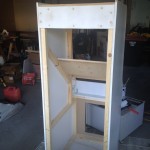
In a perfect world I’d use either laminate but that’s a little tricky to find in an exact color. Anyway, check out the pictures below – it actually looks very nice in photos. But in person, when you get real close, you can notice some flaws.

