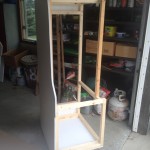
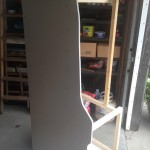
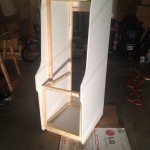
My Dad and I decided to do a project together, and I’ve always wanted my own arcade machine. So, we’re building a Fix It Felix, Jr Arcade Cabinet. If you’ve seen the movie Wreck It Ralph you’ll know what I’m talking about. If you haven’t, it’s a fake arcade game designed to look like it’s from the 80’s, in an identical cabinet that Nintendo’s Donkey Kong used. Disney actually made some cabinets to display as publicity but they’re not really for sale. We’re using plans provided by Jakobud but these are really more of a guideline than anything. I also have to thank everyone at BYOAC Forums for all the tips and guides they’ve provided.
Week 1
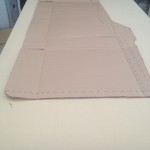
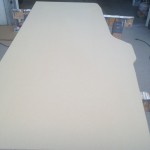
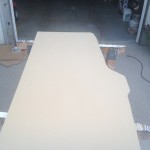
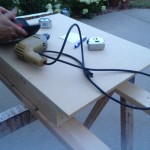
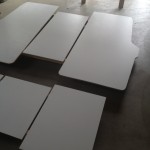
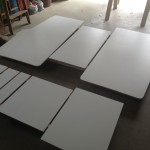
Before we started any cuts we did a lot of planning. We decided to use 1/2″ MDF for the cabinet. People typically use 3/4″ but we wanted to cut down on weight. This also means we’ll need a lot more bracing though. After drawing out the sides on cardboard we finally made some cuts. This took MUCH longer than I’d have thought; possibly because neither of us are woodworkers.
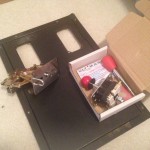
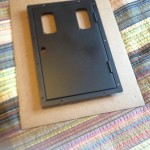
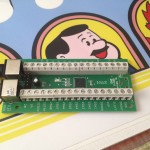
I also ordered all the artworks and some other misc. parts. I’ll show these in more detail as work progresses but here you can see an original Nintendo coin door we’ll restore, the joystick and coin mechanism I’m using. This cabinet will run MAME from a computer, so to connect the controls I’m using an IPAC2. The ipac and arcade controls are all from Ultimarc. The coin mech I bought from eBay.
Week 2
No pictures this week, I’ll have some later. But we cut all the other random pieces like the back door, front panels, back panels, and smaller trim. I also got a slot cutter to make the T-Molding slots. Unfortunately, my router is broke so I’m trying to get that fixed so we can work on that. We also stacked our two side pieces and sanded/recut them to be more exact duplicates of each other.
Week 3
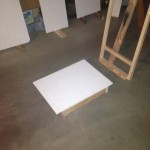
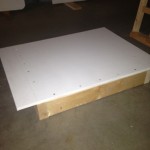
We made some baby steps this week. After borrowing a router (mine’s broken and is being fixed) my dad made the slot cuts on the side pieces. We also made the bottom box, or the foot of the cabinet. Lastly, I started refurbishing the coin door. I forgot to grab a picture of it but we used this Orange paint remover and it really worked slick.
Week 4
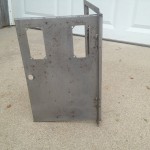
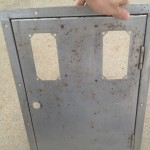
This week was mostly a painting week. I’ve got all the pieces fully primed, so next we can start assembling. We’ll do the final paint after that. Lastly you can see the coin door, I’ve got all the old paint scraped off and fixed the bent corner. I also sanded it to the max! It doesn’t look nice now but it’s actually pretty smooth. Now, I just have to repaint and hopefully it’ll be good to go.
Week 5
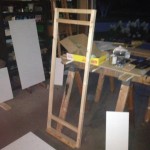
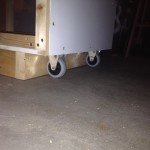
We finished constructing the bottom box and floor of the cabinet, and also put together the back frame. Now all we have to do is finish the frame and we can start putting the sides on. We’re thinking that should happen next week.
Week 6
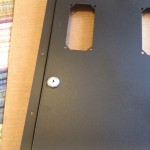
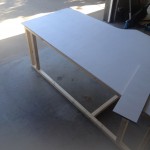
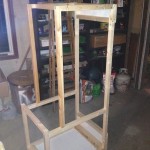
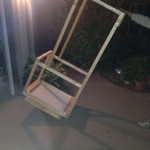
Well, we finished the frame. It was too dark to get pictures of it, but basically it looks like a big chair. It was also too late to attach the sides but I’m sure we’ll finish that next week. I did finish restoring the coin door though! Pictures below. Even got a brand new lock put in, tested, working.
Week 7
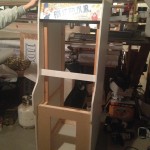
Not a lot of progress, some other life events are getting in the way of work! But a couple little things were done. The frame is basically finished. We ended up deciding to add more to it than originally, Dad is pretty concerned about support. I also grabbed a couple pictures of the speaker grill. Below are some pictures of the cabinet mocked up, just to give a little taste, even though it’s on its side.
Week 8
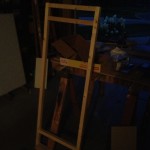
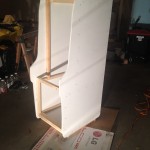
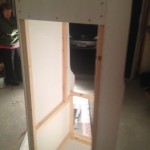
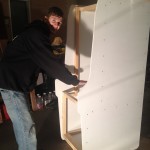
This is actually a couple weeks of work, but I’m combining it into one as it took much longer than it should have. Basically, we finished the frame and then attached the two sides. We also attached a couple of the back pieces. All of the screws are countersunk in so that we can hide them later. That was a new process to learn but wasn’t as hard as I thought it might be.
Week 9
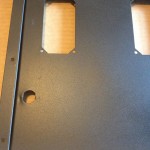
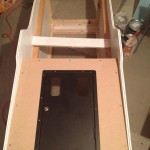
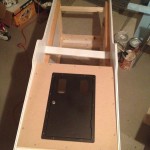
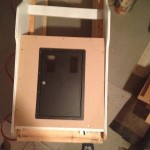
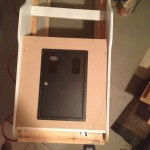
Now that we’re ready to put the middle pieces in, we found they were a little tight. So we trimmed the edges off a couple. Next, we cut the center hole out of the front panel and made the holes for the coin door. Made sure that fit. I’ve also ordered the tinted and clear plexiglass to use for the bezel and control panel.
Week 10
It’s actually been quite a few weeks since I’ve posted any progress. Christmas and Winter combined made it tough to do much work. We don’t have a heated garage so the cabinet was moved to the basement. We can’t paint down there so we’ll have to wait until spring to do that. But that has given me more time to work on the electrical and software side of it!
The cabinet is powered by an old-ish Dell desktop computer. It isn’t the best, but is plenty to run the old games this cabinet is designed for. Since there’s only going to be 2 buttons, it wouldn’t be good for graphic intense games like Street Fighter, anyway.
Hardware
- Intel Core 2 Duo Processor
- 3 Gigs RAM
- 250 Gig HDD
- Onboard graphics
- Ipac 2 Keyboard Encoder
- Ultimarc MagStik Plus Joystick
- 4 Arcade push buttons
Software
- Windows 7 (skinned with custom boot to largely be hidden)
- mame 0.148 (through Mamui – a graphical version of mame)
- Maximus Arcade frontend
- Fix-It Felix, Jr – Sjaak custom built version
- Fix-It Felix, Jr – Official Disney leaked version, customized with The Dragon Kings “(I) Fix(ed)-it Felix Jr.” mode. Very useful, this mod customizes controls, saves high scores, and more for the leaked version of the game.
More on Software
My first step in getting the computer all set was installing Mame. I used a slightly older version (0.148) because my ROM set was built for that version. MAME is an amazing emulator that essentially emulates thousands of arcade machines, very accurately. But it’s not very pretty. Using Mameui helped with this. It’s a graphical interface for MAME. But still not super easy to select, start, or play games. That’s where a front end comes in. I chose Maximus Arcade. So, I skinned windows, set up Mame and Maximus, and now the computer doesn’t act like a computer at all. See videos below of the boot-up and game selection in action.
The Game
Of course, it’s great that I’ll be able to play Donkey Kong, Pac-Man, and the rest. But this is a Fix-It Felix, Jr cabinet, I’ve got to be able to play that game! Disney actually put a version of the game online but that’s built in flash and isn’t arcade control friendly, and doesn’t look movie accurate. They also made actual cabinets playing what the community considers to be the “real” game. But it was highly guarded and at first nobody could get their hands on it.
Enter, the BYOAC community. I won’t get into details here, but one member did an excellent job recreating the game. It runs on Windows. It’s customizable. A small group were allowed to be testers and play the game. I was one! This will be my main version of the game, and at first I thought my only version.
BUT! Then the actual Disney copy of the game leaked. It appeared to be an early build, but it’s definitely the same software running in the actual Disney made arcade cabinets. And luckily it runs on Windows, too! This version had some set backs though, it ran at a very specific resolution. It didn’t save scores. The controls can not be changed. But The dragon Kings mode (see above) helped immensely. This version will be a back up to my first version though, since it still has some downfalls on my computer. (I can’t get it to be true full screen – and you can’t add the movie sound effects)
Next time! I’ll show how the controls connect to the computer.
Week 11
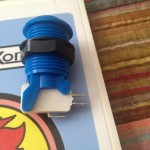
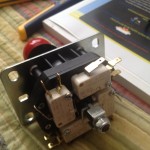
The controls interface with the computer pretty easily. First, you get buttons and a joystick. You can see mine below, I picked the buttons I wanted based on size and color to match Fix it Felix. The joystick is a MagStik Plus from Ultimarc, which is a switchable 4 or 8 way joystick. You can see on these pictures the microswitch (the white parts) with little metal prongs coming off. This is what you attach wire to.
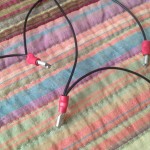
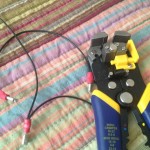
In the next pictures, you can see some wire I made to attach. Specifically, this is my ground wire. It’s easy enough to make, you strip the wire, attach a quick disconnect to the end, and then crimp it on. Each microswitch needs two wires attached to it. The main wire sending the signal, and then the ground wire. The ground wire can be shared among all the devices, which is why you can see on mine it’s daisy-chained together. I also really recommend an automatic wire stripper like the one I’ve shown.
Finally, after you’ve attached wire to all the buttons and joysticks, you attach the other ends to a controller board. In my case, I’m using an Ultimar Ipac2. This little device takes the signal sent by the microswitches and turns it into a keyboard signal. That way, when it’s attached to a computer, the computer just thinks it’s a normal keyboard. When you move the joystick “Up” it’s the same as pressing the “Up” arrow on your keyboard. Real simple. The Ipac does let you customize which keys do what, but by default it uses the standard MAME controls.
Week 12
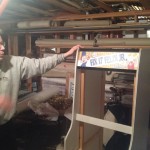
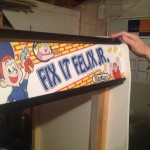
This was the first week back to work during the winter. We built the marquee area. We’ve decided to build from the top down, because artwork pieces have a specific size that we must get right. This wasn’t too tricky, just had to make a little box that the light behind the marquee will sit behind. The one snag we ran into was that our cabinet has a full frame, so we had to make our pieces go around that frame. Here’s some pictures of the artwork mocked in place!
Note:
Instead of putting everything on one giant page, I’ve broken weeks up into individual posts. For progress beyond week 12, please my Arcade category!
