The Coleco Wreck it Ralph is ready to leave the building! (figuratively) The ending was a little sloppy but it came together. Here’s how it went.
Painting
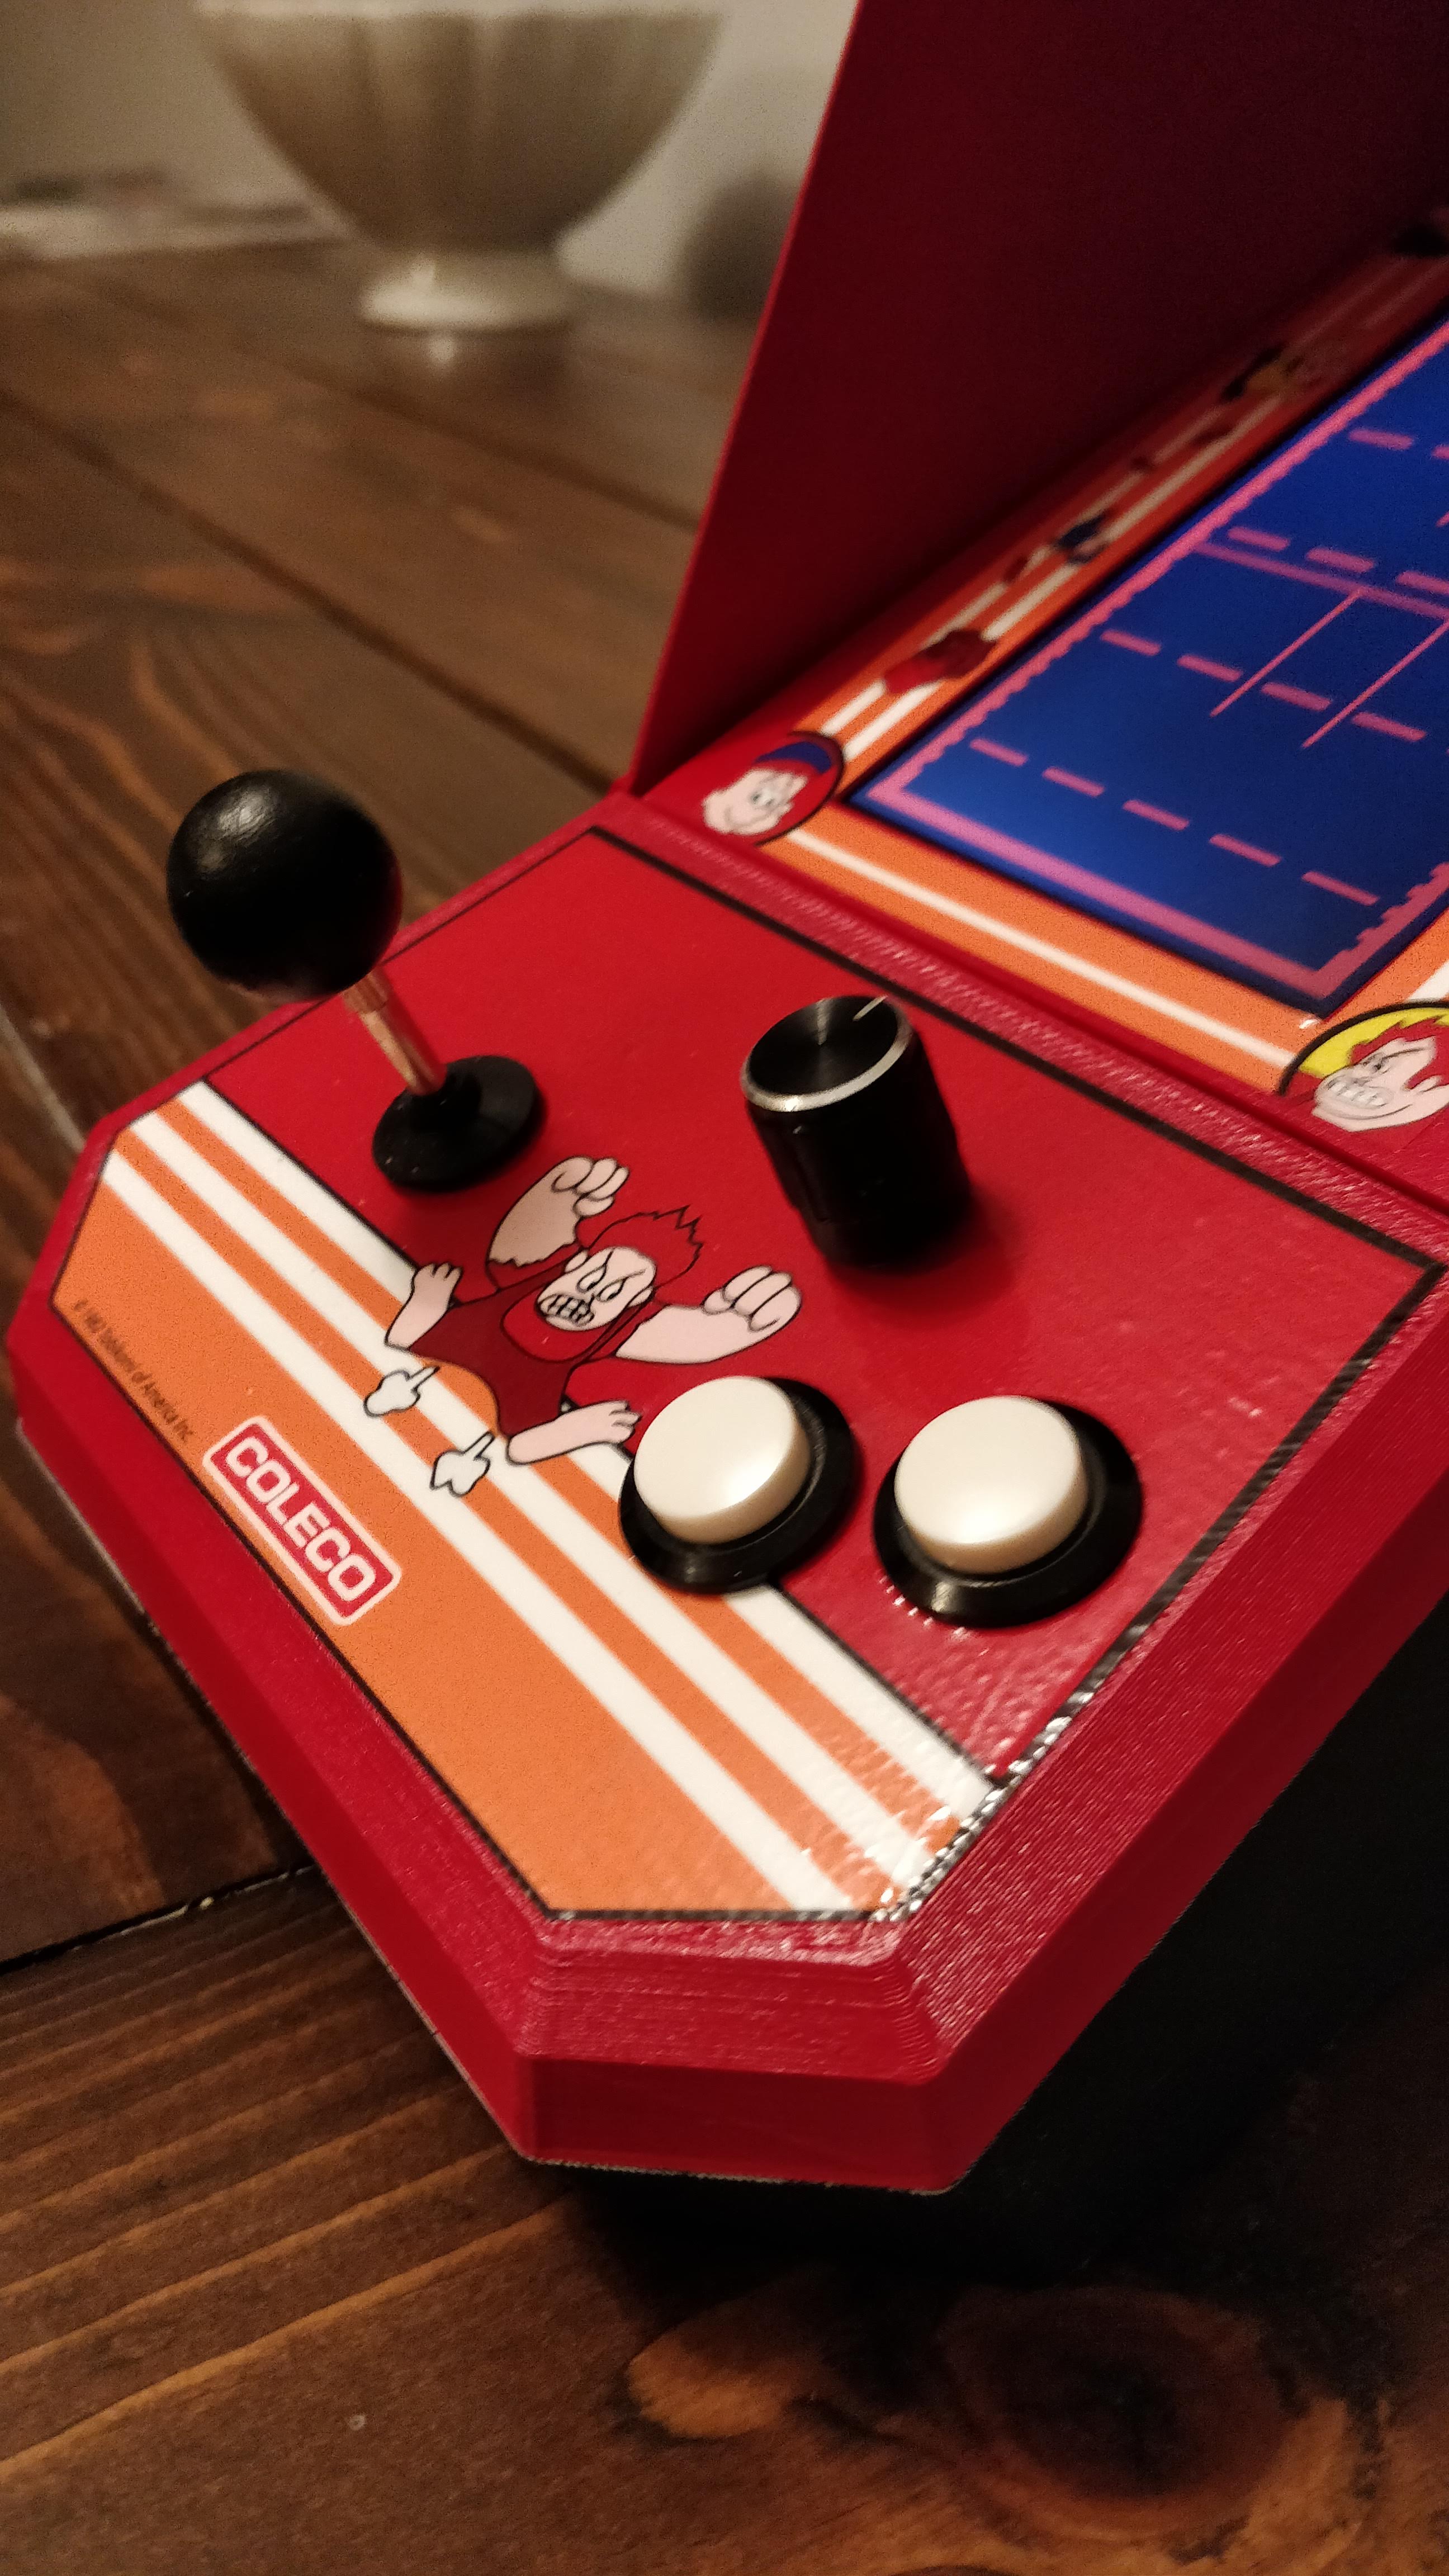
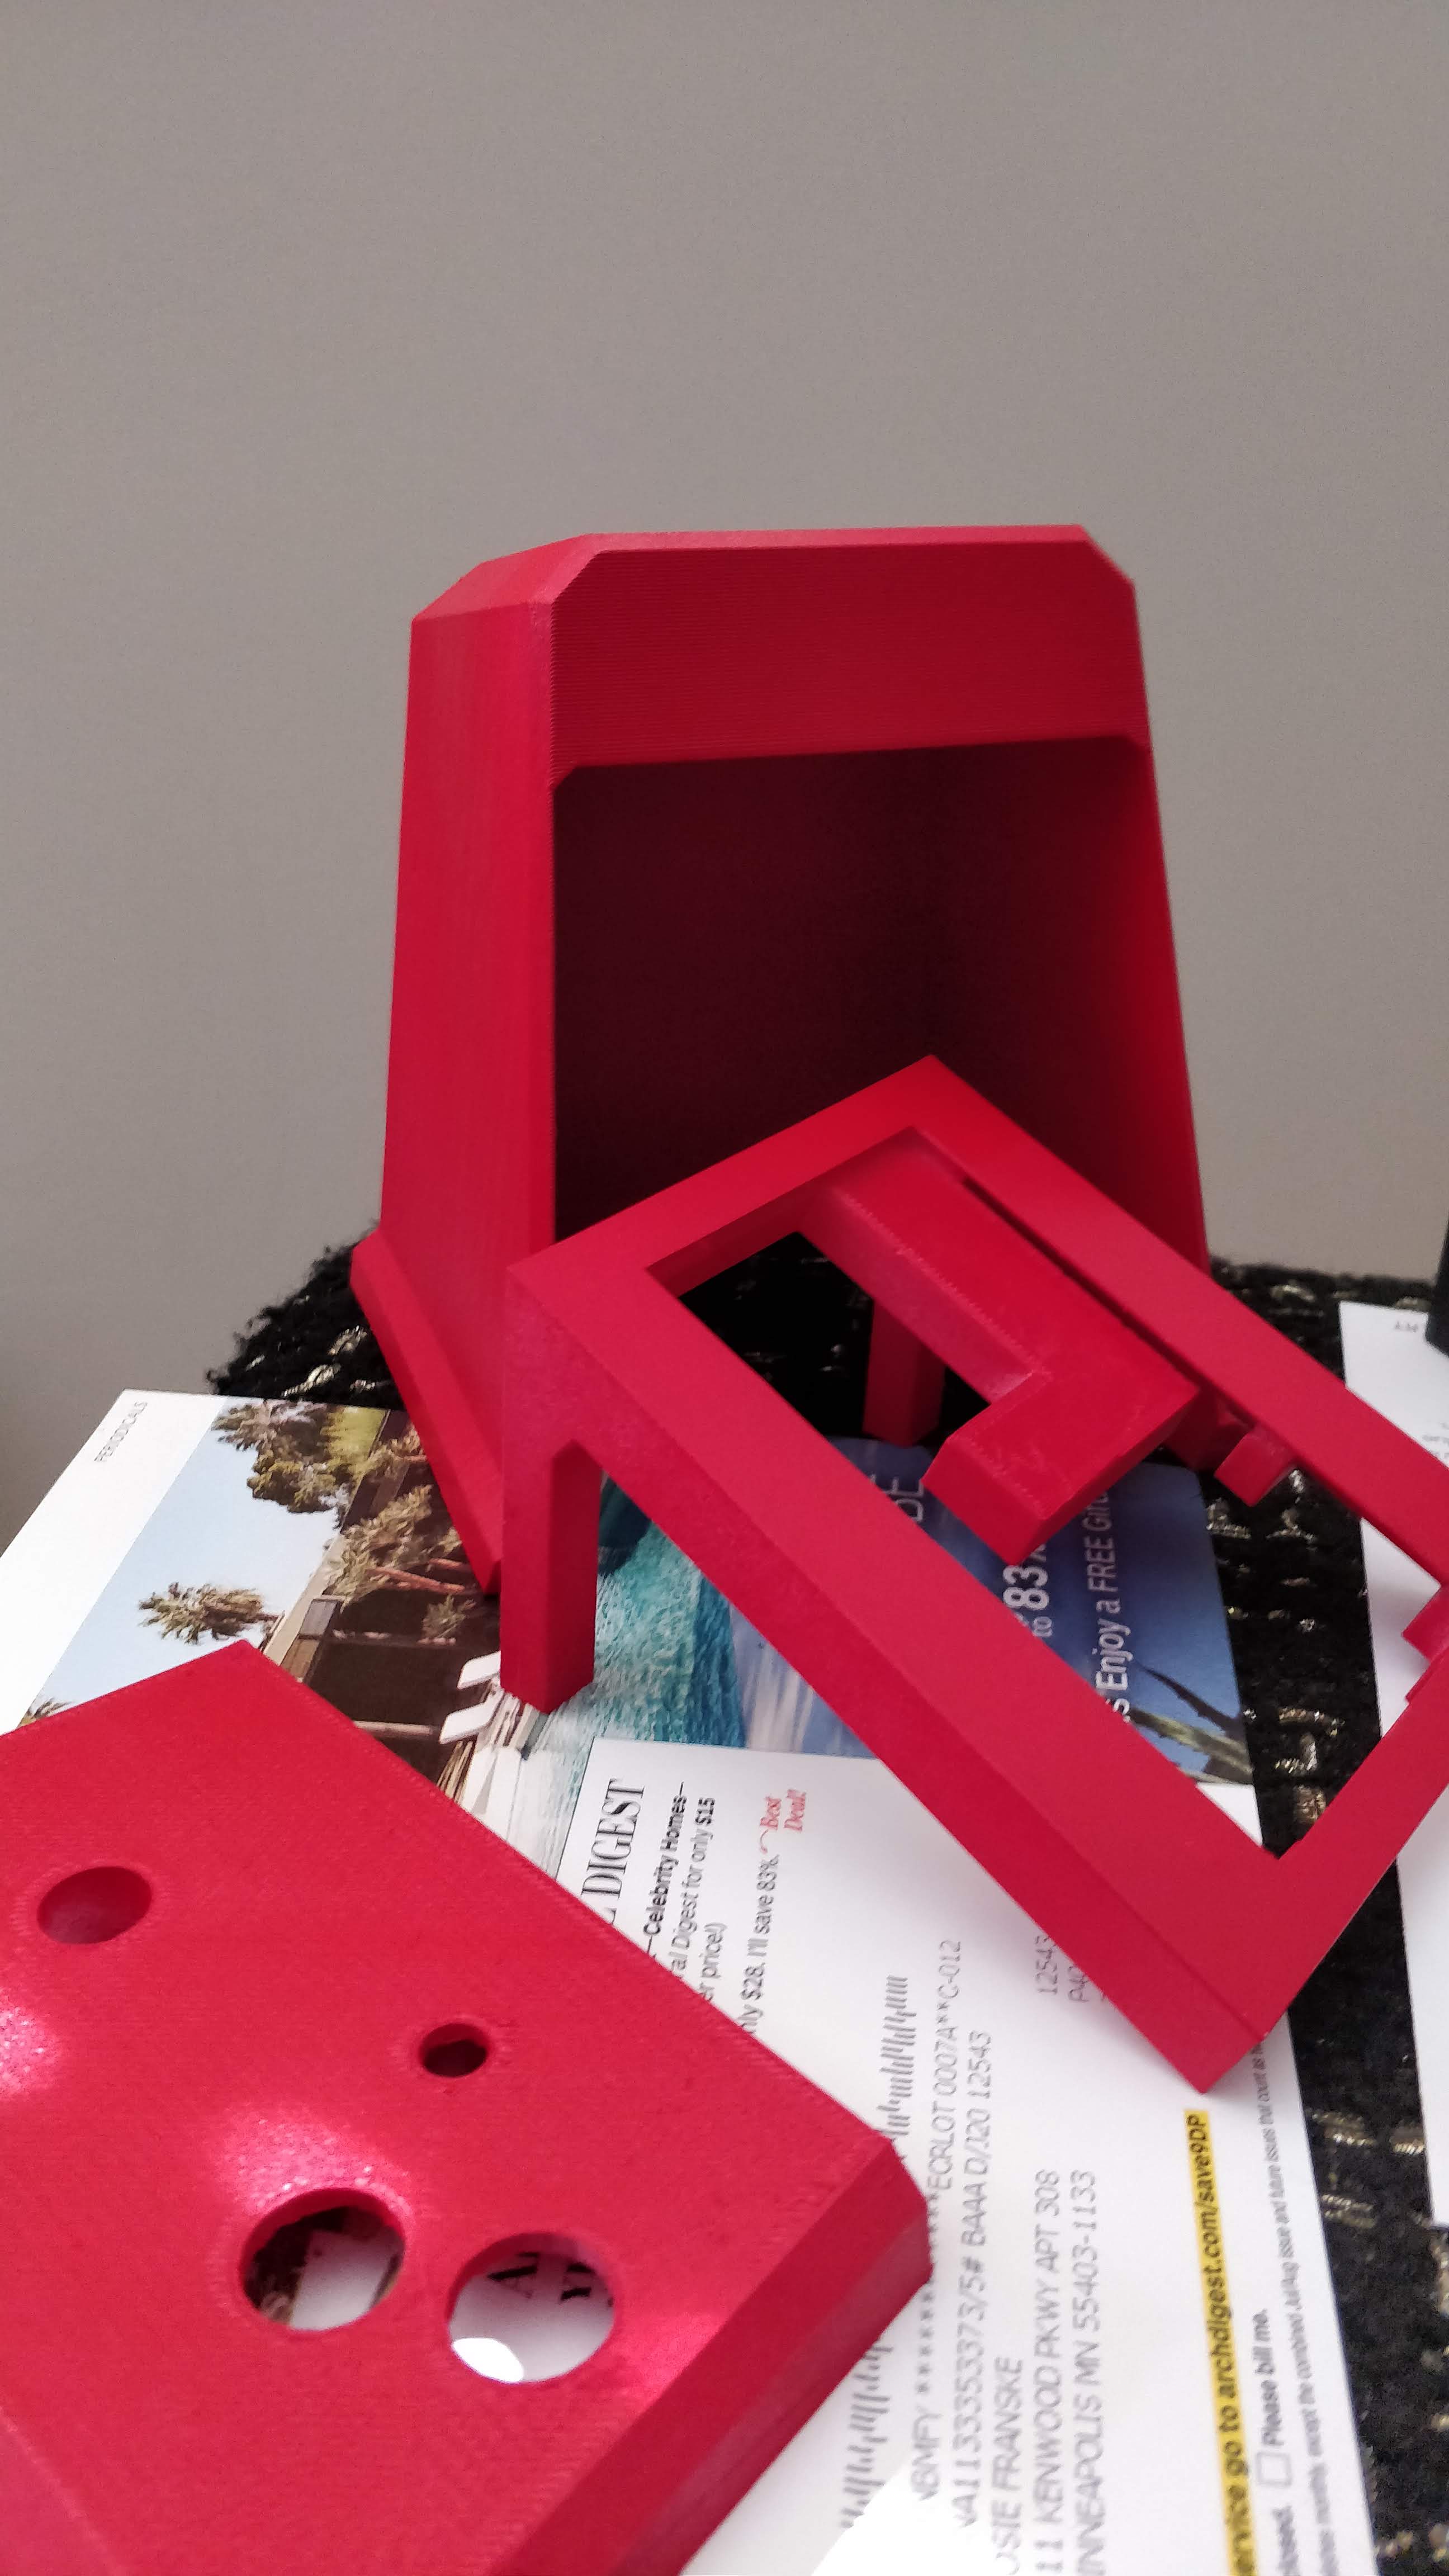
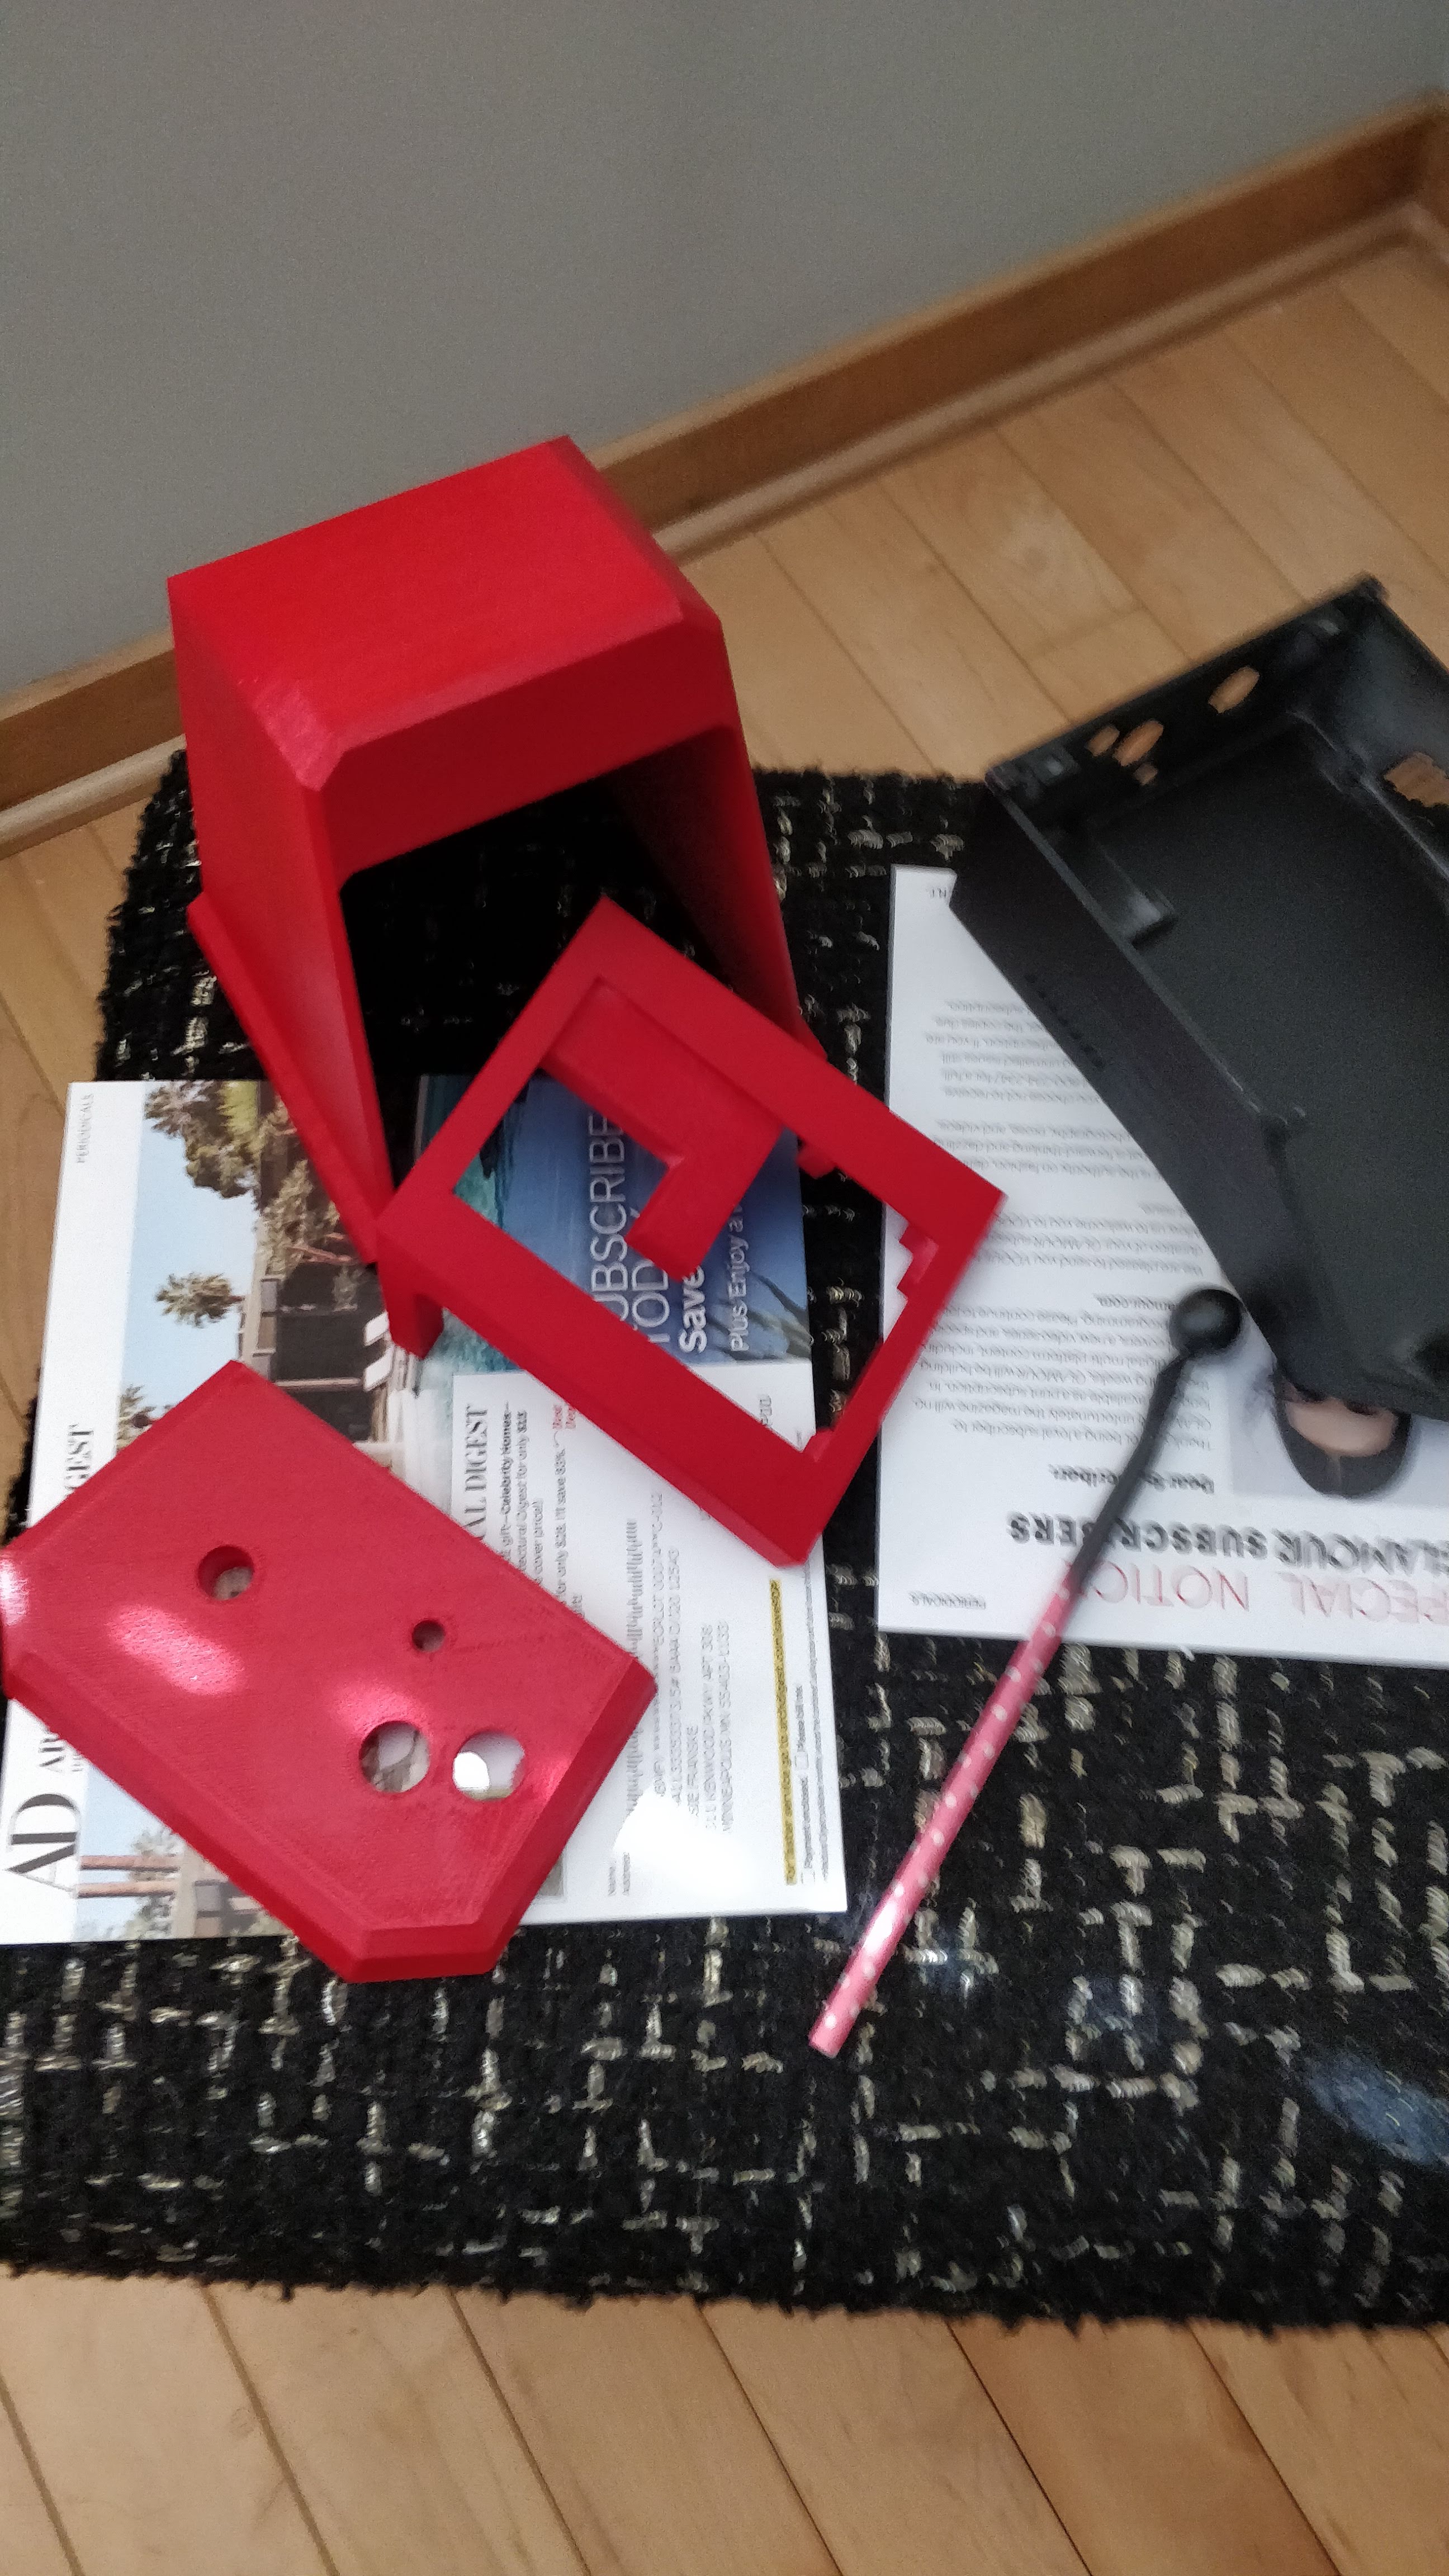
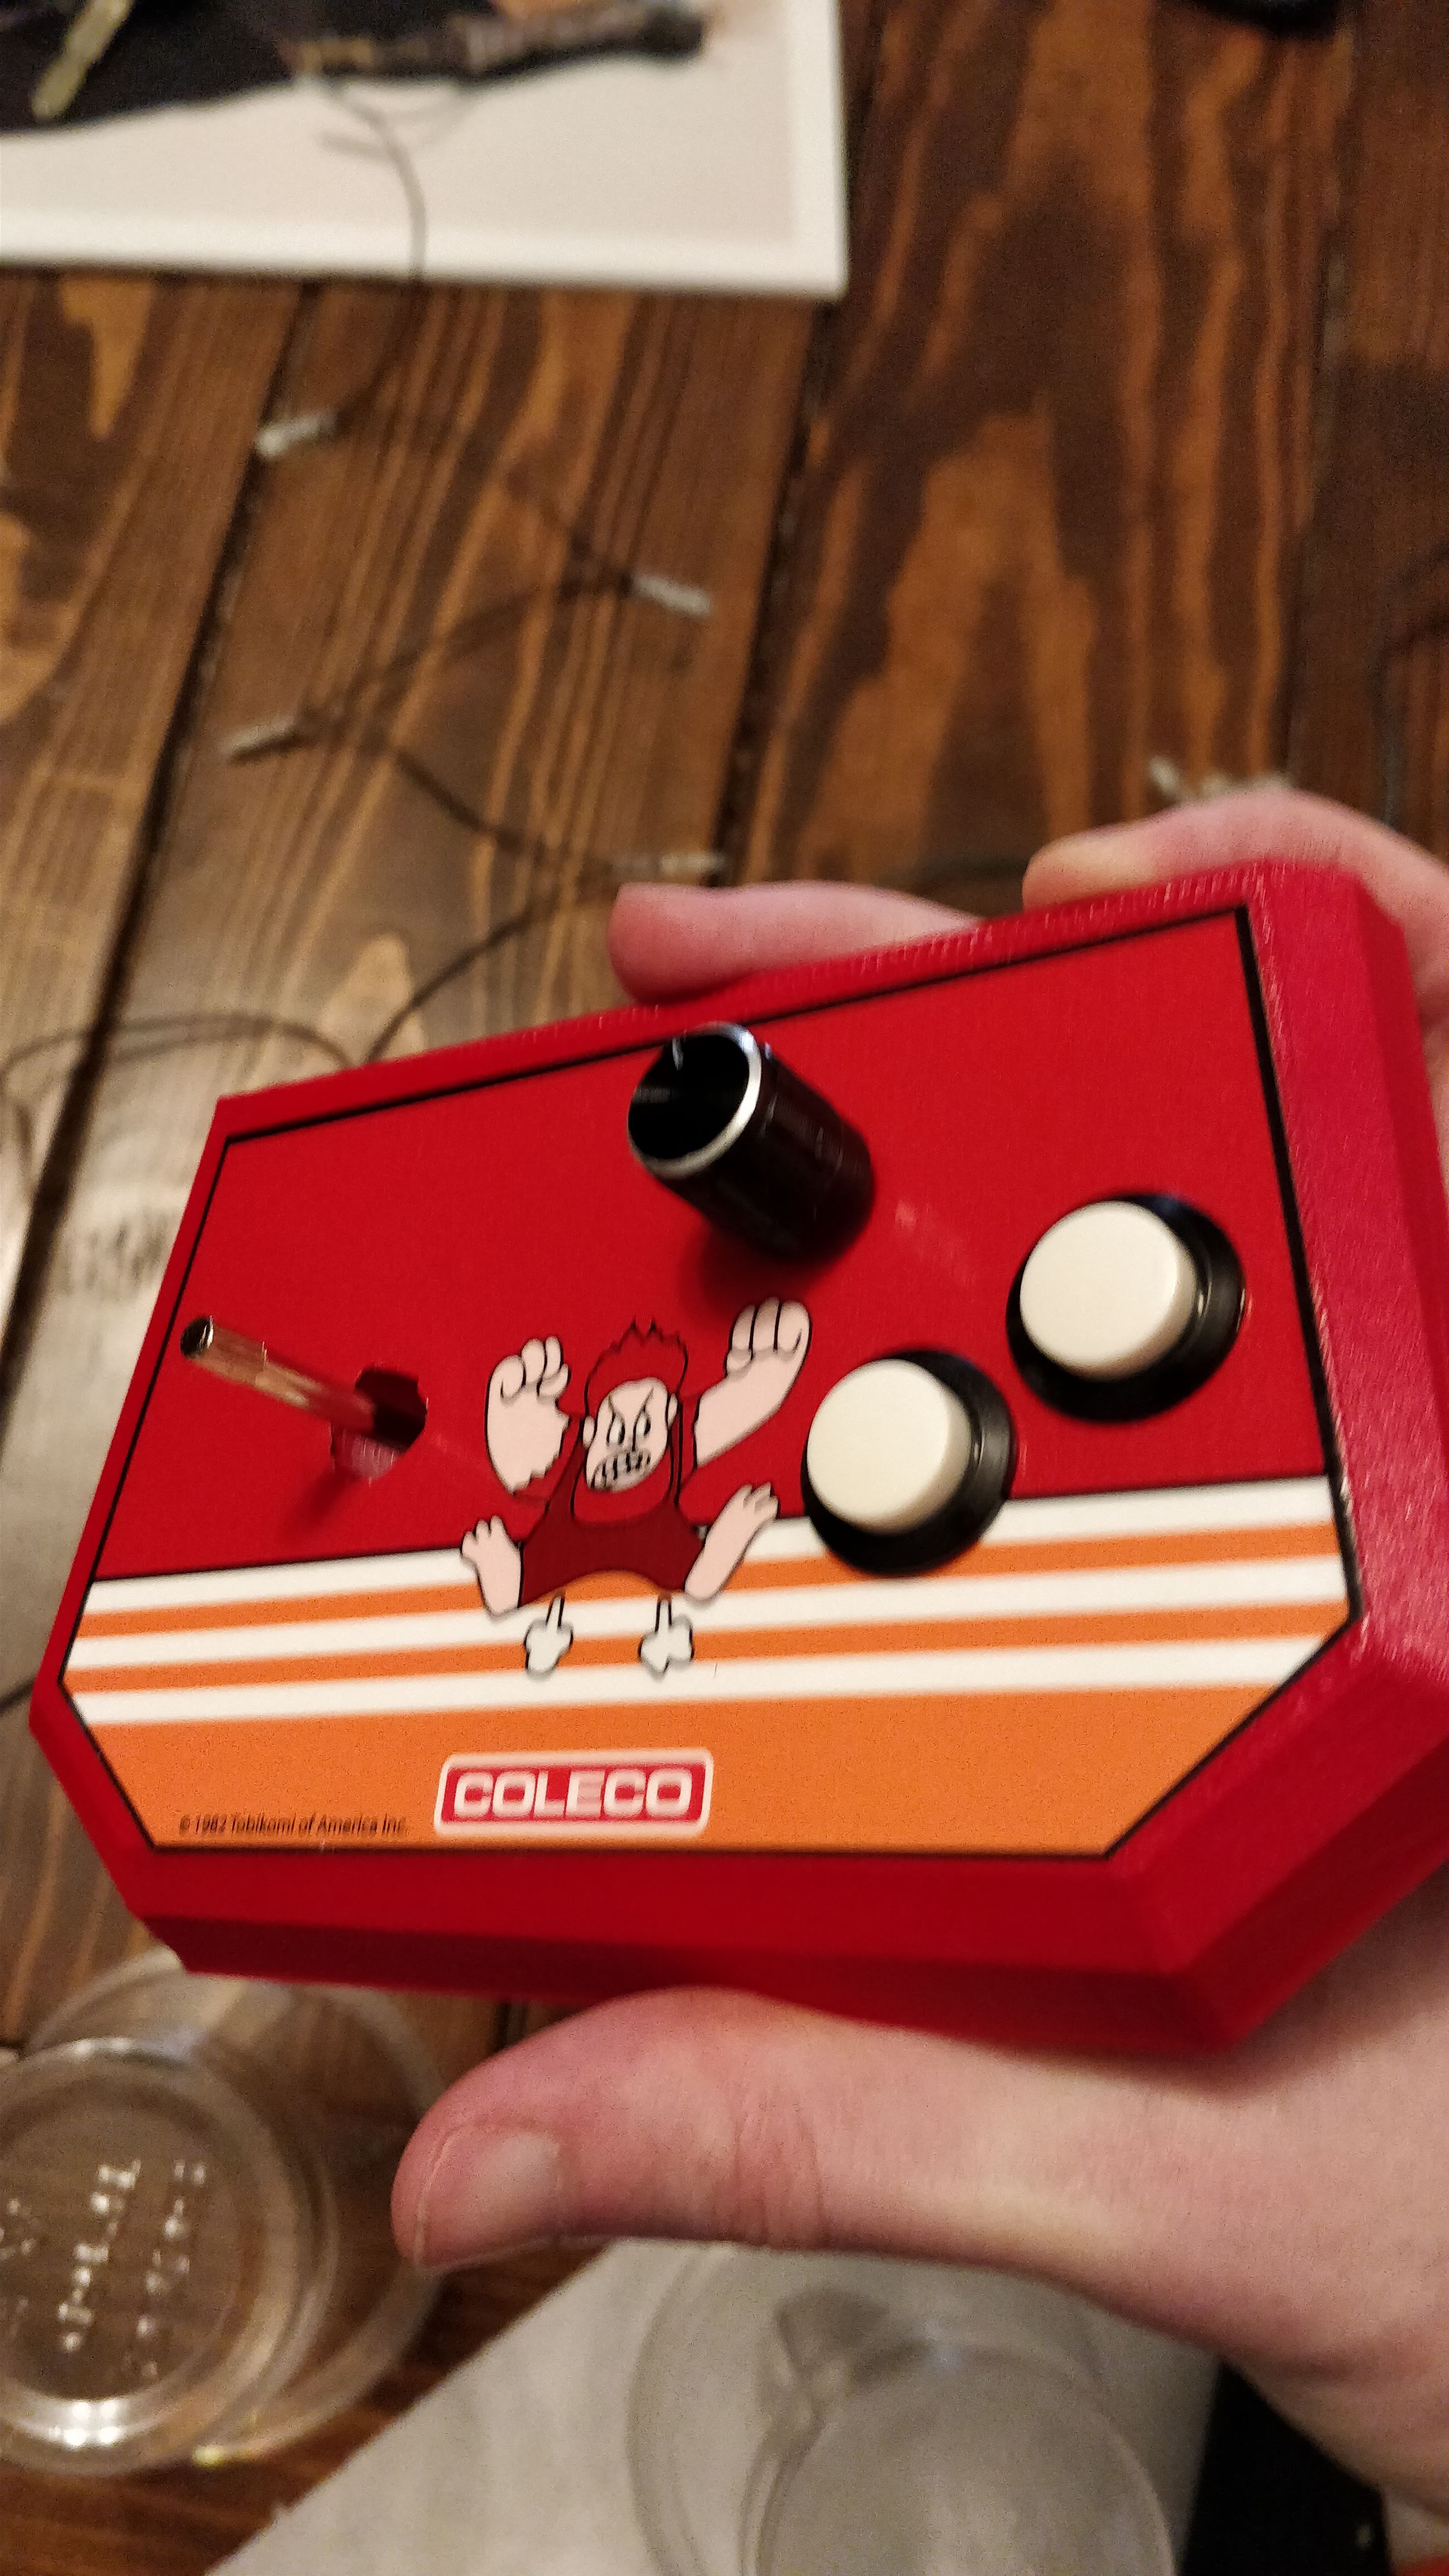
It finally warmed up enough that I could paint my pieces. Easy enough, went with red for the most part and black for the base – just like the real things. 3 coats for each color. I also painted my joystick ball. Previously I went with red, but I felt black fit better this time. The controls will be white with a black spinner. And as this is sort of “emulating” the original red donkey kong cabinets, those had black joystick balls too.
Assembly and Test
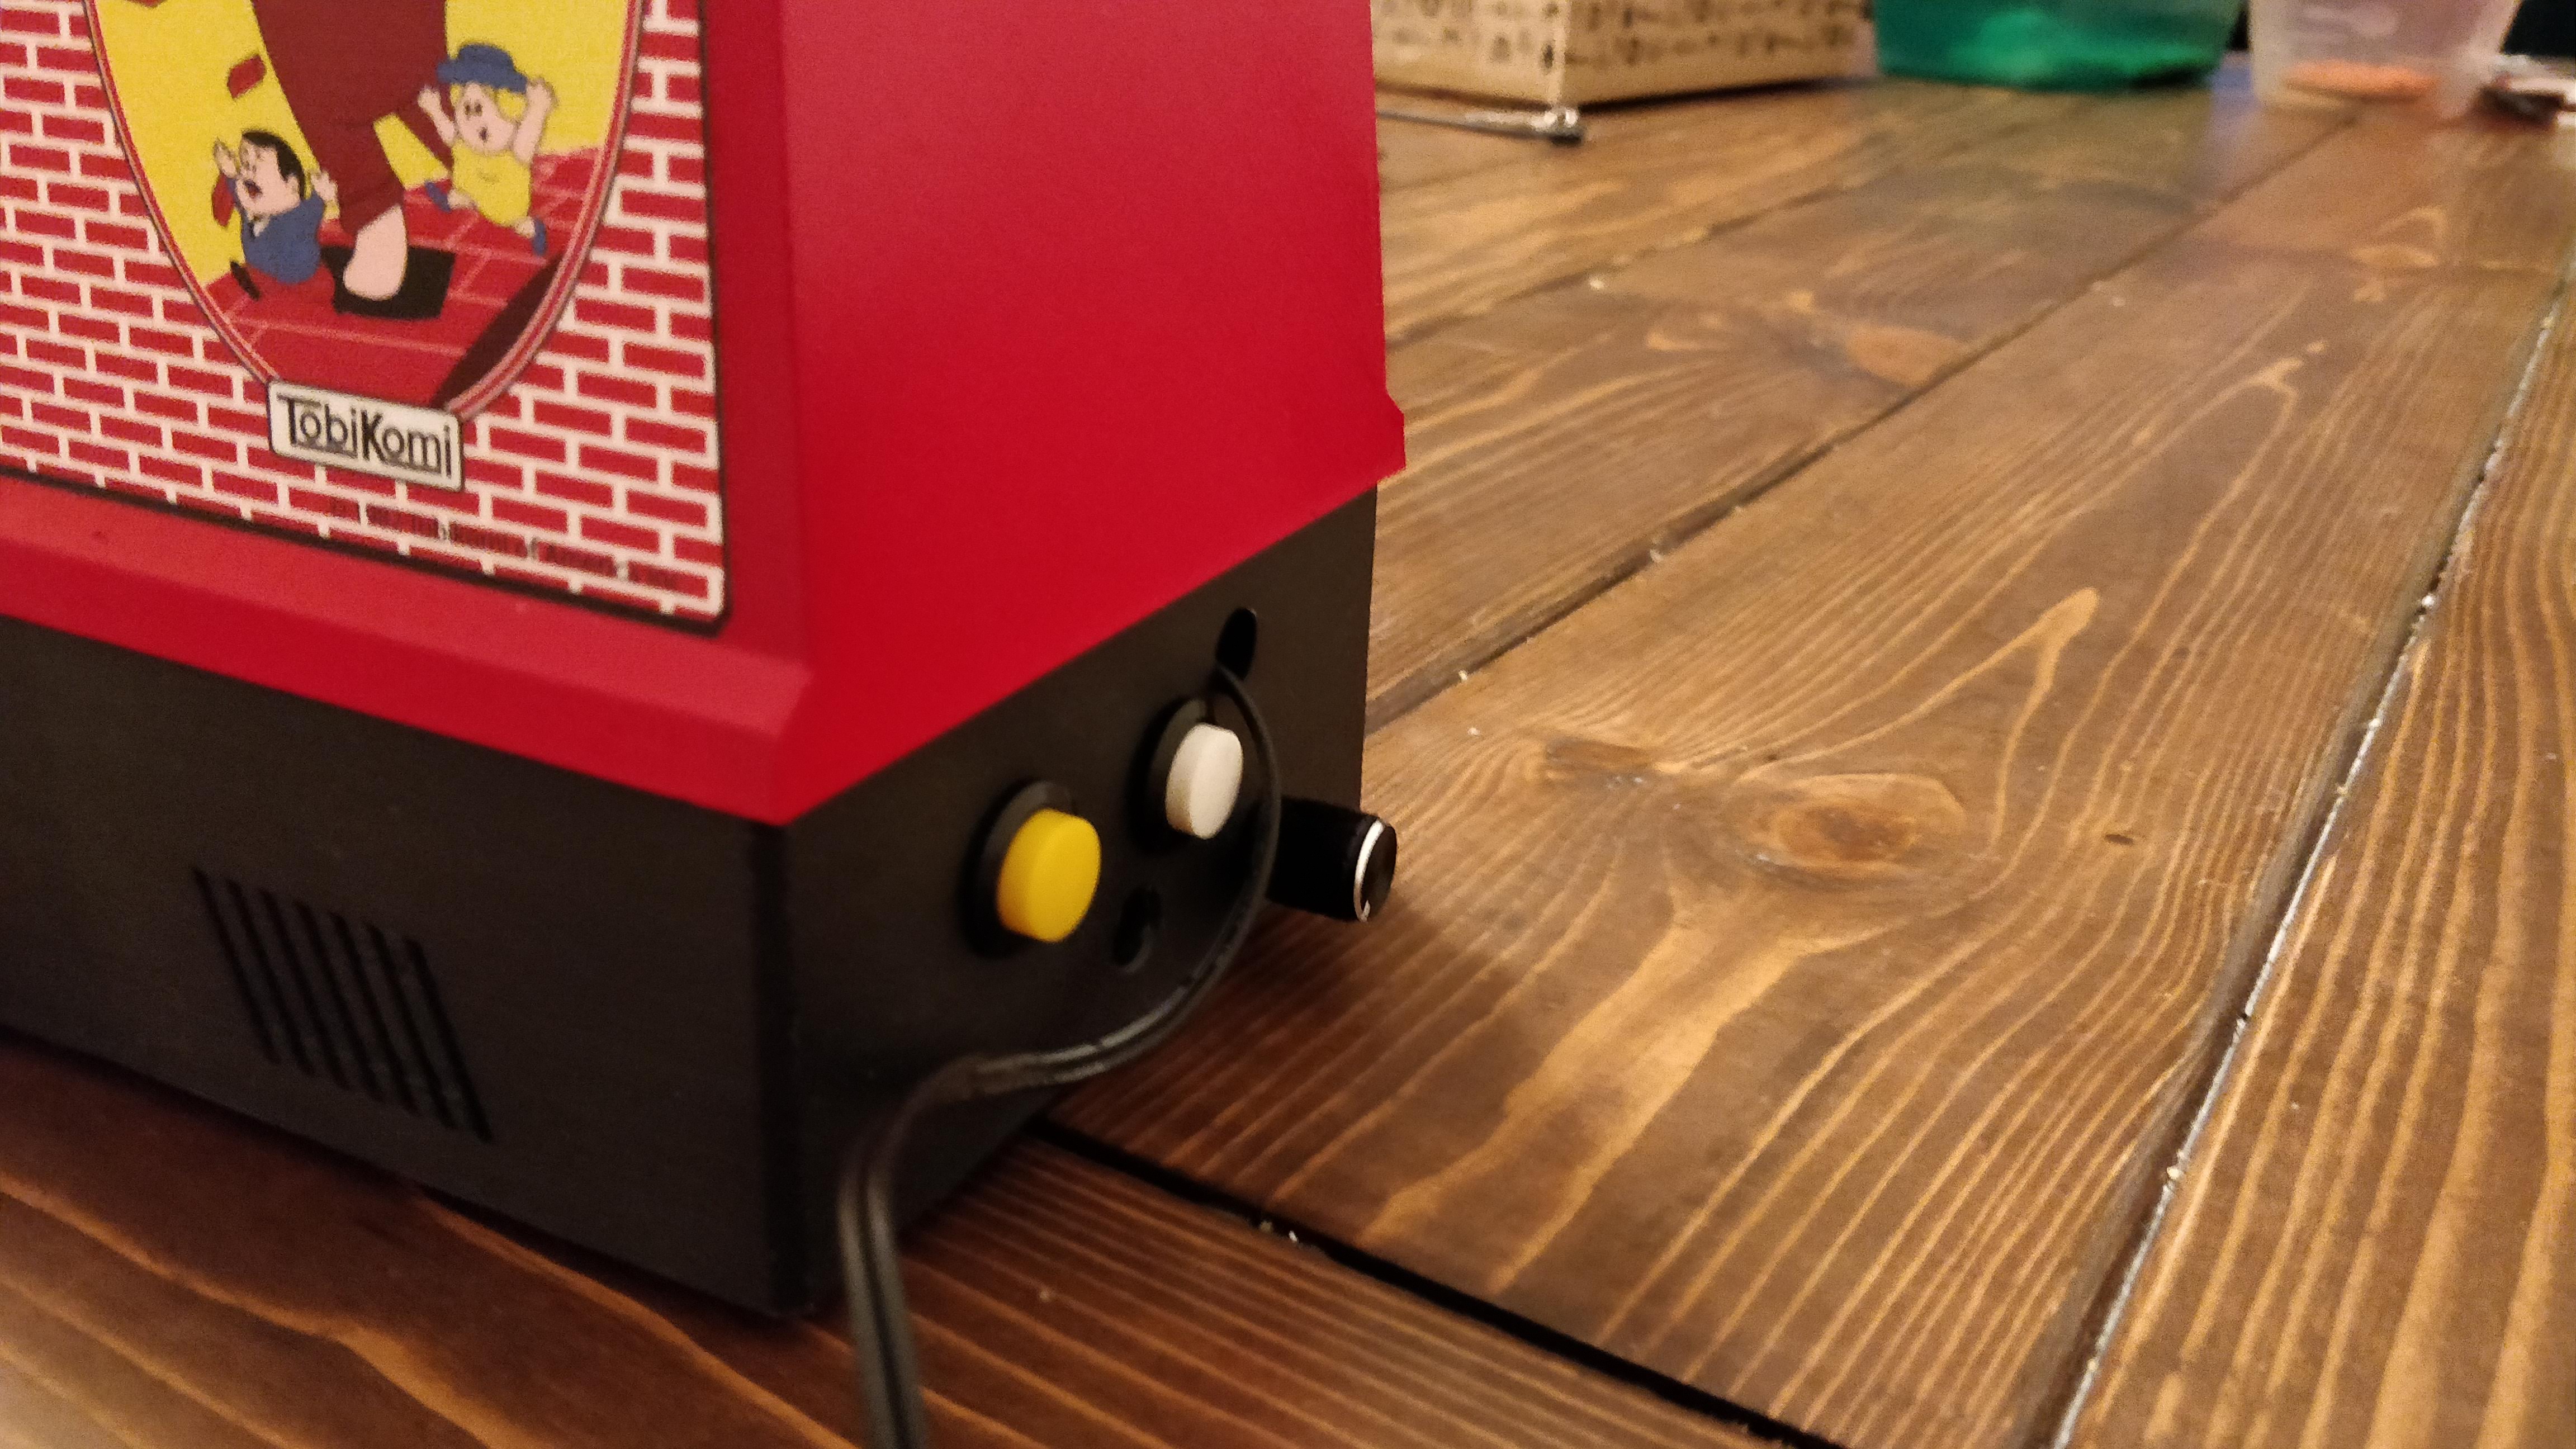
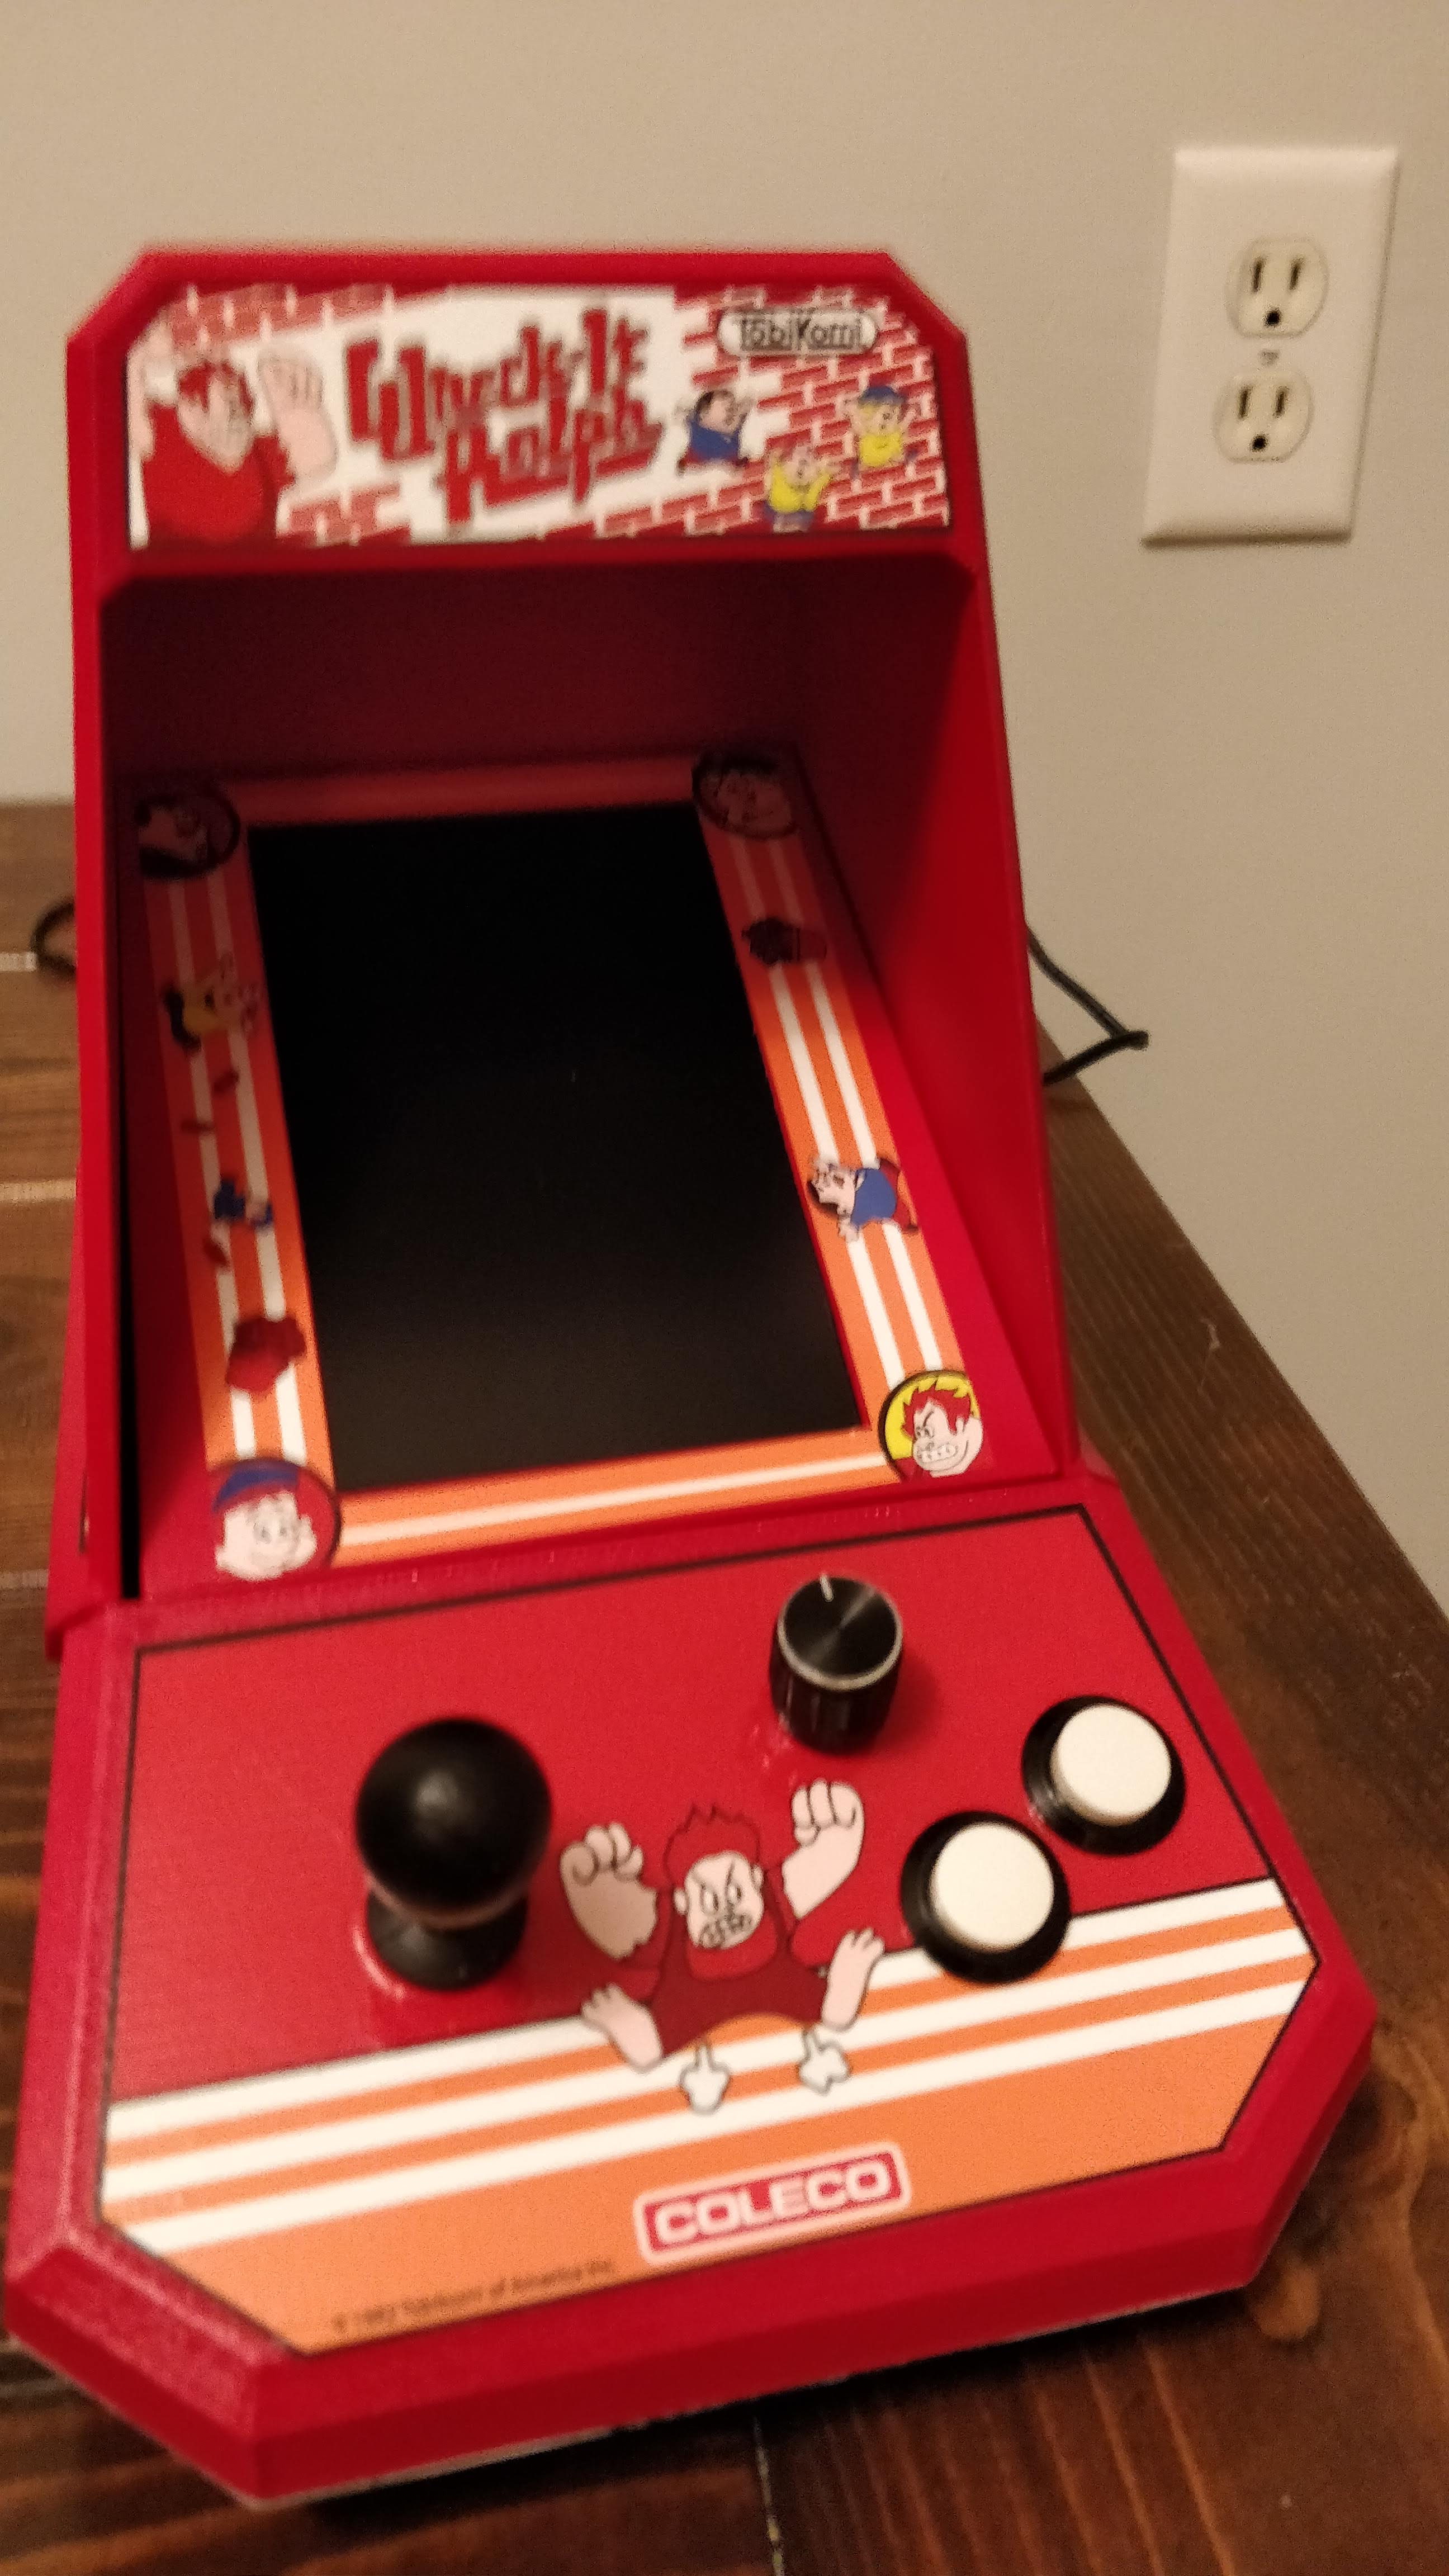
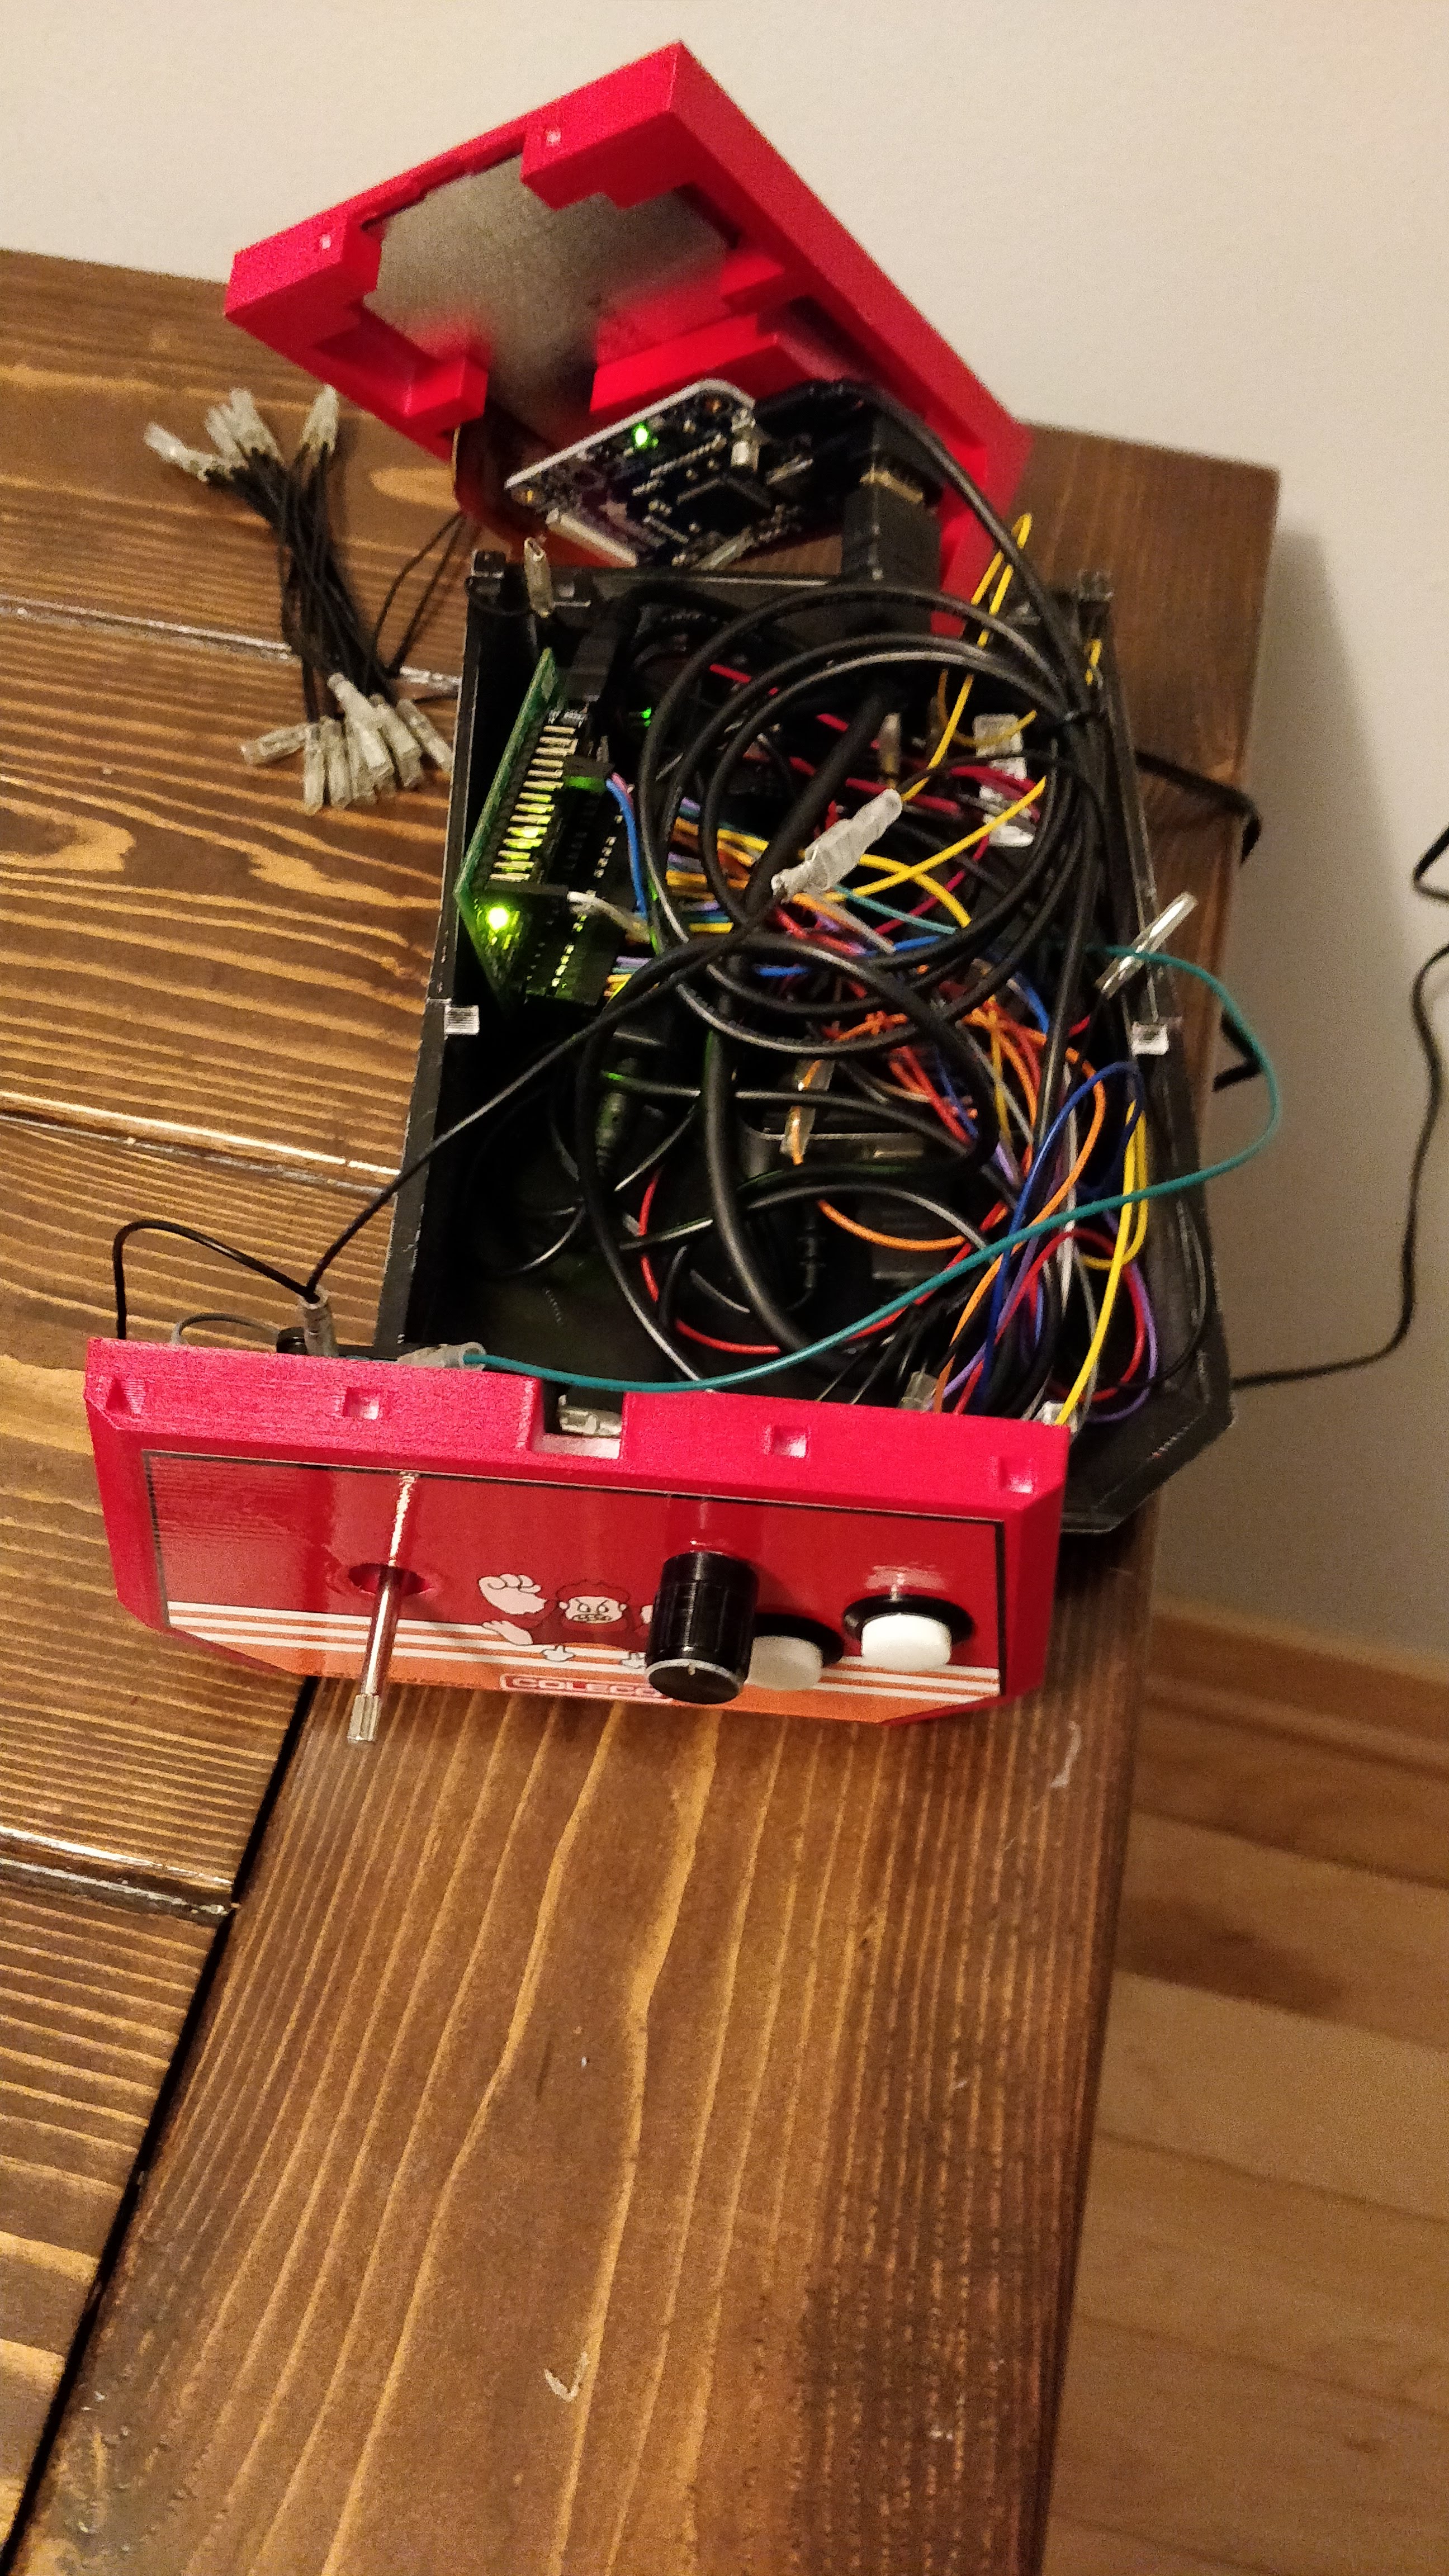
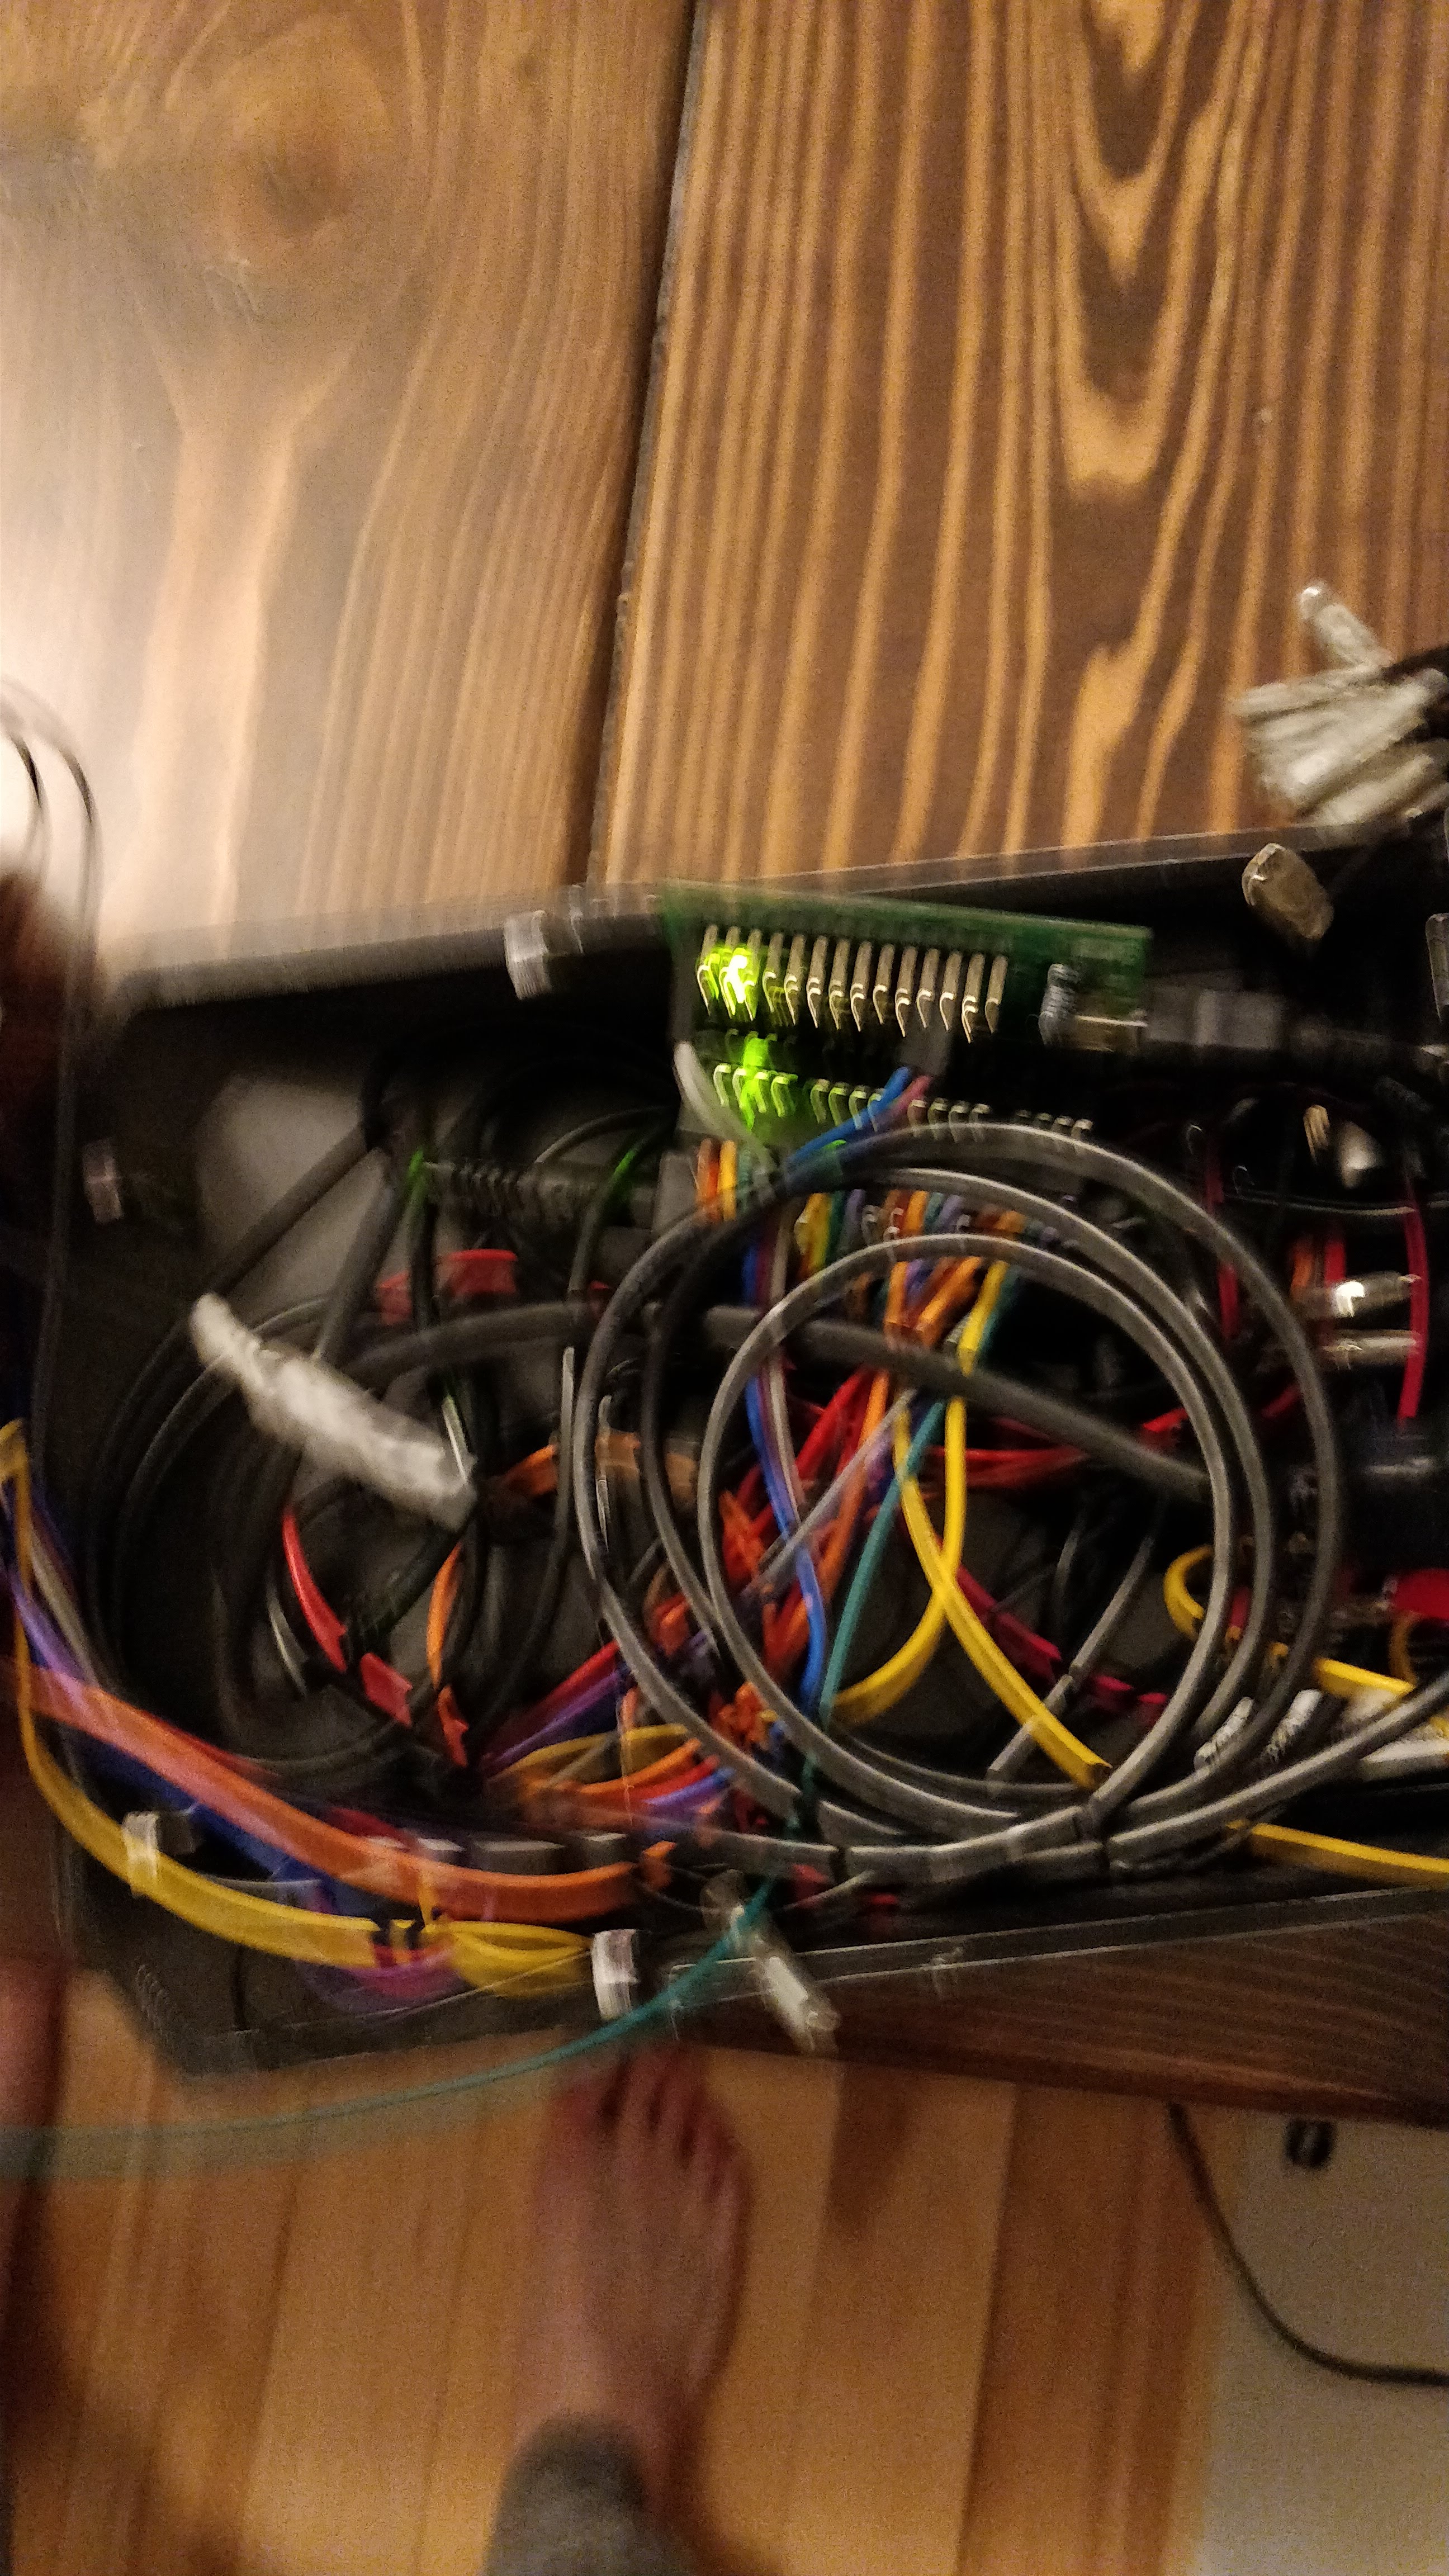
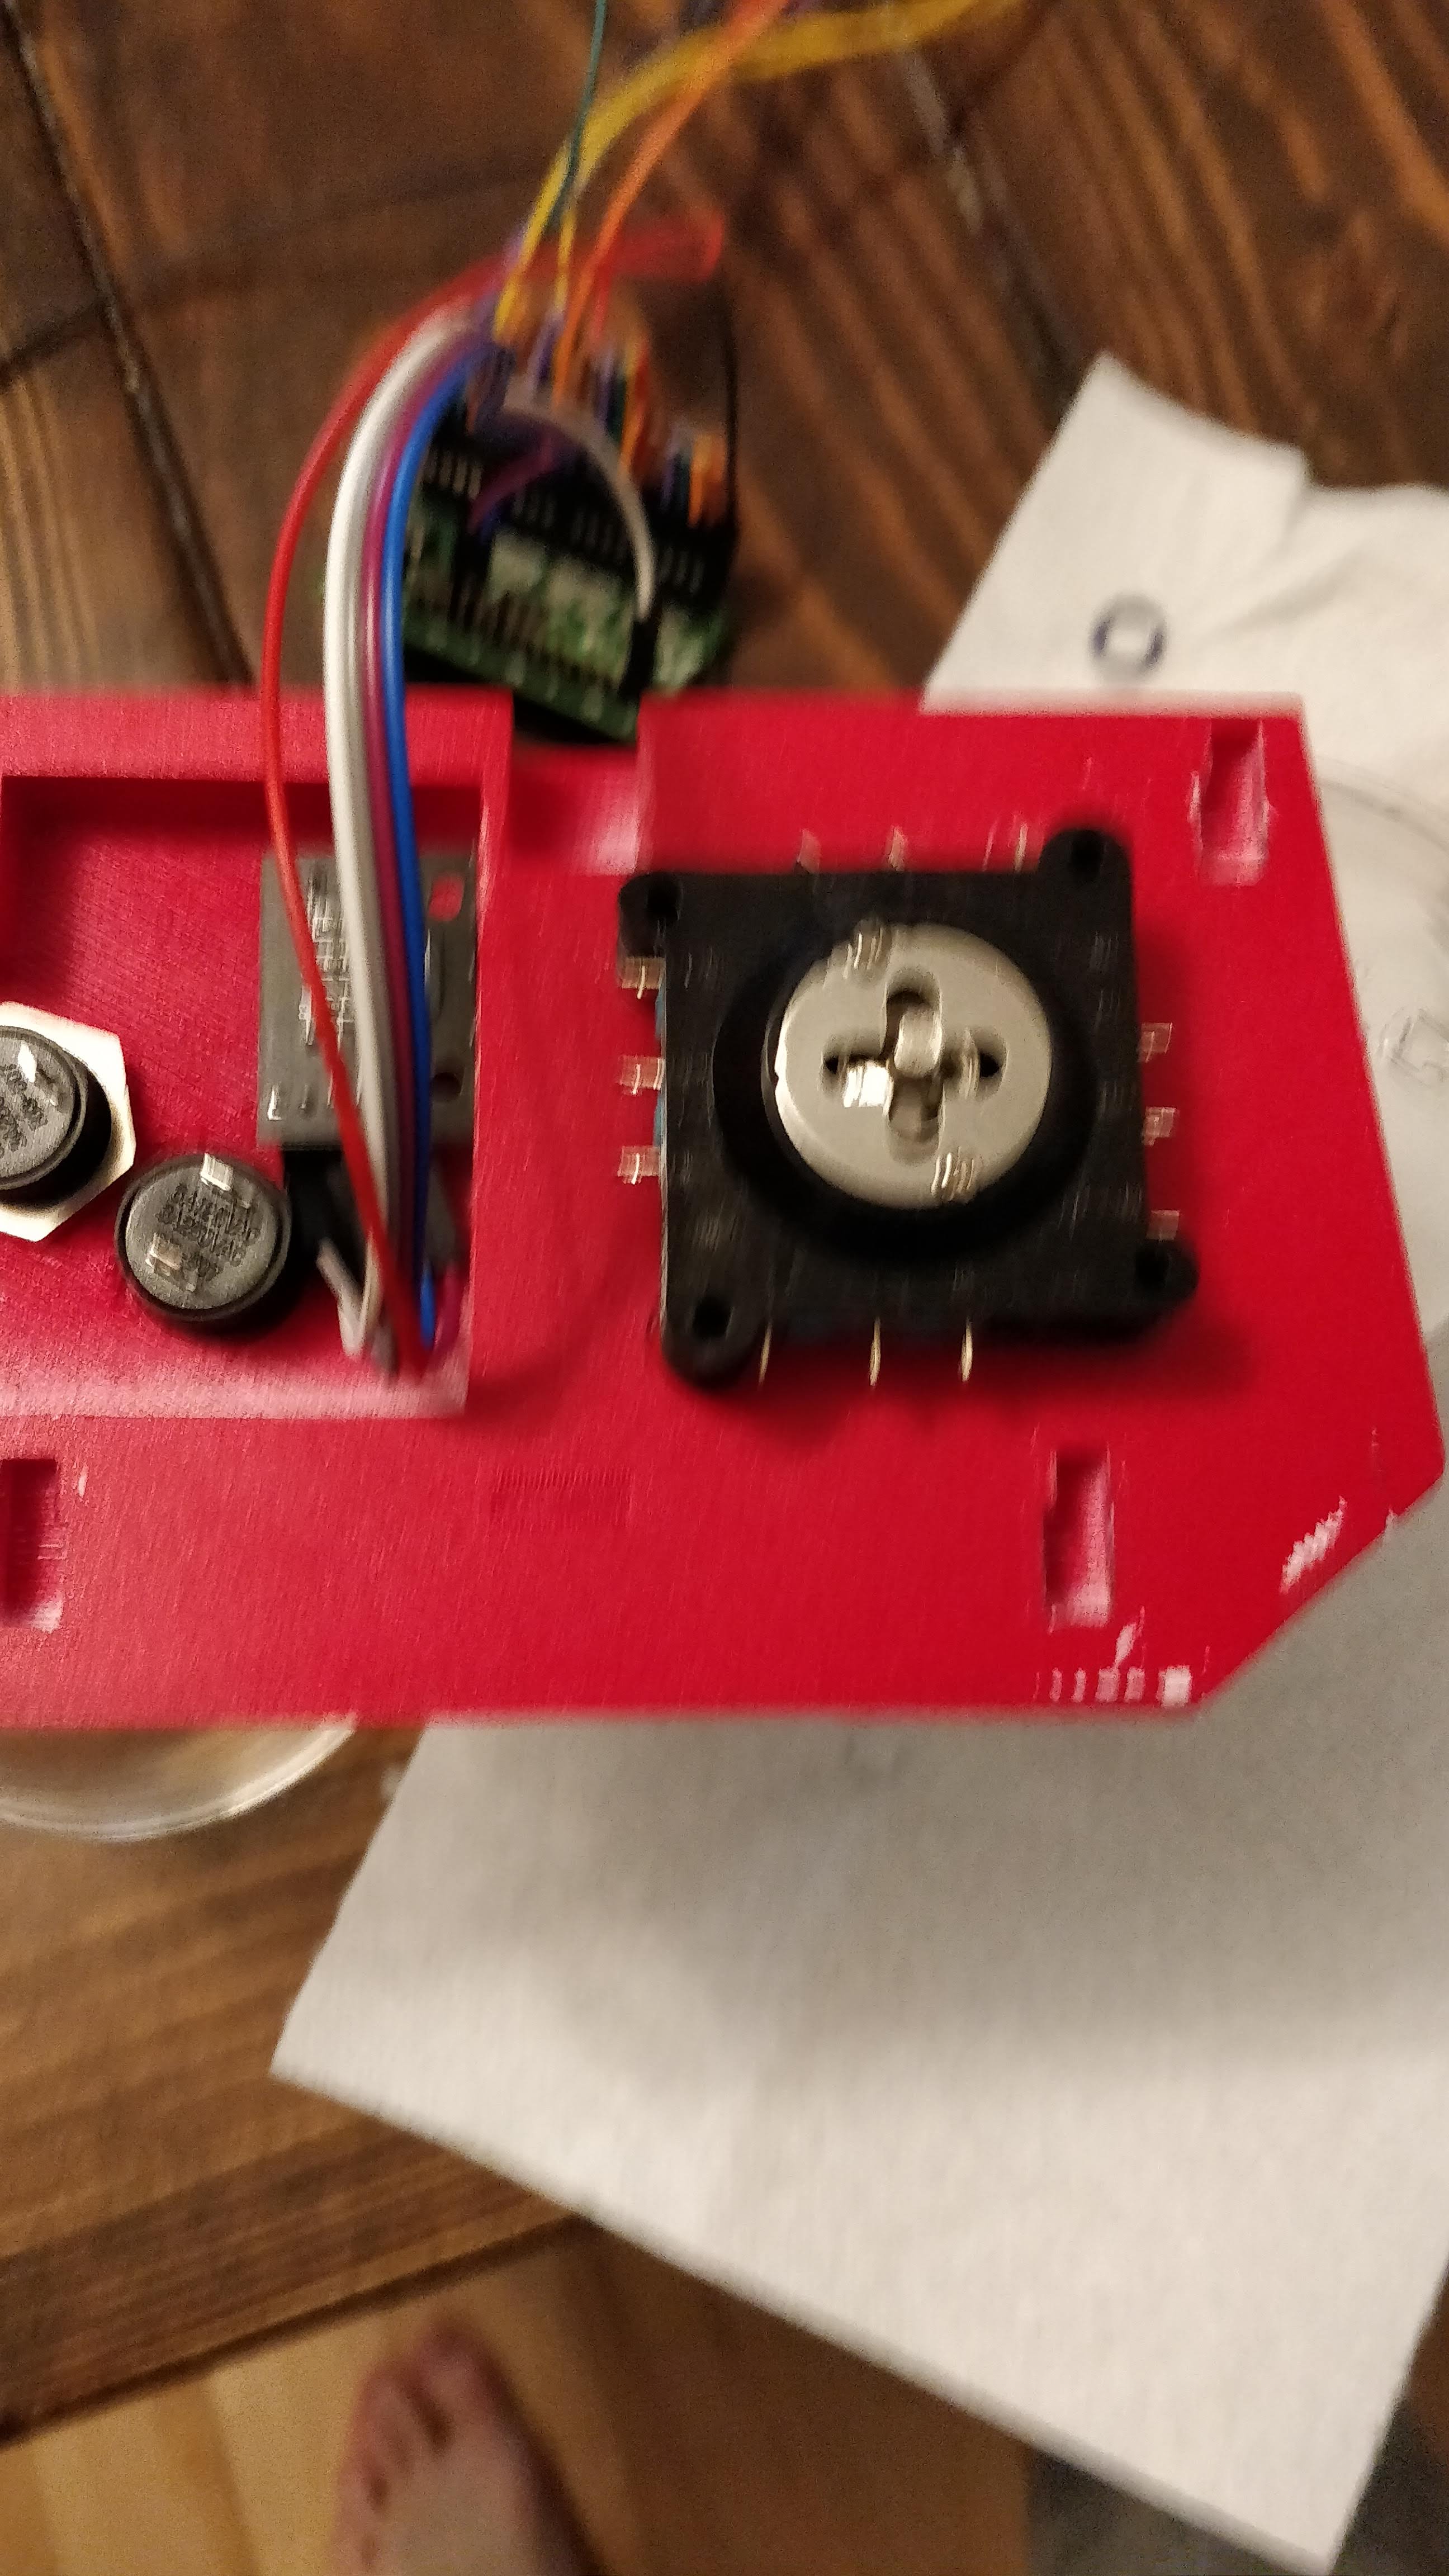
I did a couple of partial assemblies to test things together. Once again, things were very tight. All these wires take up so much room, no matter how short of lengths I use. Anyway, this time I went with two buttons on the back, volume control, power in. On the front, two action buttons, joystick, and spinner. Using a minipac for the controls. Power and sound to the amp. Man, that ends up being a lot of wire.
I also glued the joystick into place and used a small rubber grommet as a dust washer.
Artwork
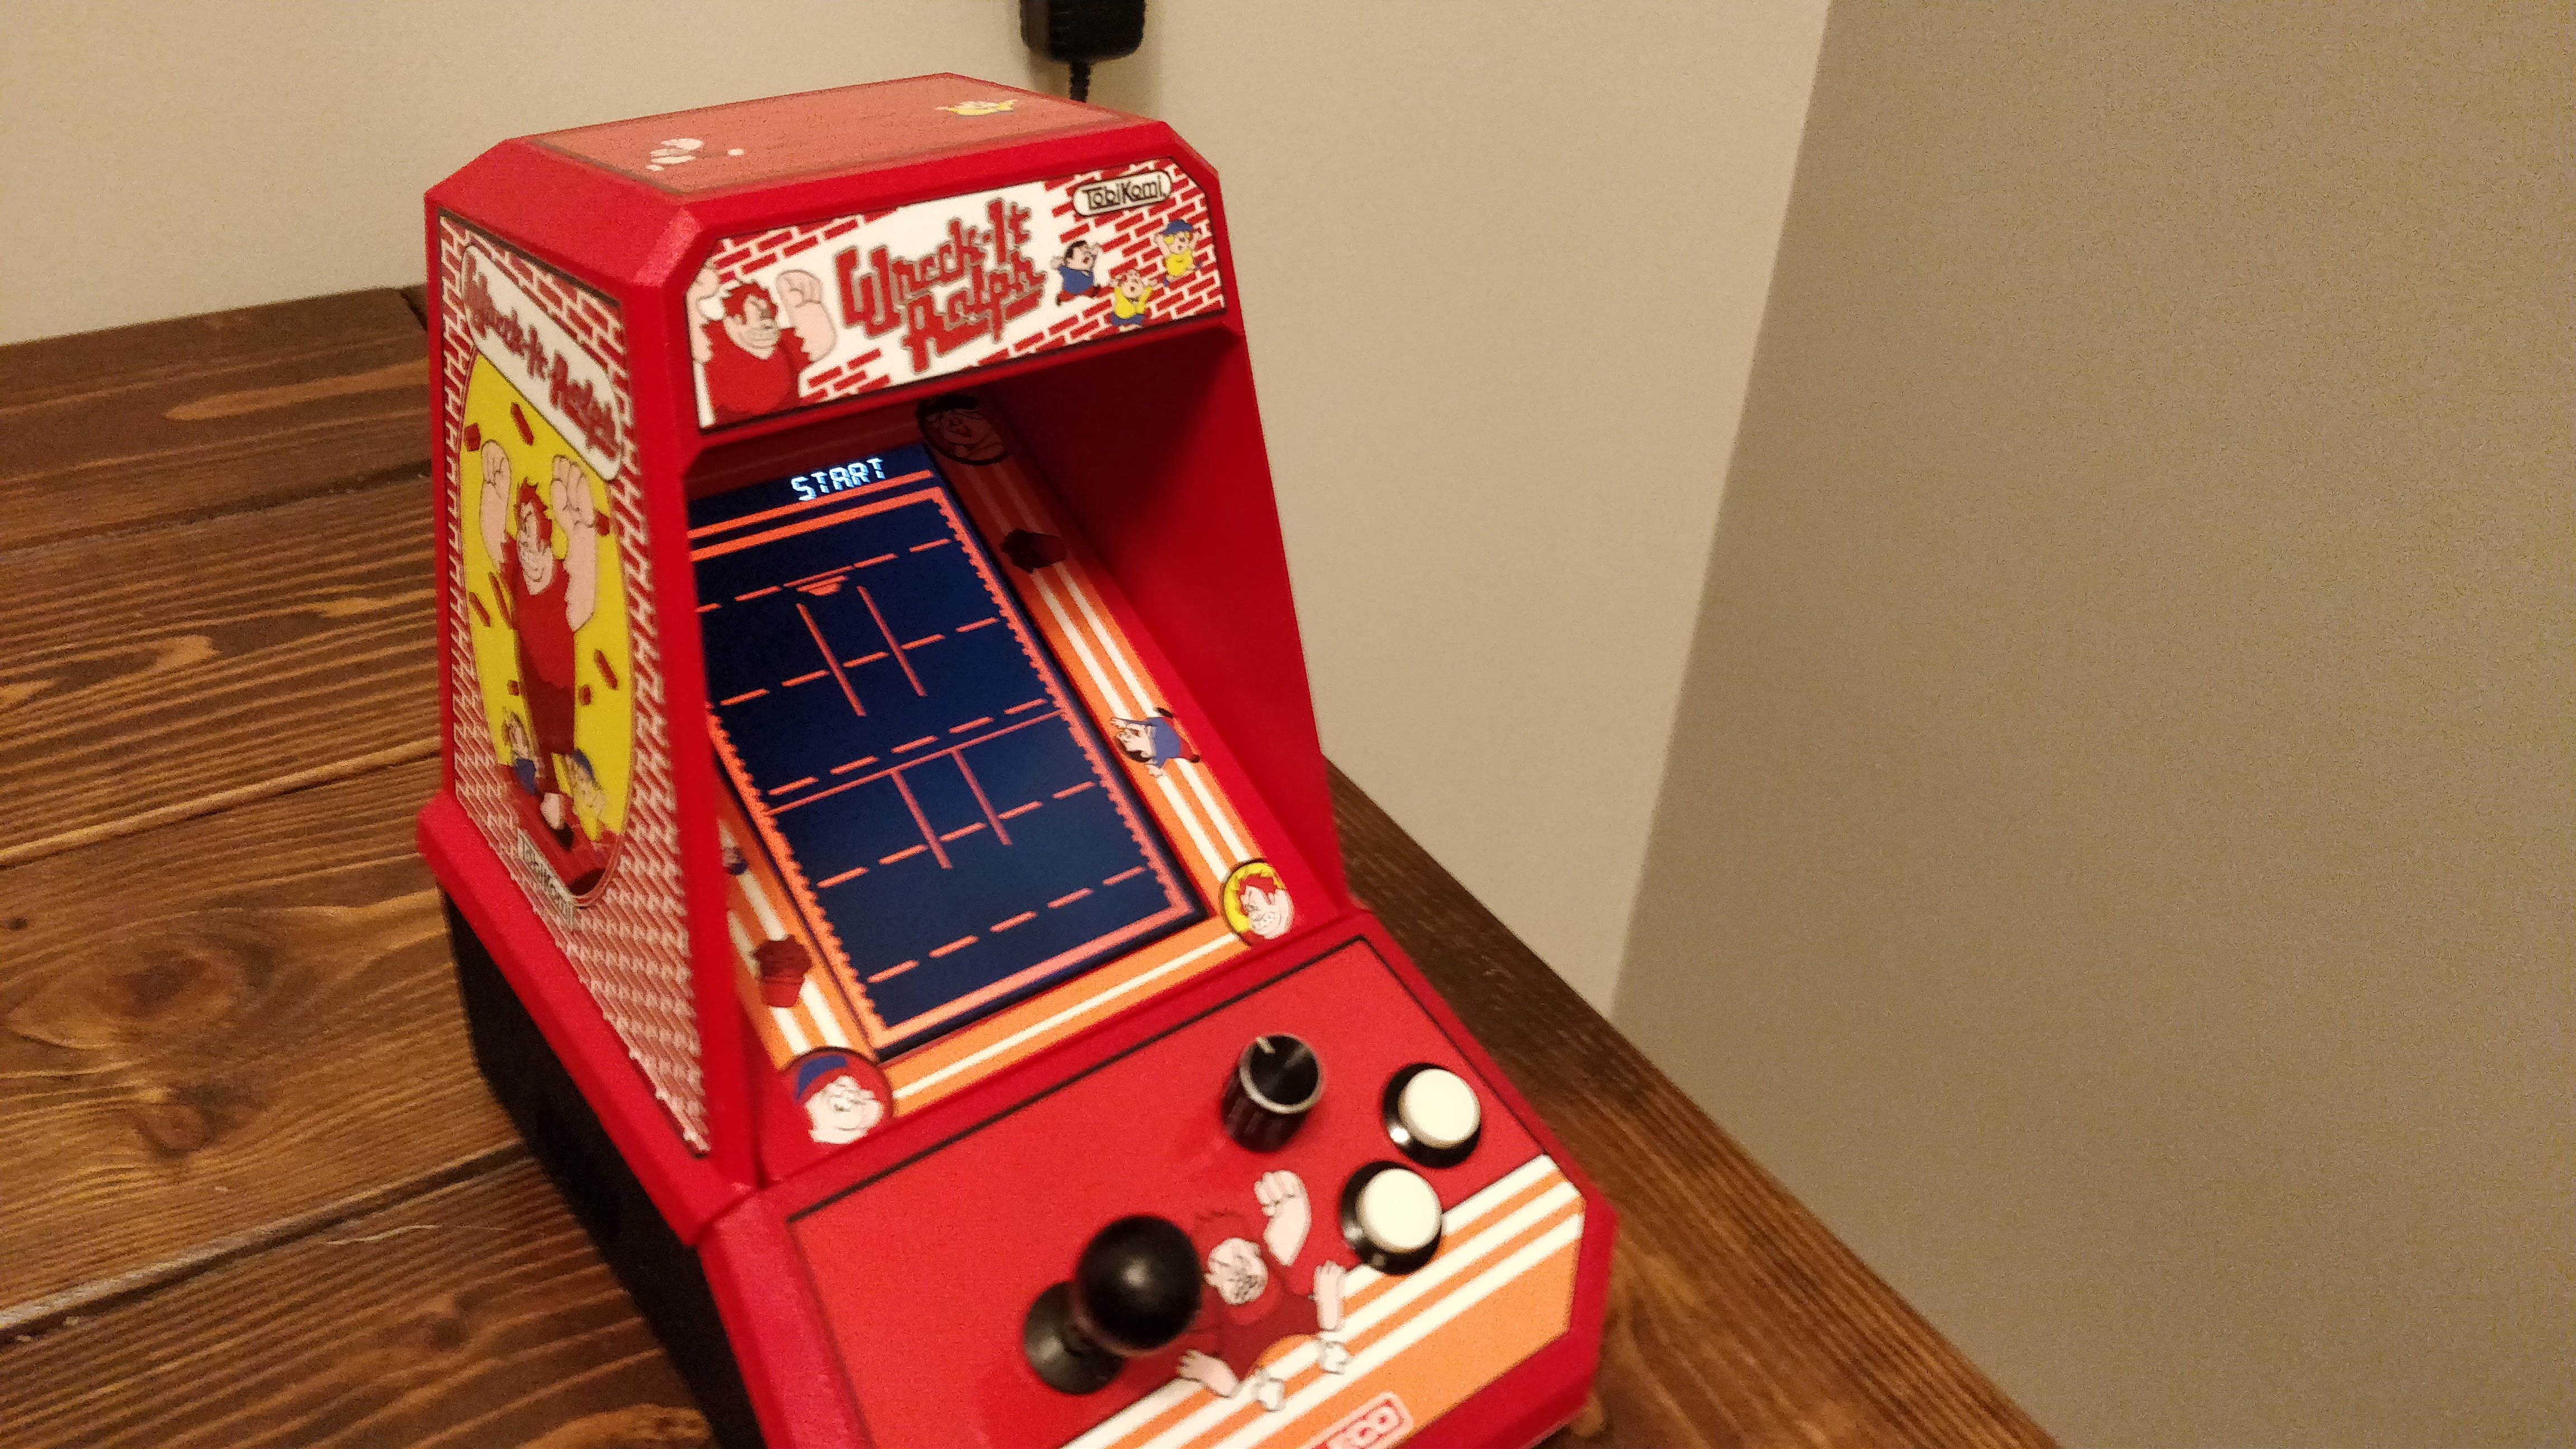
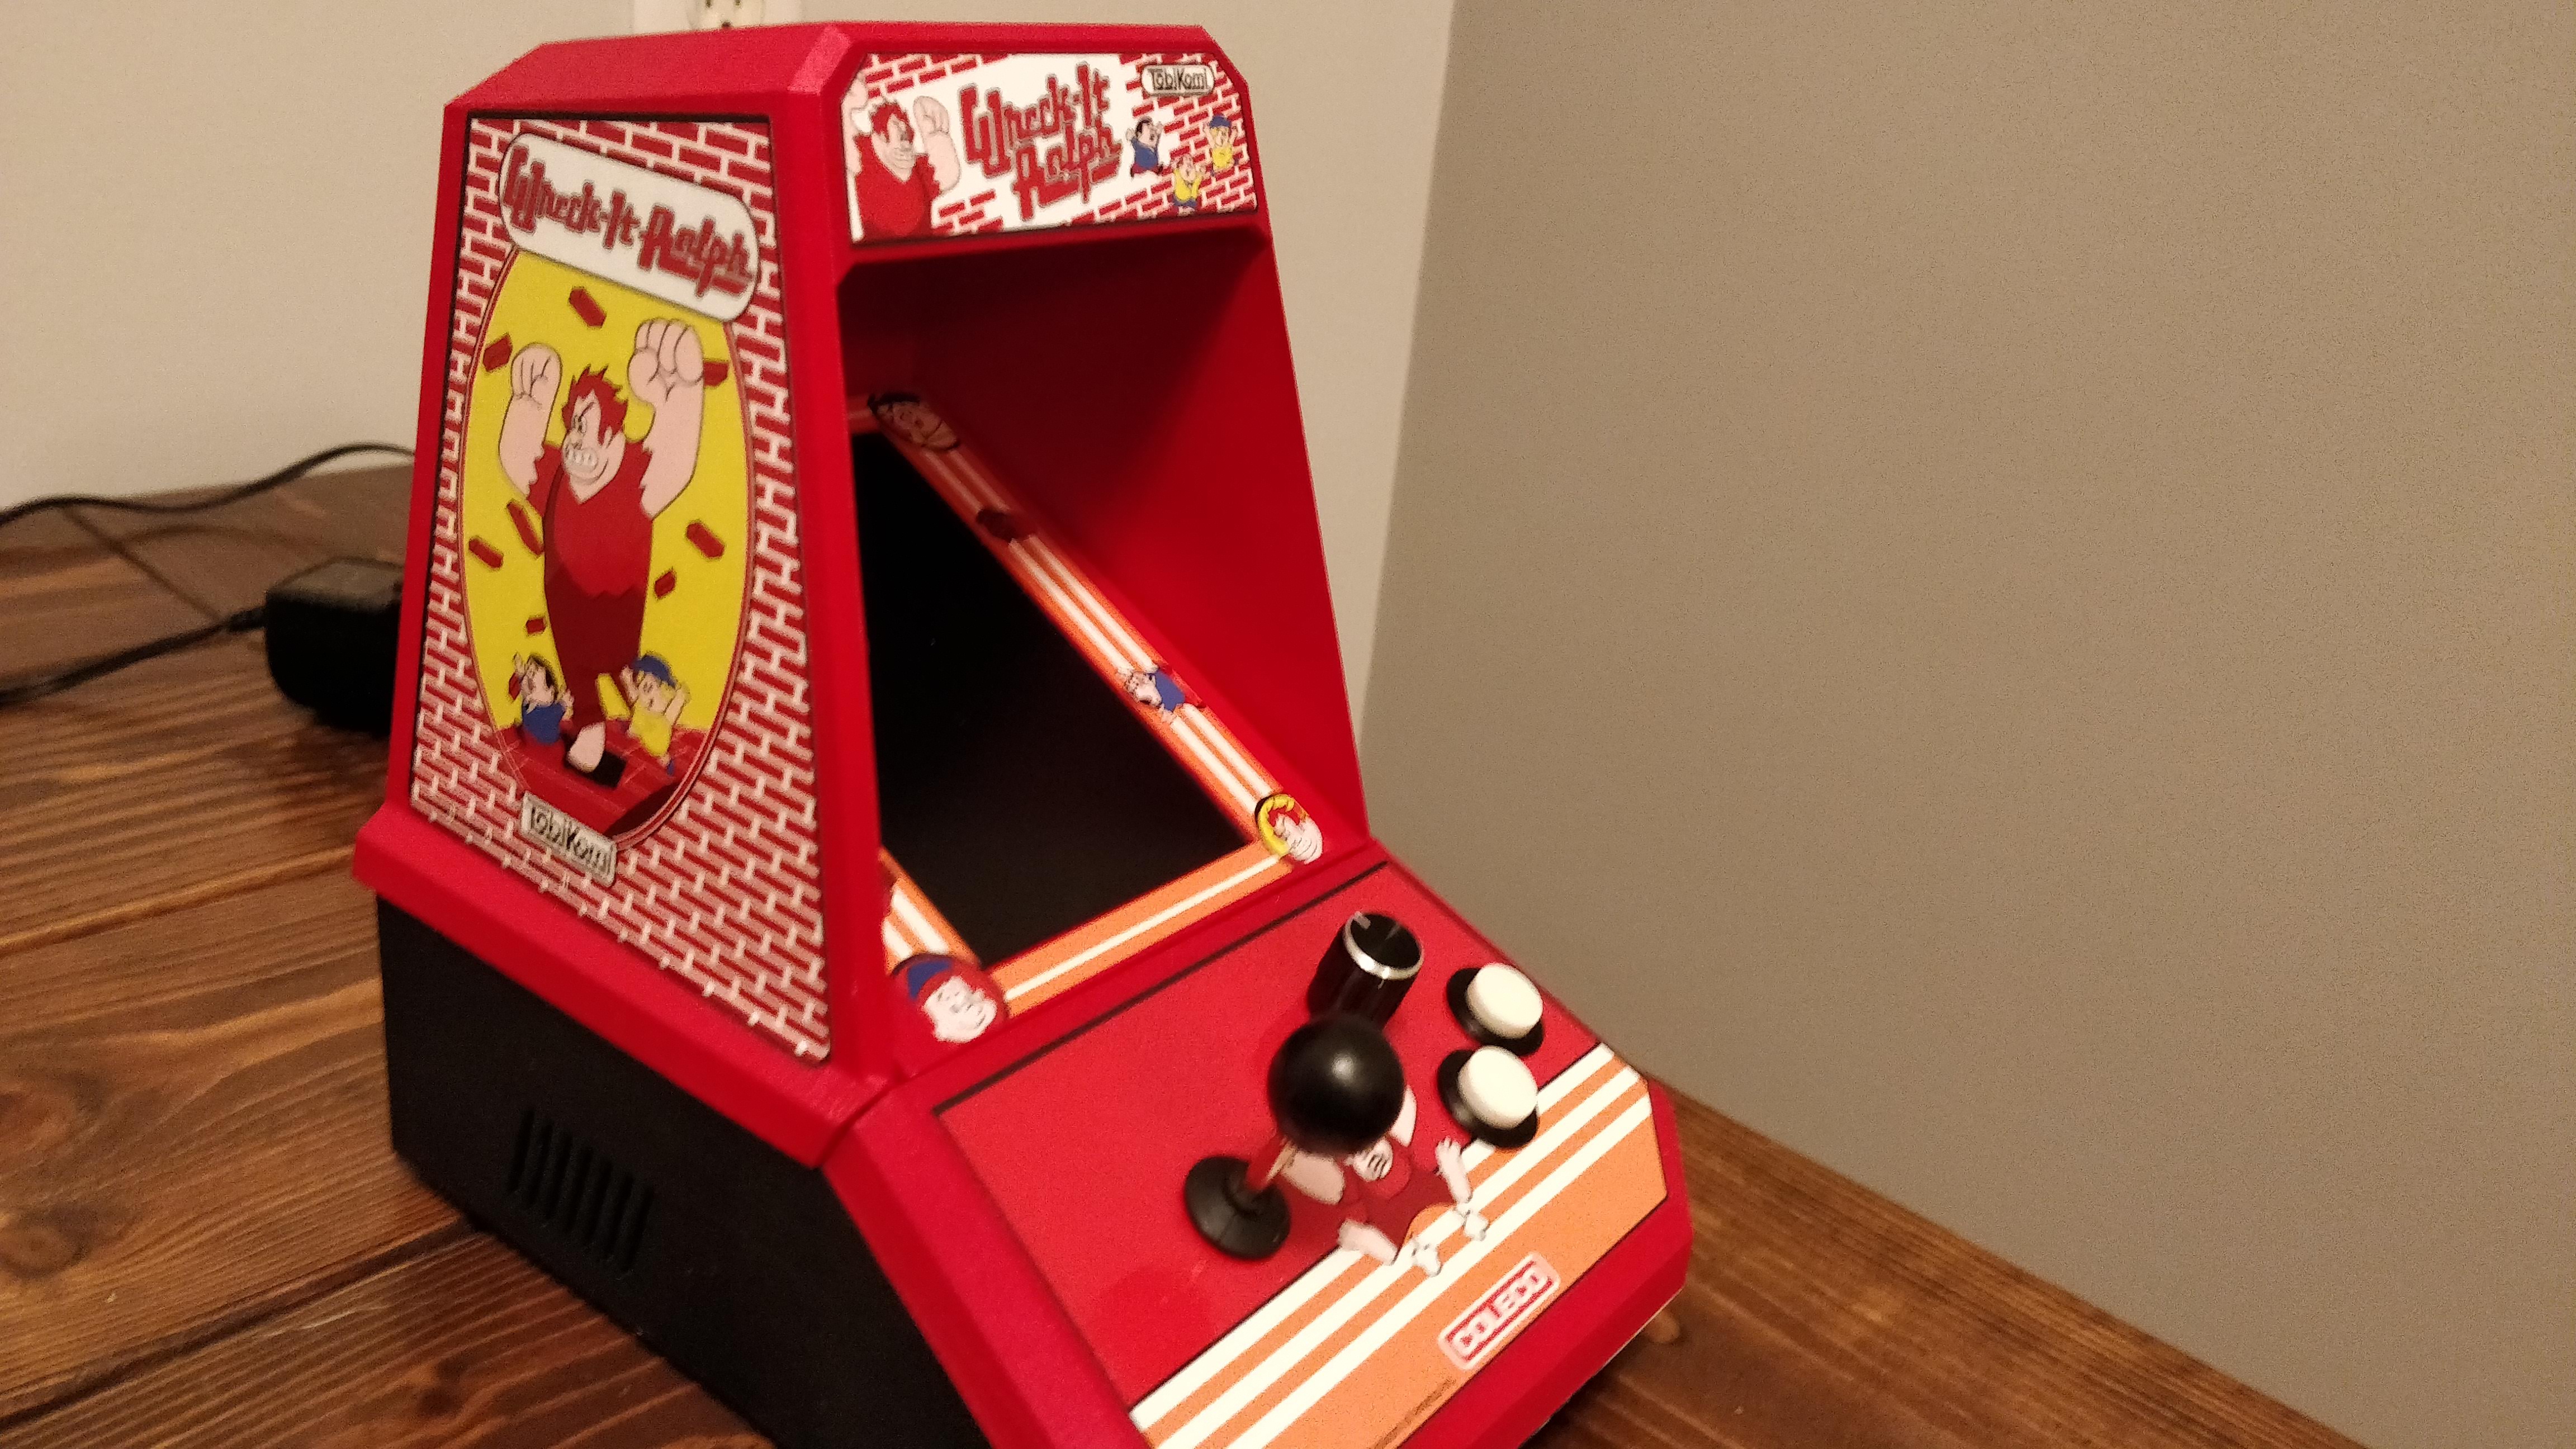
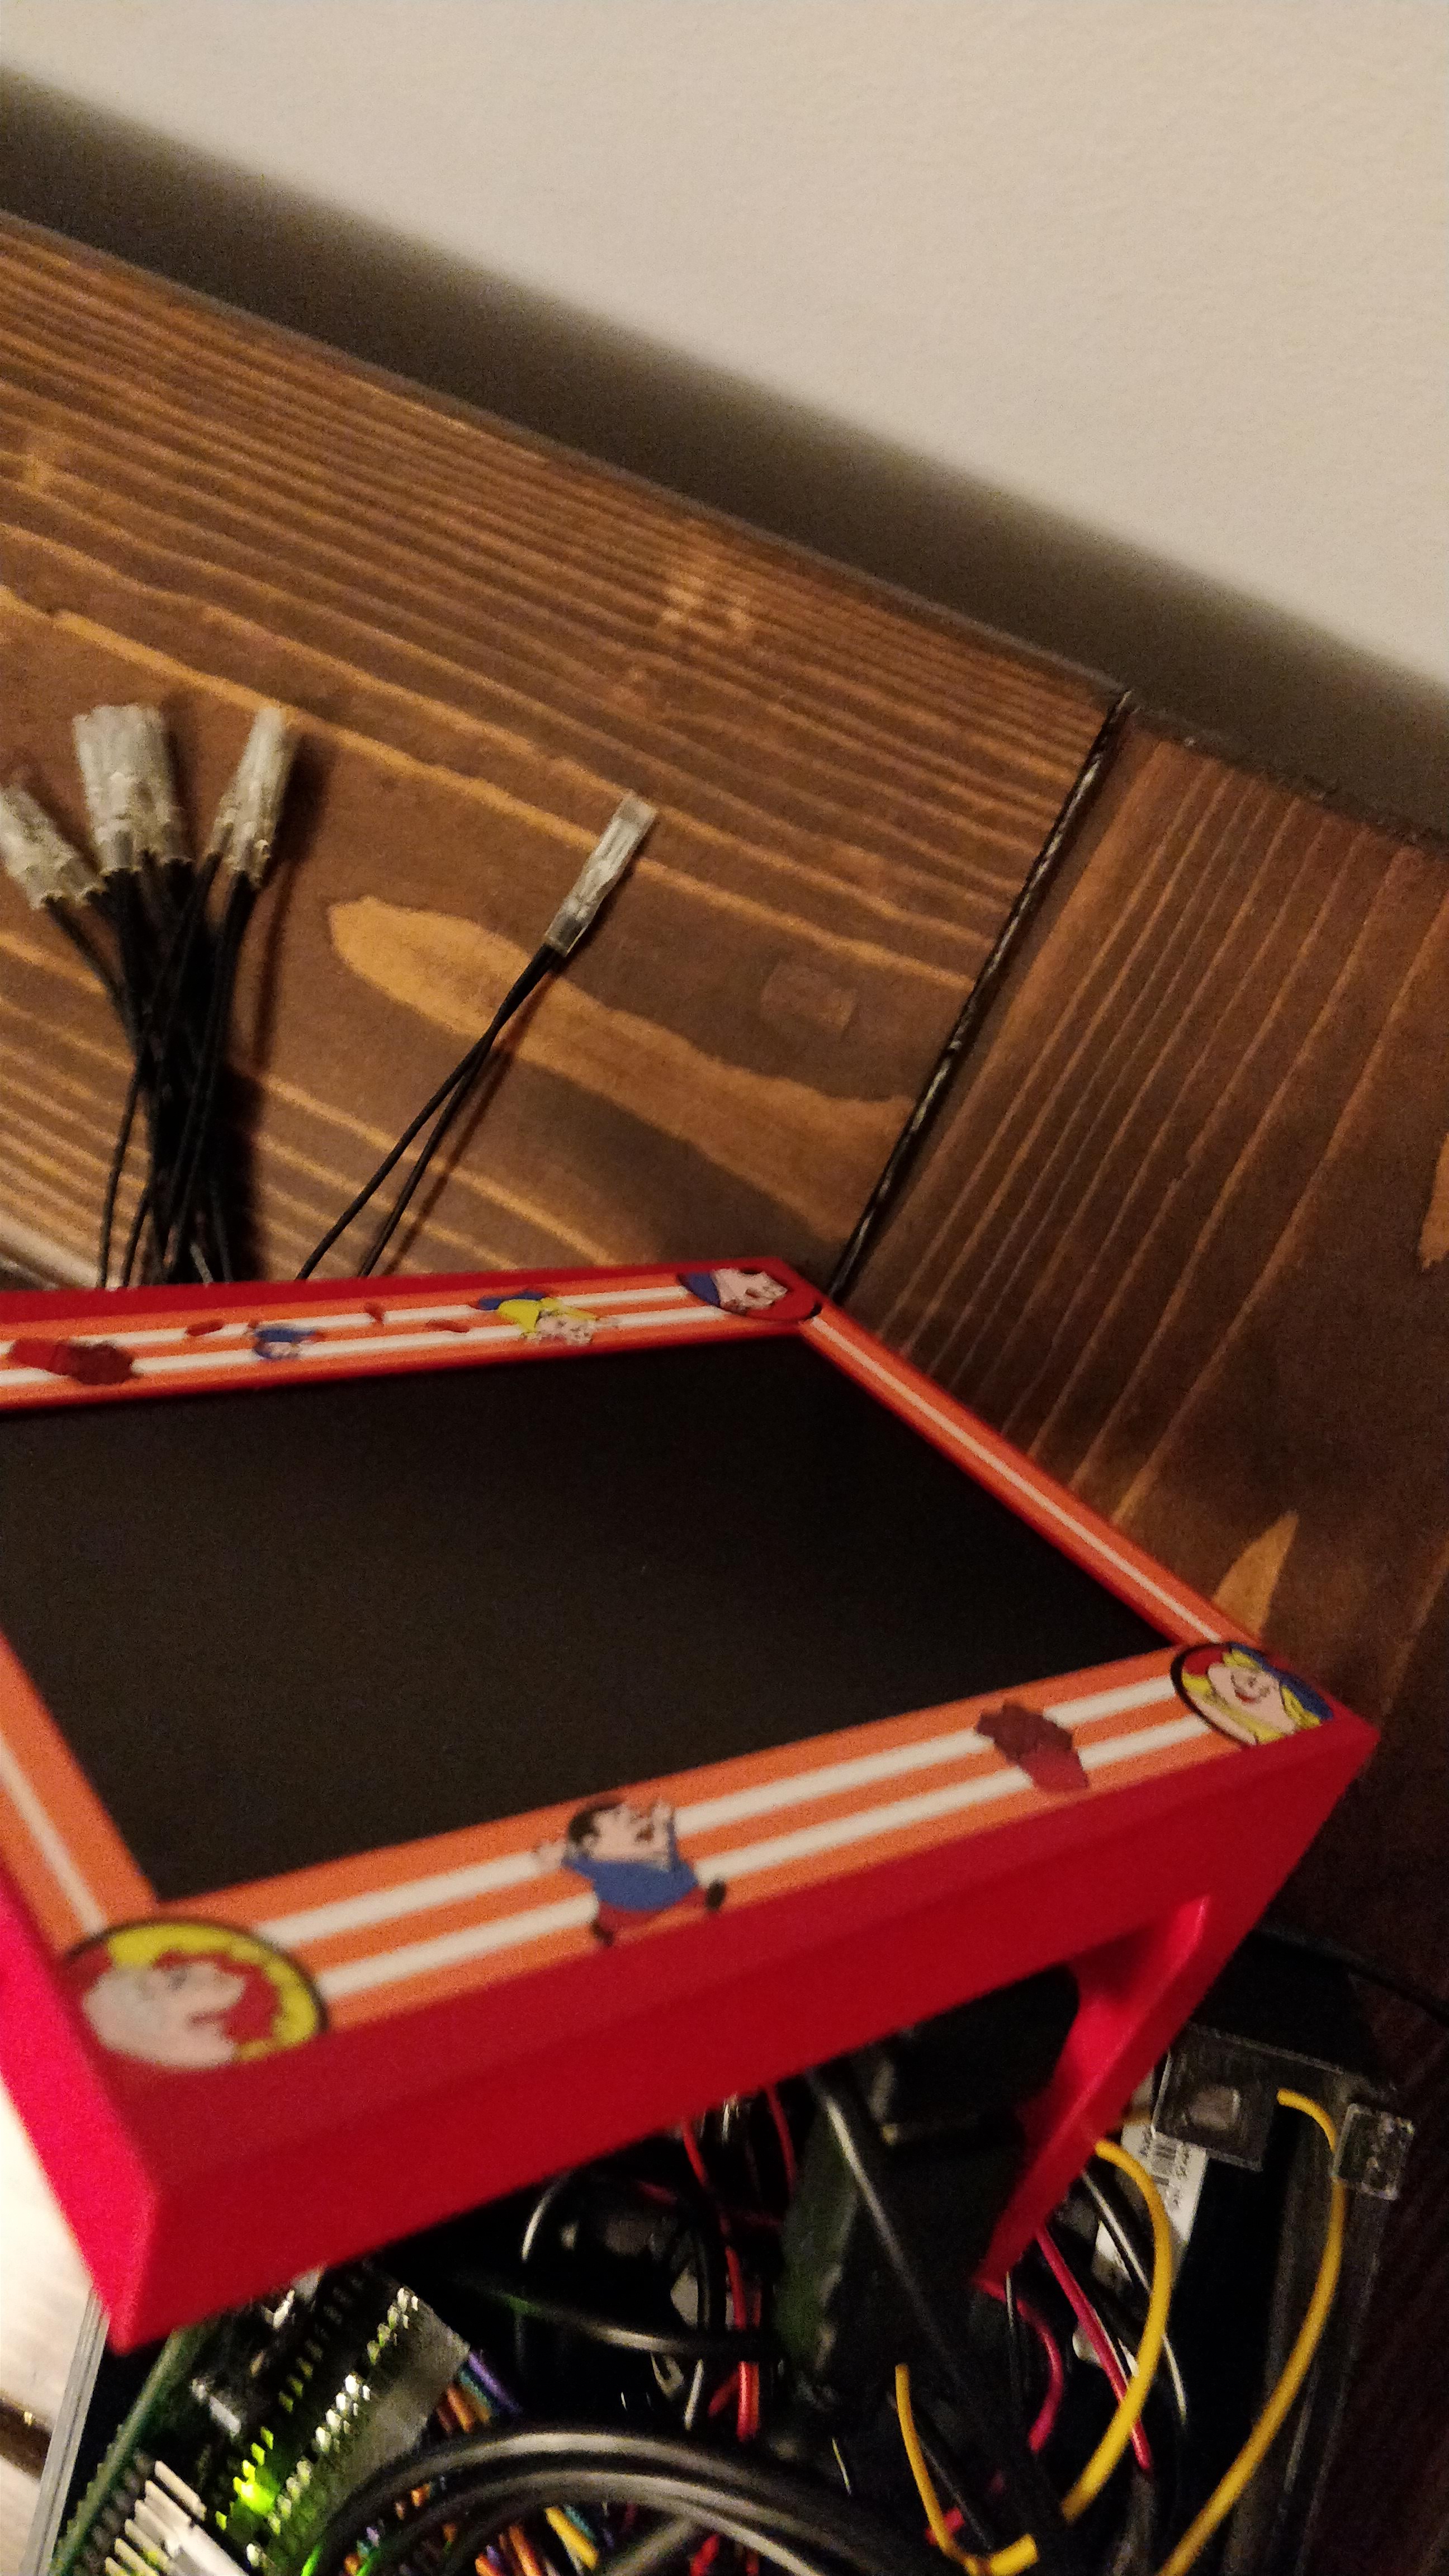
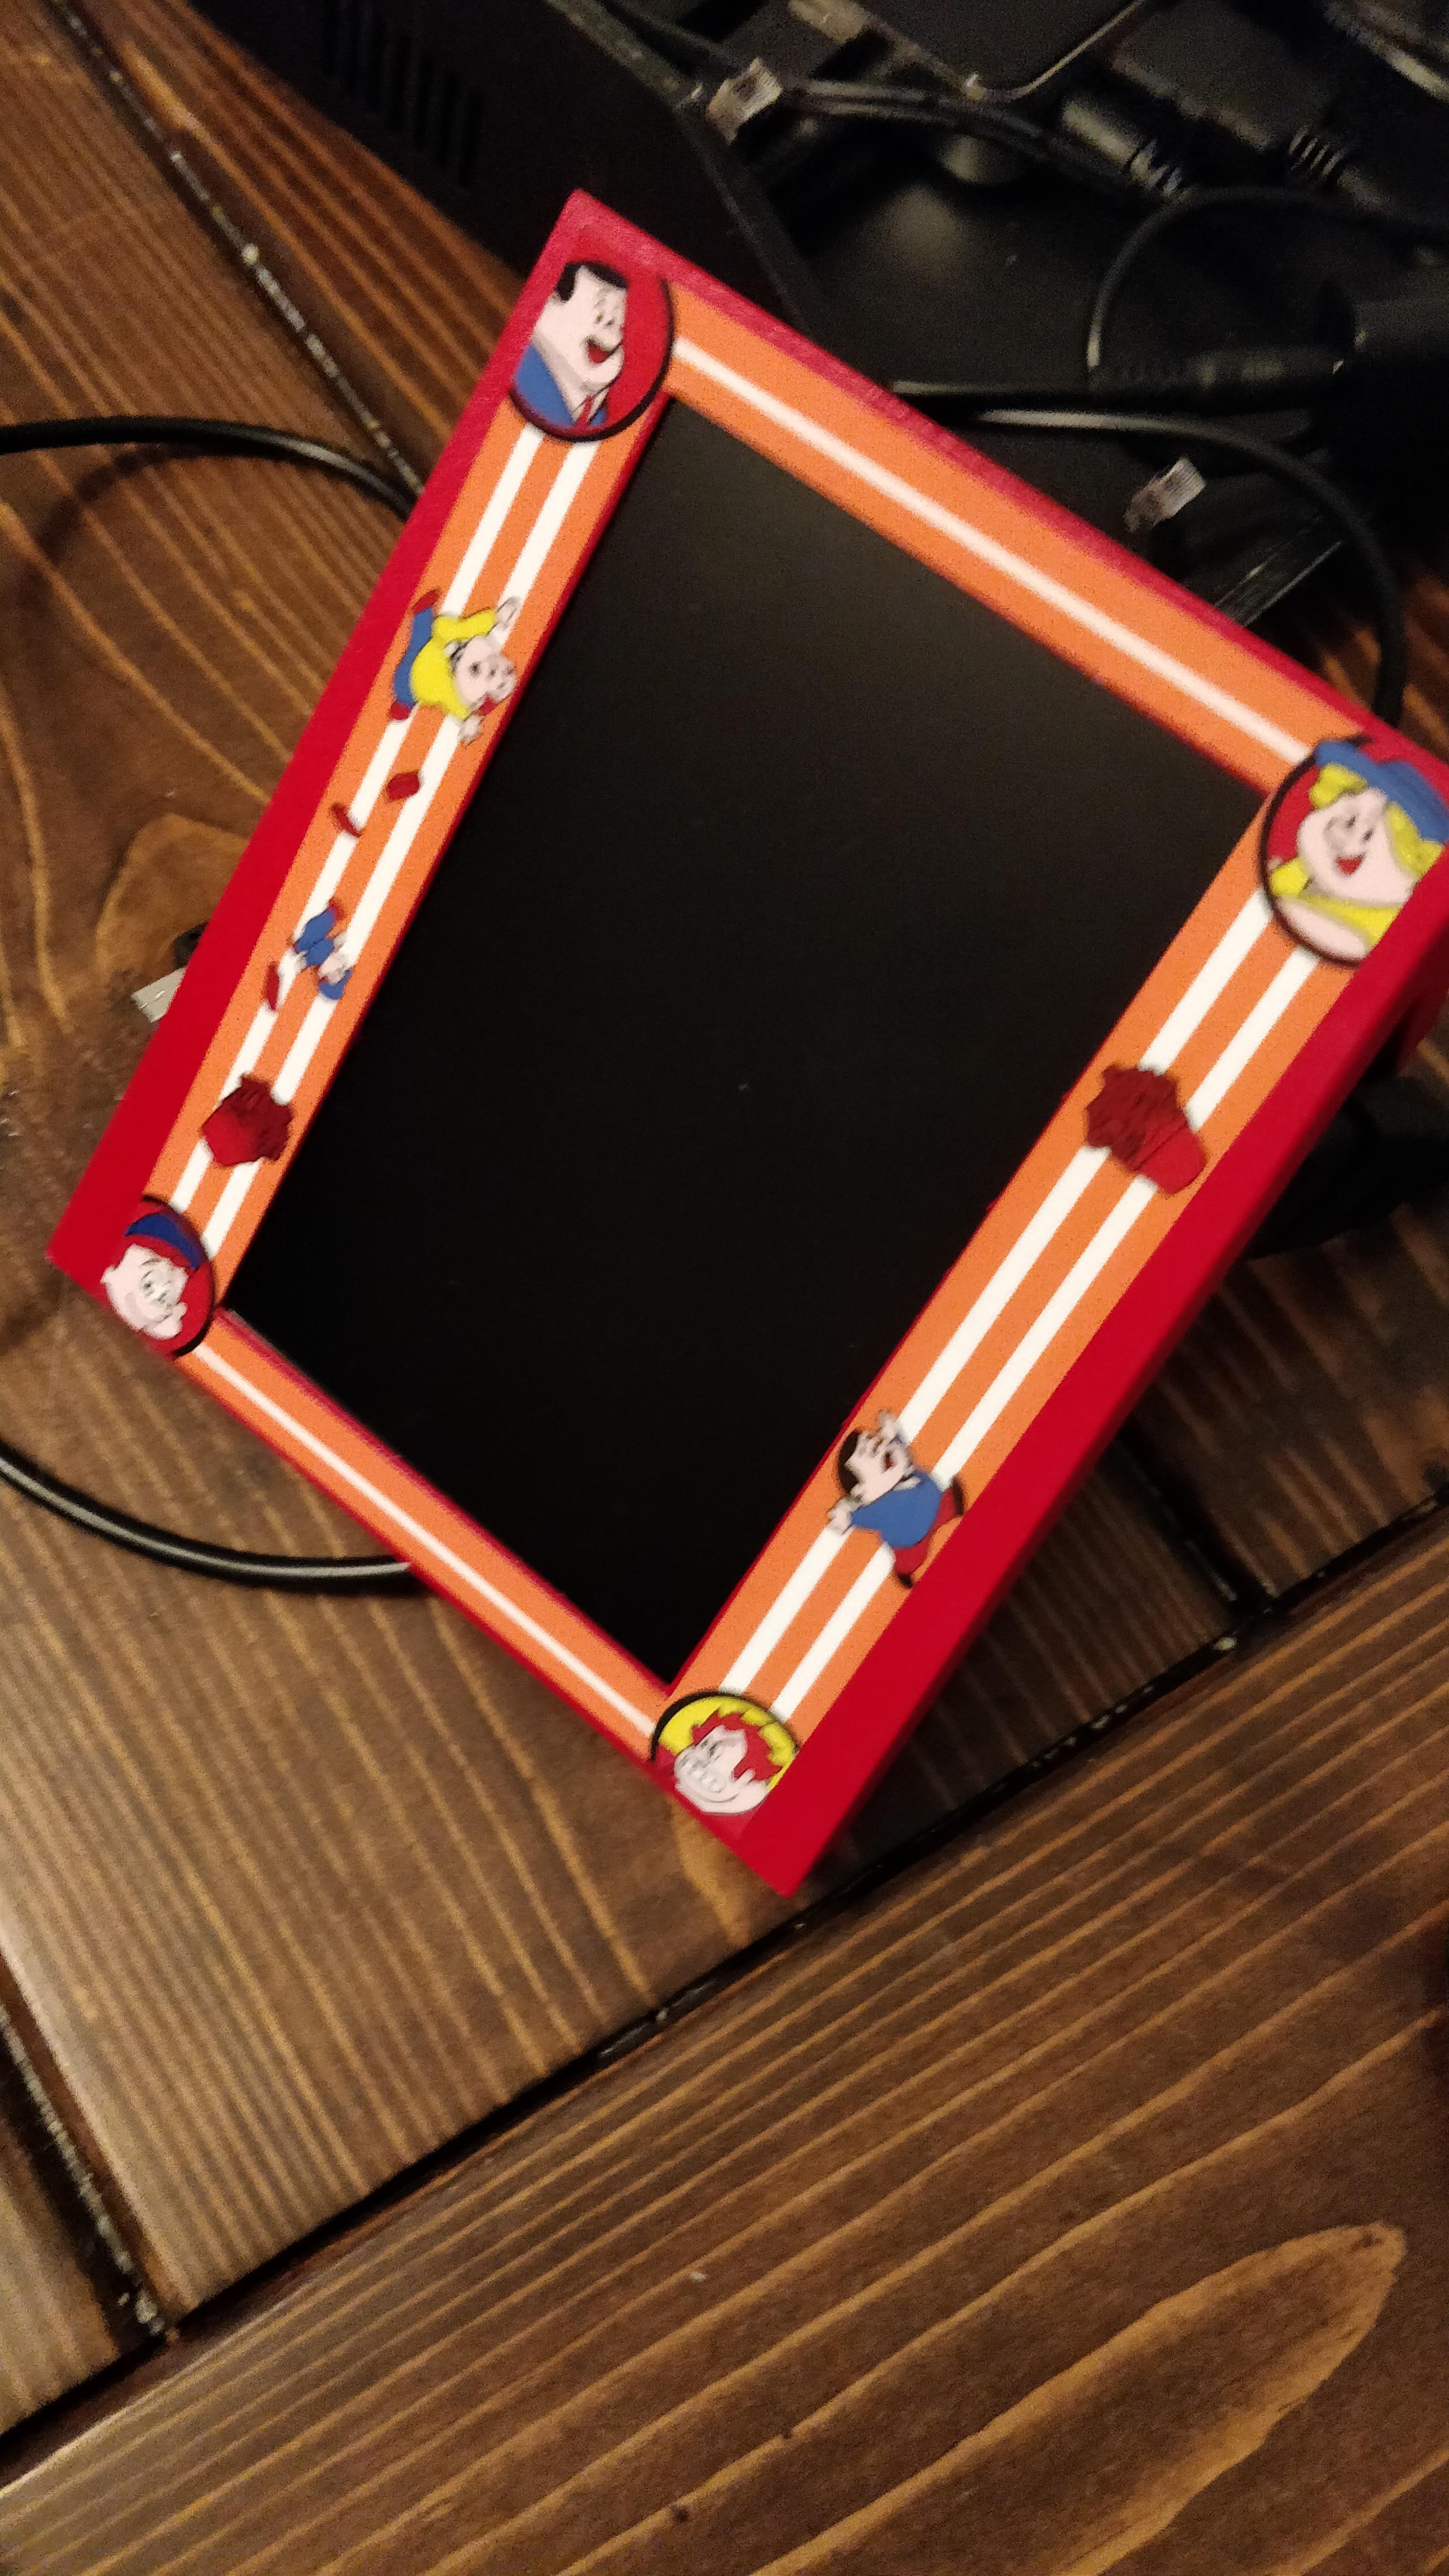
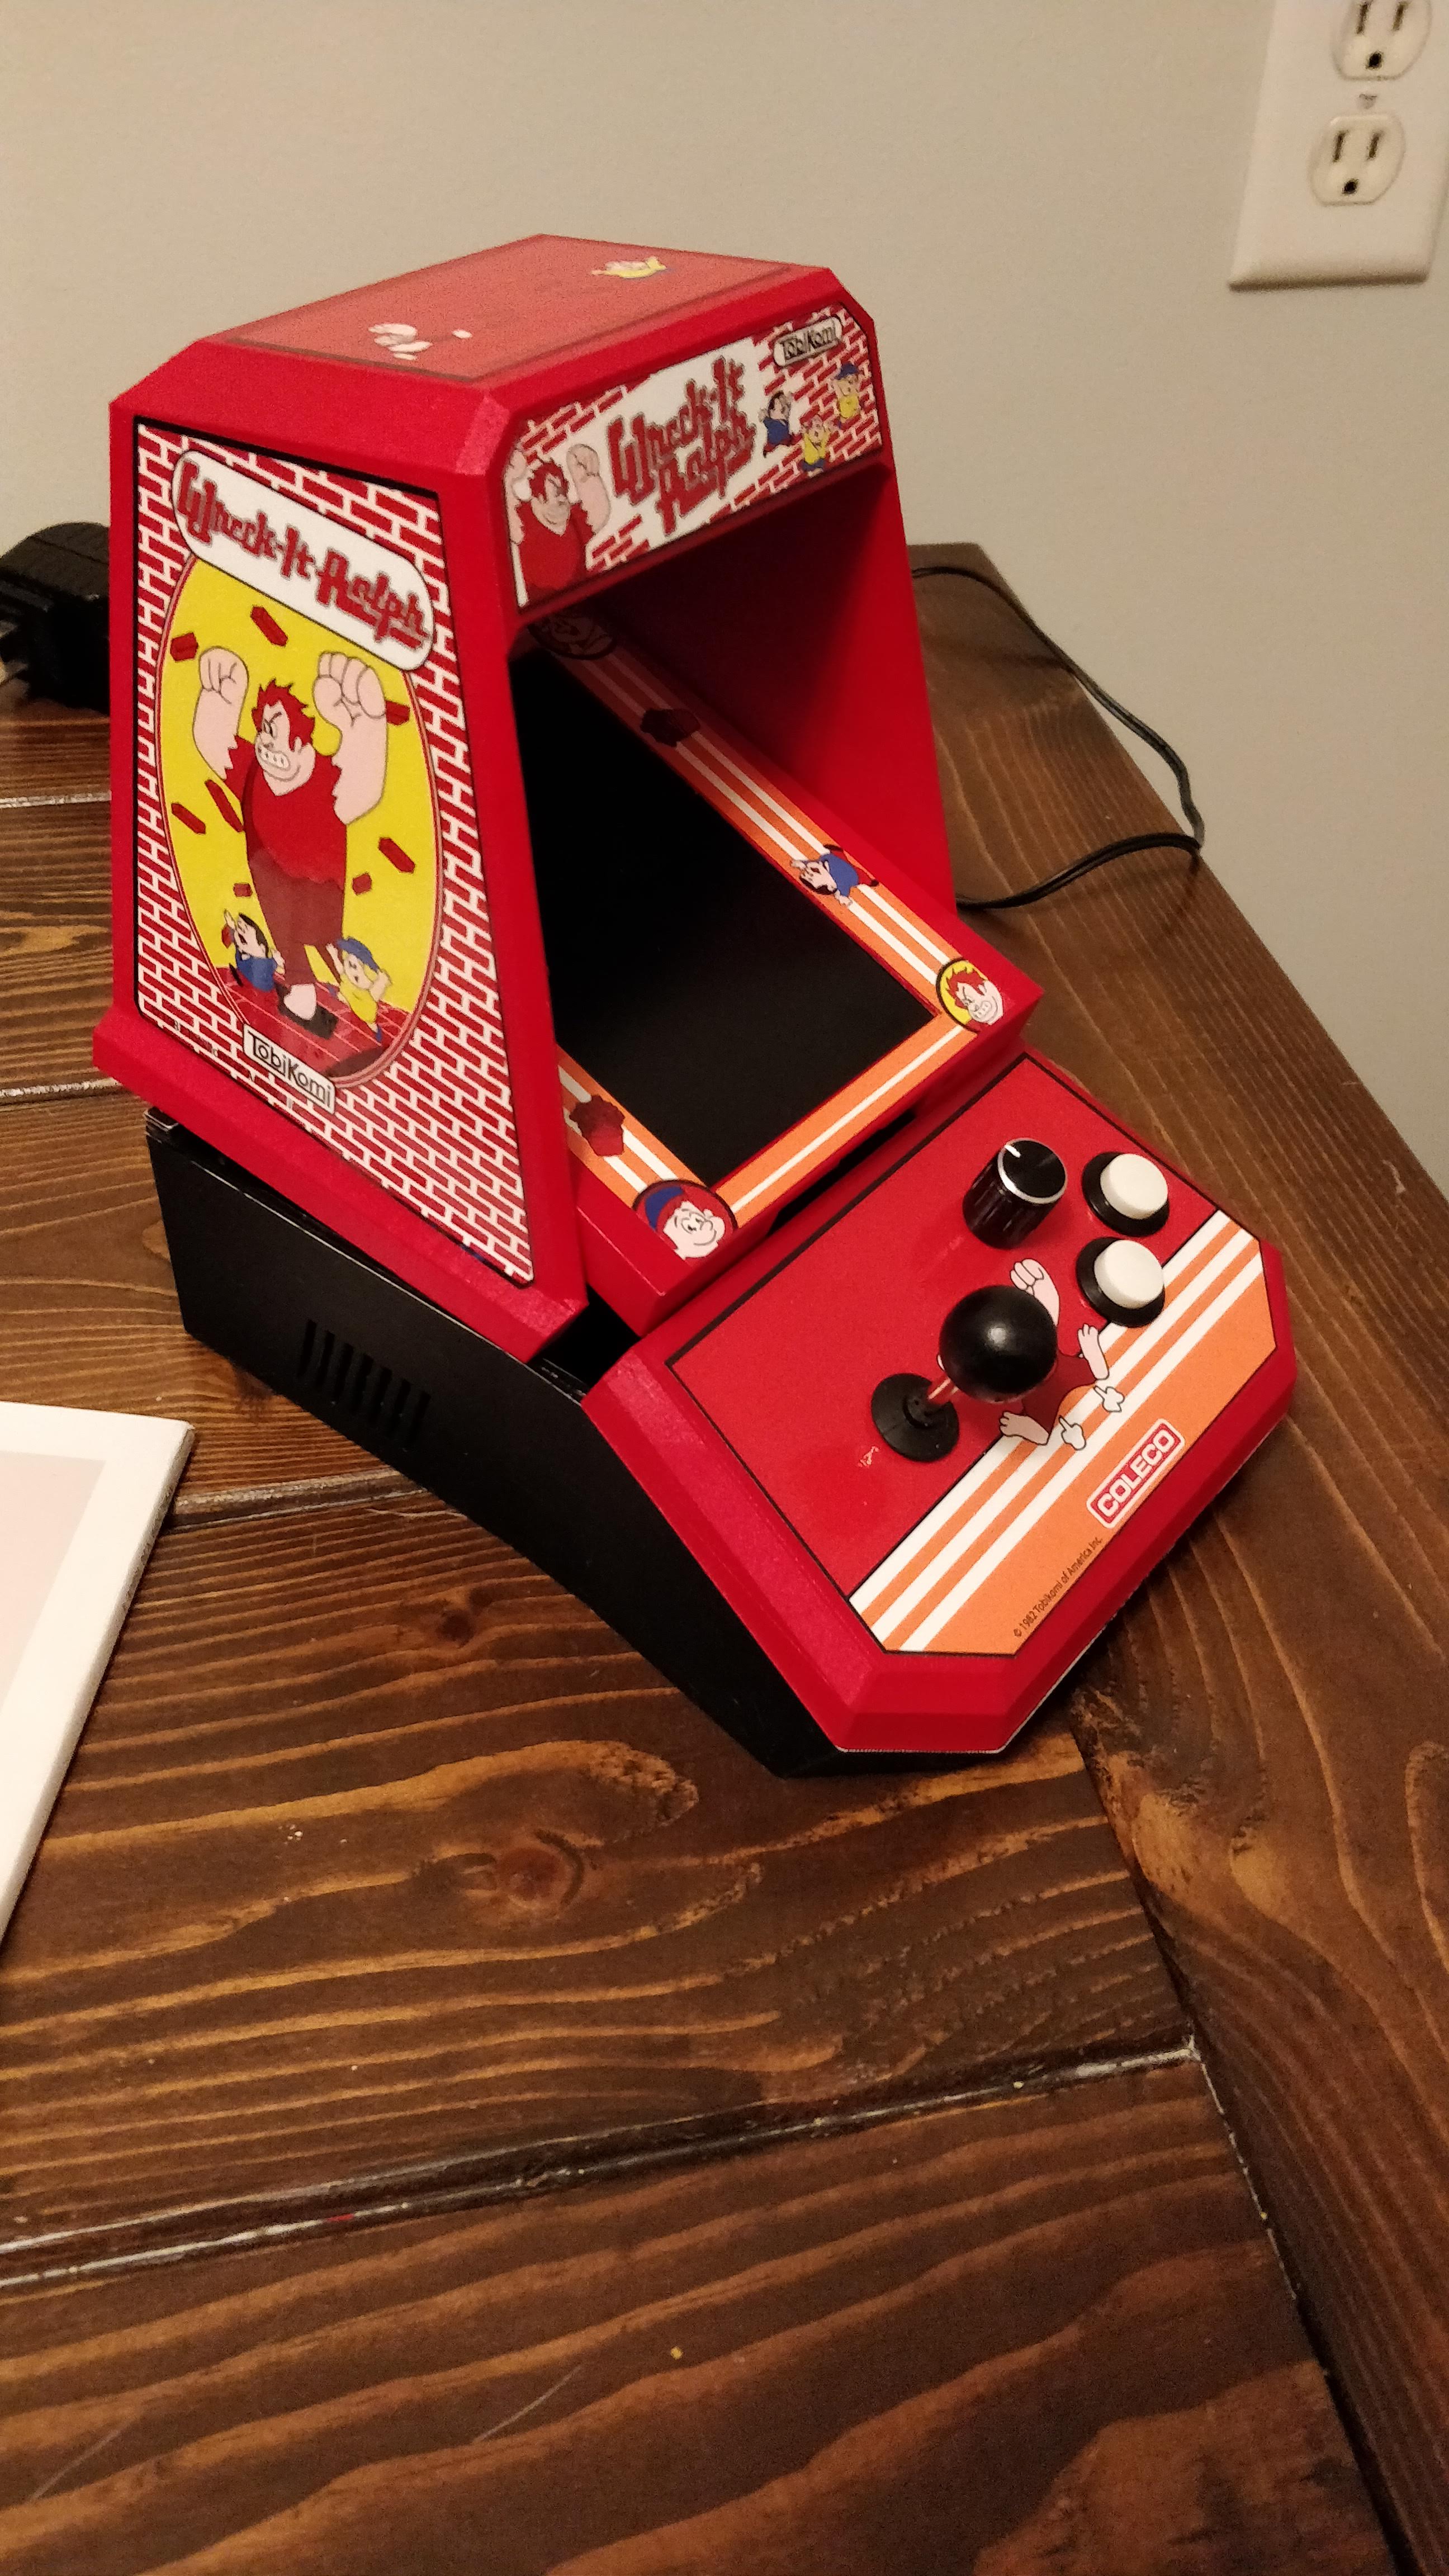
Next I attached the artwork and cut holes for the controls. I’m really happy with how it looks and definitely feels like something you would have seen 30 years ago. It also looks great next to a Coleco Donkey Kong or my Coleco Fix It Felix. Man, this stuff came out beautiful. Again, I had it printed by SlammedNiss on BYOAC.
Putting it All Together
Discovered a few small problems during the tests. One button wasn’t working. Turns out I attached the wrong wire on my minipac. This normally wouldn’t be an issue, just change the wire. Problem was, I had already cut all the others off. So, downloaded the minipac software and reprogrammed that one pin. Good thing for that software!
The screen is also very carefully connected. It connects to an HDMI decoder with a thin ribbon cable, which then gets power over USB mini. The ribbon cable isn’t long, so I Velcroed the decoder to the back of the screen. I used right-angle hdmi cables to save a mm or two connecting to the pc.
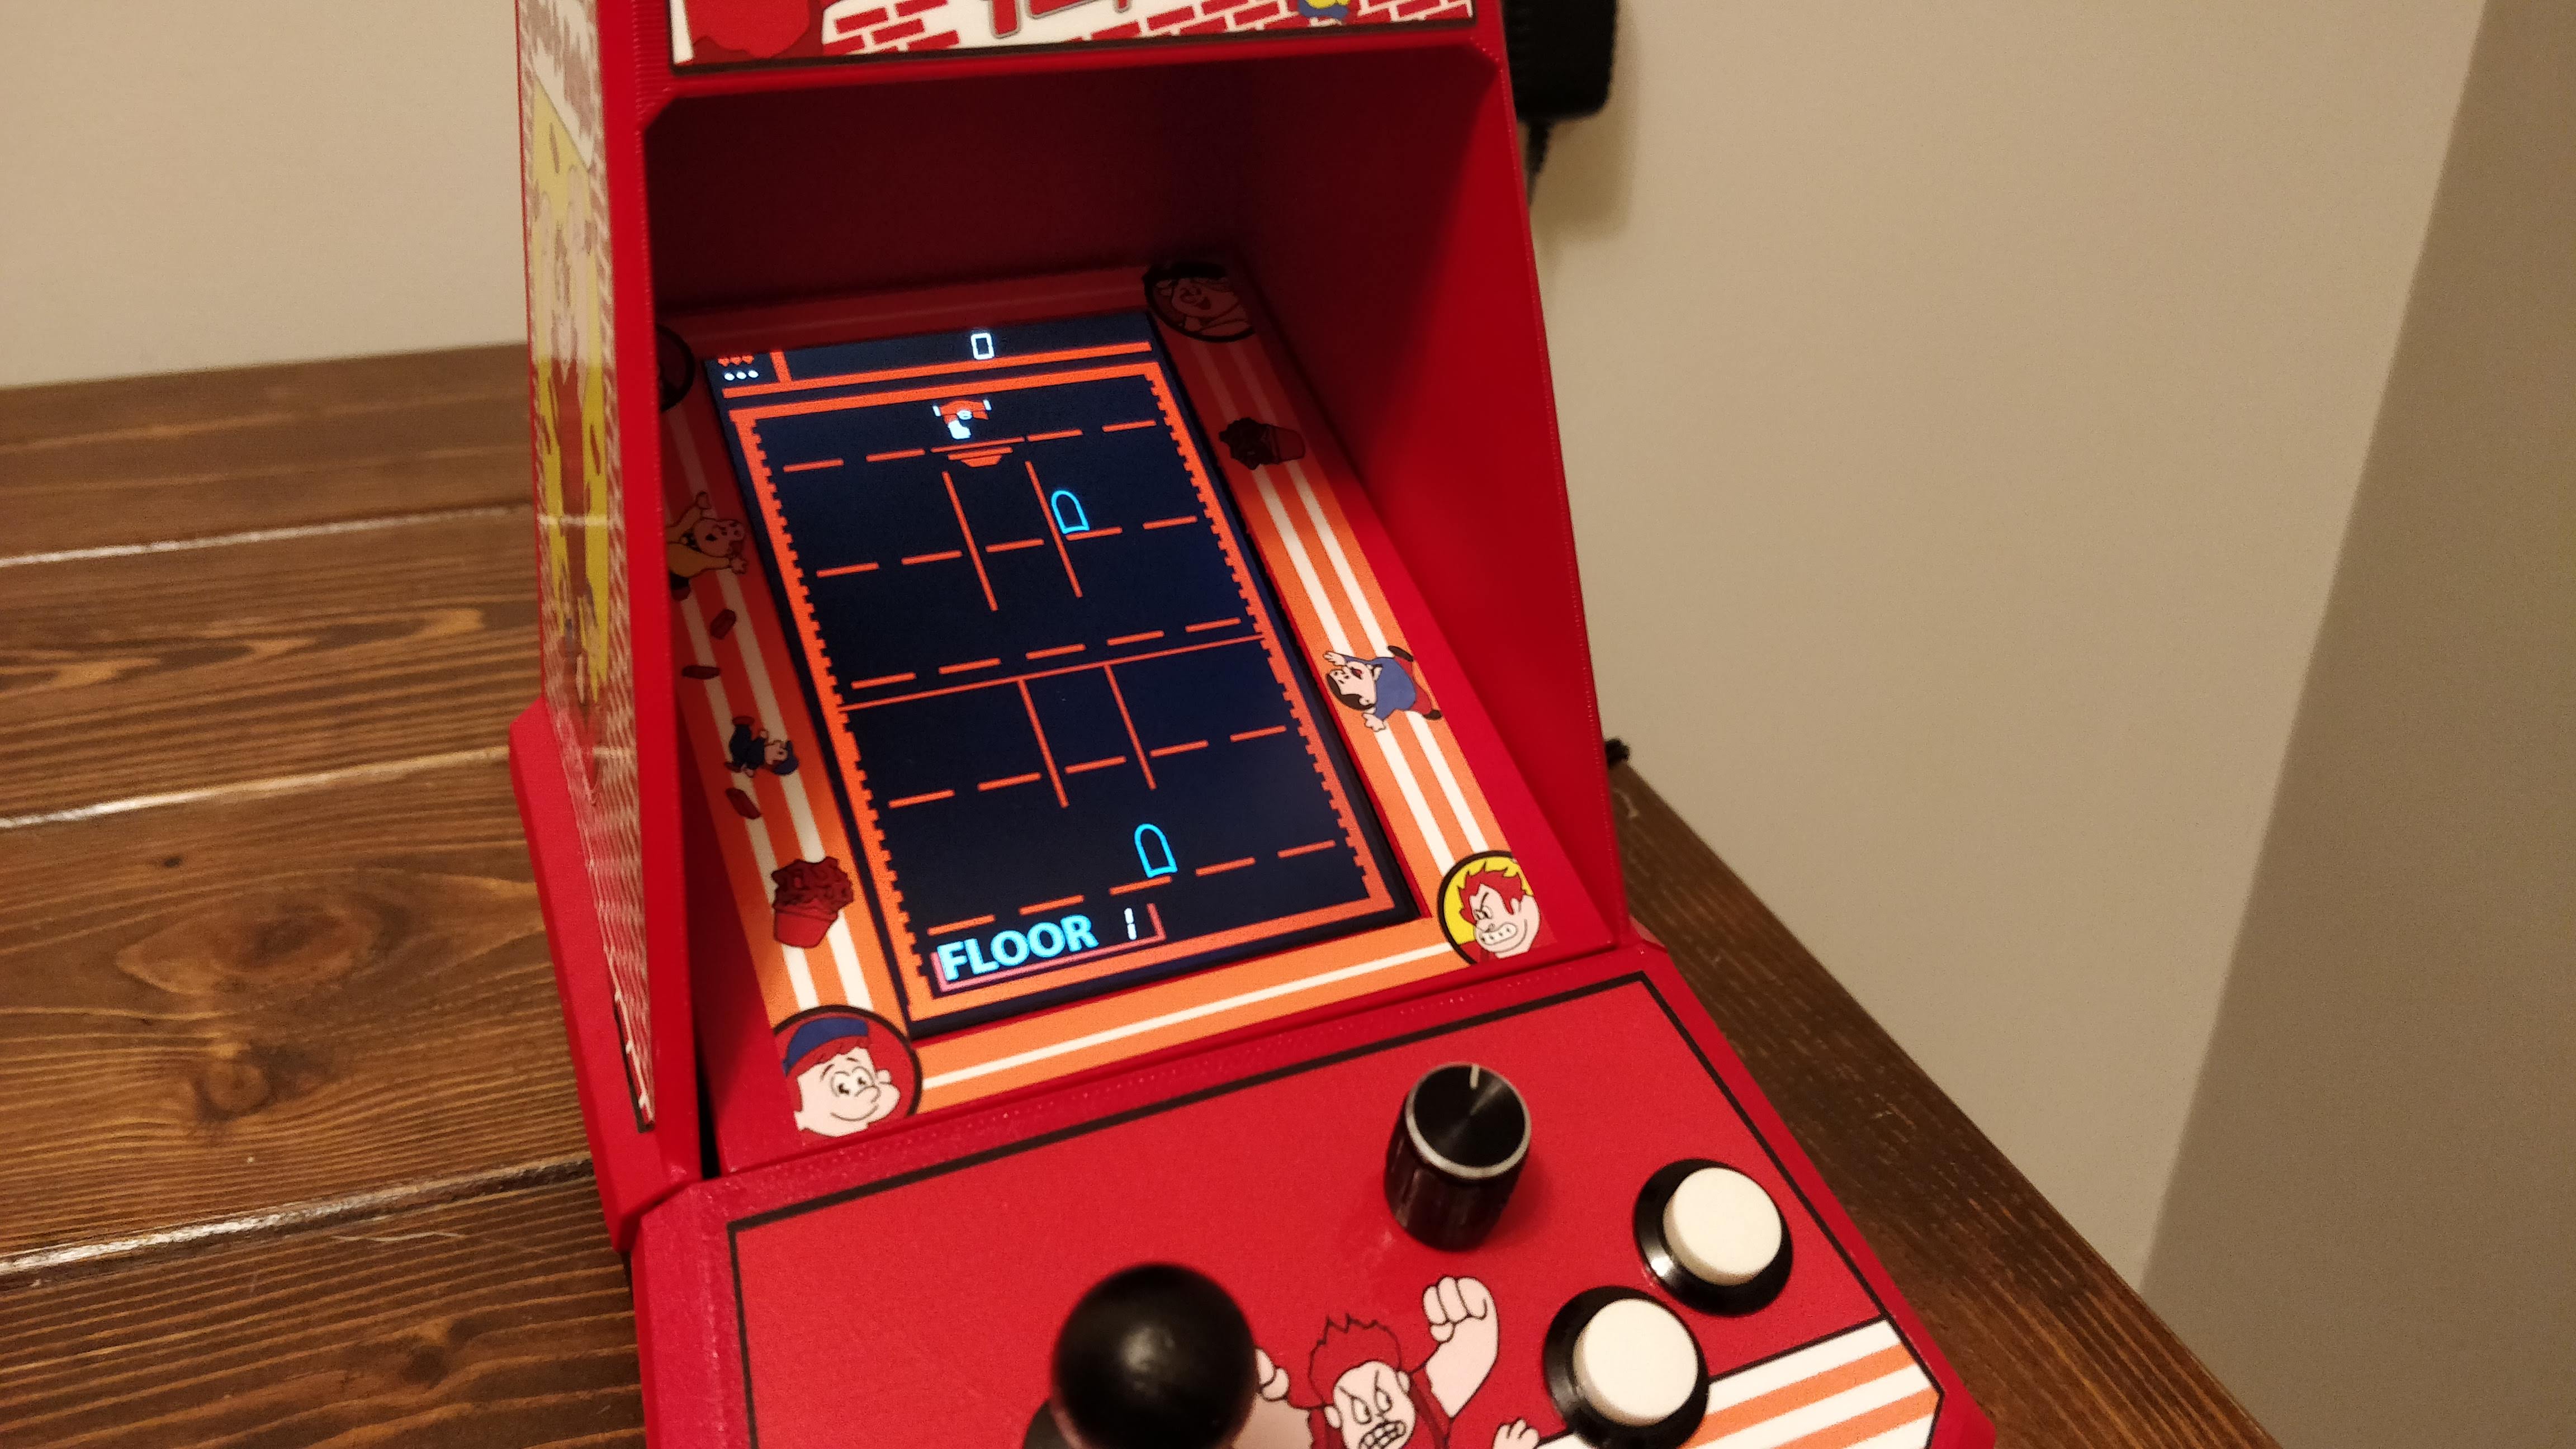
I test booted the game a few times, played the games a few times – including my custom Wreck It Ralph Coleco Style VFD game, and it sure was fun! Even tested Tempest which worked well. Sure, not perfect with my cheaply made spinner but it worked.
The game allows customization of difficulty, lives, and powerups. But, I’m keeping everything to my defaults – which is the most like original Coleco handhelds.
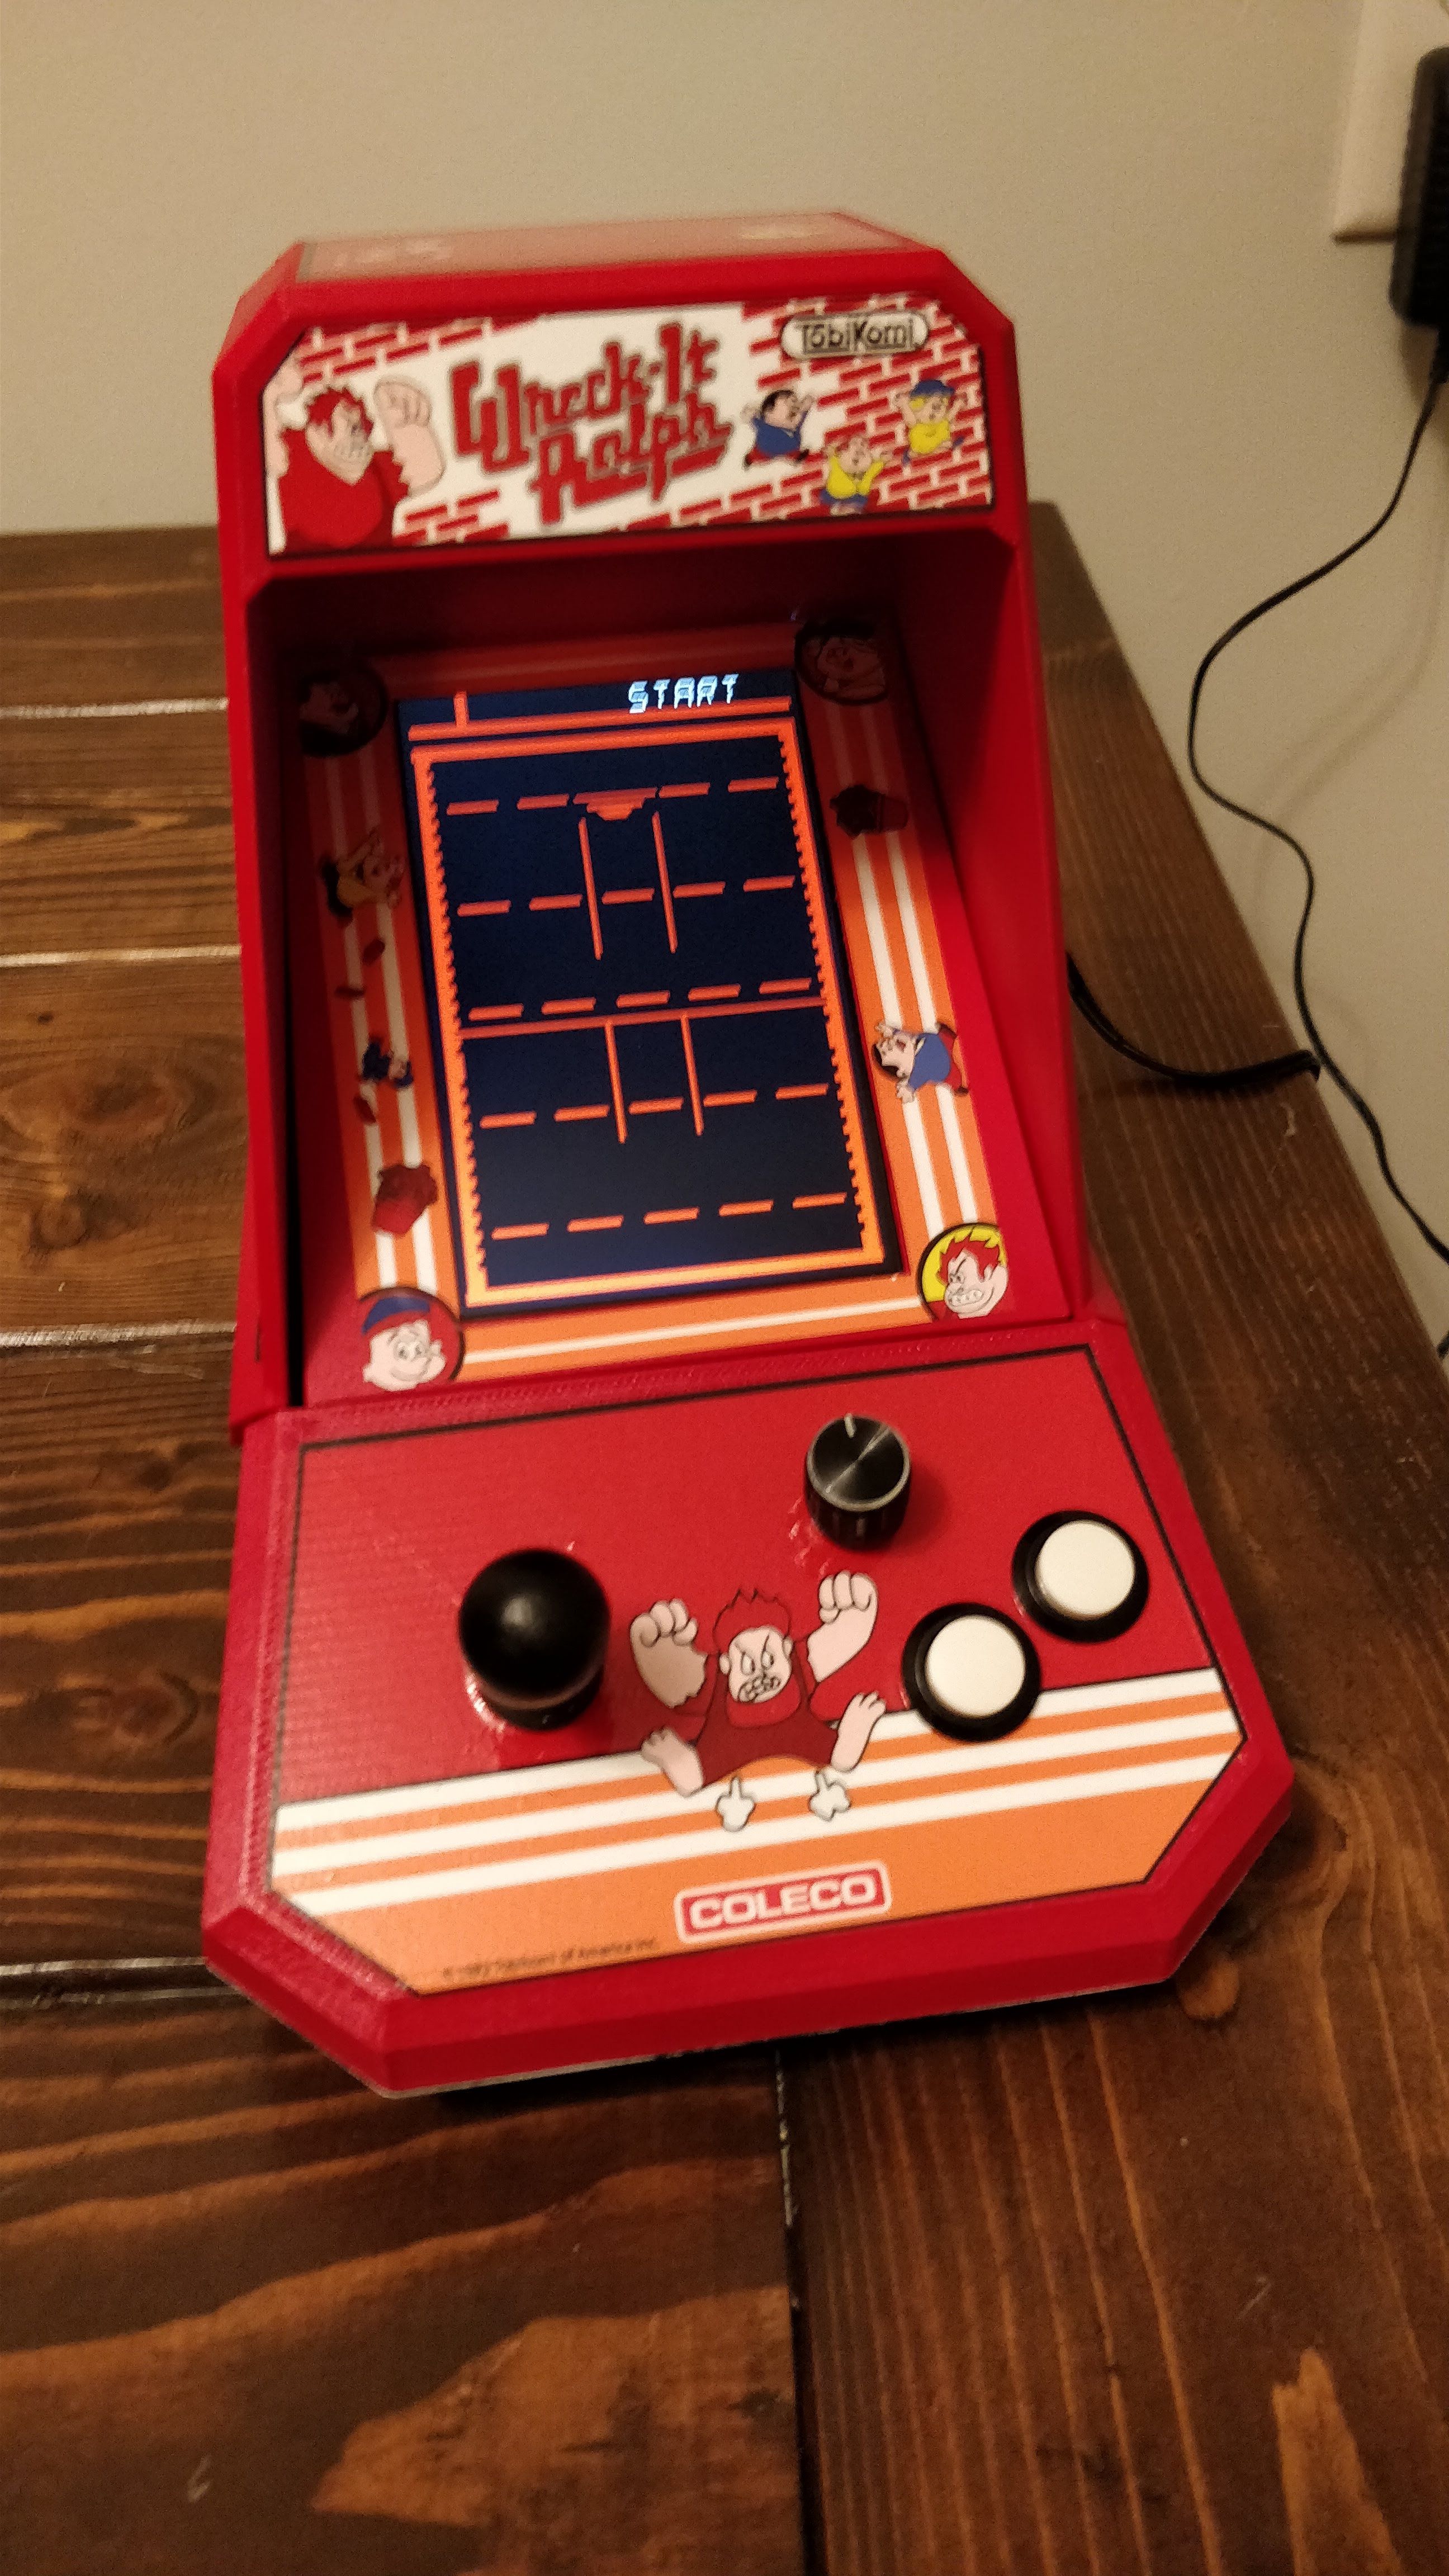
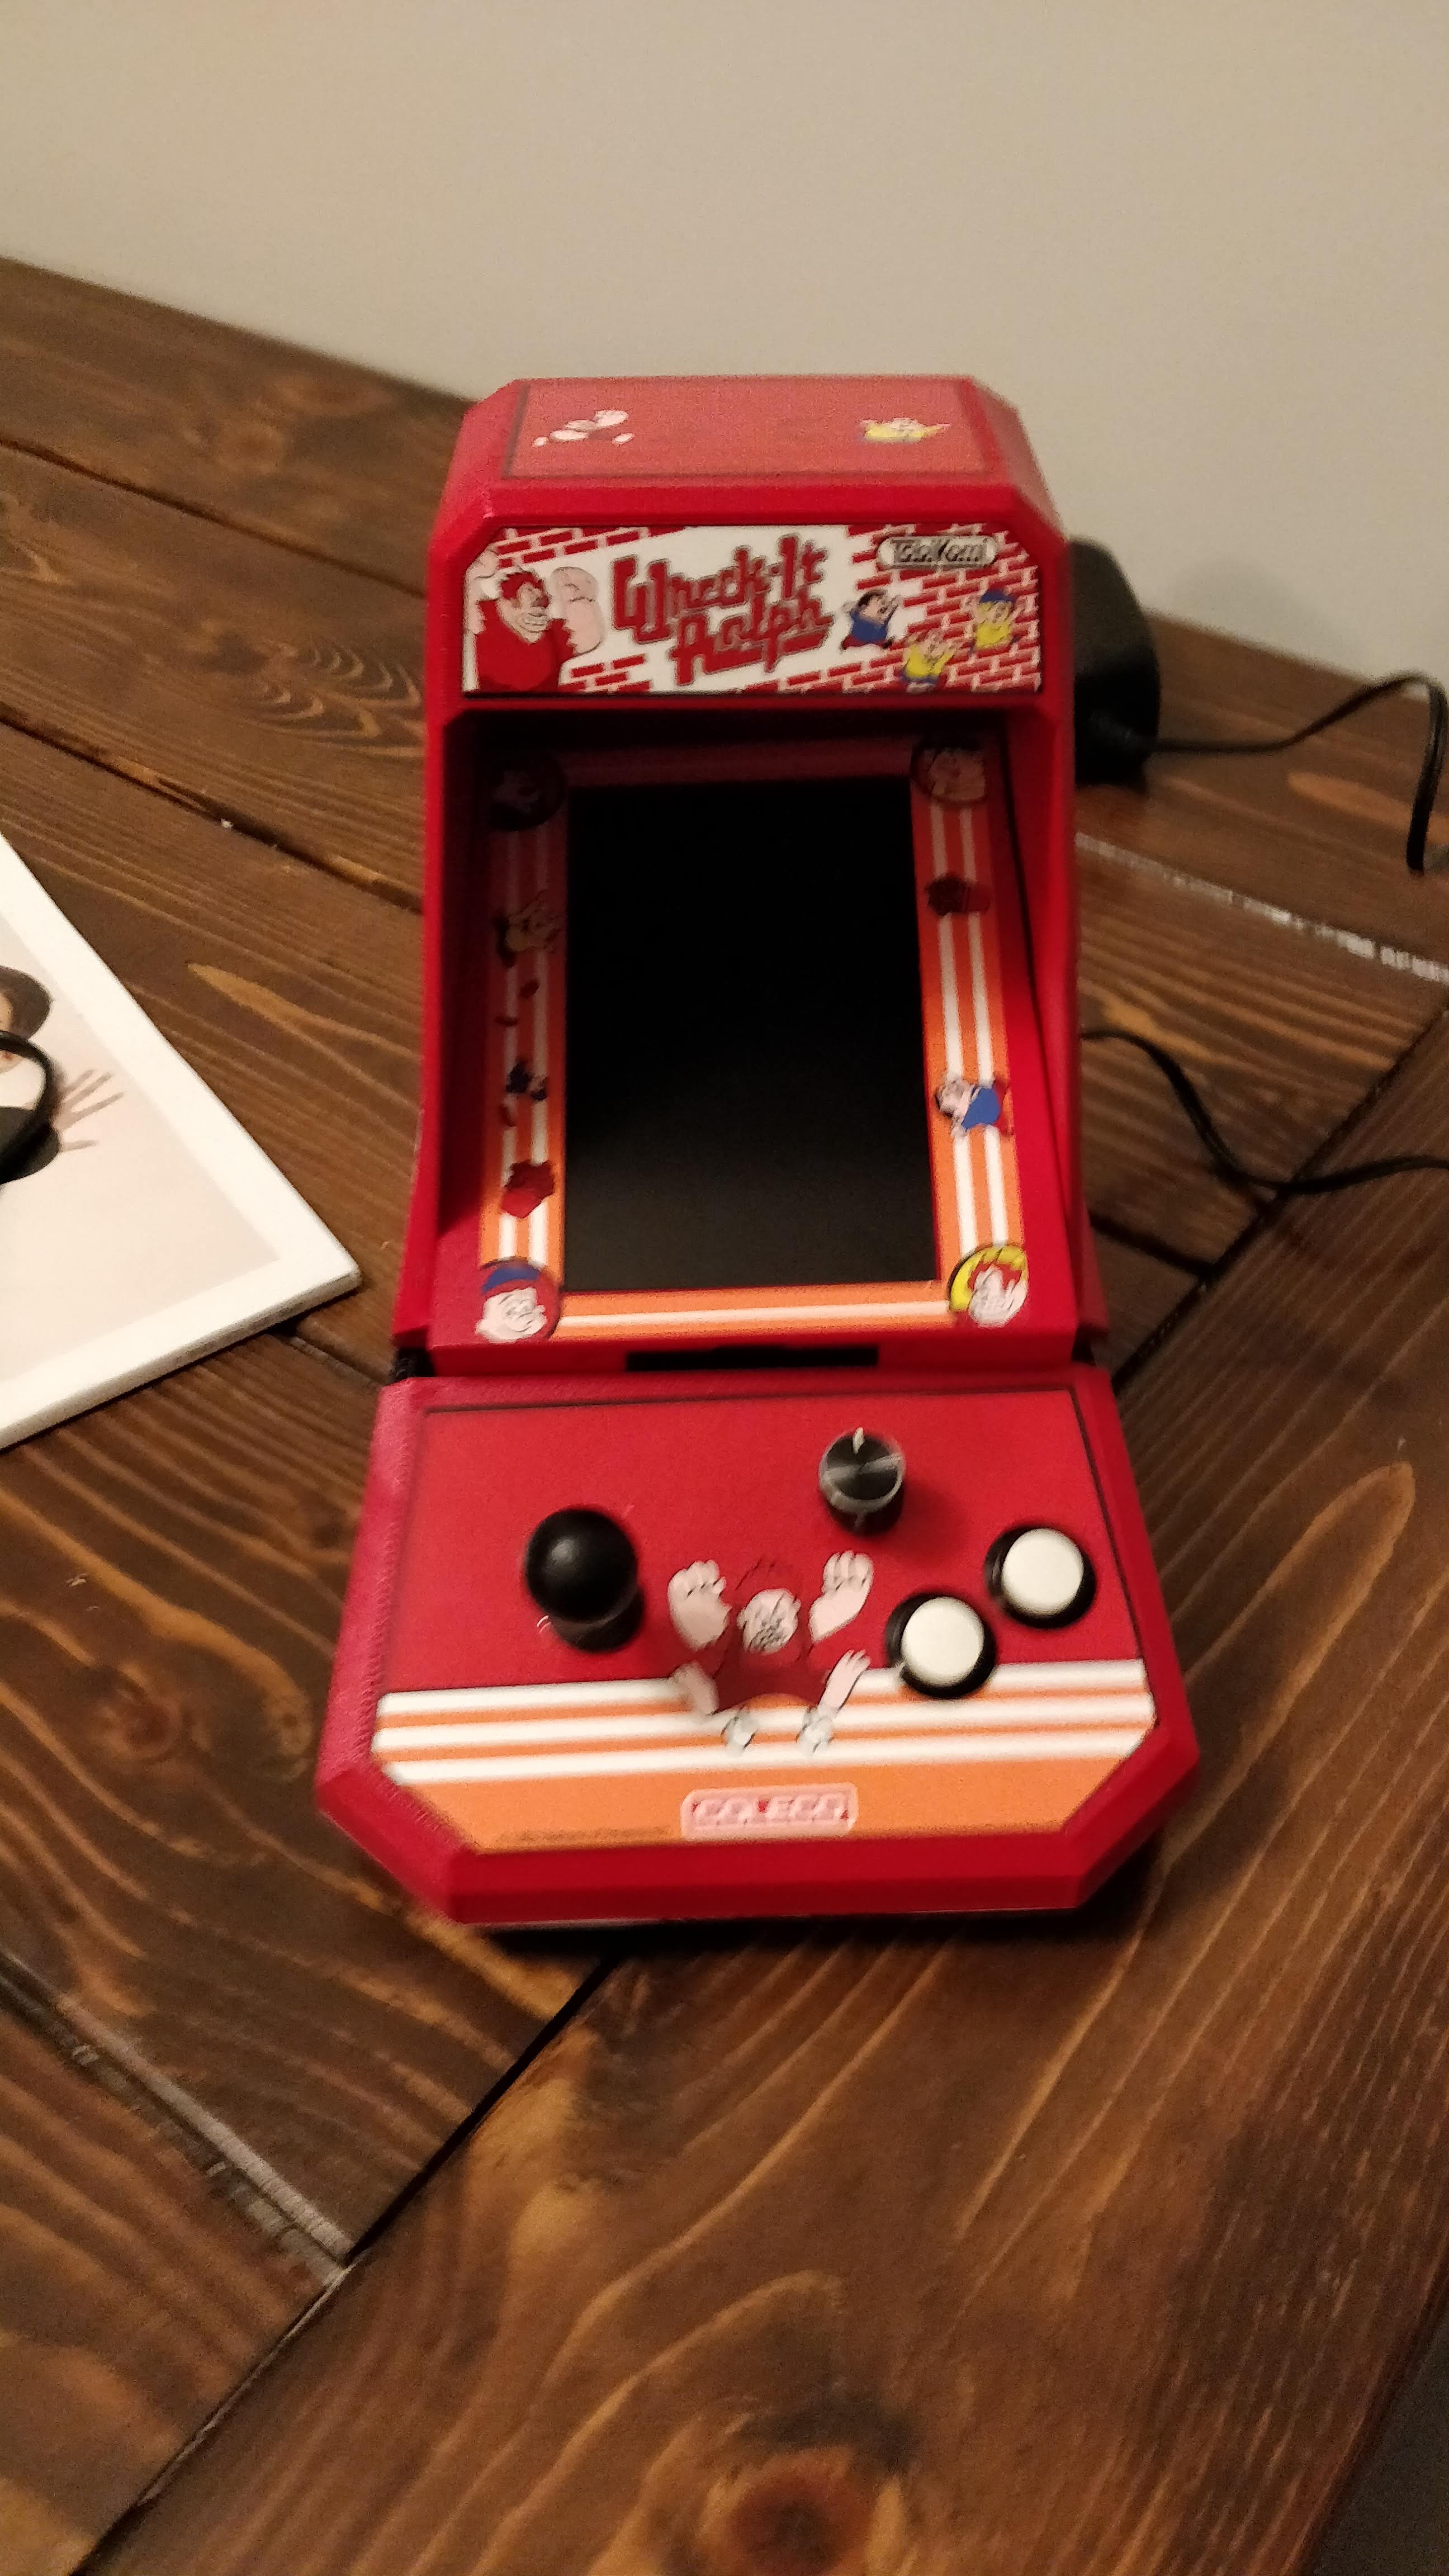
Final Photos of Coleco Wreck It Ralph
Closed everything up, tightened all the connections, and here it is! I also put a few rubber feet on the bottom to make it slip proof. I’m quite happy with how it looks but a little disappointed that, once again, it’s a real mess inside. I don’t think I’ll have any problems with it working consistently; I just hoped I could keep it a little cleaner inside in case I ever wanted to change anything. Oh well. You can also watch a video tour below the gallery.