Week 11: Arcade Controls
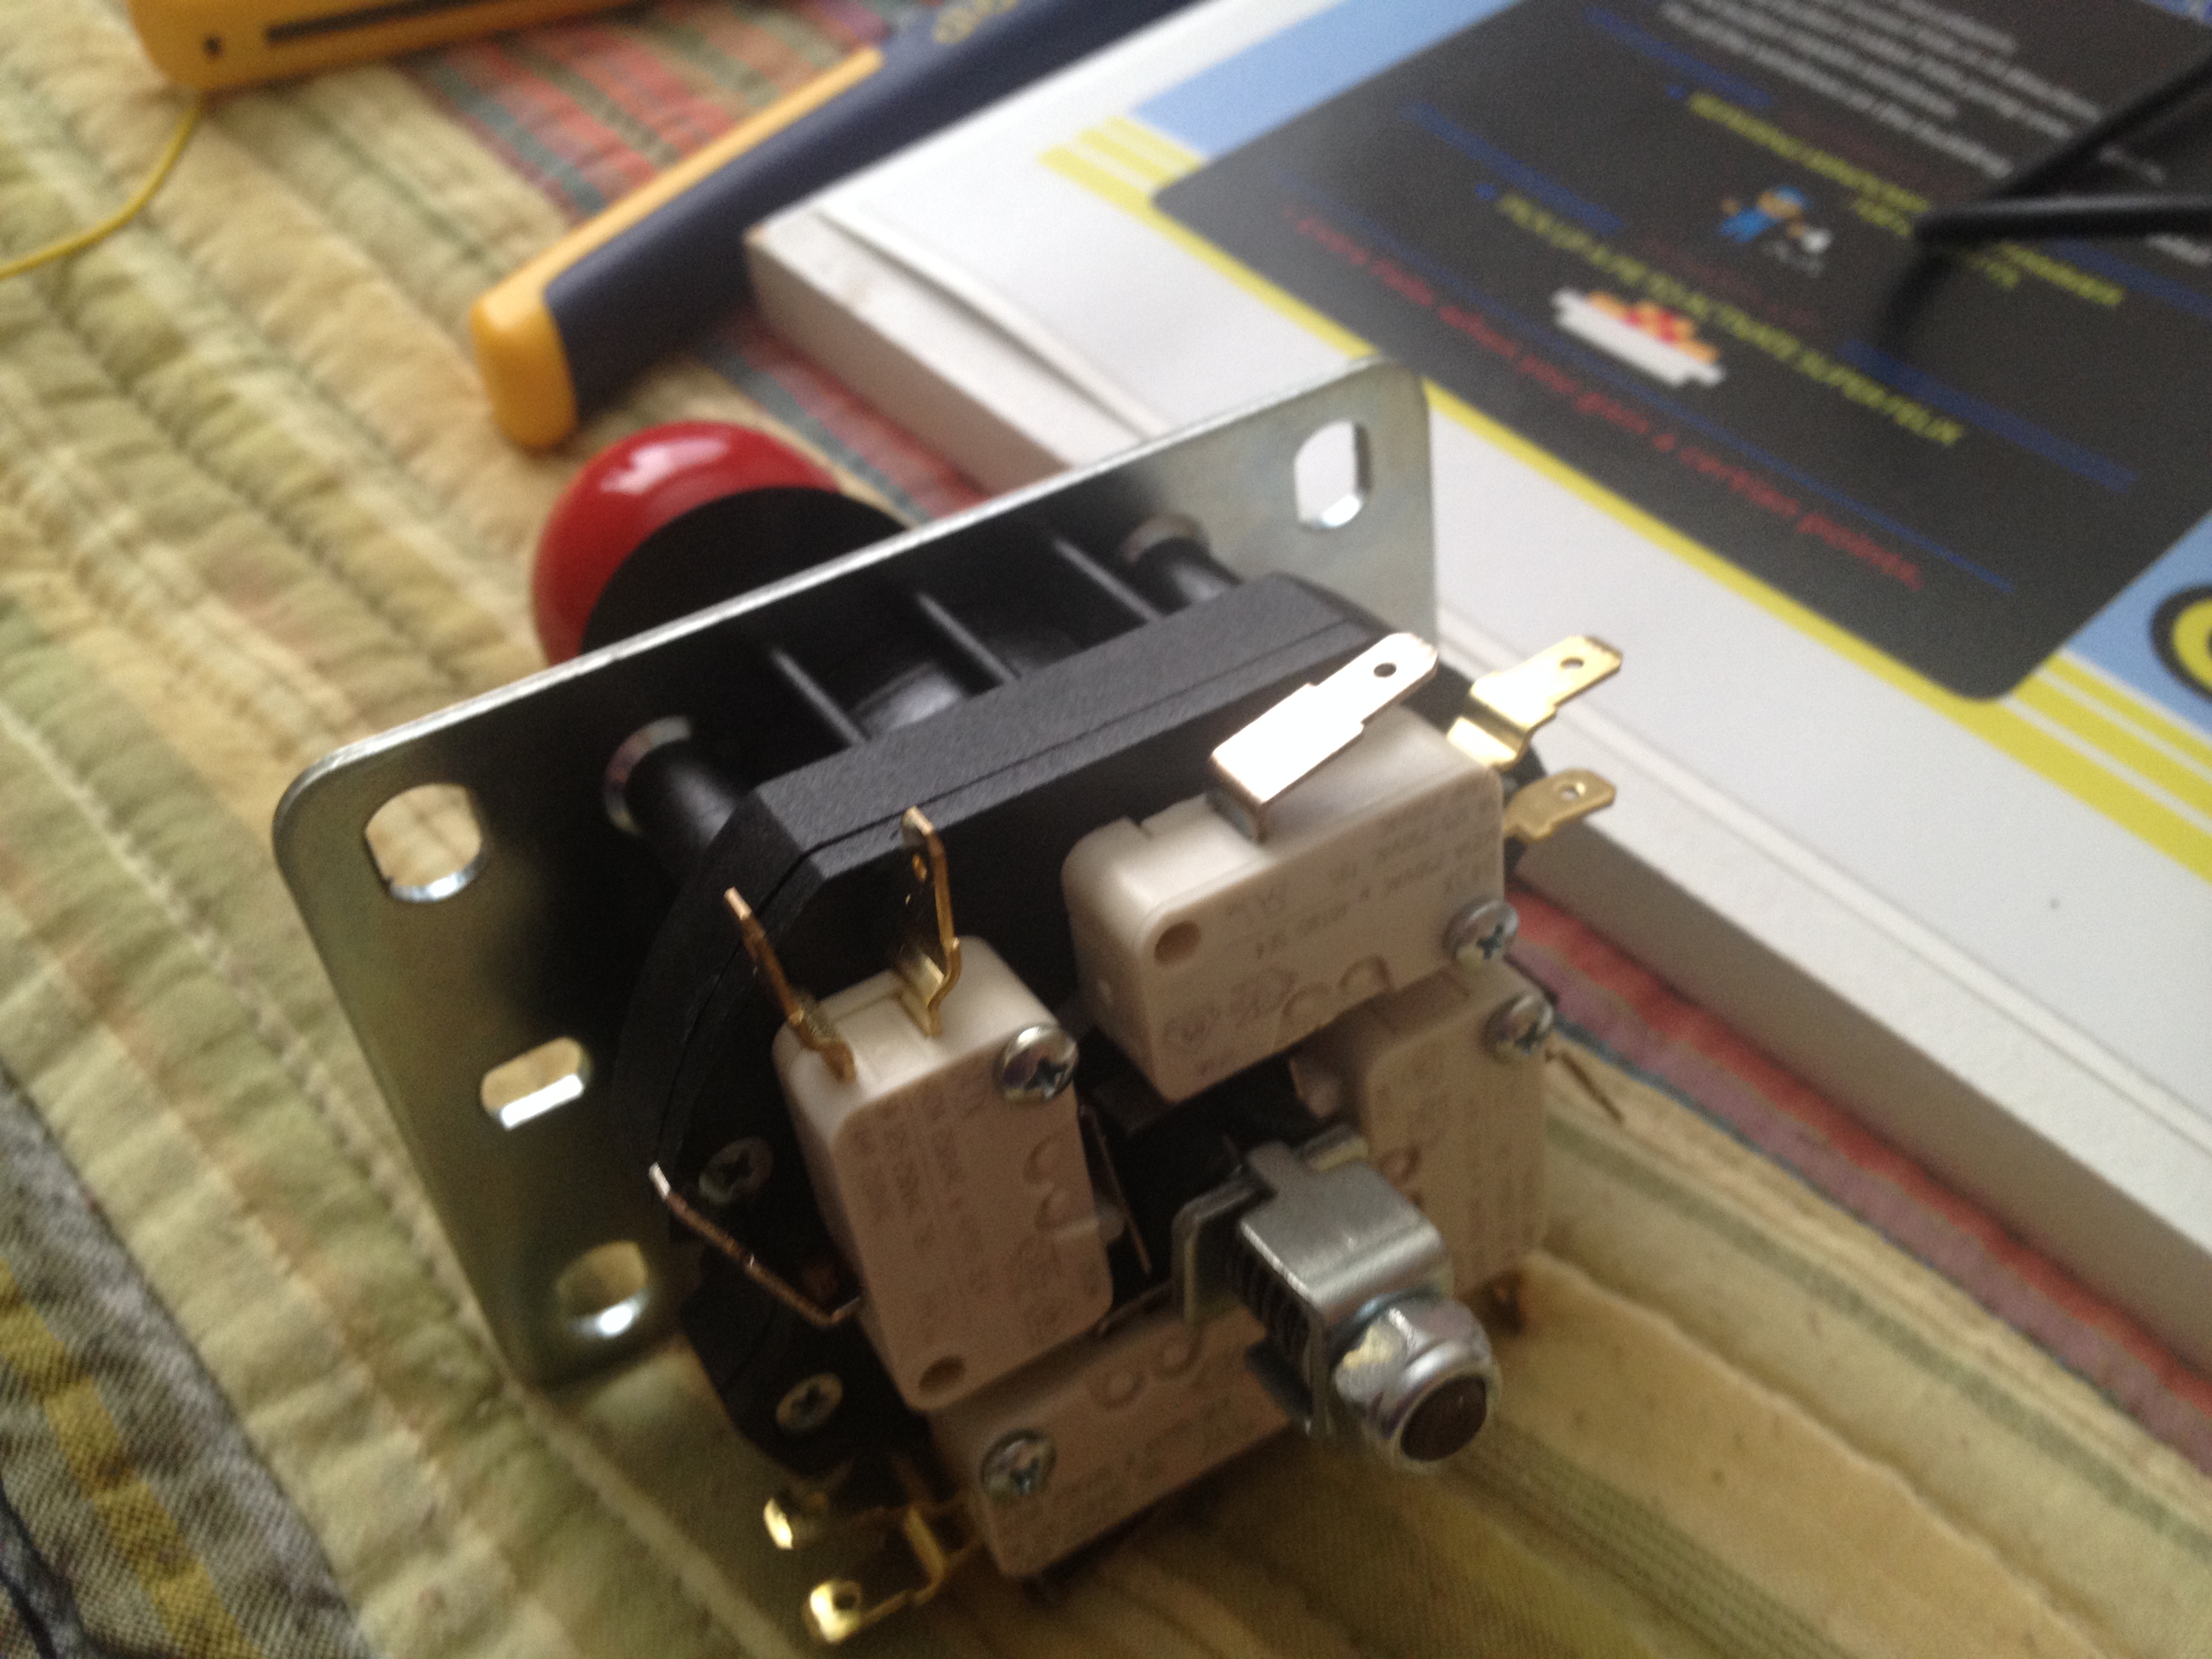
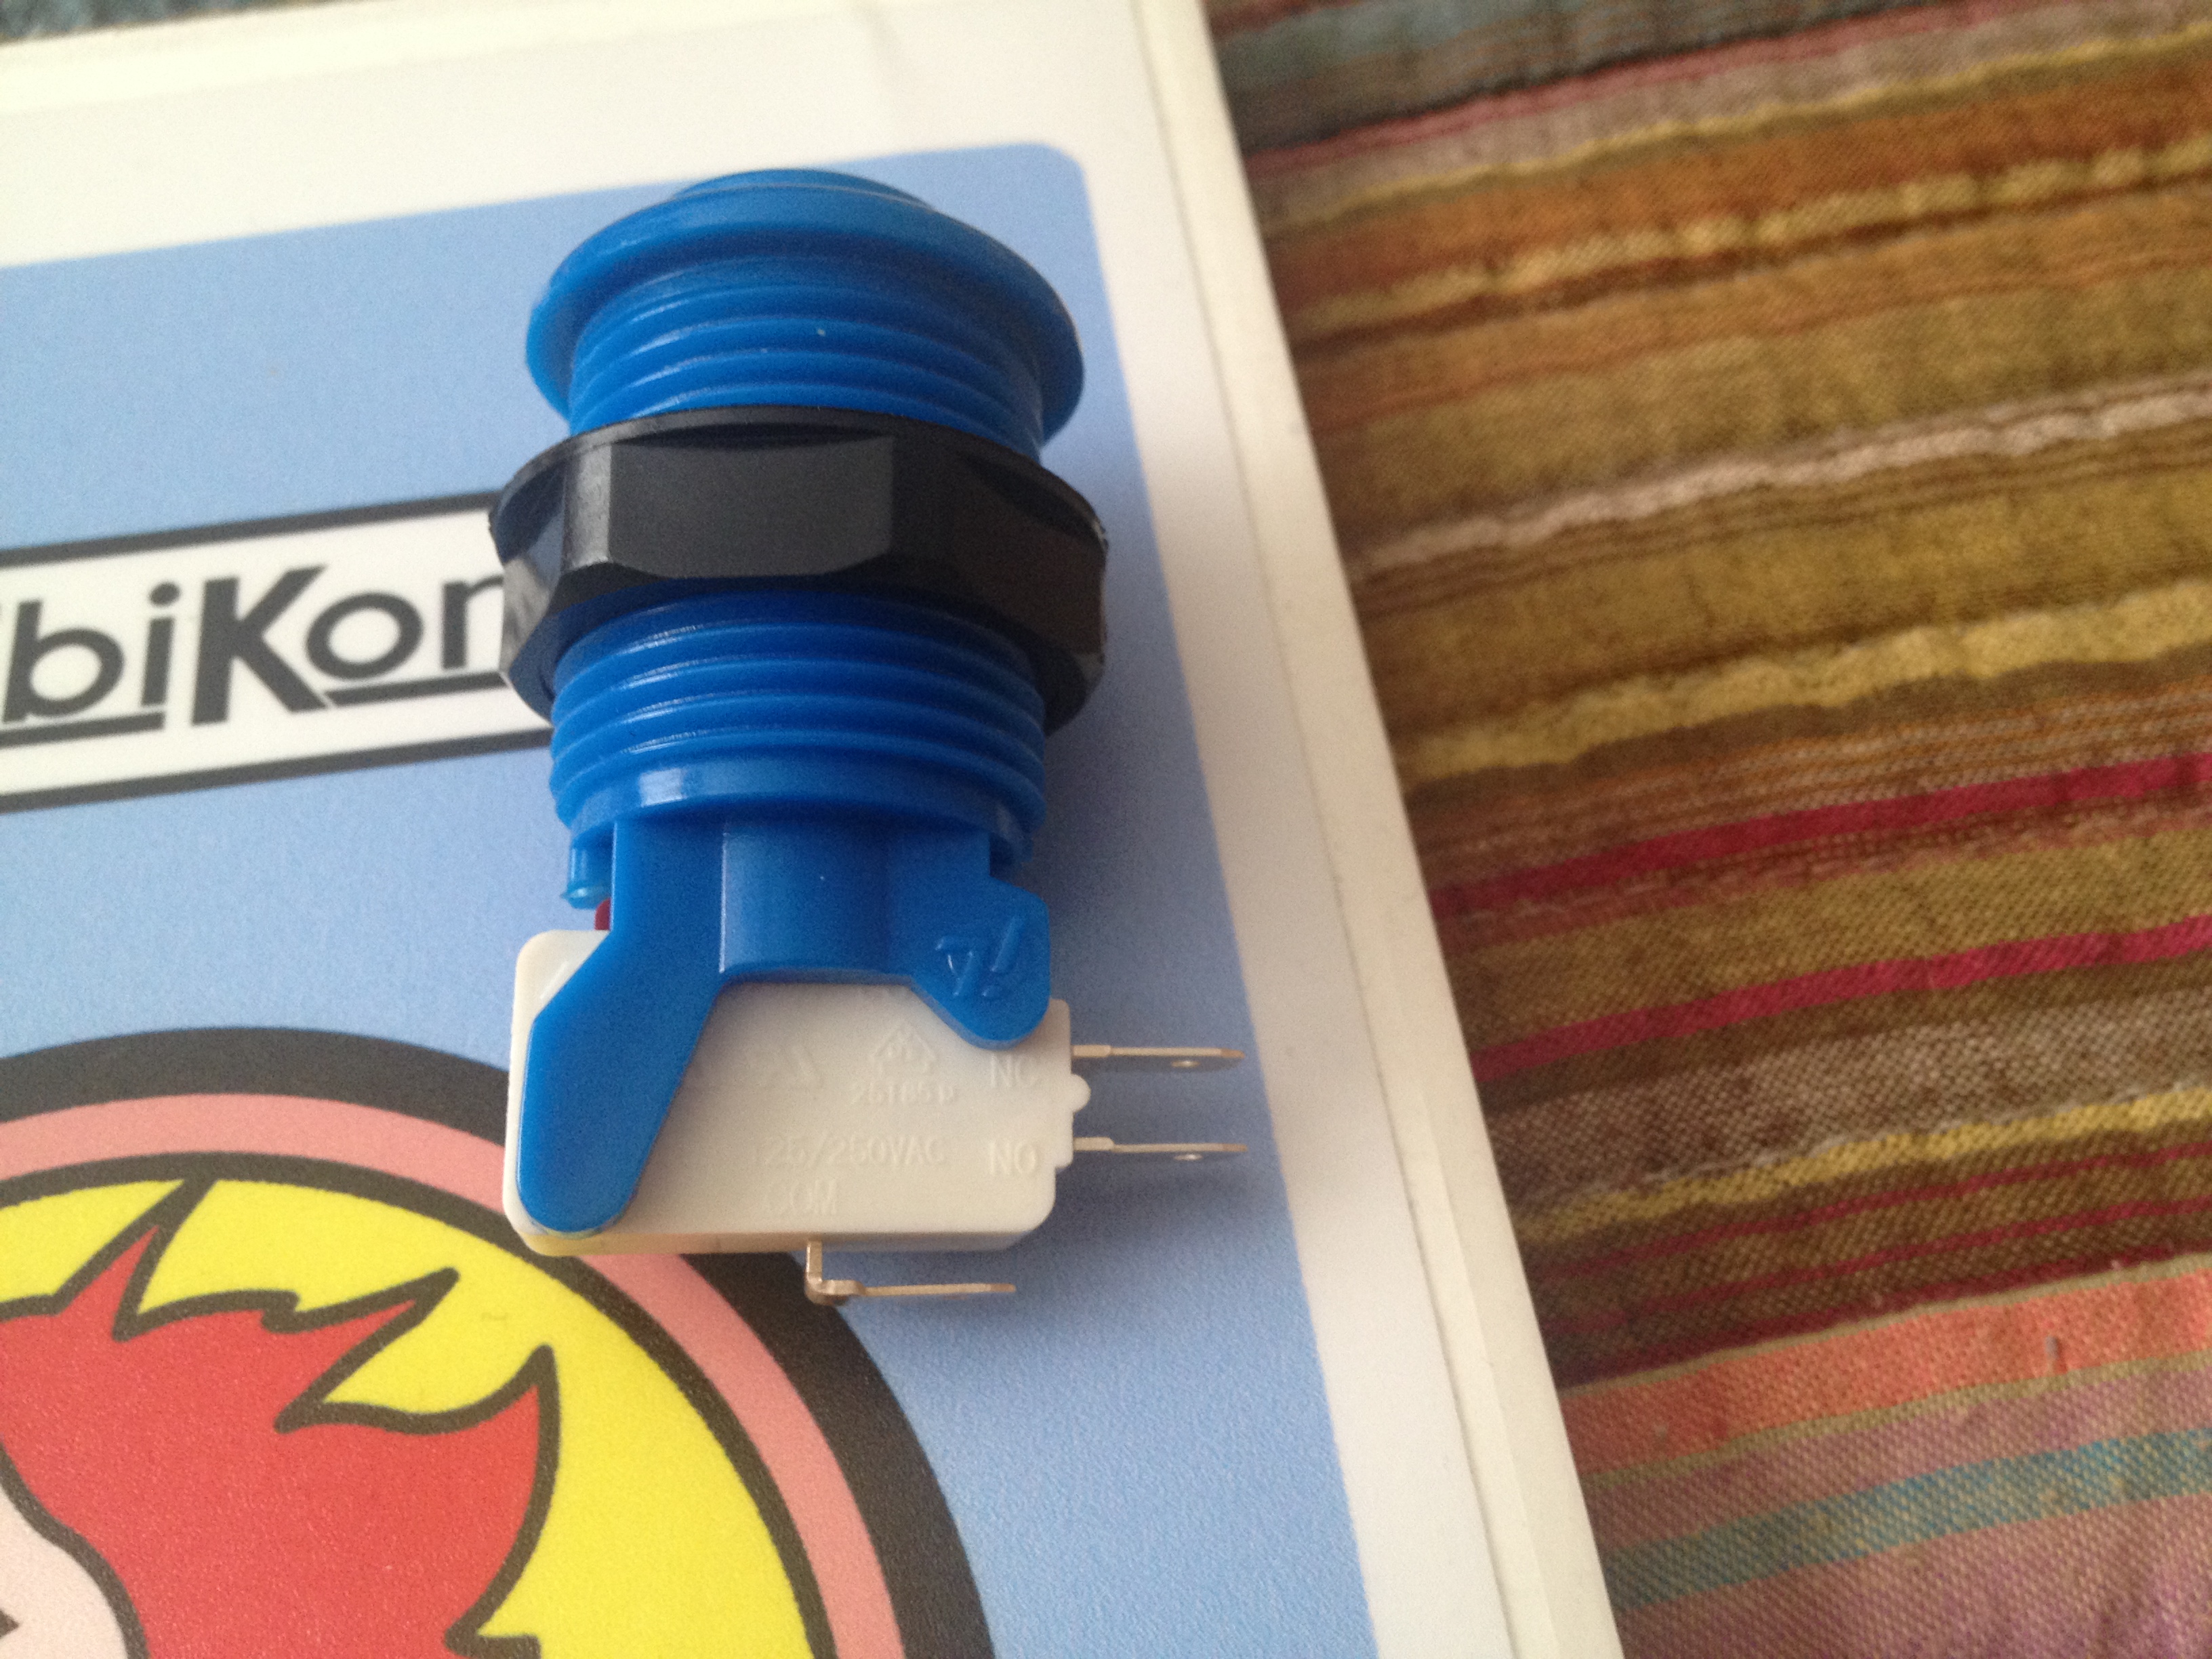
The controls interface with the computer pretty easily. First, you get buttons and a joystick. You can see mine below, I picked the buttons I wanted based on size and color to match Fix it Felix. The joystick is a MagStik Plus from Ultimarc, which is a switchable 4 or 8 way joystick. You can see on these pictures the microswitch (the white parts) with little metal prongs coming off. This is what you attach wire to.

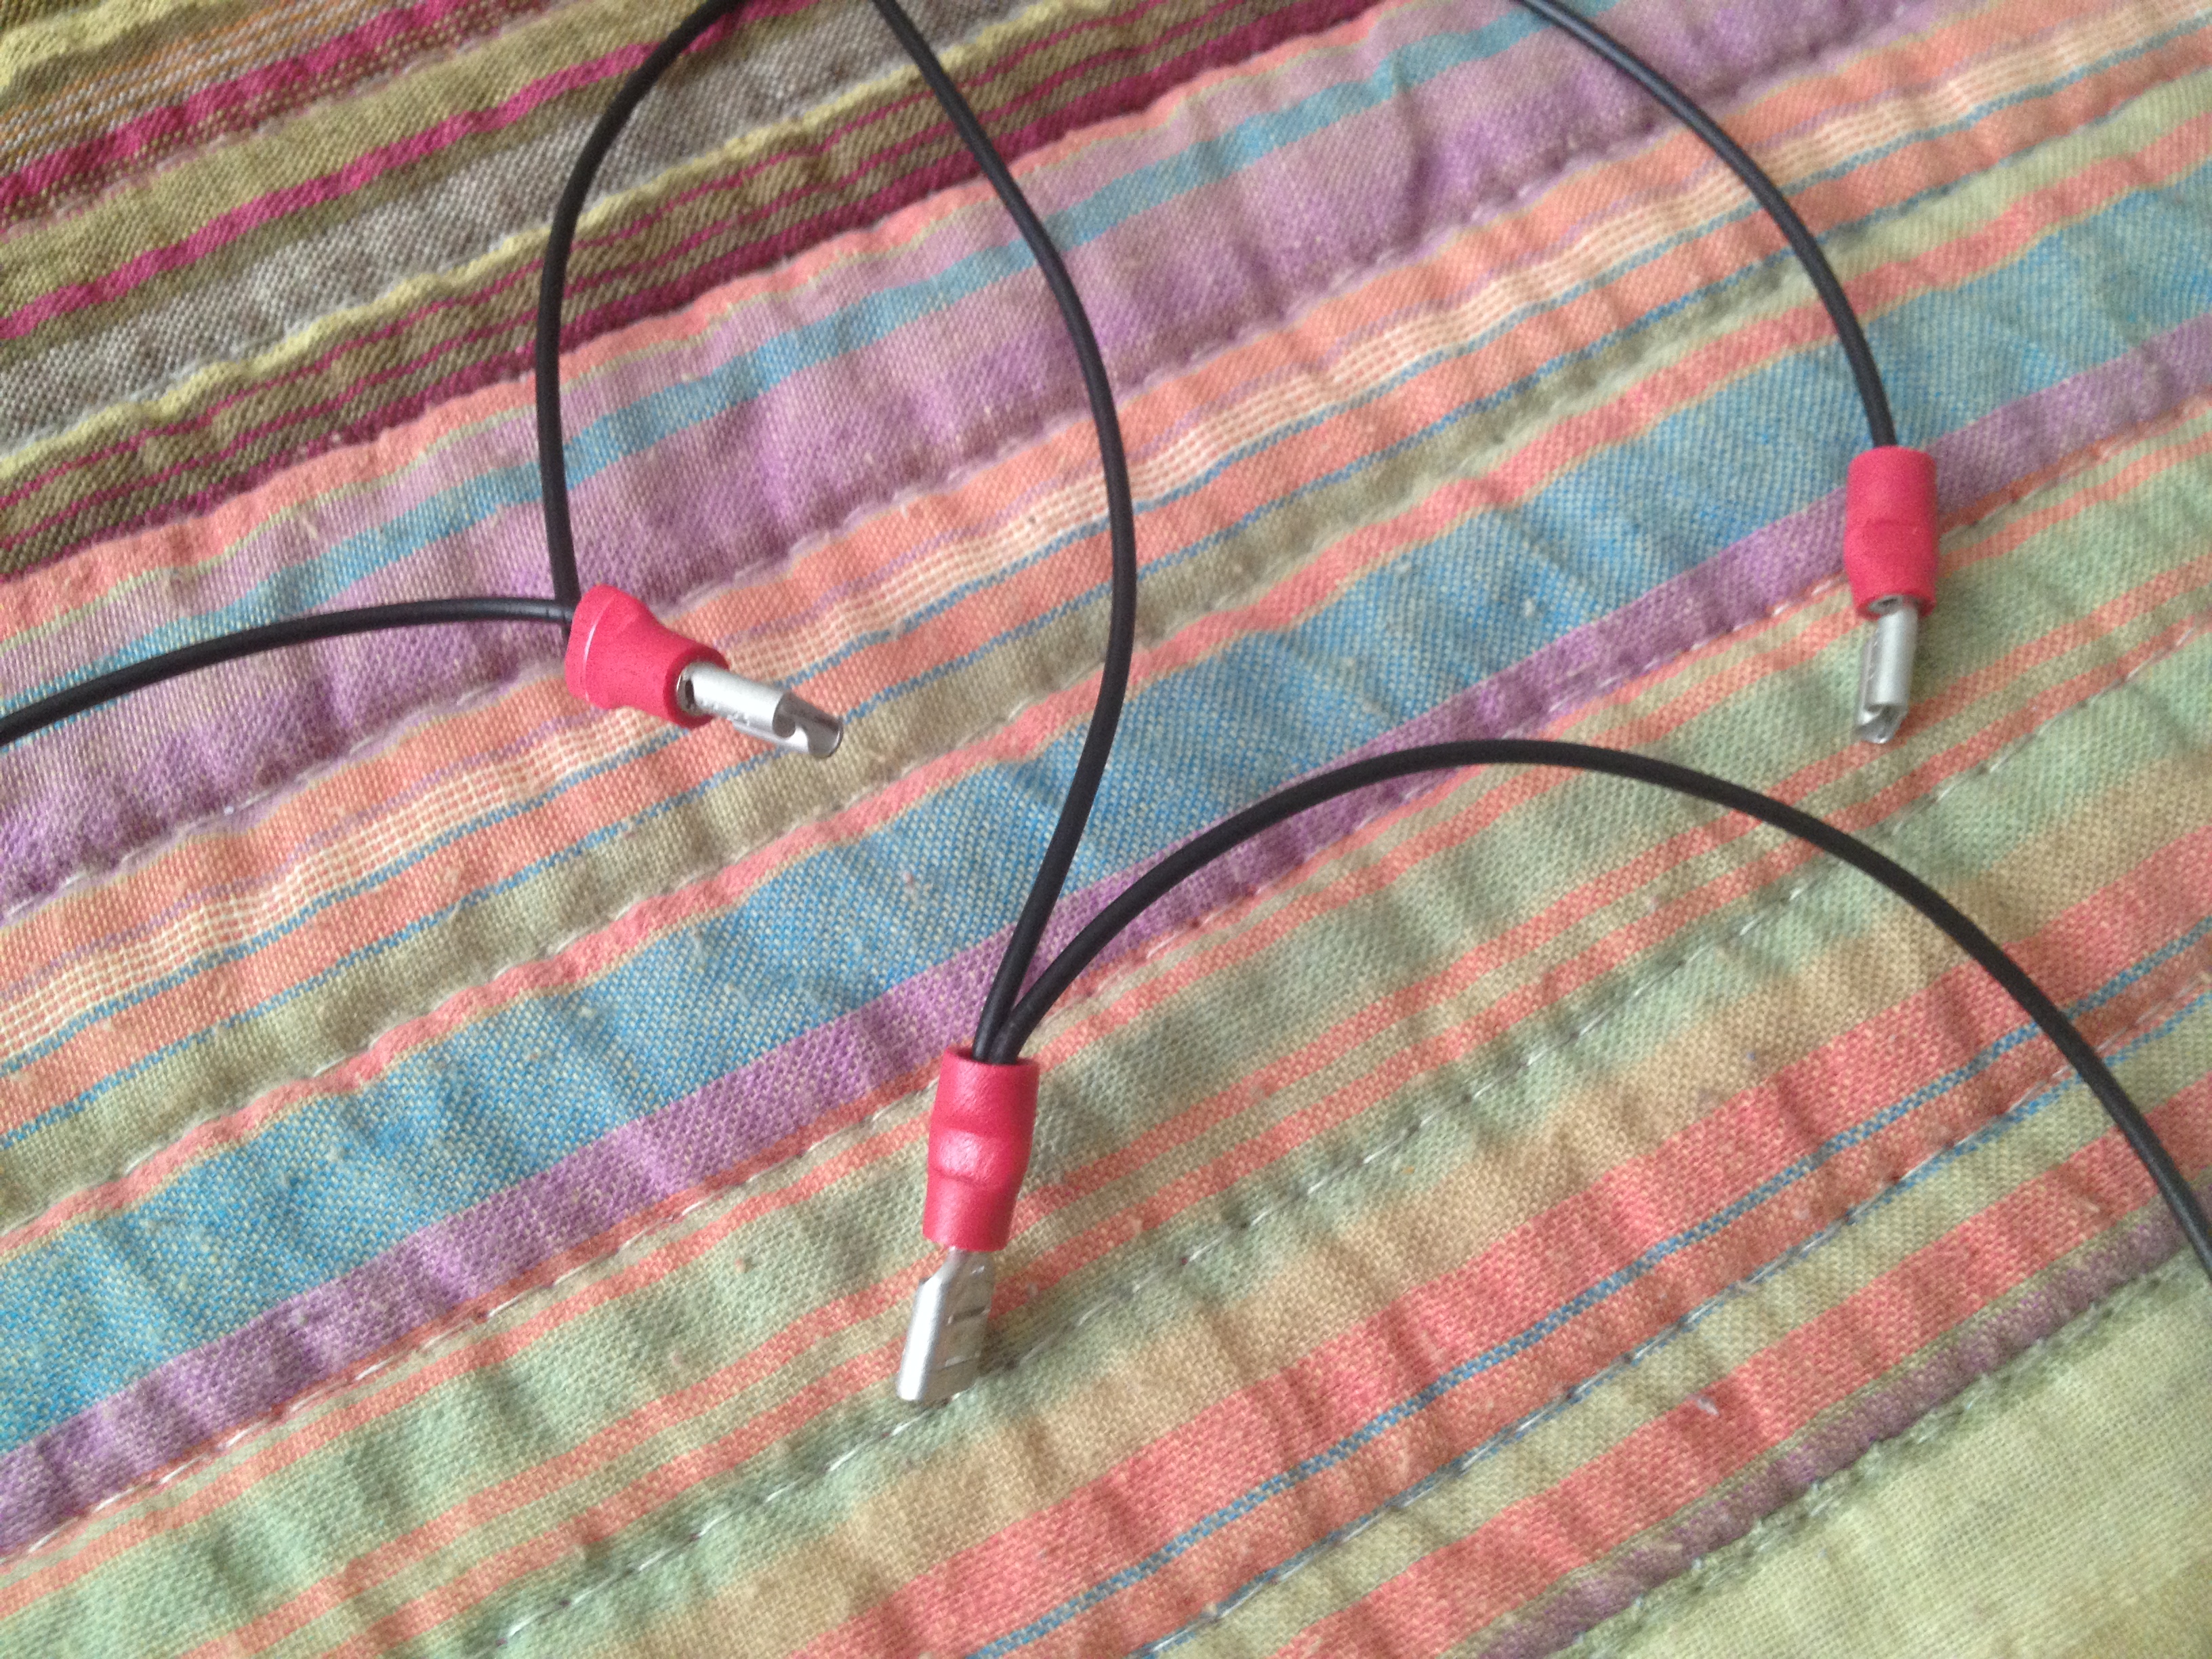
In the next pictures, you can see some wire I made to attach. Specifically, this is my ground wire. It’s easy enough to make, you strip the wire, attach a quick disconnect to the end, and then crimp it on. Each microswitch needs two wires attached to it. The main wire sending the signal, and then the ground wire. The ground wire can be shared among all the devices, which is why you can see on mine it’s daisy-chained together. I also really recommend an automatic wire stripper like the one I’ve shown.

Finally, after you’ve attached wire to all the buttons and joysticks, you attach the other ends to a controller board. In my case, I’m using an Ultimar Ipac2. This little device takes the signal sent by the microswitches and turns it into a keyboard signal. That way, when it’s attached to a computer, the computer just thinks it’s a normal keyboard. When you move the joystick “Up” it’s the same as pressing the “Up” arrow on your keyboard. Real simple. The Ipac does let you customize which keys do what, but by default it uses the standard MAME controls.
