FiF, Jr: Week 16: Cutting holes in Plexi and applying artwork
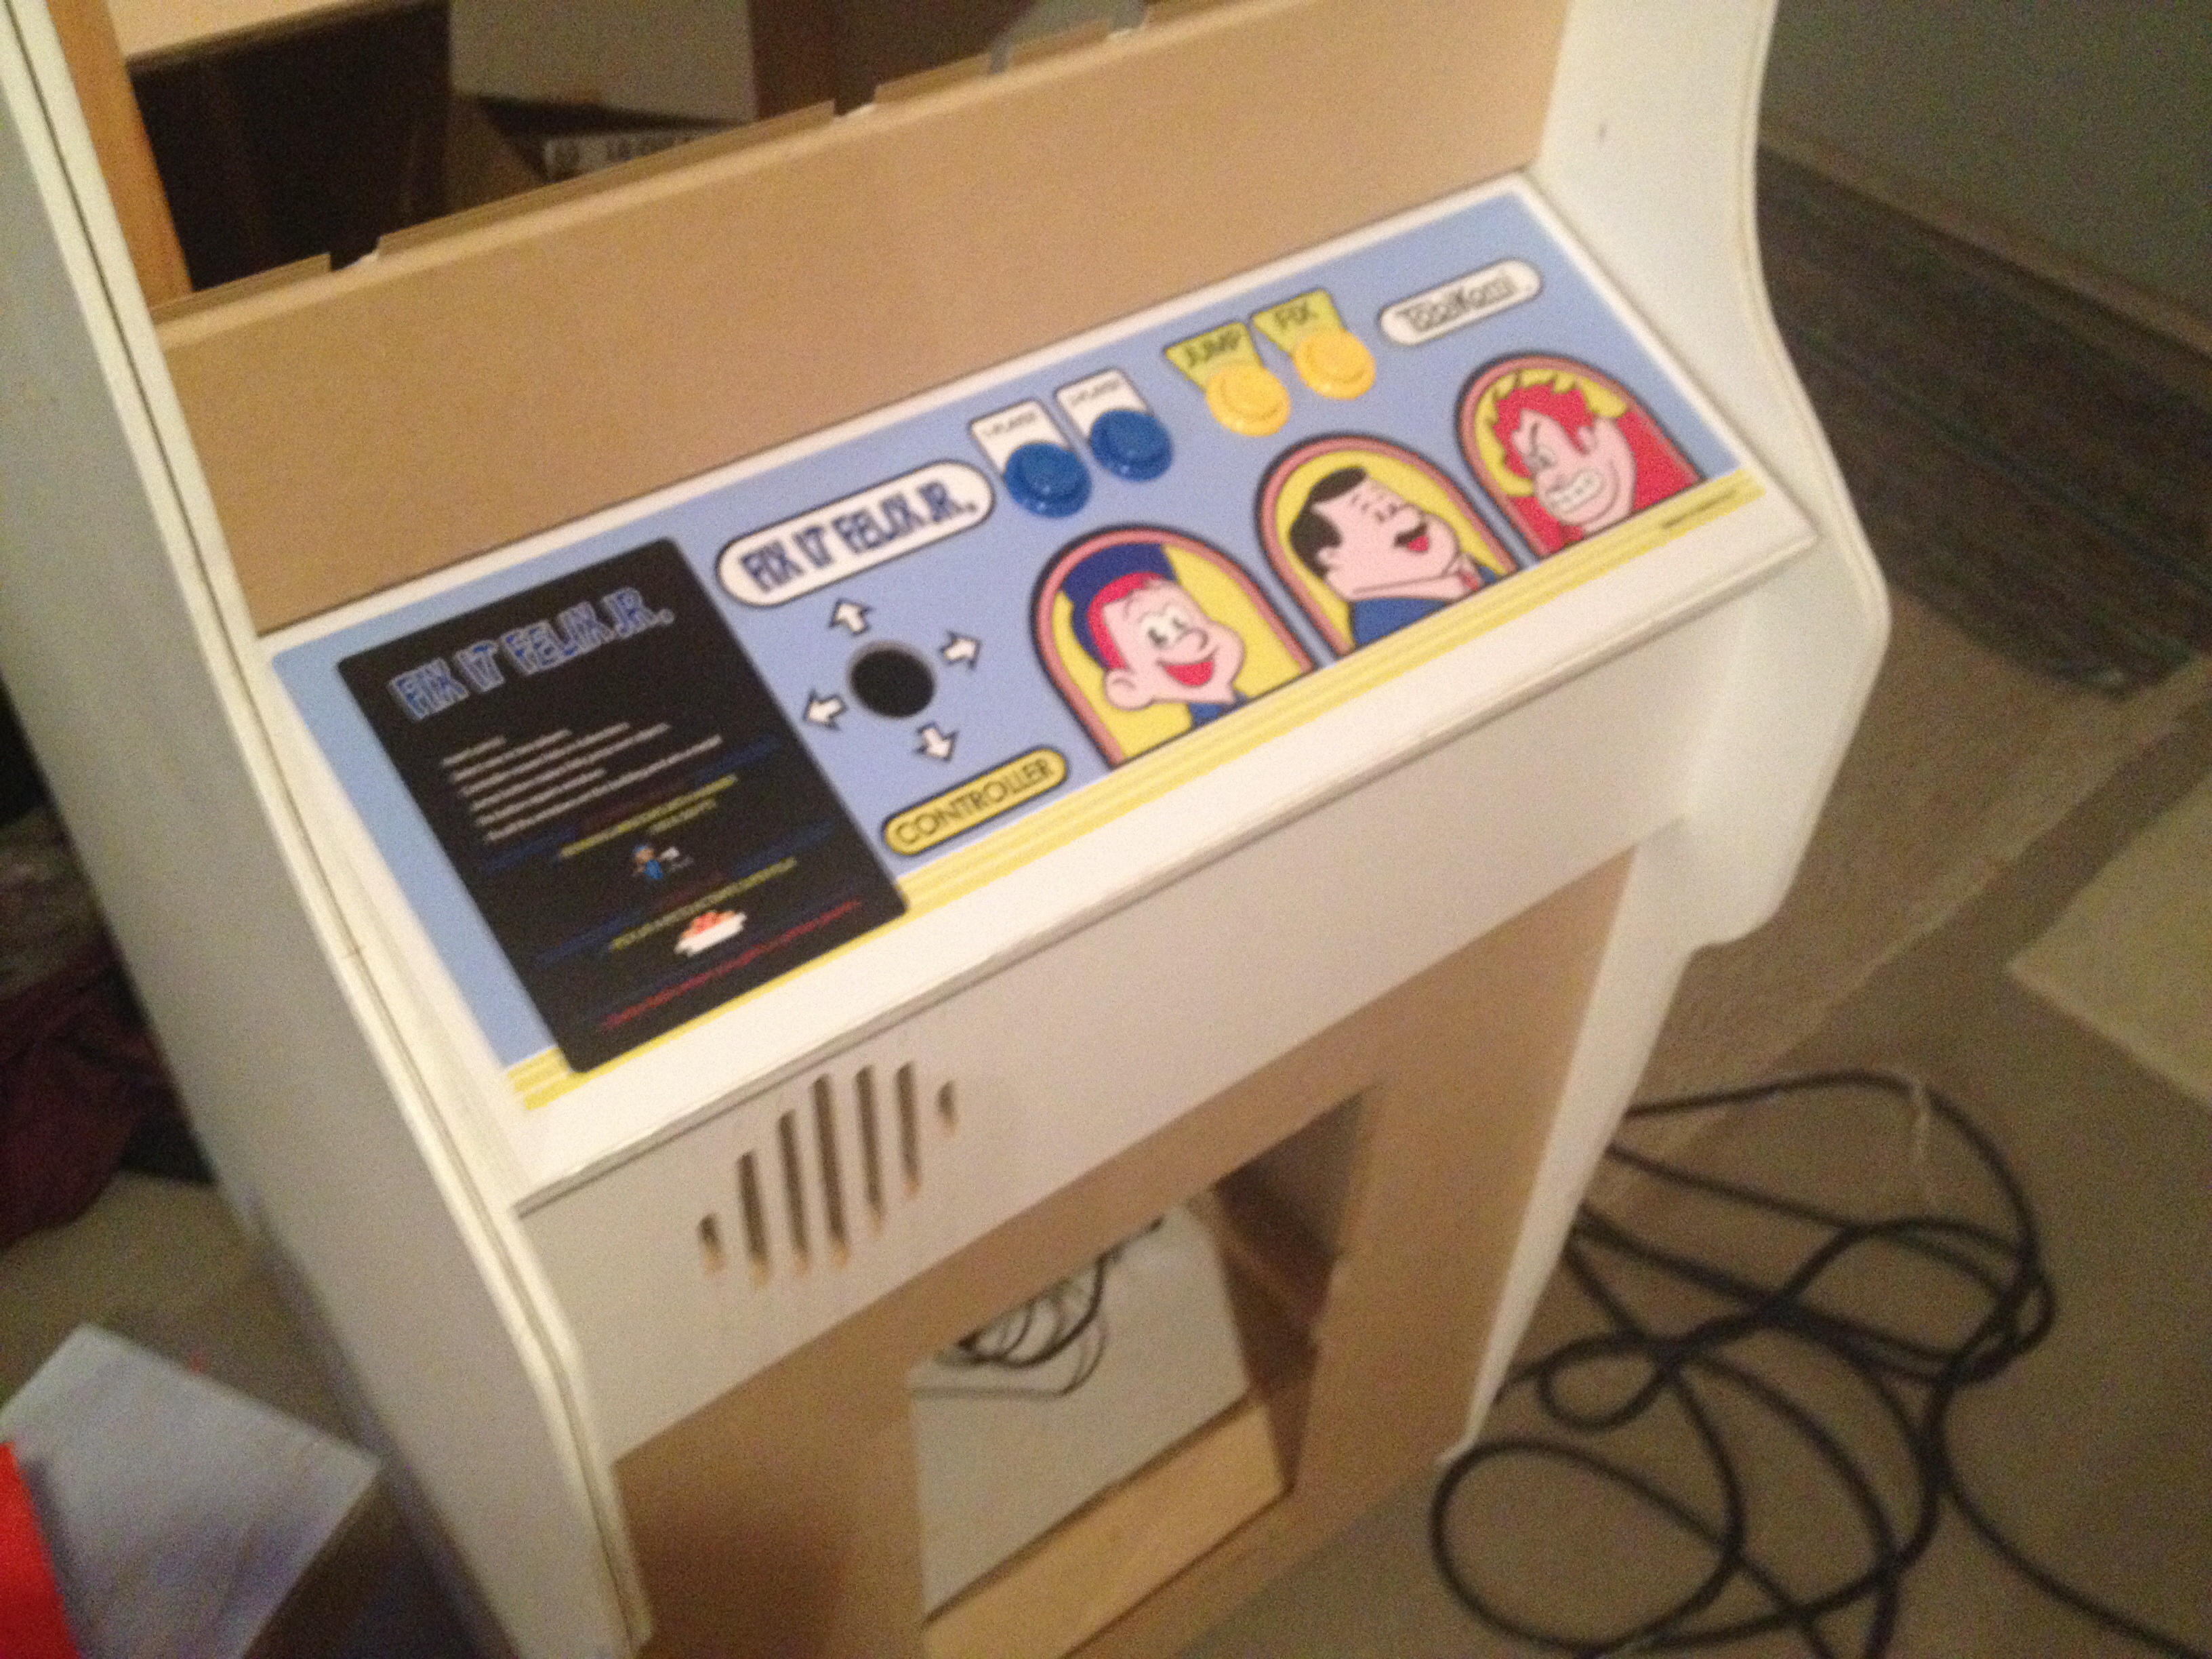
Well, this week we cut some plexiglass for the control panel. I want my artwork to be protected and I also don’t want to have my artwork directly attached to wood – incase I ever need to replace the wood panel. So, that means I’ll have two layers of plexiglass. In total, my control panel will go:
Wood -> Plexiglass -> Artwork/Sticker -> Plexiglass
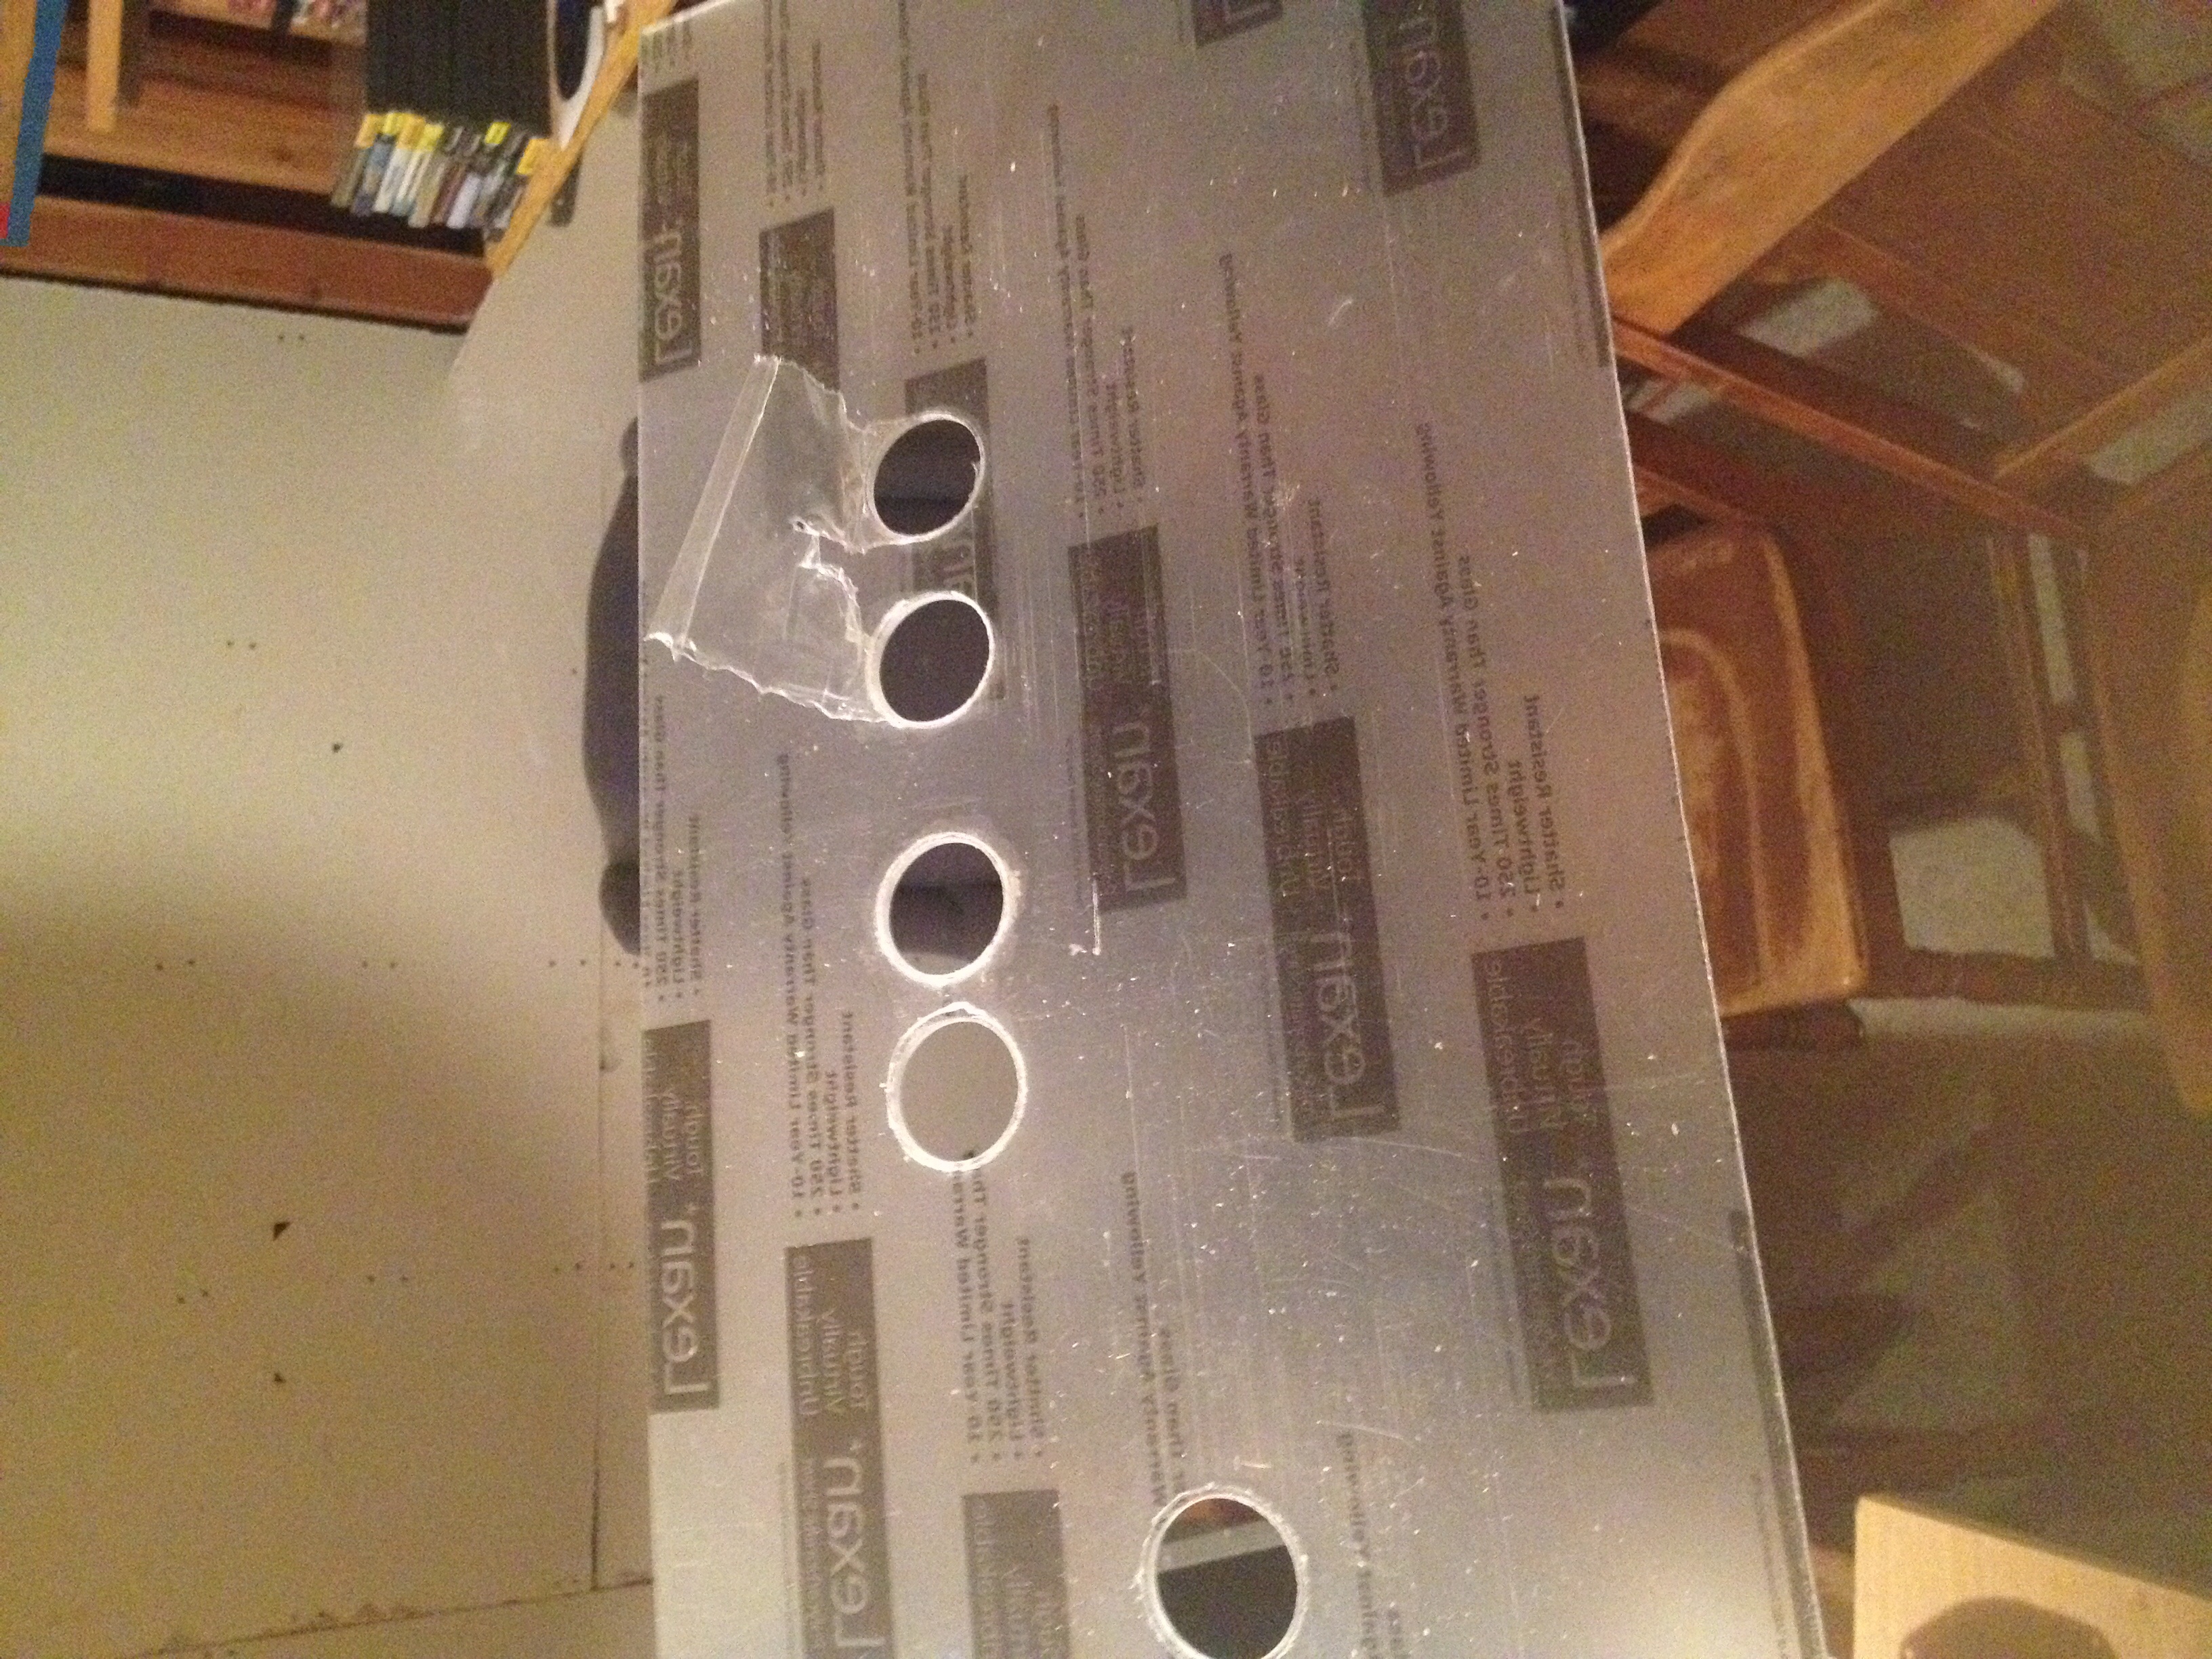
This required us to cut some plexiglass; thanks much to our neighbor Mr. Ekola for letting us use his table saw. Then, poppa and I hopped on the drill press, in combination with a forstner bit to drill holes into the plexi. We learned the best method was to sandwich the plexiglass between two pieces of wood. In our case, one piece was scrap. The other piece was the wooden control panel so that the holes would line up properly. This helps keep the plexiglass in place and flat while drilling so it won’t crack or splinter. Worked pretty slick! I then applied the artwork to one of the pieces by cleaning it first and then lining it up. I taped half of it down and used a clamp. Then applied the sticker portion to the remaining half. After that, removed the clamps and finished up. I did a decent job but somehow my lineup got off just a tad so the holes are about 1/8 inch off. This’ll have to do because I’d rather not buy more artwork. BUT I definitely learned a lot for the future.
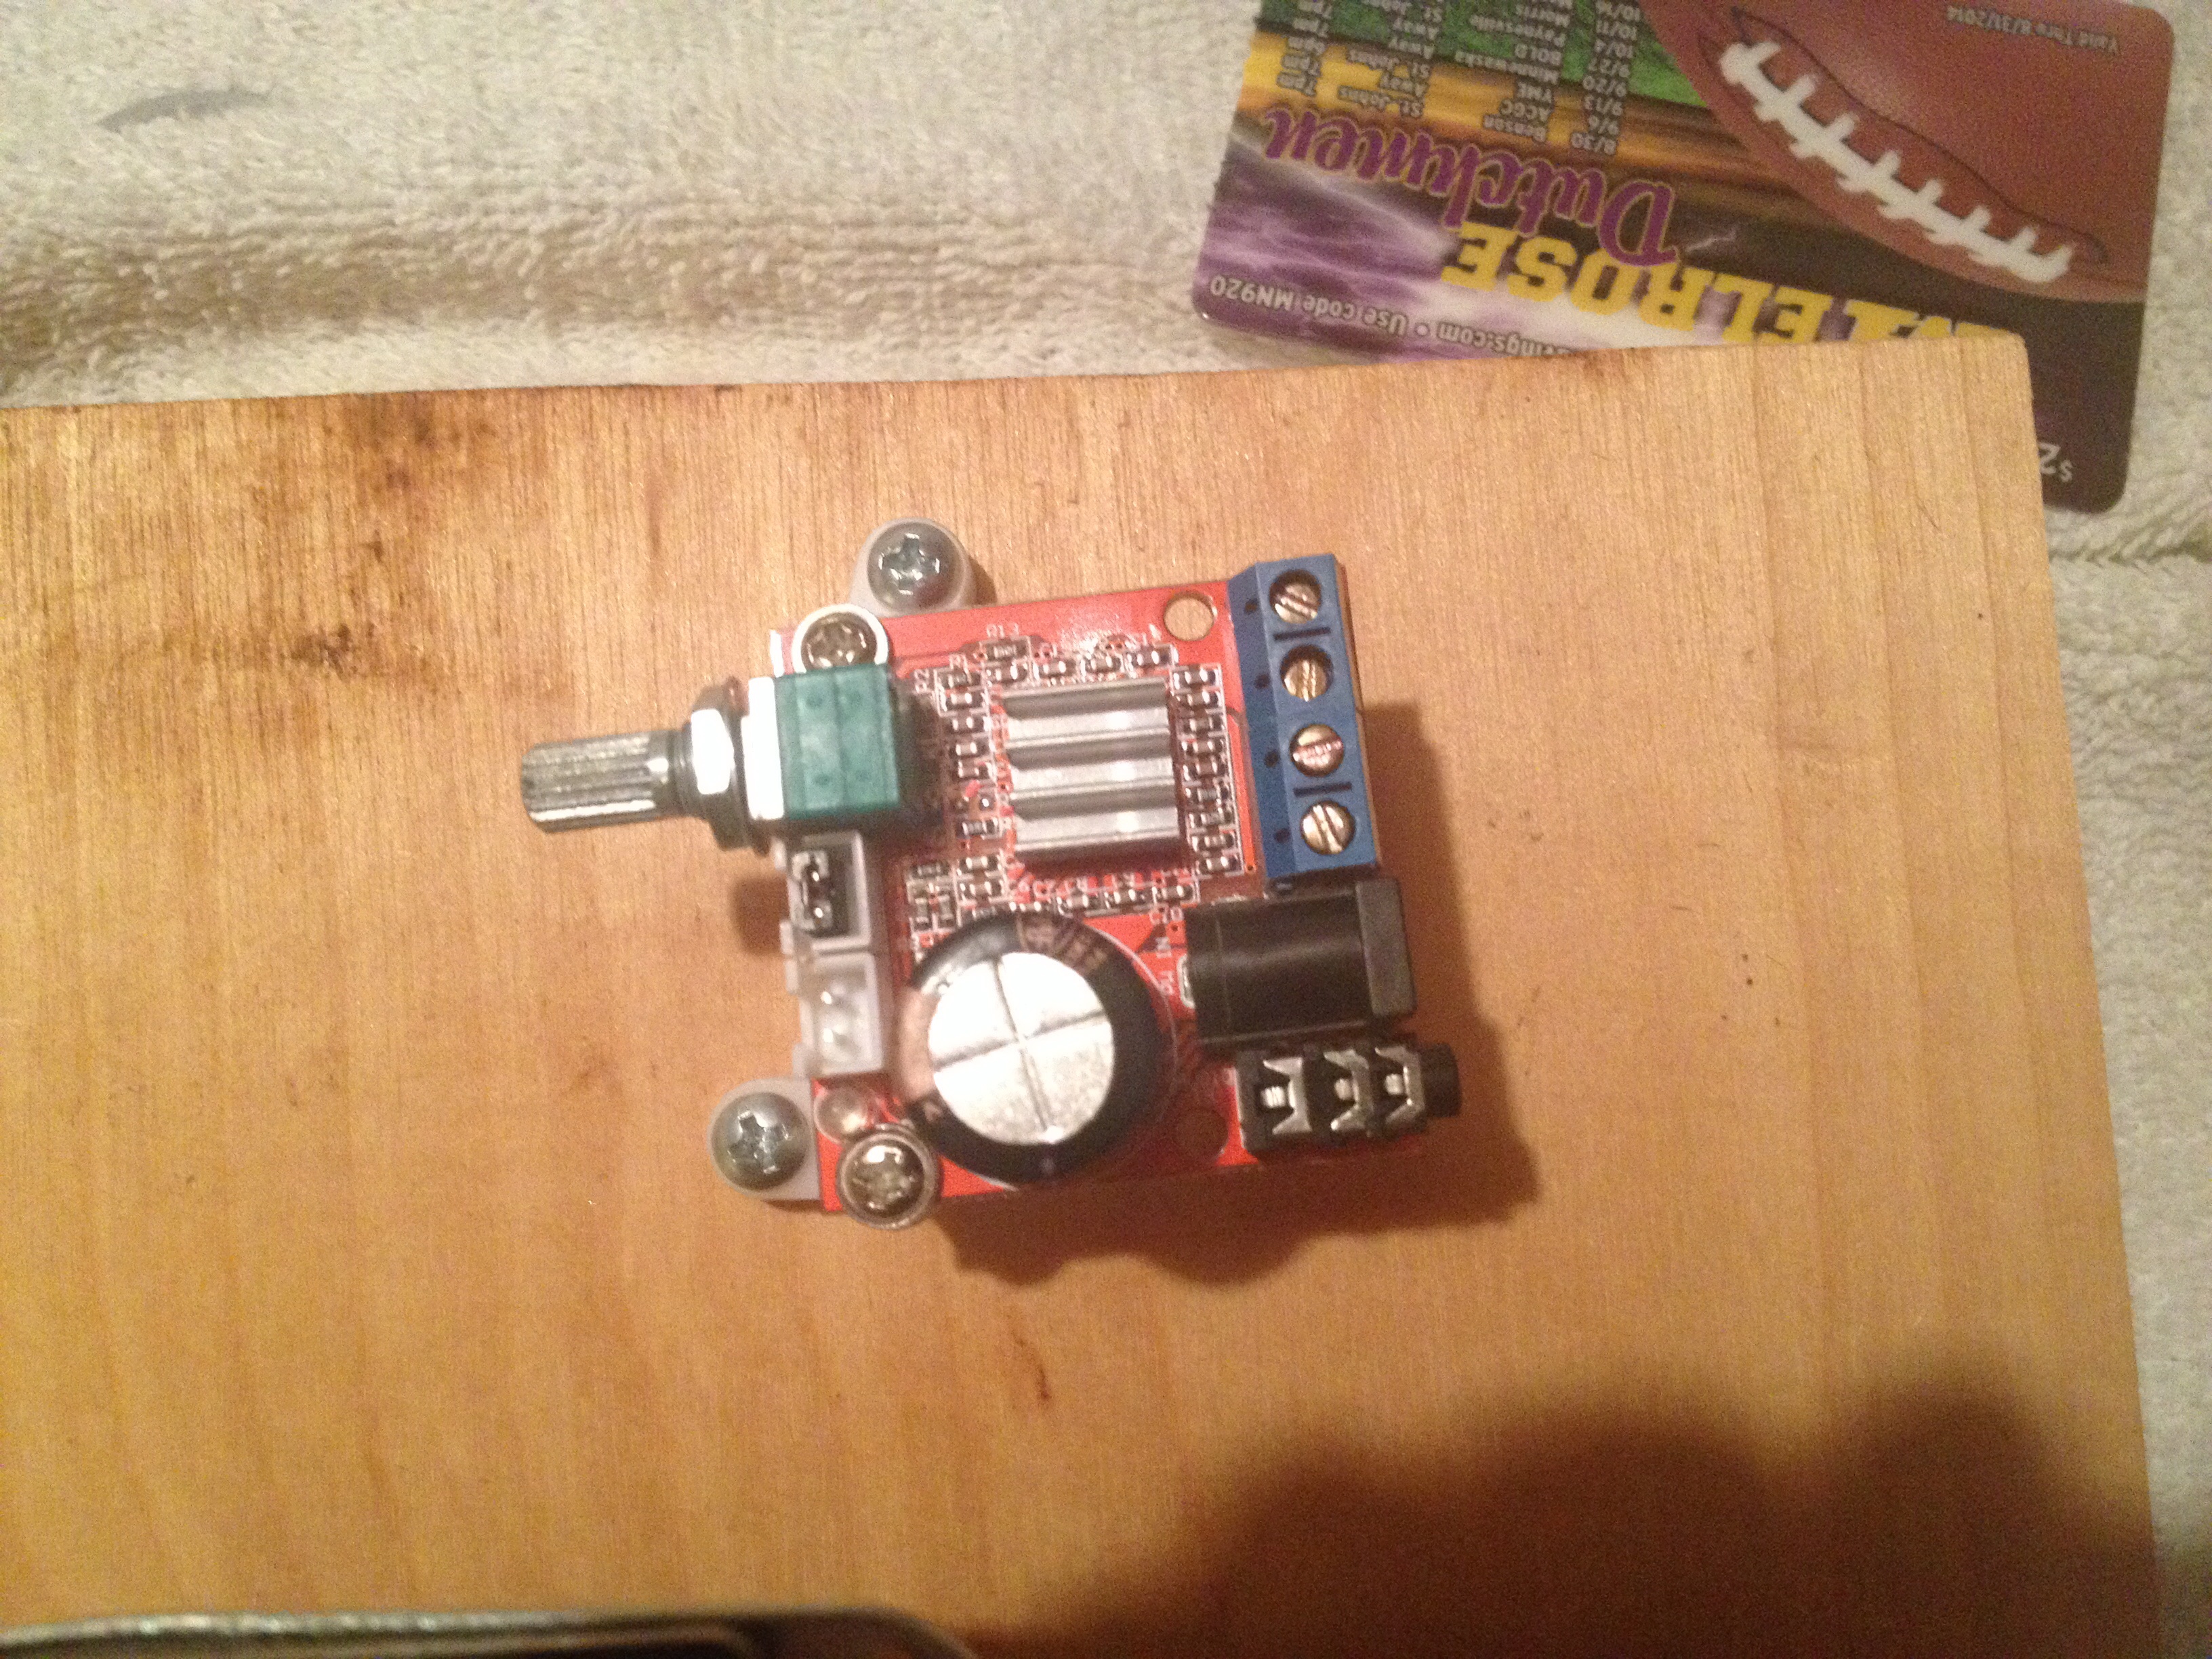
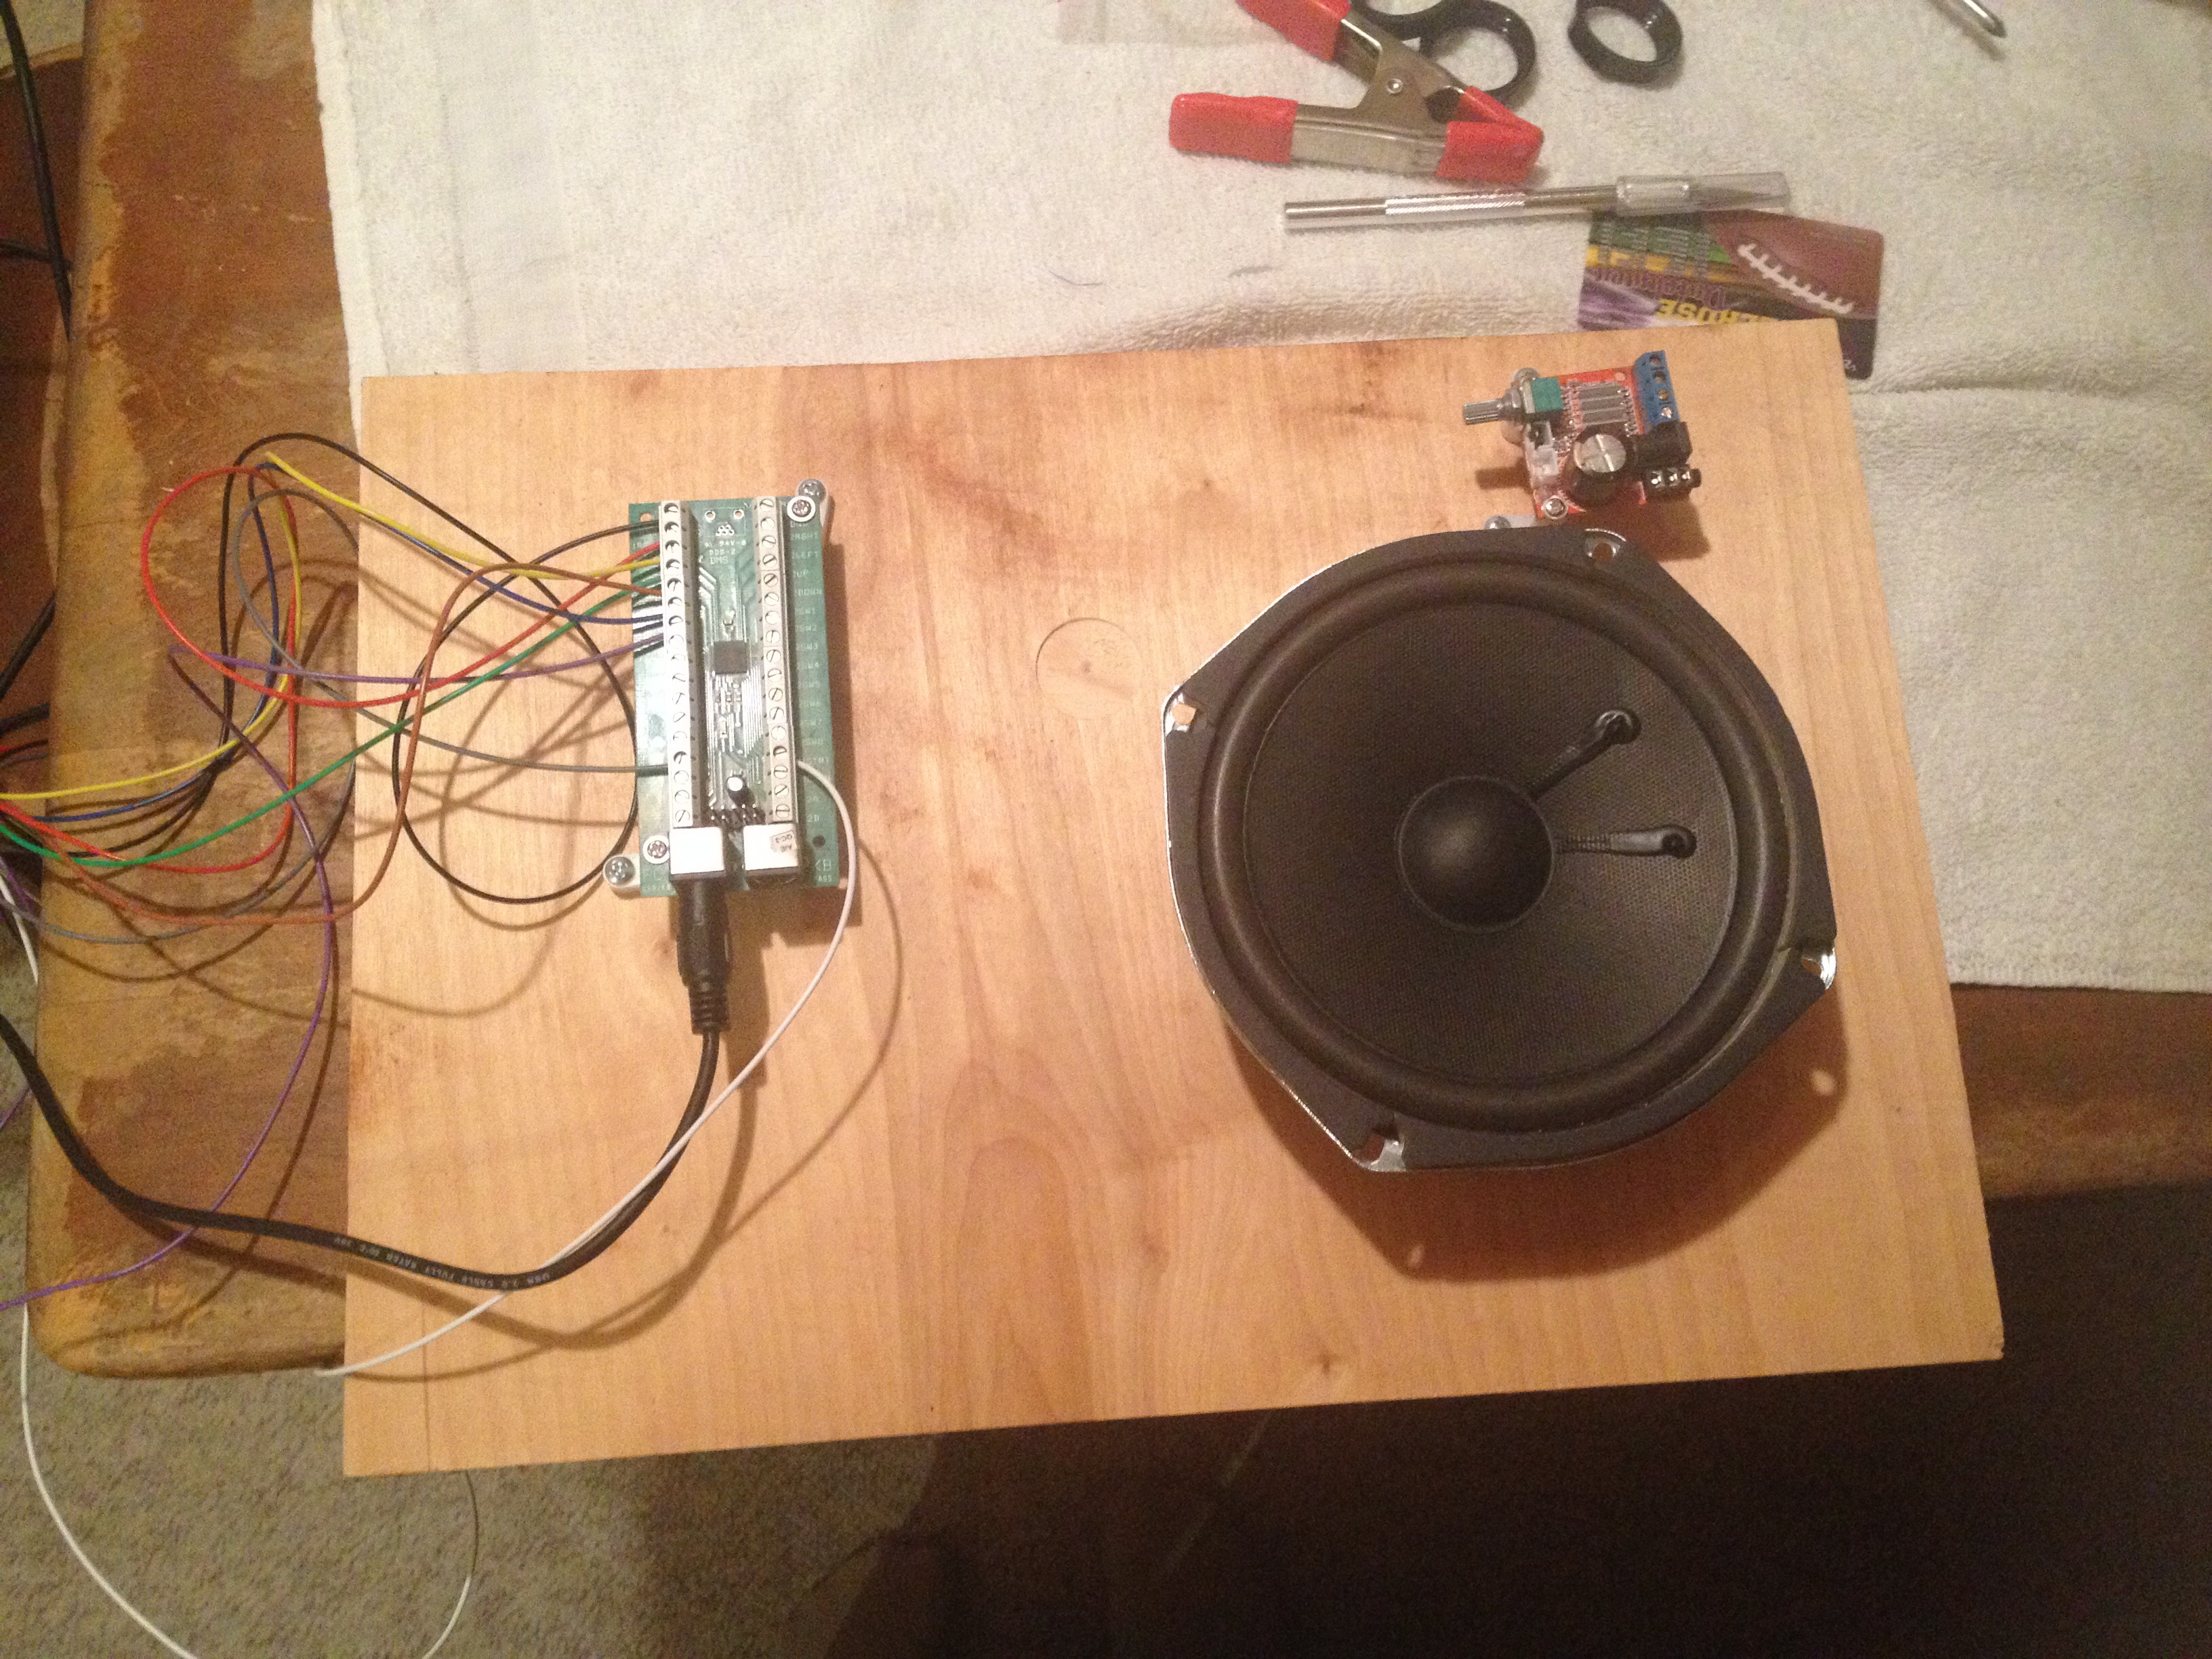
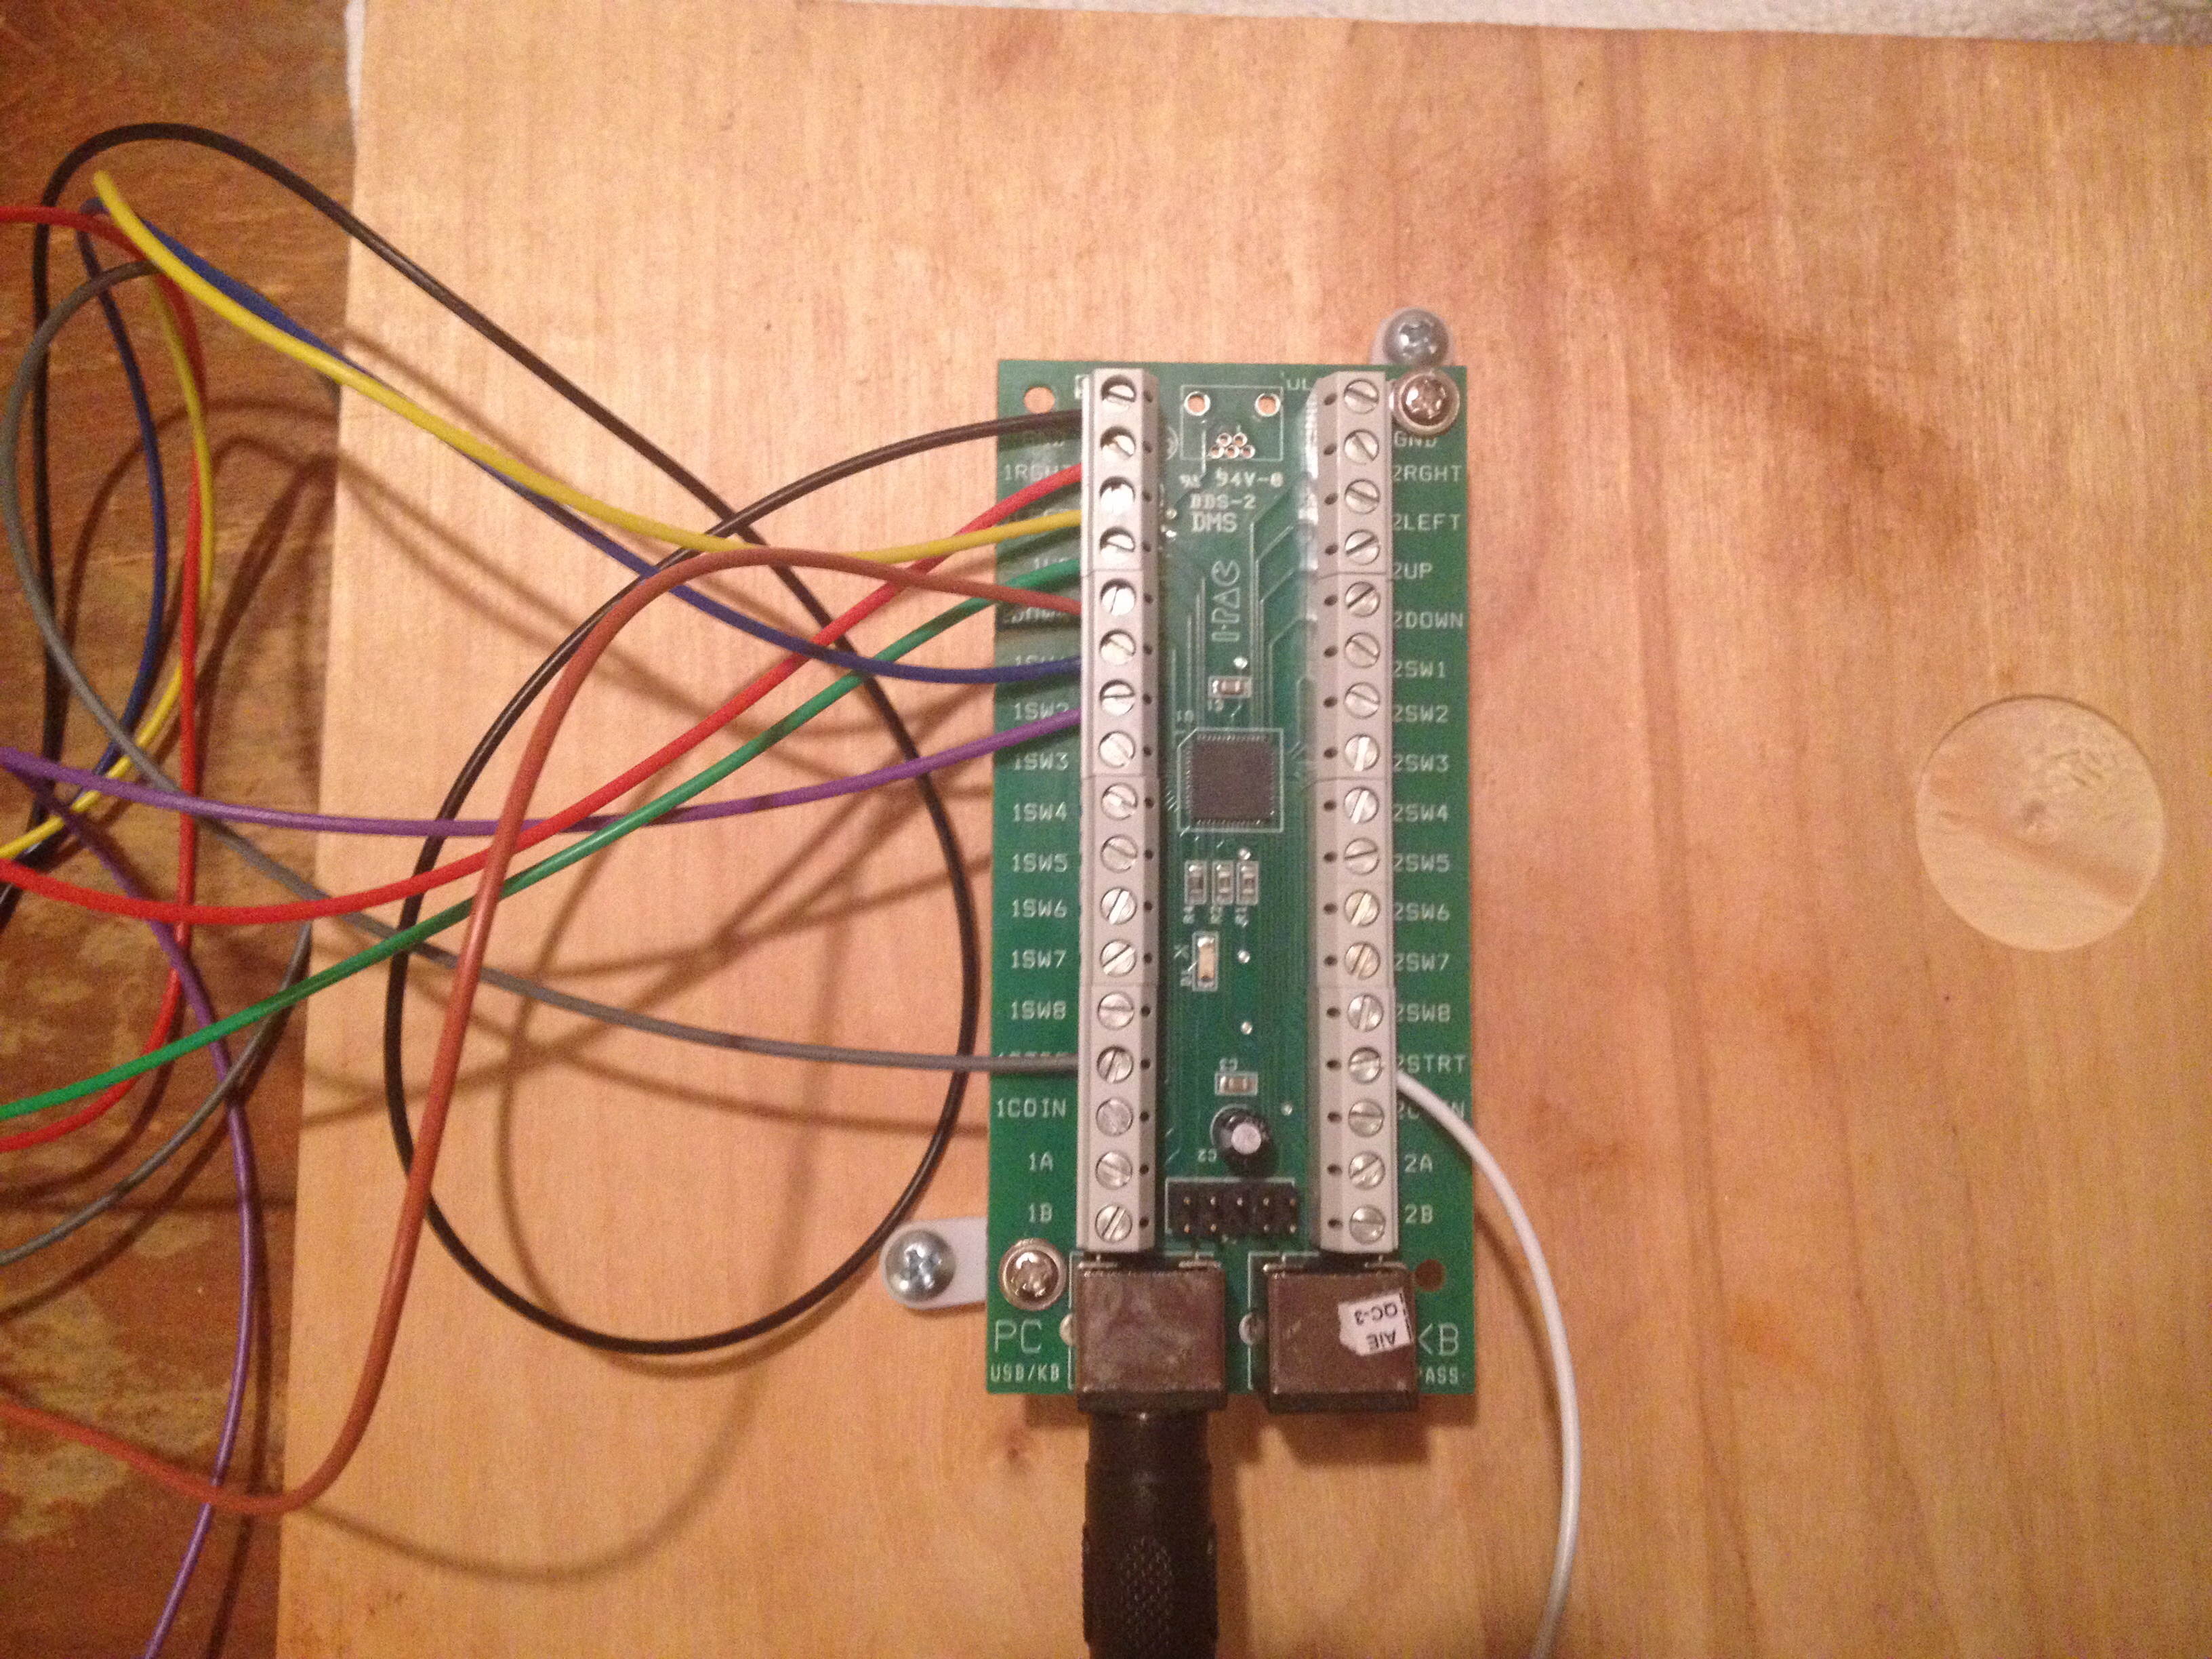
I also attached the IPAC Controller Board and a sound amp to a piece of wood. That way those pieces can easily be removed for servicing if they ever need to be. (similar to removing an arcade PCB!) I tested the amp with my speaker, works well enough.