The finishing touch on any arcade machine is the serial plate. I have to start by saying THANKS to CoryBee for showing me the way. I actually bought a custom made plate from him a few years ago but sadly misplaced it before I finished. After really thinking about it though, I knew it was something I could make myself.
Even better, I’m providing all the files for you to make your own! Let’s get started.
Design and Print Arcade Serial Plates
It’s worth mentioning that for my job, I’m in Adobe programs every day. The natural program for many people for this would be Photoshop – because of its ubiquitous nature. But the real obvious choice is InDesign. Serial plates are essentially laid-out text and meant to be printed in a specific size. That’s InDesign’s bread and butter. Illustrator would also be okay (which I used for customizing the logos). Before I got designing, I needed to know what size to make these things.
The hard workers before me often used cut-up soda cans. That works but isn’t my forte. Cutting them straight, making them flat, getting those rounded corners. Nope, not something I can do. So I searched and searched. I figured some service might be able to do the printing for me but found something even better! Amazon sells a variety of metal business cards. They’re a great size and come in a few different thicknesses. I started with VERY thin versions (.2mm thick) and they worked fine. No problems. They’re pretty flexible though and I decided I wanted just a bit more rigidity so went with .47 mm thick versions. For our purposes, you’ll want to go with silver or natural metal colors since we’ll be printing in black.
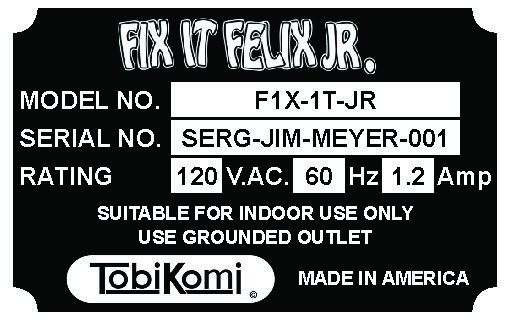
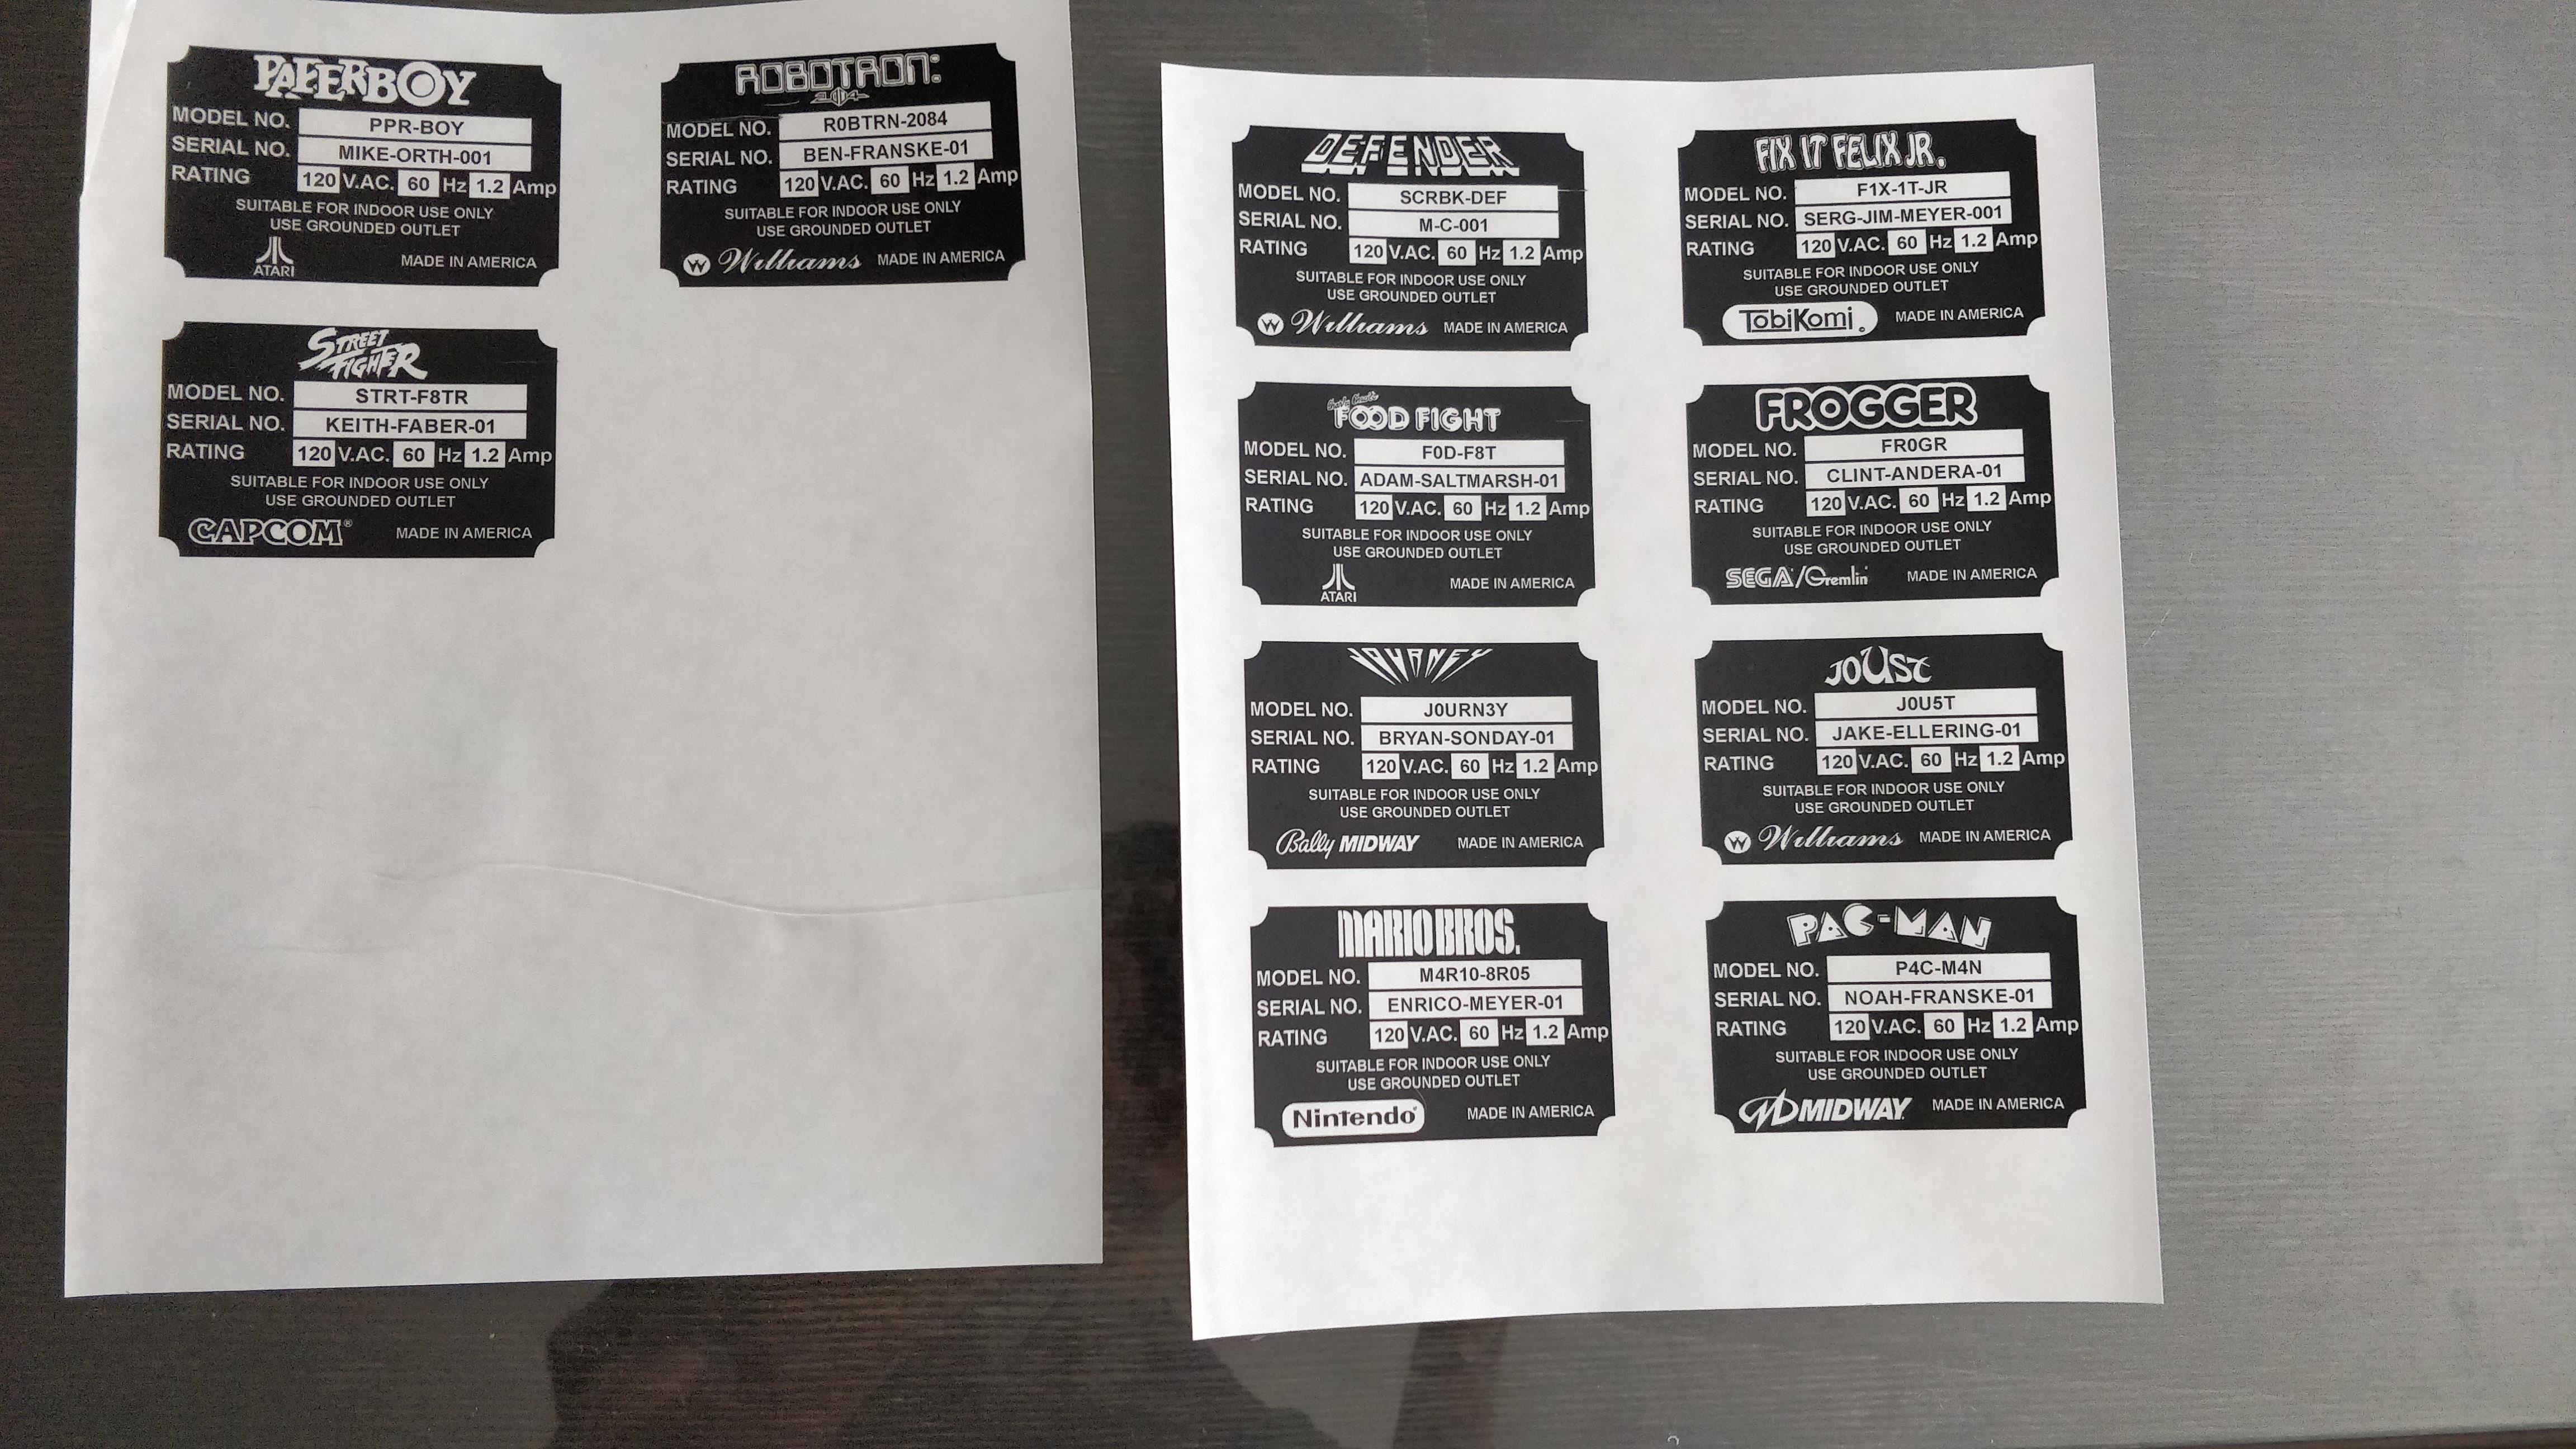
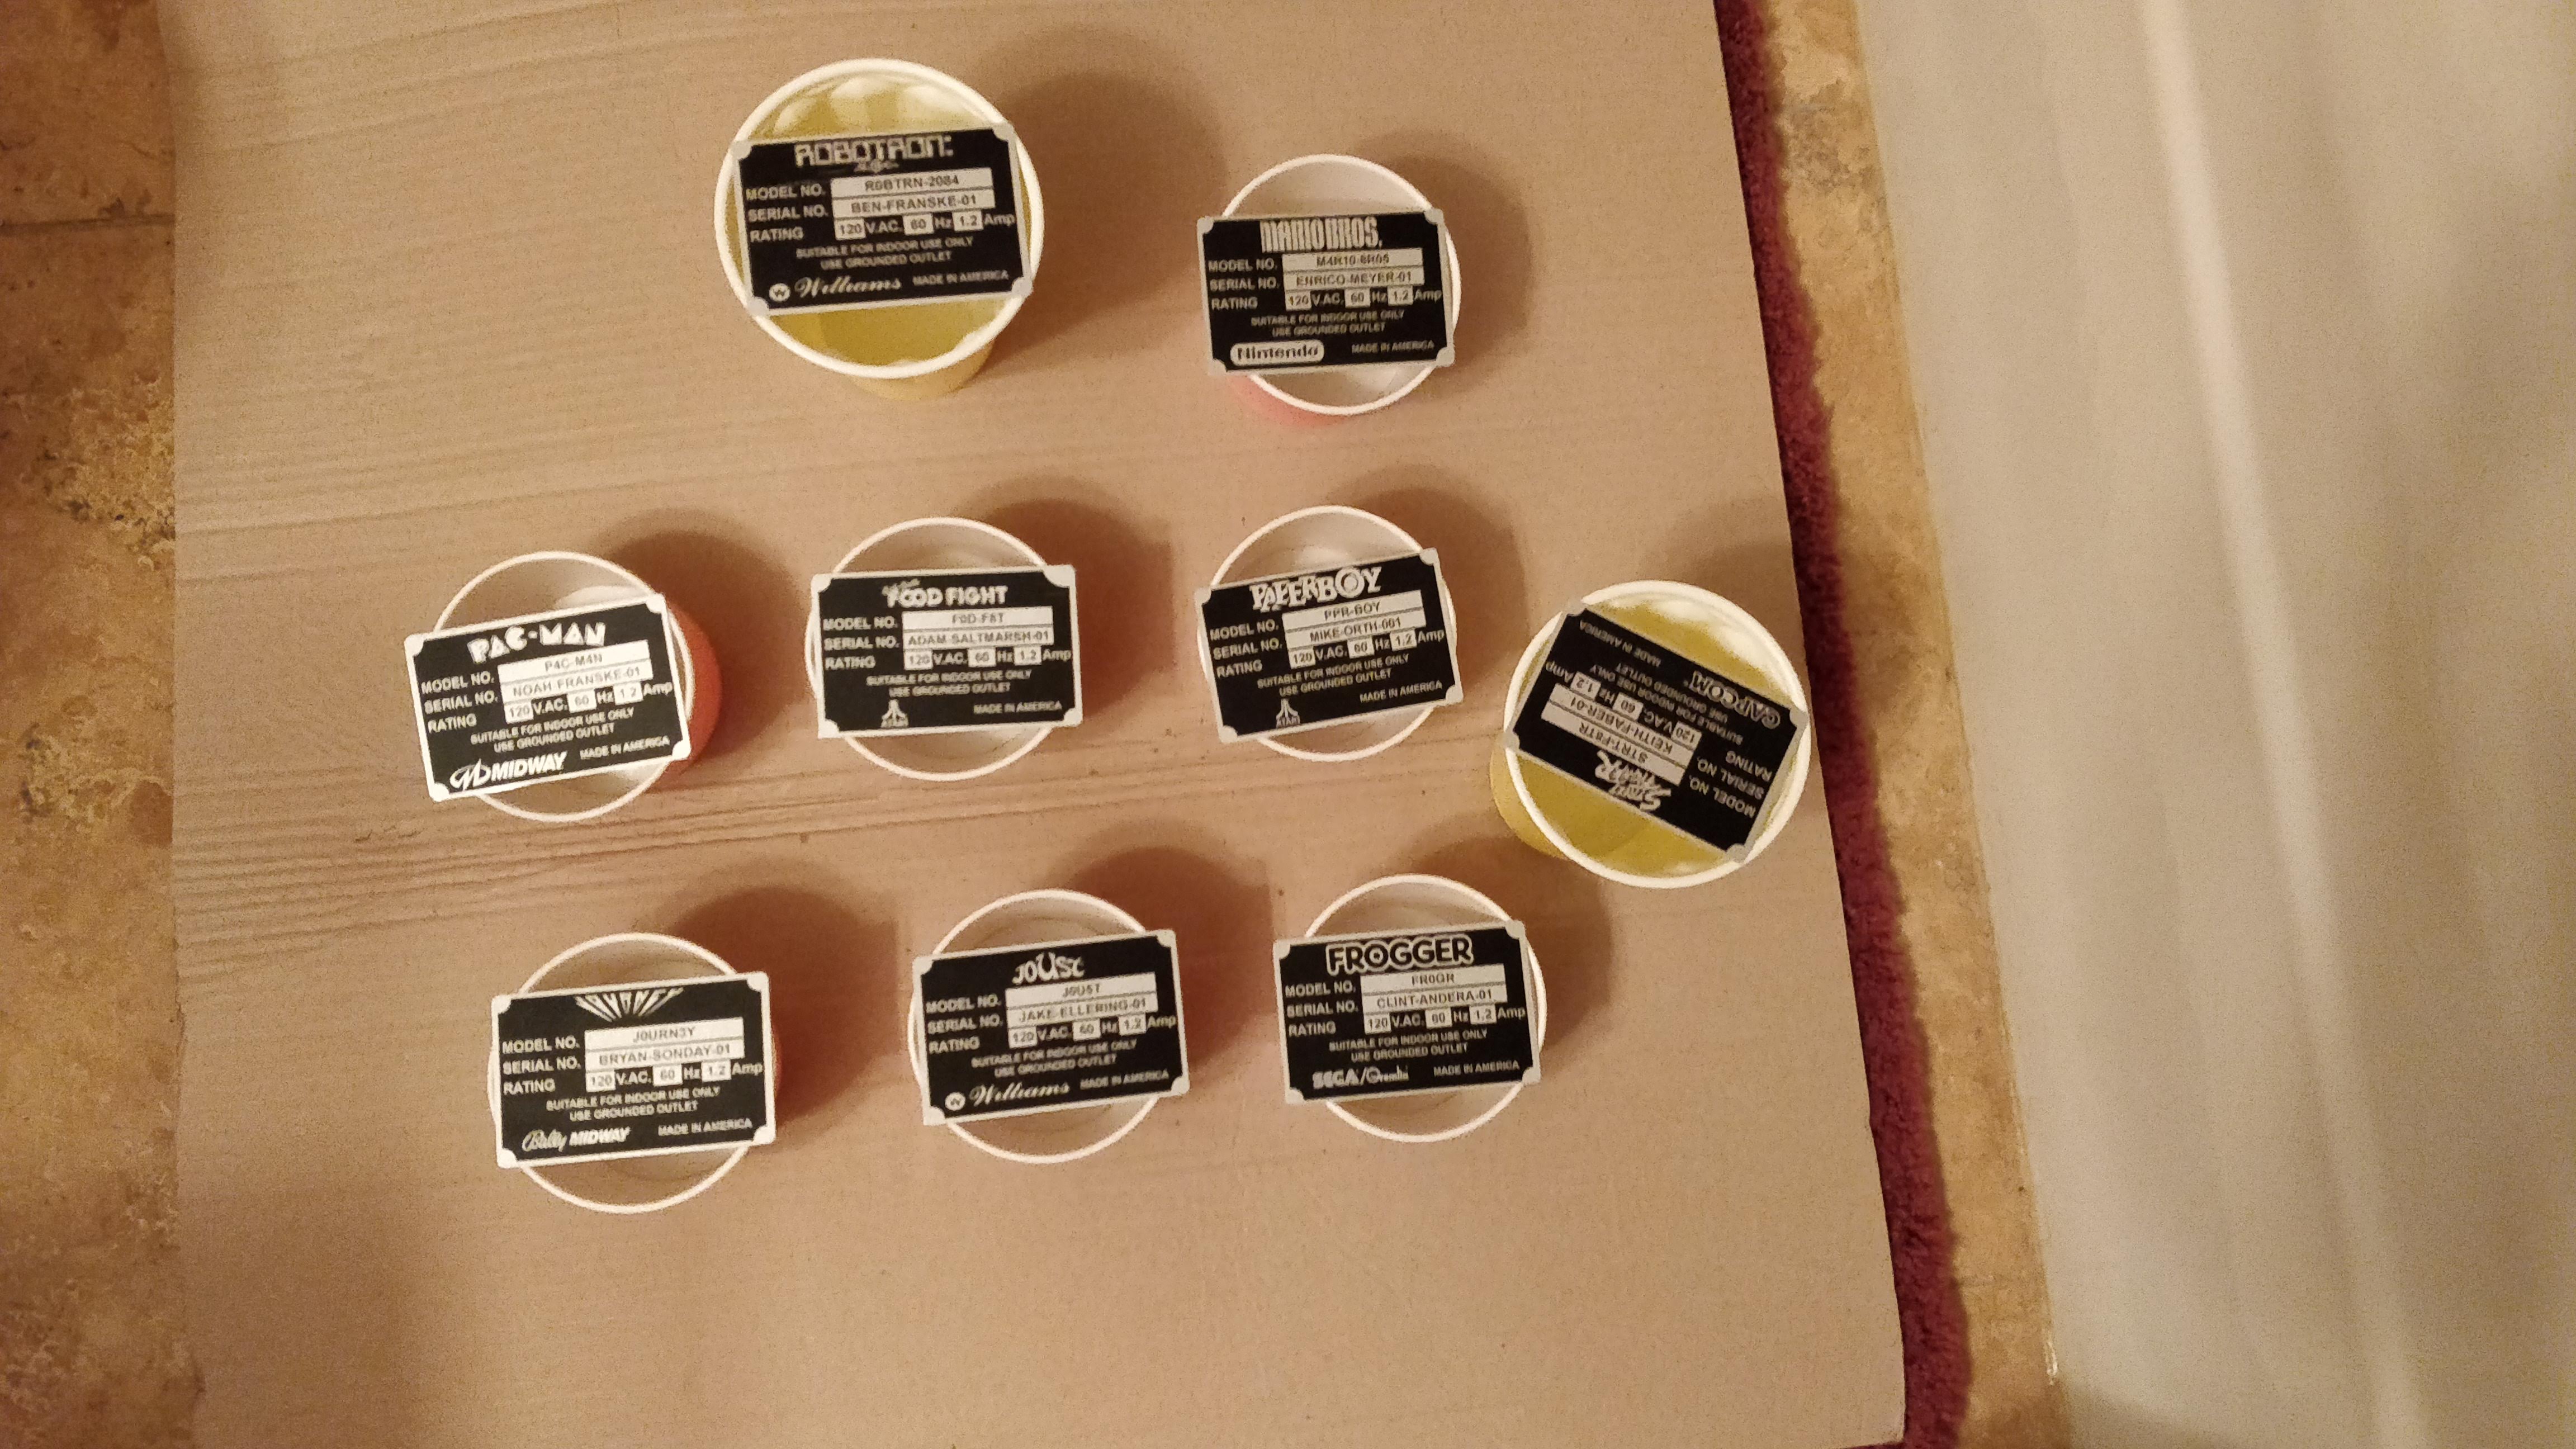
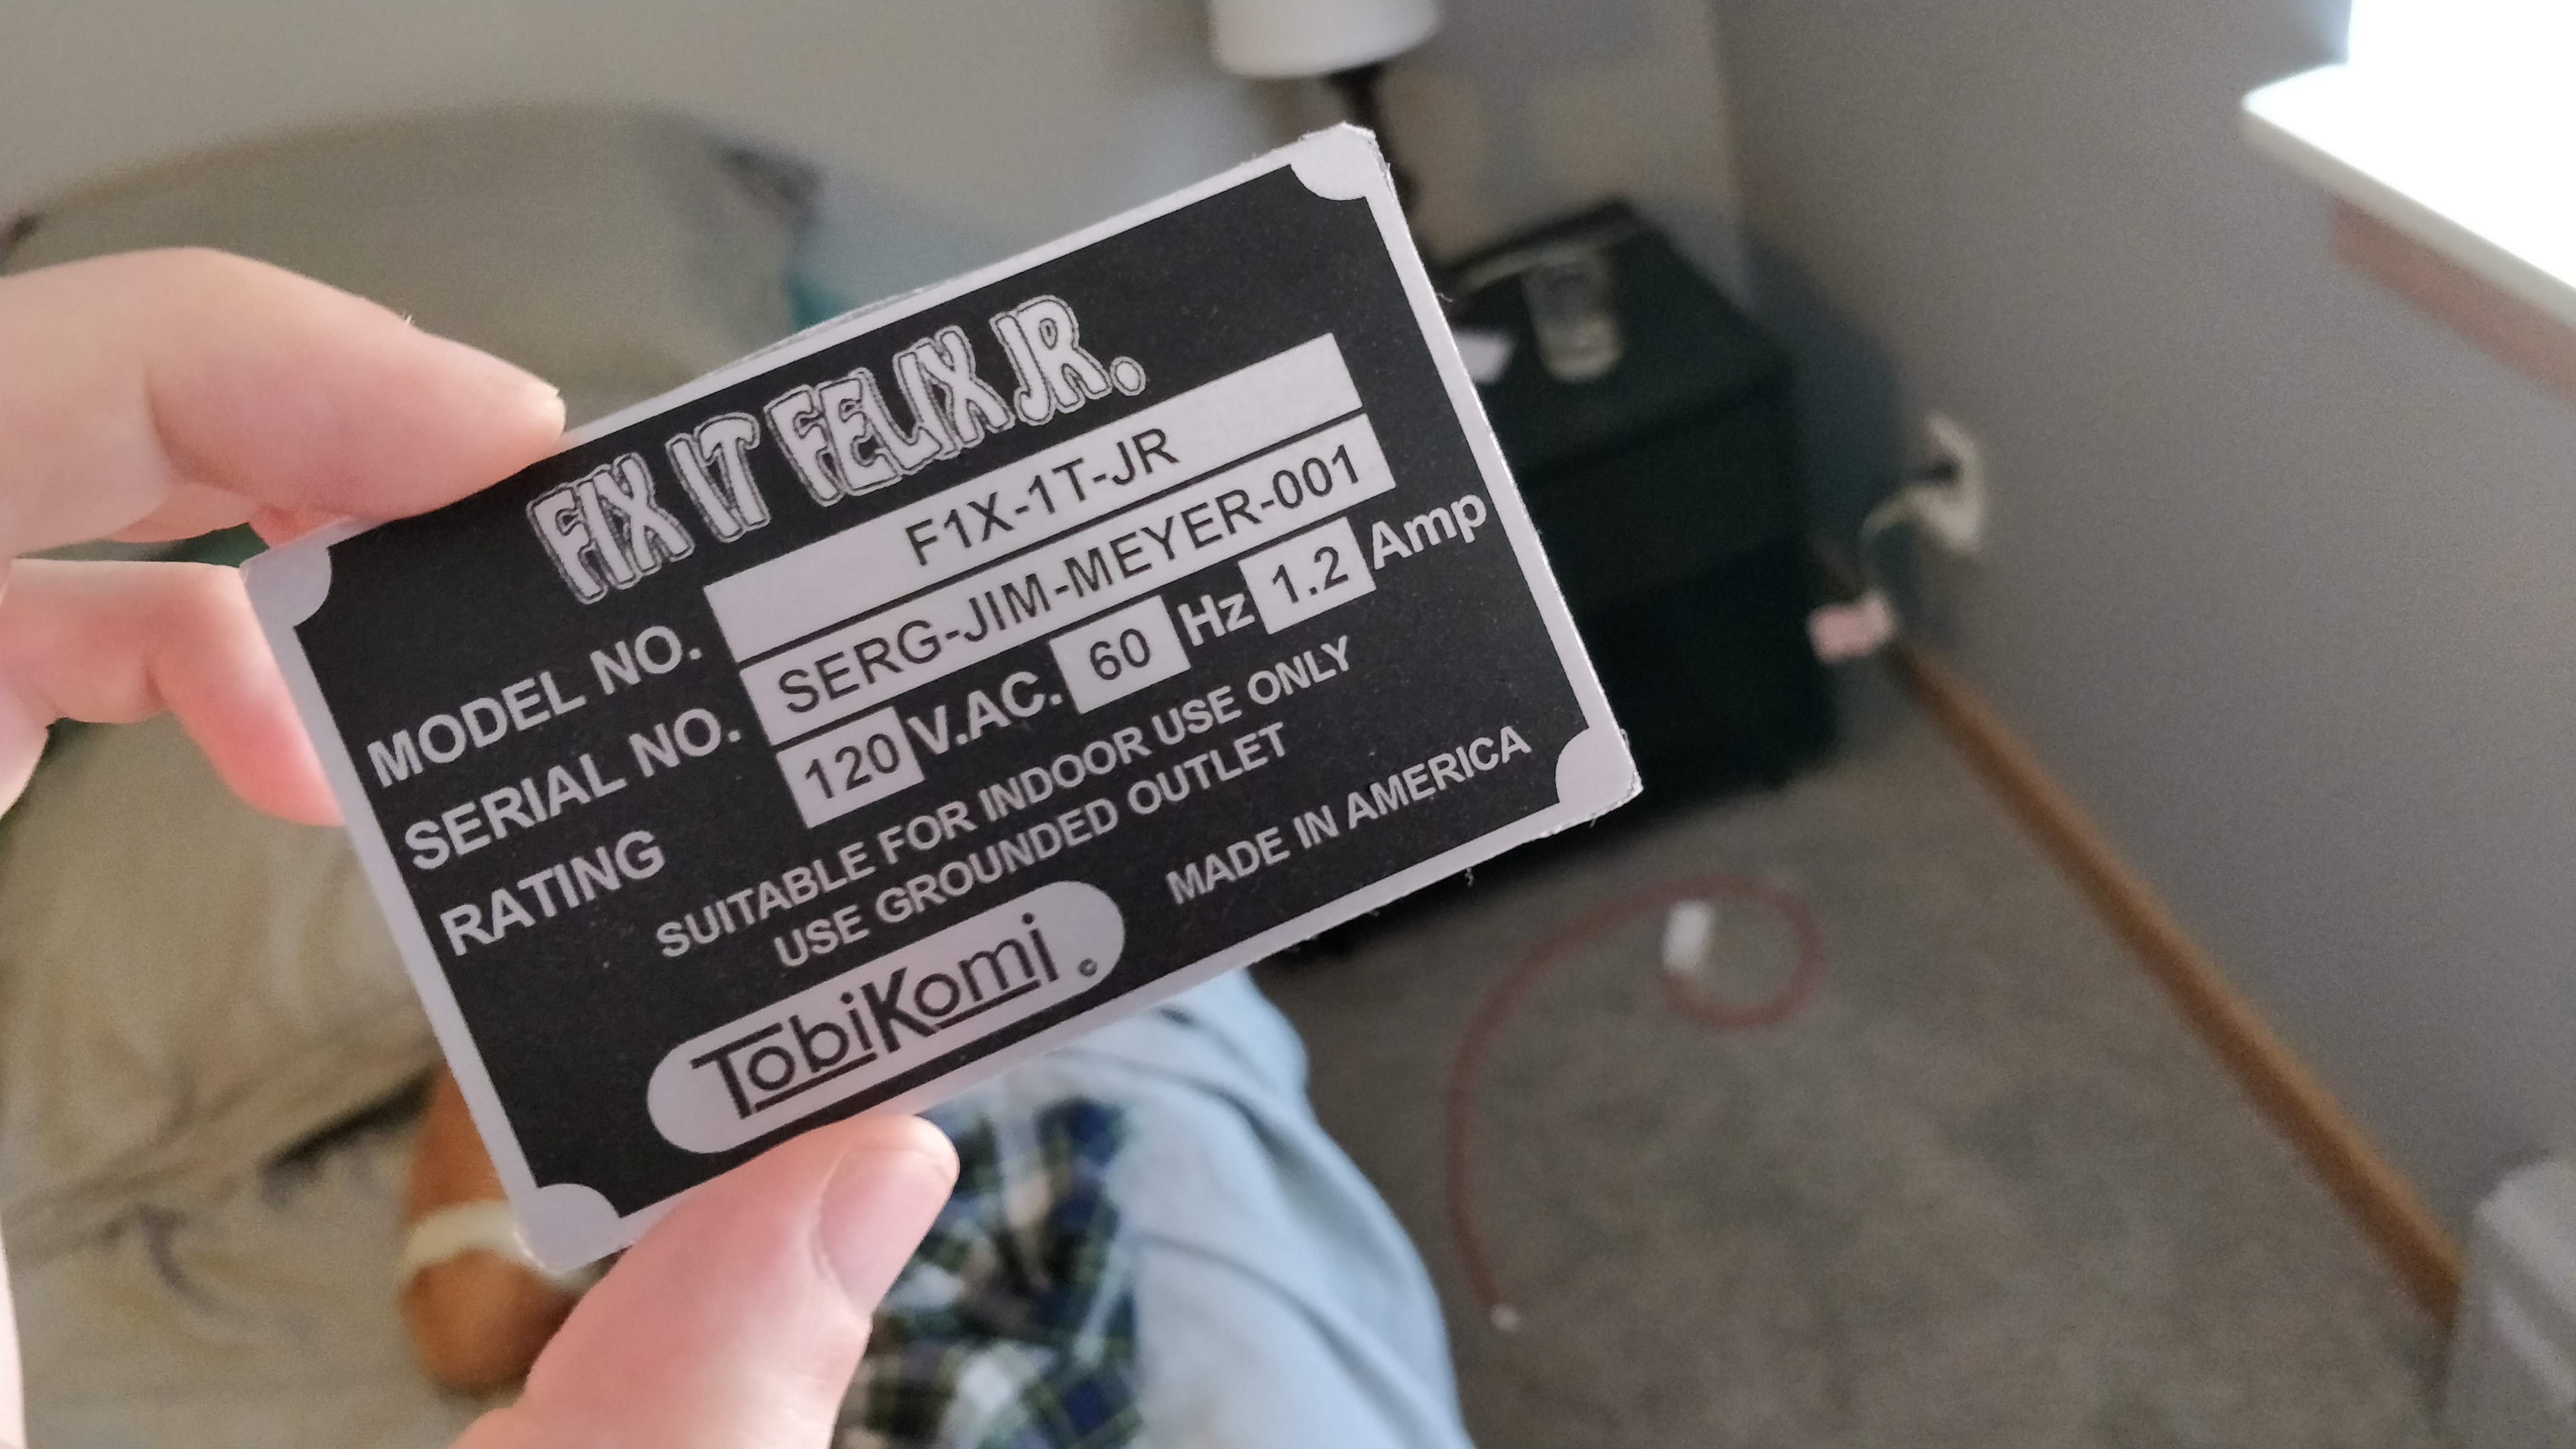
Now I knew what size to make the cards, it was time to start designing. I’d be printing on clear sticker sheets, so the key is knowing that everything in white will show through to metal (essentially white=clear). That leaves black. I used inspiration from CoryBee’s designs and of course looking at real plates. Space is tight, many real serial plates are slightly larger, but I think they look nice. Since they’re really meant more for MAME and scratch built arcade games, I didn’t worry about keeping everything original. The hardest part was probably converting arcade logos into black/white and keep them looking nice.
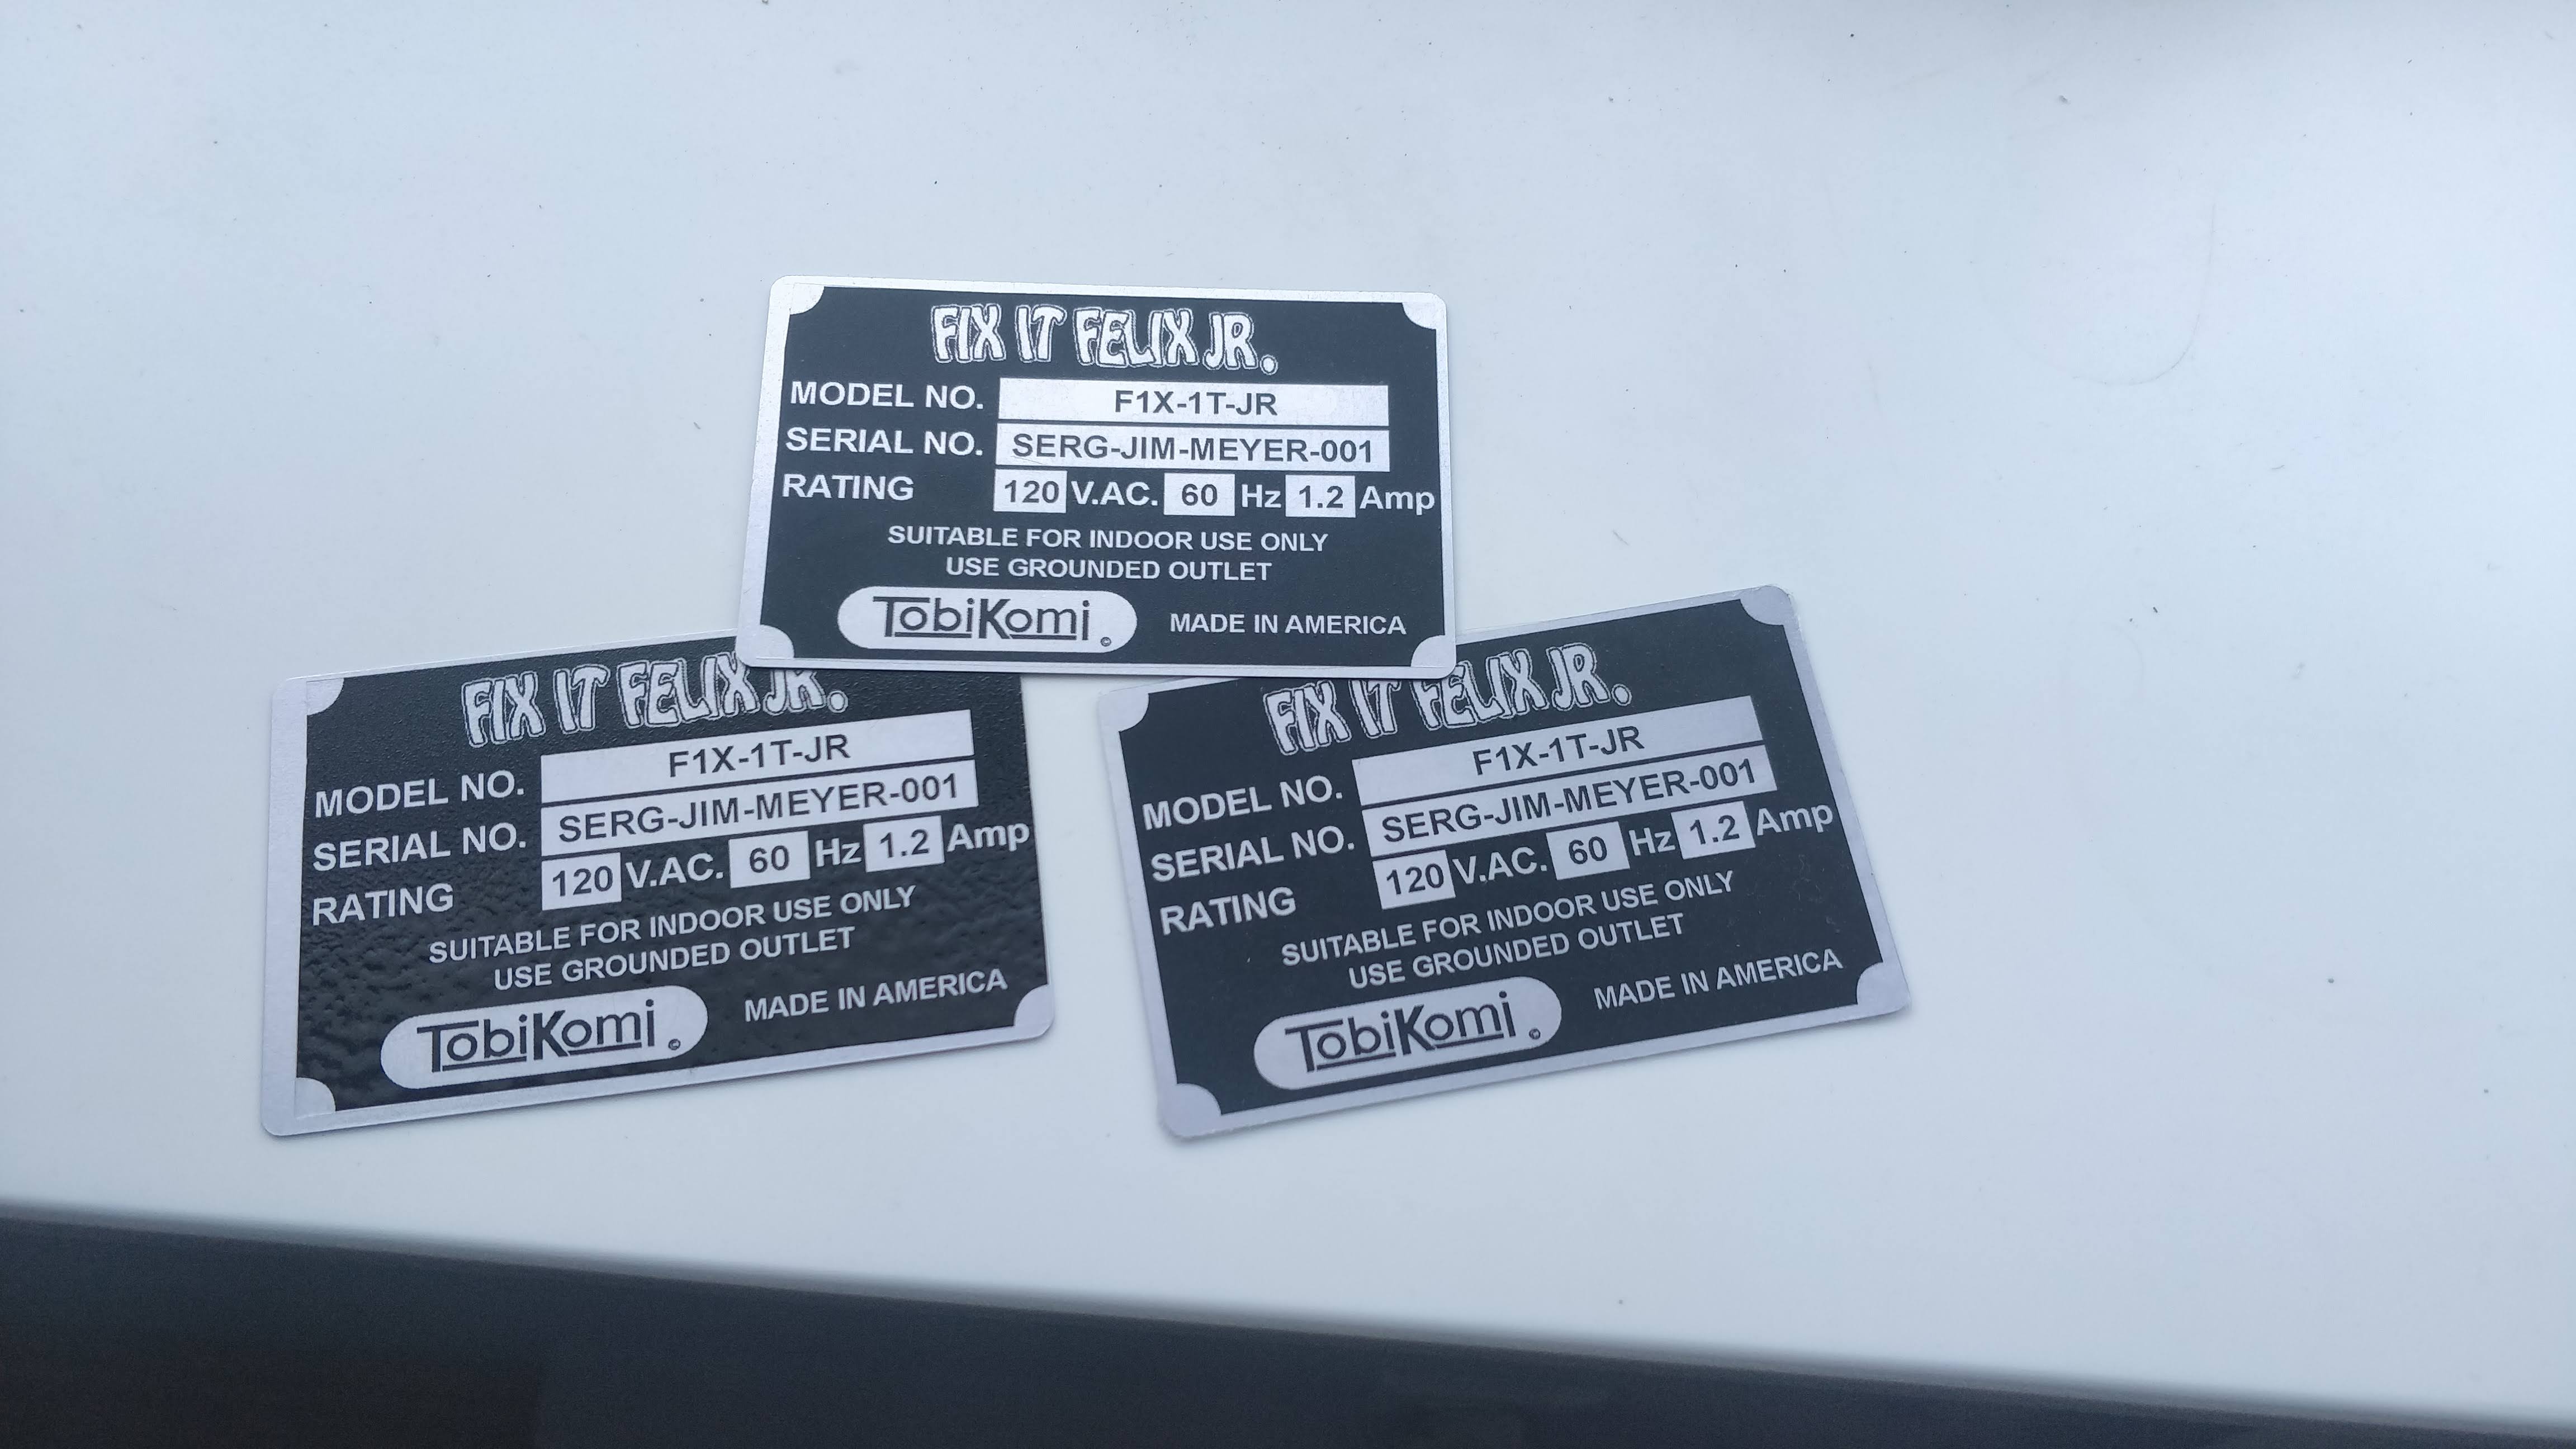
After designing, it’s just a matter of printing. I used NEATO labels, SKU: CLR-FULL. As they suggest, I set my printer to gloss print, ran them through and let them sit for 8 hours – both to dry and flatten out. I cut out the labels with a scissors and applied to my metal cards. TIP: I suggest cutting the stickers out larger than you need and let the edges overlap on the plate. Then, use an exacto knife to trim. If you cut to size, they’ll likely end up being just a hair smaller and you might see the sticker edges.
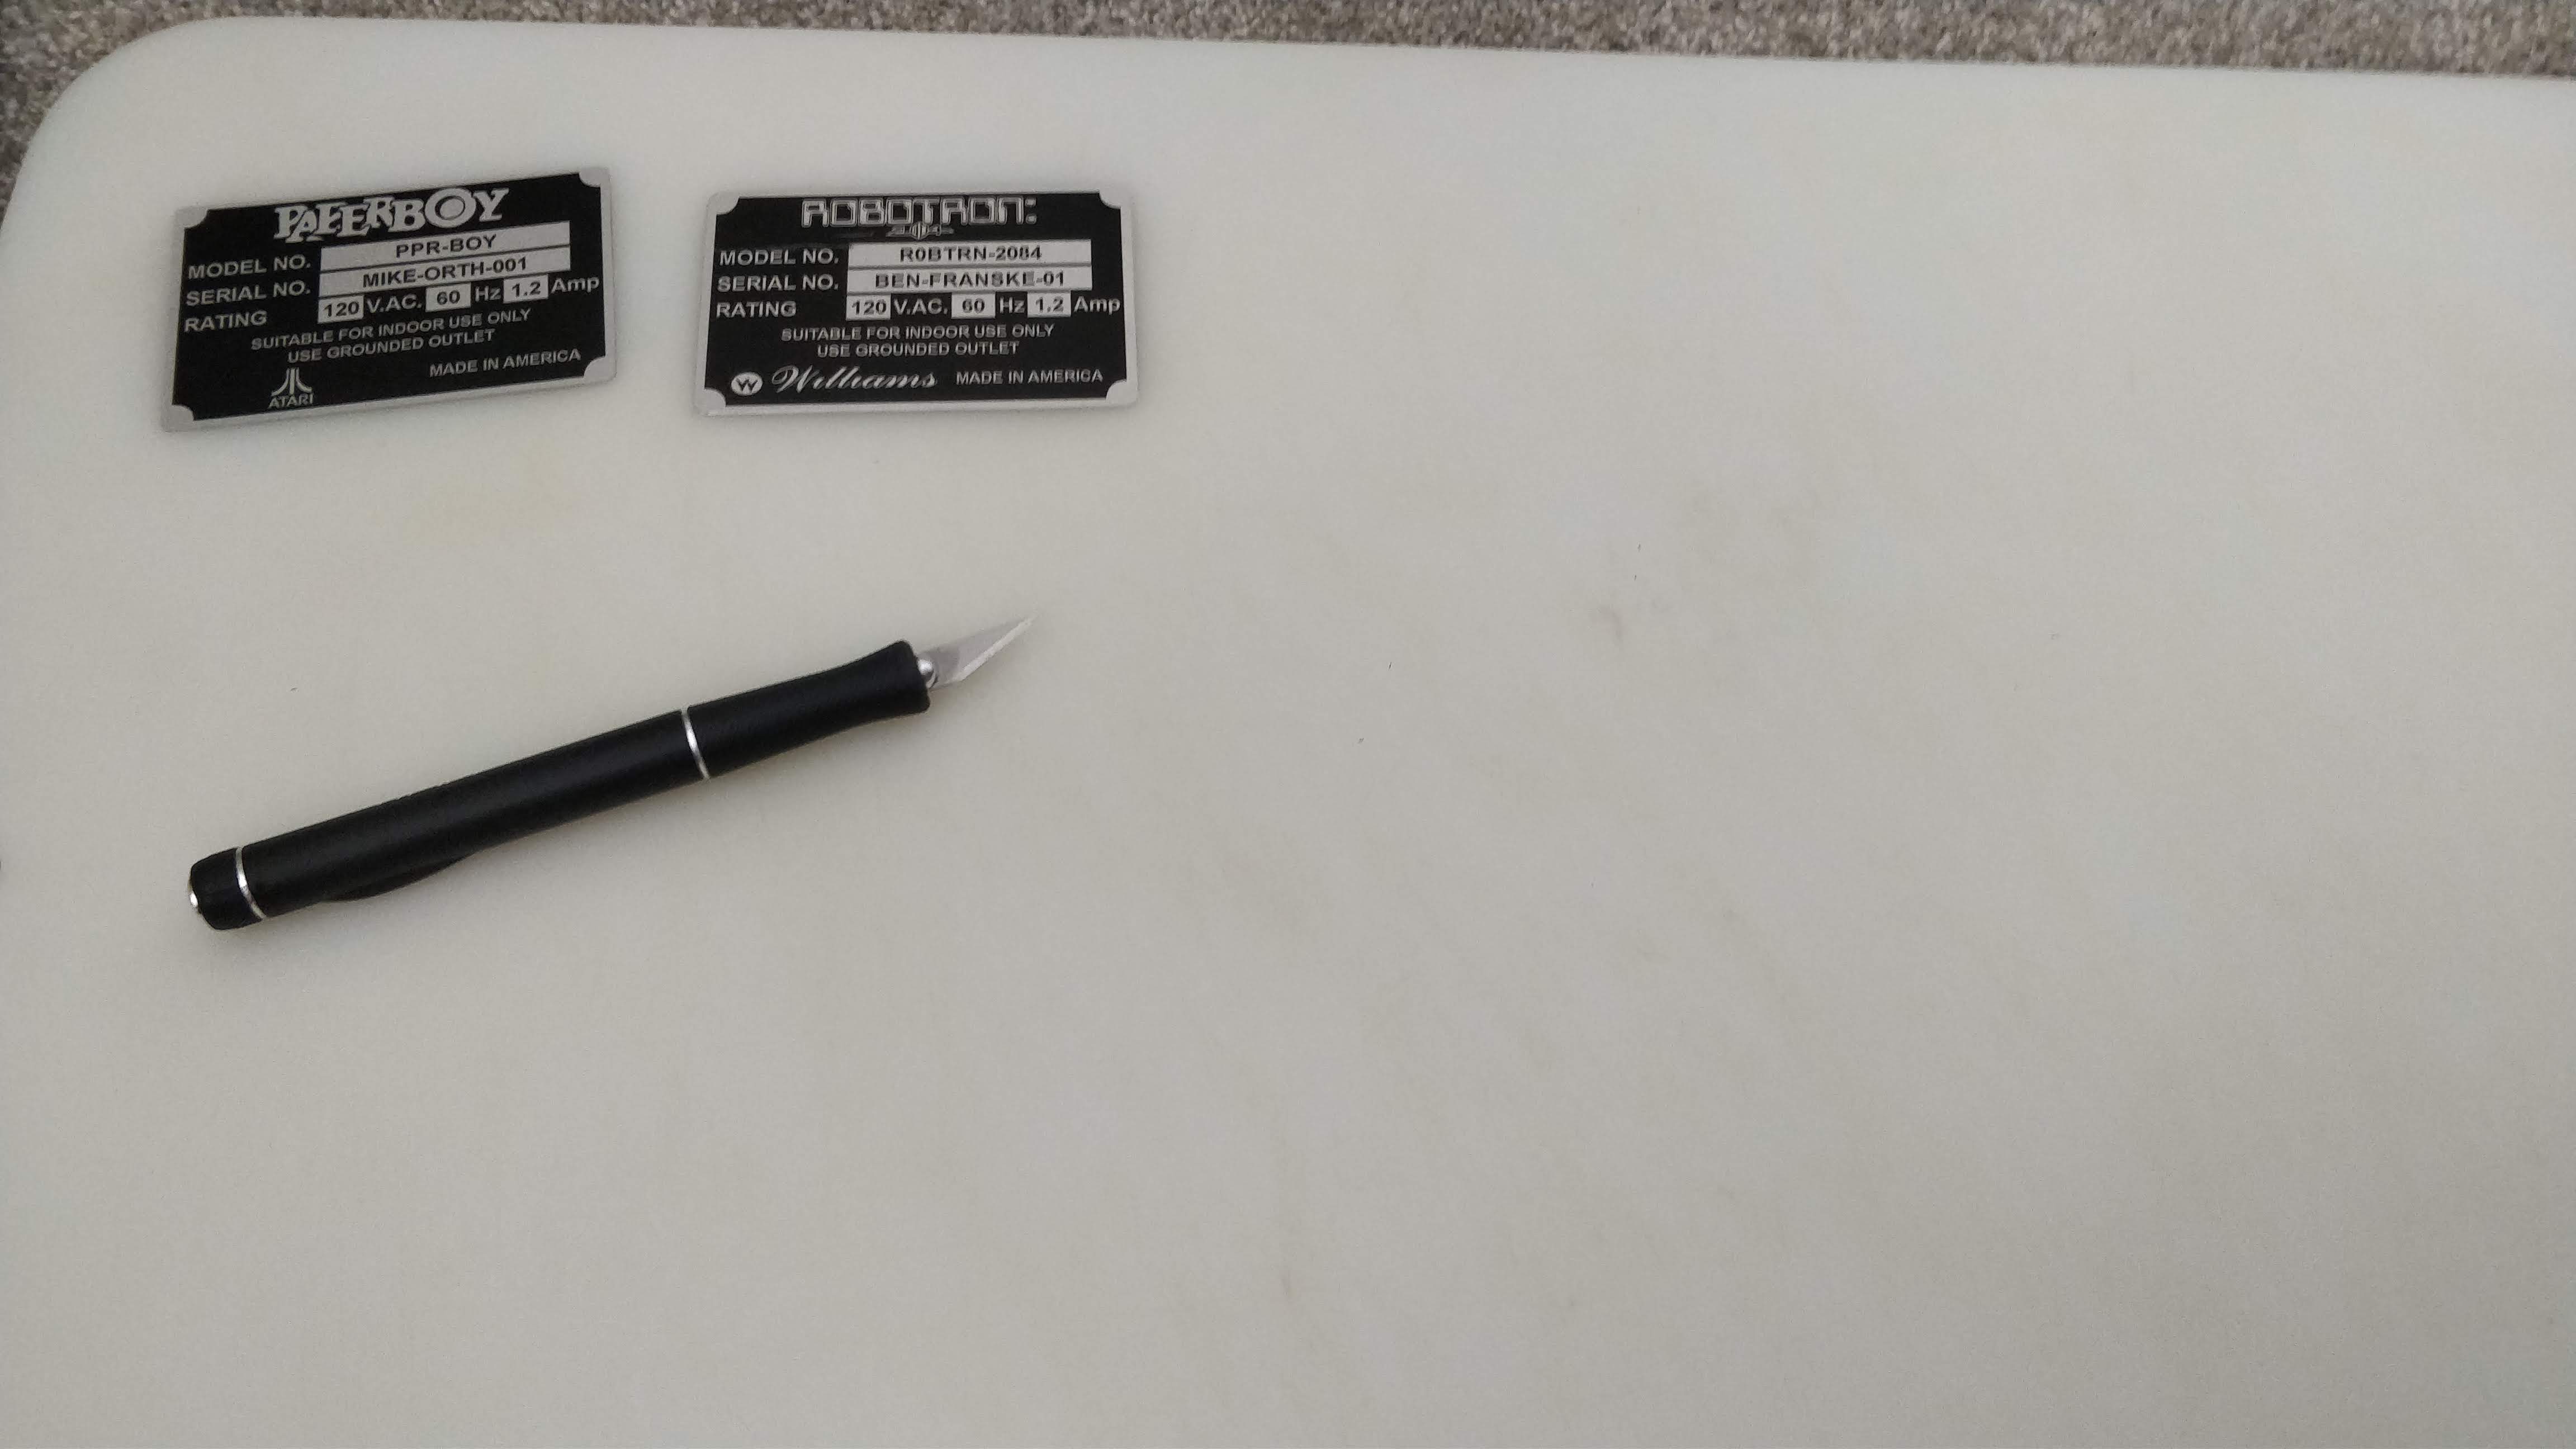
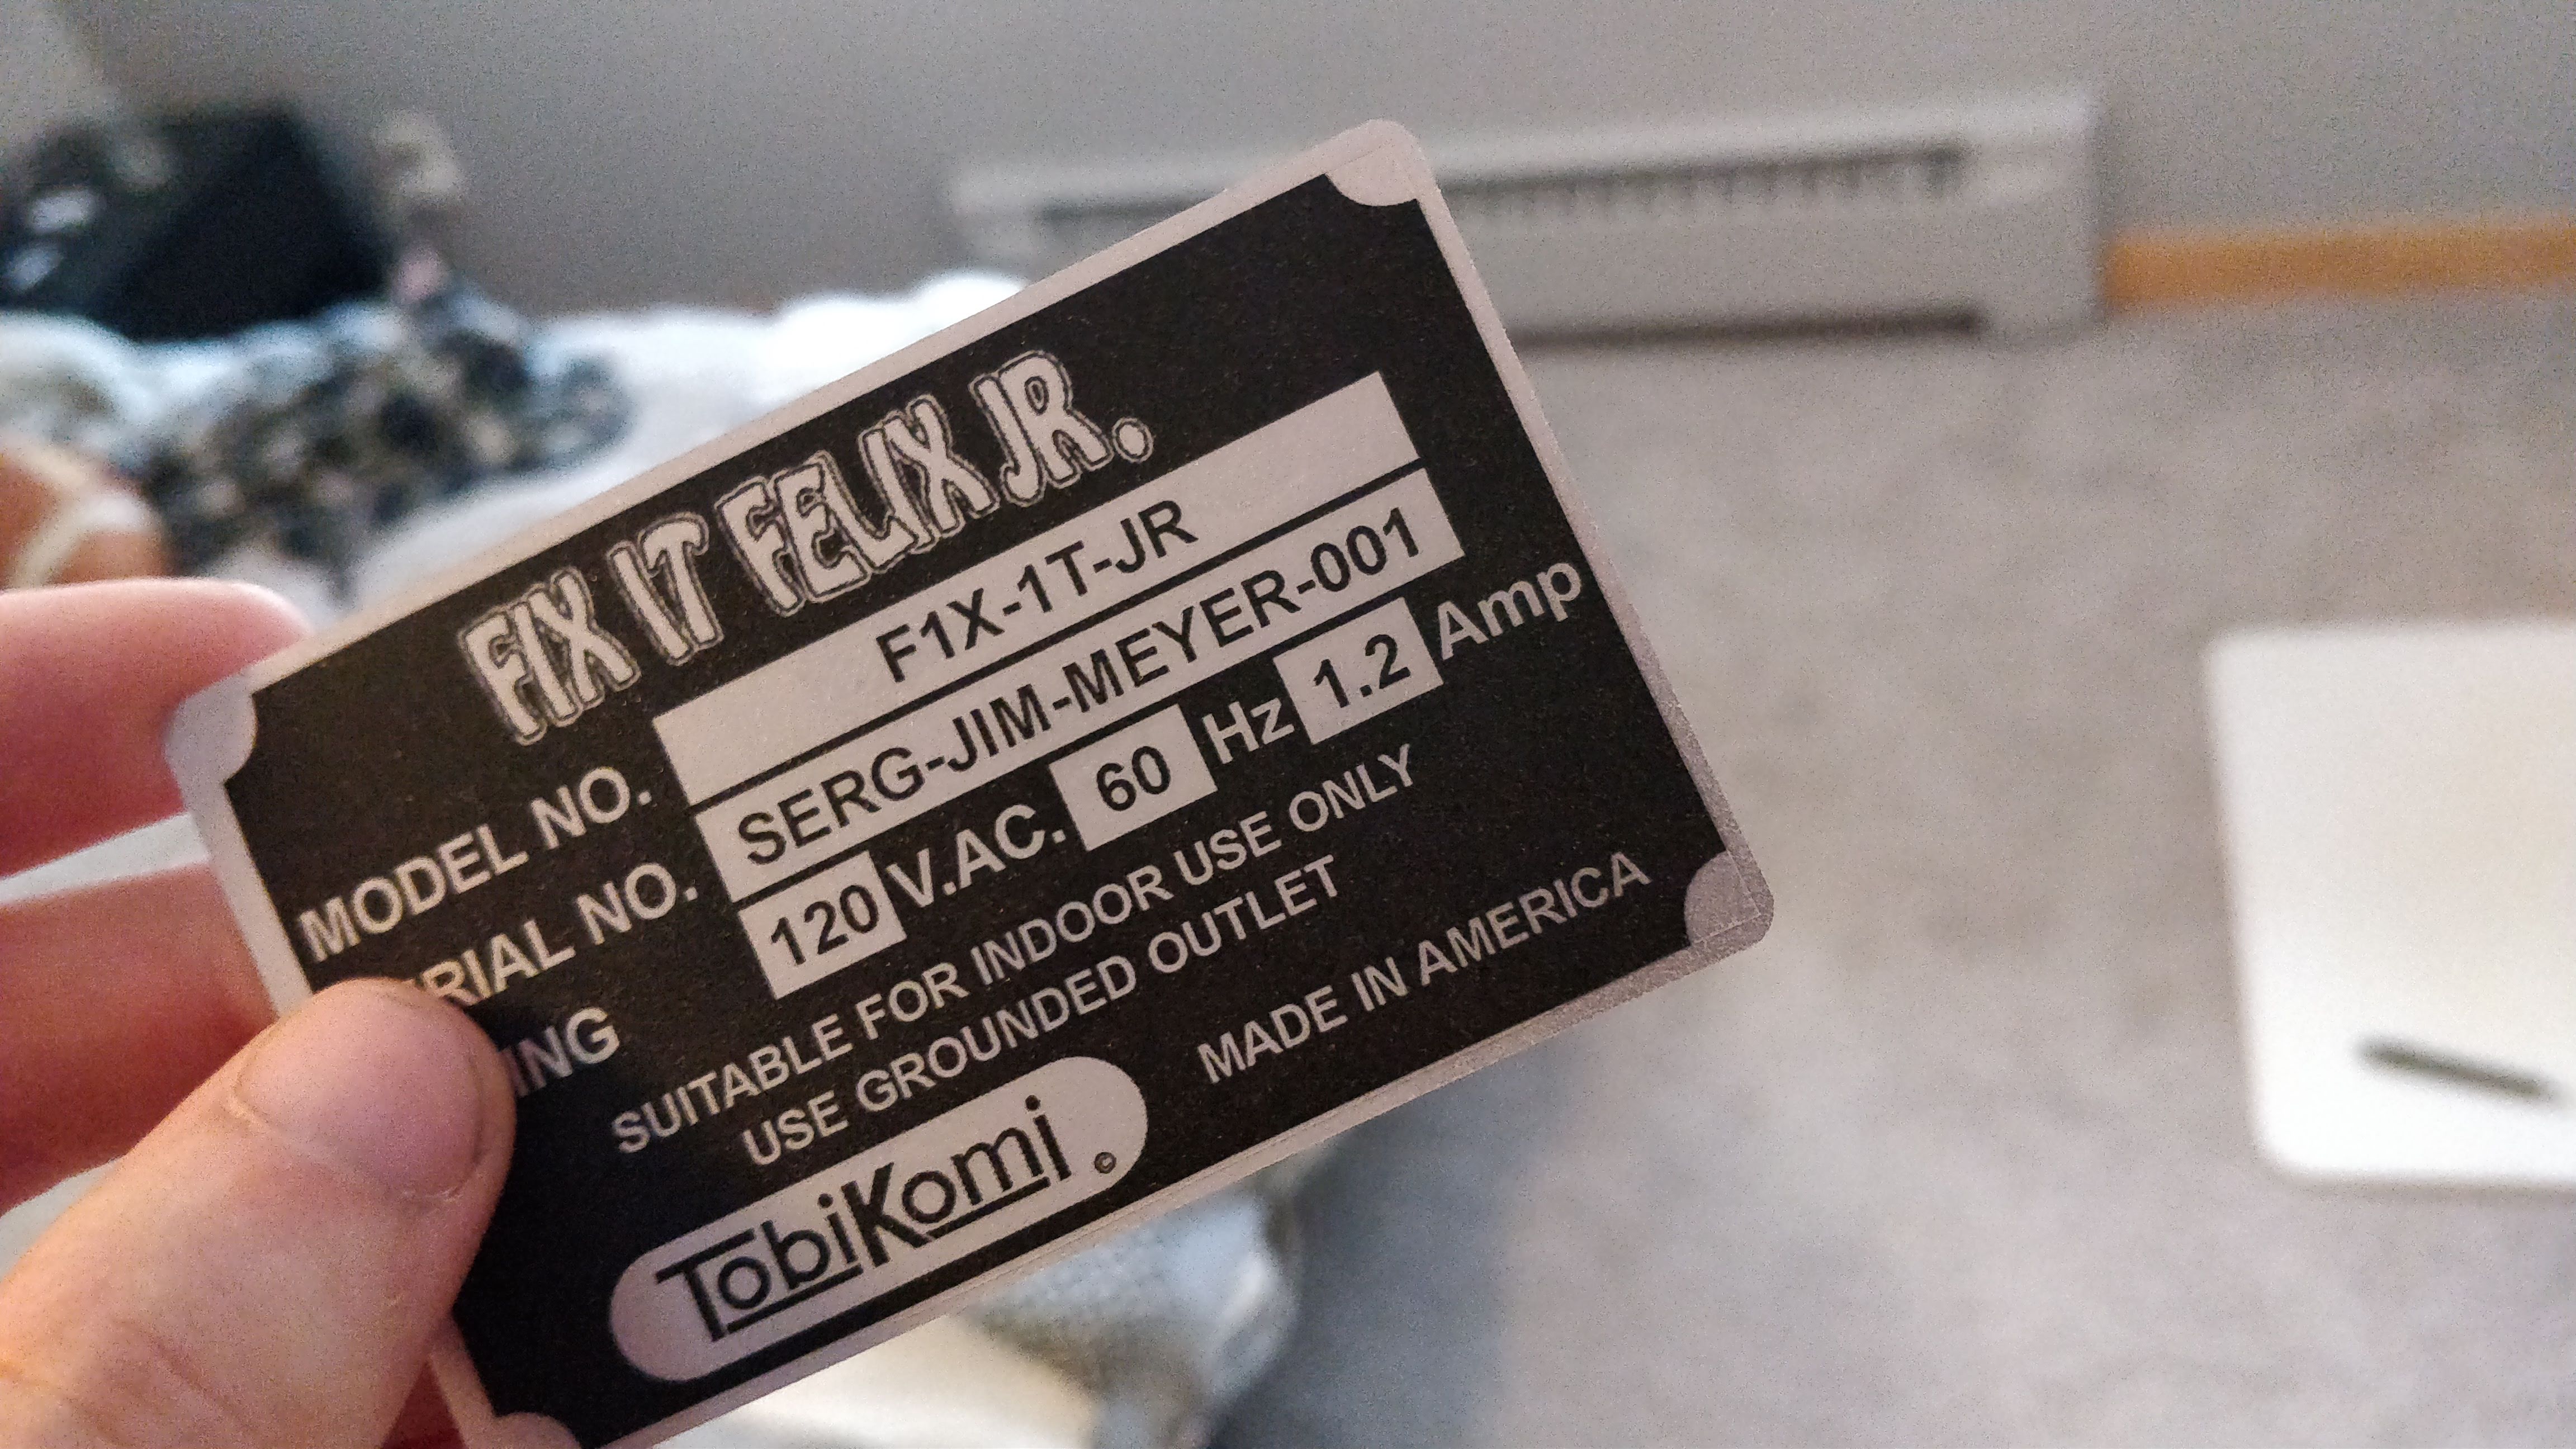
I wiped off any fingerprints, made sure they were on flat, and then applied a light coat of Krylon Triple-Thick. Don’t over-spray! The goal with the triple-thick is just to ensure the sticker never comes off. It’s not to add a bunch of glaze. If you put on too much, it’ll end up fogging your serial plate and giving it a weird texture.
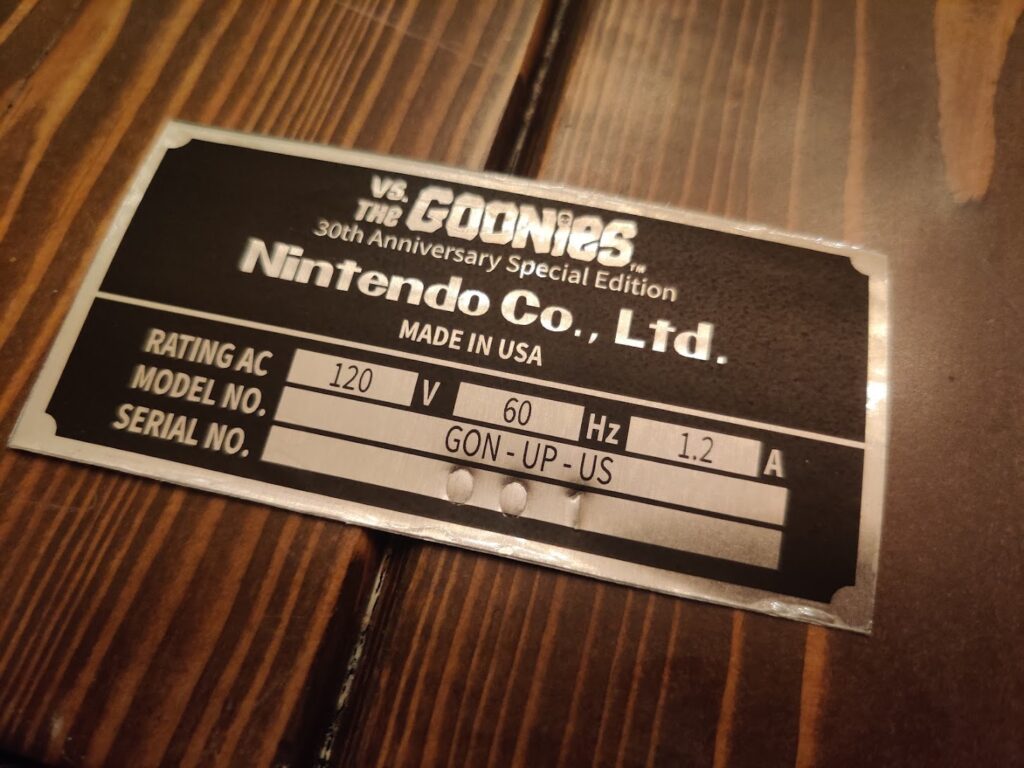
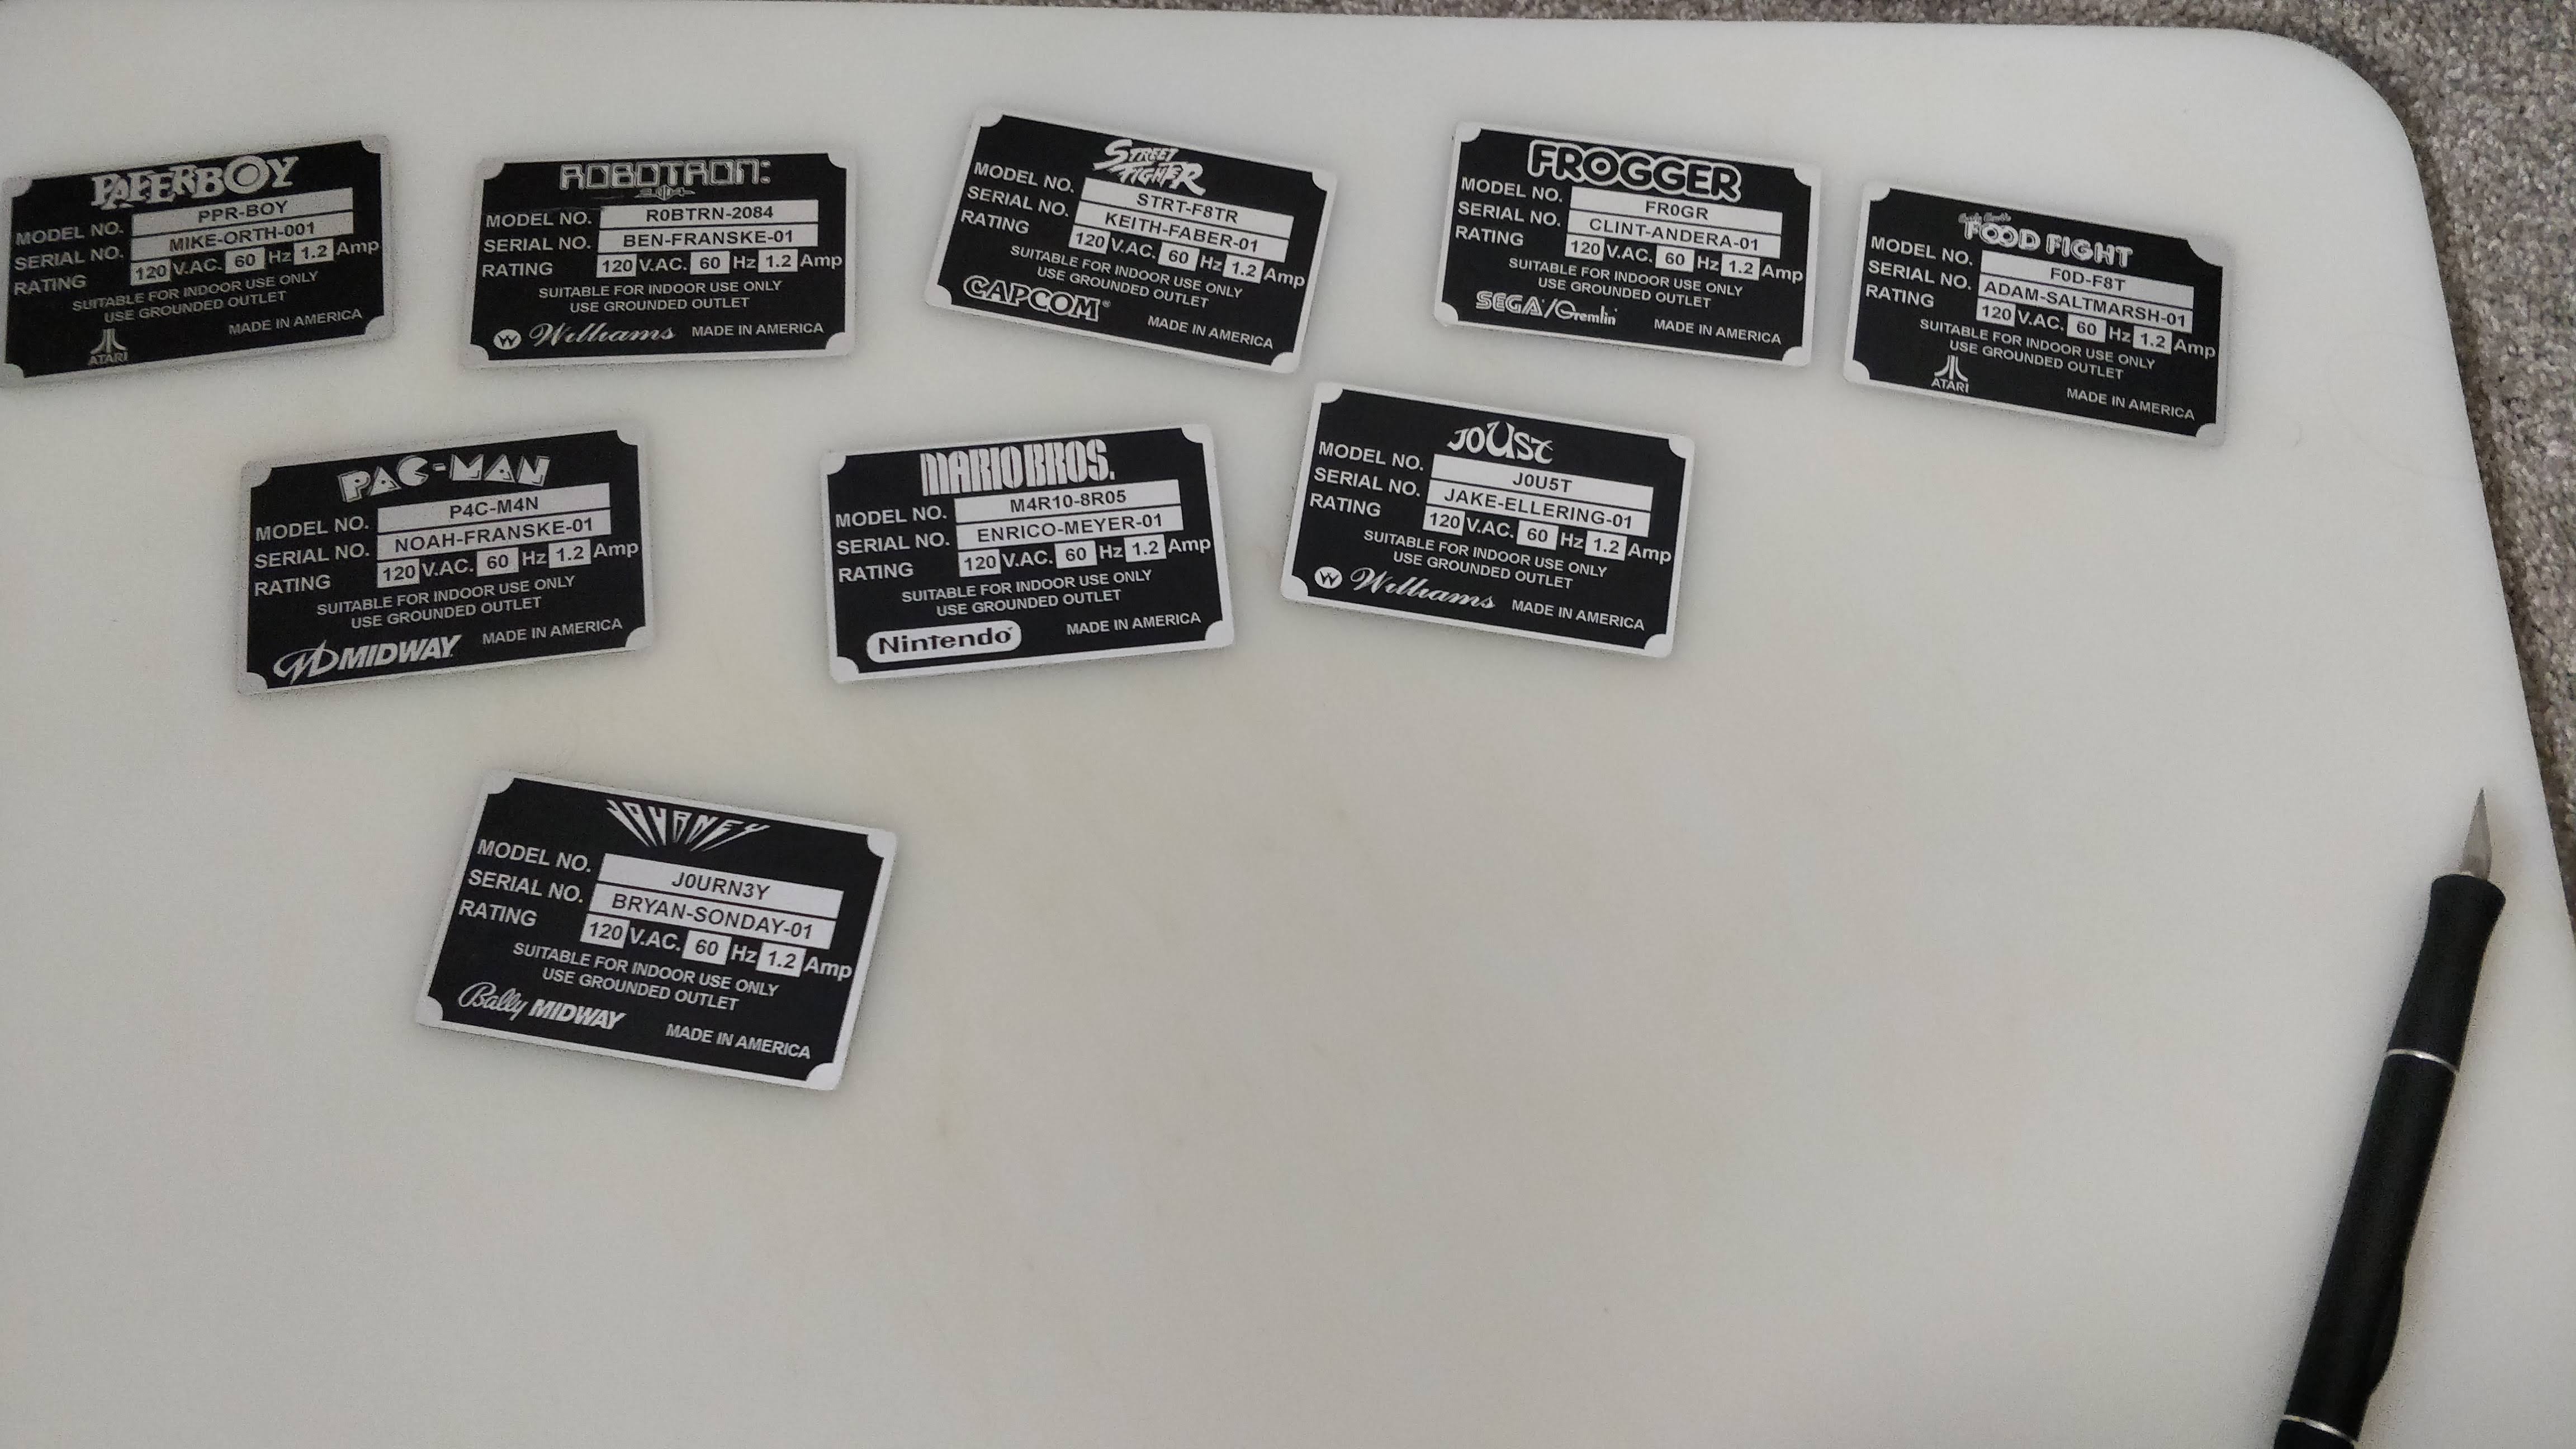
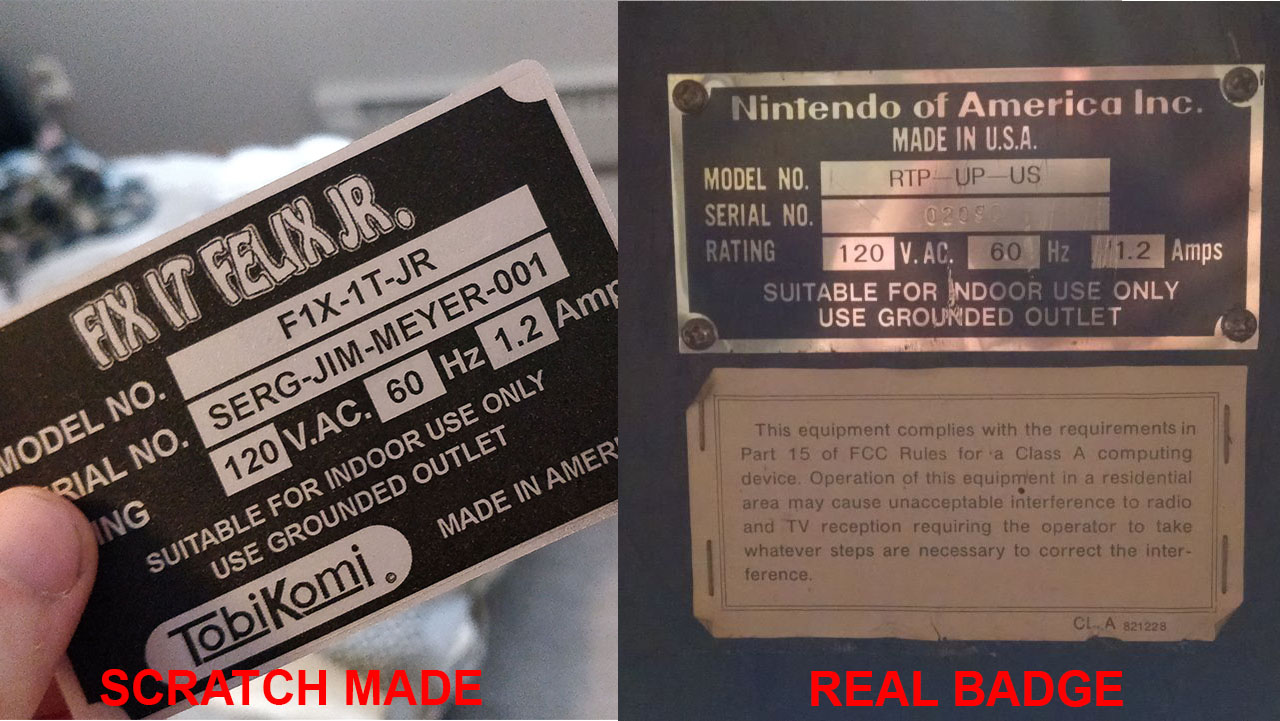
That’s pretty much it. Let them dry for 12 hours or more, then use a rivet gun (or punch small holes in the corners) to apply to your cabinet. You can clean up any sticky edges with fine sand paper which I haven’t shown in the photos. Compare one of mine to a real Nintendo arcade serial badge below, not bad right? Remember, I wasn’t going for replica accurate, I’m going for something that anyone can make for their scratch built cabinets.
Download the Files
Ready to make your own? The link below contains the full package with a variety of games, with both InDesign and .pdf versions of the serial plates I made. It includes the fonts and logos as linked files so very easy to customize!
Arcade-Serial-Plates-Card-Sized-Plate Folder
2022 Update
I’ve recently evolved how I do these serial plates, allowing things to be a bit more authentic but still fairly easy. The process is largely the same but I now use aluminum flashing (which I can cut to any size) and number stamps so I can “stamp” in the serial number before applying the final clear coat. It really makes them pop! See an example below.