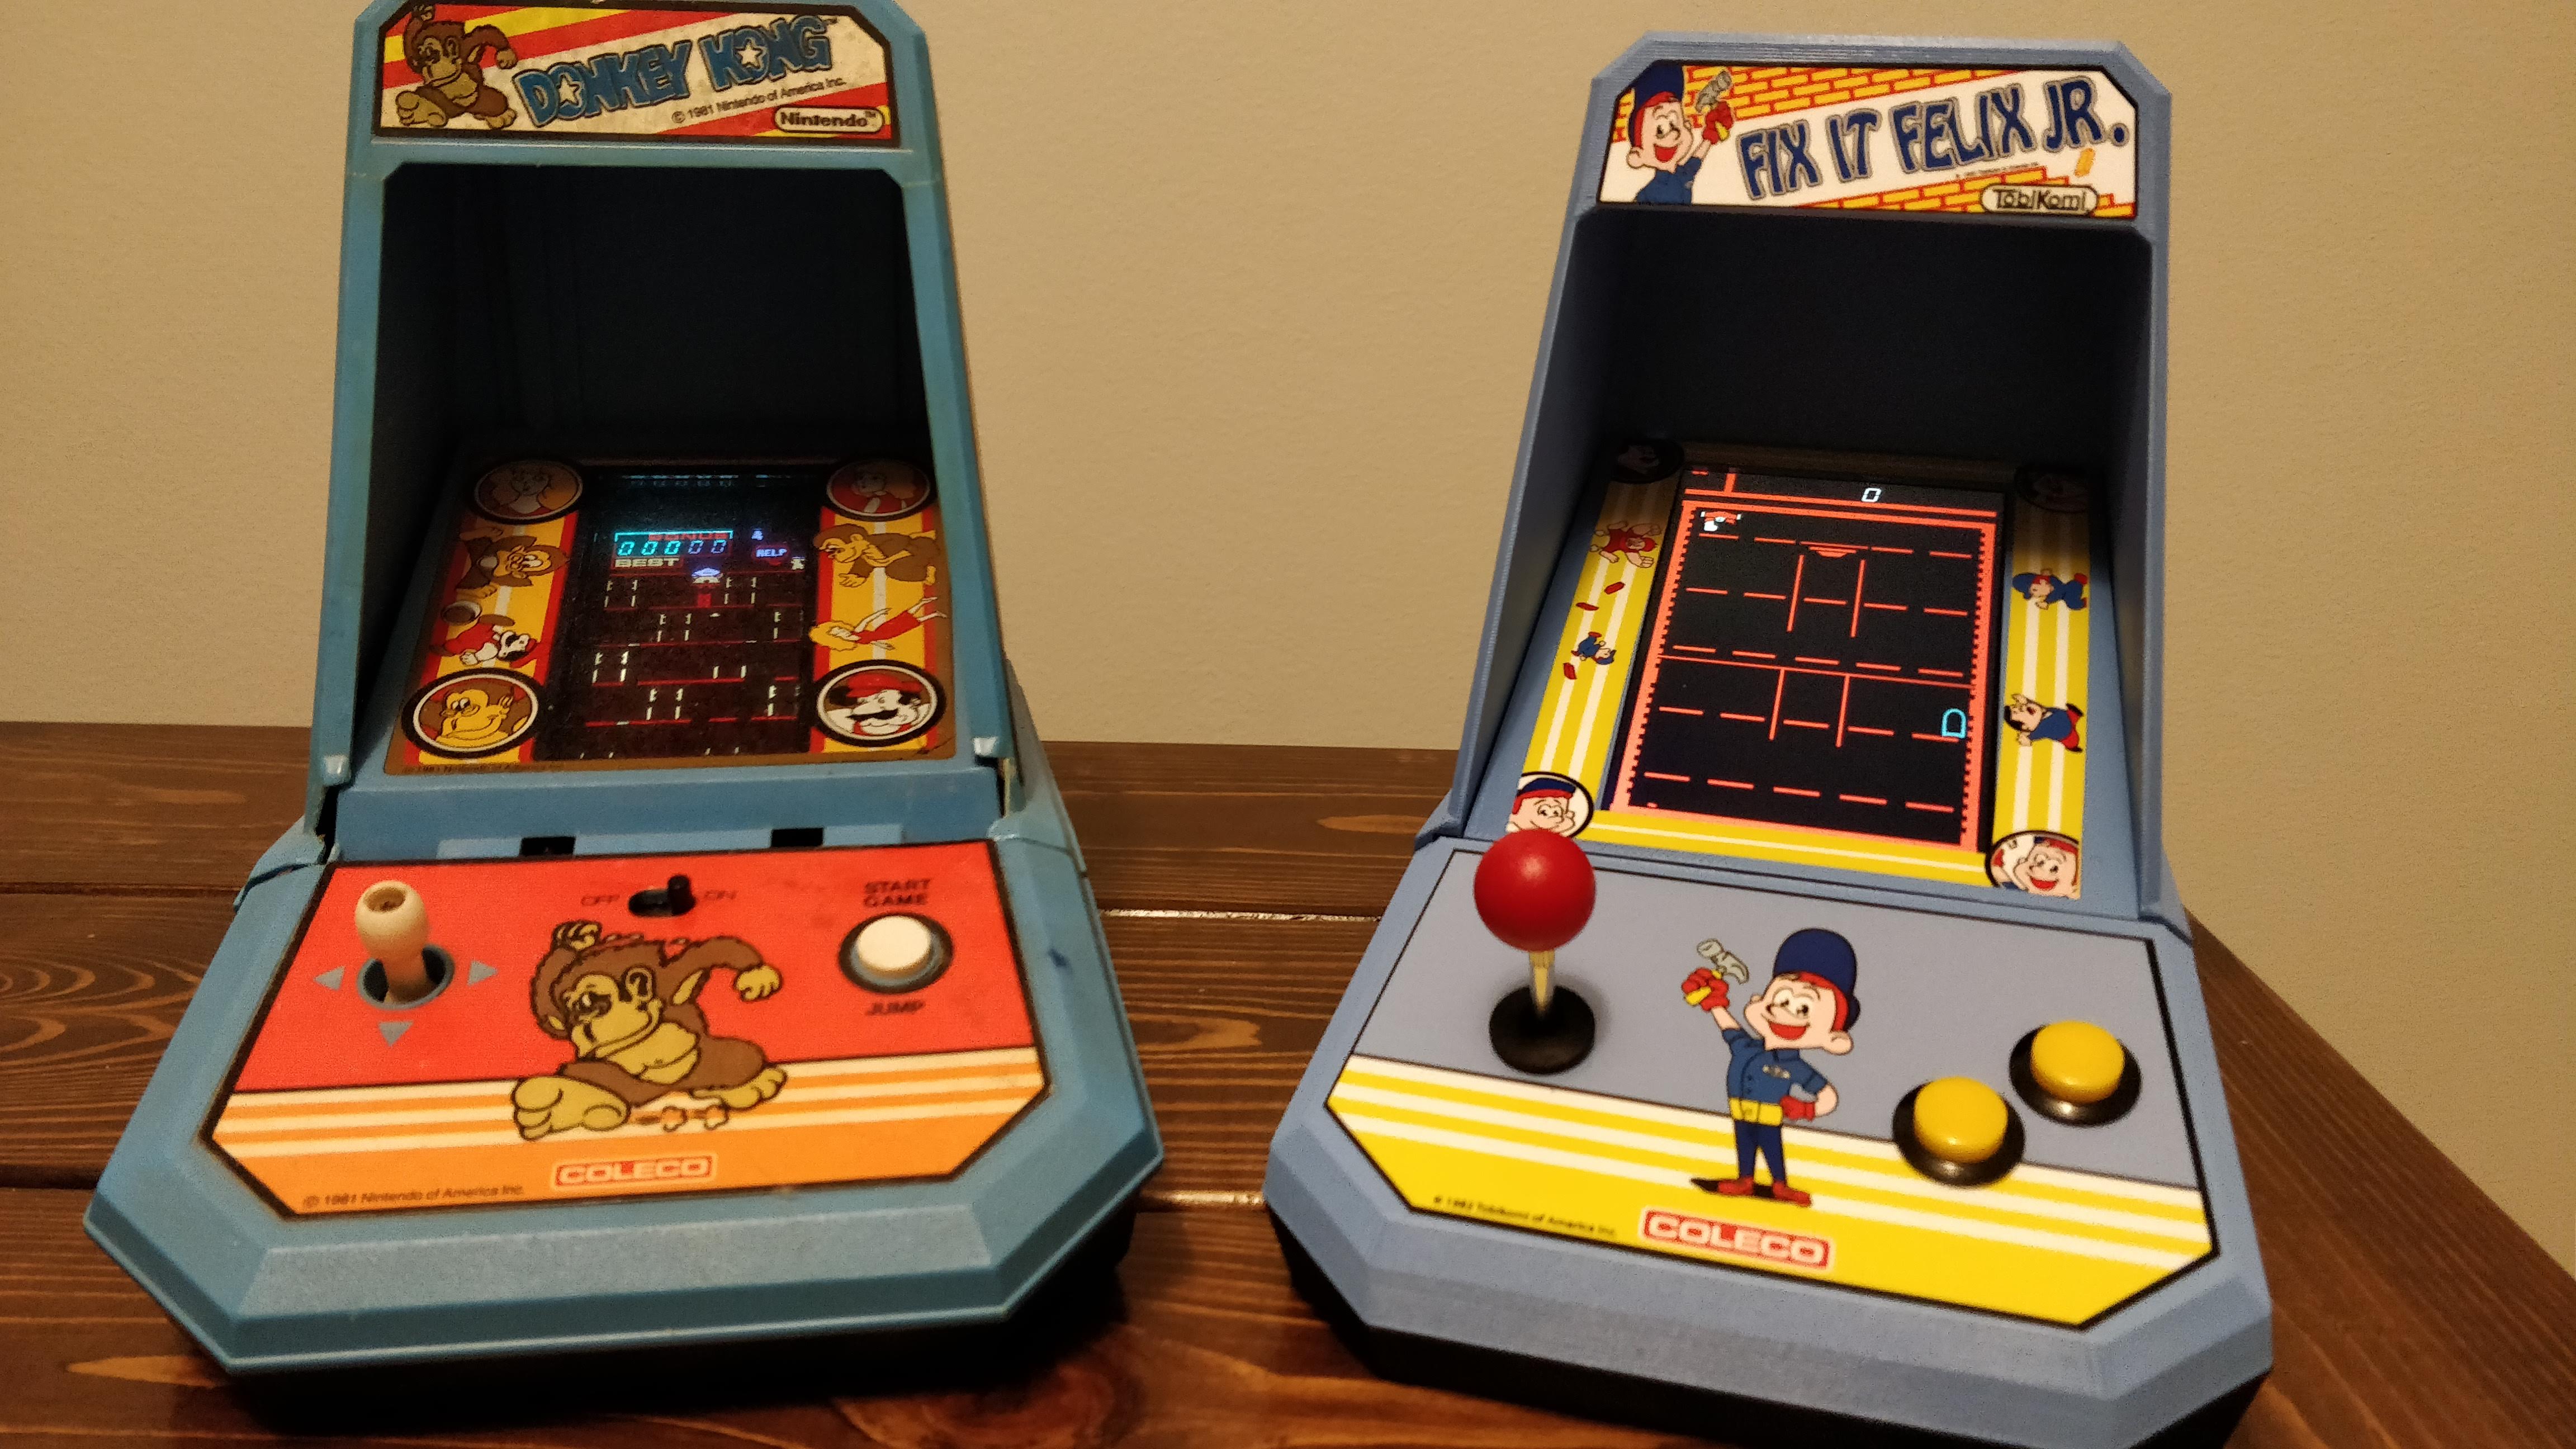
For my Game and Watch Tabletop build, I’m using a Raspberry Pi, running Retropie, like all the cool kids. It works slick but there are a few issues. The older versions of MAME that that pi uses can’t play newer ROMs that have been recently added. That means all the cool handheld games recently added in the past year or two are out. Real bummer!
But, I can use Madrigal’s Simulators which do have most of the G&W Tabletop games. That’s important! MAME doesn’t yet have Coleco’s DK Jr., or Snoopy or Popeye for instance, which are all tabletop games. Those are the most important games I want to work since that’s what my cabinet will look like.
Additionally, a pi is super cheap, has plenty of support, and is so small it fits super well.
Control Interface
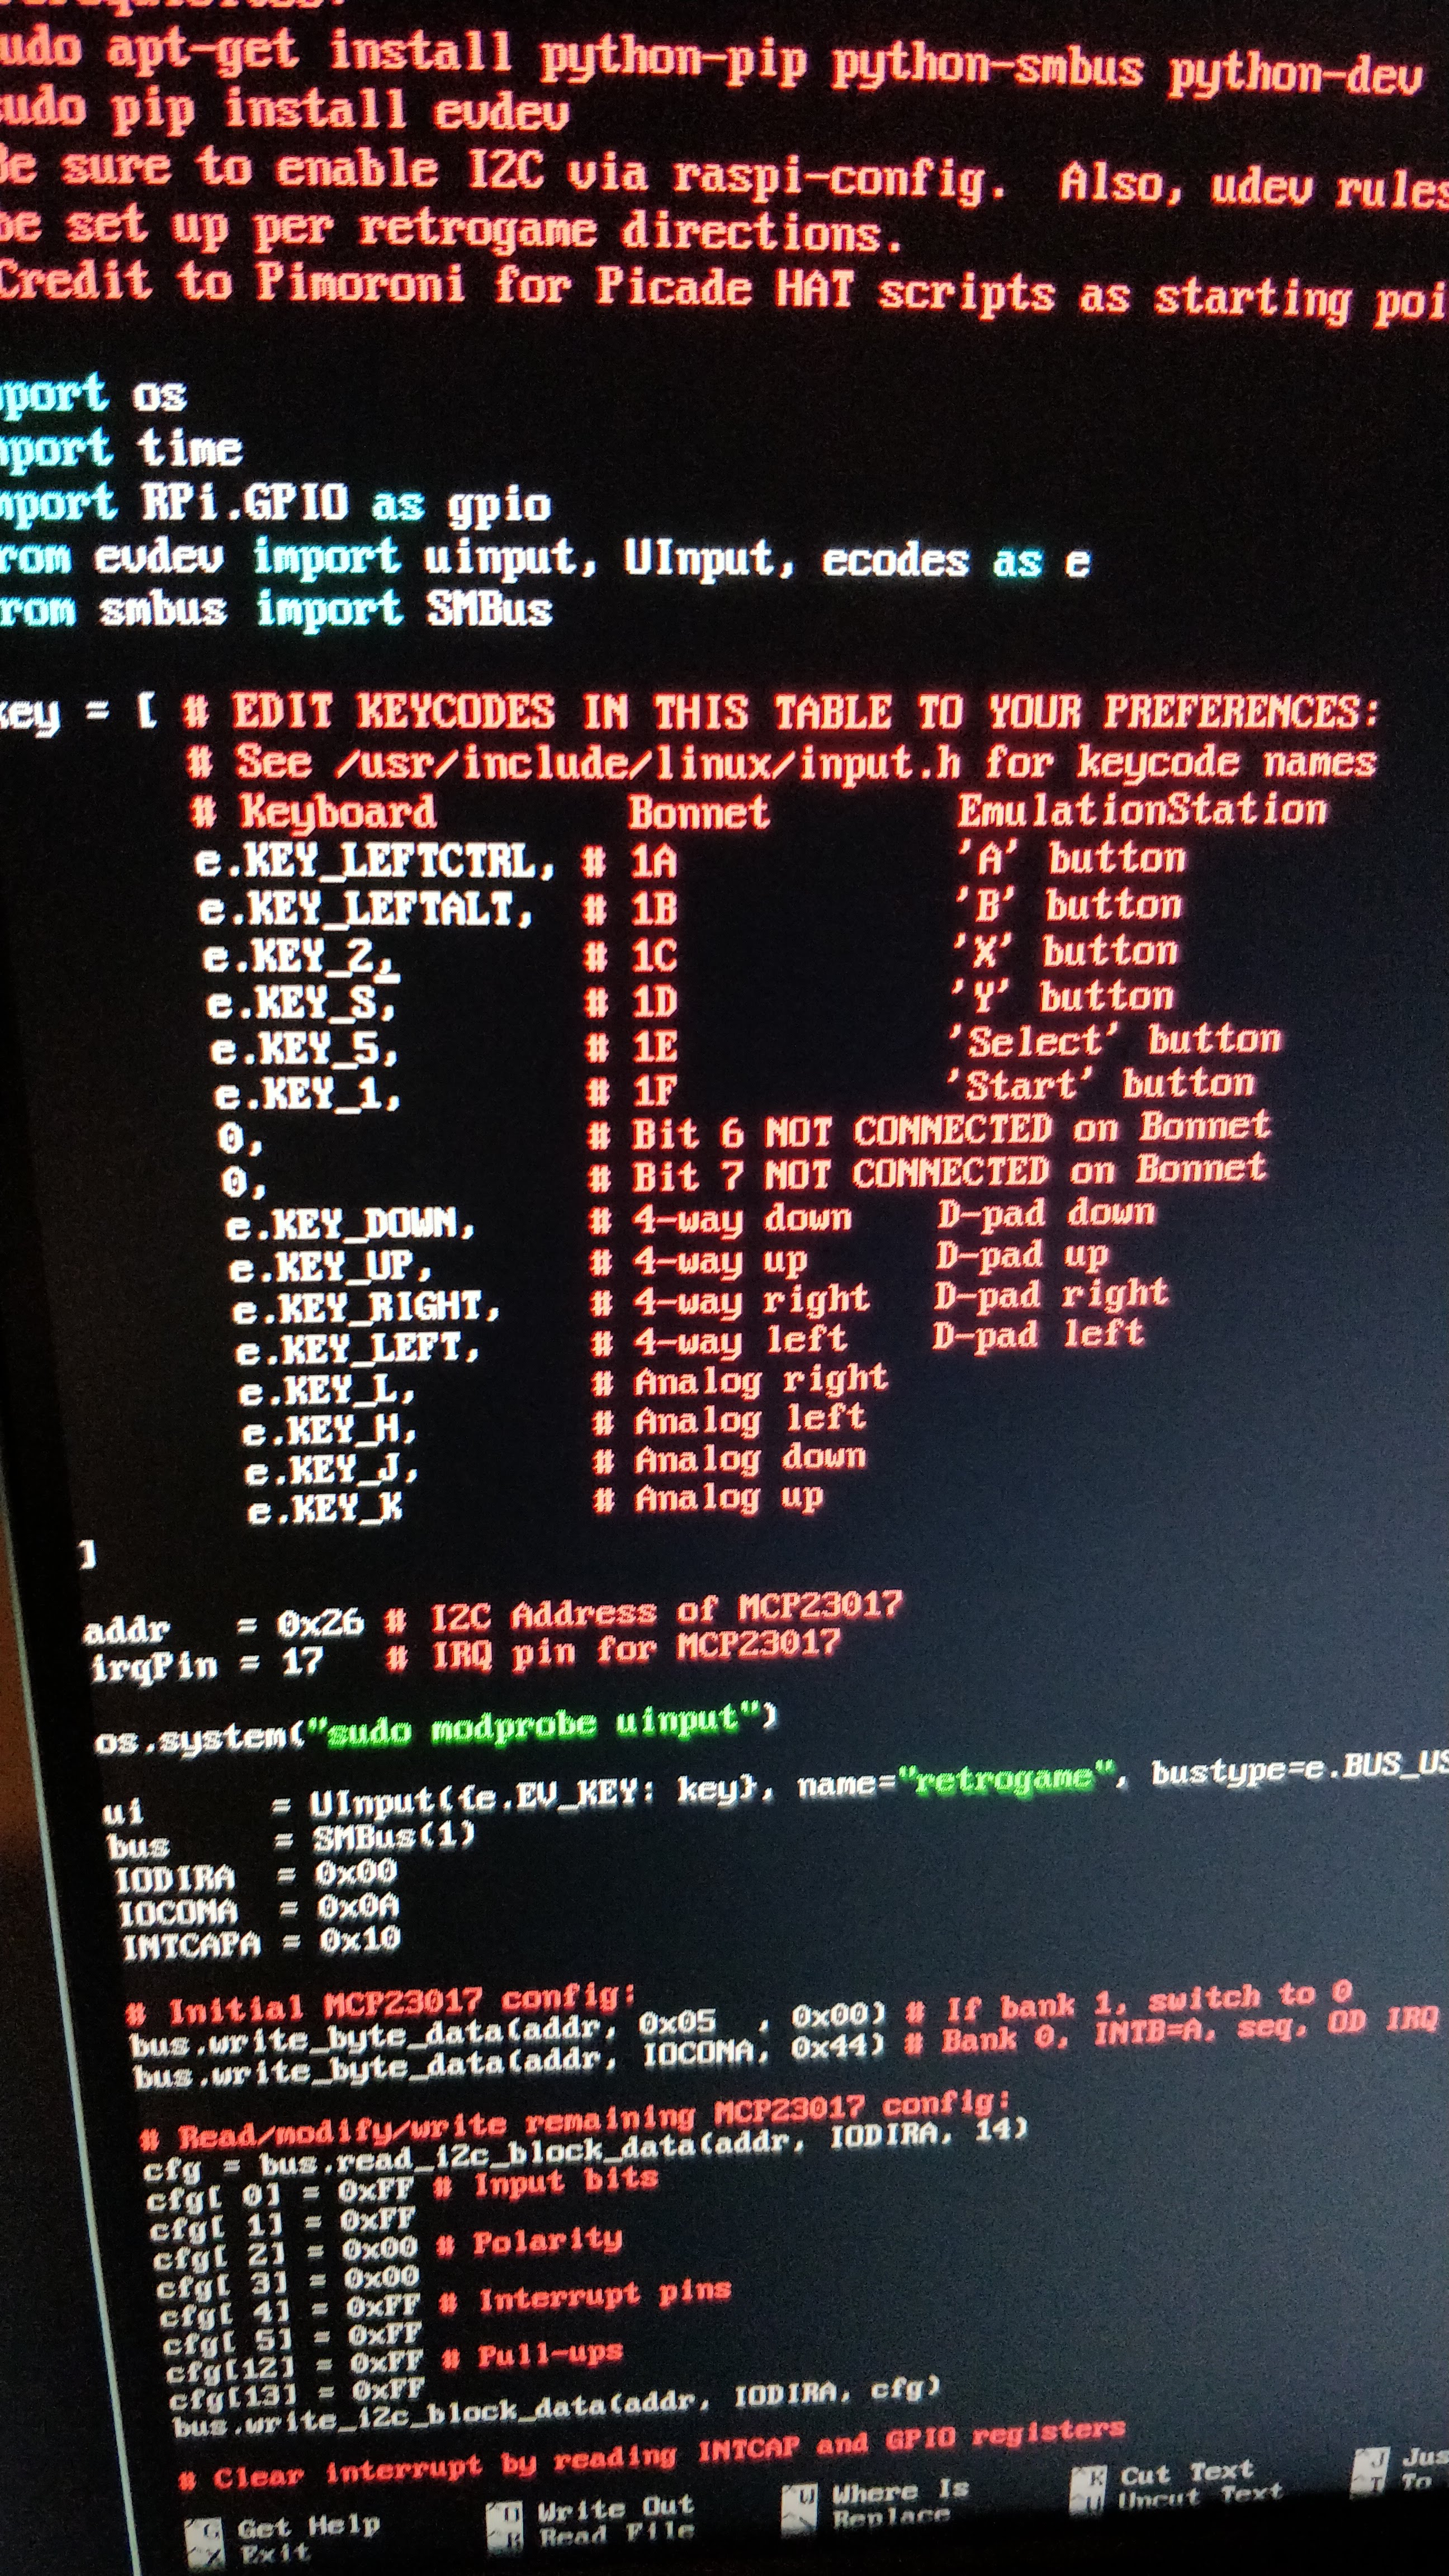
I was a little worried about how to get controls connected though. I prefer my controls to replicate a keyboard, I think that works best with MAME. The raspberry pi works great with USB joysticks or wireless gamepads (which are also good for libretro, the frontend/emulator interface) but they all act as gamepads – not keyboards. I could use something like a minipac, as I’ve done in other builds, but honestly that’s a little overkill for this.
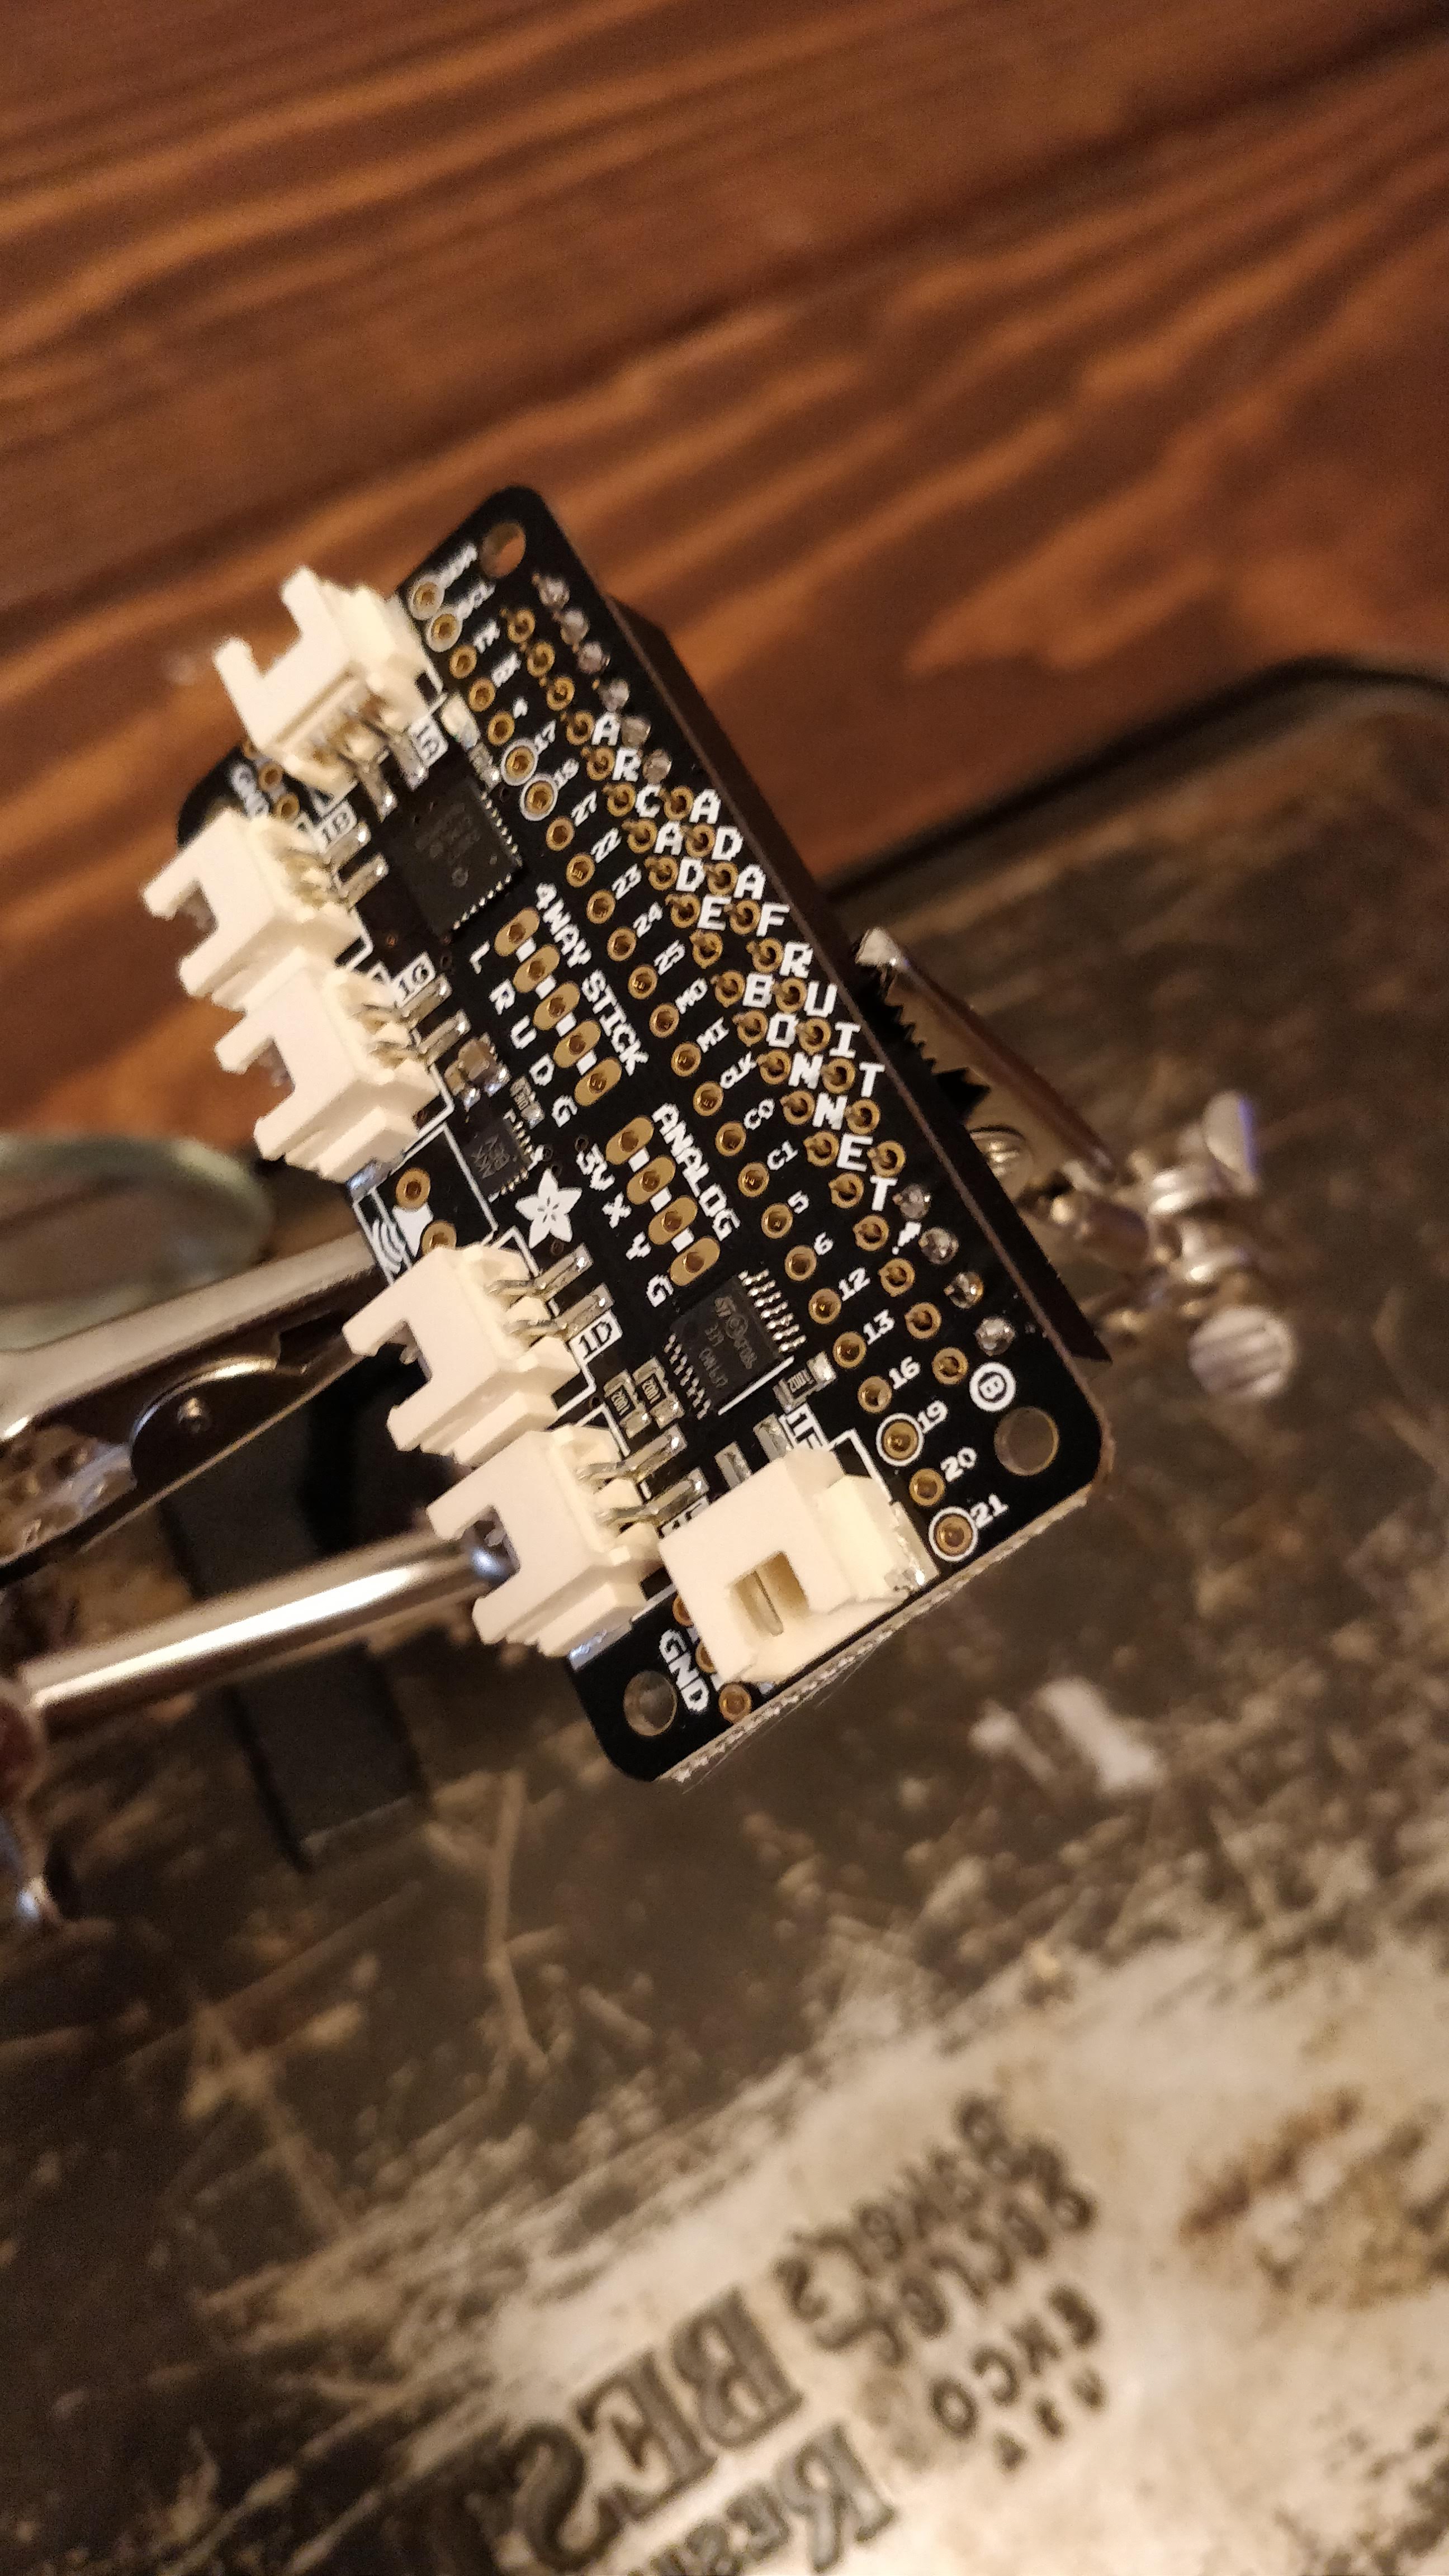
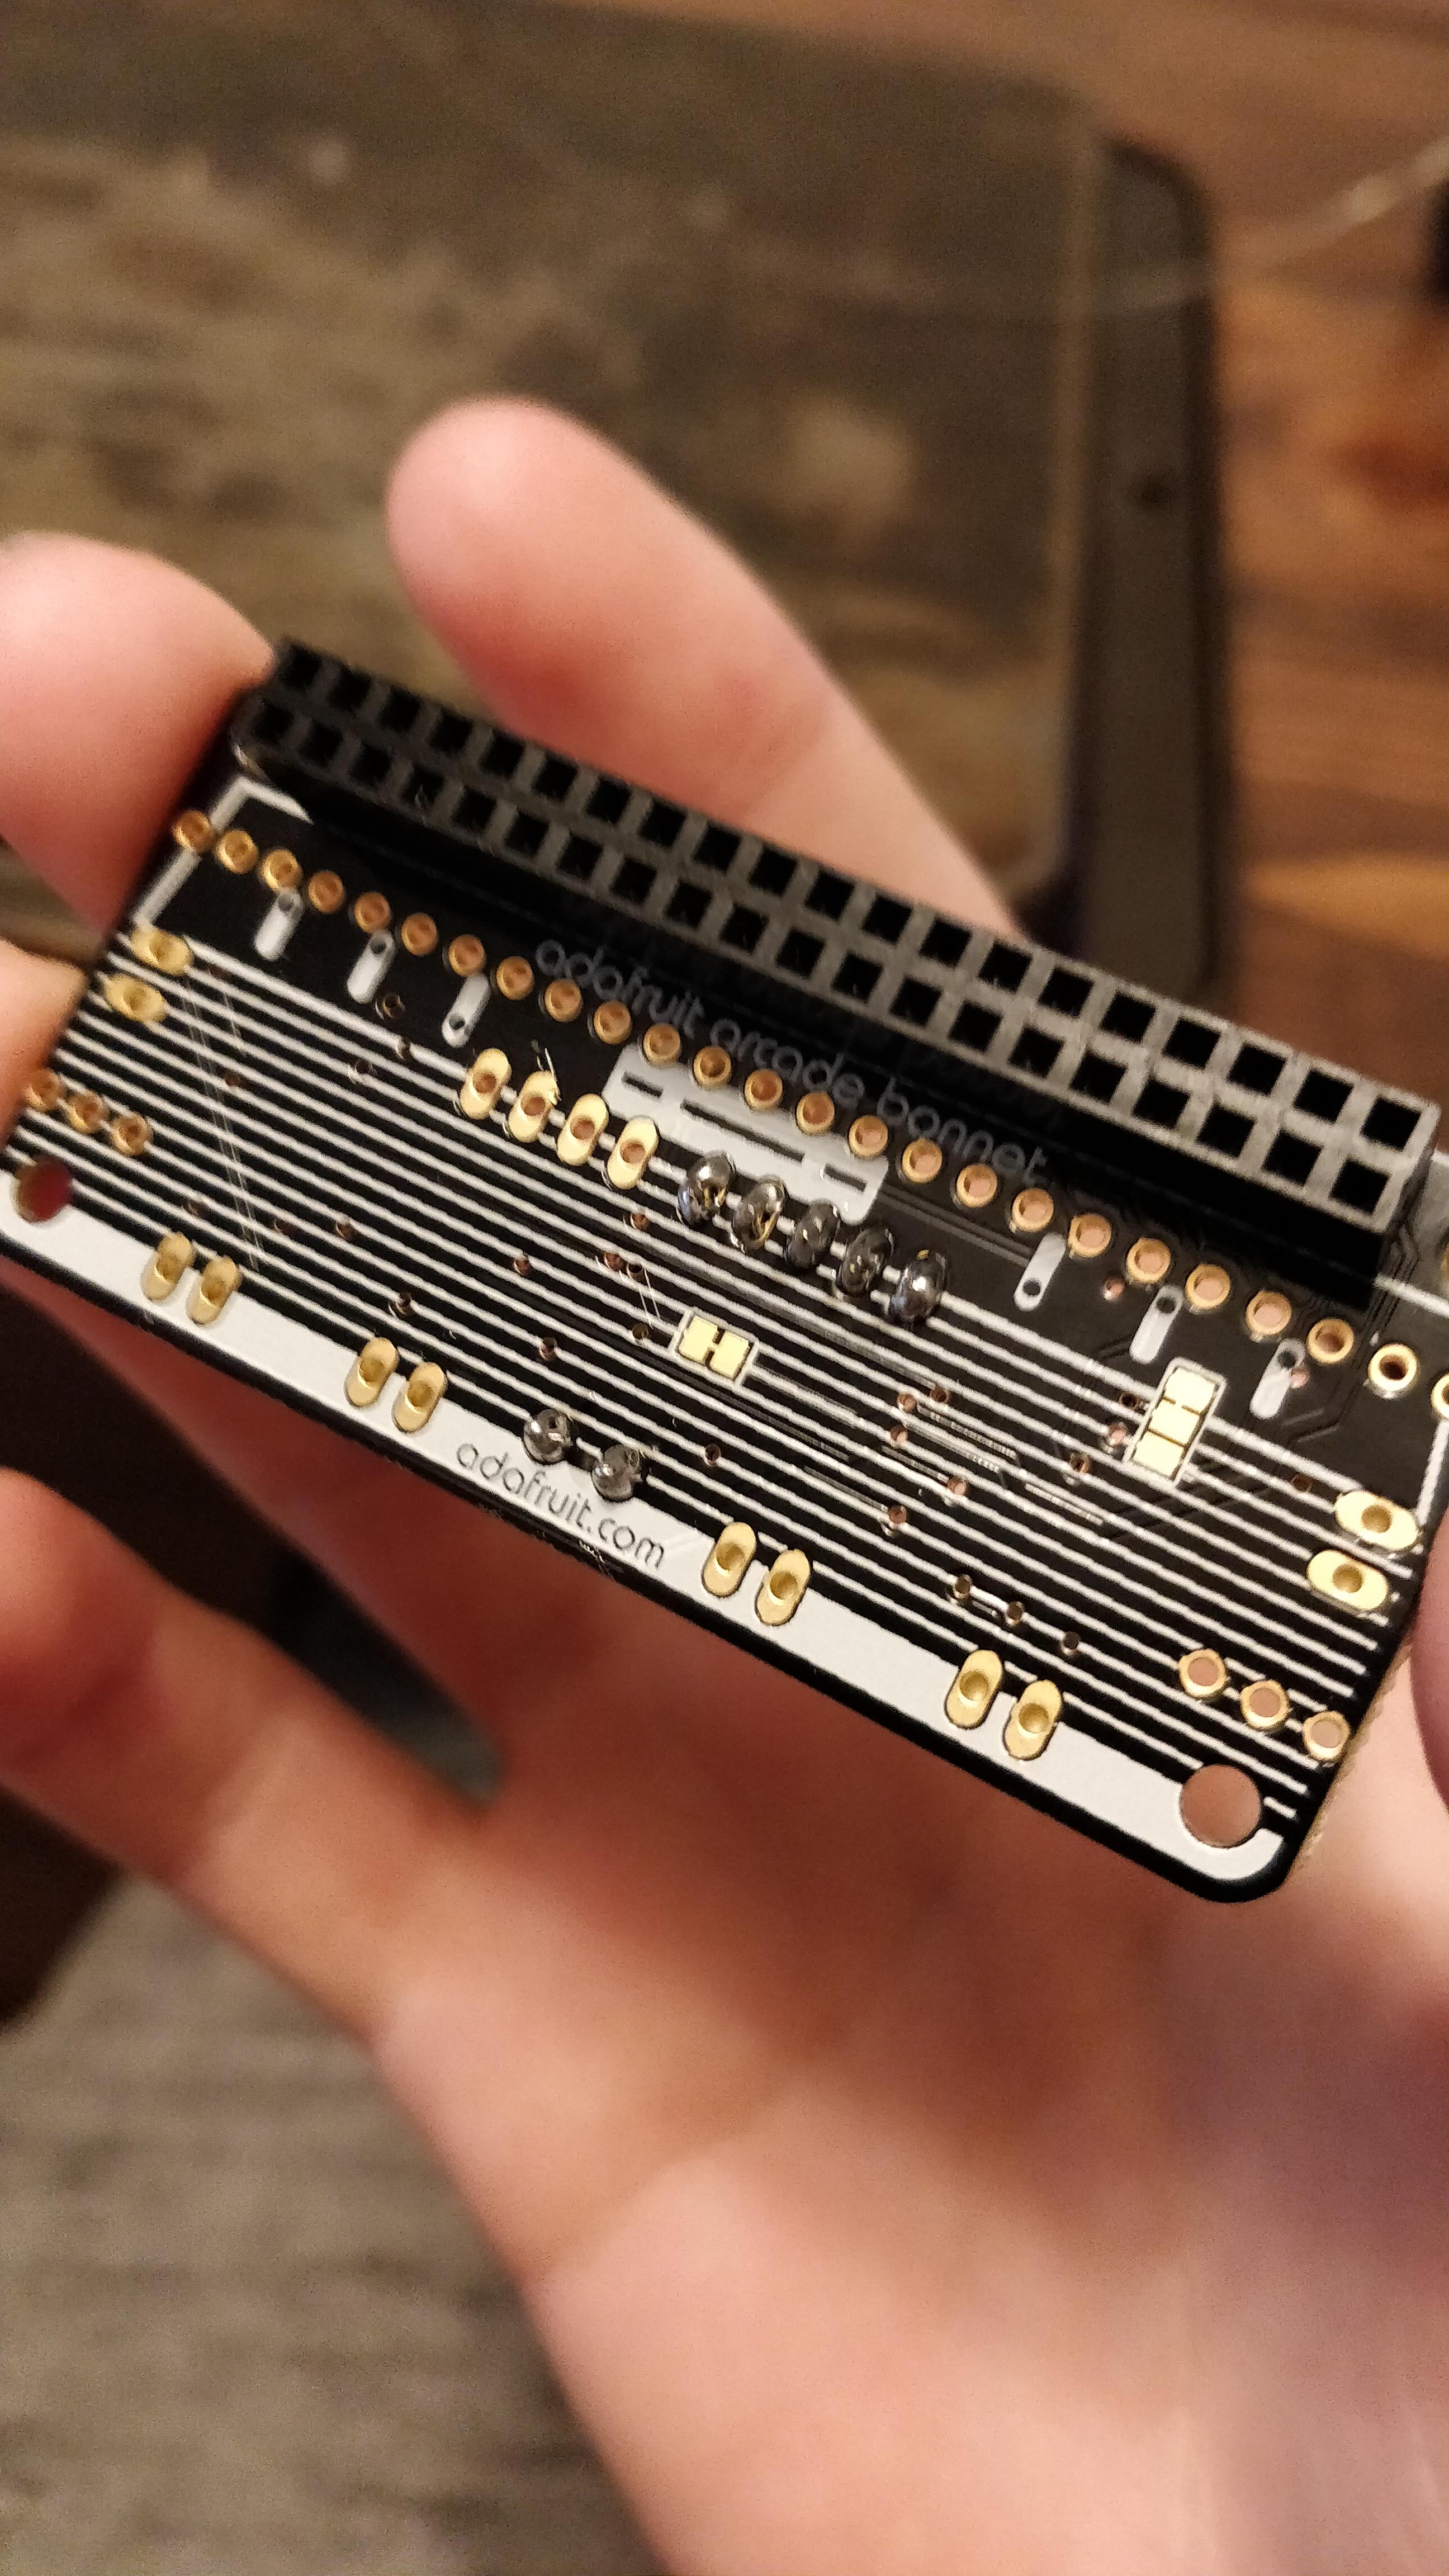
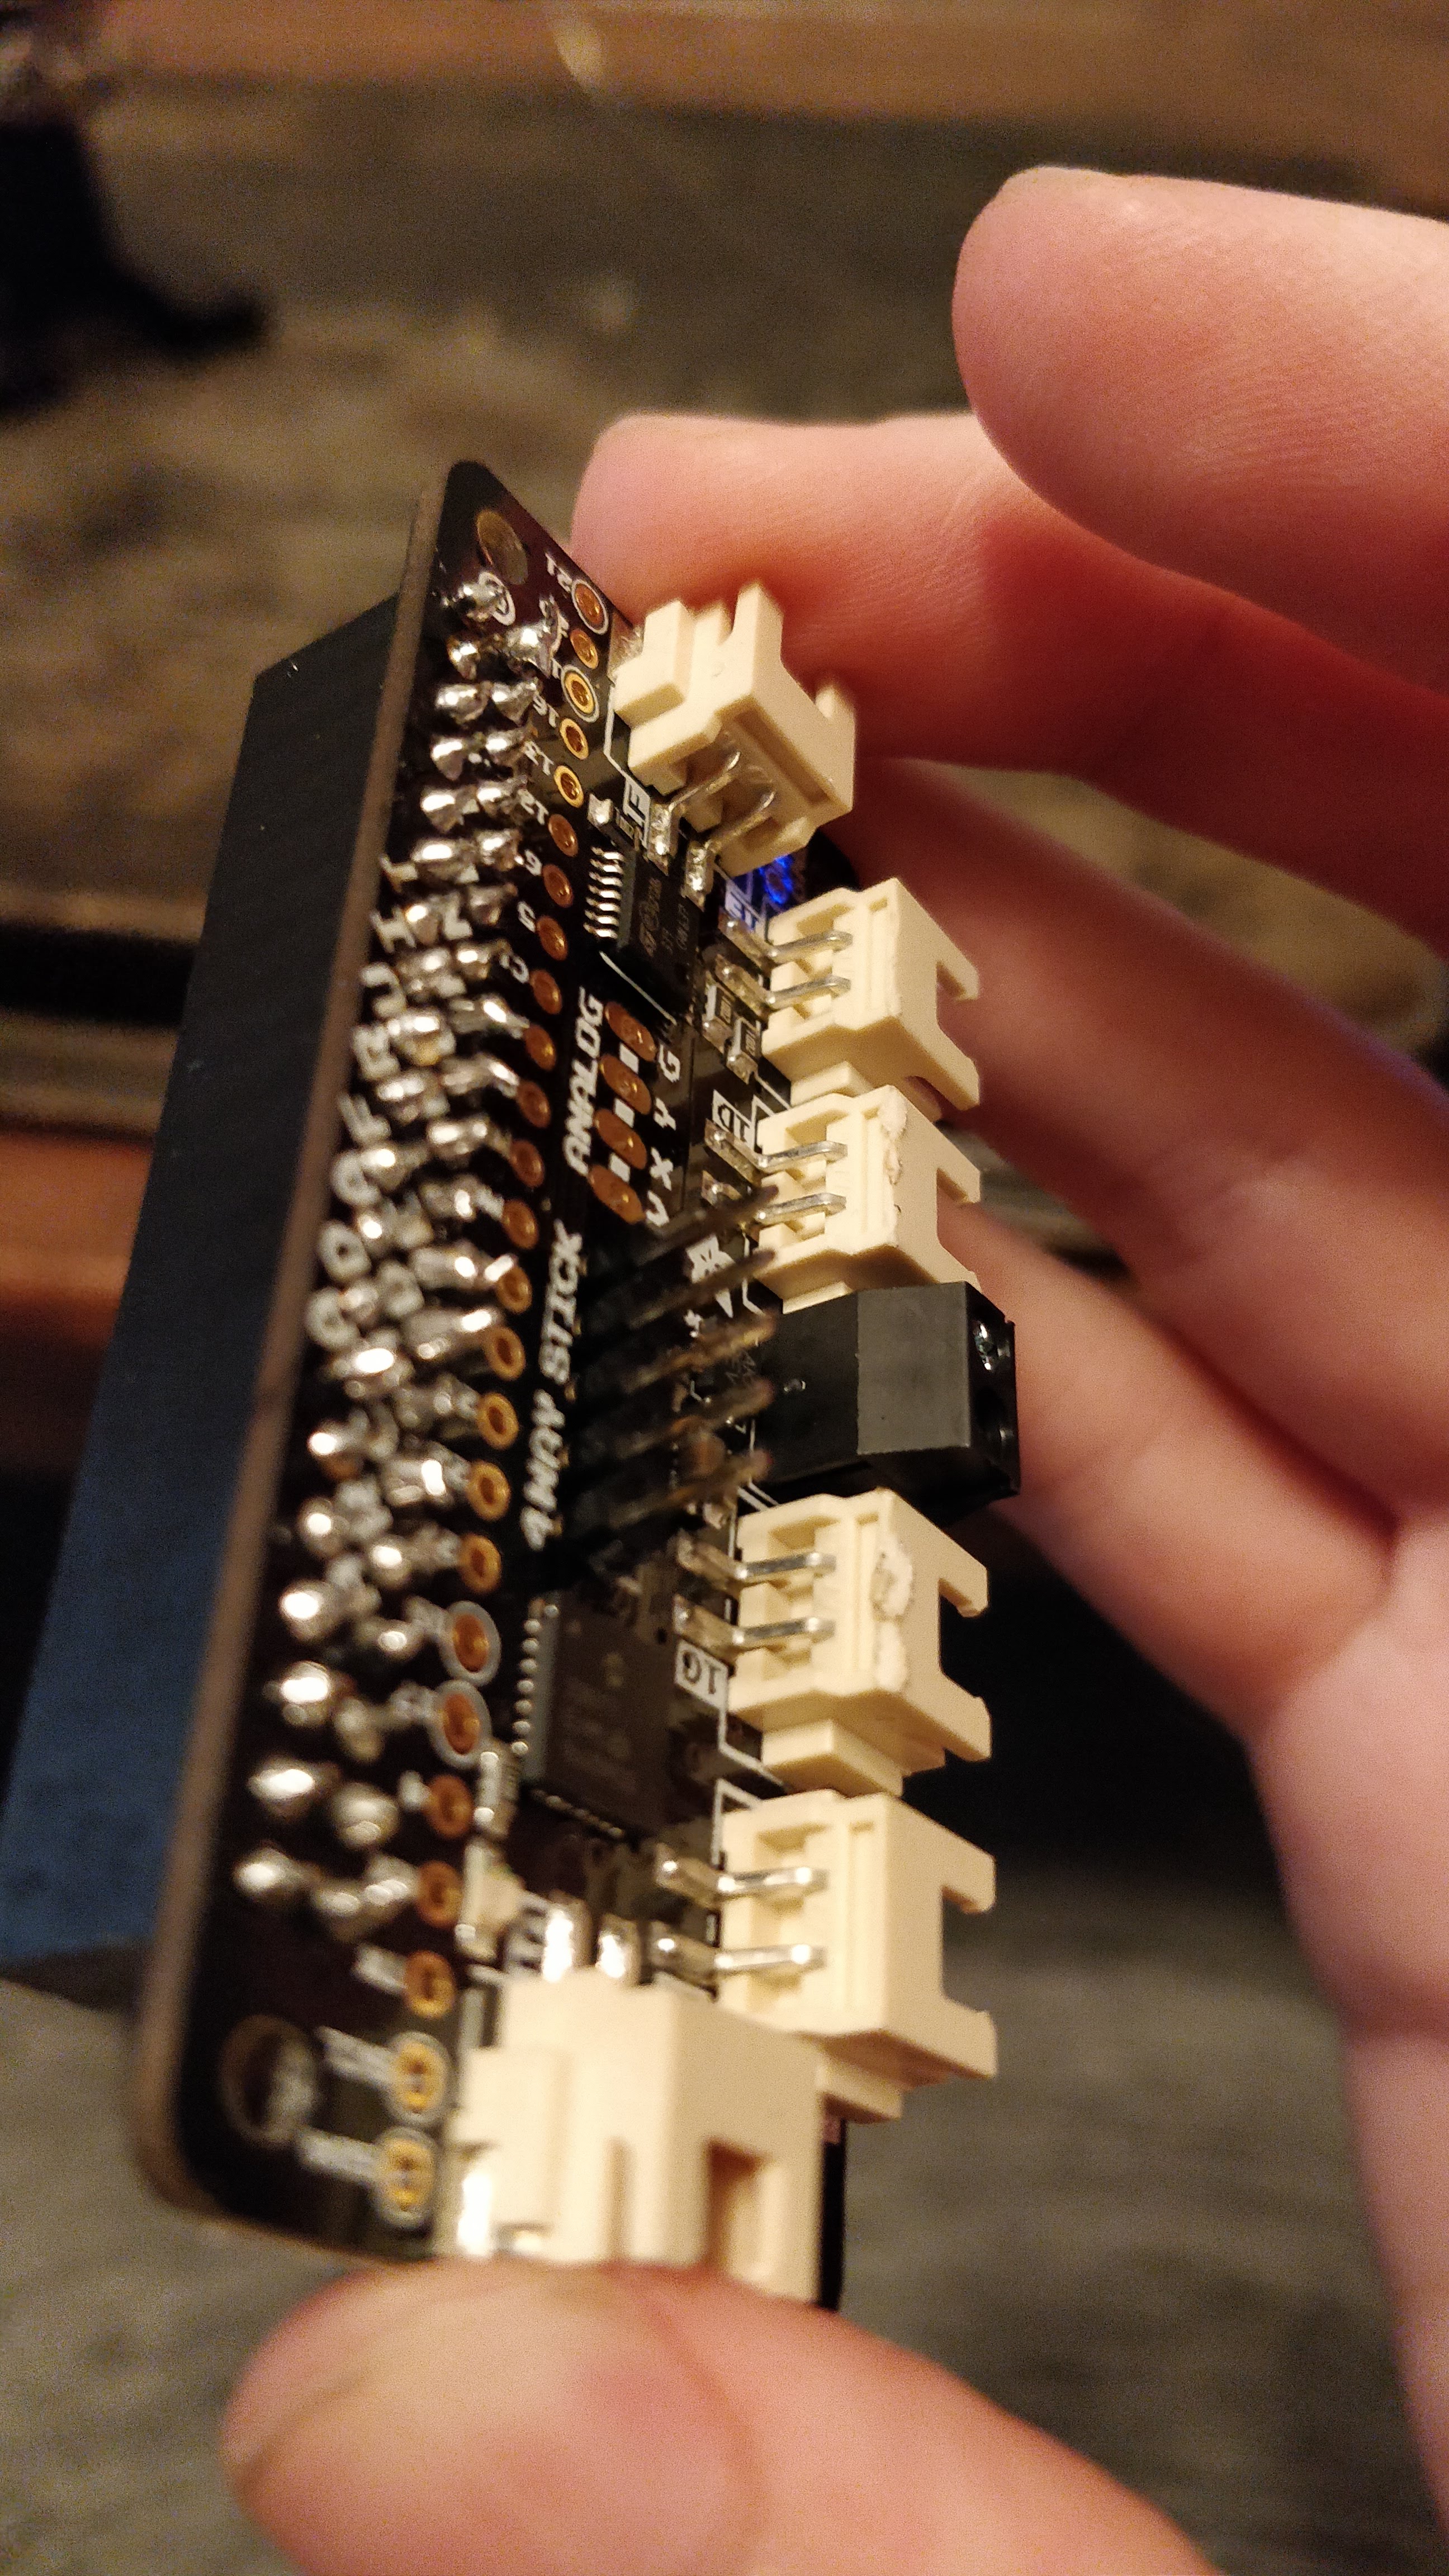
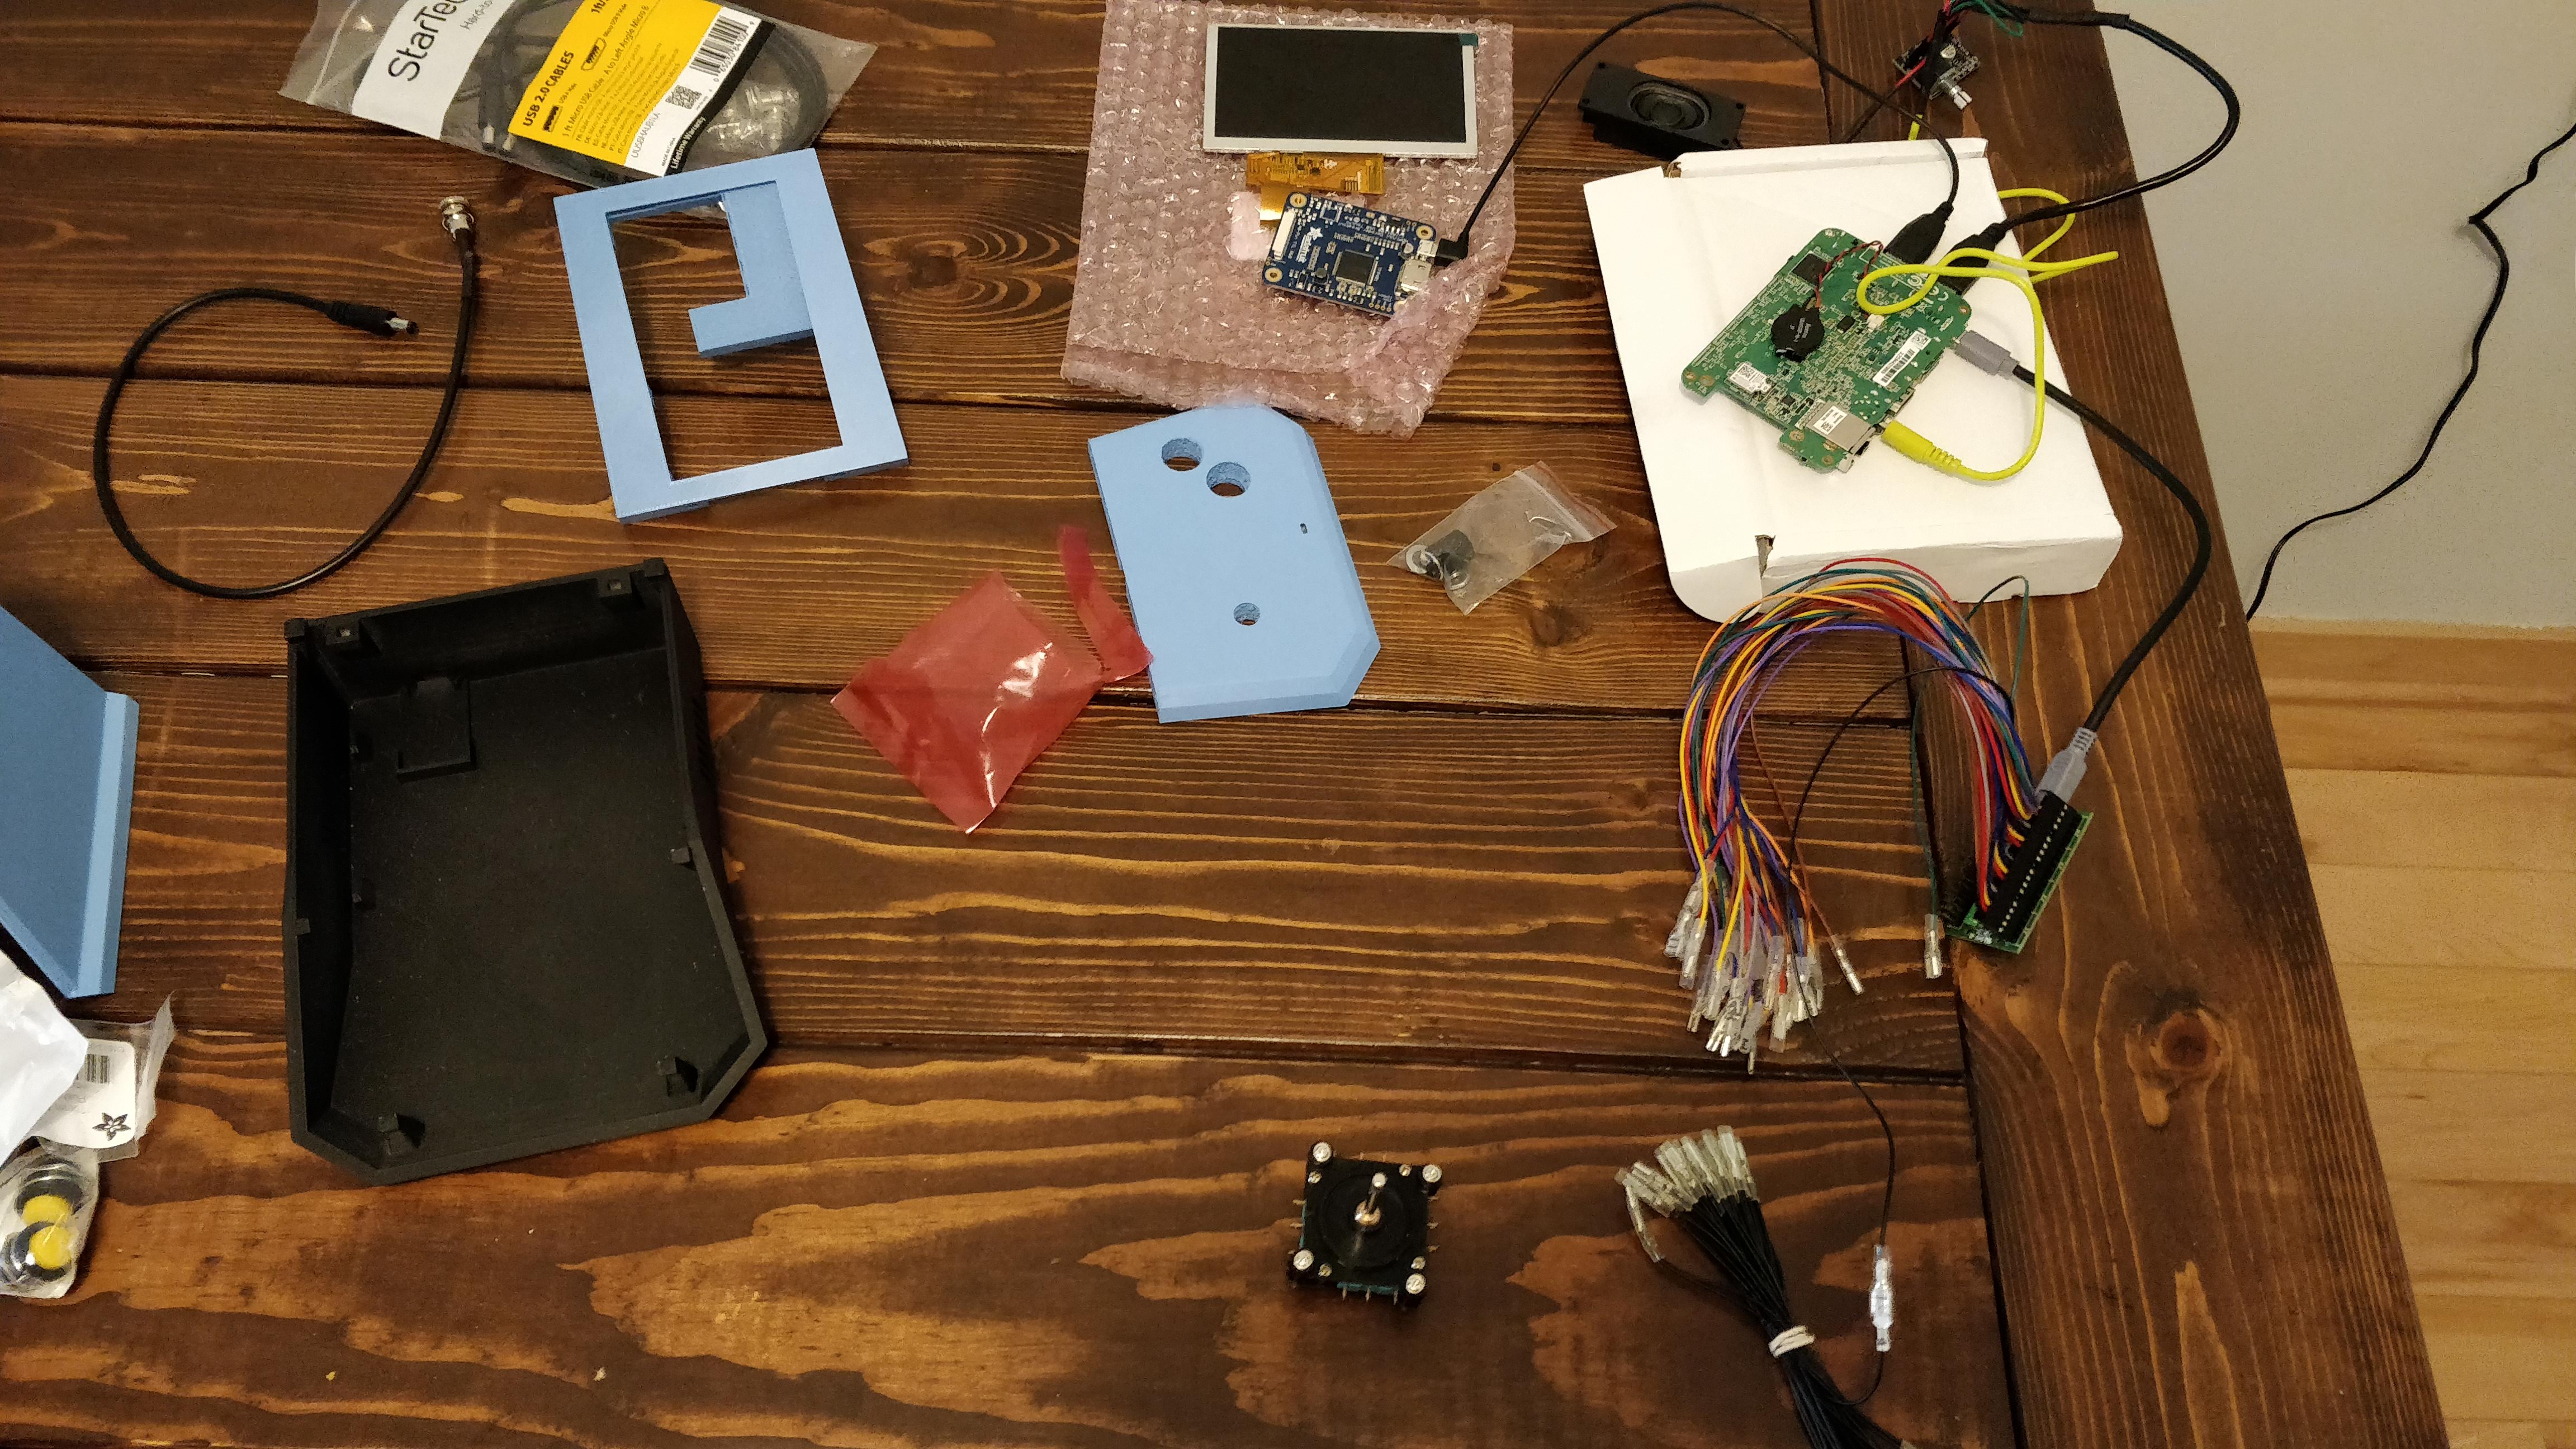
That’s when I stumbled upon the arcade bonnet by Adafruit. Why do I love this thing? Let me explain. It connects directly to the pi, emulates a keyboard, has 6 inputs with easy JST connectors, an 8-joystick connection, analog joystick connection, AND has a built in mono audio amp. That really cinched the deal. Not only will it make connecting controls easy, but I won’t have to buy a separate amp – saving me both a USB connection (or the audio plug) and power.
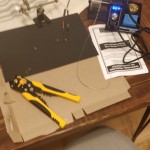
You do have to solder the thing together a bit, but that was no problem. I also took the time to solder some of the small buttons to the JST quick connect wires. These tiny little buttons will go where the small alarm and other buttons on the tabletops were. They won’t be used in gameplay, but will have admin functions.
I recently finished coding my VFD style Wreck It Ralph game, so it was time to get the spinner working. Like MAME, my game detects mouse X-axis movements as a left/right spinner.
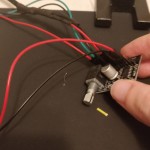
I purchased a cheap rotary encoder on amazon and got to wiring it to my minipac. This was actually really easy. The minipac already has spots to connect an actual arcade spinner and convert that to mouse movement. All I had to do was connect the appropriate wires to the encoder. I used the KY-040 encoder. It isn’t great, has very low resolution, but most importantly is the right size for my miniature build.
While it wouldn’t play many spinner games perfectly, it gets the job done. It’s more for show/fun anyway. The idea that such a small machine has a spinner in it. See a video of it in action below.
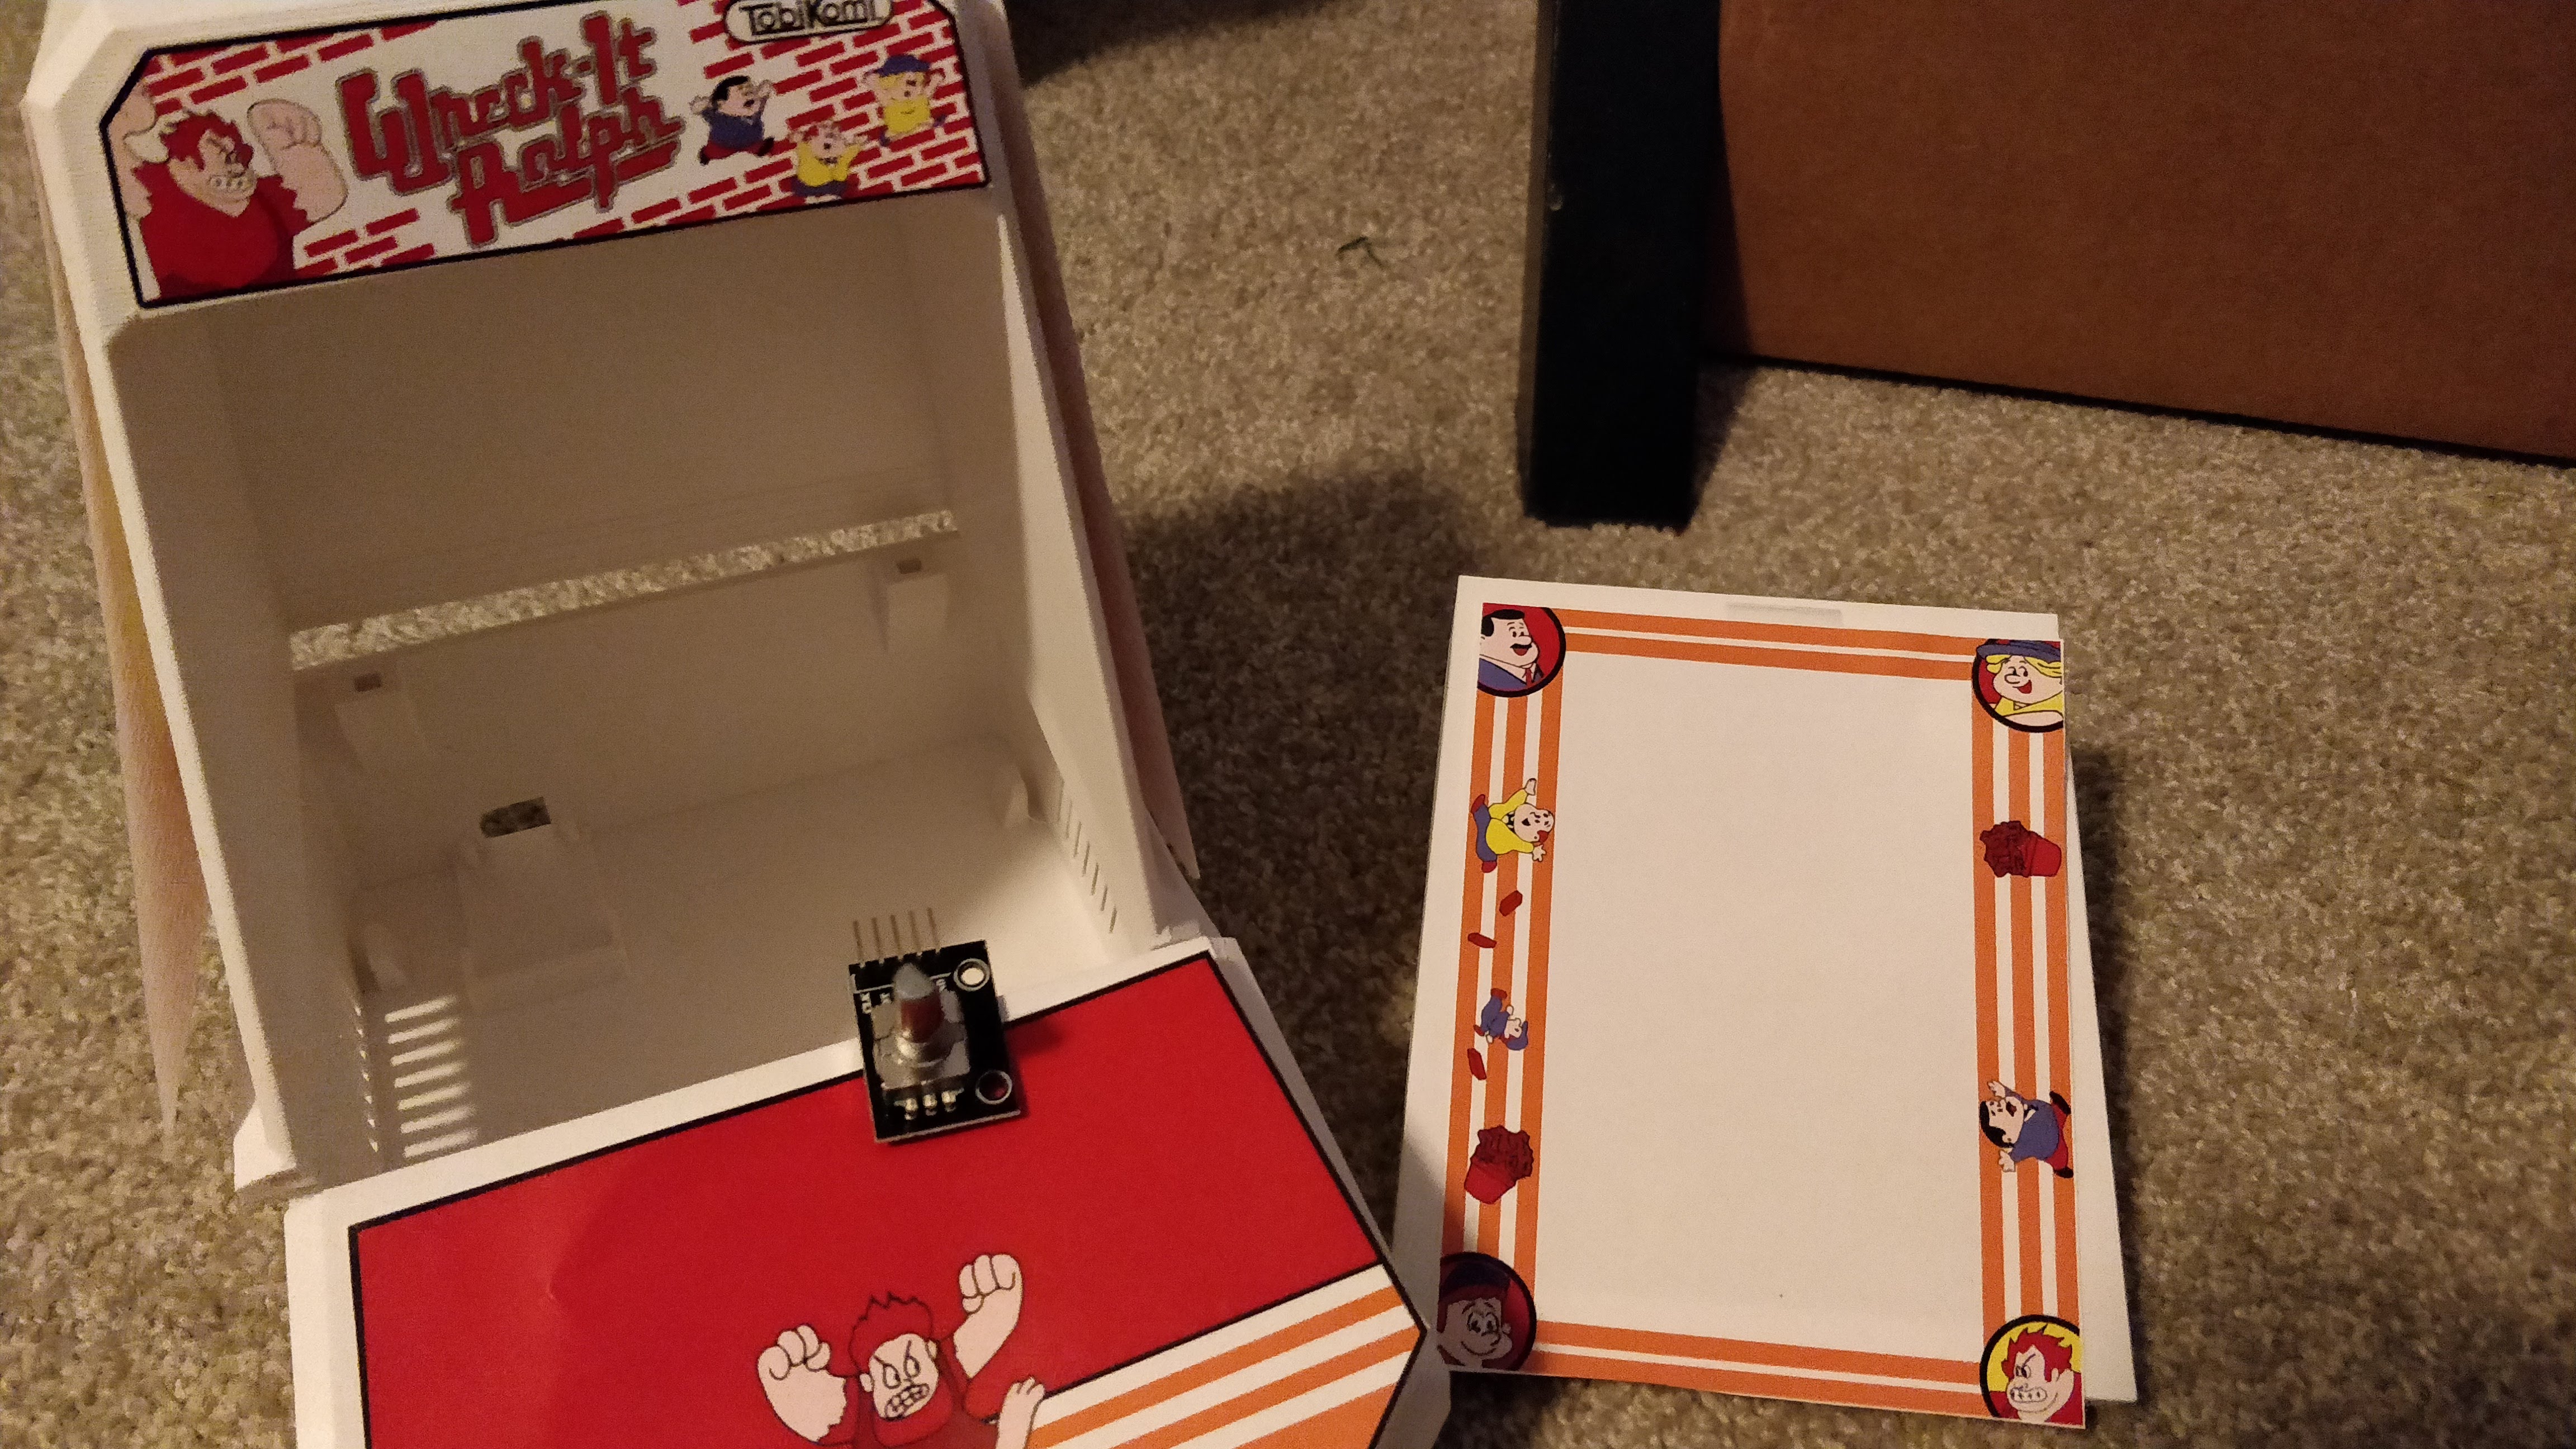
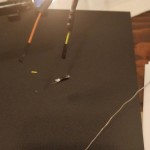
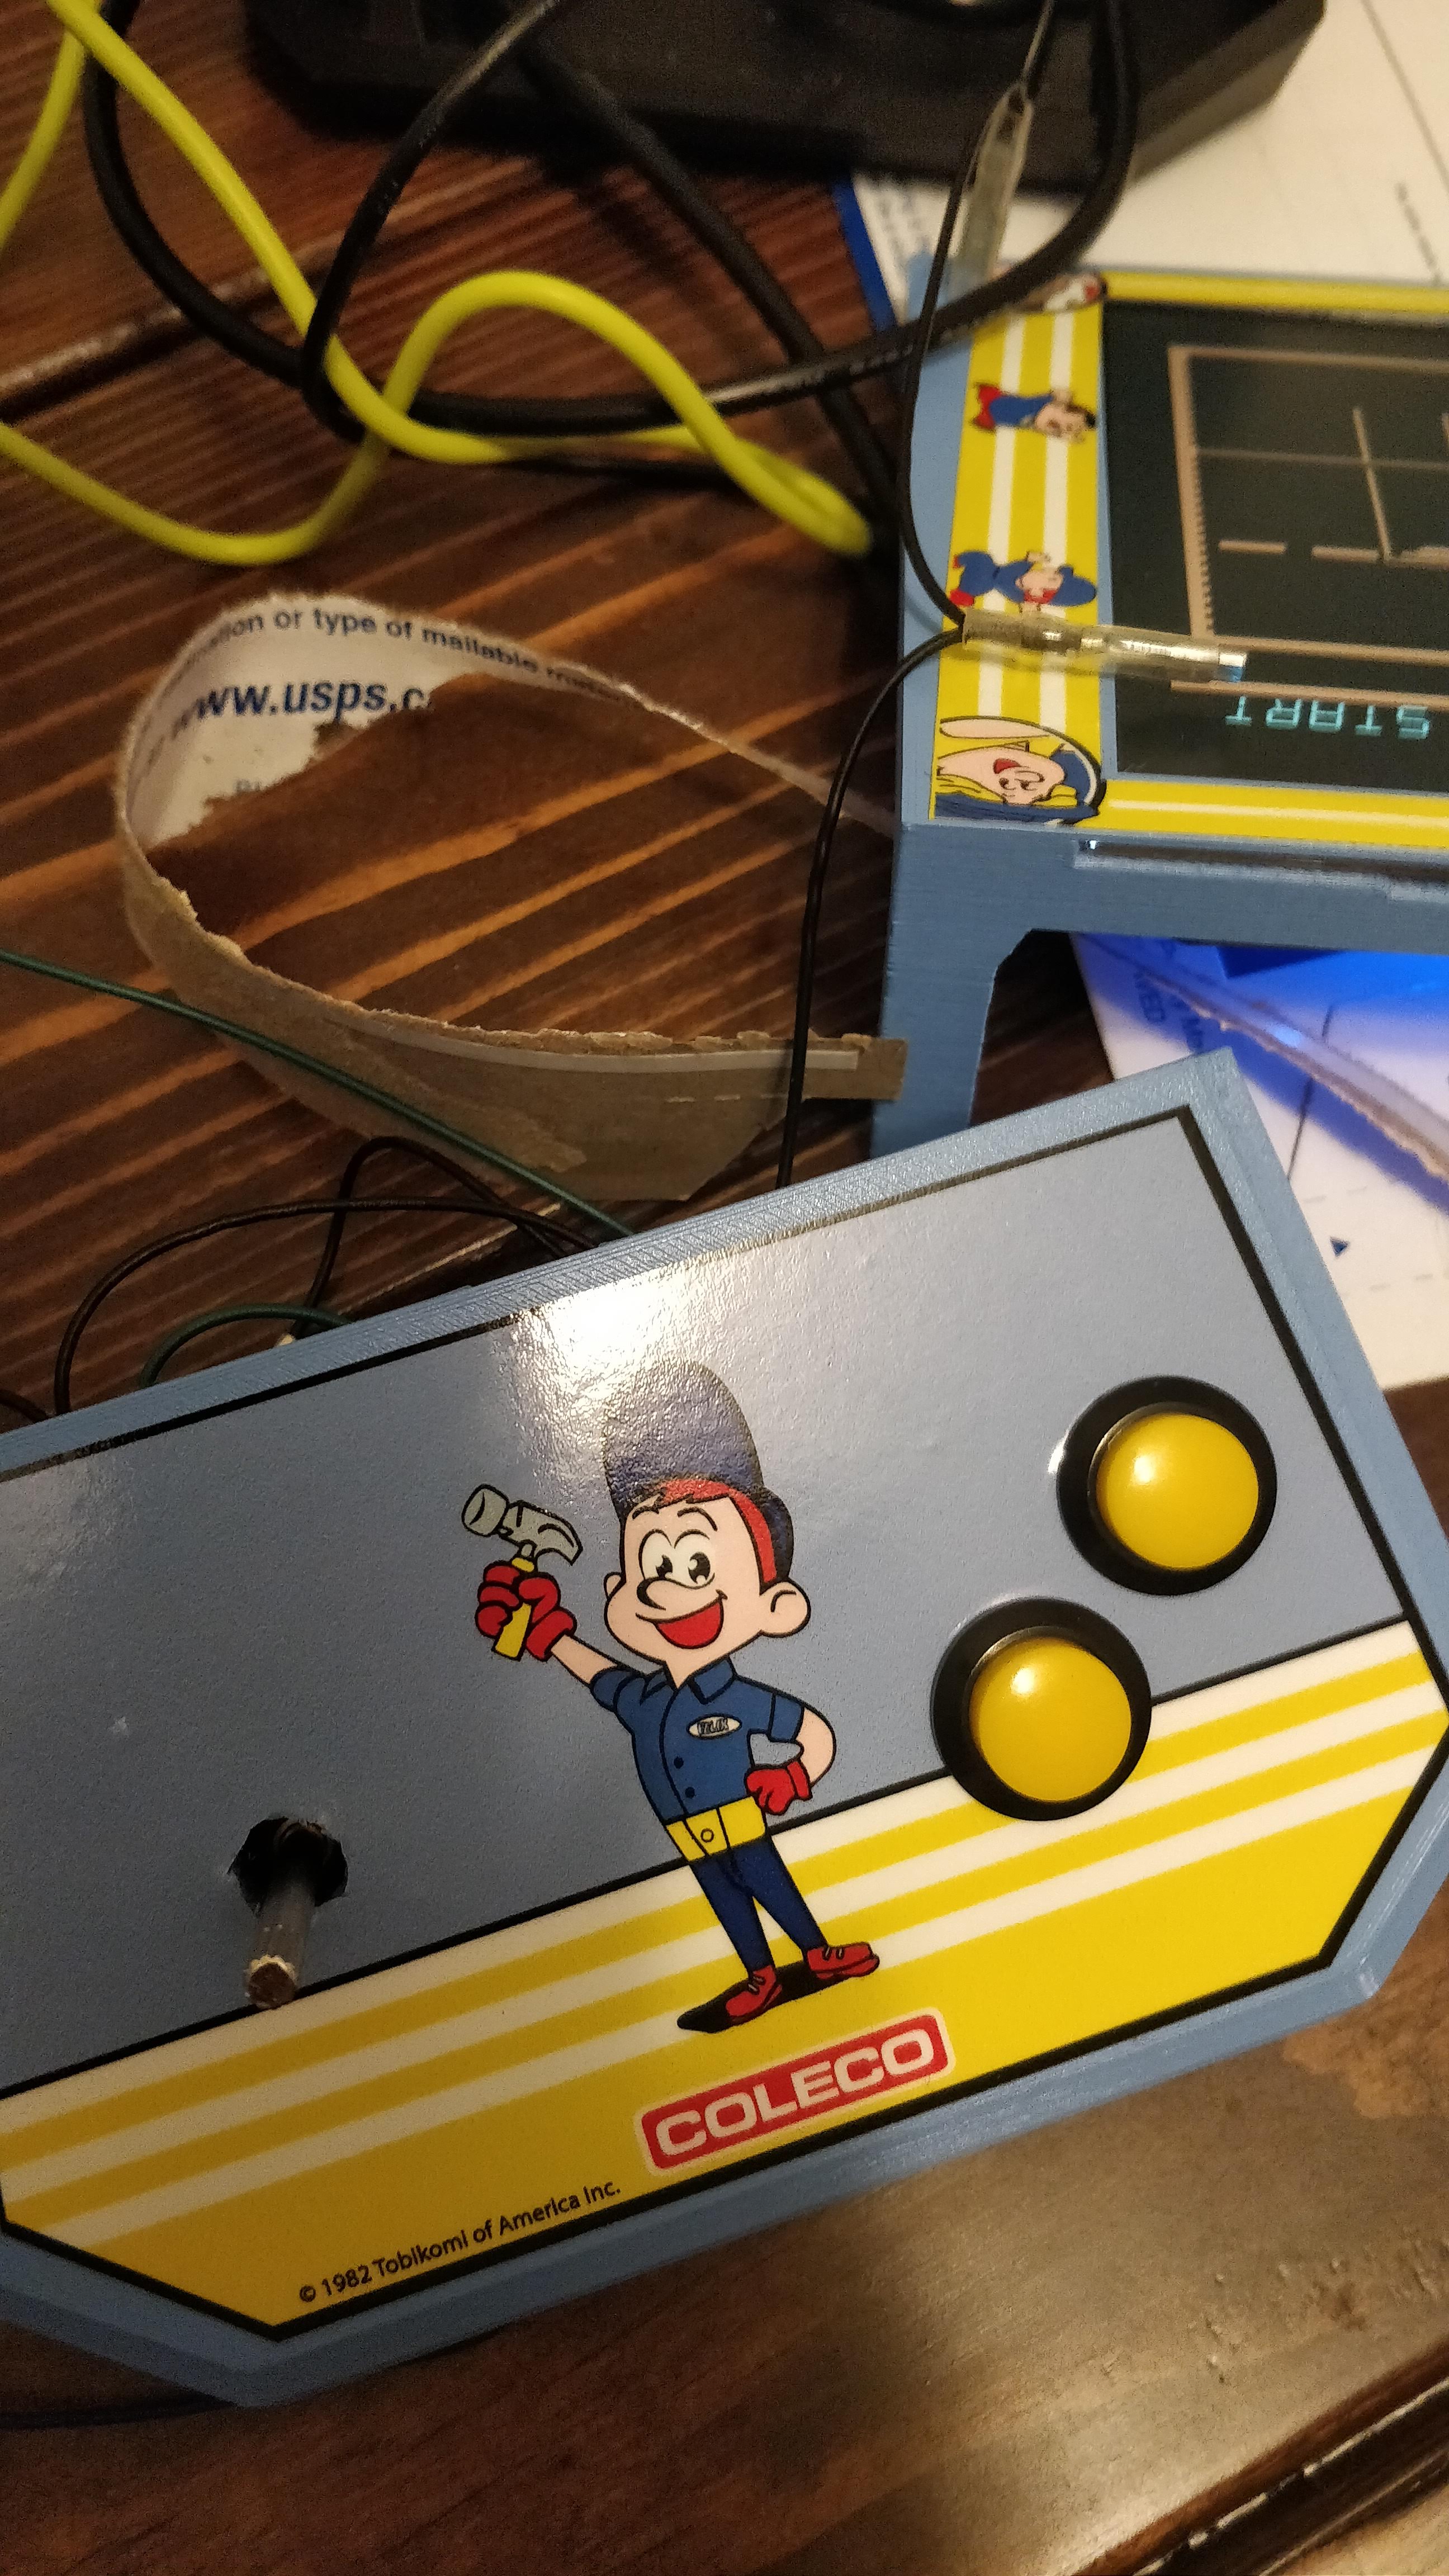
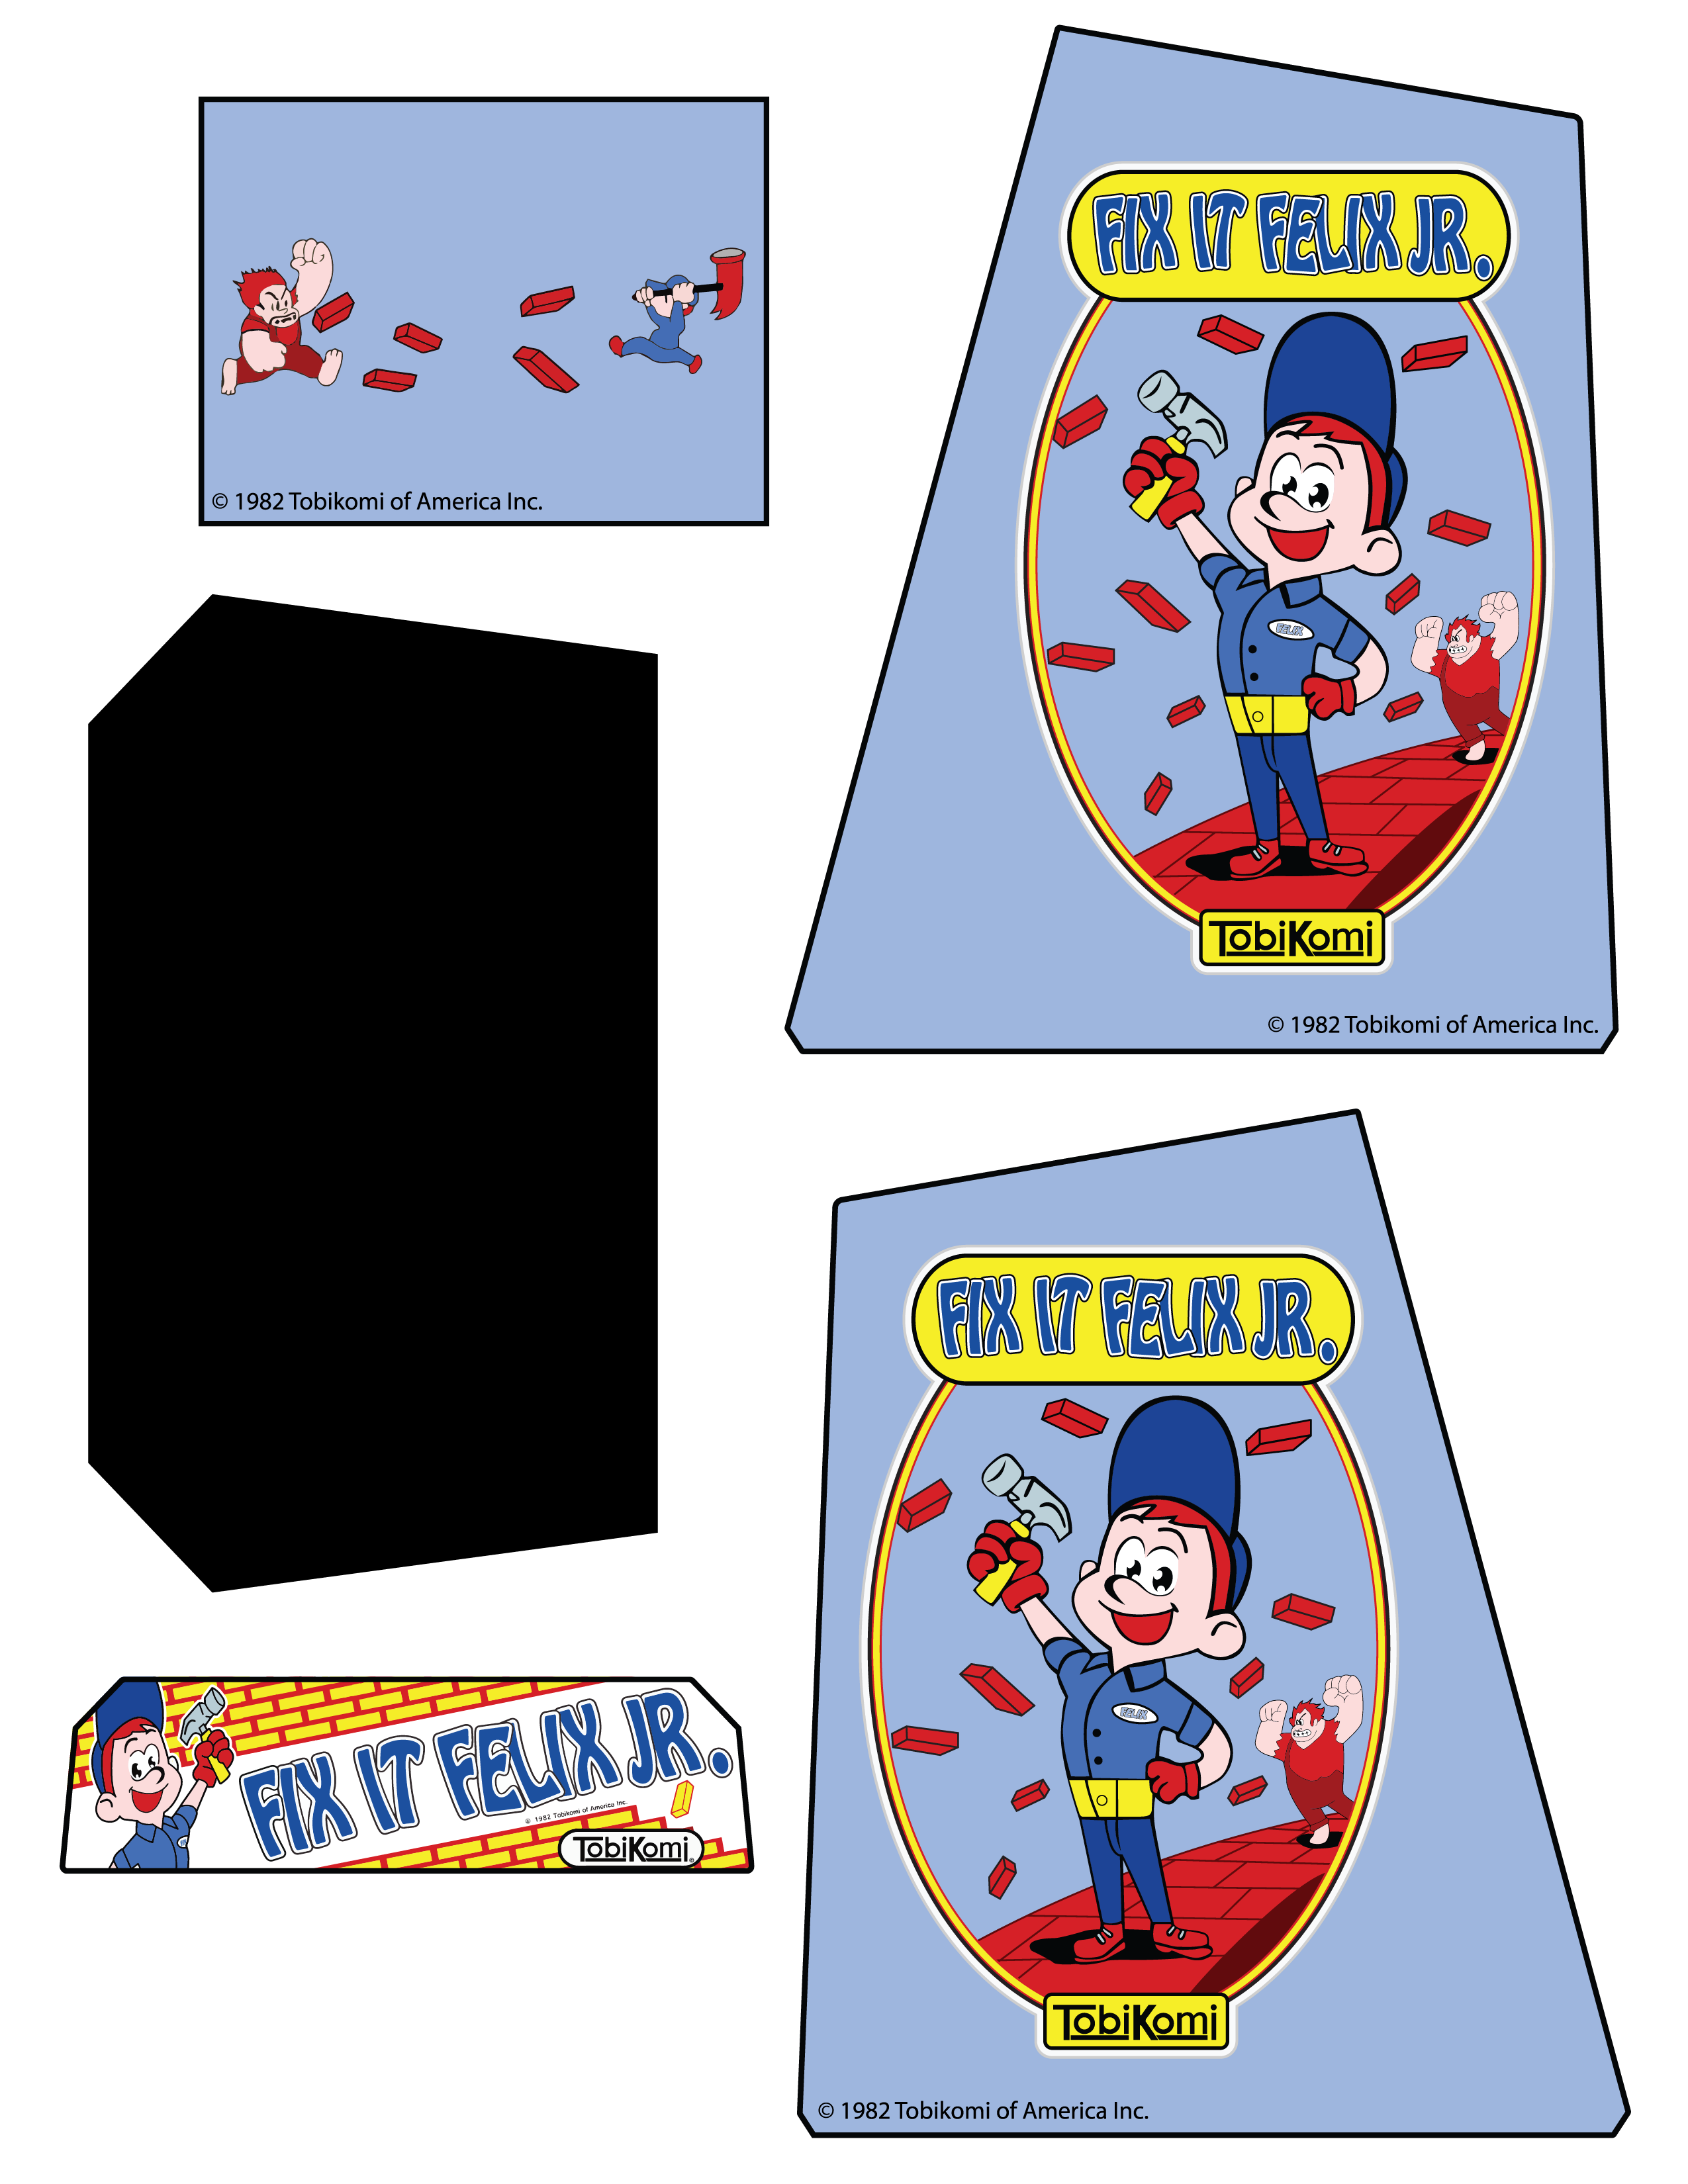
Before printing the final artwork, I decided to do a couple of test prints on regular paper and just cutting them out. You can see that mockup below. Nothing super fancy, but gives me an idea of what it will look like.
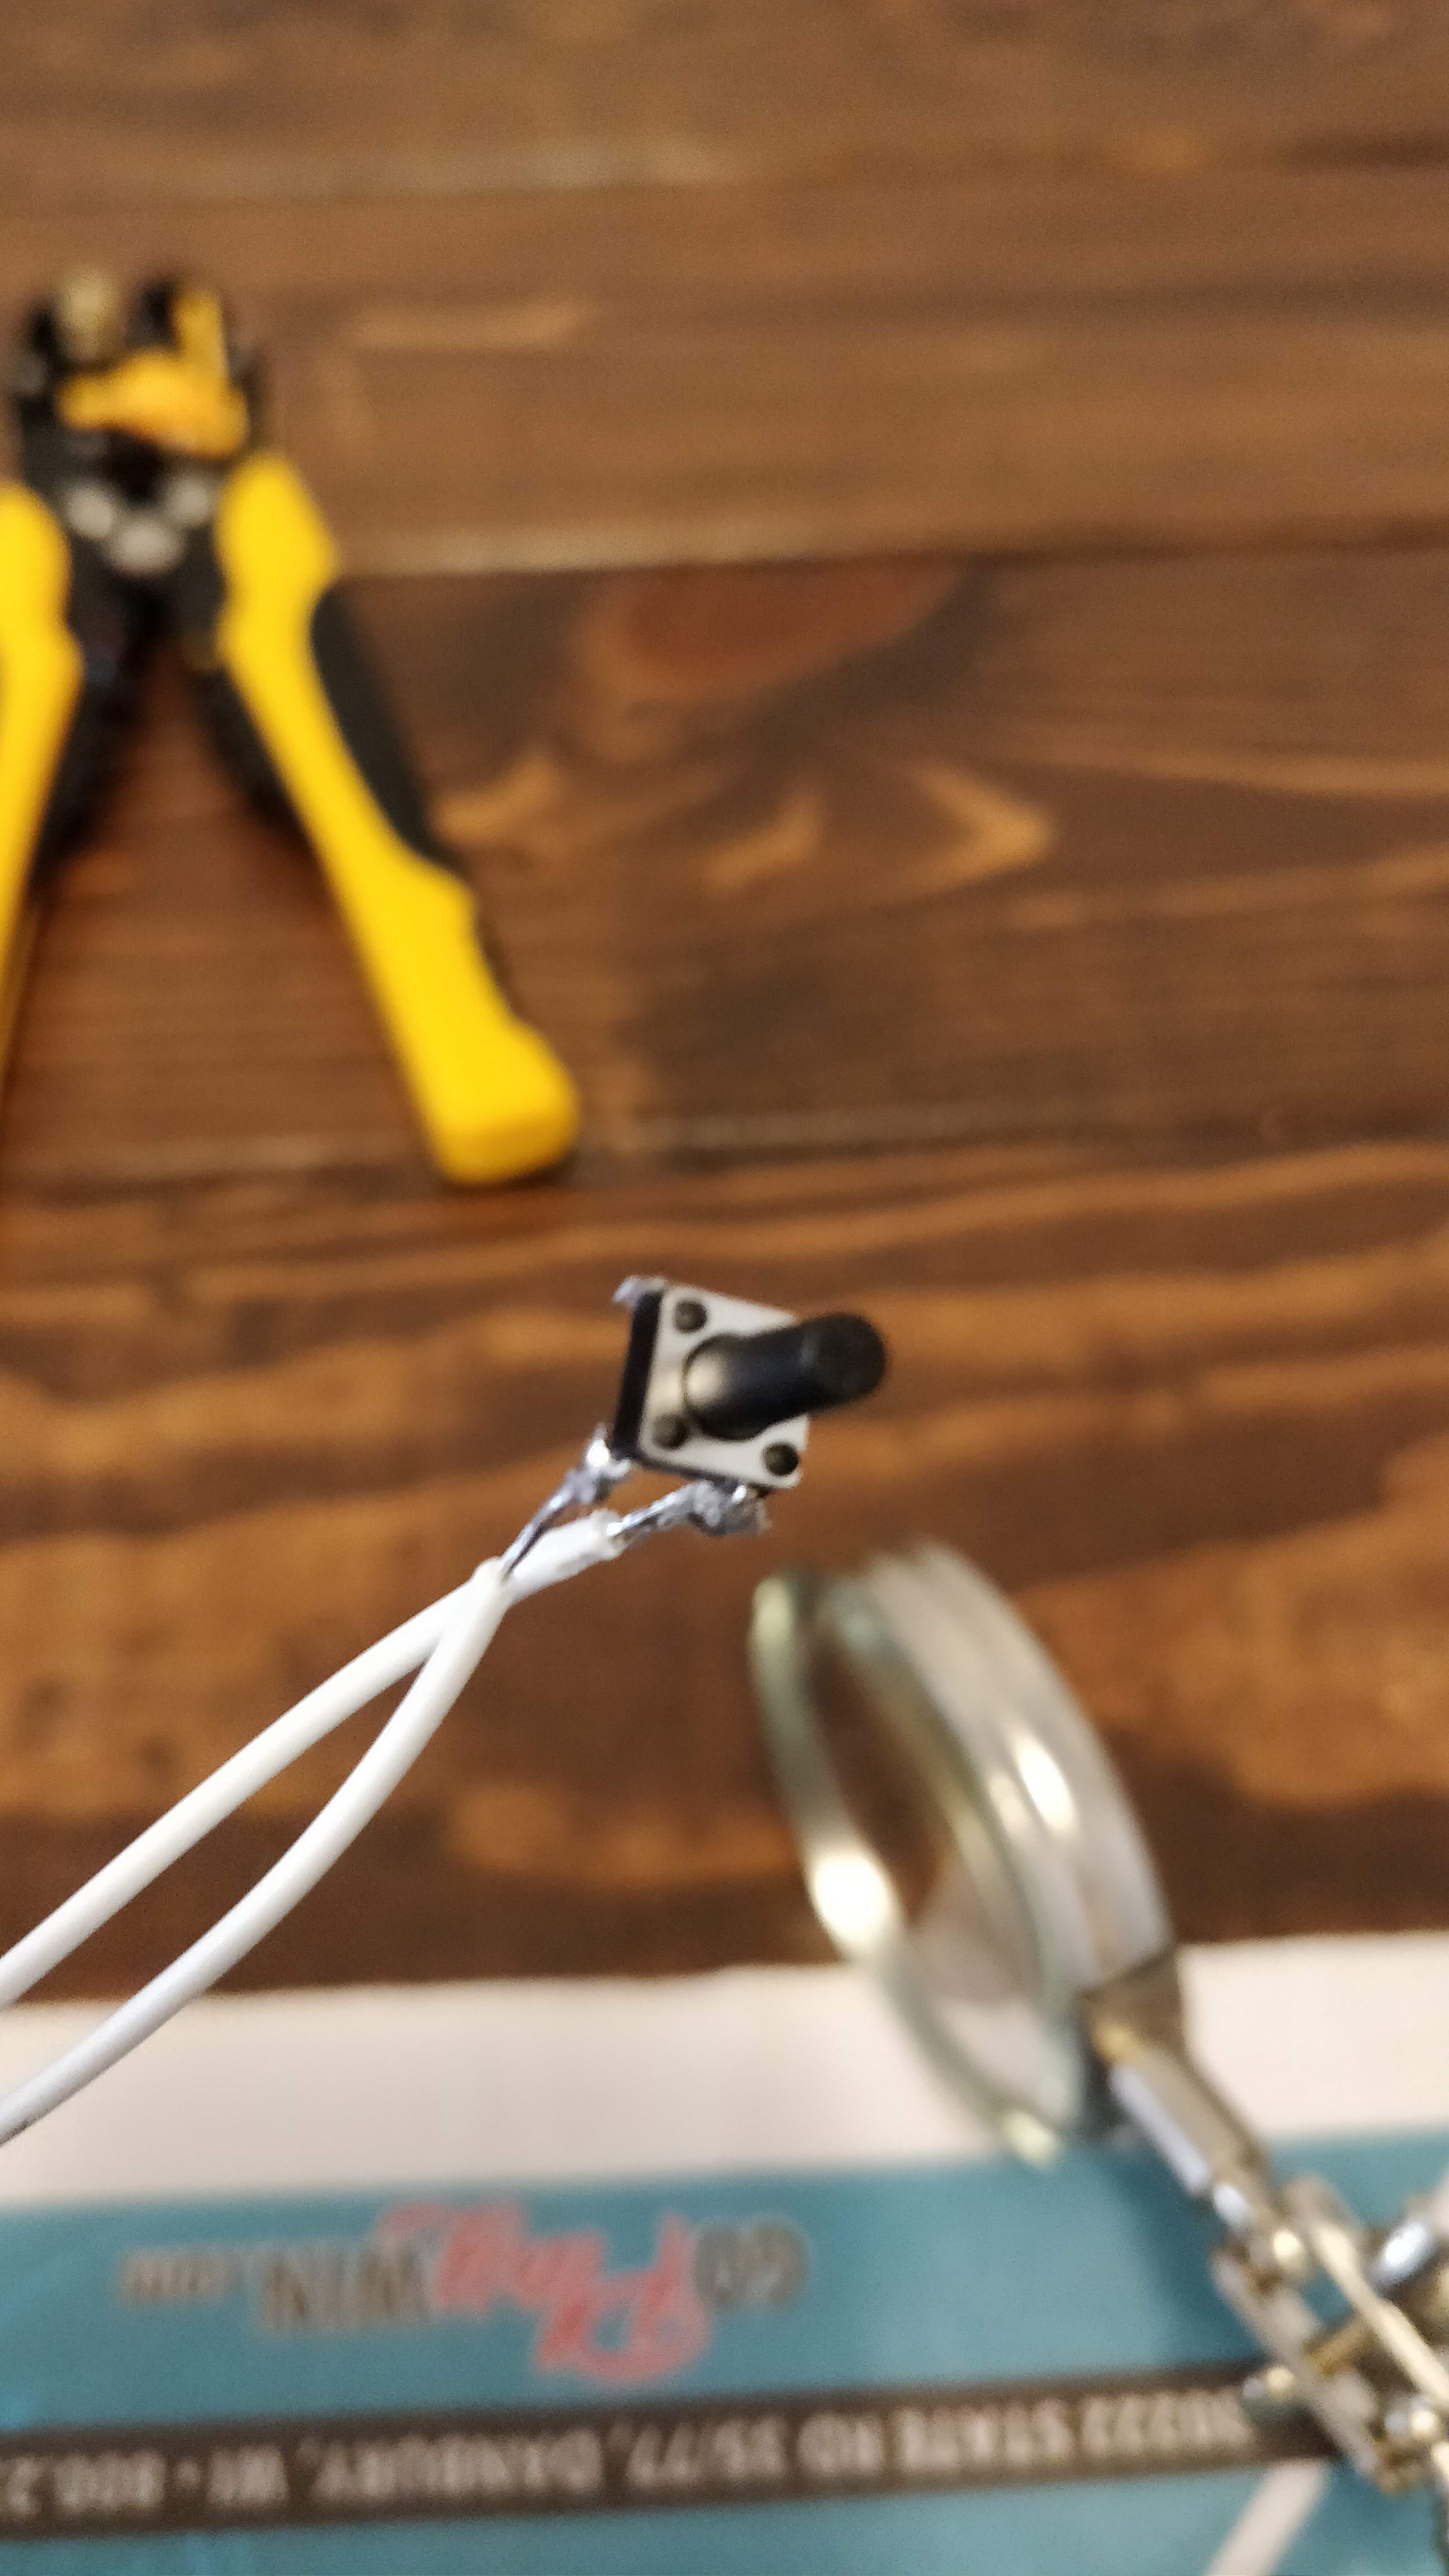
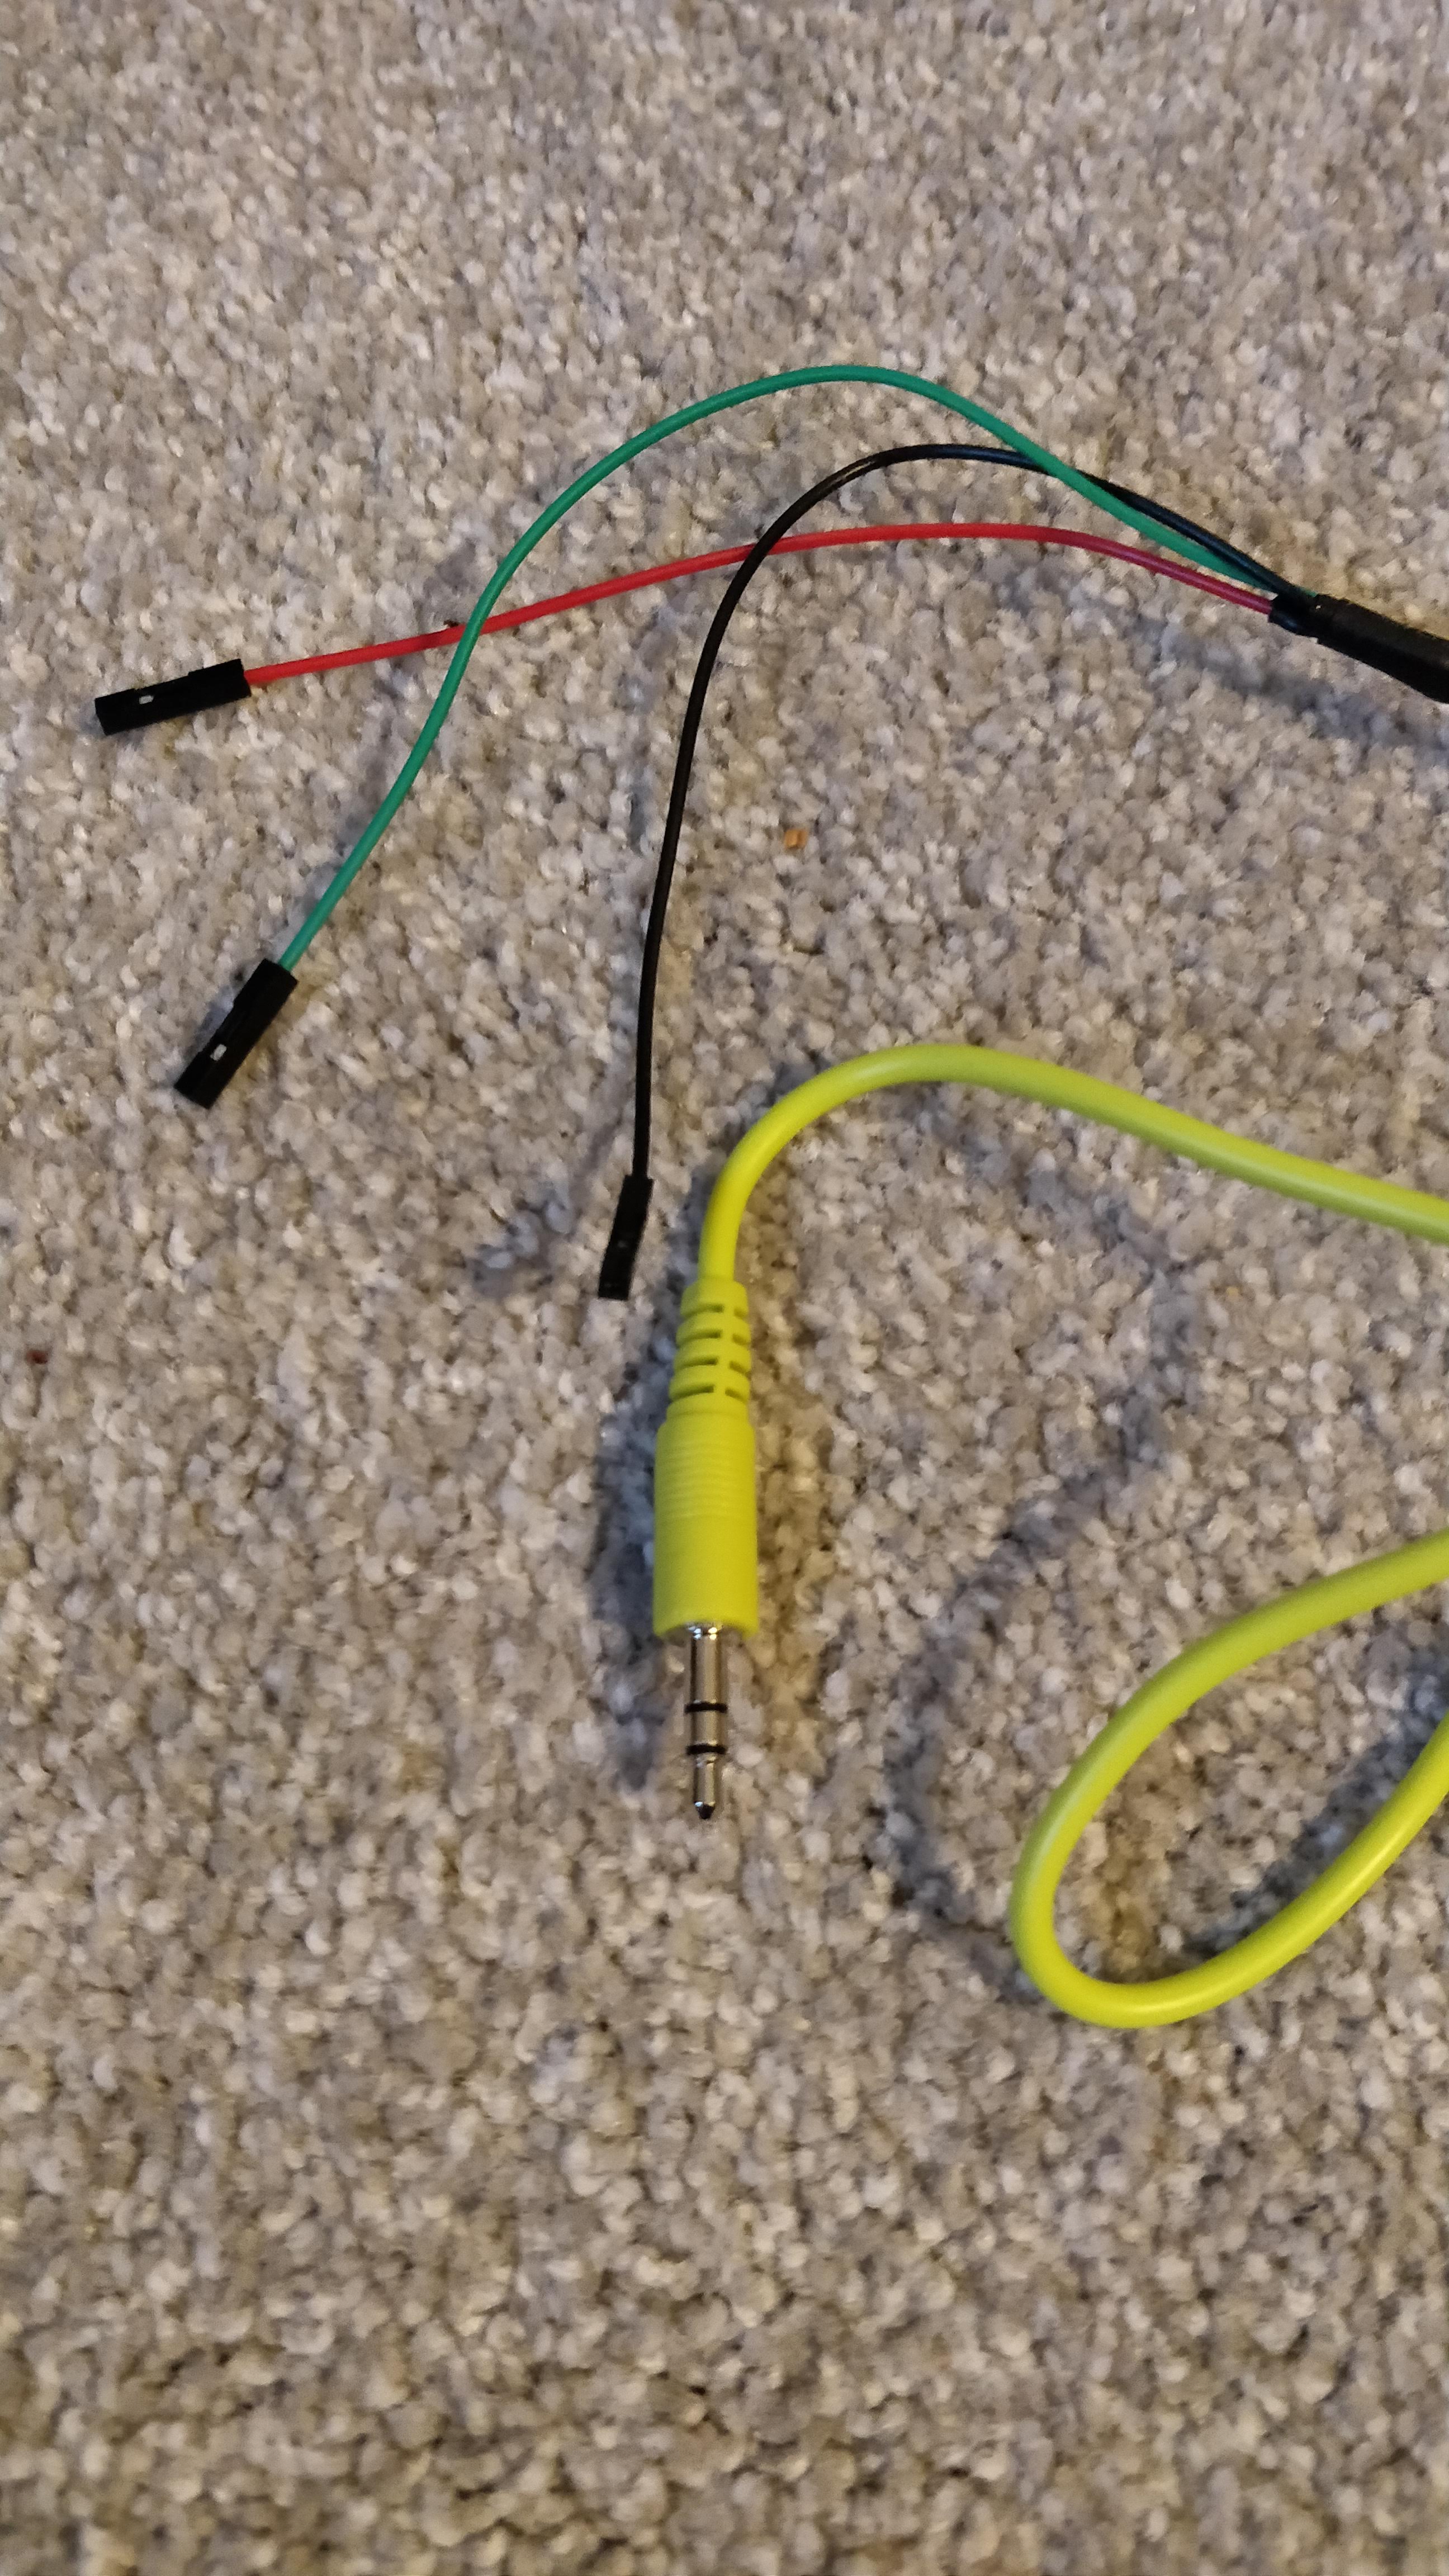
Additionally, the sound amp I’m using is the same as my Fix It Felix build. It uses jumper pins to connect the audio in, power in, and speaker. I don’t have a crimper that can do those types of pins so I’m just cutting and soldering new ends onto them. I tested the amp afterward and it worked, yay!
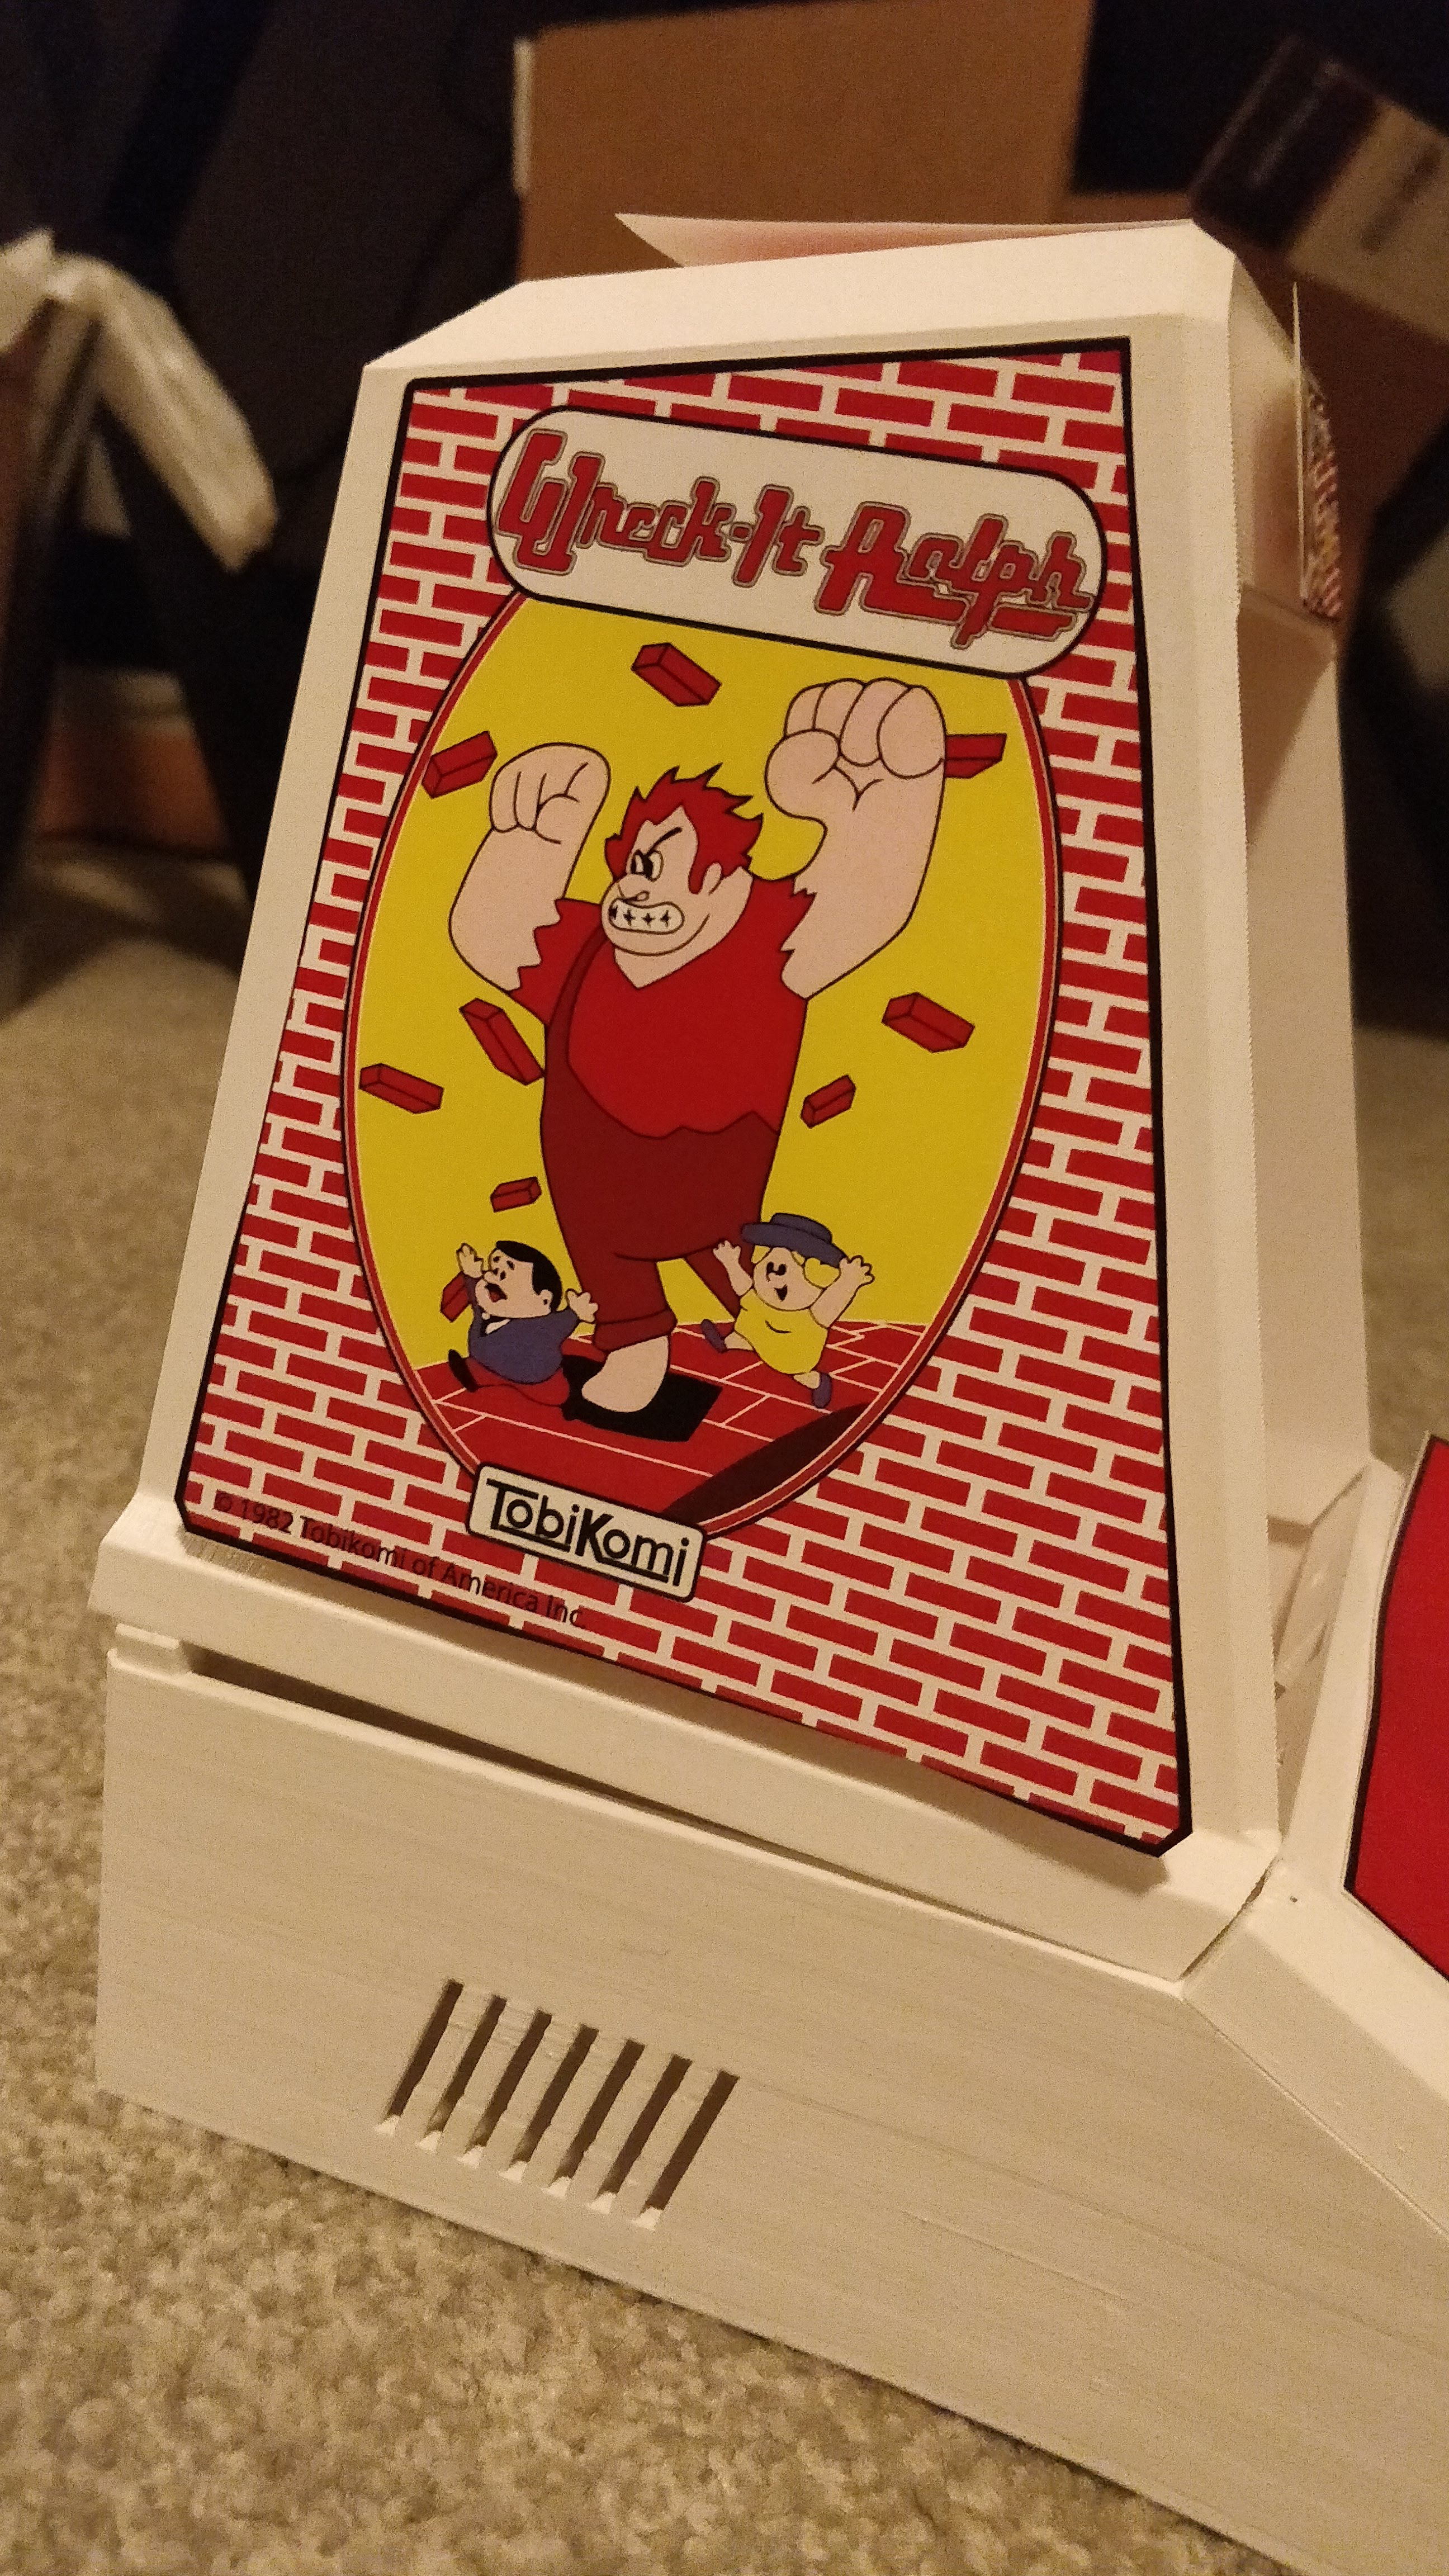
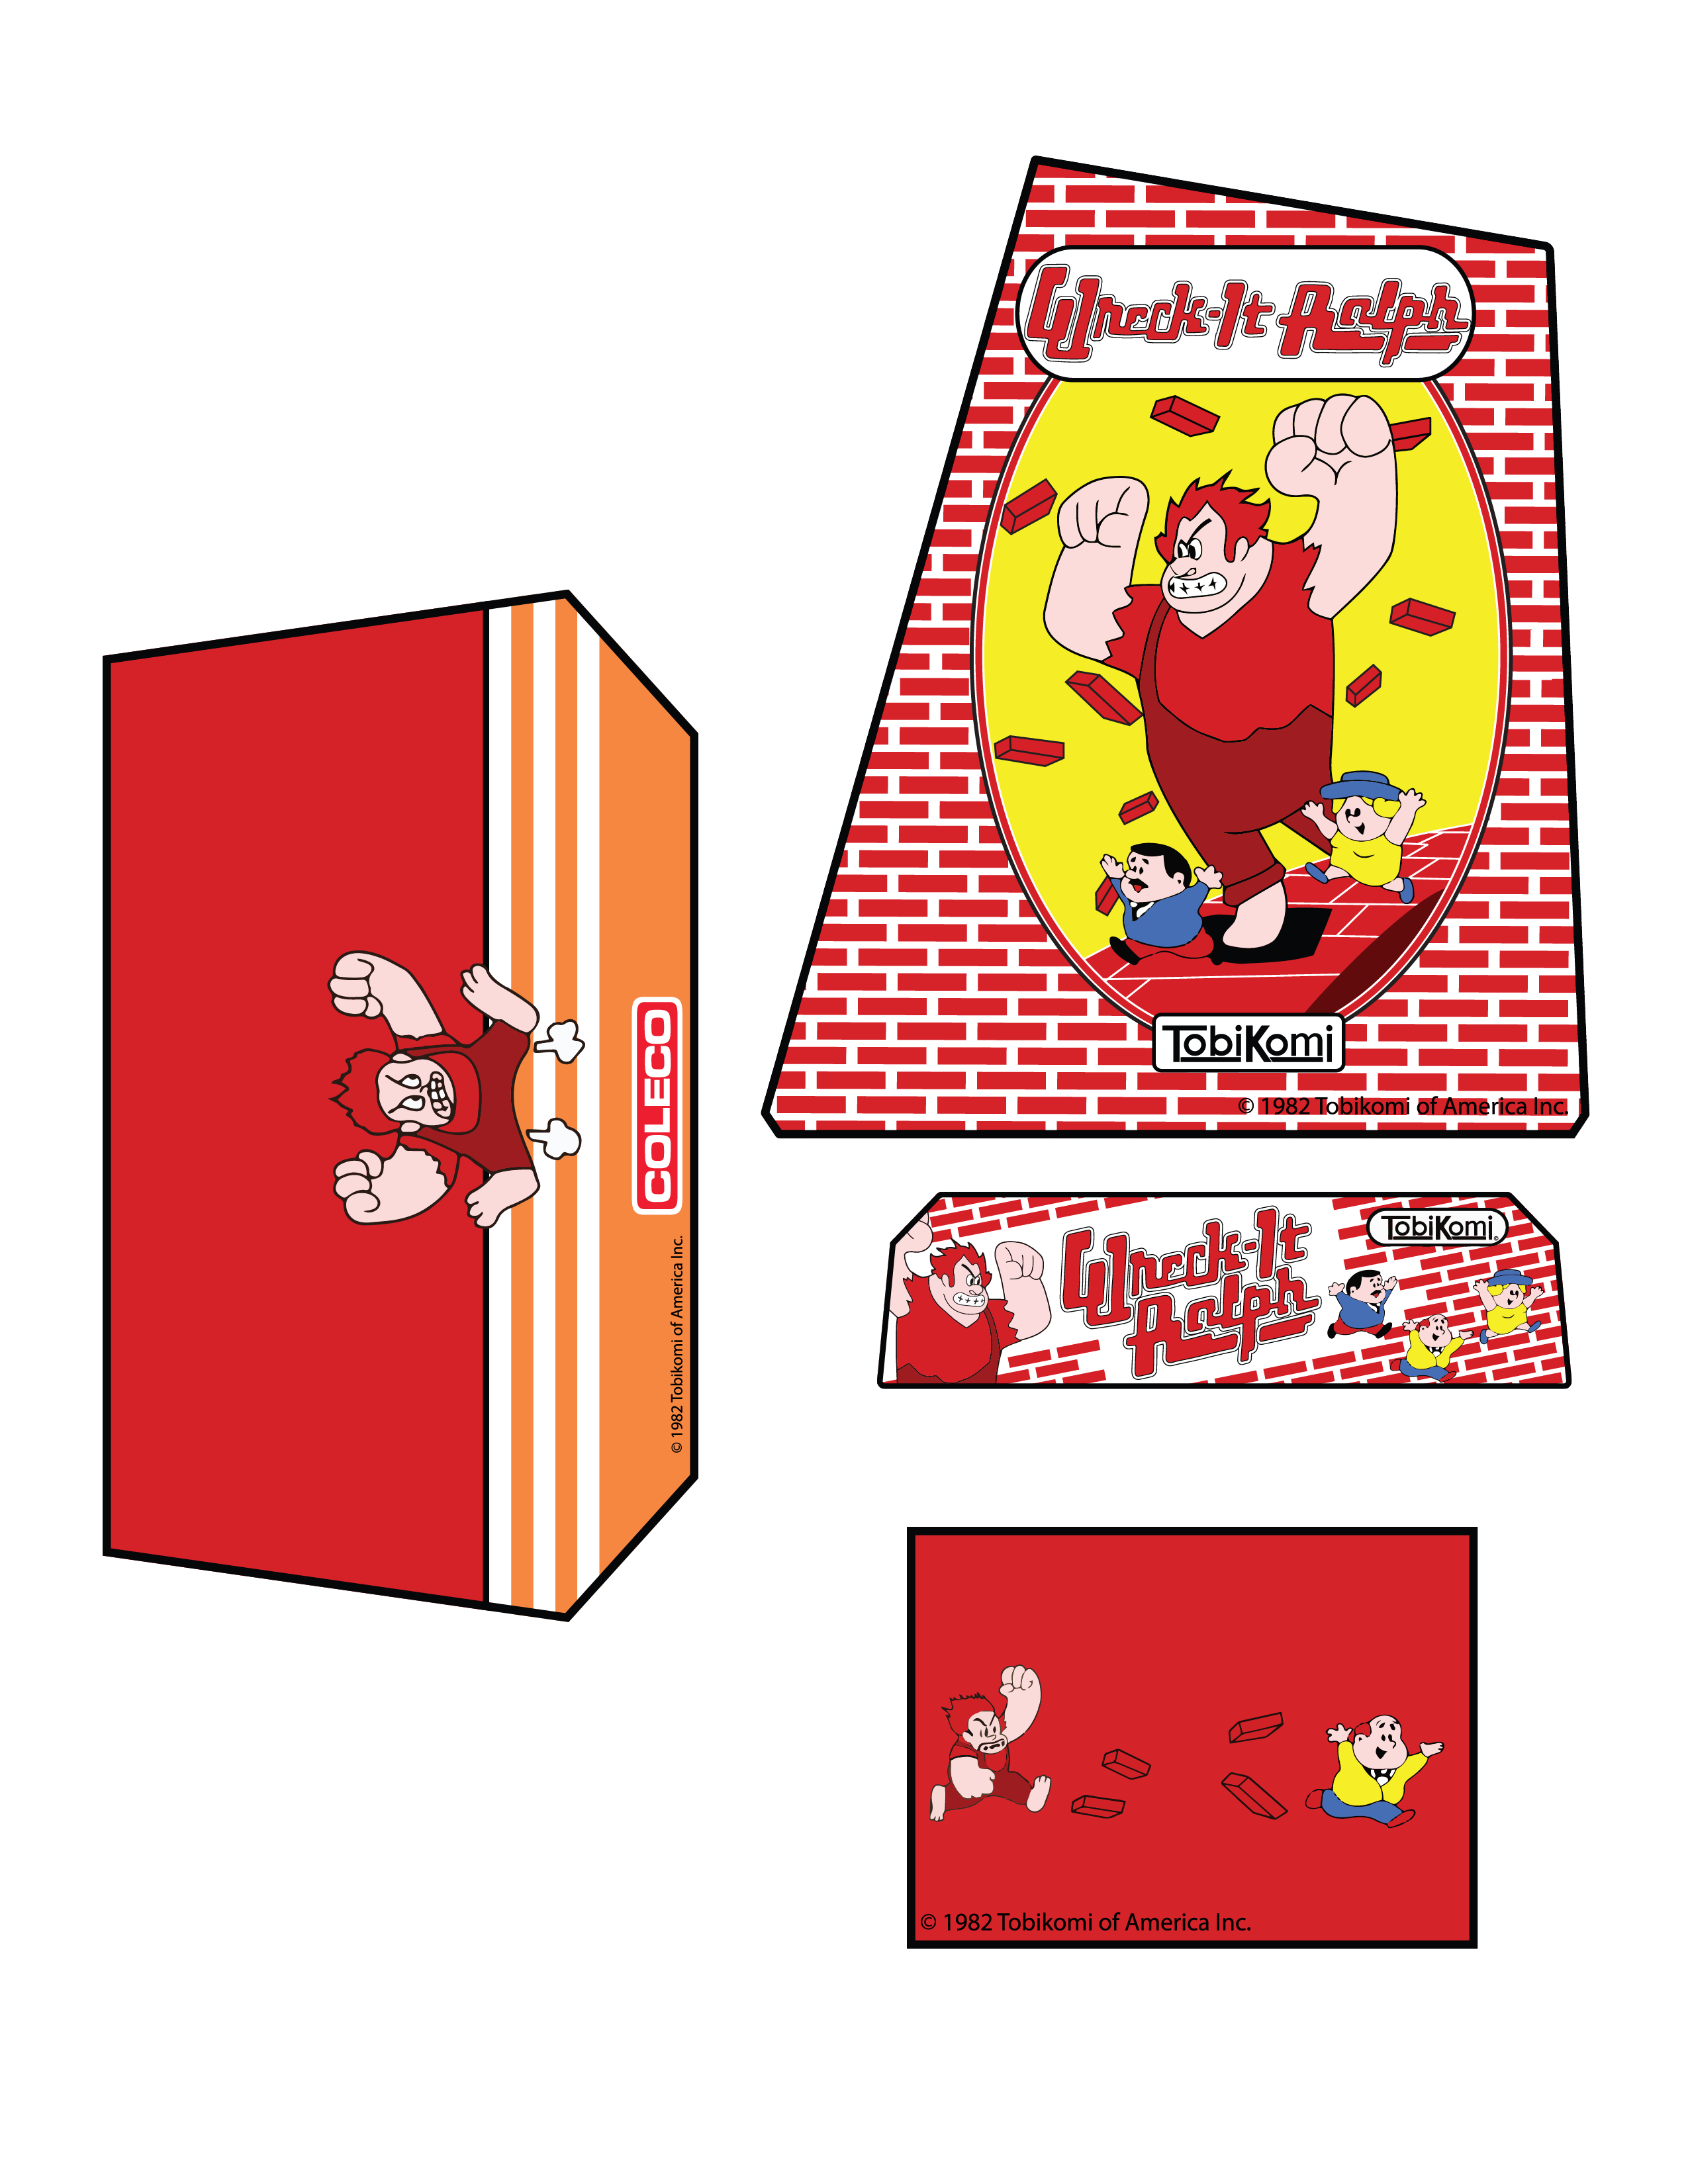
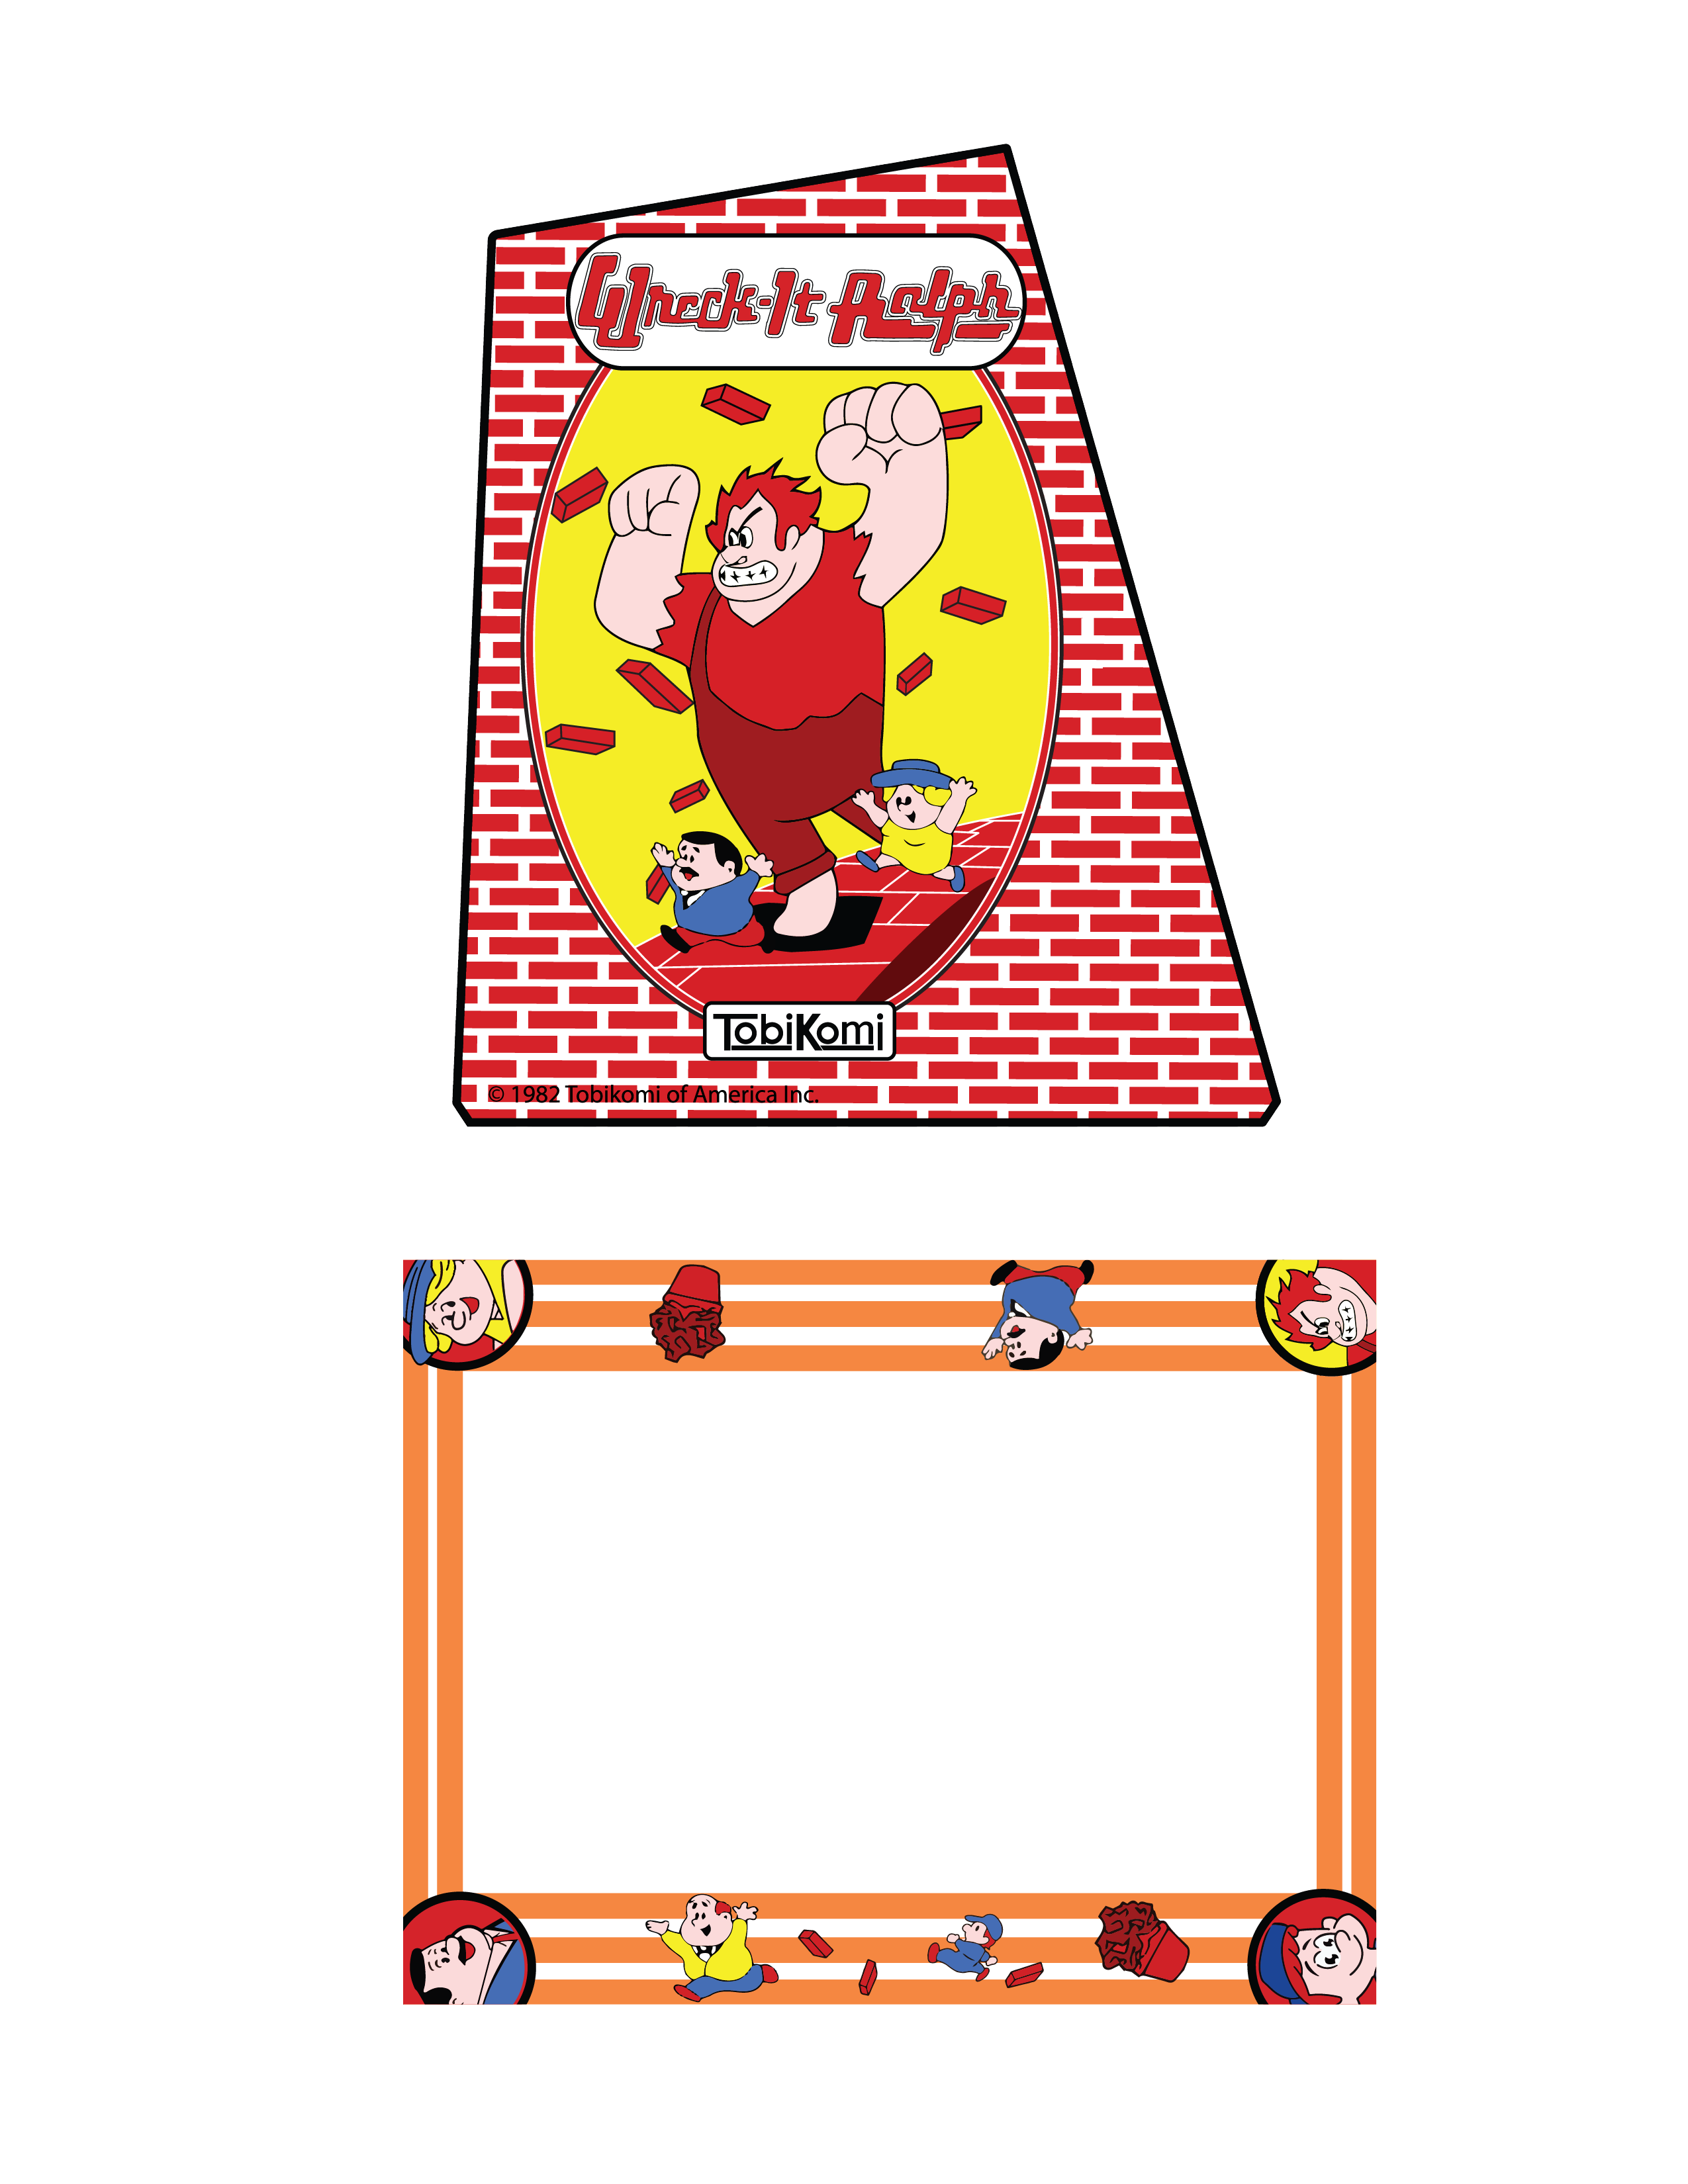
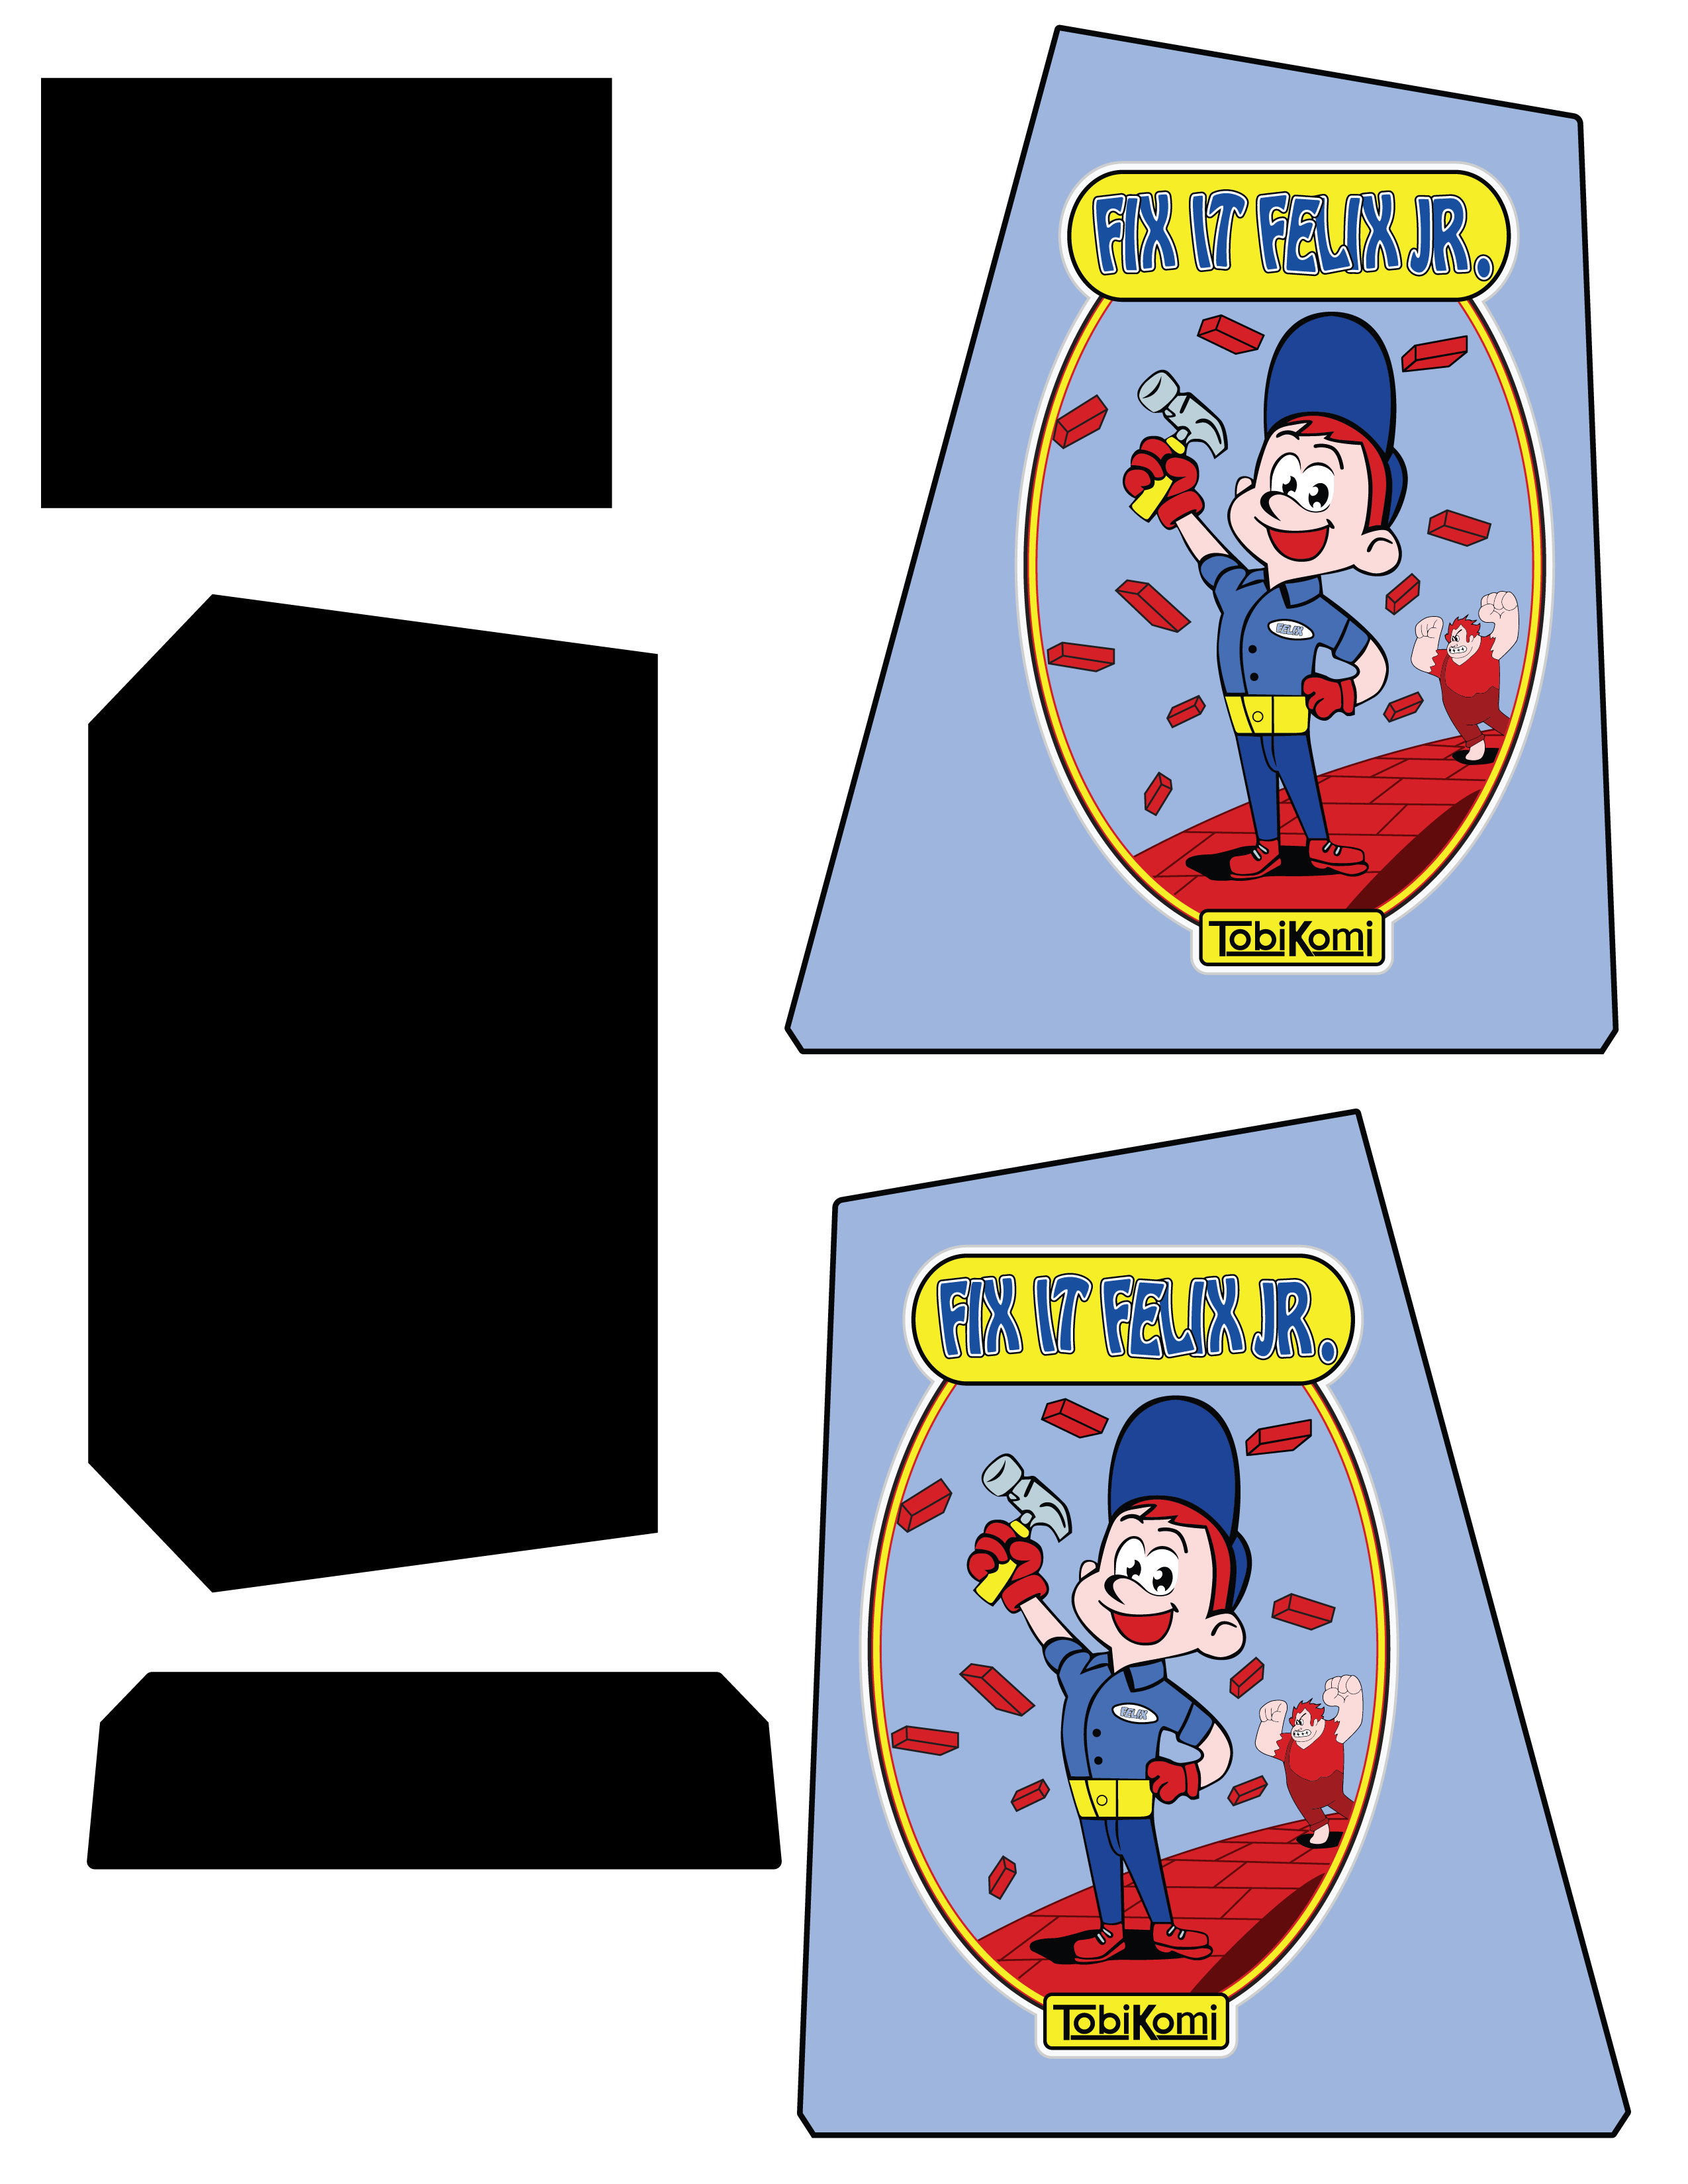
Wreck It Ralph Coleco Artwork
Wreck It Ralph Coleco Artwork
Soldering wires for sound amp
The game is also finished being programmed. It runs with all the settings you’d expect AND spinner control. The settings allow you to disable.enable certain audio ques, adjust the difficulty, adjust lives, and adjust spinner sensitivity.
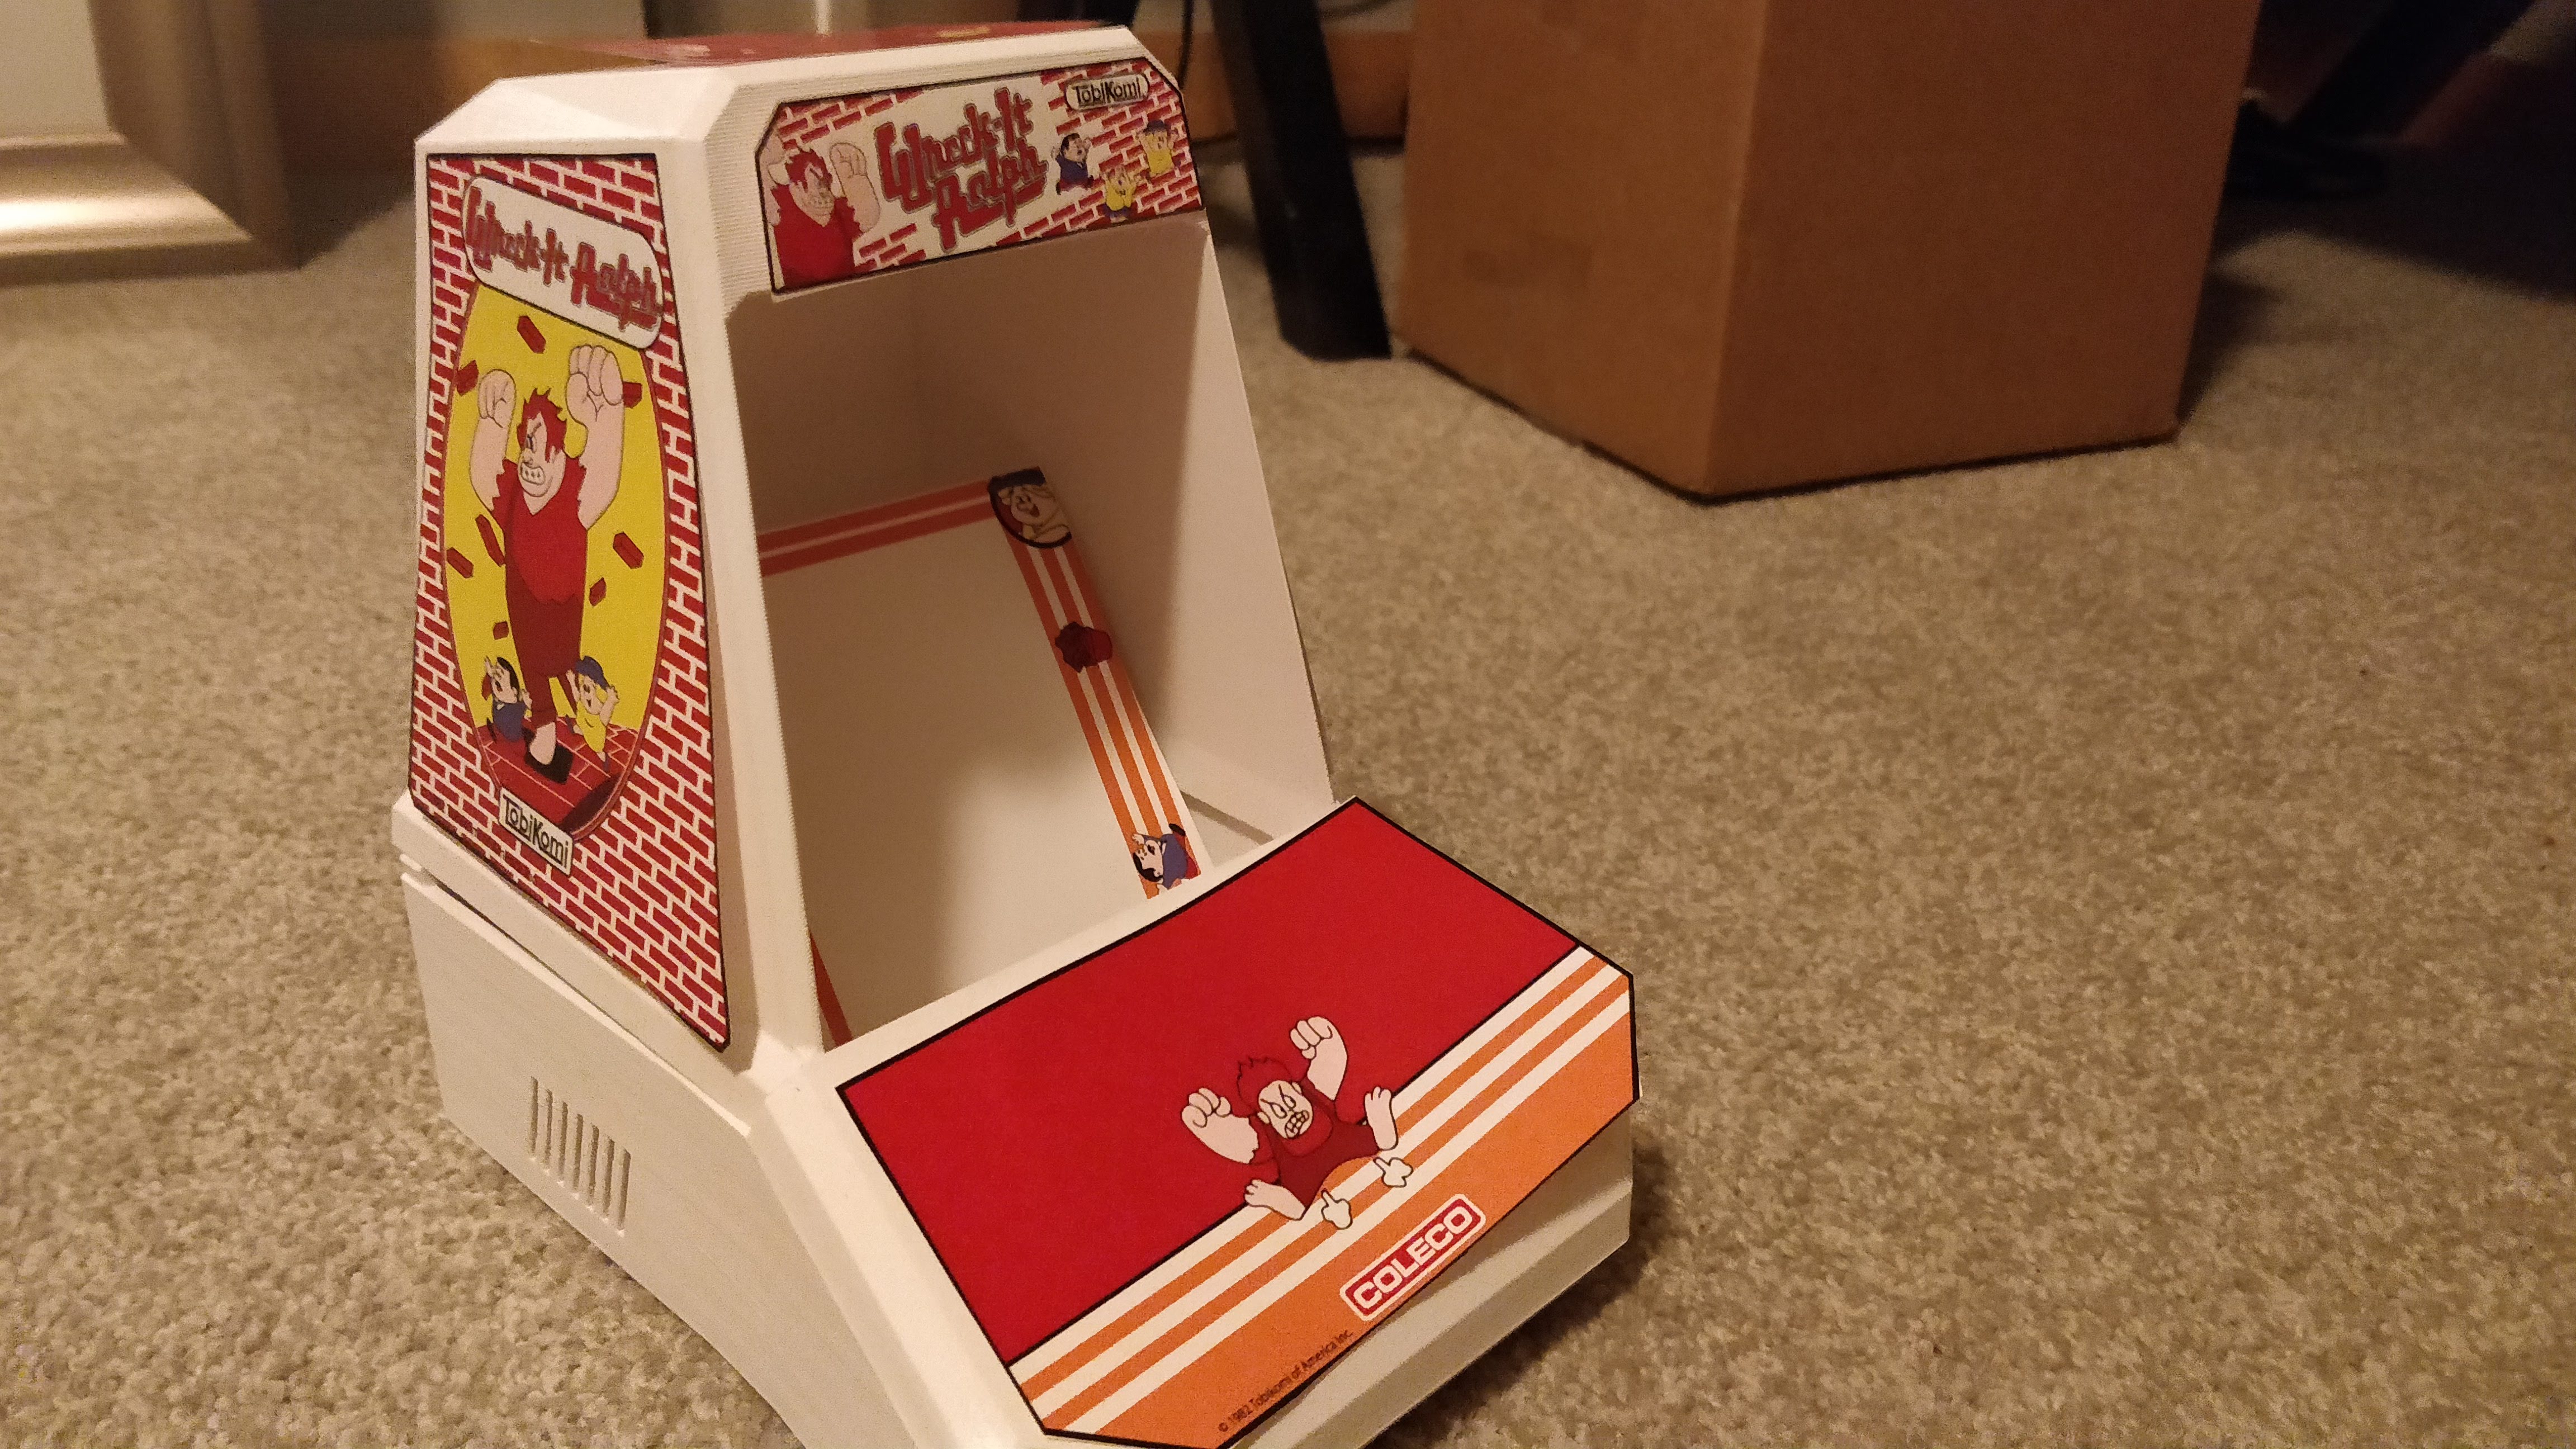
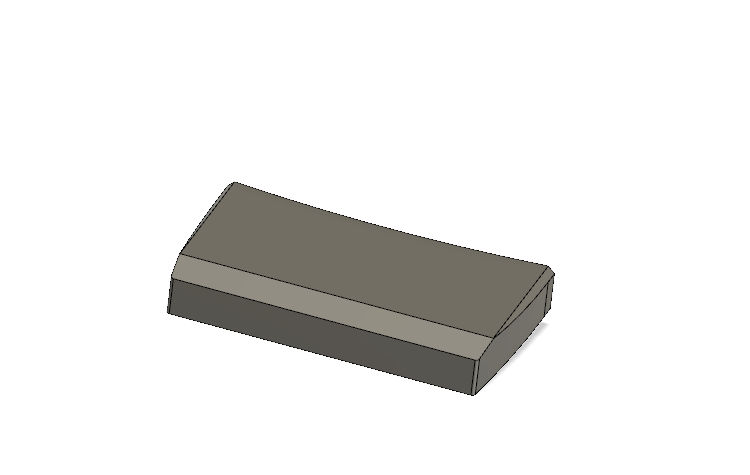
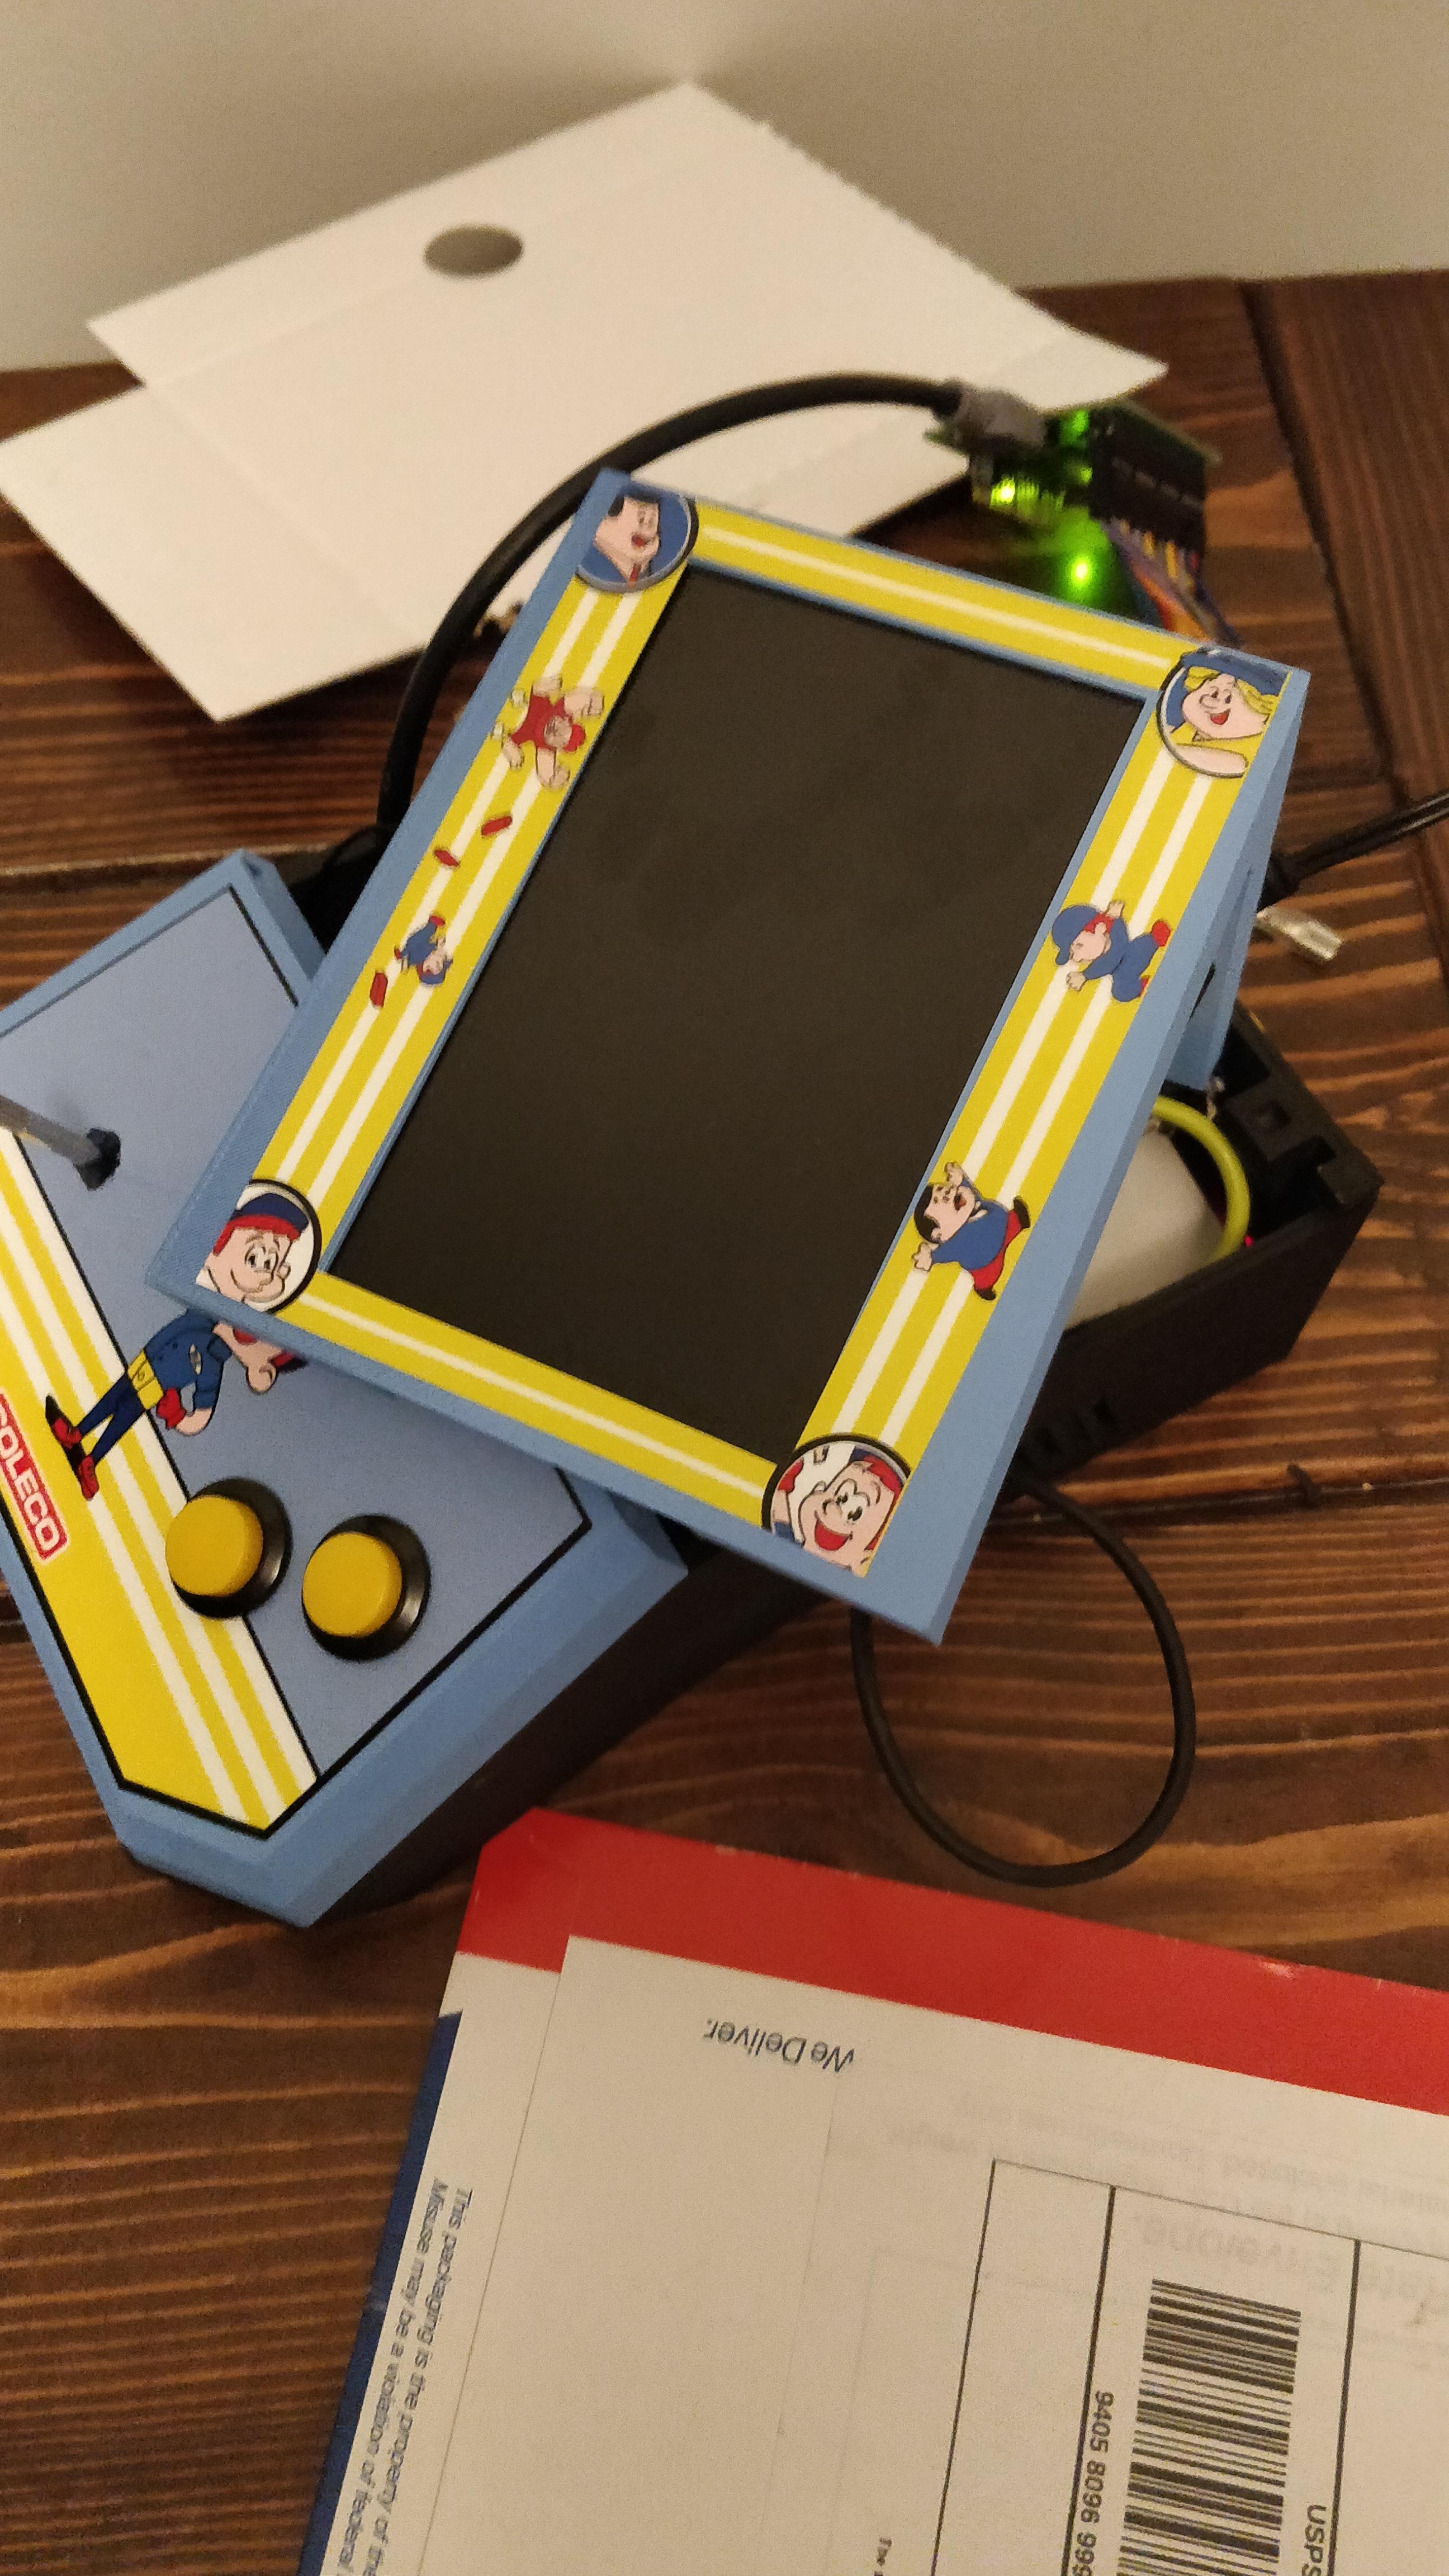
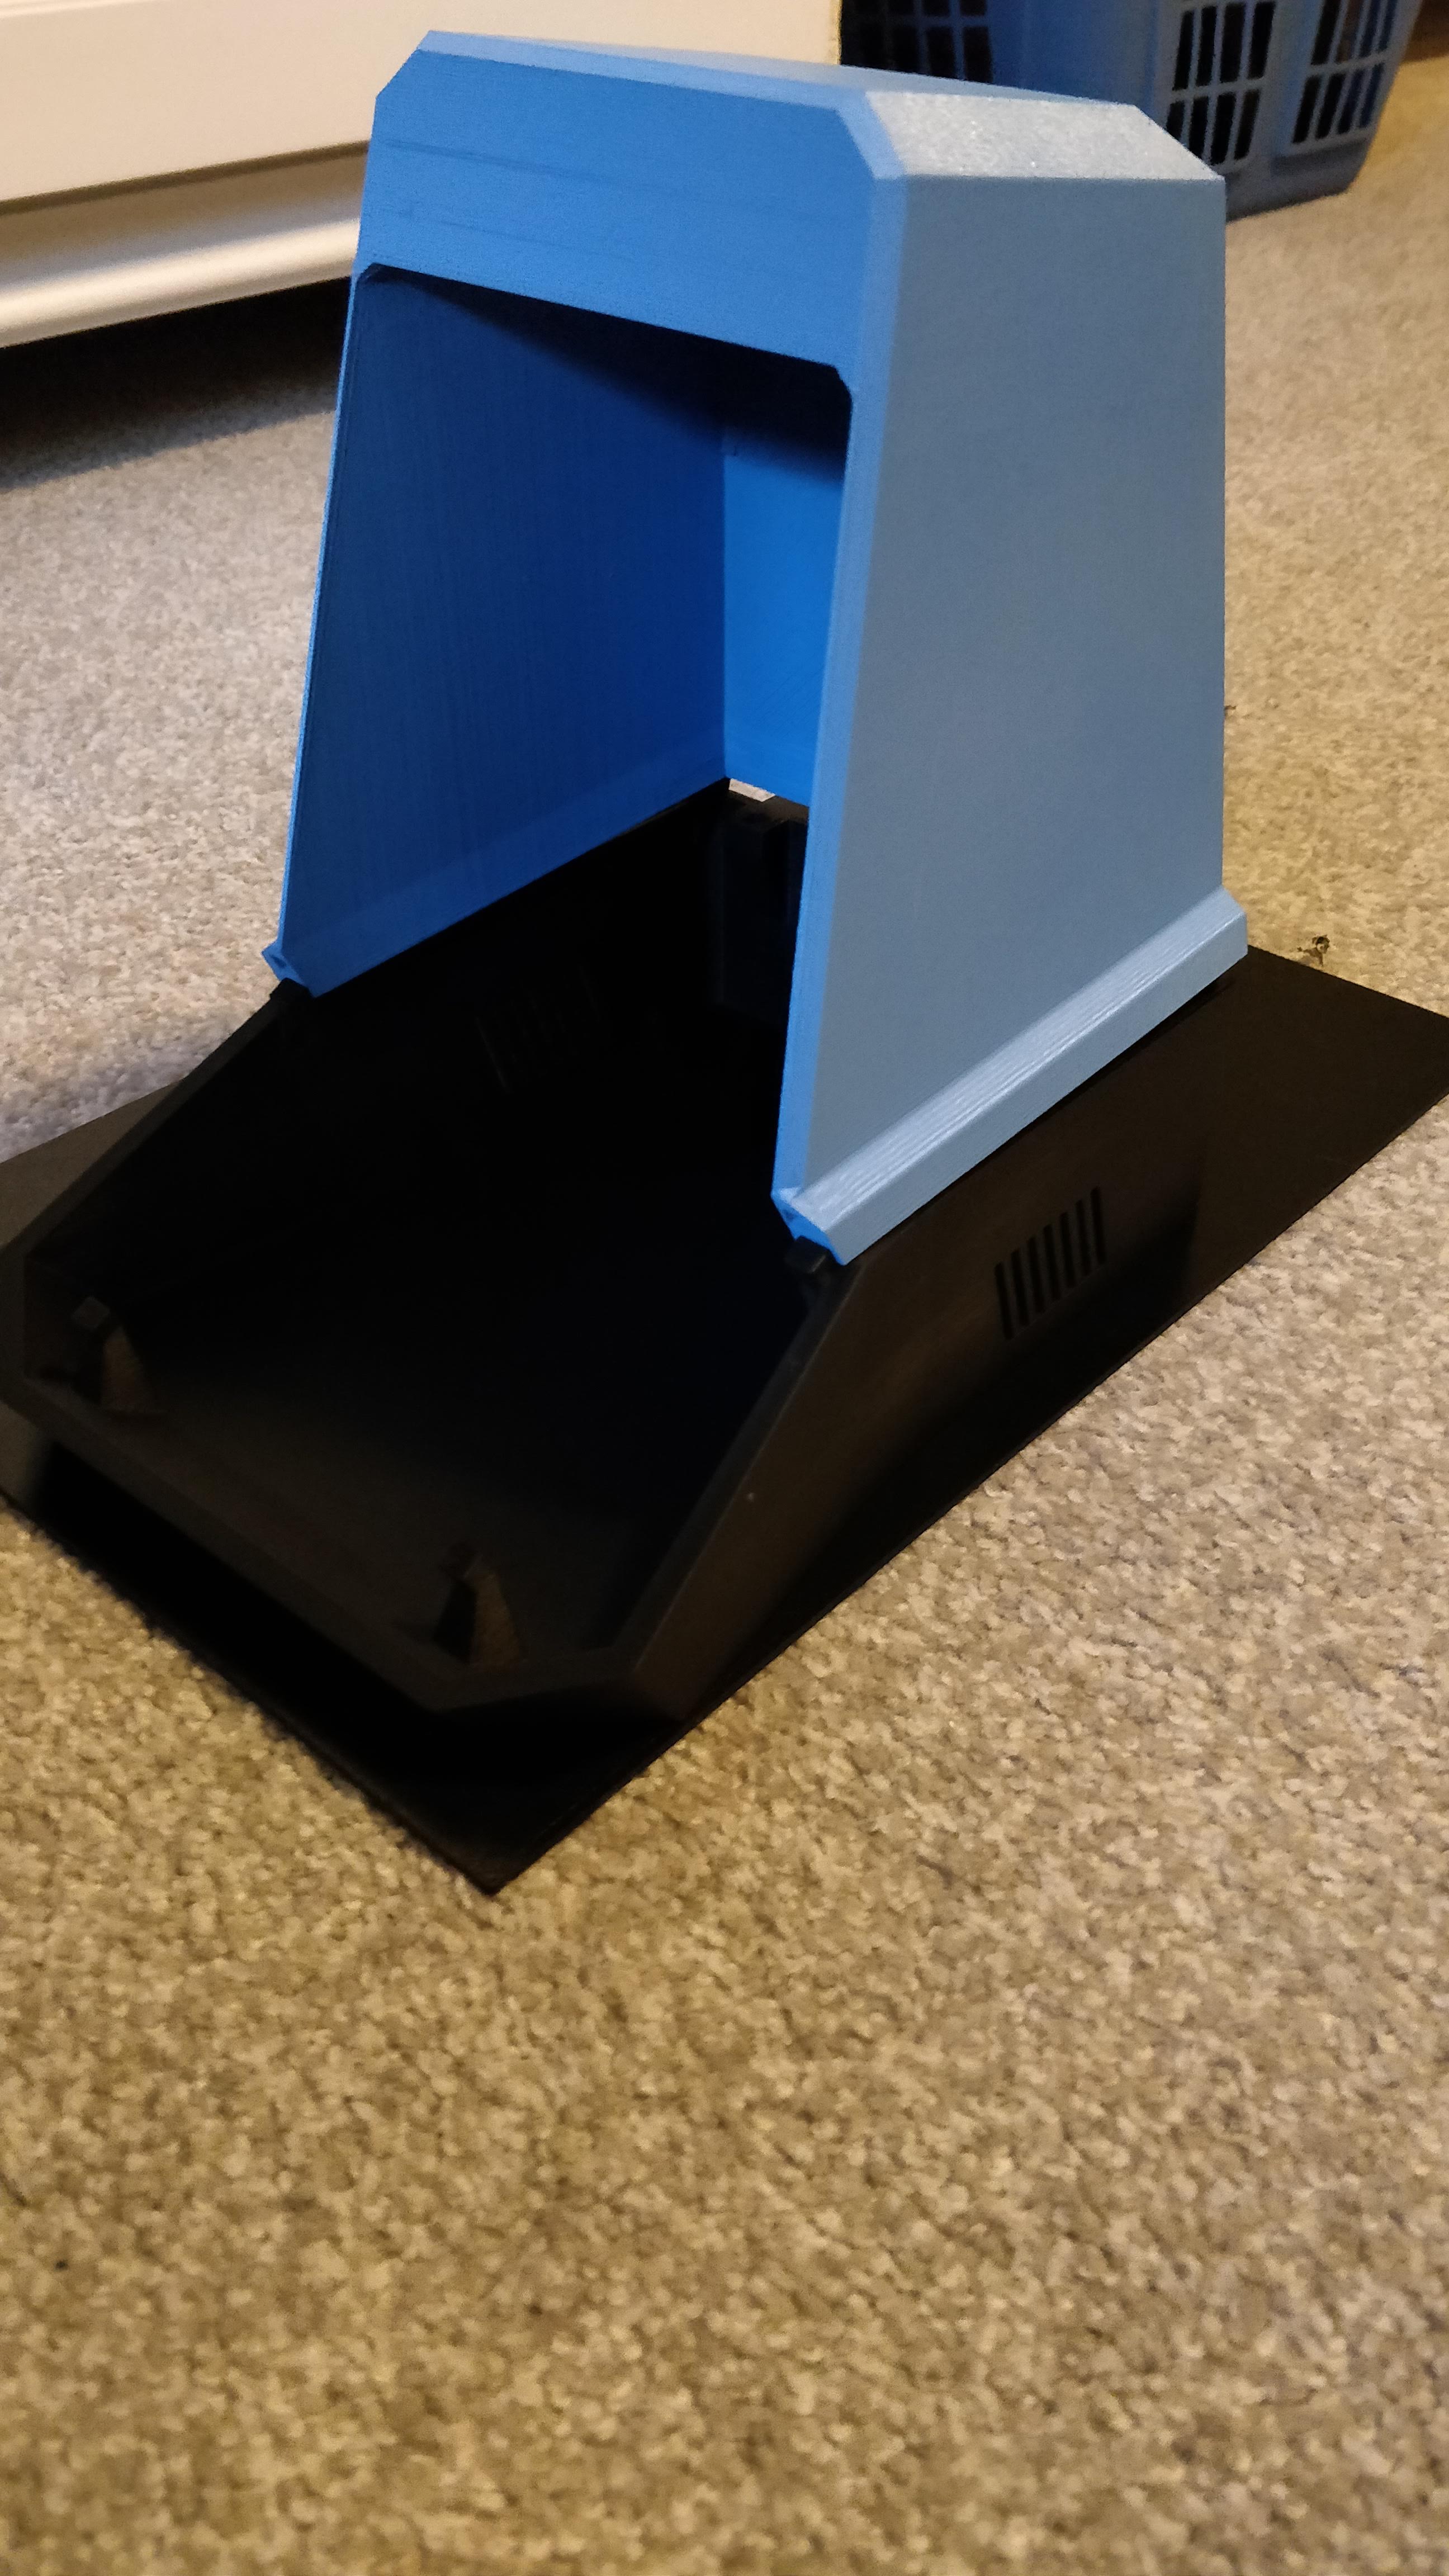
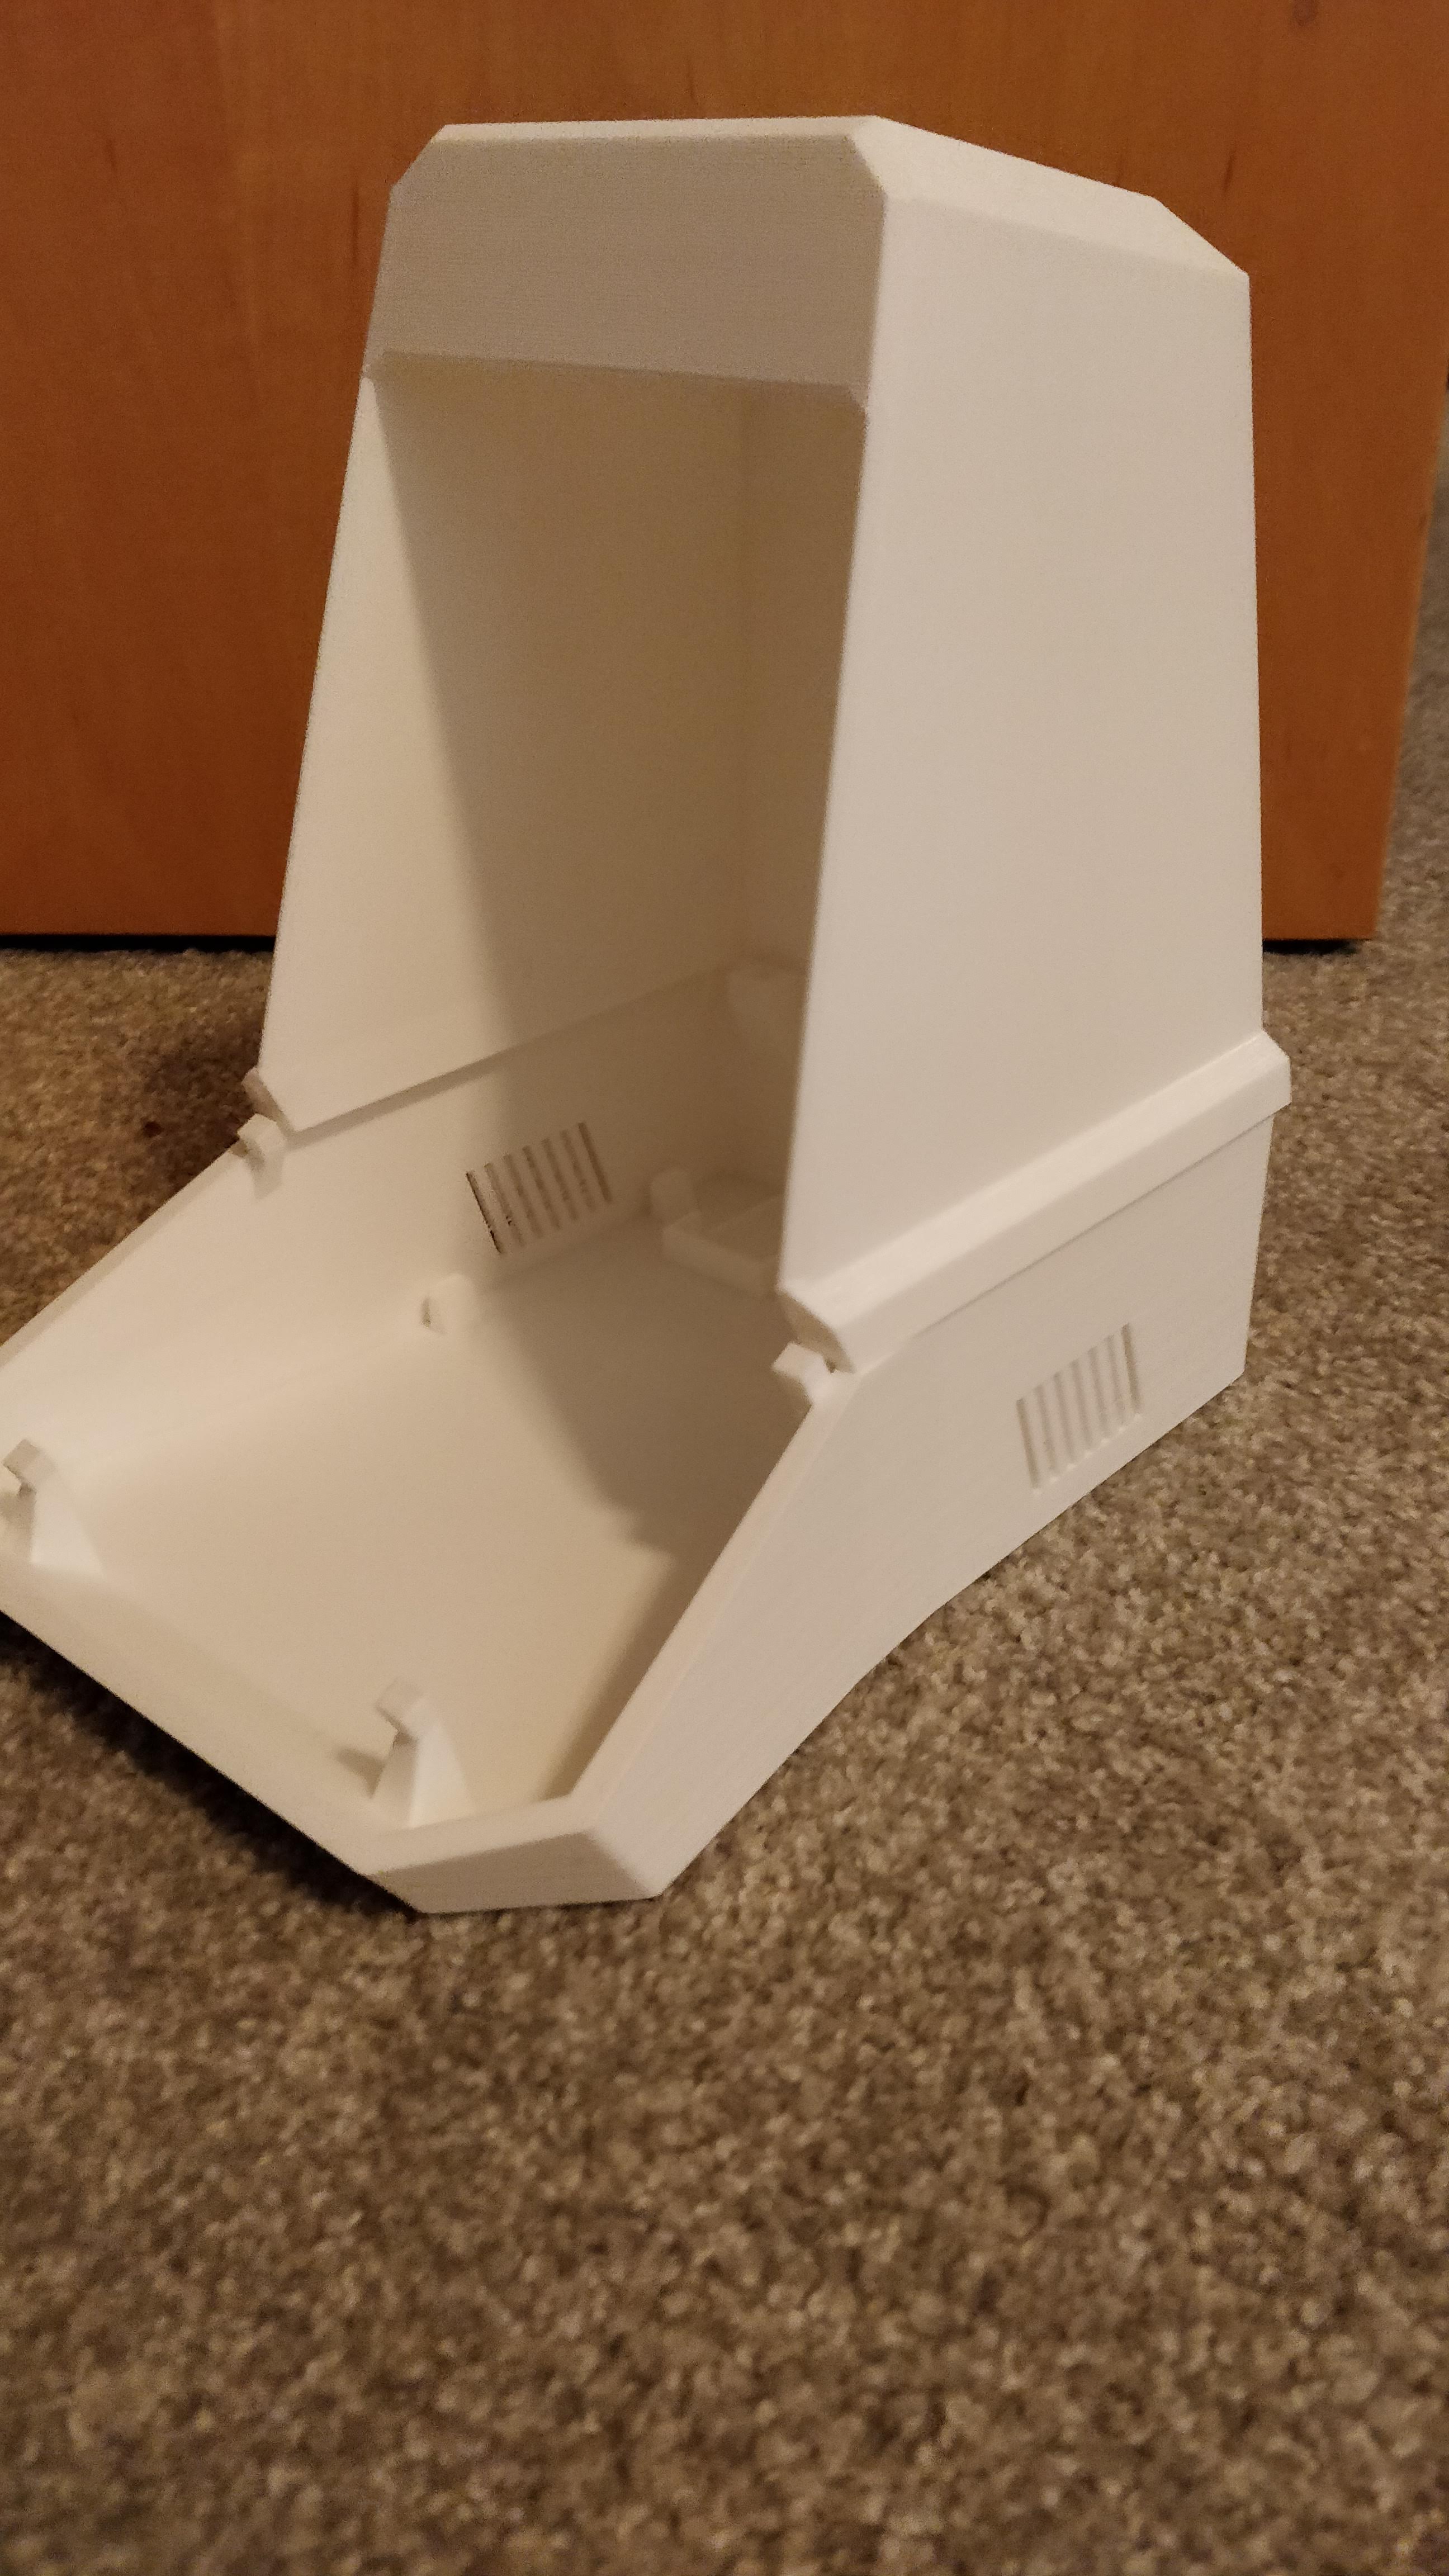
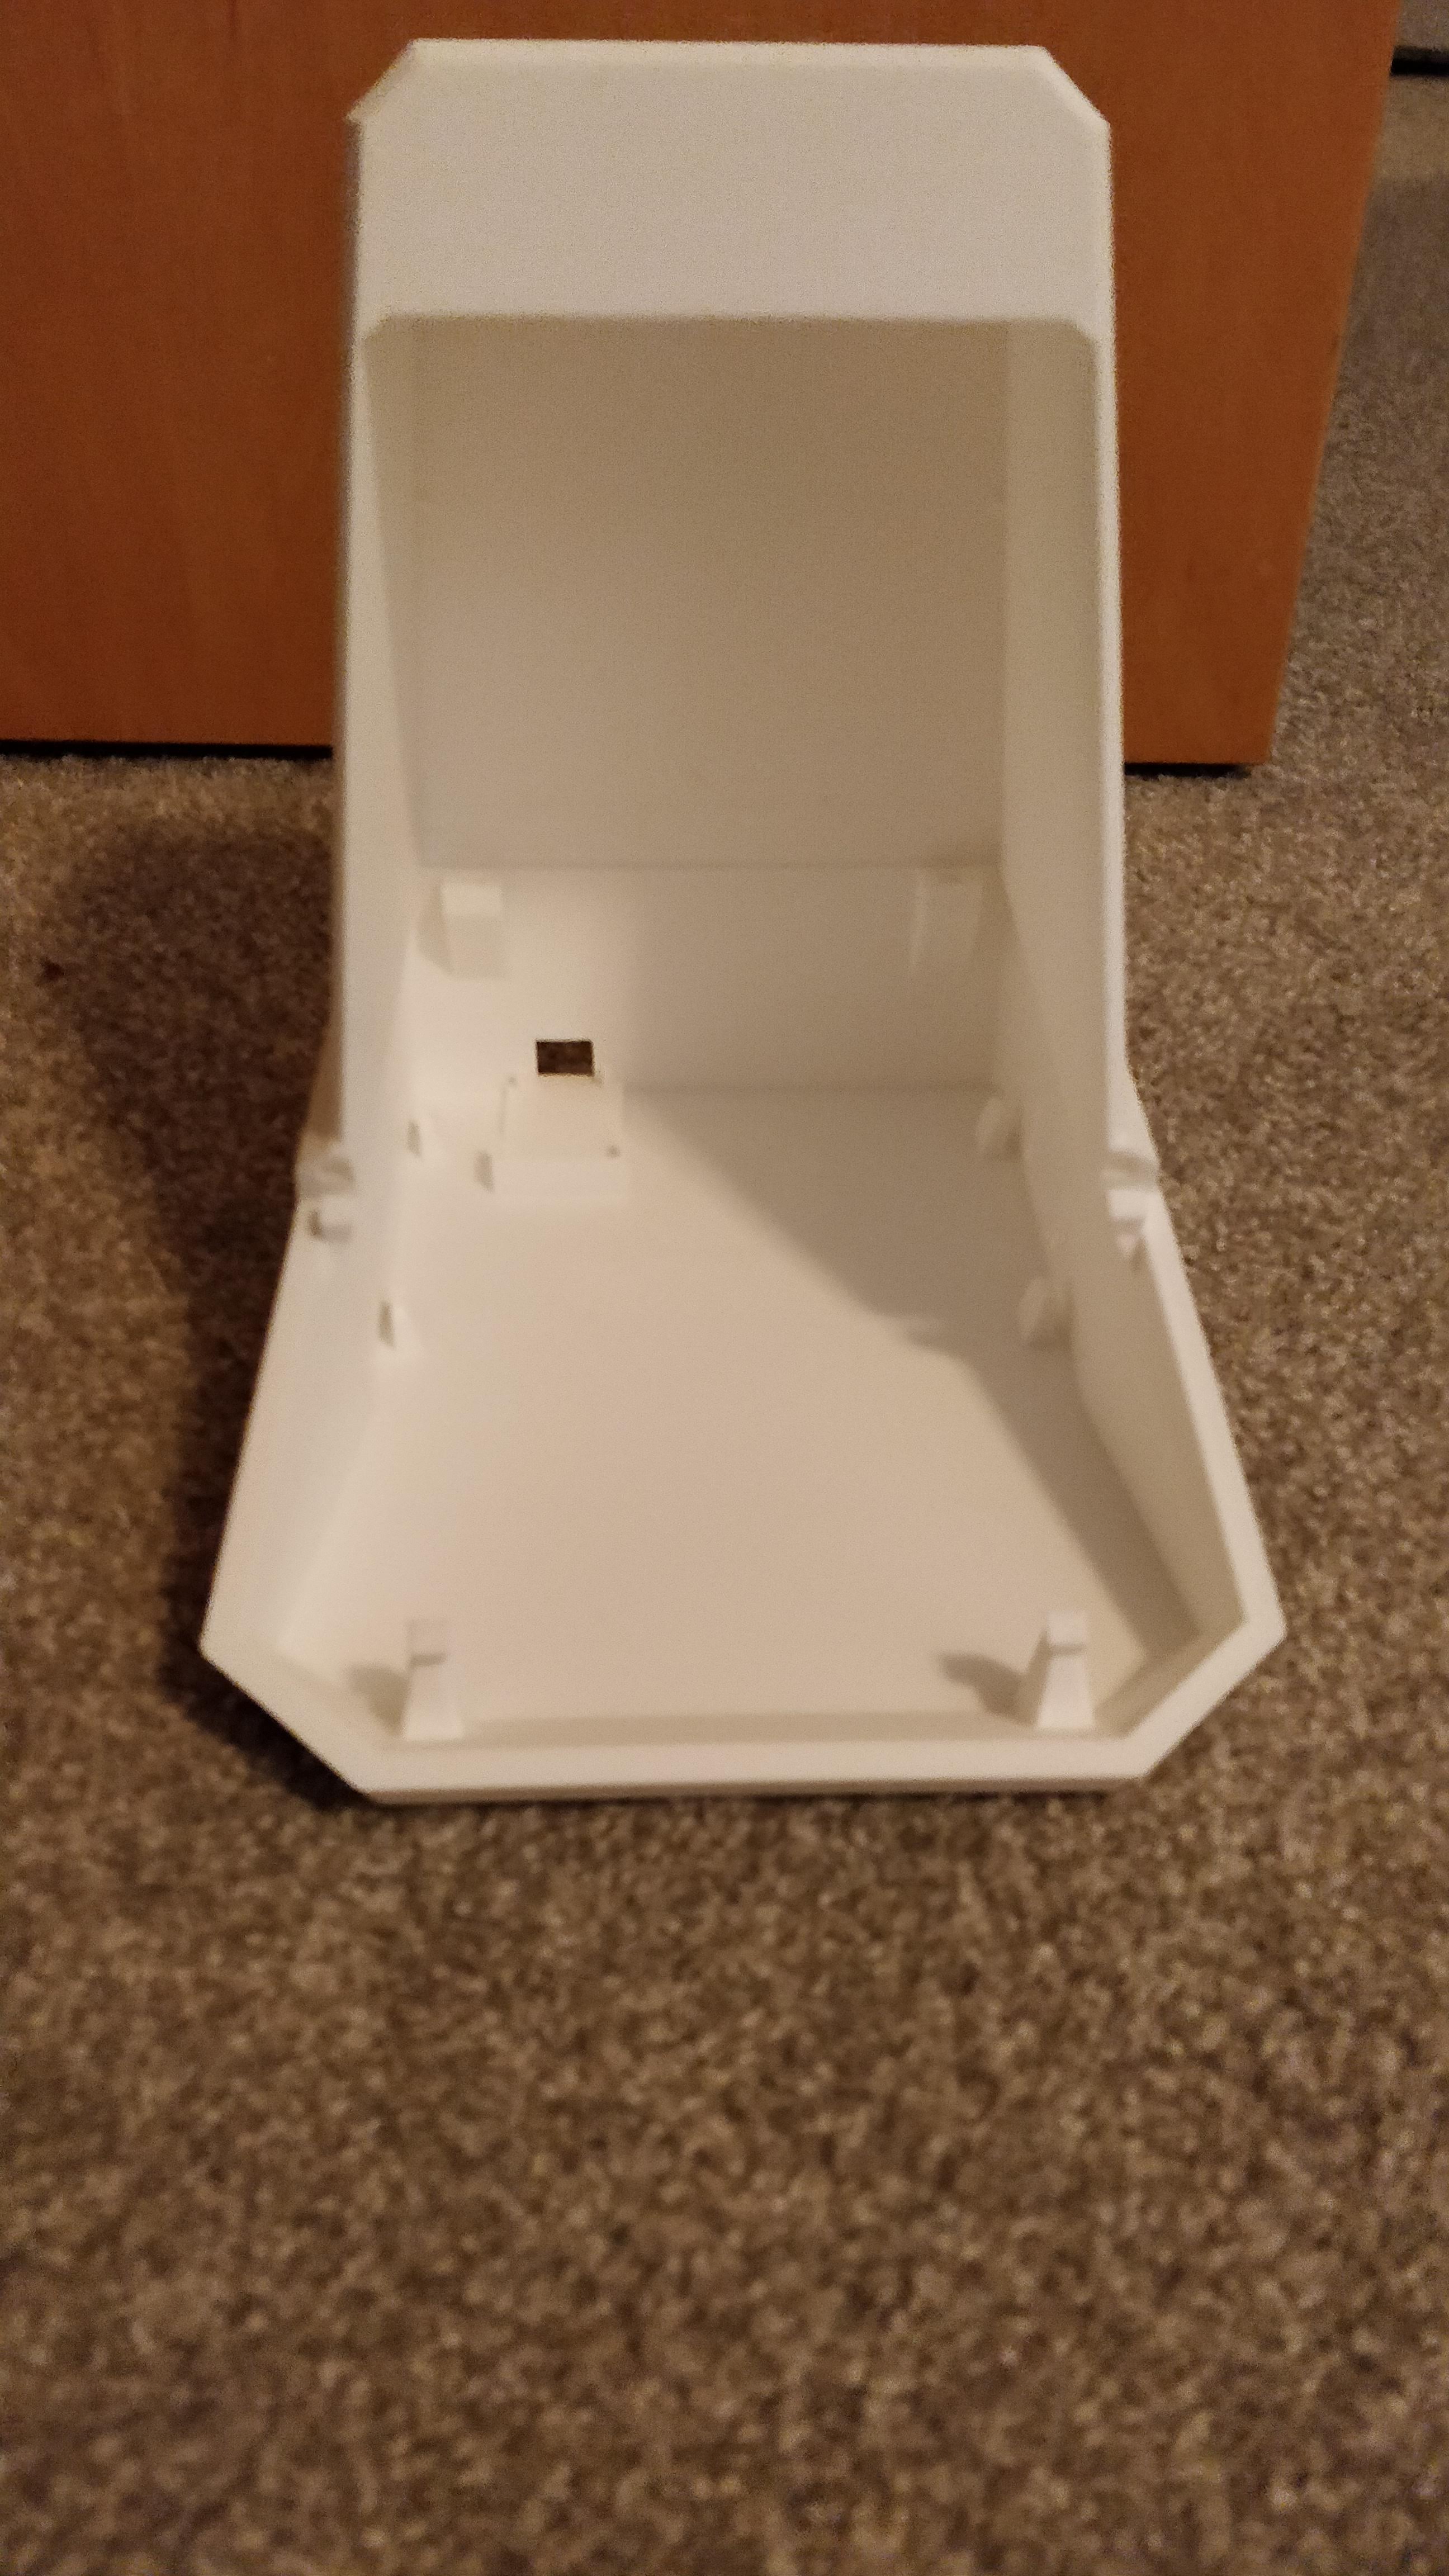
I got my 3D prints today and they really turned out quite nice! Very close to the real model, which means I must’ve done something right. I just need to make a few modifications.
The pins I’m using to hold the thing together are a little small. They work, but it’s quite difficult to handle them and I’m afraid they could pop out at any point. So, I’ll make those a little bit longer. I’m also going to add a couple more pins to prevent flexing near the back corners.
Additionally, the piece holding the screen is a little too snug – so snug it almost bends my screen. Some modifications with my dremel fixed this but I’m still going to make an update to my files.
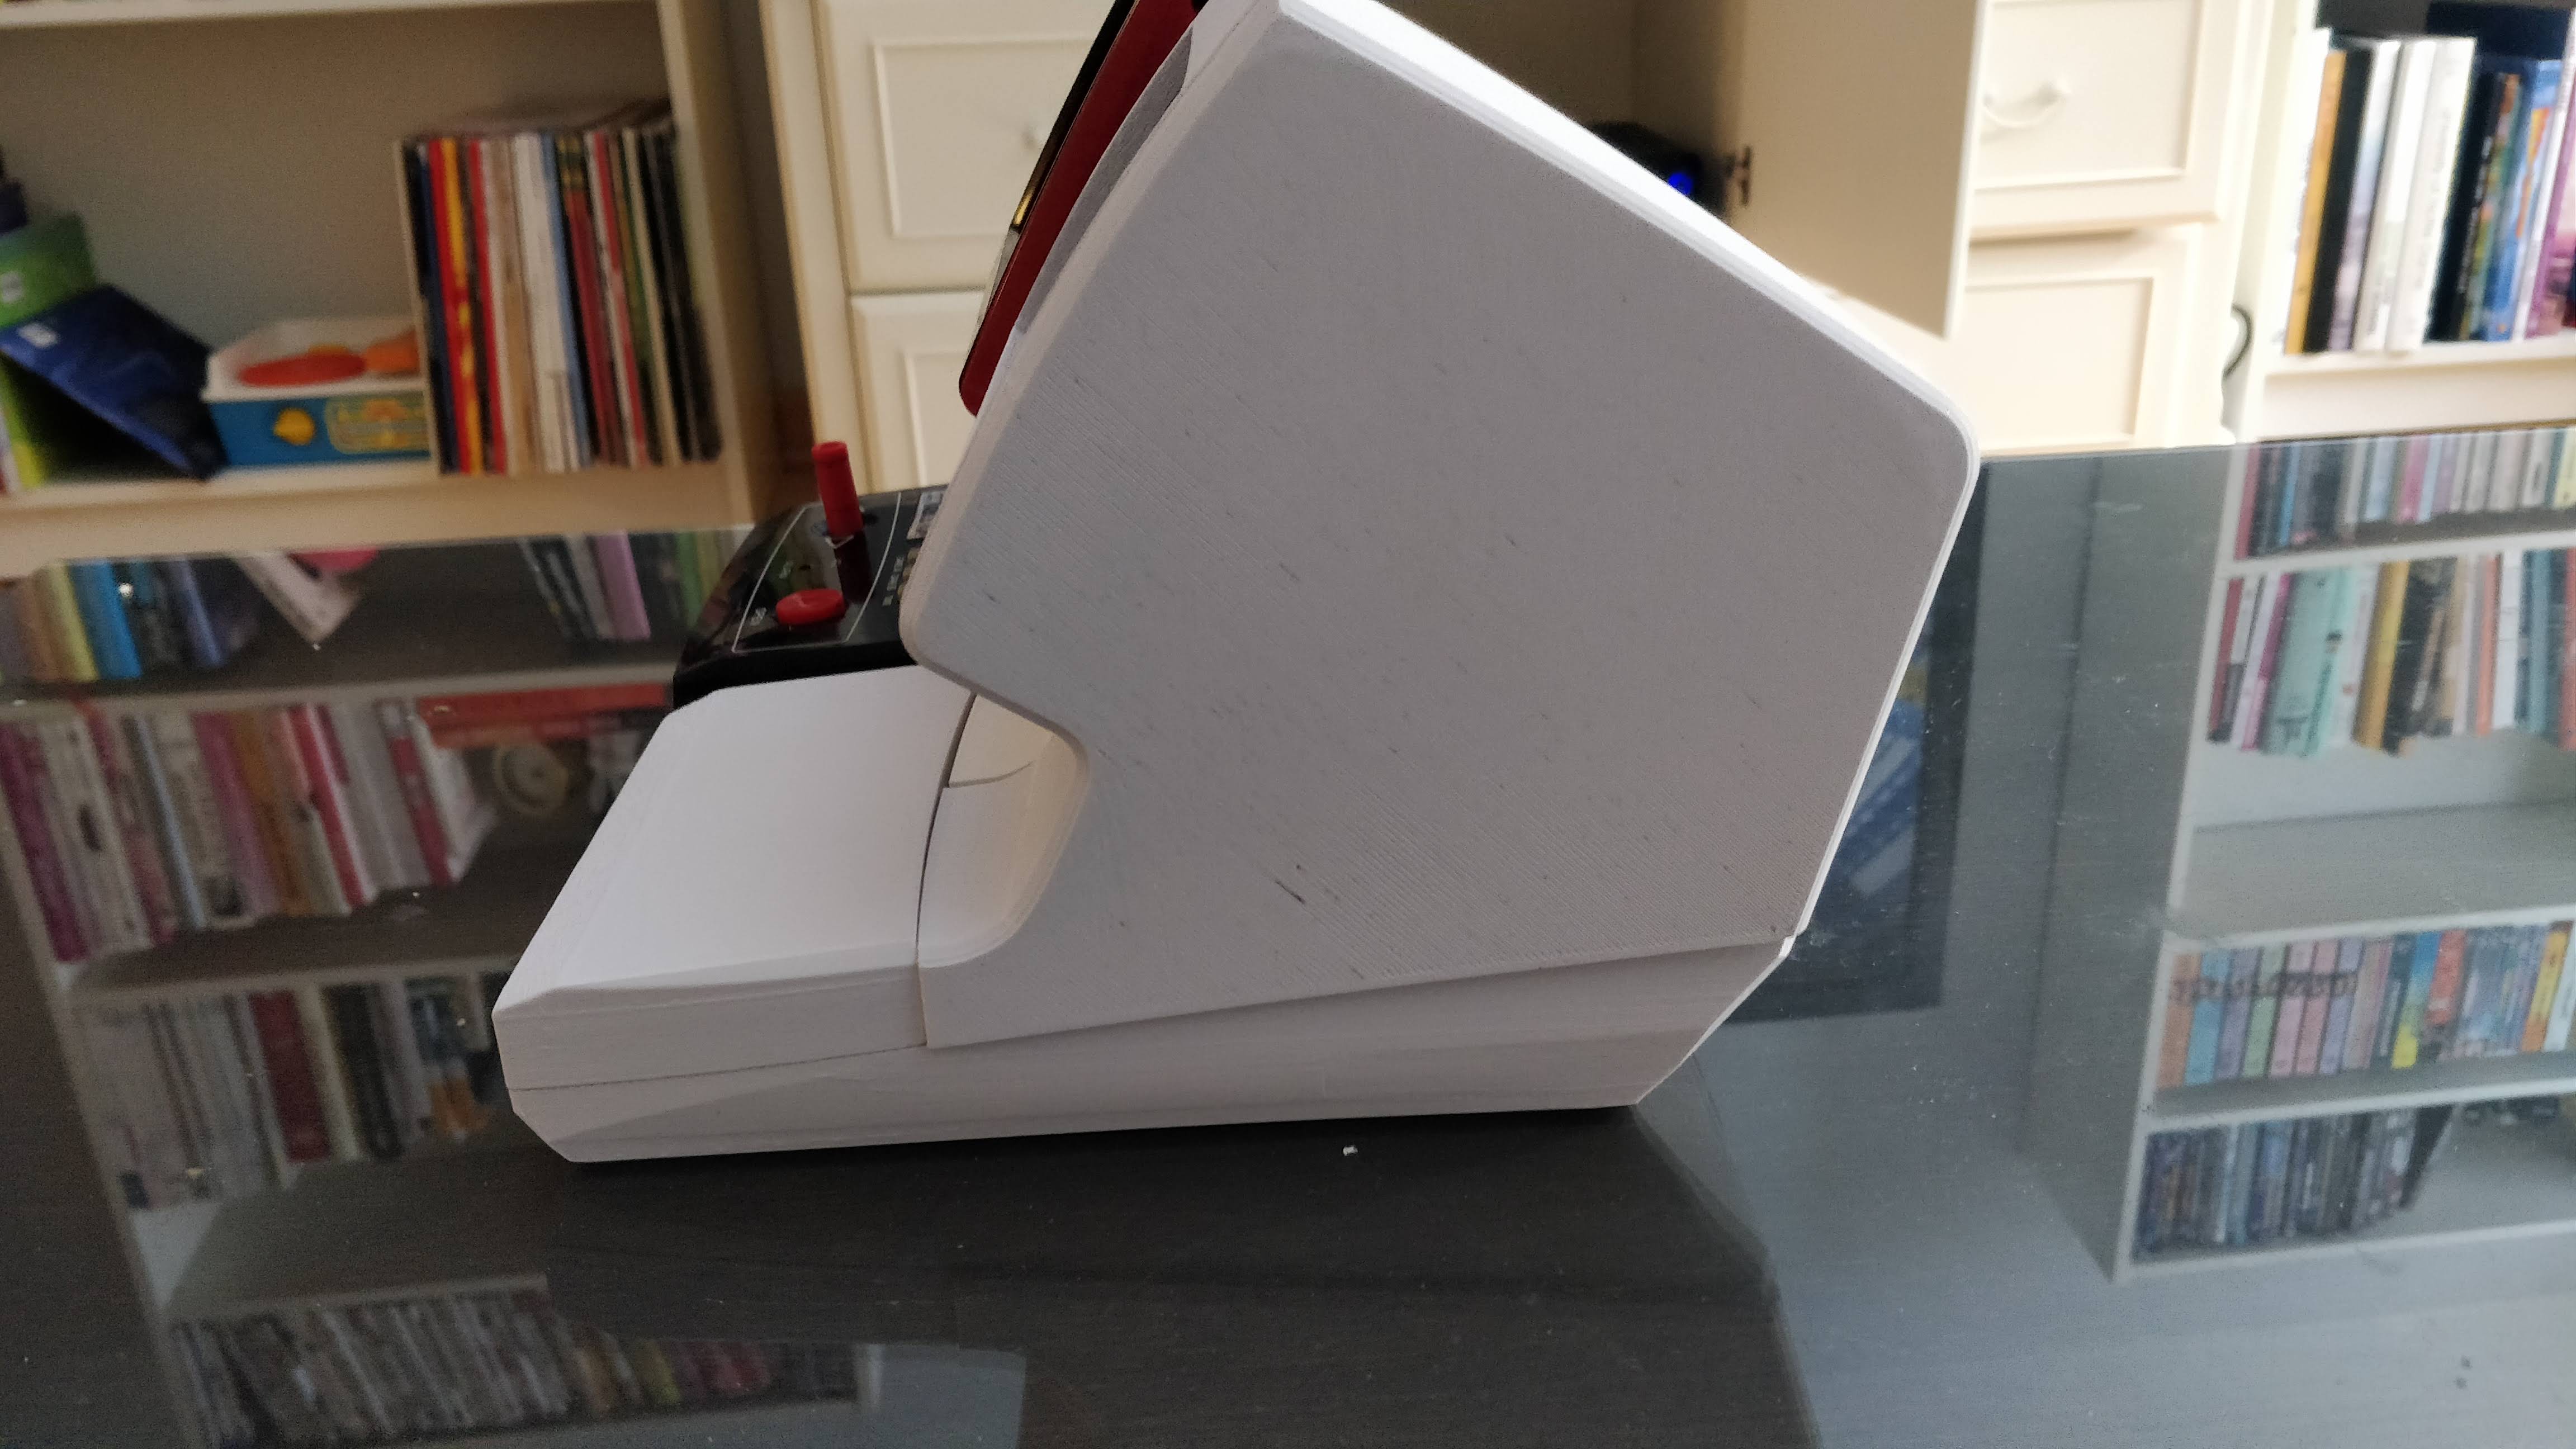
3d Print Game and Watch Gallery
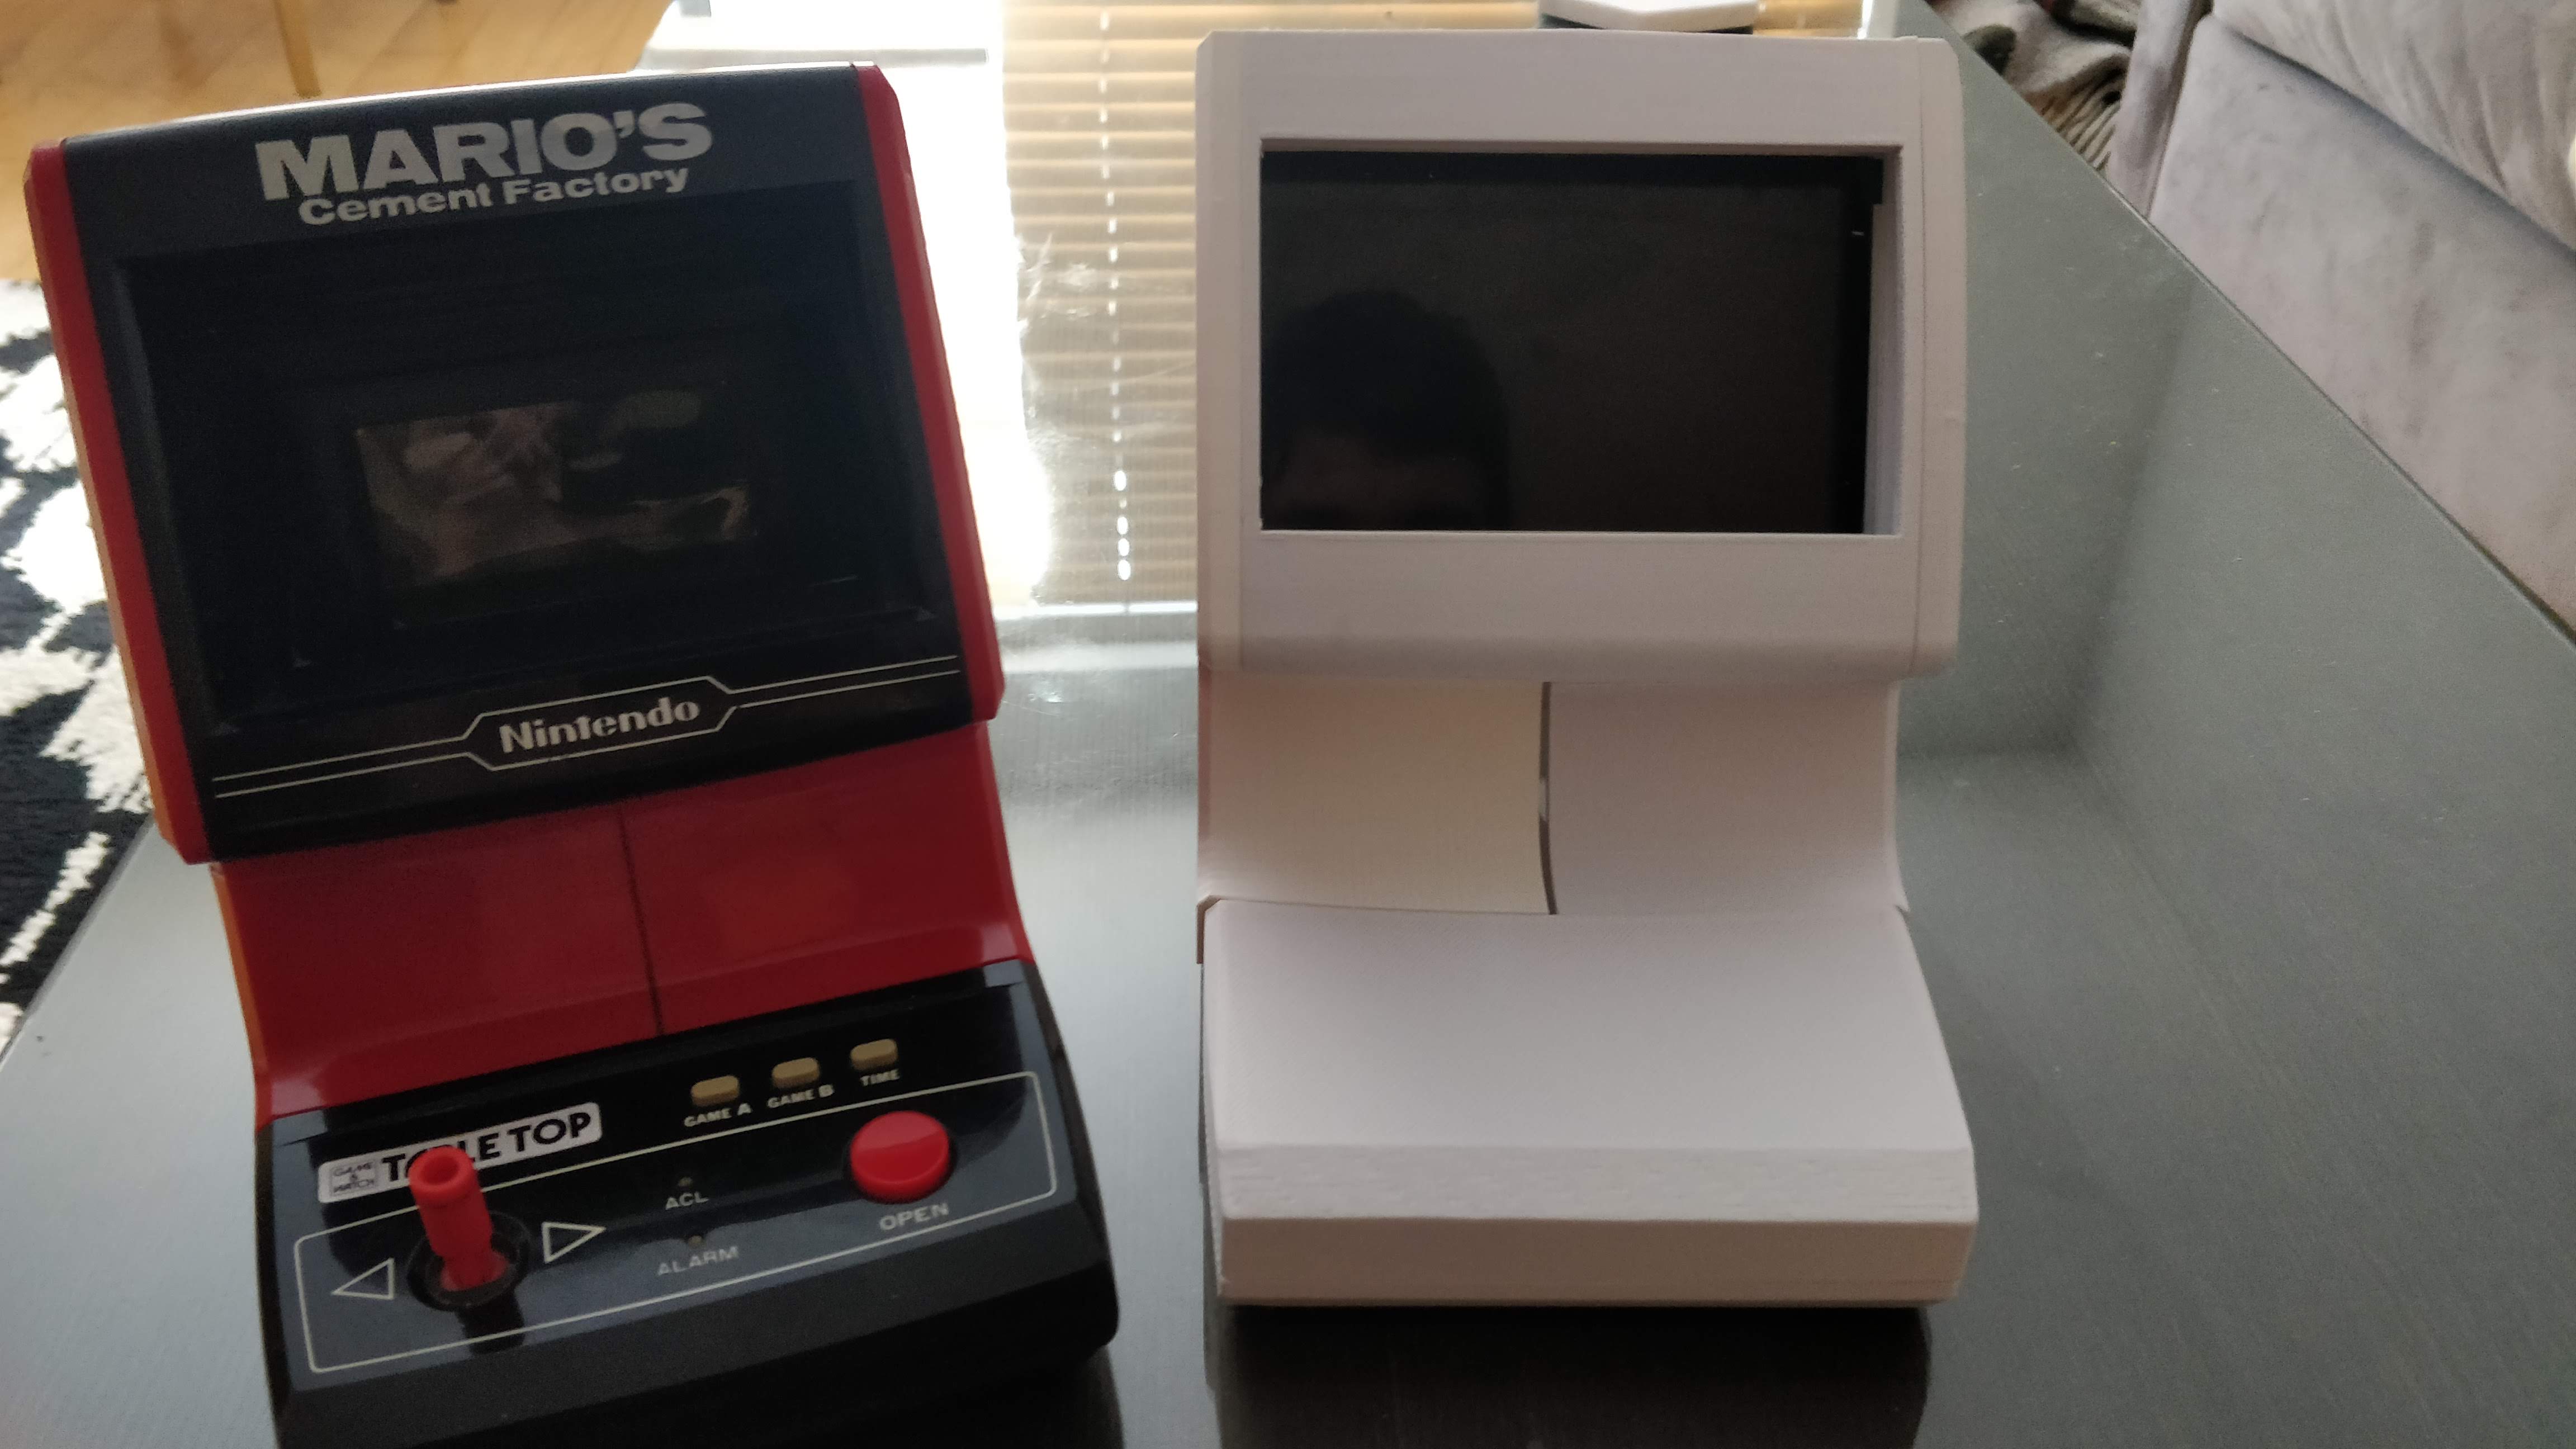
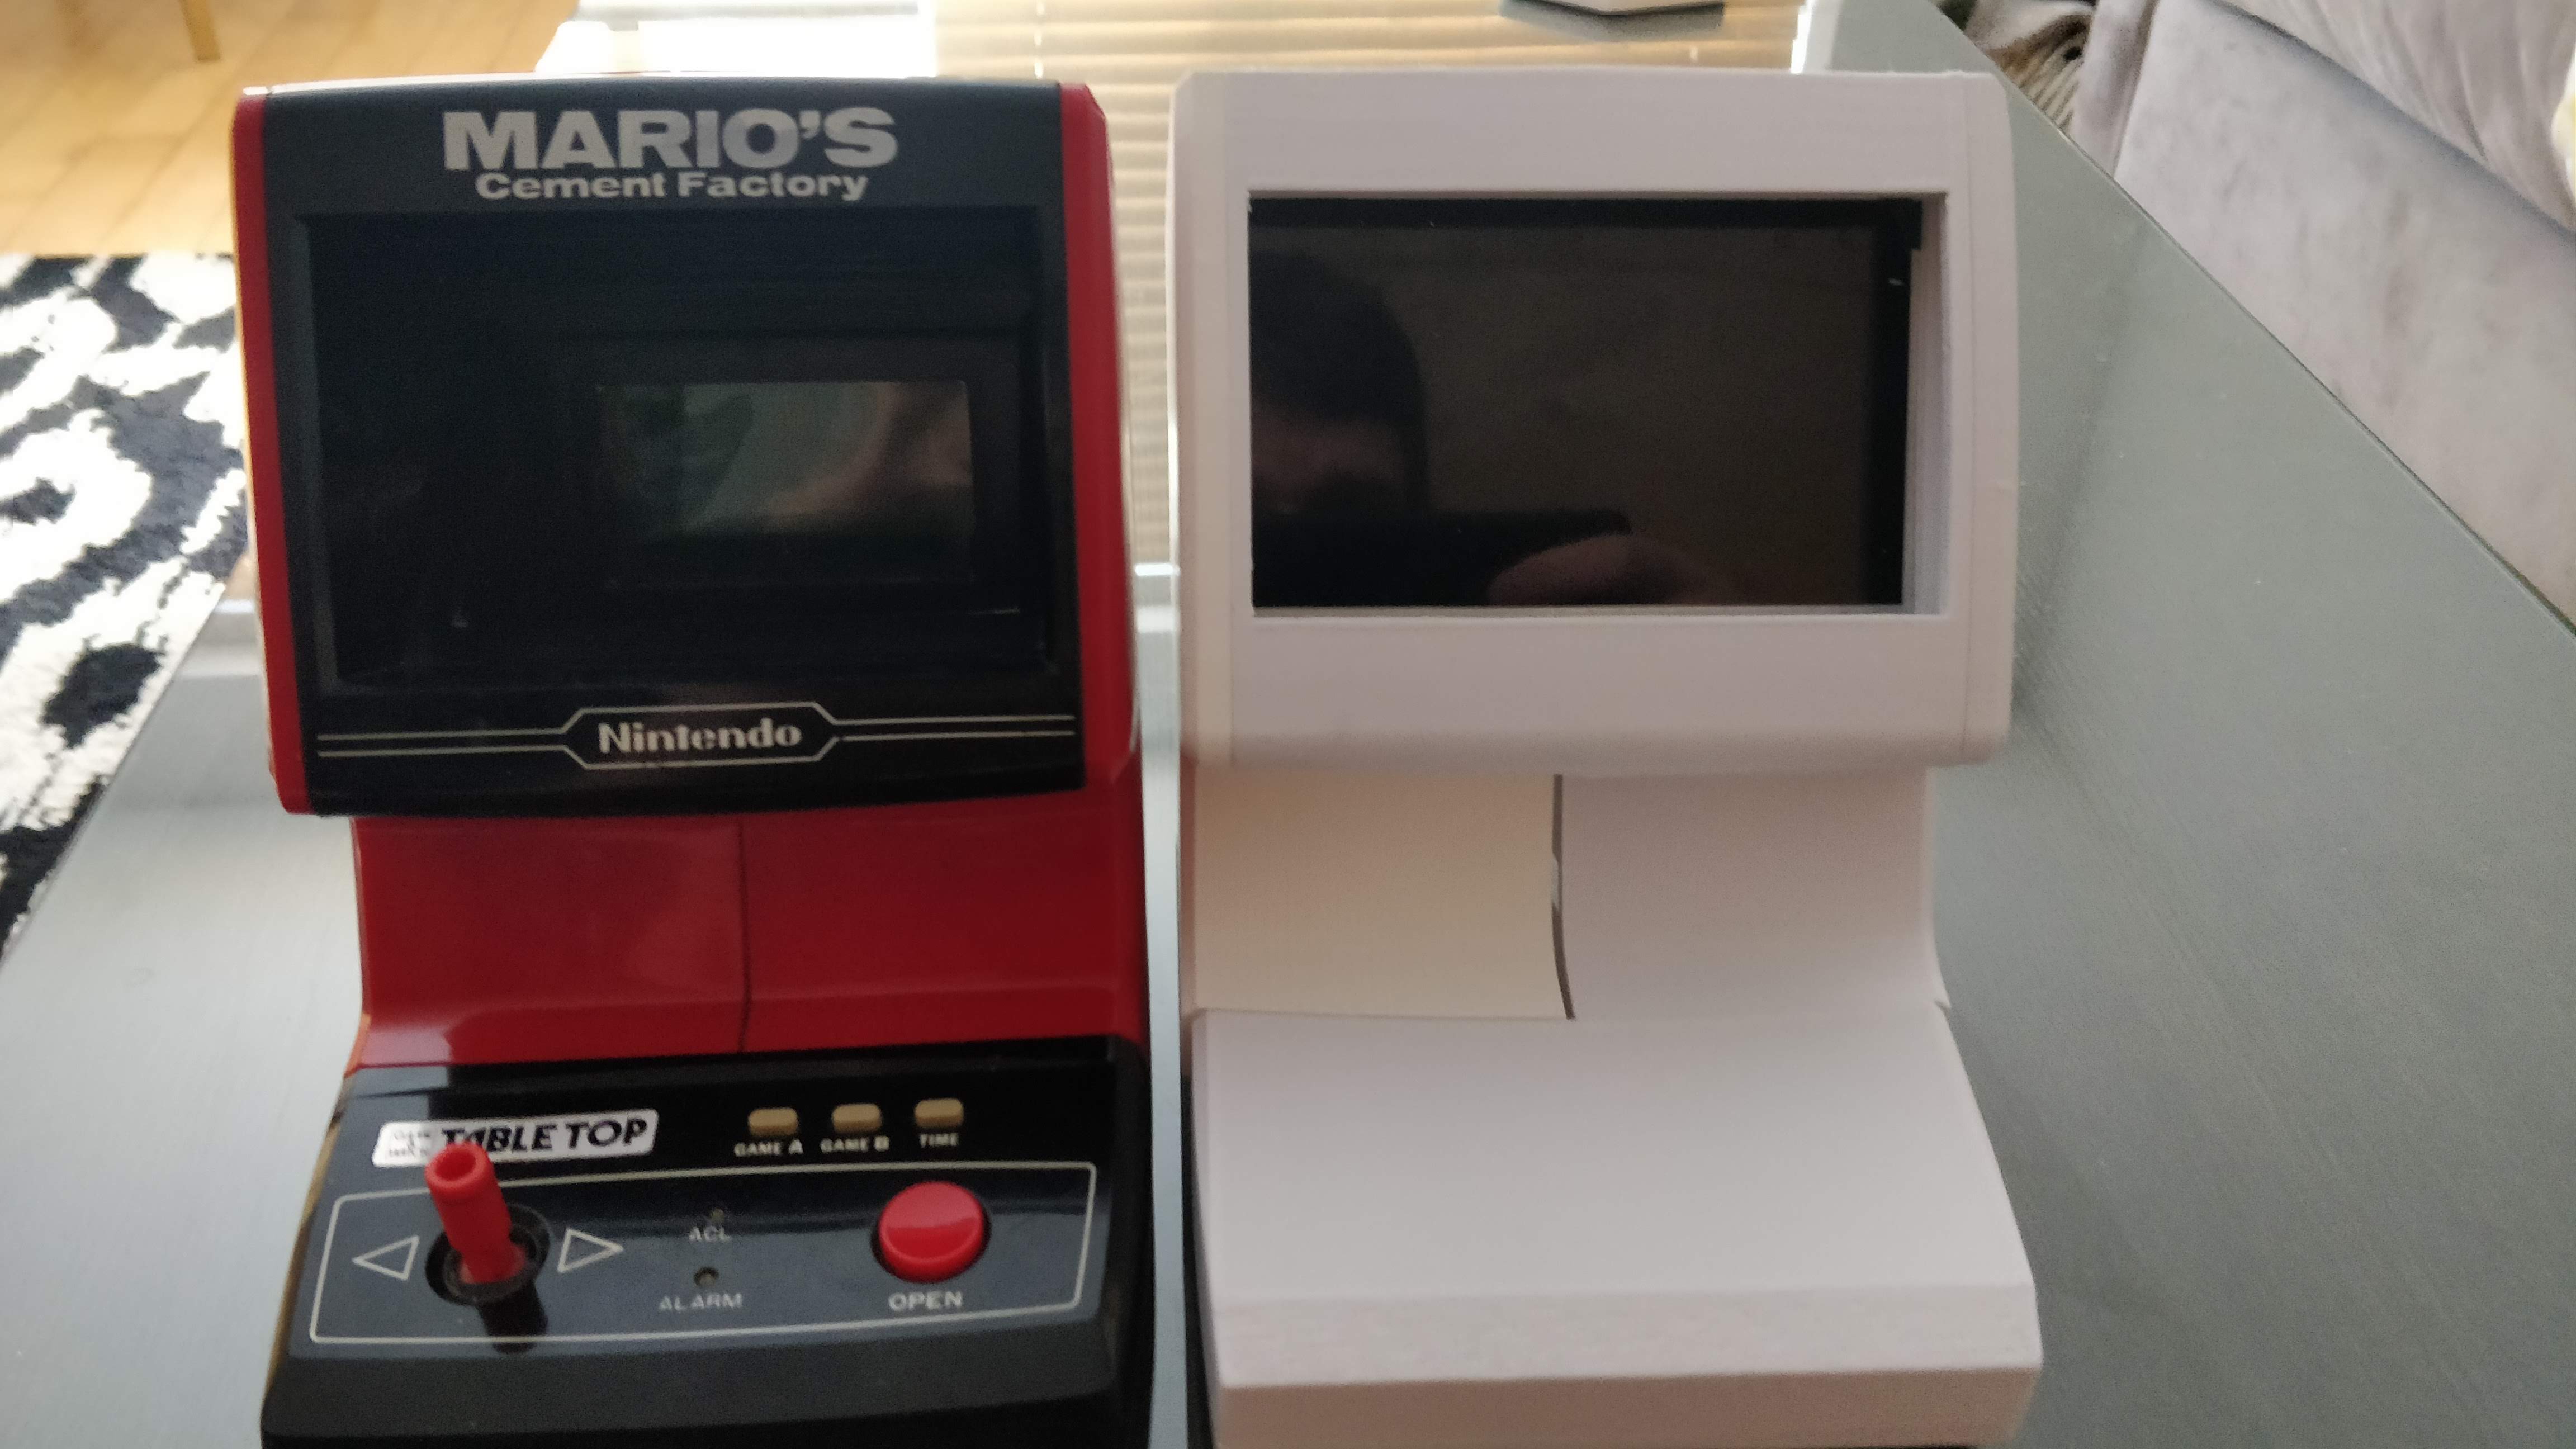
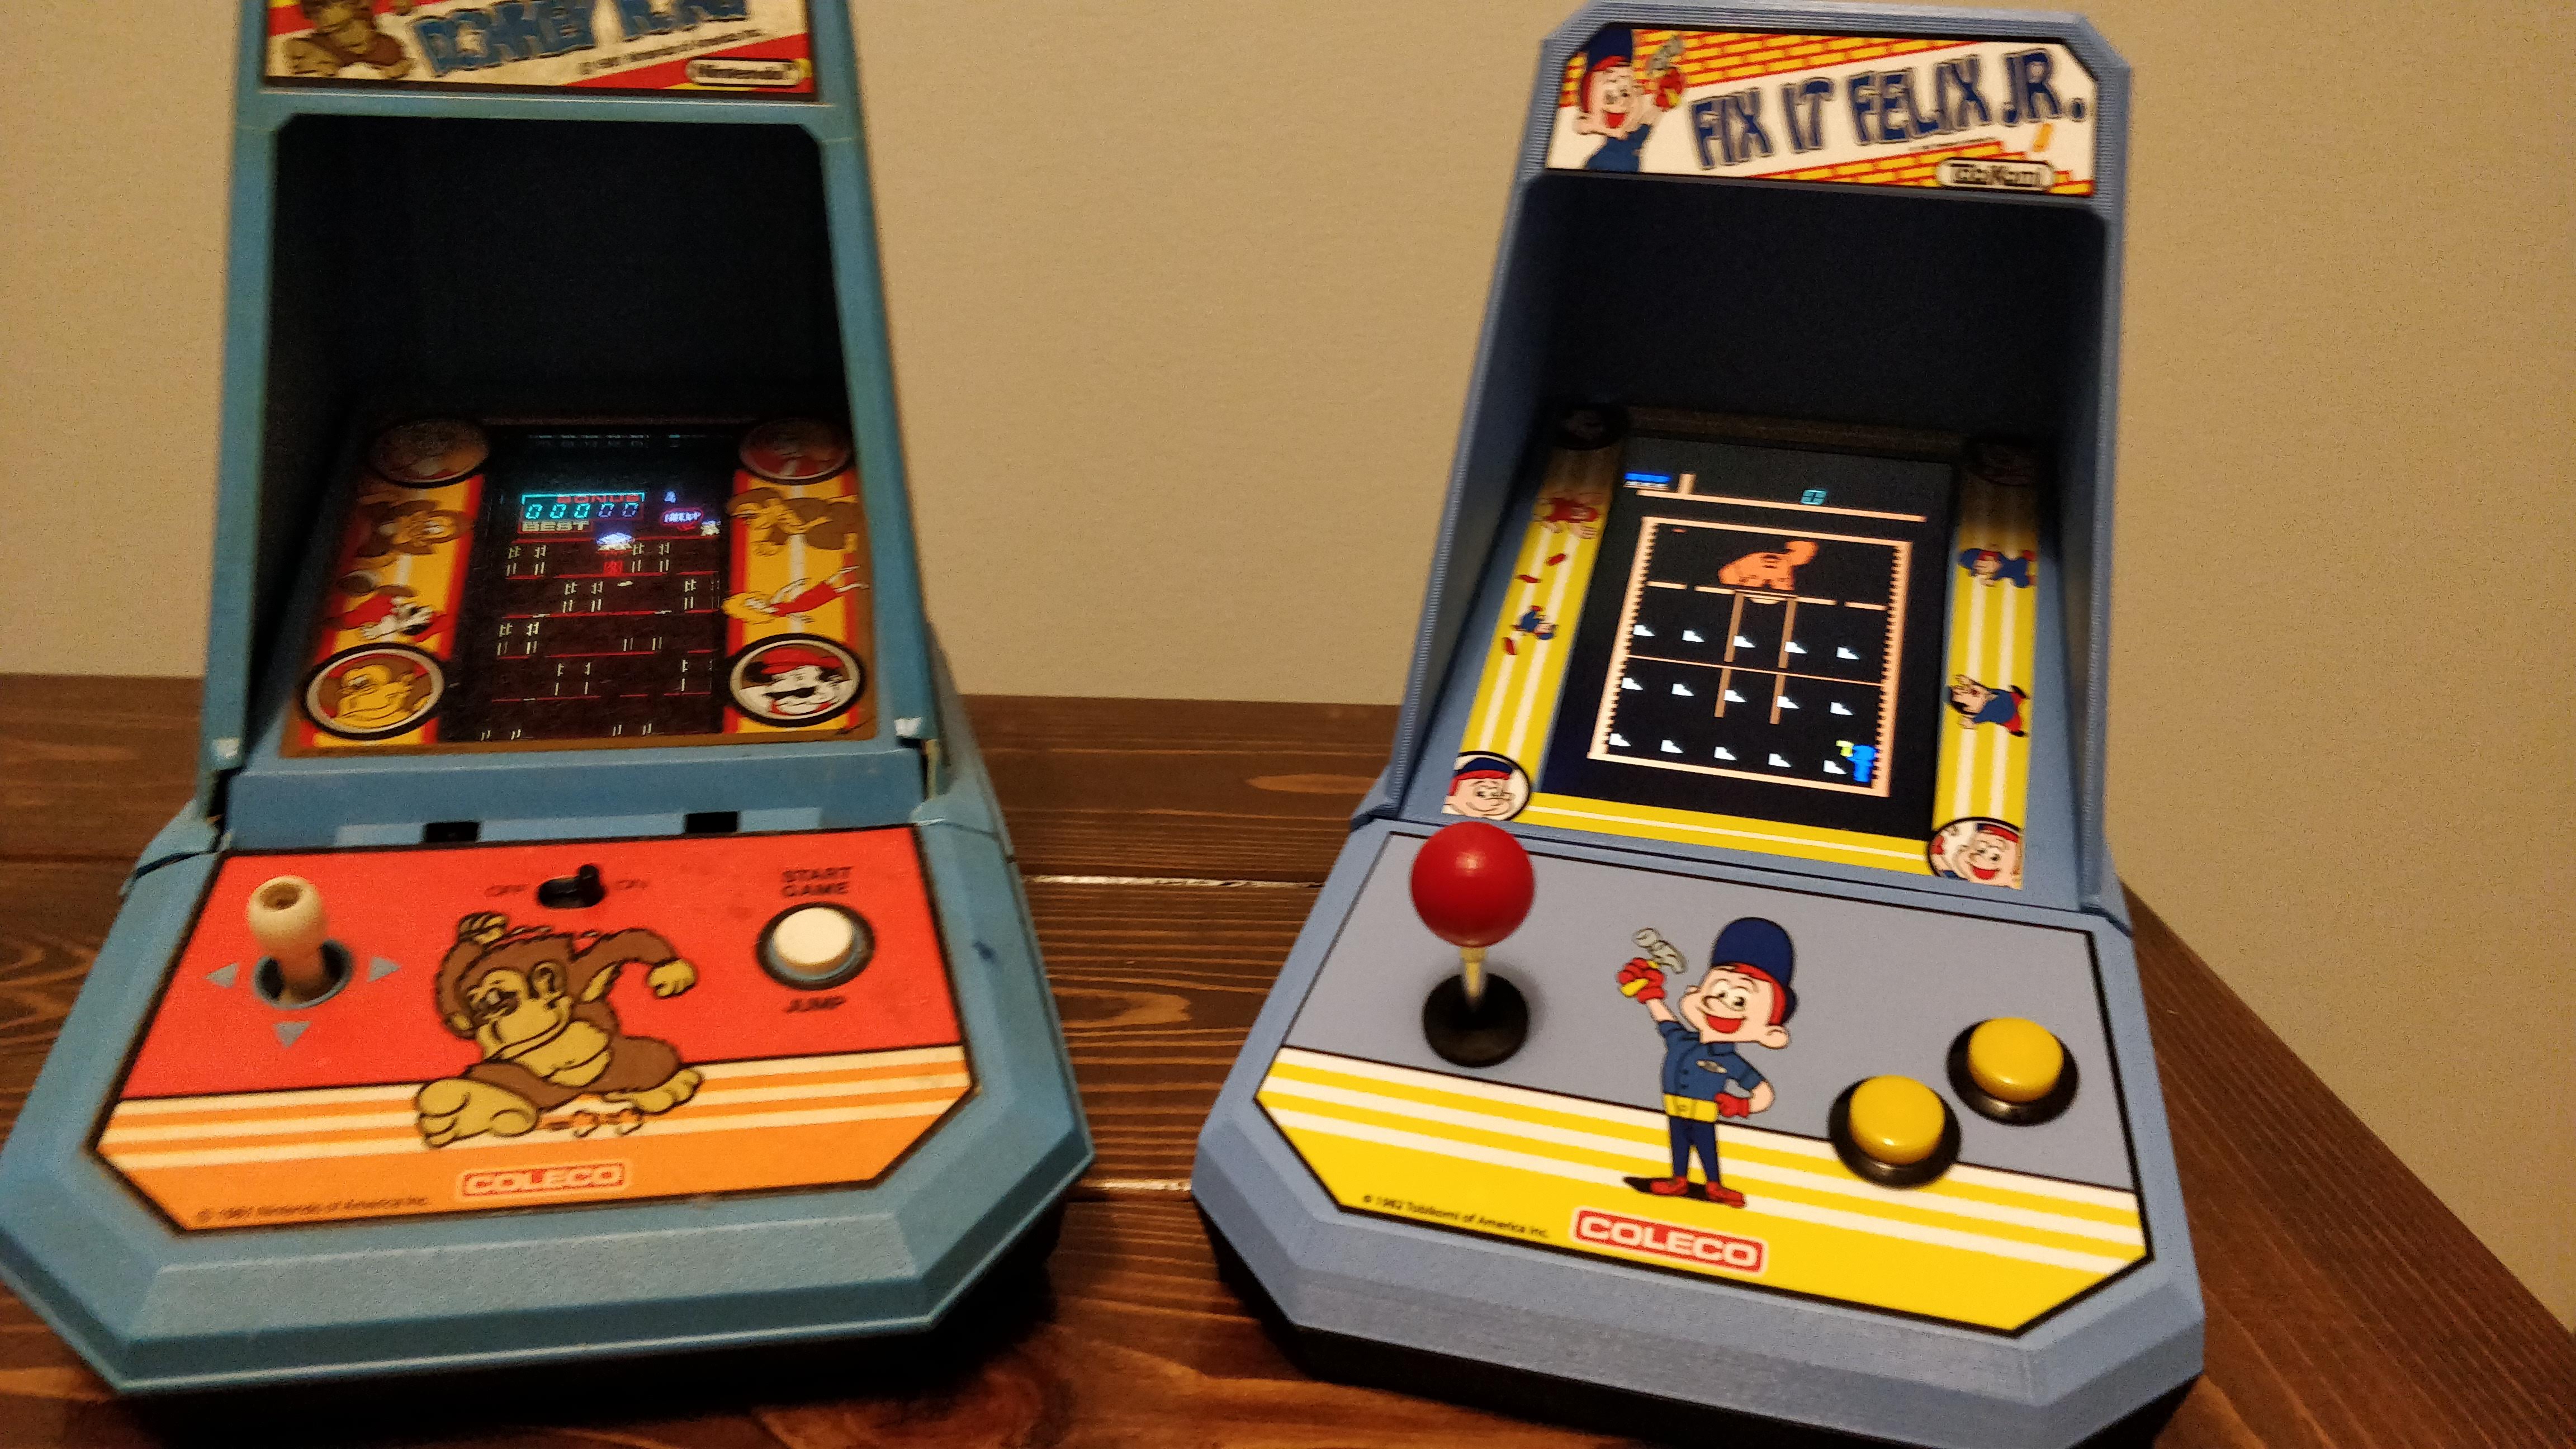
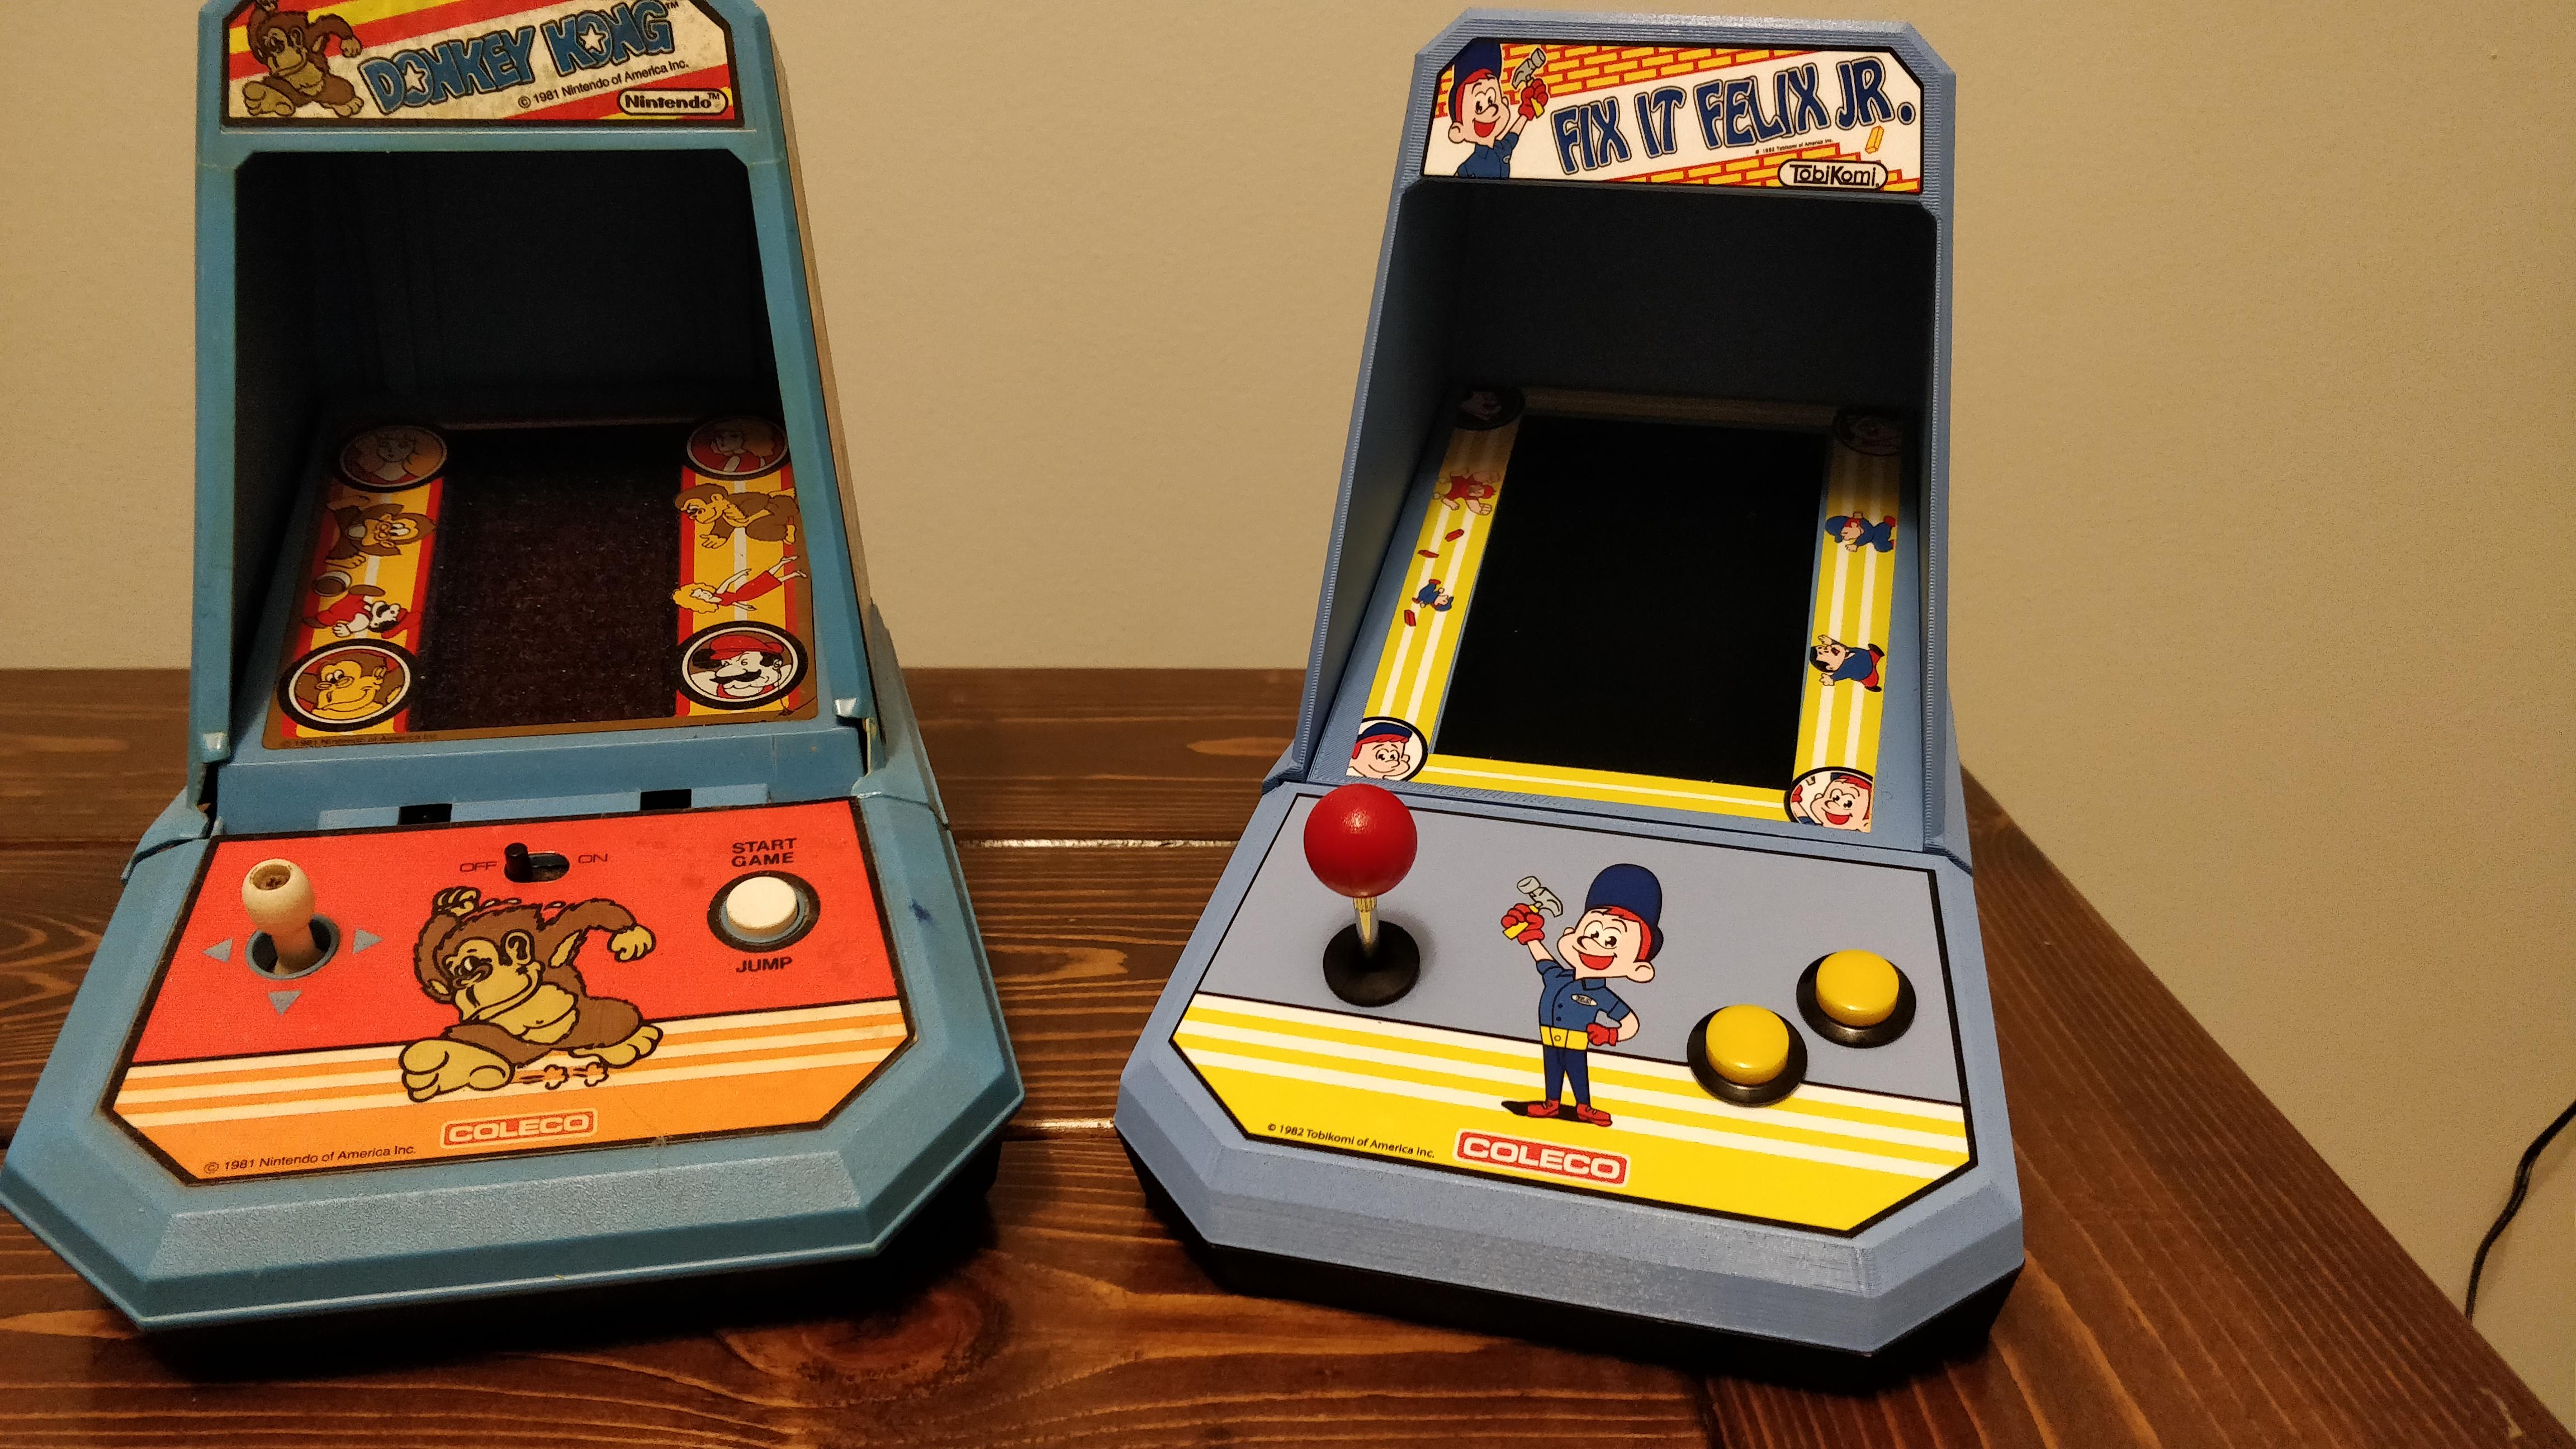
Compare my 3D printed Game and Watch Tabletop to an original below (with screen inserted, too).
3D printed Game and Watch Shell
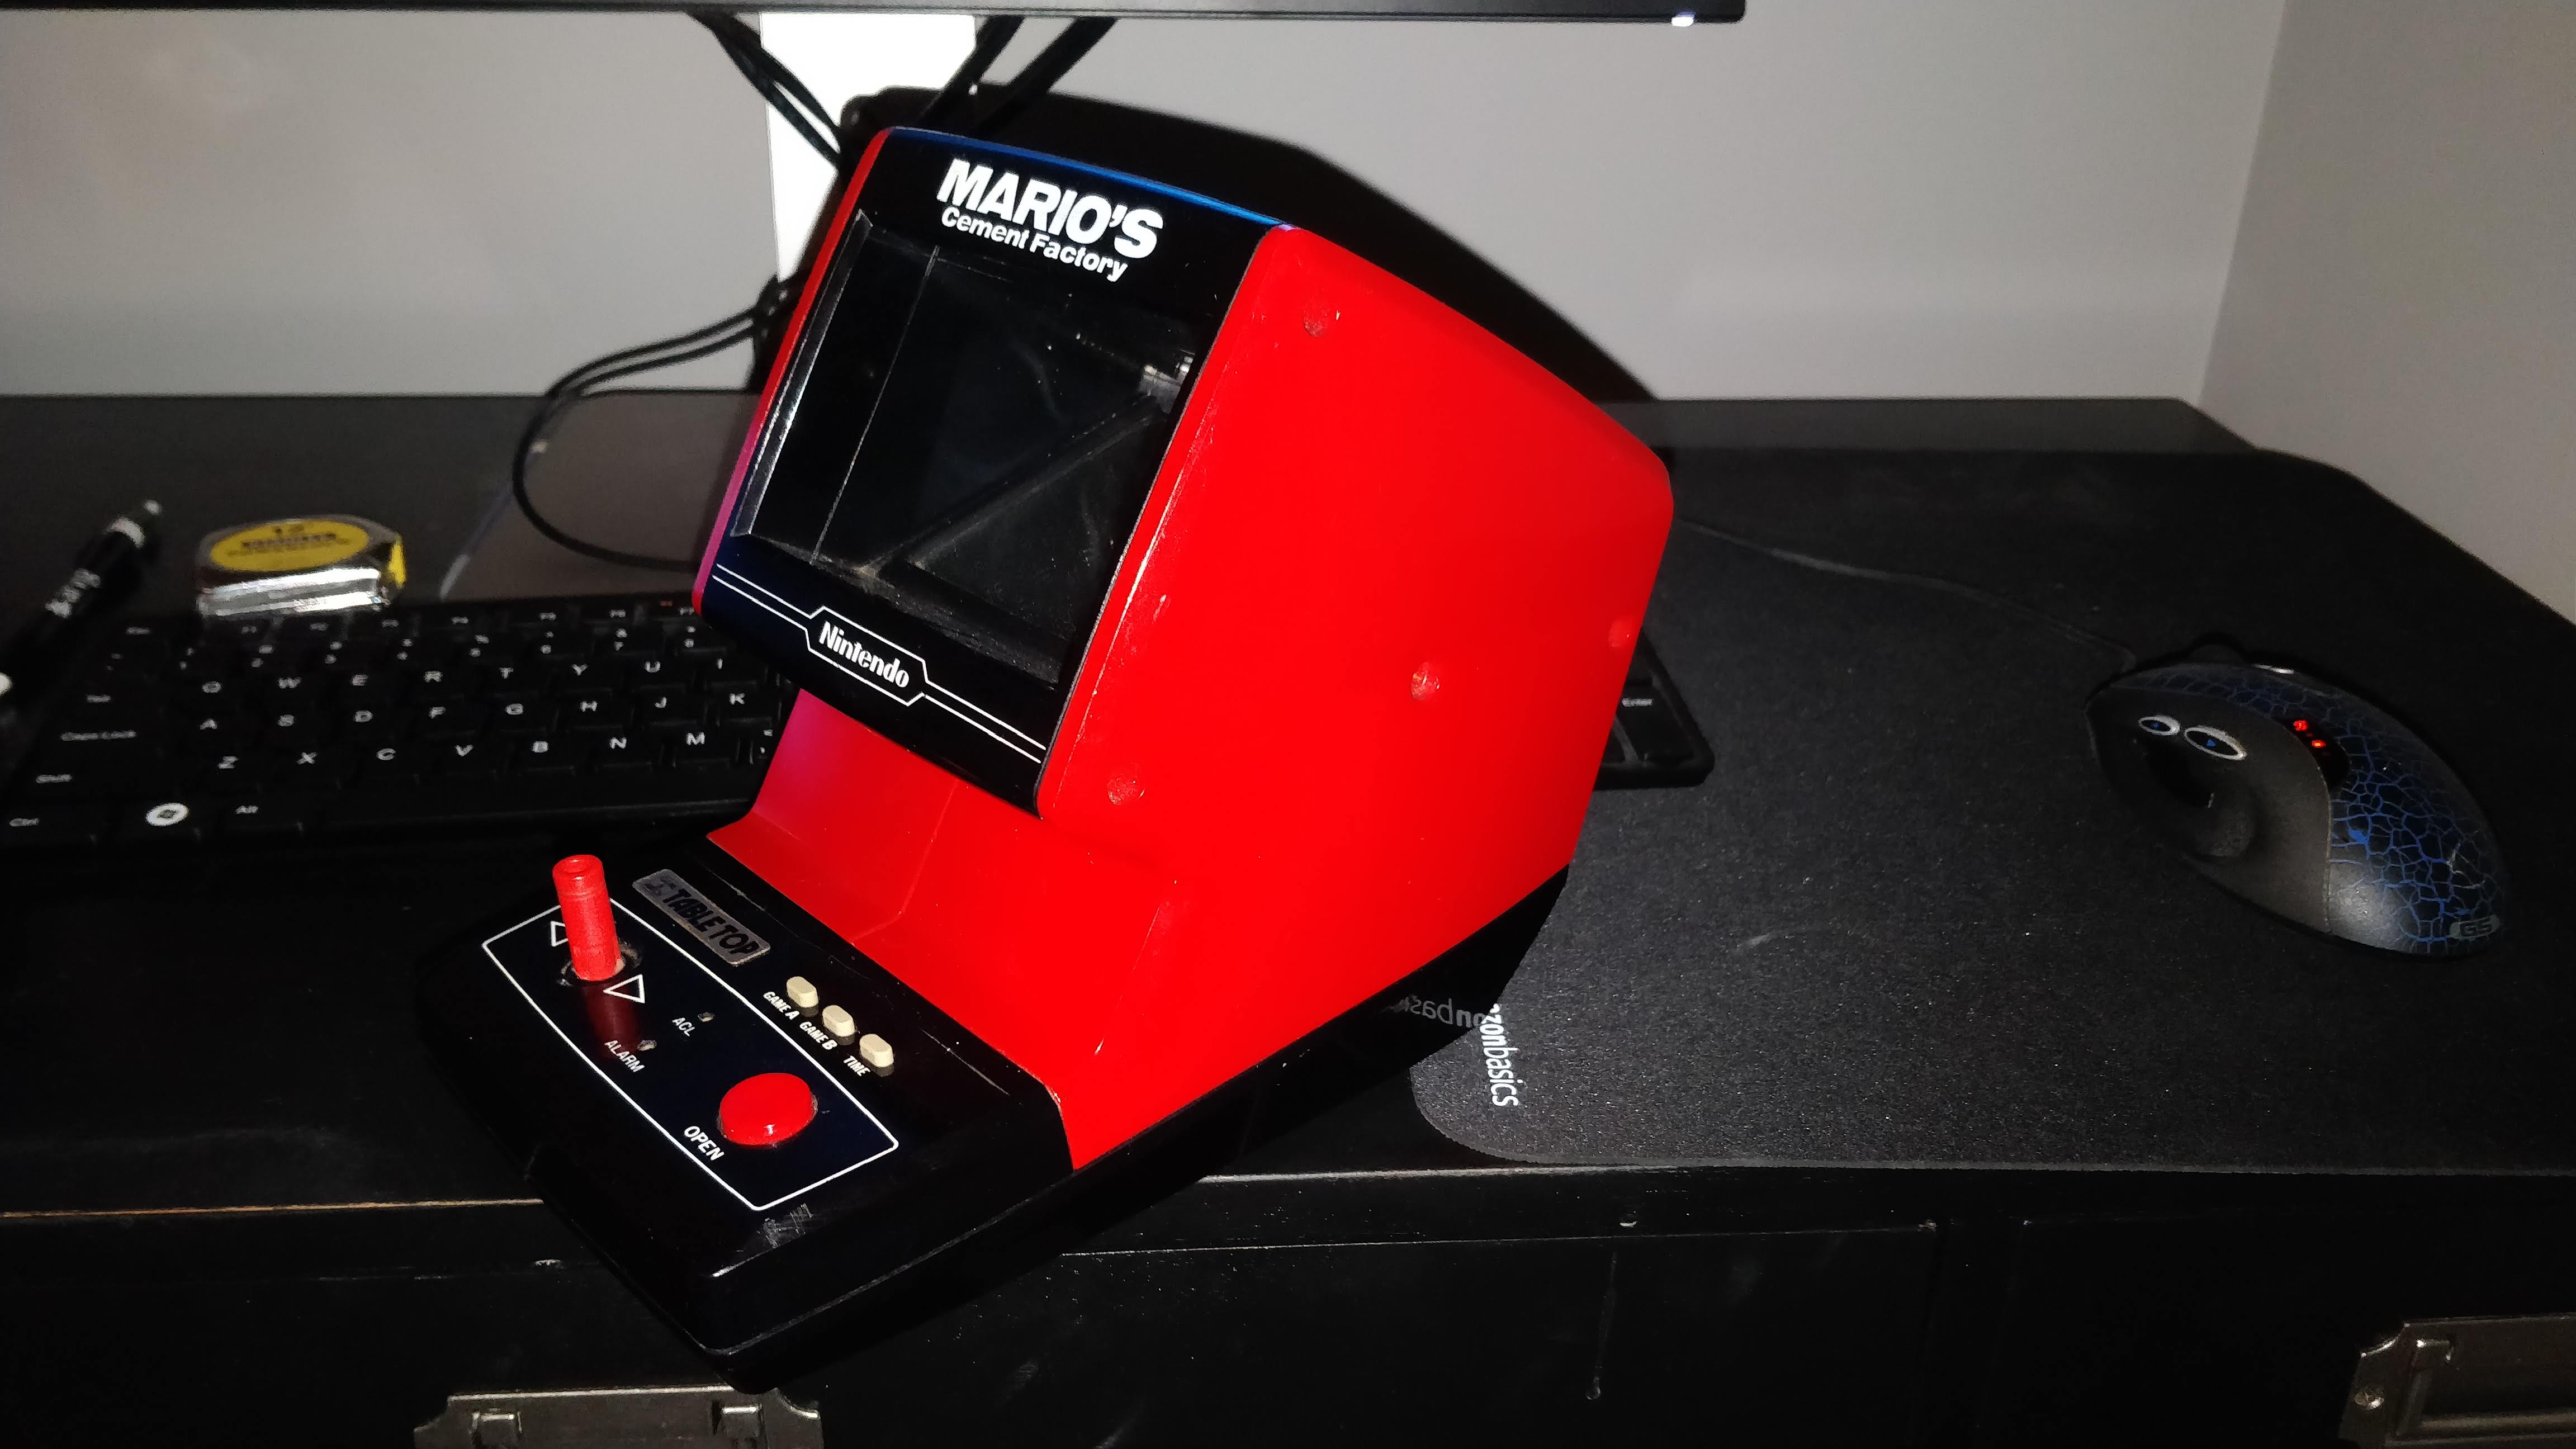
Mario’s Cement next to 3D printed version
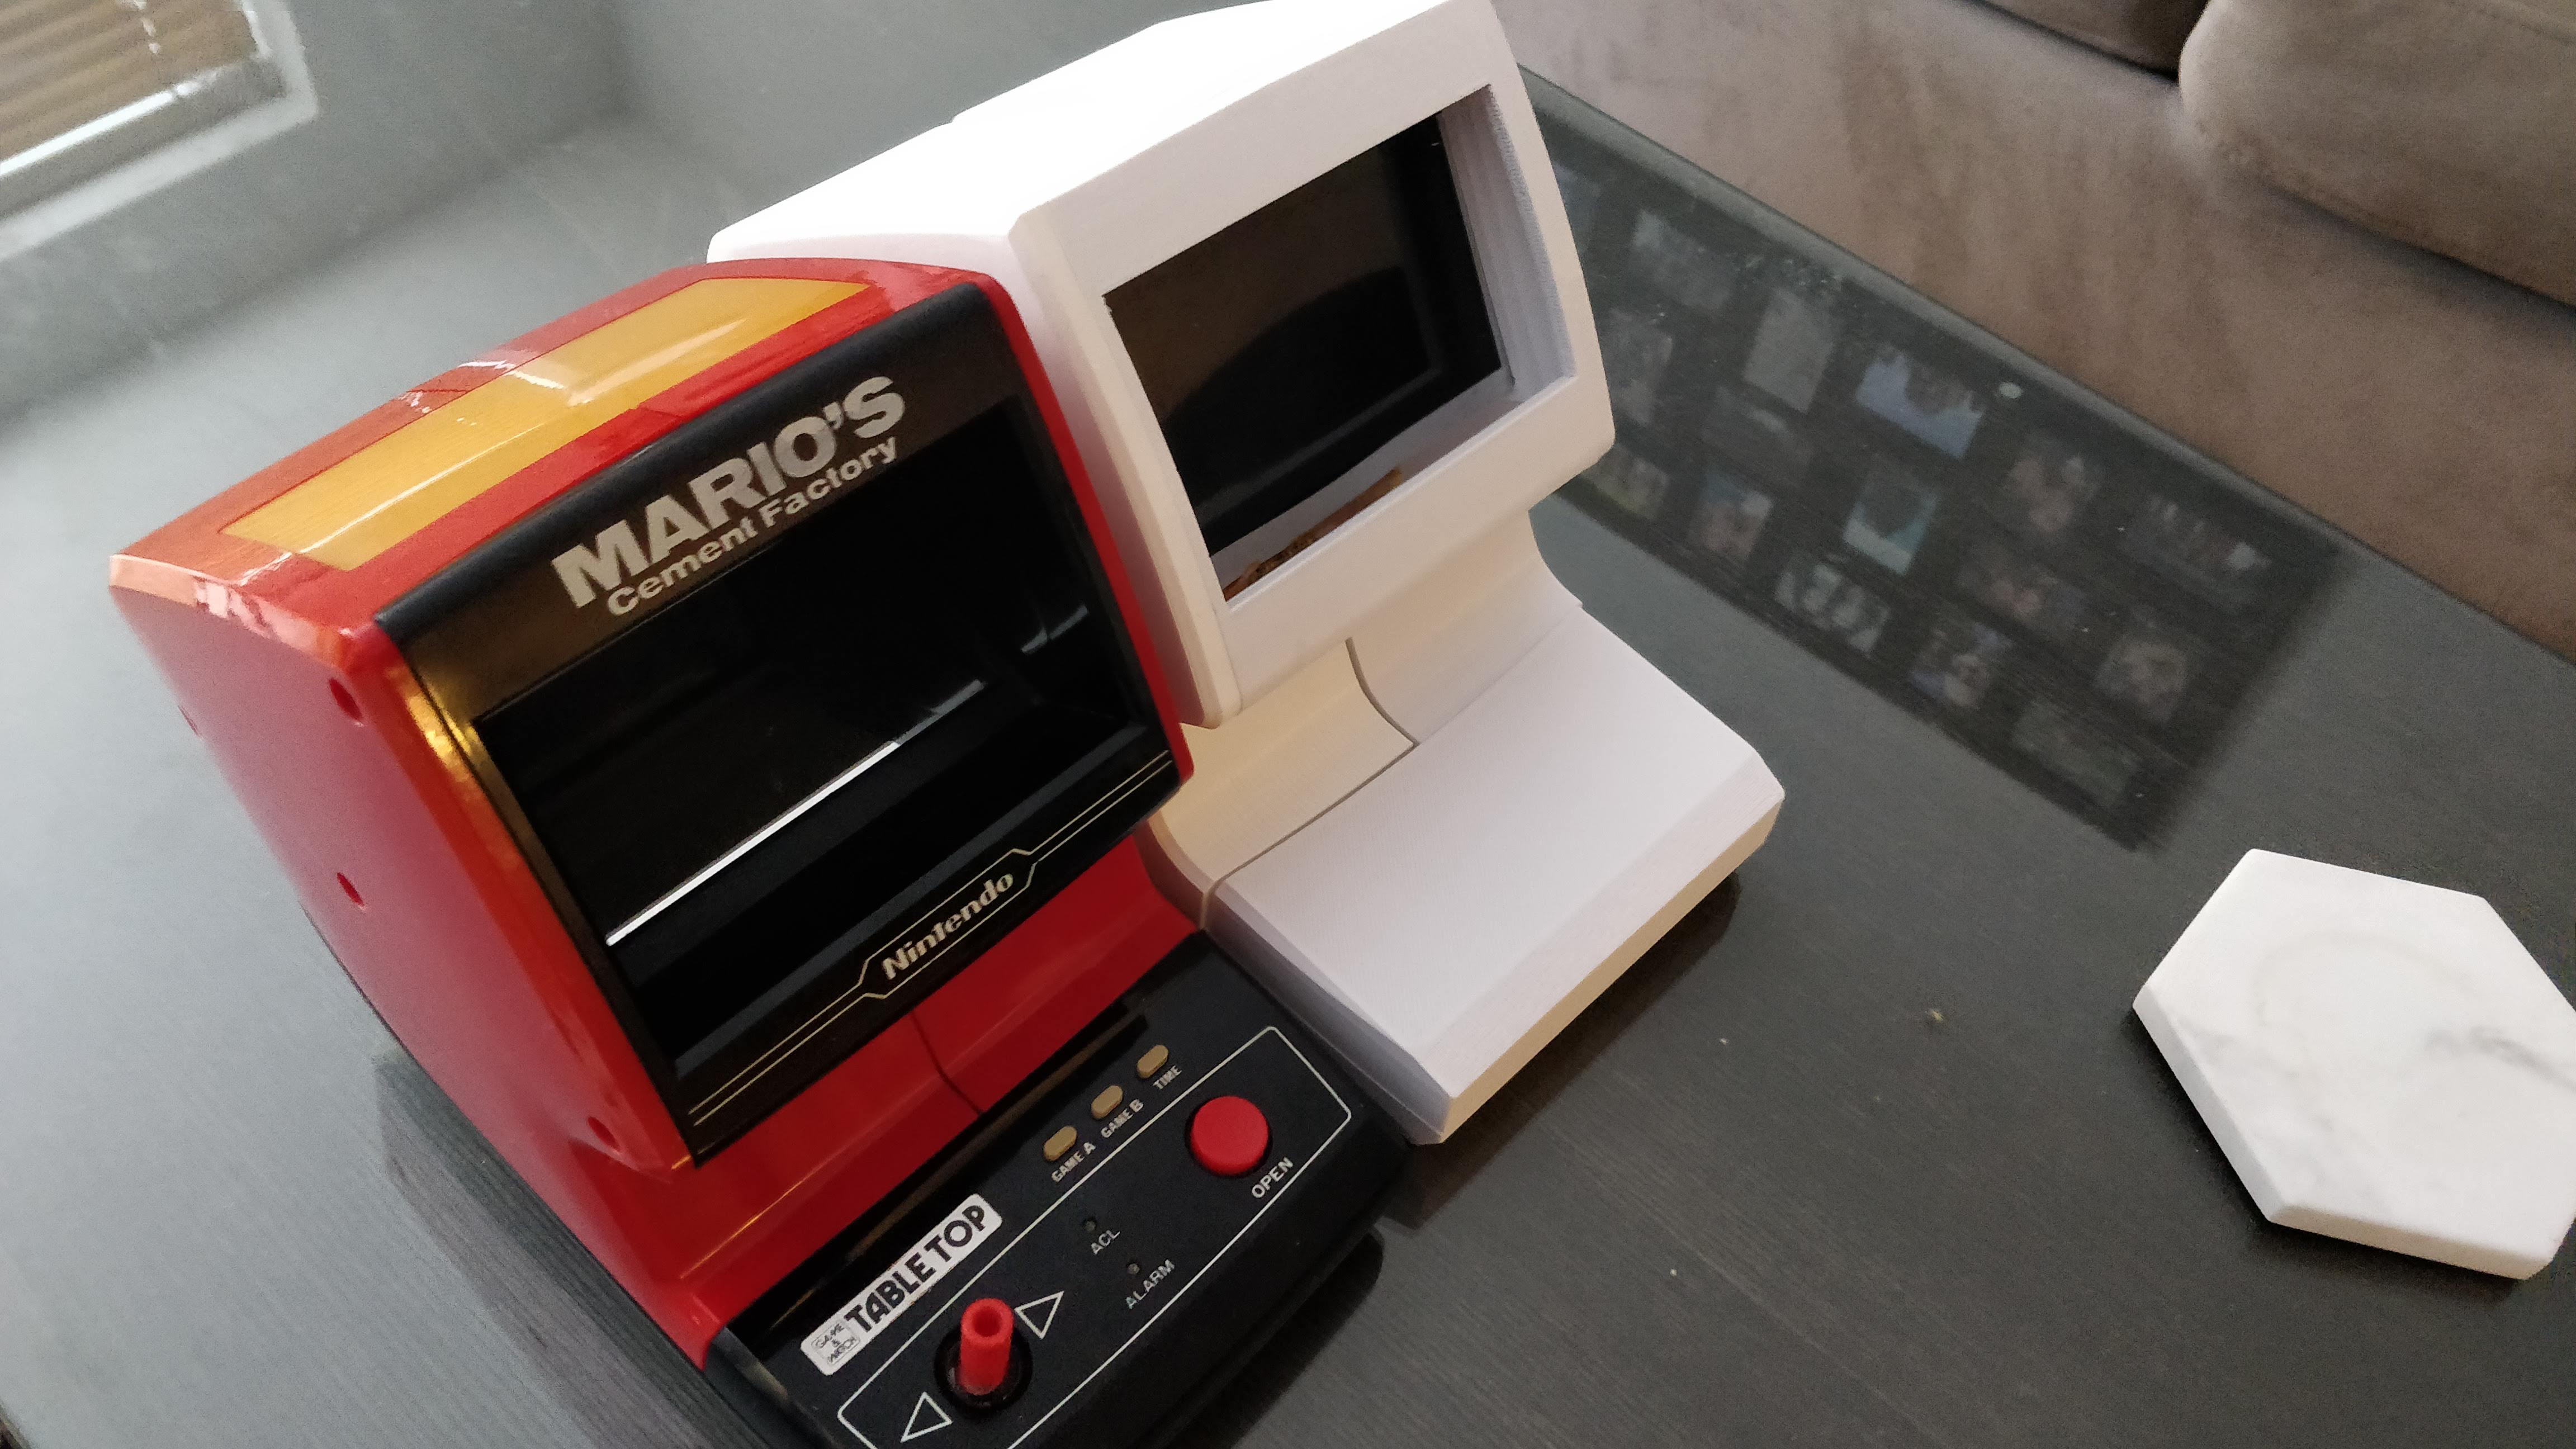
Angle view of the two games
Perspective view of Game and Watch Tabletop
Next Steps
I’ve already made these changes digitally, just have to wait for them to arrive physically. For this build, I’m planning to use a Rasberry pi and similar controls to what I’ve used in the past. I want to get all the electronics working before I try to fit them in there though. That might have to wait, I’m very close to finishing my Wreck It Ralph Coleco and will probably finish that first.
I’m right in the middle of another project, but winter isn’t letting me finish it up (no way to paint inside). So, in the meantime, I decided to really start learning how to 3d model better. Who’s familiar with the Nintendo Game and Watch Tabletop games? The most famous is definitely Donkey Kong Jr. by Coleco
Nintendo made a bunch of others, though. Snoopy and Popeye are pretty neat. They’re all LCD games, but this tabletop games needed ambient light – otherwise you couldn’t see anything! No backlight built in.
Getting My Hands on One
First thing I had to do was get one. I scoured ebay for a long time, these things can be expensive! Eventually a bought a pretty good one though for a very reasonable price. My model is Mario’s Cement Factory.
Mario’s Cement Factory
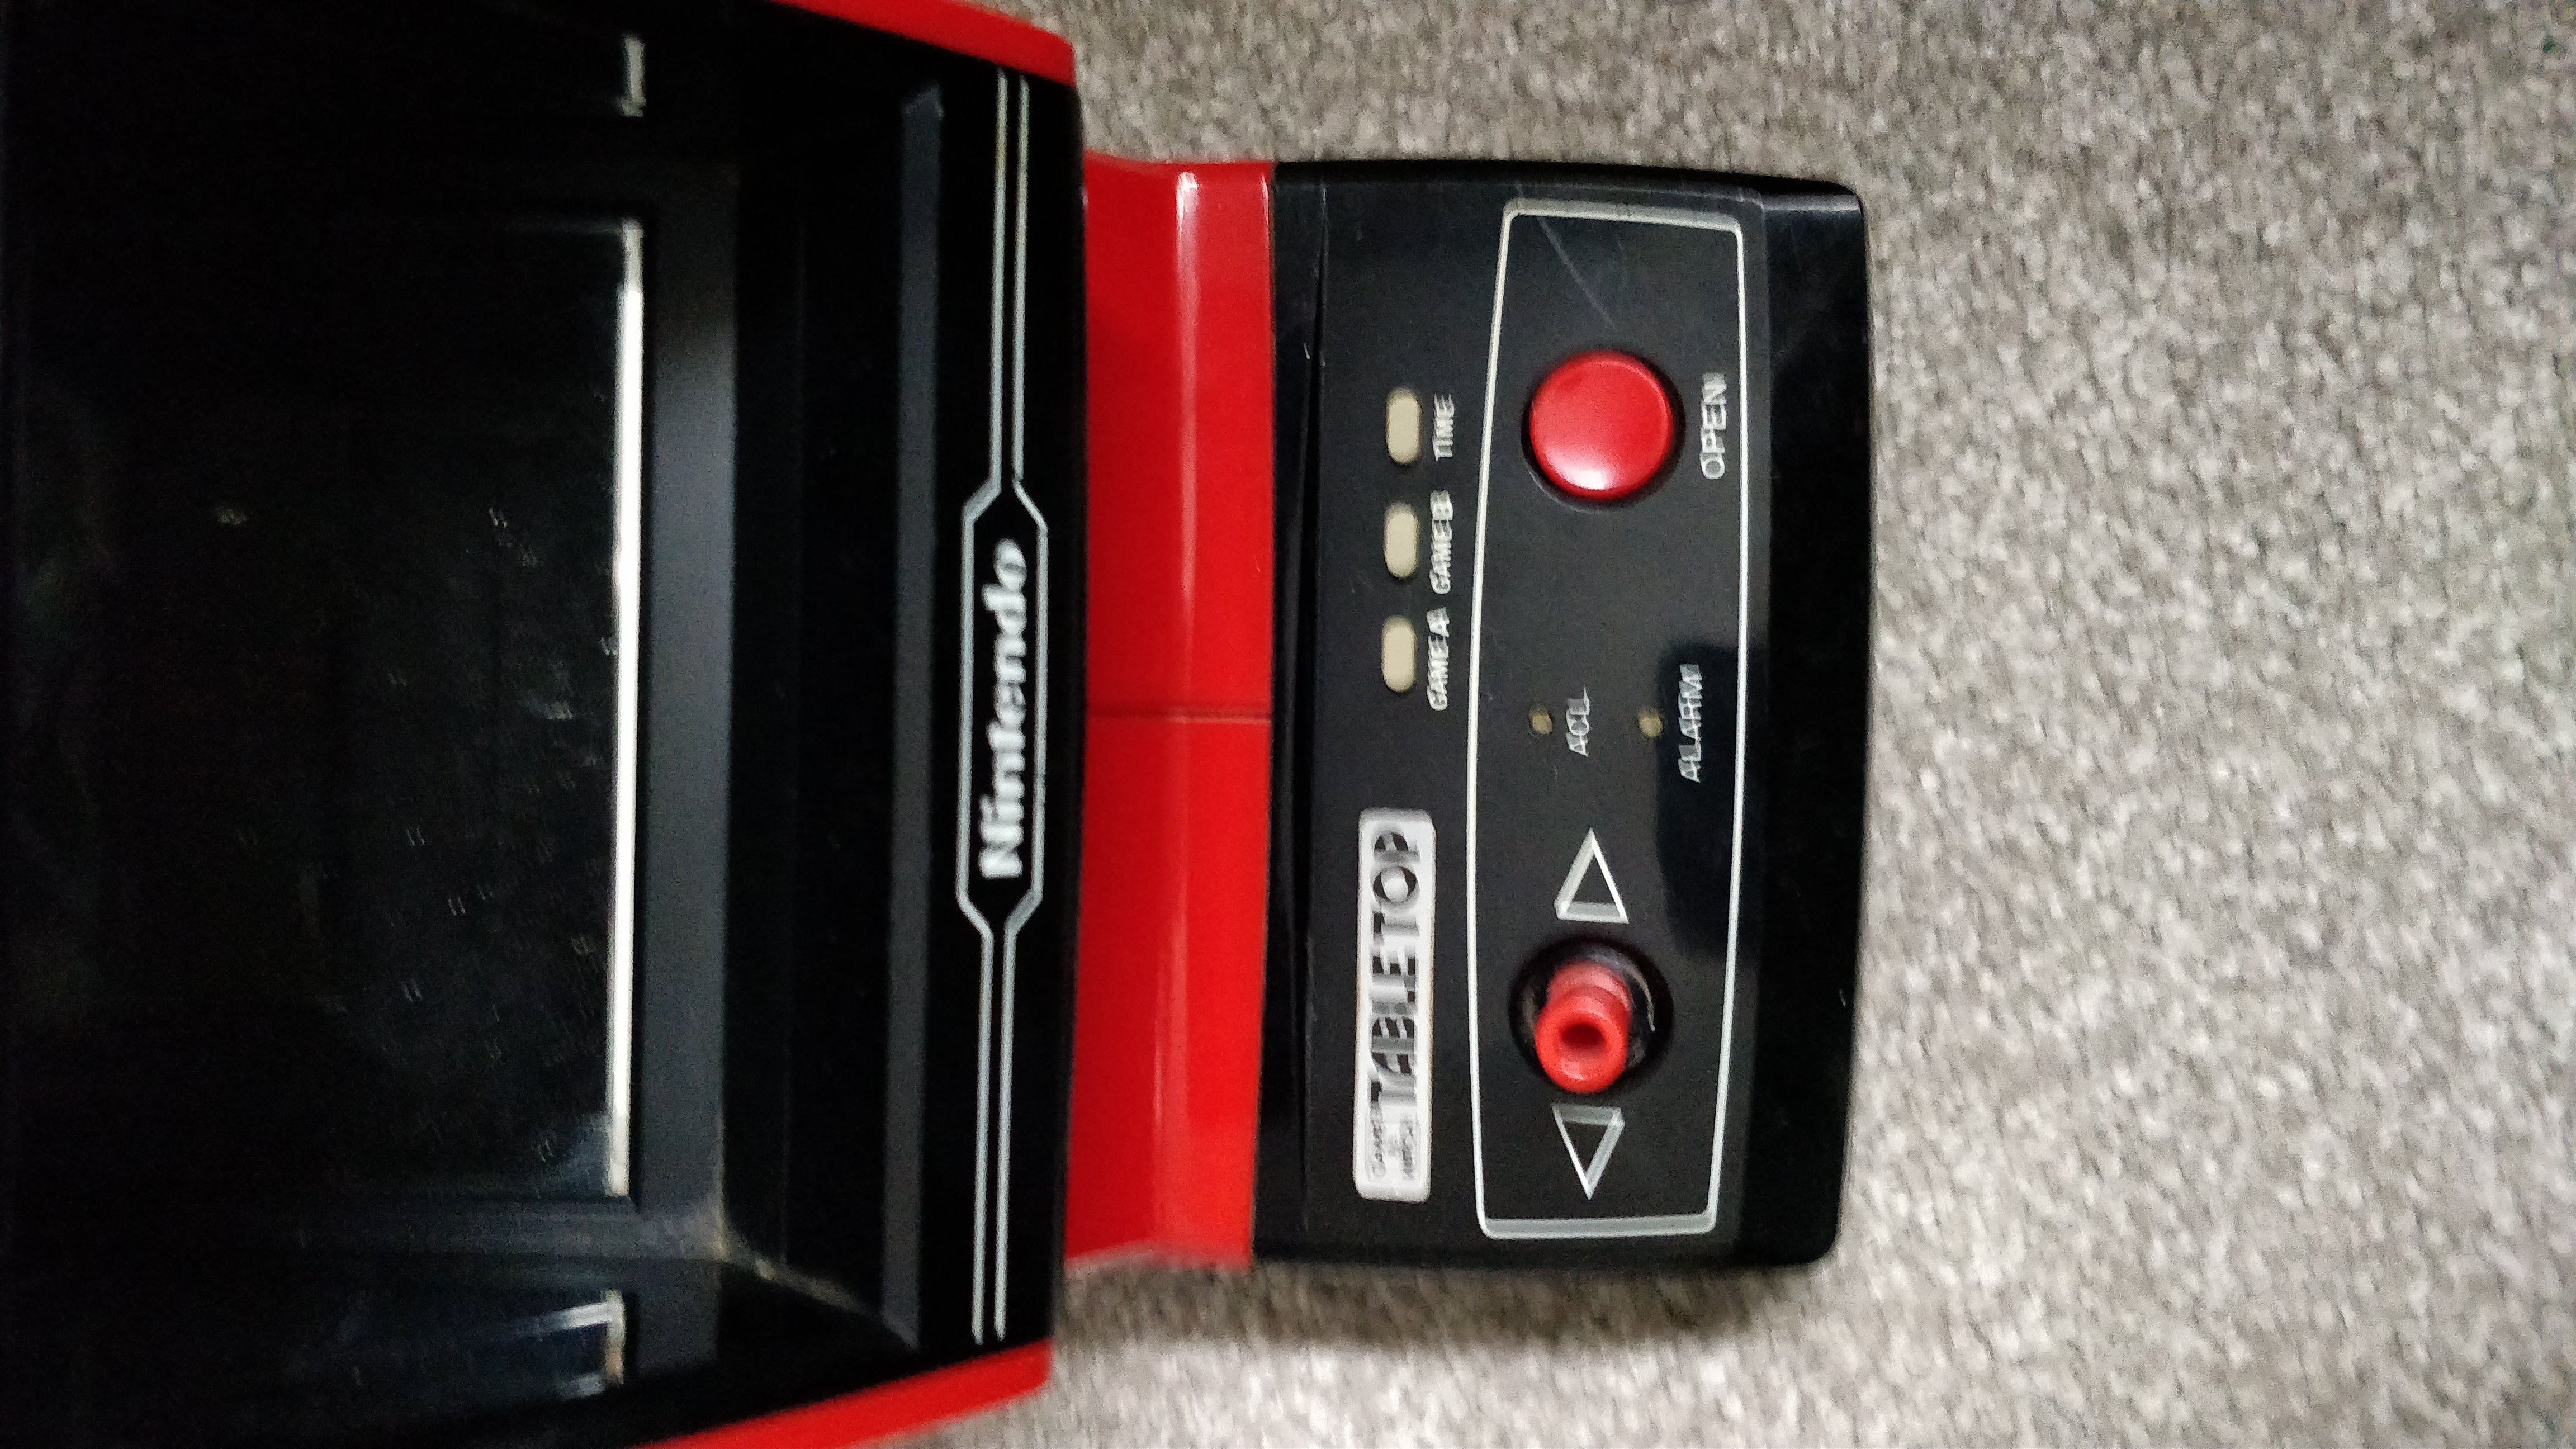
Top Down View
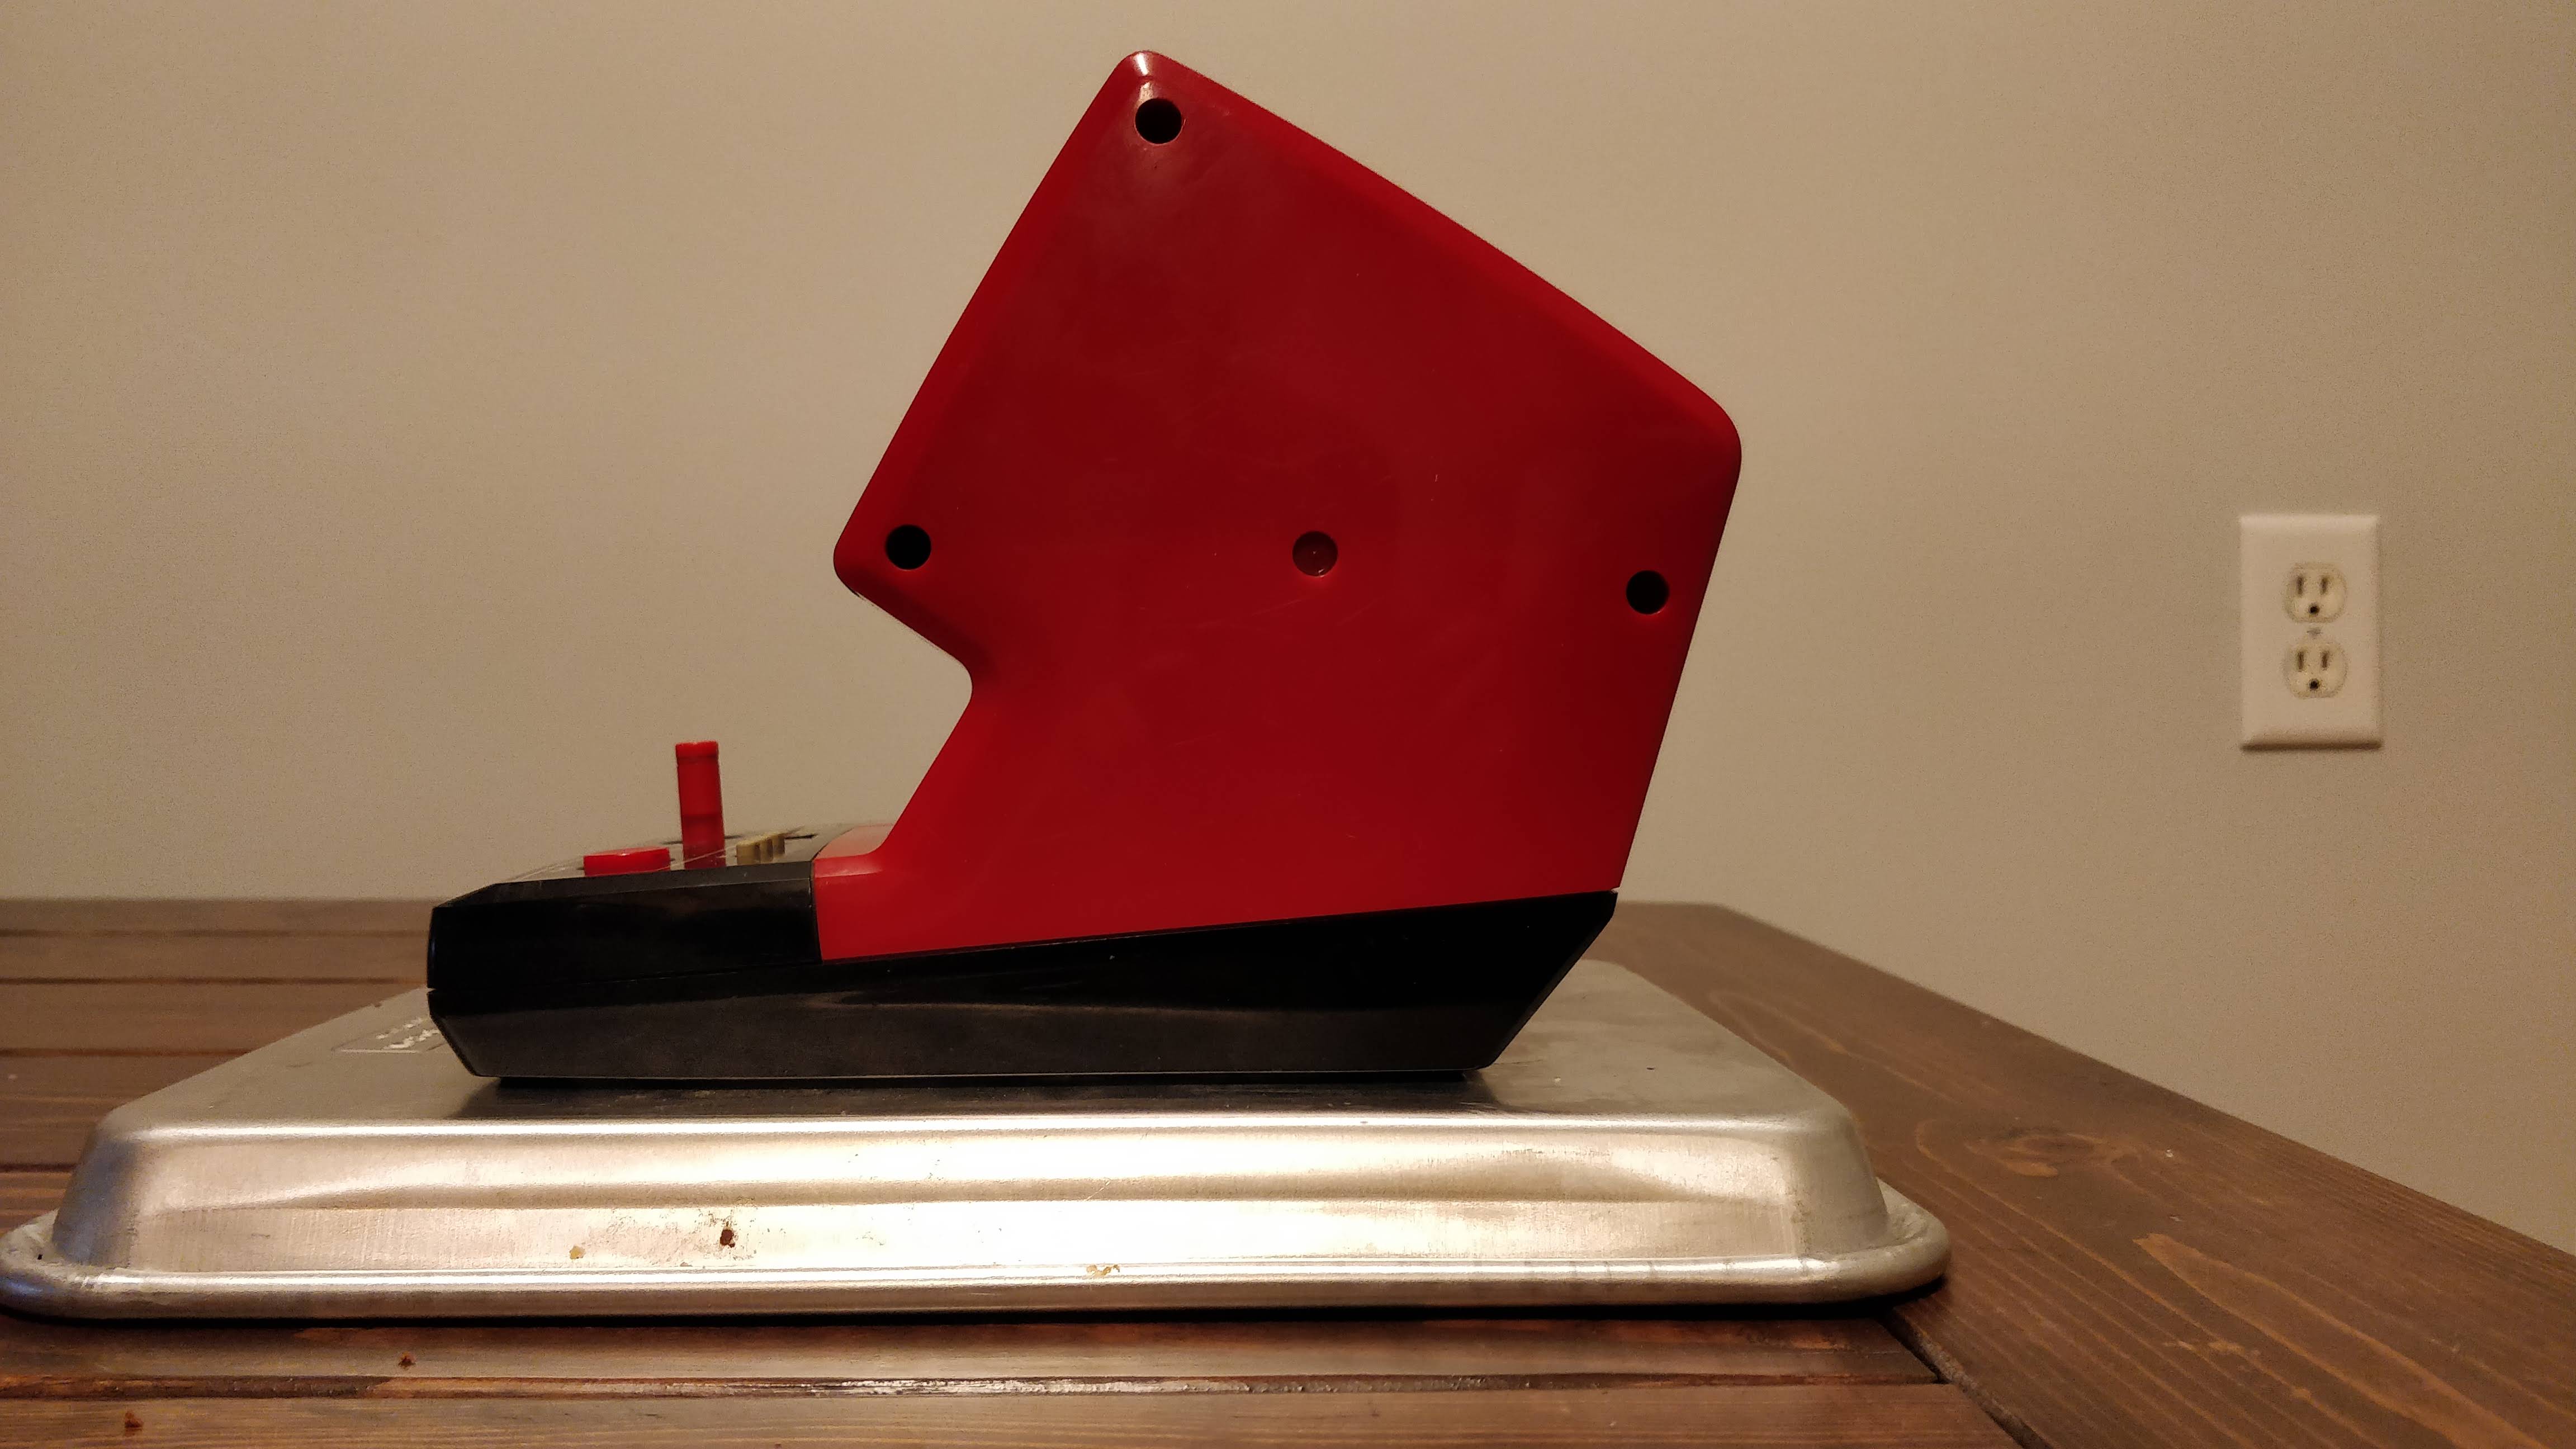
A profile shot
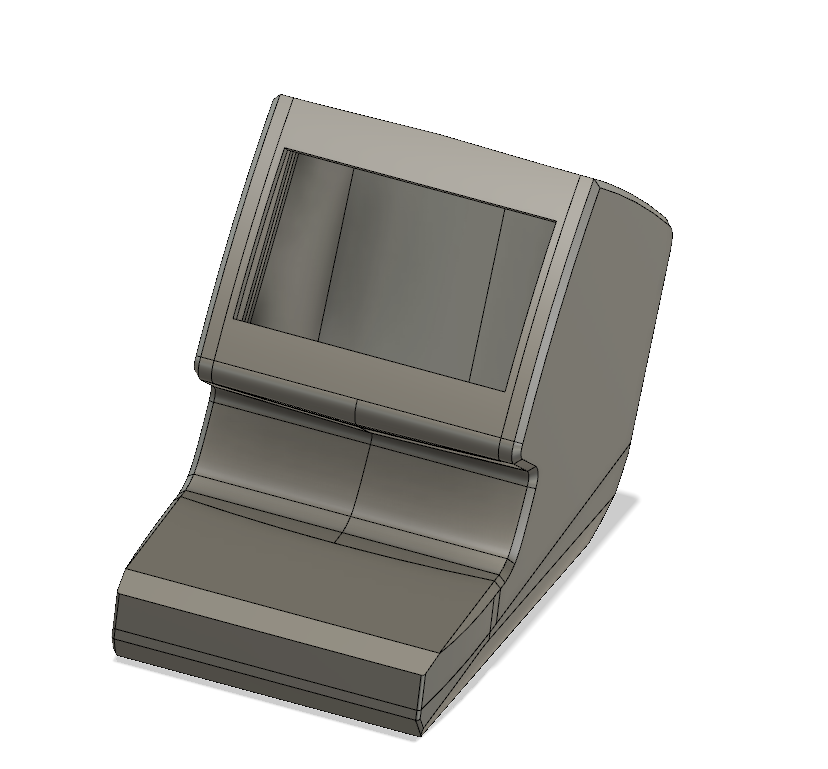
I needed a real version so that I could 3d model it. I started by taking a profile shot, drawing that outline, and then extruding out the basic shape. Then, came hours and hours of shaping. I had never really used a 3d modeling program before so it took a long time to learn. I also needed it to be easy to take apart and assemble, so I can insert the parts.
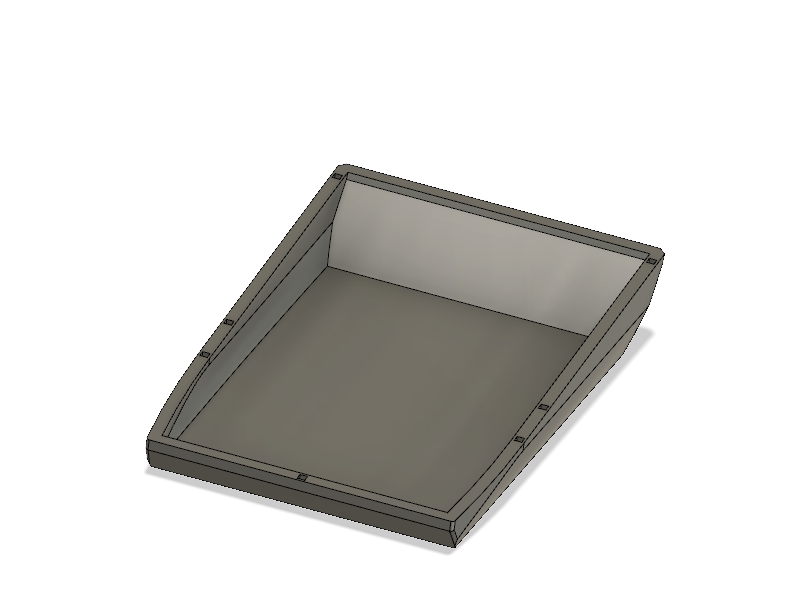
Base
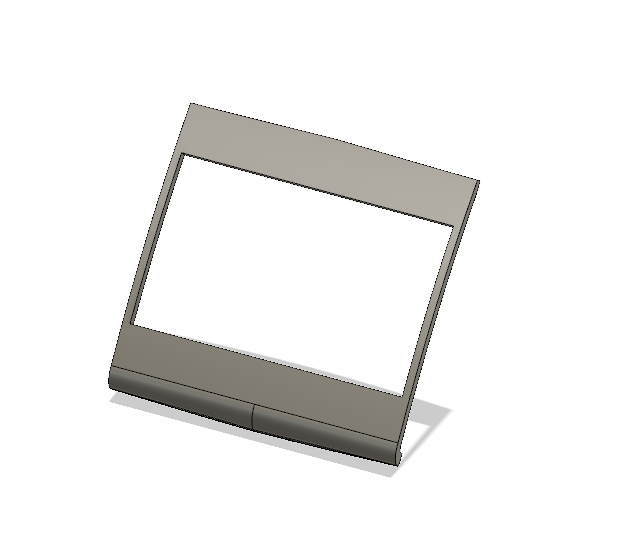
Bezel
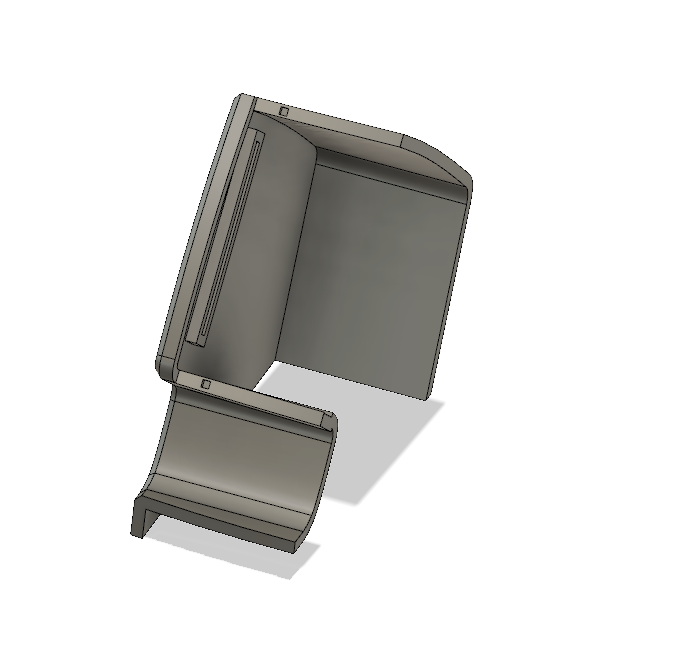
One side of top shell
The full 3d model of a GW Tabletop game
Control panel
You can see in some shots how I built in a screen holder. I’m planning to use a 4″ lcd. It will also all hold together with small 3d printed pins.
Next Steps
Even though I’ve gone full-pc for a previous miniature build, this time I’ll probably go with a Raspberry Pi. I just want this to be MAME compatible, so Windows isn’t necessary. I also have to decide on a theme. I’ve actually decided that already but saving that for a surprise!
I was really quite proud of how my Coleco style Fix It Felix turned out, but there was definitely room for improvement. It was my first time making a miniature cabinet, my first time coding a game, and my first time working with 3d printed materials. I’m ready to give Wreck It Ralph his time in the spotlight.
All of those areas I know I could do better a second time. Here are some issues I’d like to improve on;
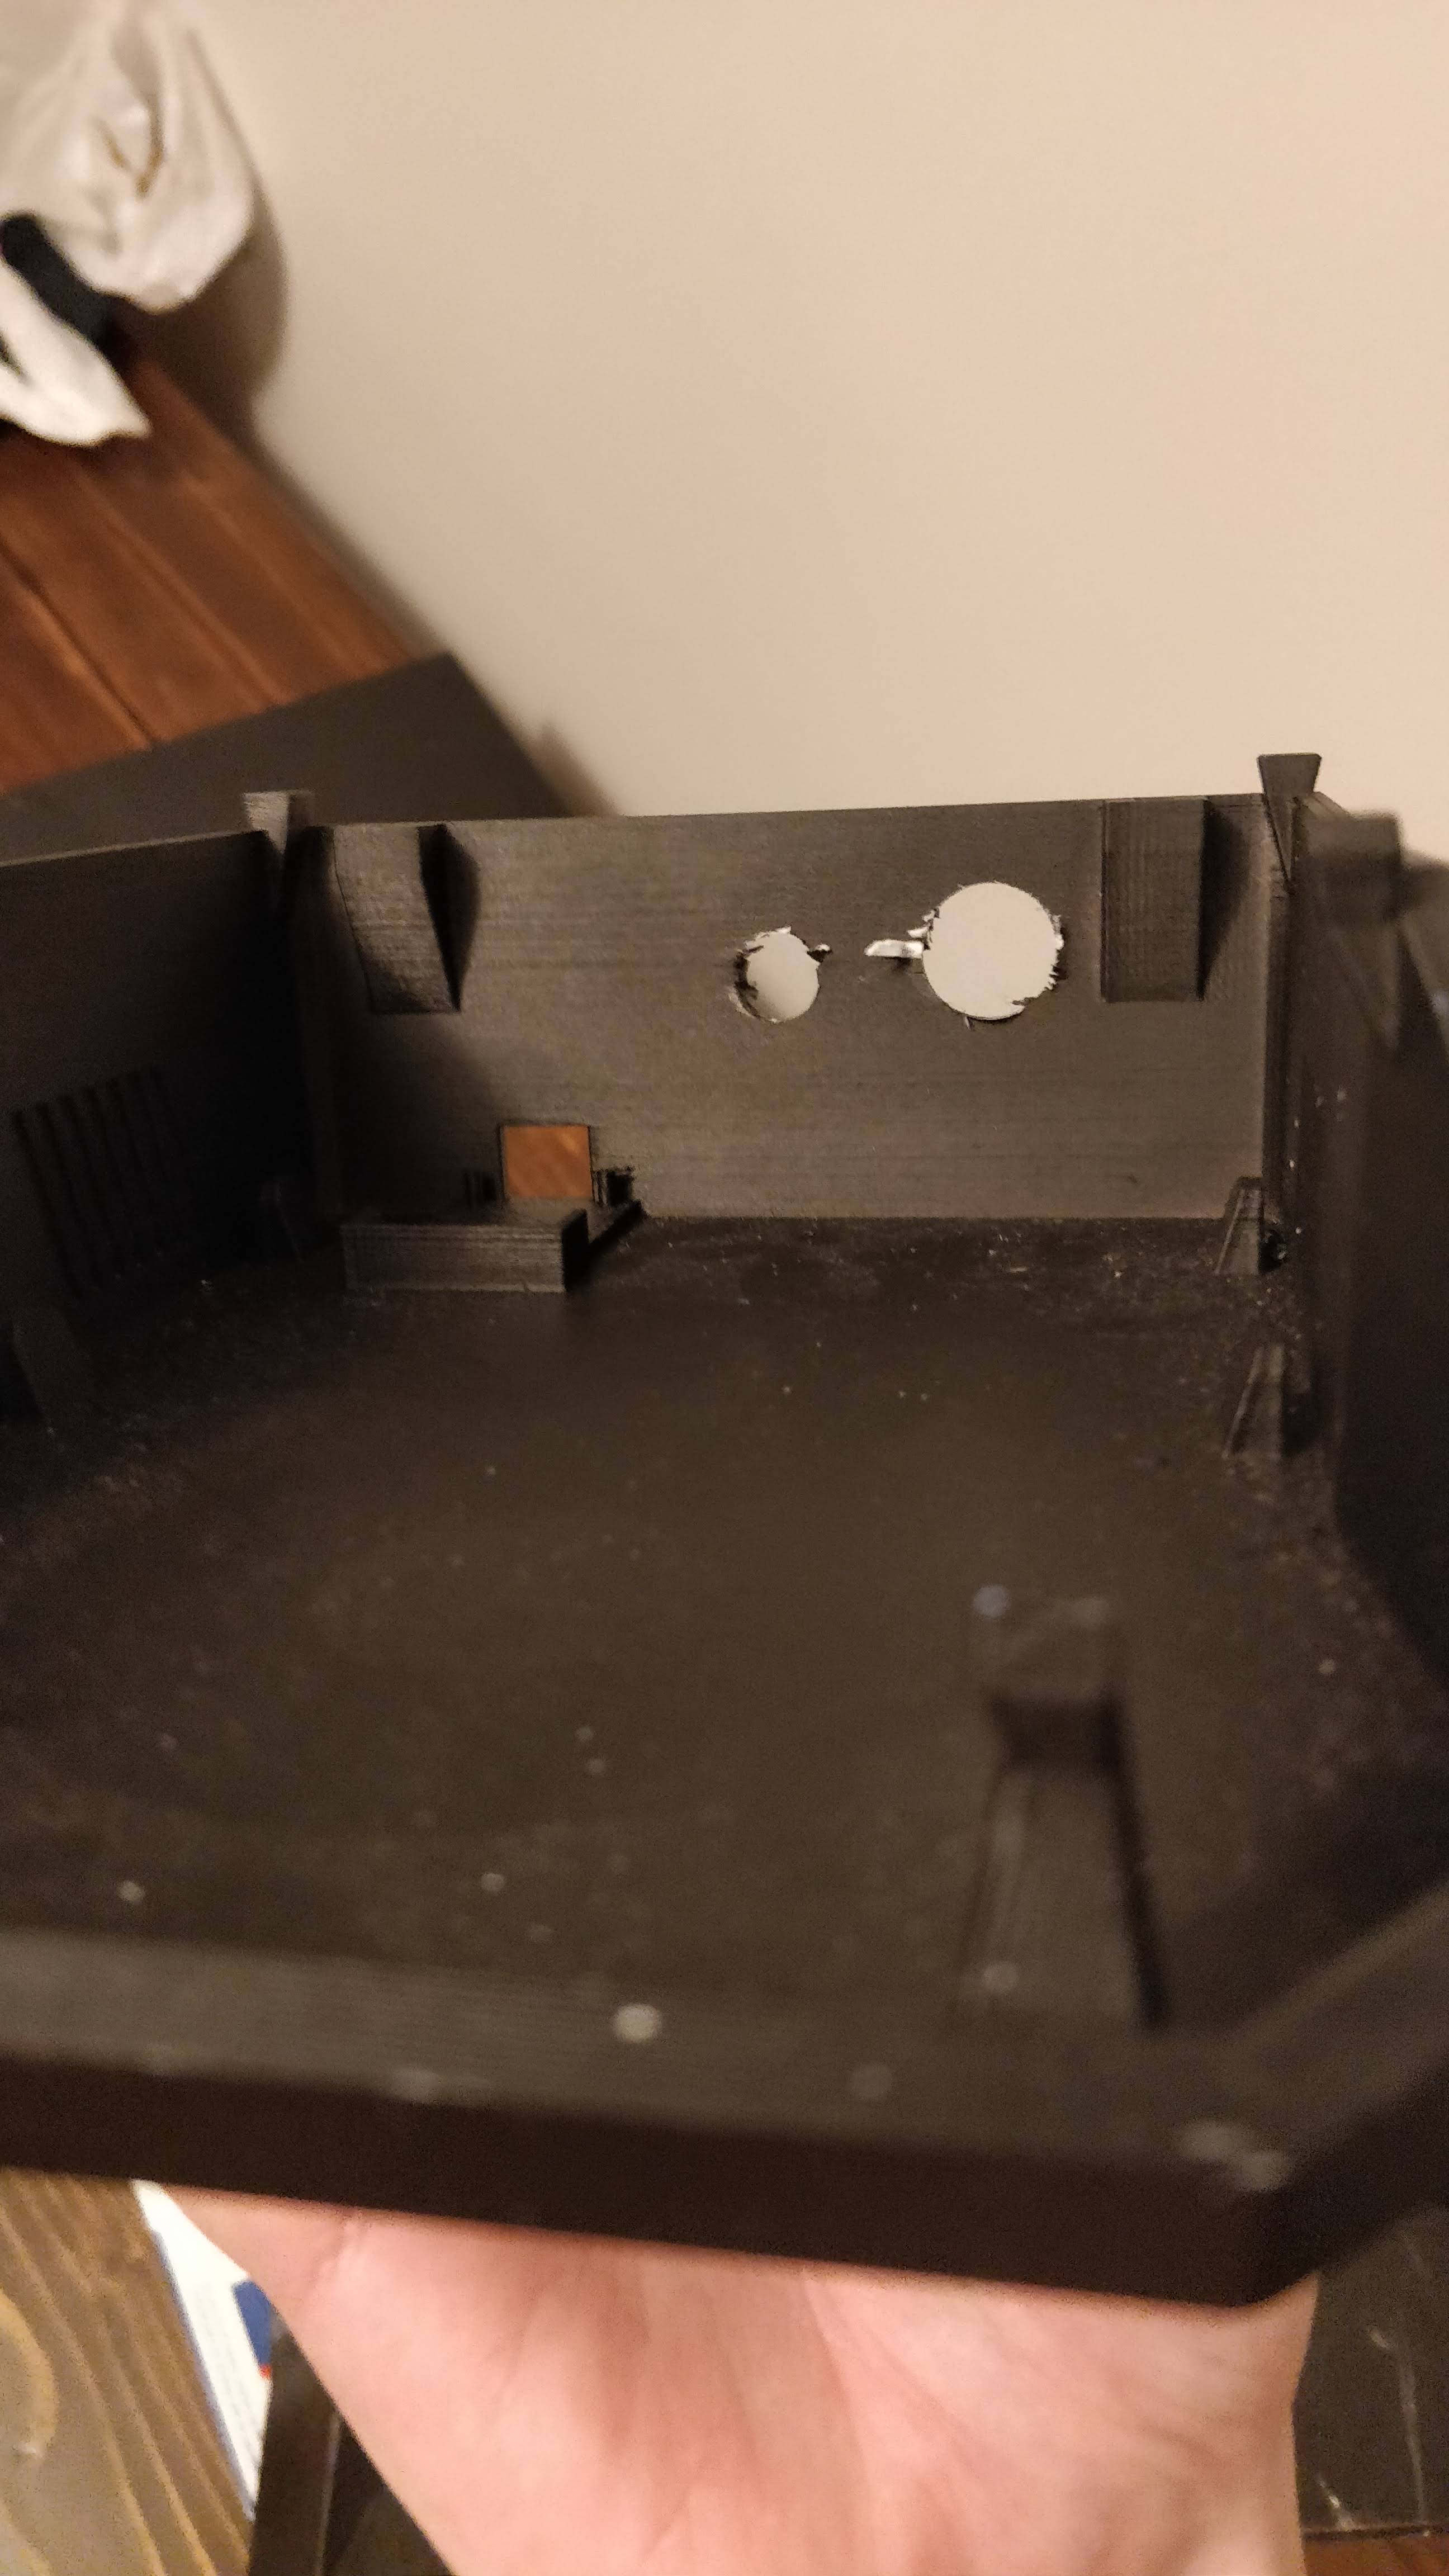
Have holes pre-designed into the 3d shell. For my first build, I made all the 3d printed materials solid and then drilled the holes afterwards. This was because I didn’t know exactly how big to make each hole, I hadn’t yet bought buttons or controls. That’s sort of backwards for this type of build. So, I bought controls first this time and will have the holes precut. This means less chance for rough edges or cracks.
A Better coded game. My Fix it Felix game worked well, actually. But the graphics weren’t fantastic. You also couldn’t change any settings – things like difficulty and speed were locked in place. I now know how to allow users to customize their settings using an import file. I also have gotten slightly better at emulating the VFD style of graphics.
Fitting everything in place. My cords were too long, some of my solder joints were terrible, and in general, the first cabinet is somewhat fragile. I wouldn’t actually bring it with me on a trip. I’ve learned how to better secure pretty much everything and how much wiring I need to fit.
Let’s Get Started
My next build will be a similar theme – Wreck It Ralph! I’ll be coding another new game, designing new artwork, and making a new cabinet.
The Wreck It Ralph Game
The game will be made like last time, but will be from Ralph’s point of view. You’ll be trying to knock the Nicelanders off the building. As another new challenge, I’m using a spinner for controls. In the game, Ralph only moves left or right, so a spinner seemed quite natural too me. Plus, in my “alternate history fiction” Ralph had his own full-sized game which was controlled with a spinner. I’ve also built in settings! You can customize the speed of the enemy and your shots, the sensitivity of the spinner, and add extra audio effects if you want. This was pretty much essential to use a spinner. In my testing I found out every mouse/spinner will work slightly different so having a static speed/sensitivity set in the game would work really bad. Sure, I could set it to work great in my cabinet but what if I want to give the game to a friend?
I also created all the sound effects and music in the game. I wanted to play the Wreck It Ralph theme song in attract mode, so had to recreate it in 1-bit sound. See a preview of gameplay below.
Artwork
I’ve also got a great start on the artwork already. It will look pretty familiar to Fix It Felix fans, but my game will be red color themed. I was really trying to follow Donkey Kong’s lead on this one. Think of the similarities, even more so than Felix! The game is named after the villain and has red as a major color. Donkey Kong was named after the villain and was originally meant to go in a red cabinet.
Months later, and this is done! Wow, was that a lot of work. I also have plenty to share so let’s get started.
Finishing the Sound
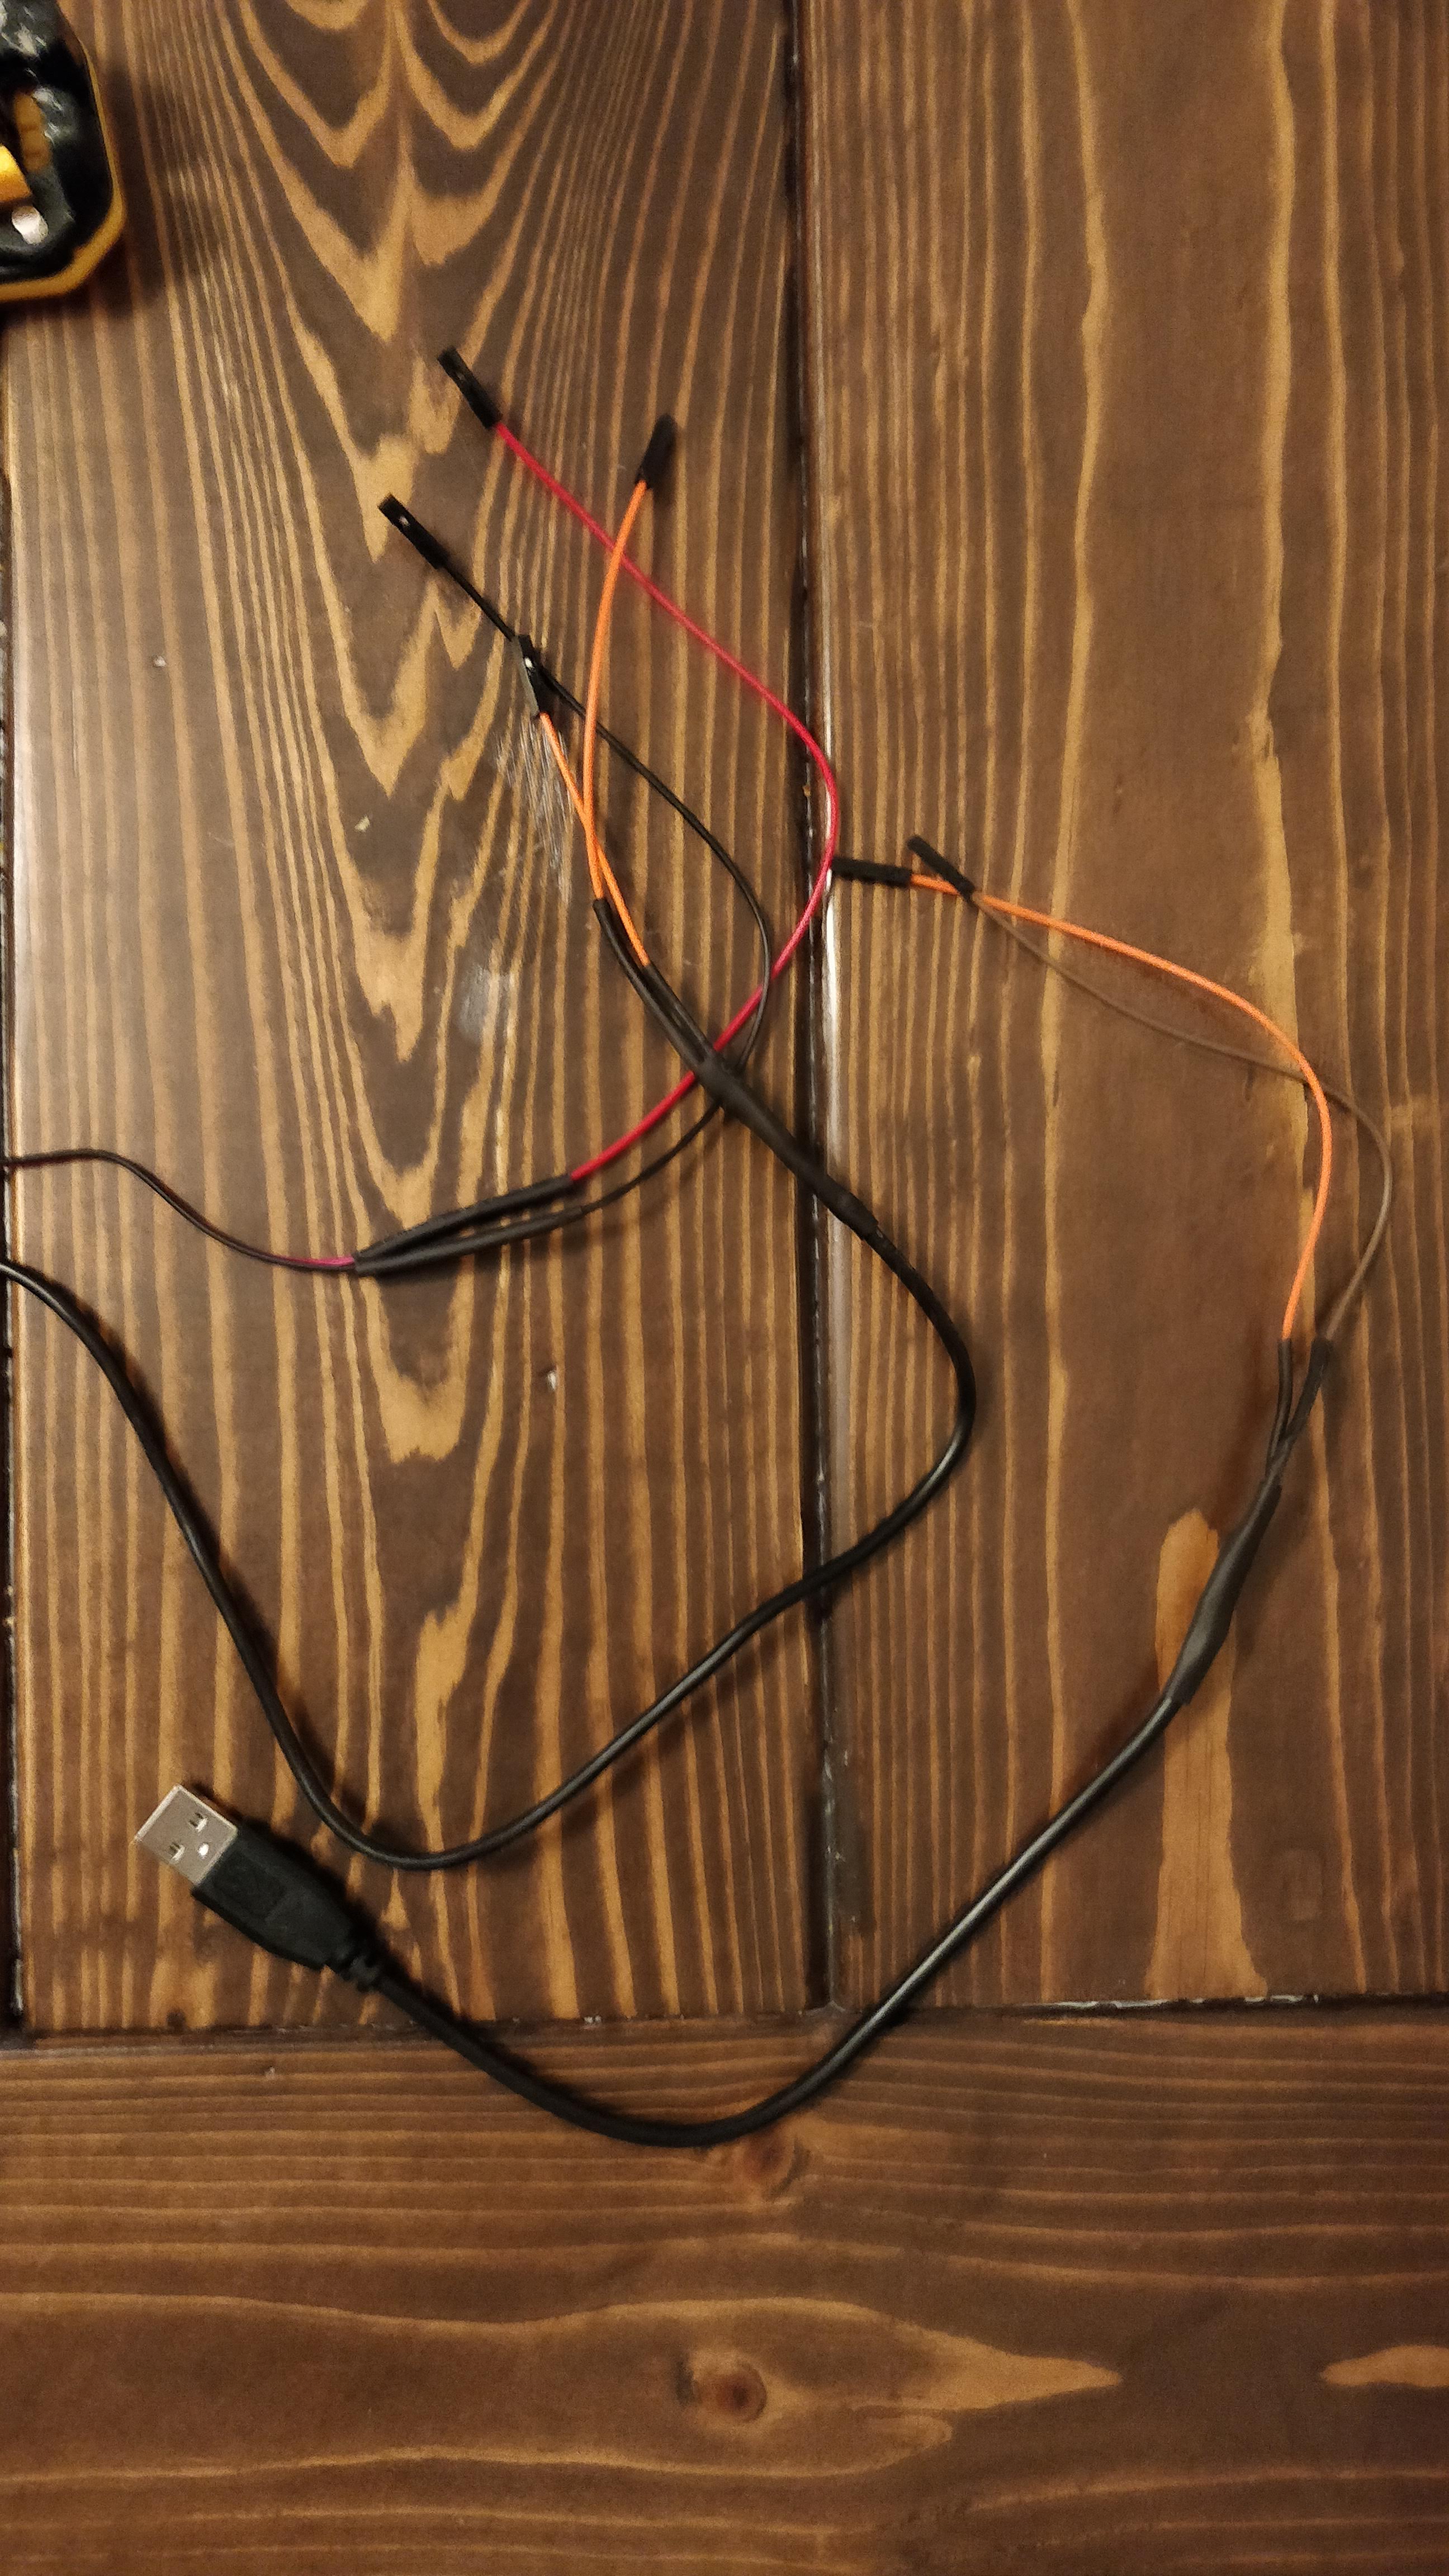
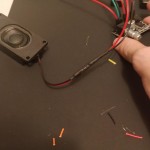
After acquiring my own soldering iron, it was time to finish wiring up the speaker and sound amp. I bought a sound amp as small as I could. I had to connect jumper ends to wires to fit the pins. I quickly realized after some test fitting I wouldn’t have room for two speakers. Mono sound it is! That’s really okay, none of these games originally had two speakers anyway. The amp is powered over USB.
I originally was going to use the USB C port on my mini PC to power this bad-boy but, after much testing and frustrations, found out that the USB C port doesn’t always output 5V. It first has to negotiate with whatever it’s connected to. That doesn’t work for me. So, back to good ol’ USB A. Cut open a cable, grabbed the 5V lines and wired that into the amp. Wired a headphone jack into the audio in. Wired the speaker to the audio out. Tada! Worked wonderfully. Until I attempted to power the amp through my mini-pc. It still worked but had a crazy buzz sound.
This was another case of chase the goose but I’ll save you the trouble. It was a ground loop problem. If I powered the amp through a separate line it worked fine. So, I bought a small ground loop eliminator and everything was good to go. I was worried about the extra space though.
Soldering the wires
Speaker wires into amp
wires into the amp
Shrink tubing
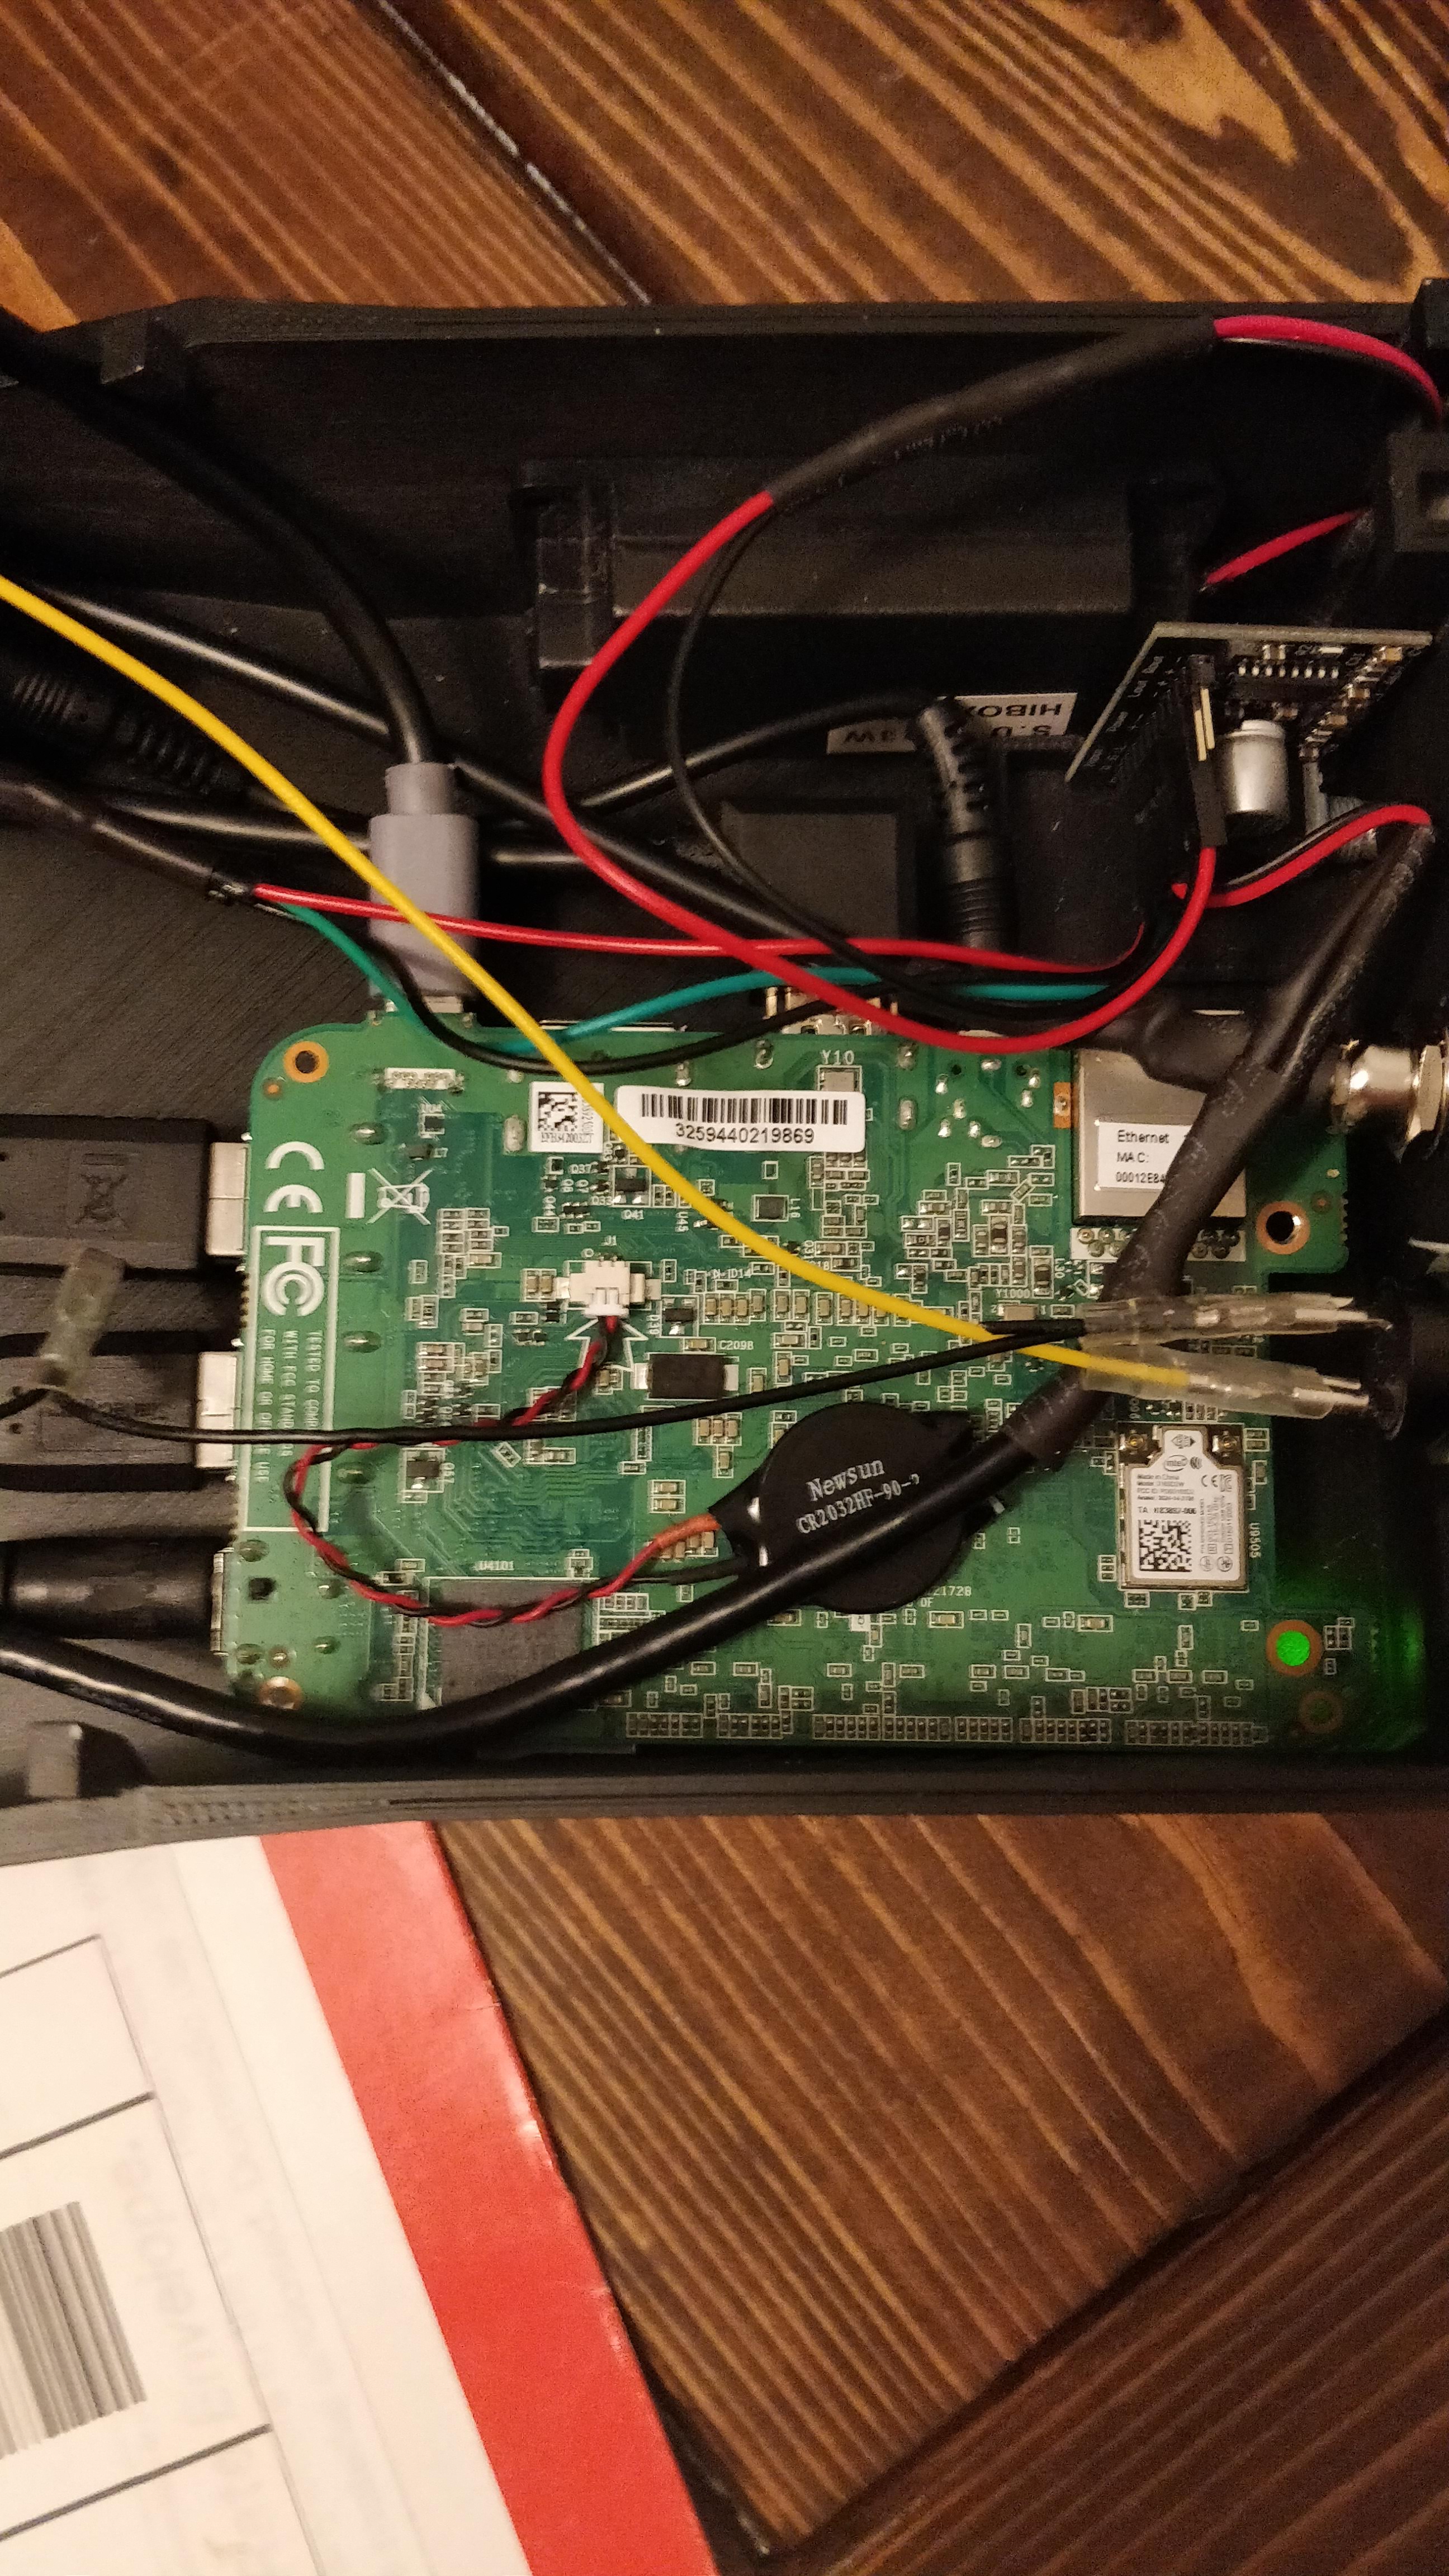
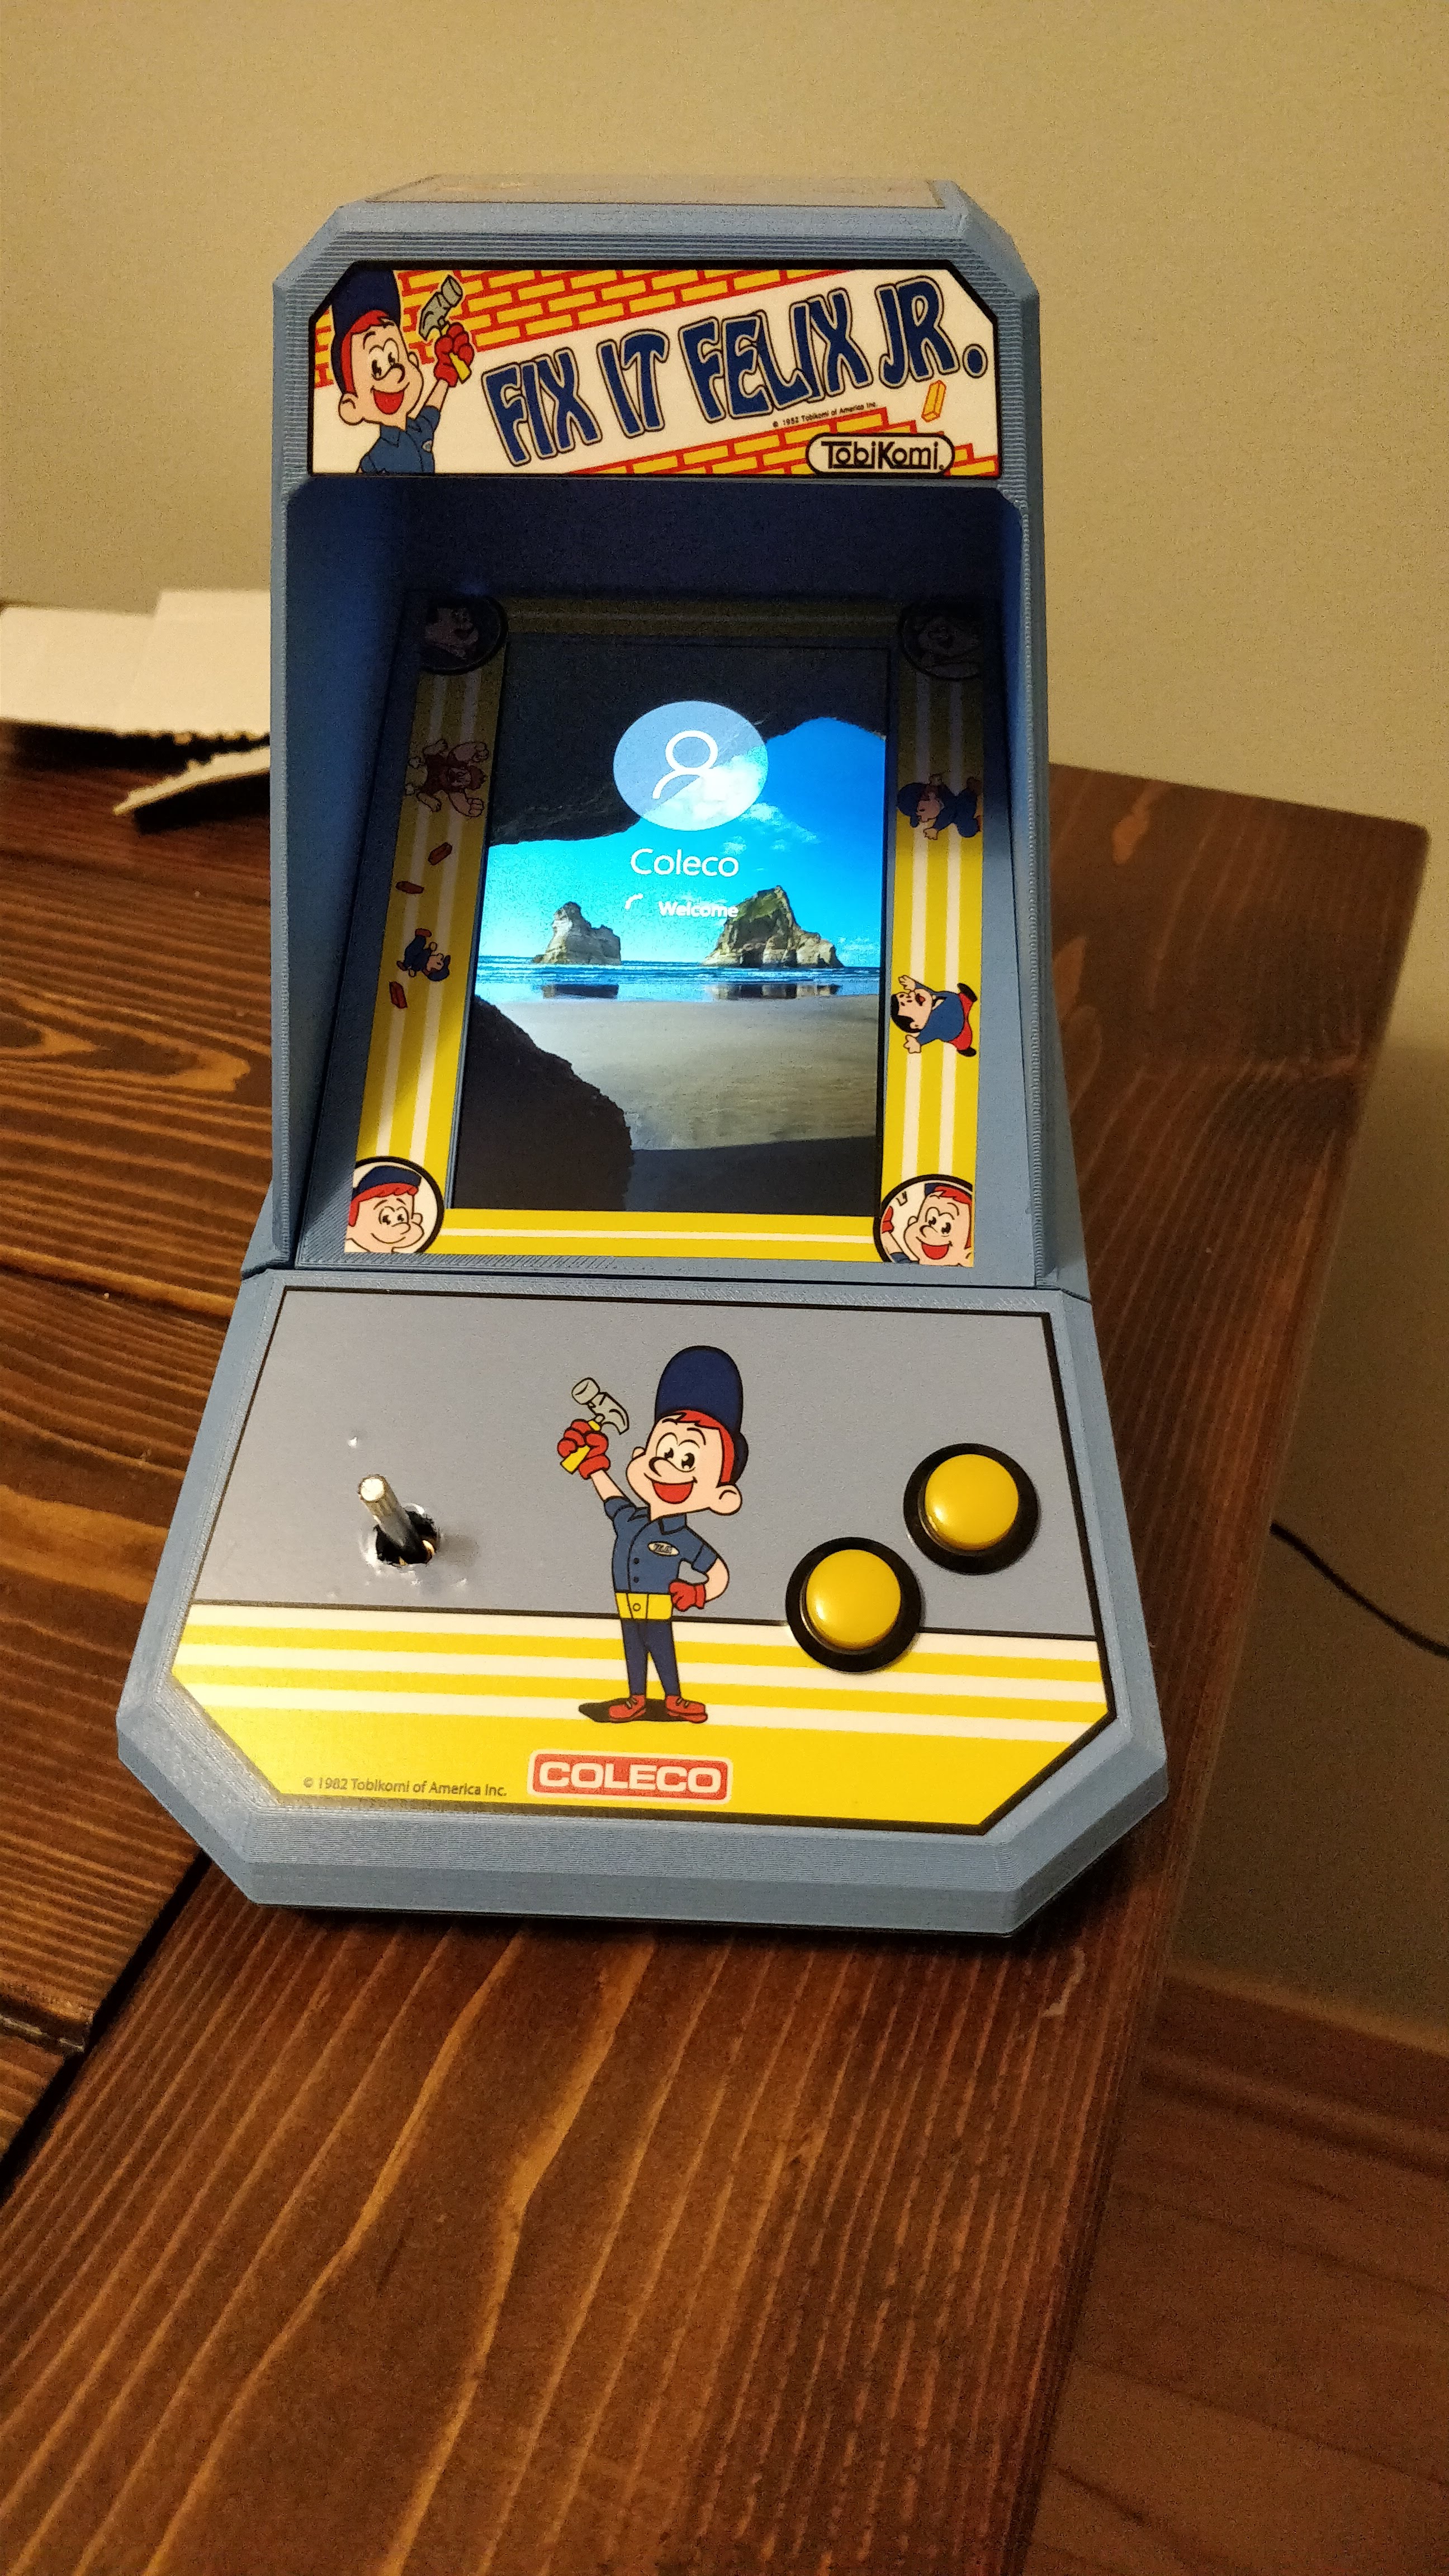
Getting the Screen To Work
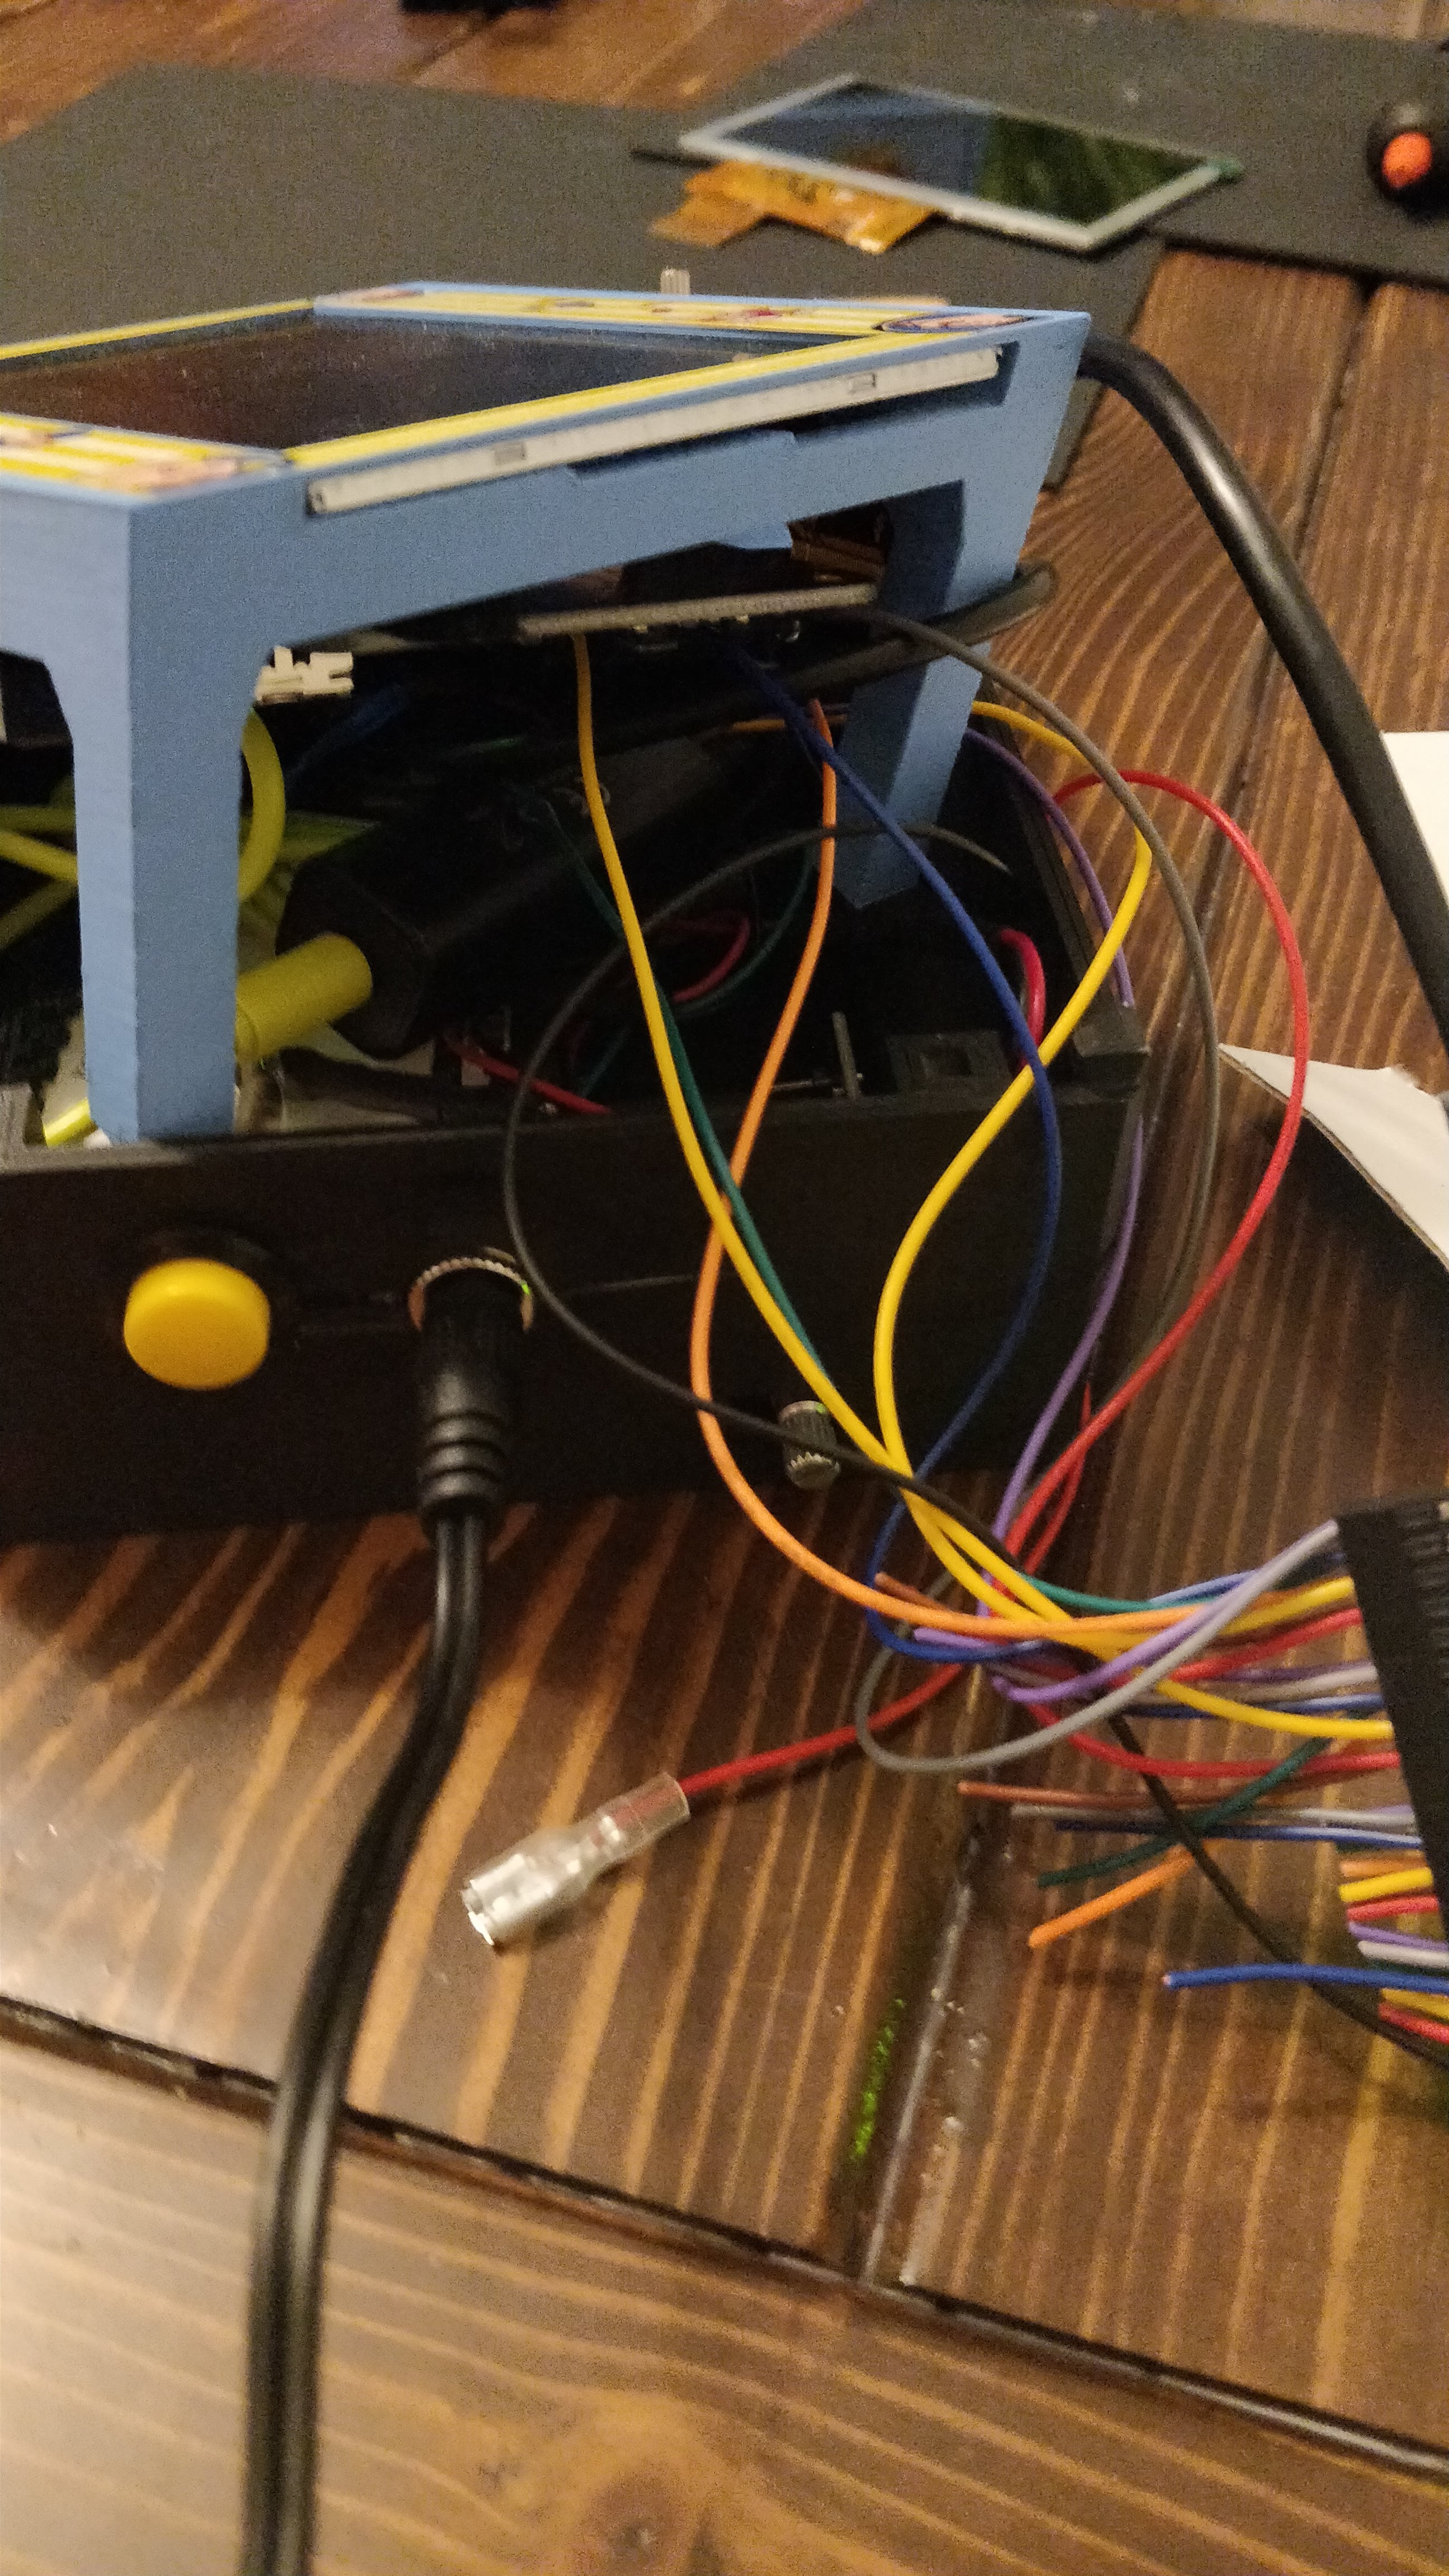
Time for a mini assembly to see how it all works together! Up to this point, I had tested each piece individually but not all together.
You can see my setup in the photo. Booted the pc up, no video. What!? It worked fine a week earlier. What’s going on? I’ll save you the tale again but it was a a combination of a bad decoder board connector and a loose connection. The ribbons on these small LCD screens are incredibly fragile and the connectors are almost just as fragile. So, be extra sure all the pins are fully inserted before giving up, like I almost did.
The Front End
I’m using Attract Mode for my front end. I created a custom skin that was VERY basic and clean. Since the screen is so small, and I’m replicating 1980’s technology here, I didn’t want to over-complicate things. Want to make your own Attract Mode theme? Use the cool tool here! Created by “liquid8d” on the Attract Mode forums.
Assembling the Fix It Felix Coleco Handheld
Let’s put this bad boy together! I’ll start by saying everything is a tight fit. My mini pc is a little larger than a raspberry pi so that takes up more space. My joystick is larger than a gamepad control. My mini-pac encoder board (keyboard encoder for the controls) also takes up space. The ground loop eliminator was also an unexpected add. Plus I’m not good enough to create my own USB cables. So, I had to cut up pre-made ones. That works fine but their male-ends are longer than is necessary for something like this – more space!
bottom of my control panel
fix it felix handheld control panel
holes drilled
The mini pc inside
control panel testing
Test fitting
Still need to fit the encoder!
Booting for the first time
Running Windows 10
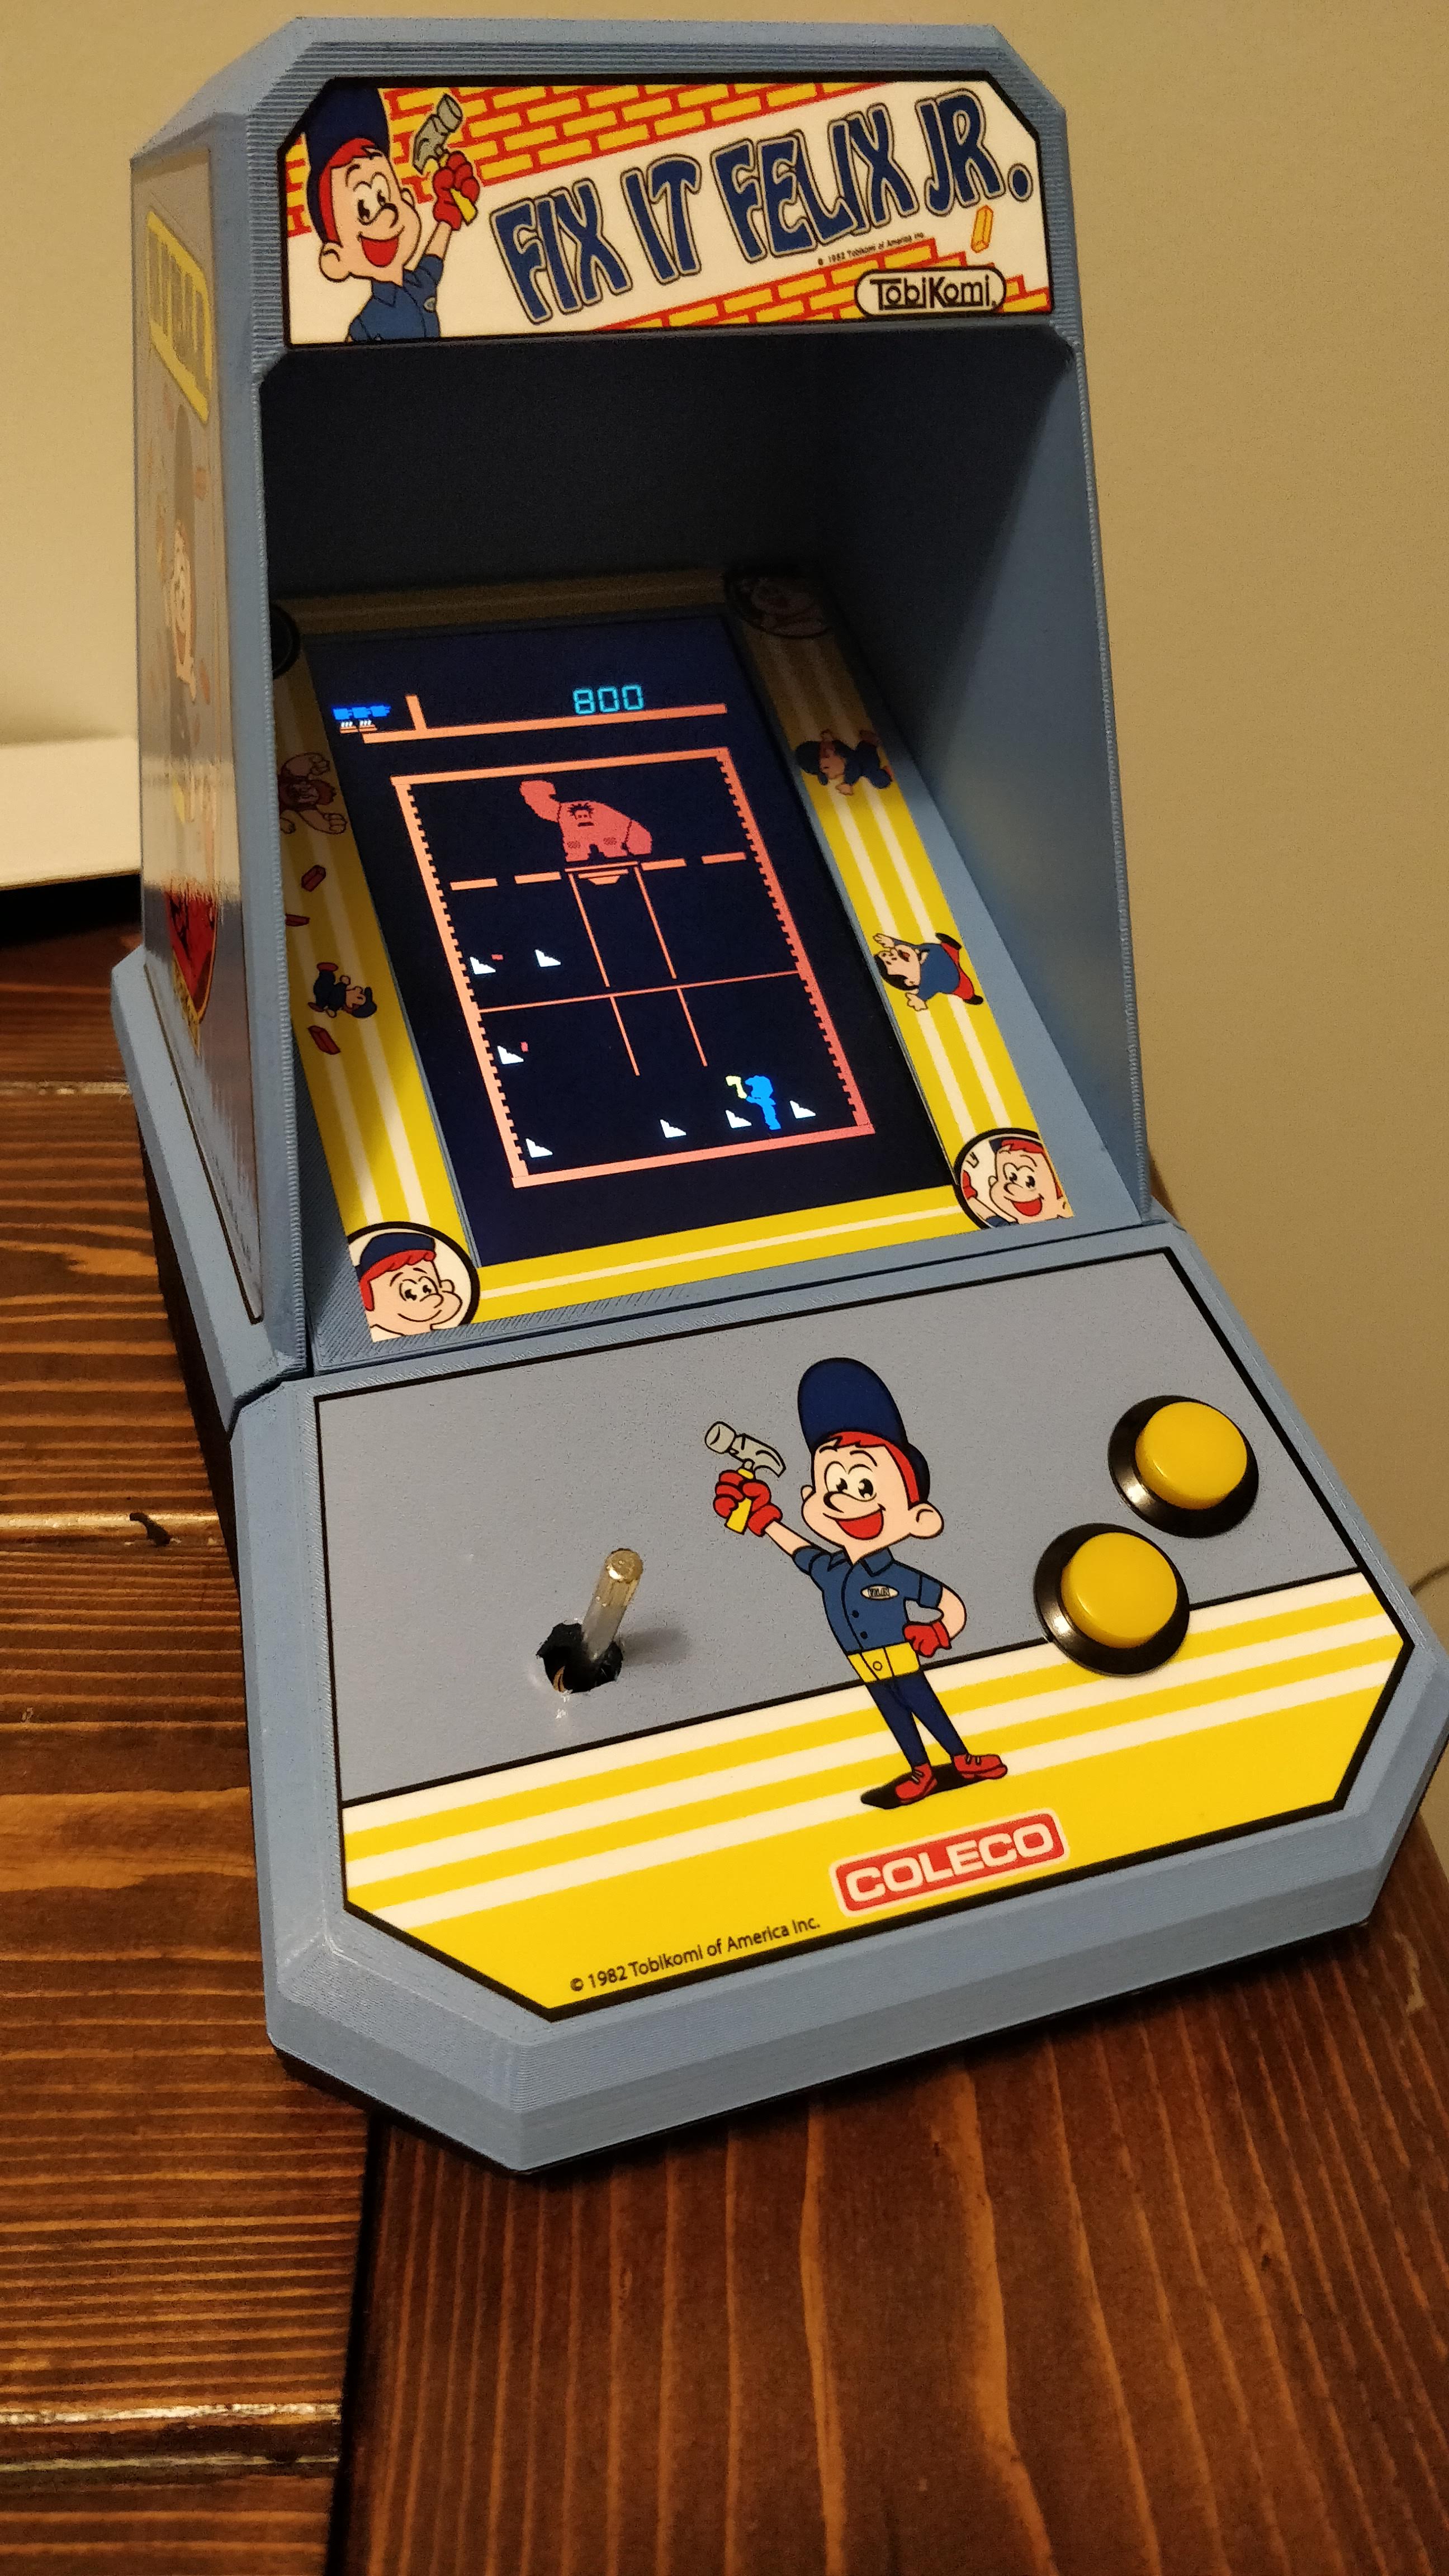
VFD Fix It Felix Game running
Handheld running
VFD game running
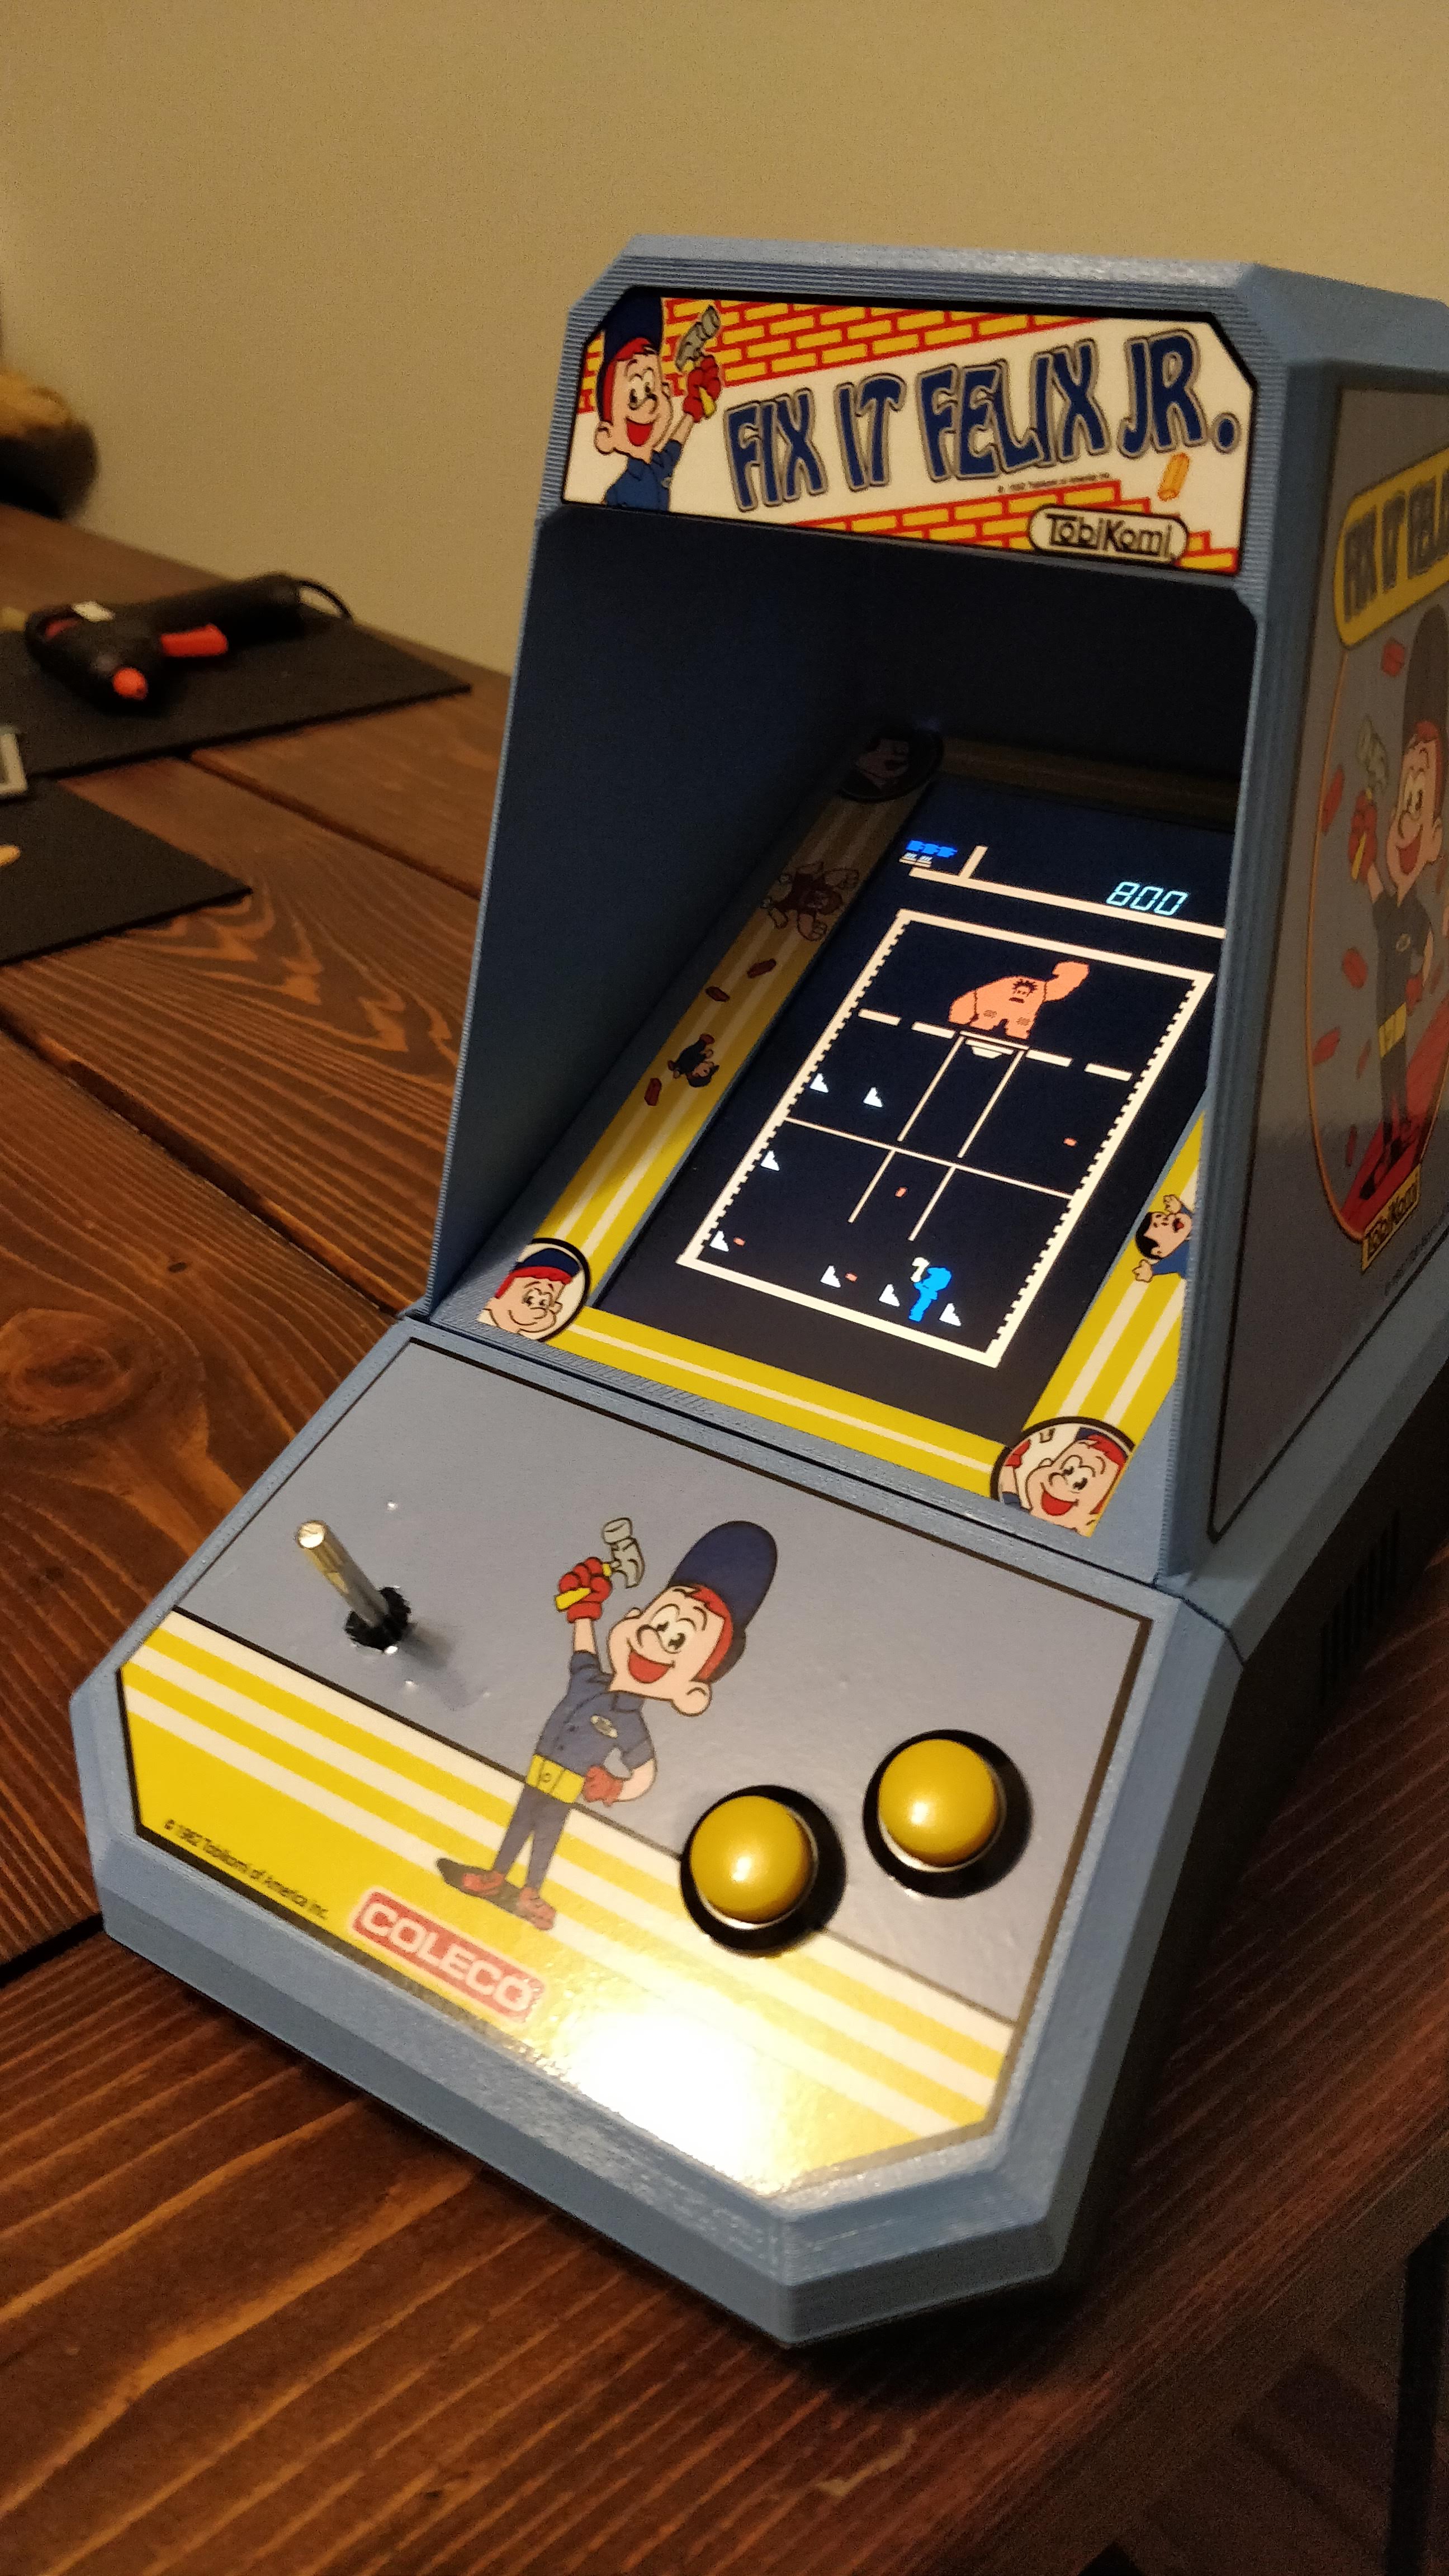
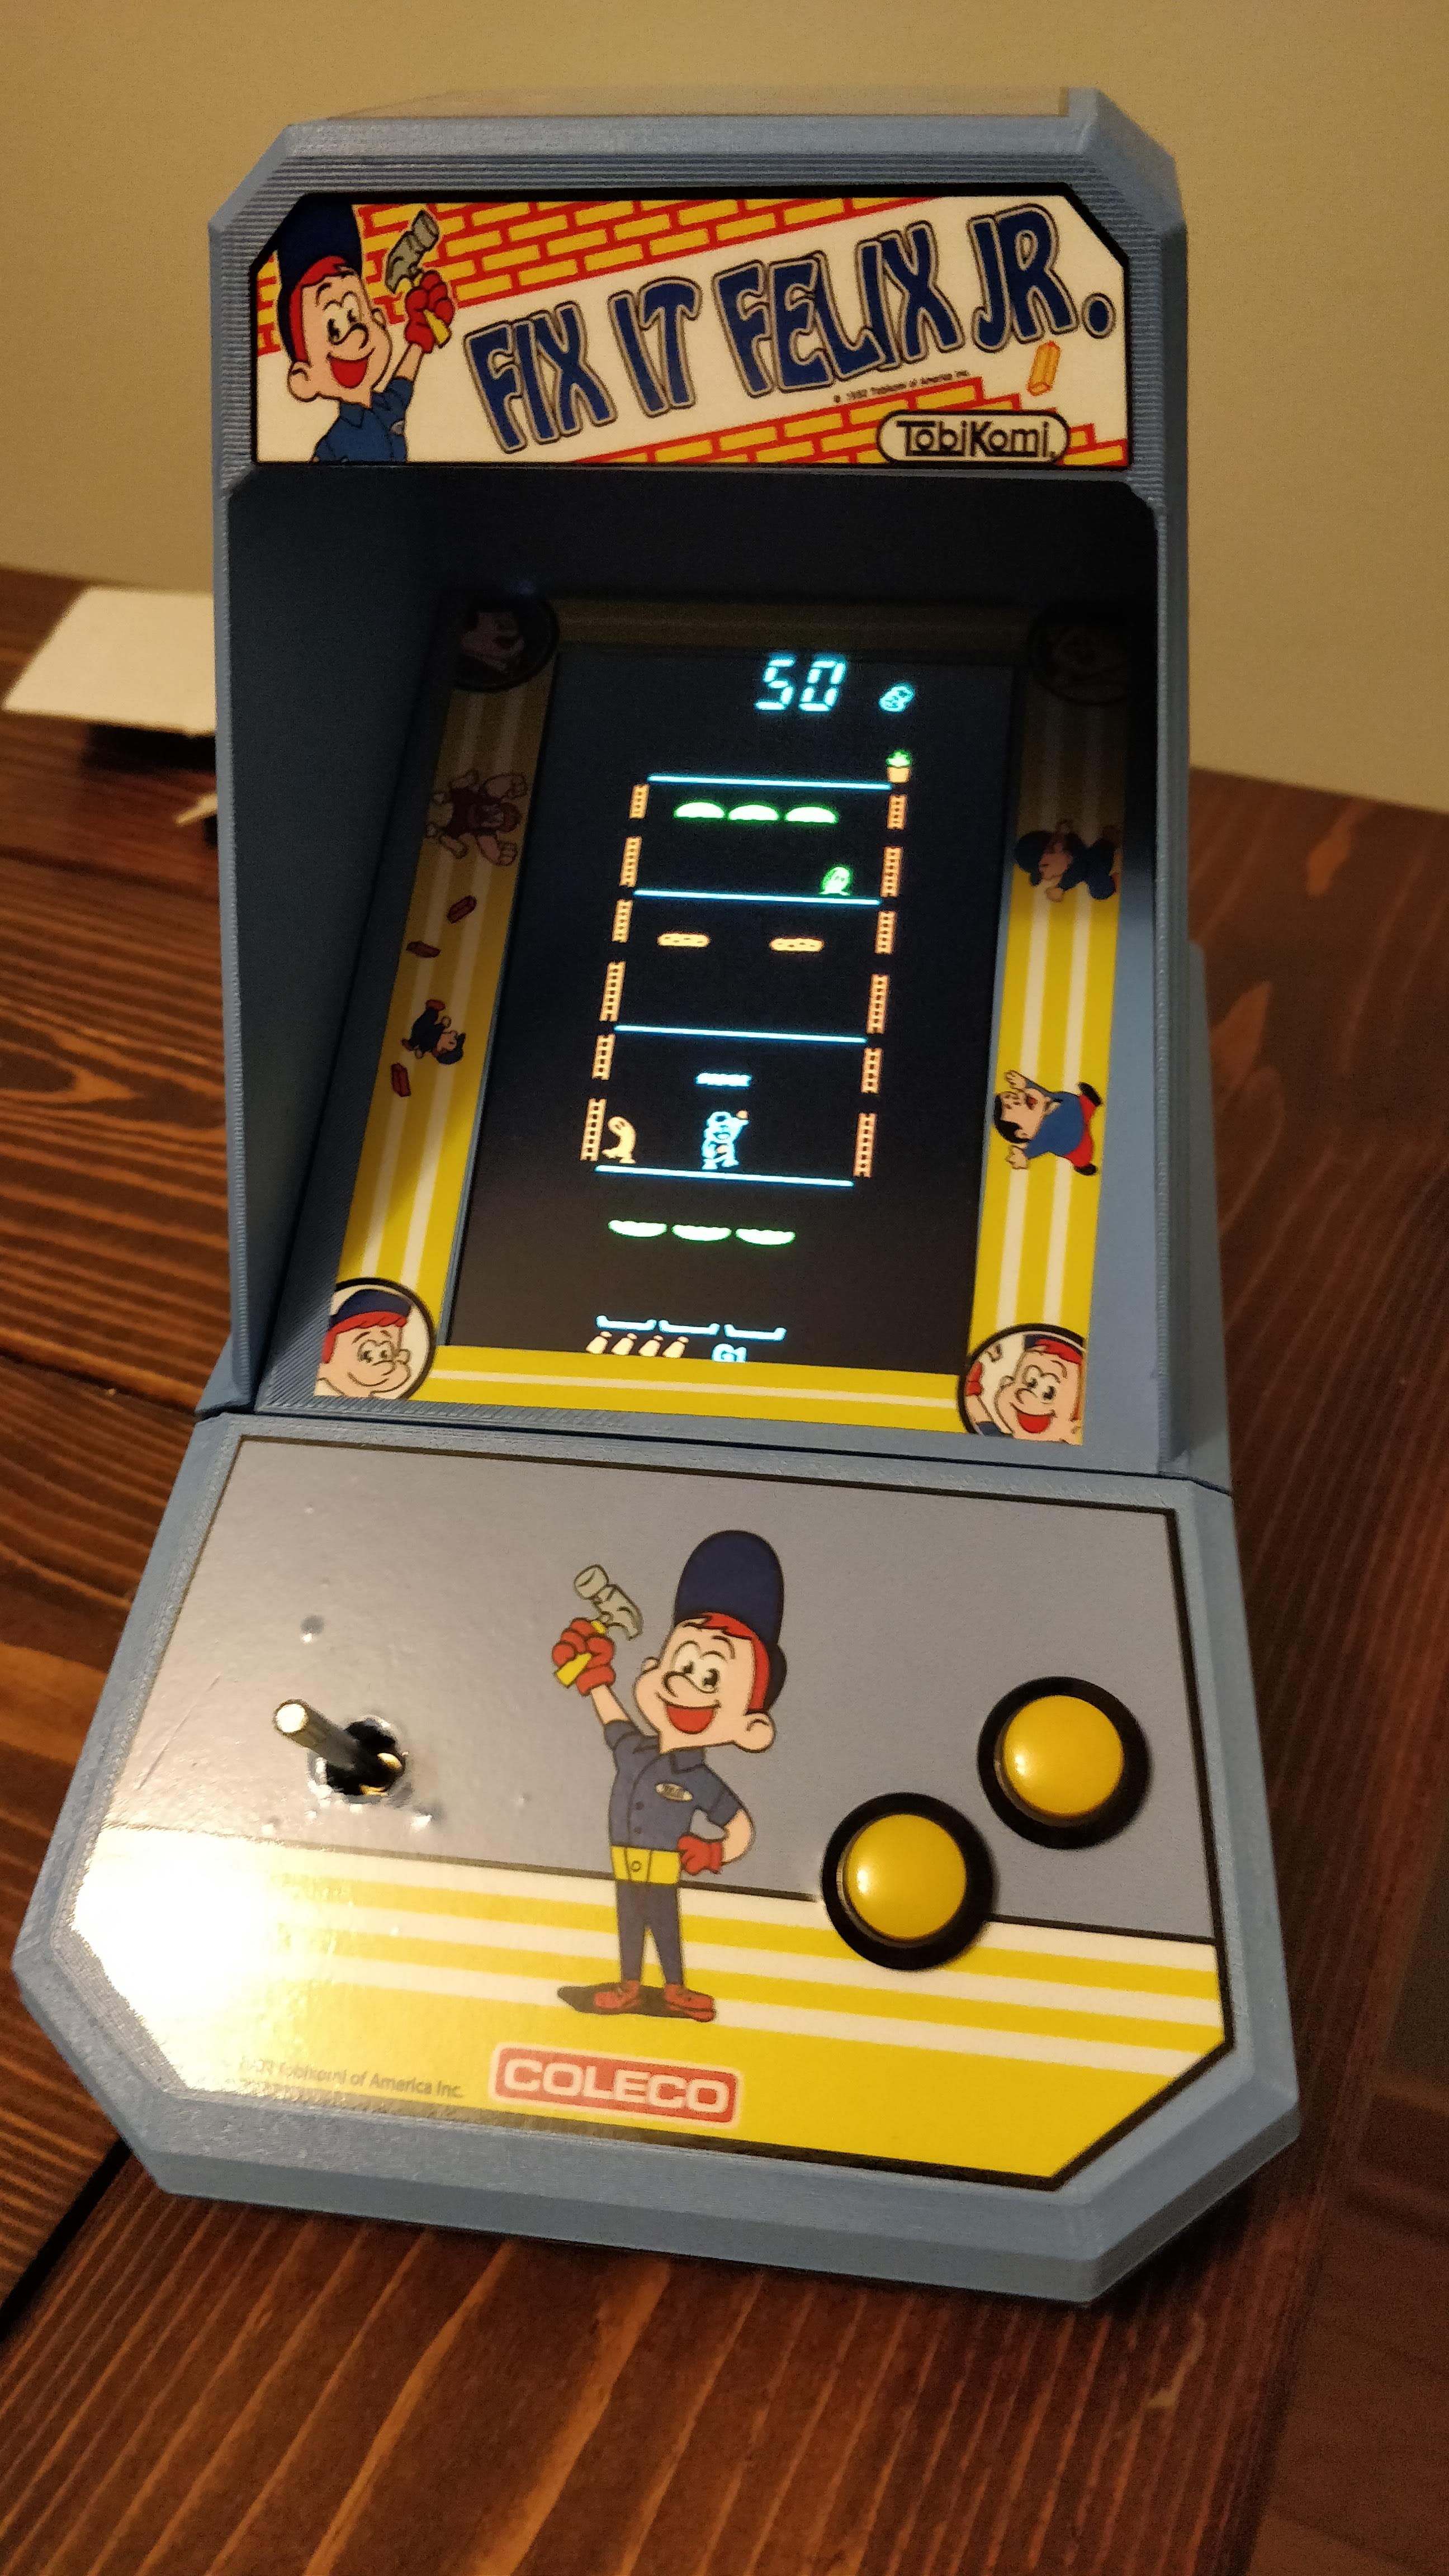
Plays other VFD games too
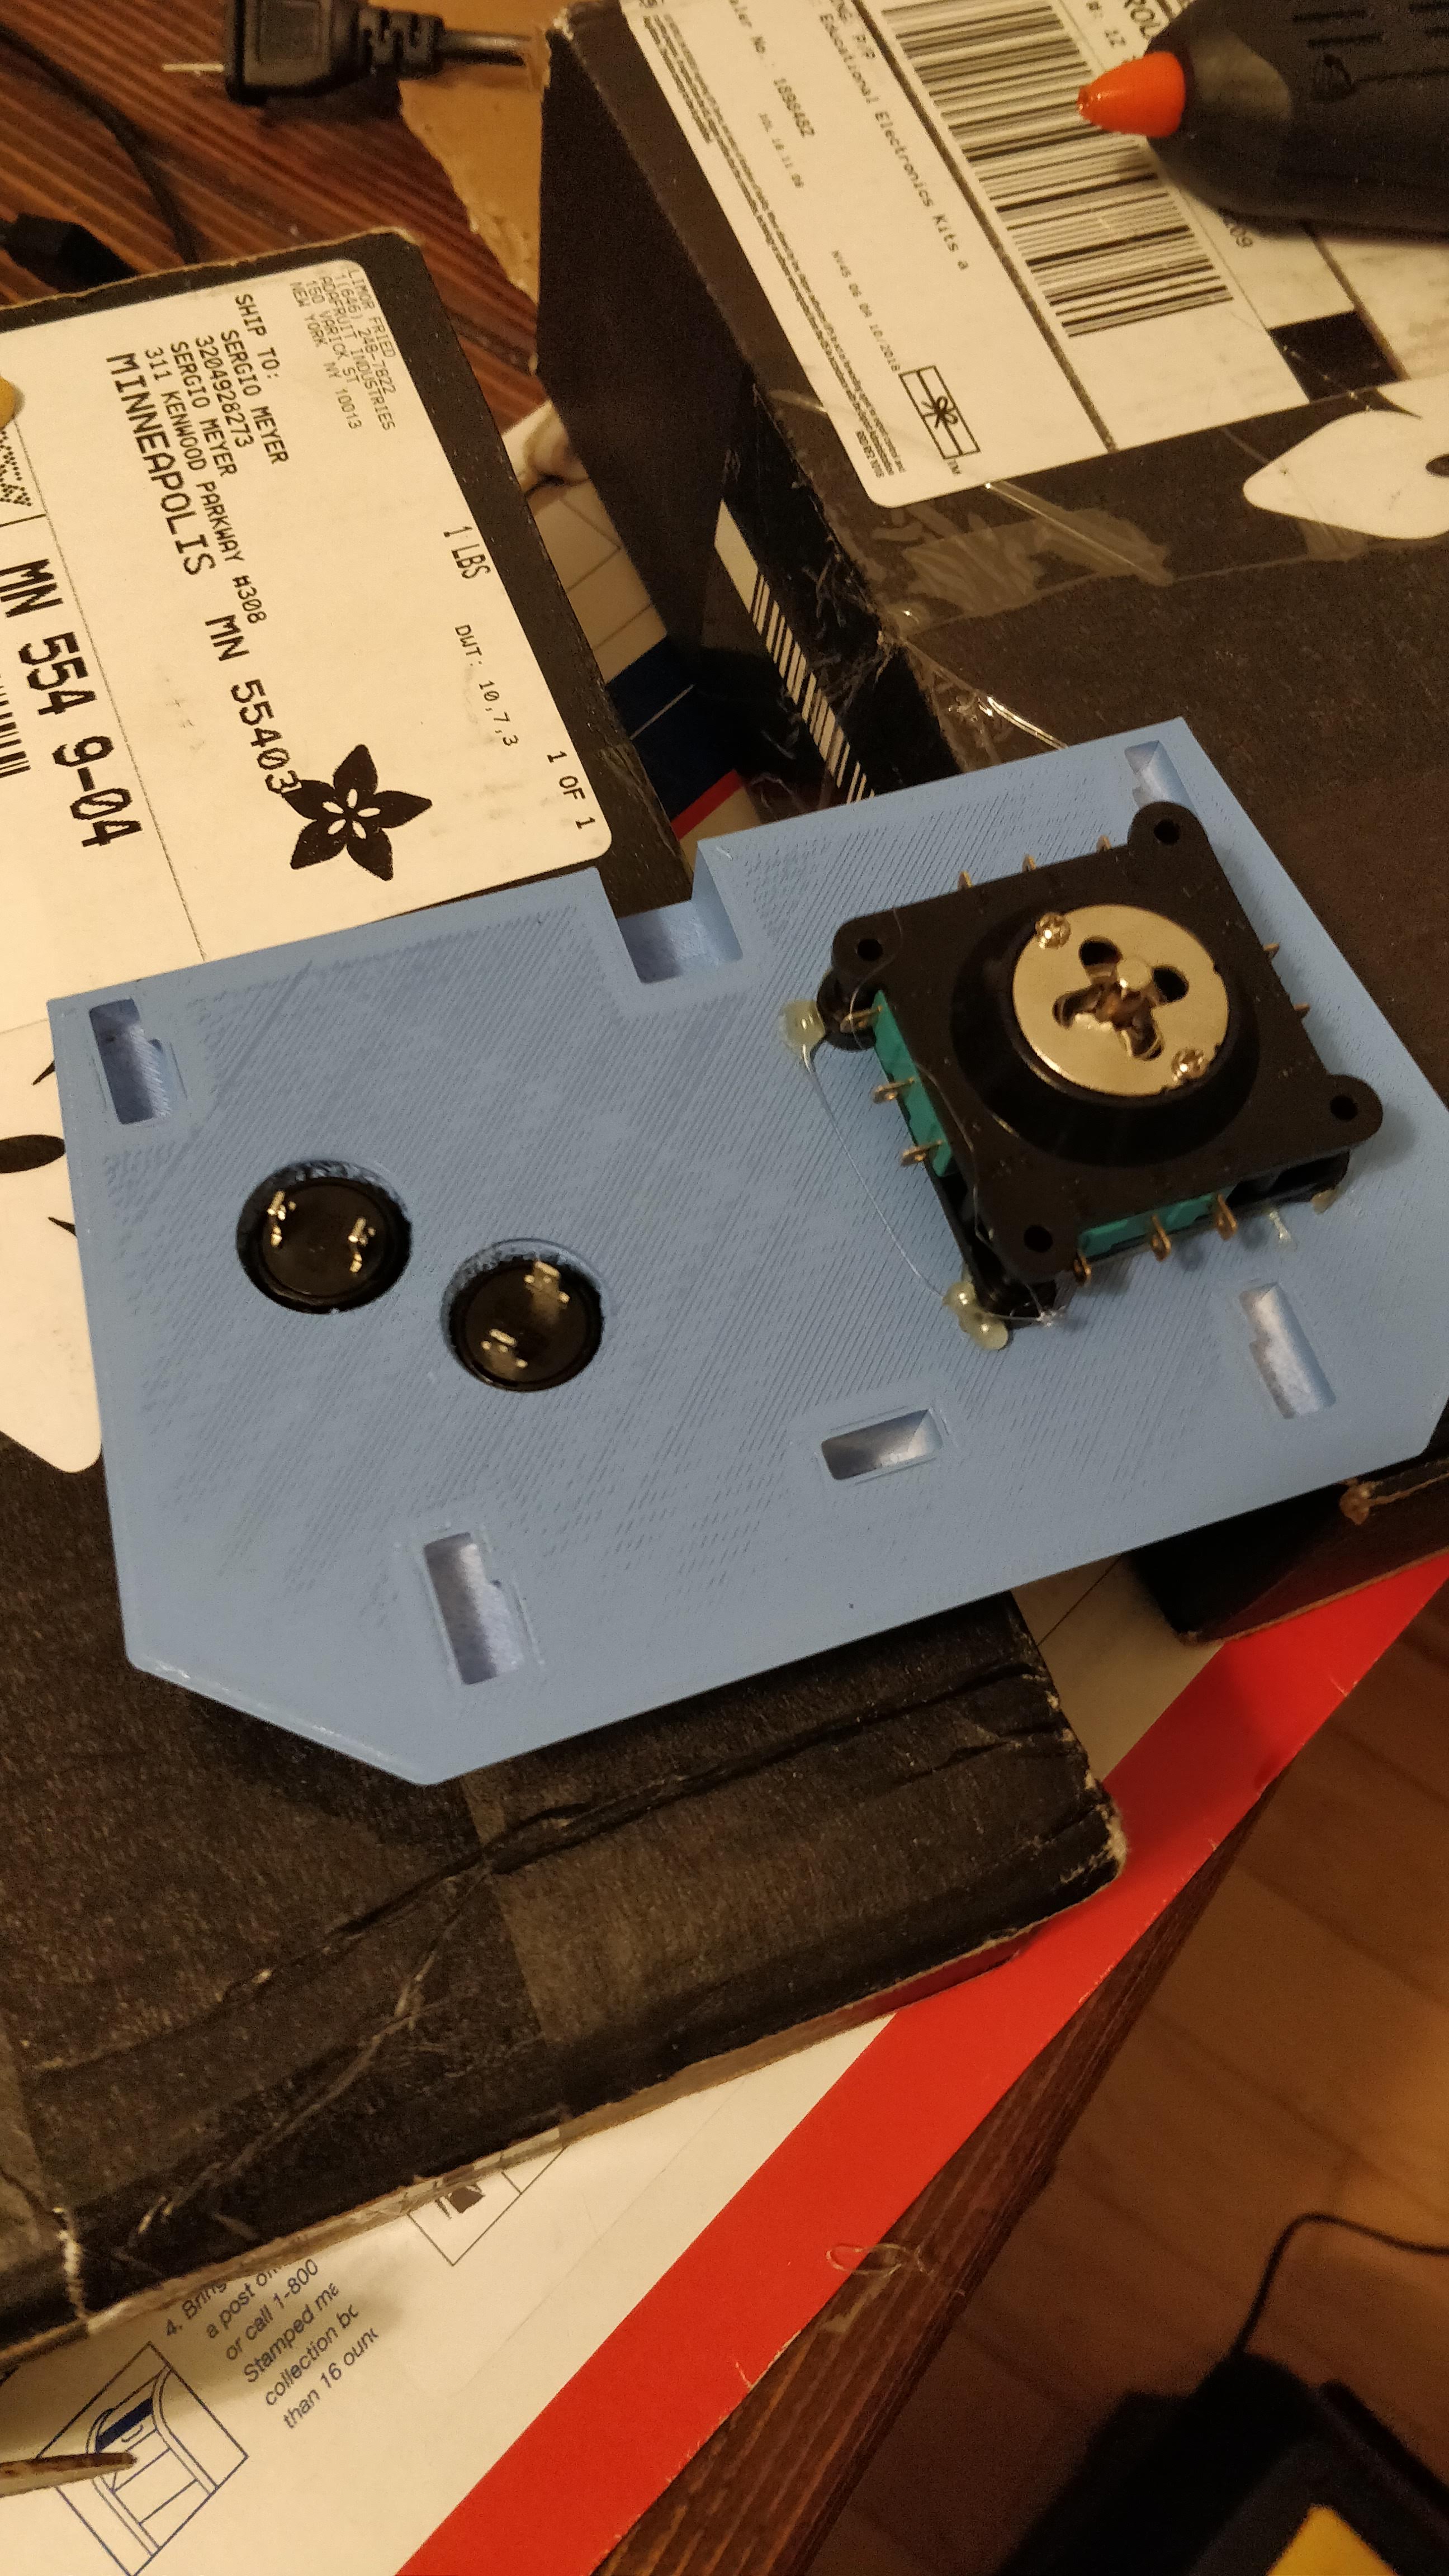
In the pictures above, you can first see me getting the controls into my panel. I went with just two buttons (very few of these ever had more than two) and a joystick restricted to 4-way. The buttons are friction fitted and the joystick is hot glued on. I know, not the best. BUT, I wasn’t about to have screws on top and it’s such a small stick the glue should hold.
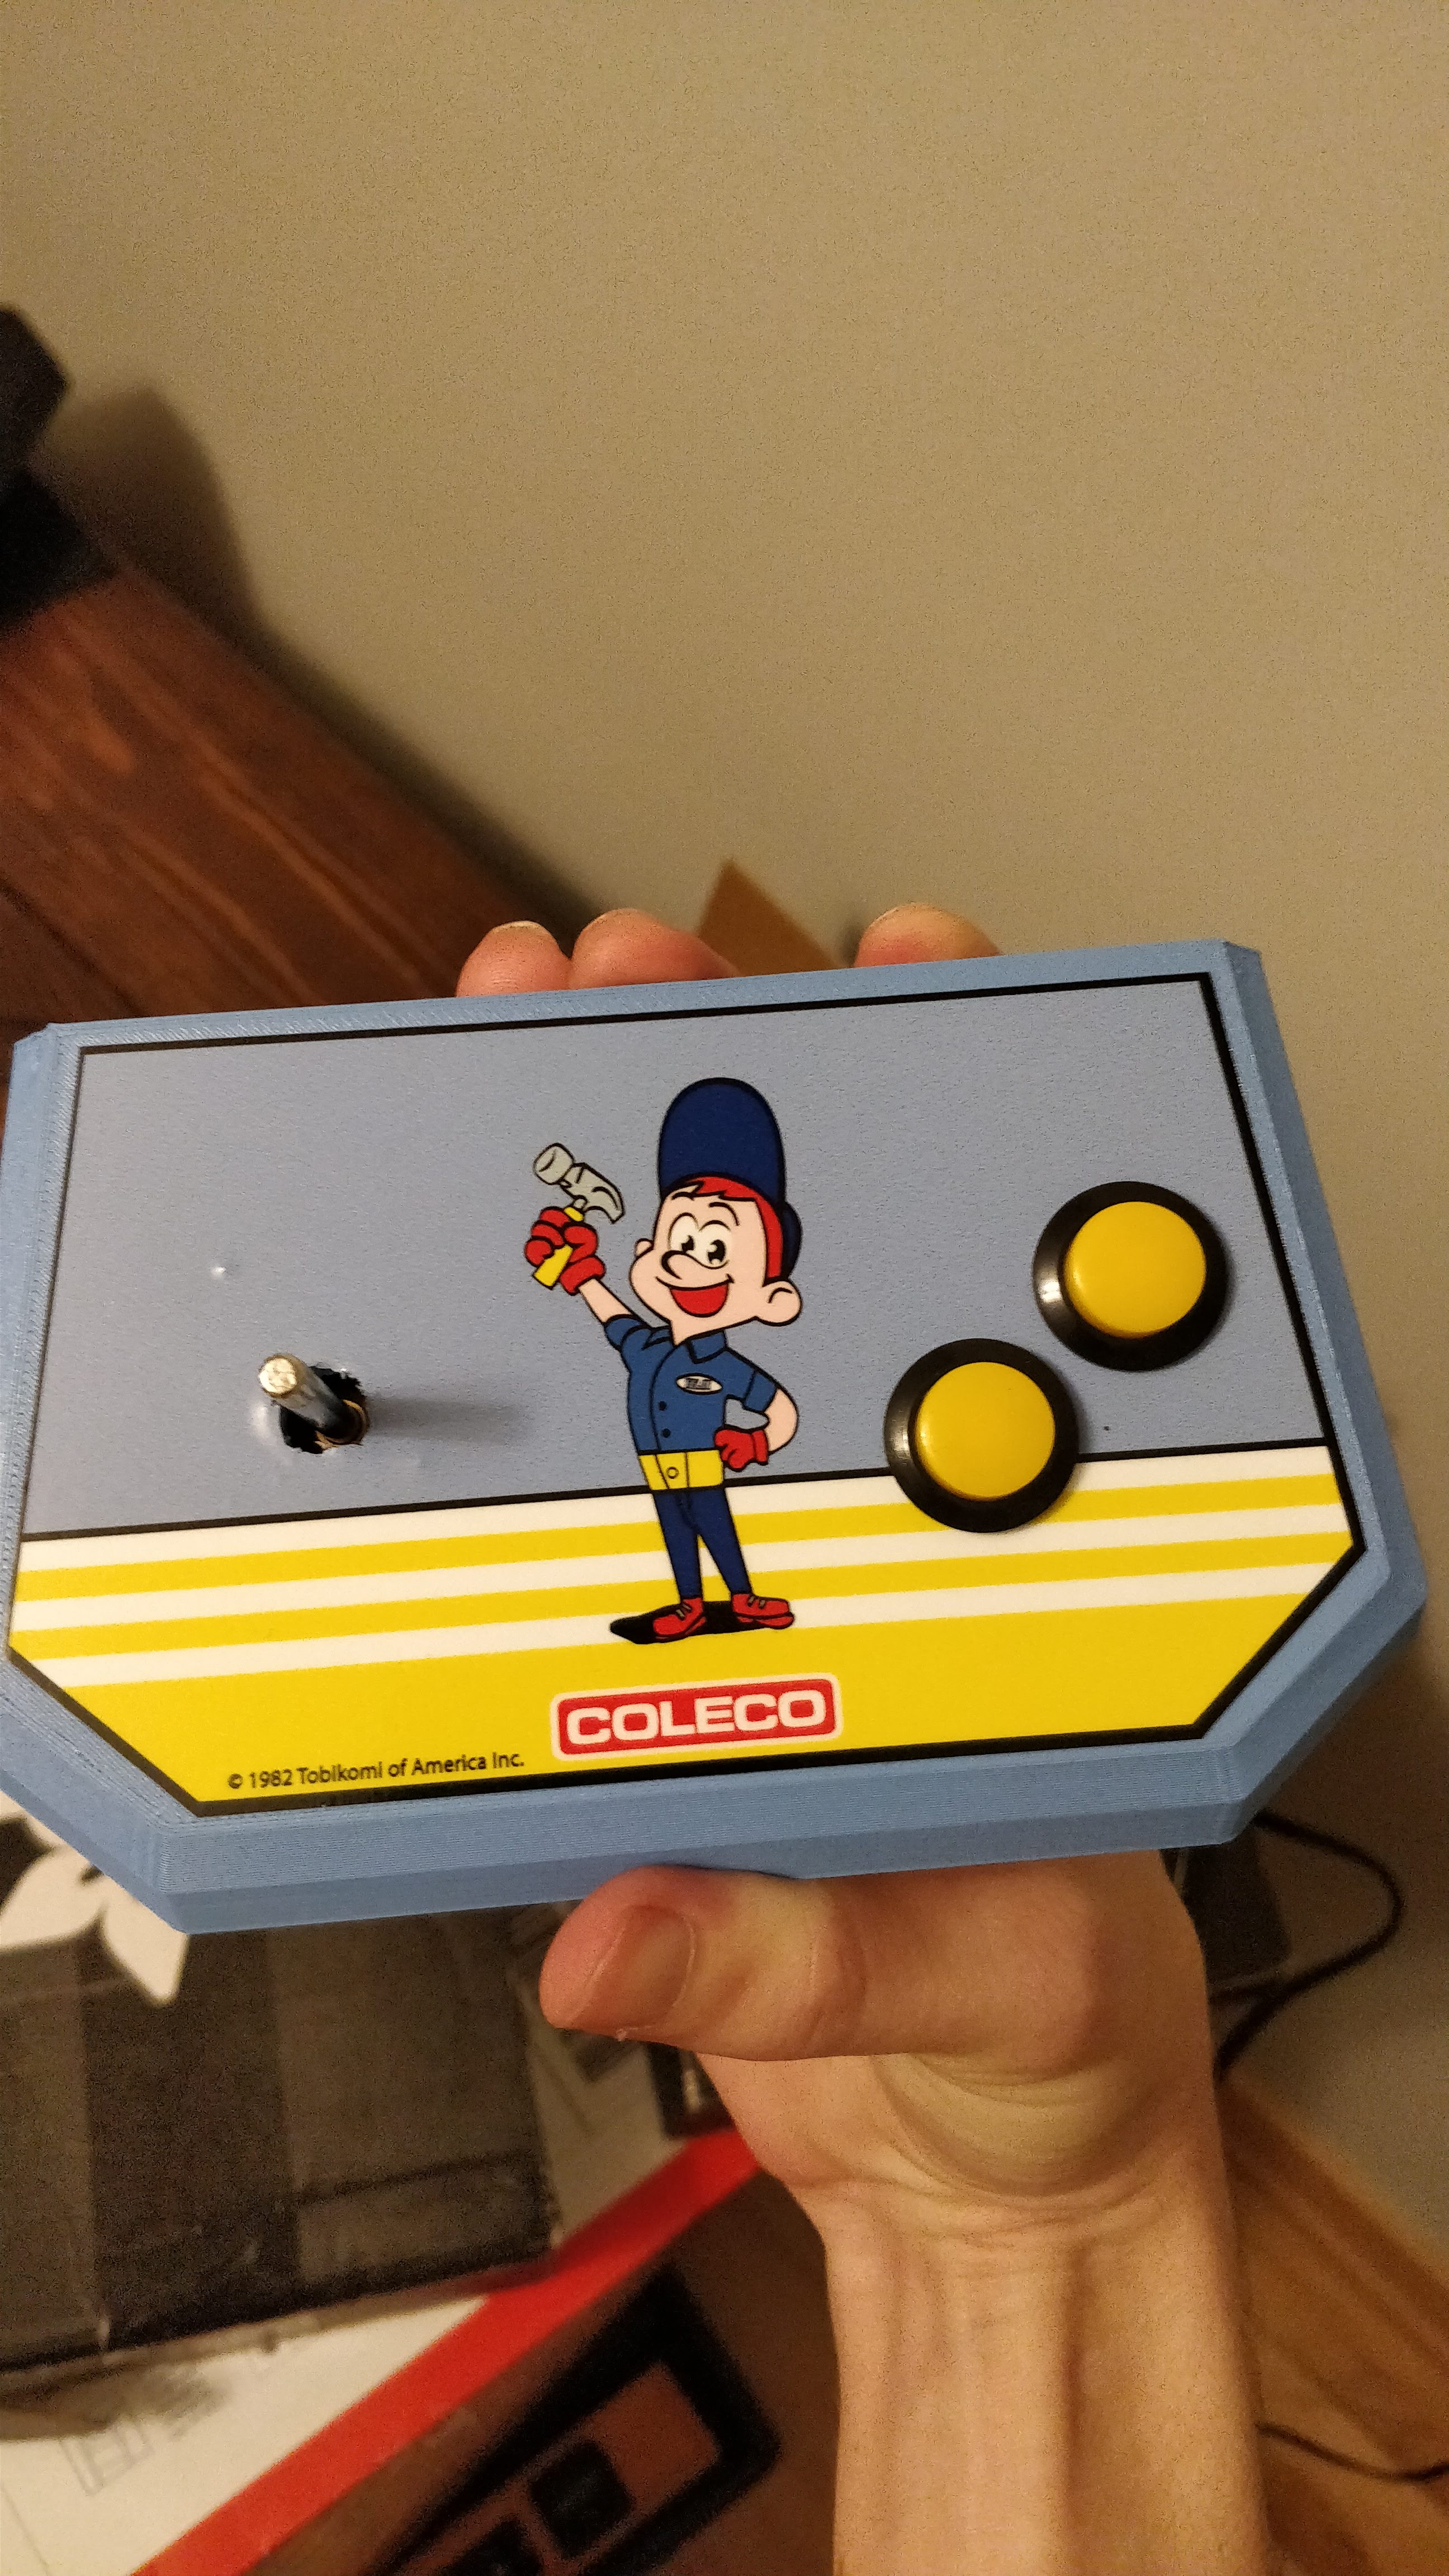
The Artwork
You can also see the beautiful artwork! I did it all myself, by modifying the artwork originally vectored for full-size Fix It Felix cabinets. I did a decent amount of customization to make it match what I think Coleco would have done though. I matched patterns from an original Donkey Kong. The decals were printed by a great guy on the BYOAC forums named “SlammedNiss”
Putting it Together
Eventually, I got everything together. A couple tips for others. Get your cables as short as you can! I ended up having a lot of slack which just gets in the way. Right angle HDMI cables and USB cables are a miracle. They really came in handy saving a centimeter here or there, which ended up being essential. I glued in my sound amp to the back (for volume control) and Velcro attached the video decoder board to the bottom of the screen frame.
The spare button on the back is the 1 player start and does other administrative stuff. The back also contains volume and power adapter. Can’t run this machine off batteries. There wasn’t room and it just requires too much juice!
Finally booted it up and BAM, you’ve got something pretty amazing. It runs a full version of MAME but I only loaded vertical VFD style games on it.
Custom Fix It Felix VFD Game Software (and Bonus Wreck it Ralph Game Too)
I wrote two games for my project. A Fix It Felix game modeled after the original arcade game made to promote the movie (learn more about that in my full-size cabinet build) and a completely original Wreck It Ralph game! I was trying to get better and game coding so decided to challenge myself with a second game. Although not complex, it’s better optimized than my first game. I also thought it might be fun to someday create a Coleco style Wreck It Ralph cabinet. It could be red!
Both games feature newly made 1-bit sound and music, just like Coleco handhelds would have had, made by me. I am no musician! So, this took a long time but I think it turned out well. The graphics are also all single color, replicating the VFD displays of yesteryear. I tried to limit myself to 8 colors maximum.
You can see gameplay of both in the final video below.
I’ve made small progress updates here and there on the Coleco build. The software is in a 1.0 state. I’m ready to give that a shot! I also created a custom theme for the Attract Mode front-end software. I want something very clean/simple and meant for a vertical screen. This machine will only play old LCD-handheld type games so it shouldn’t be too flashy.
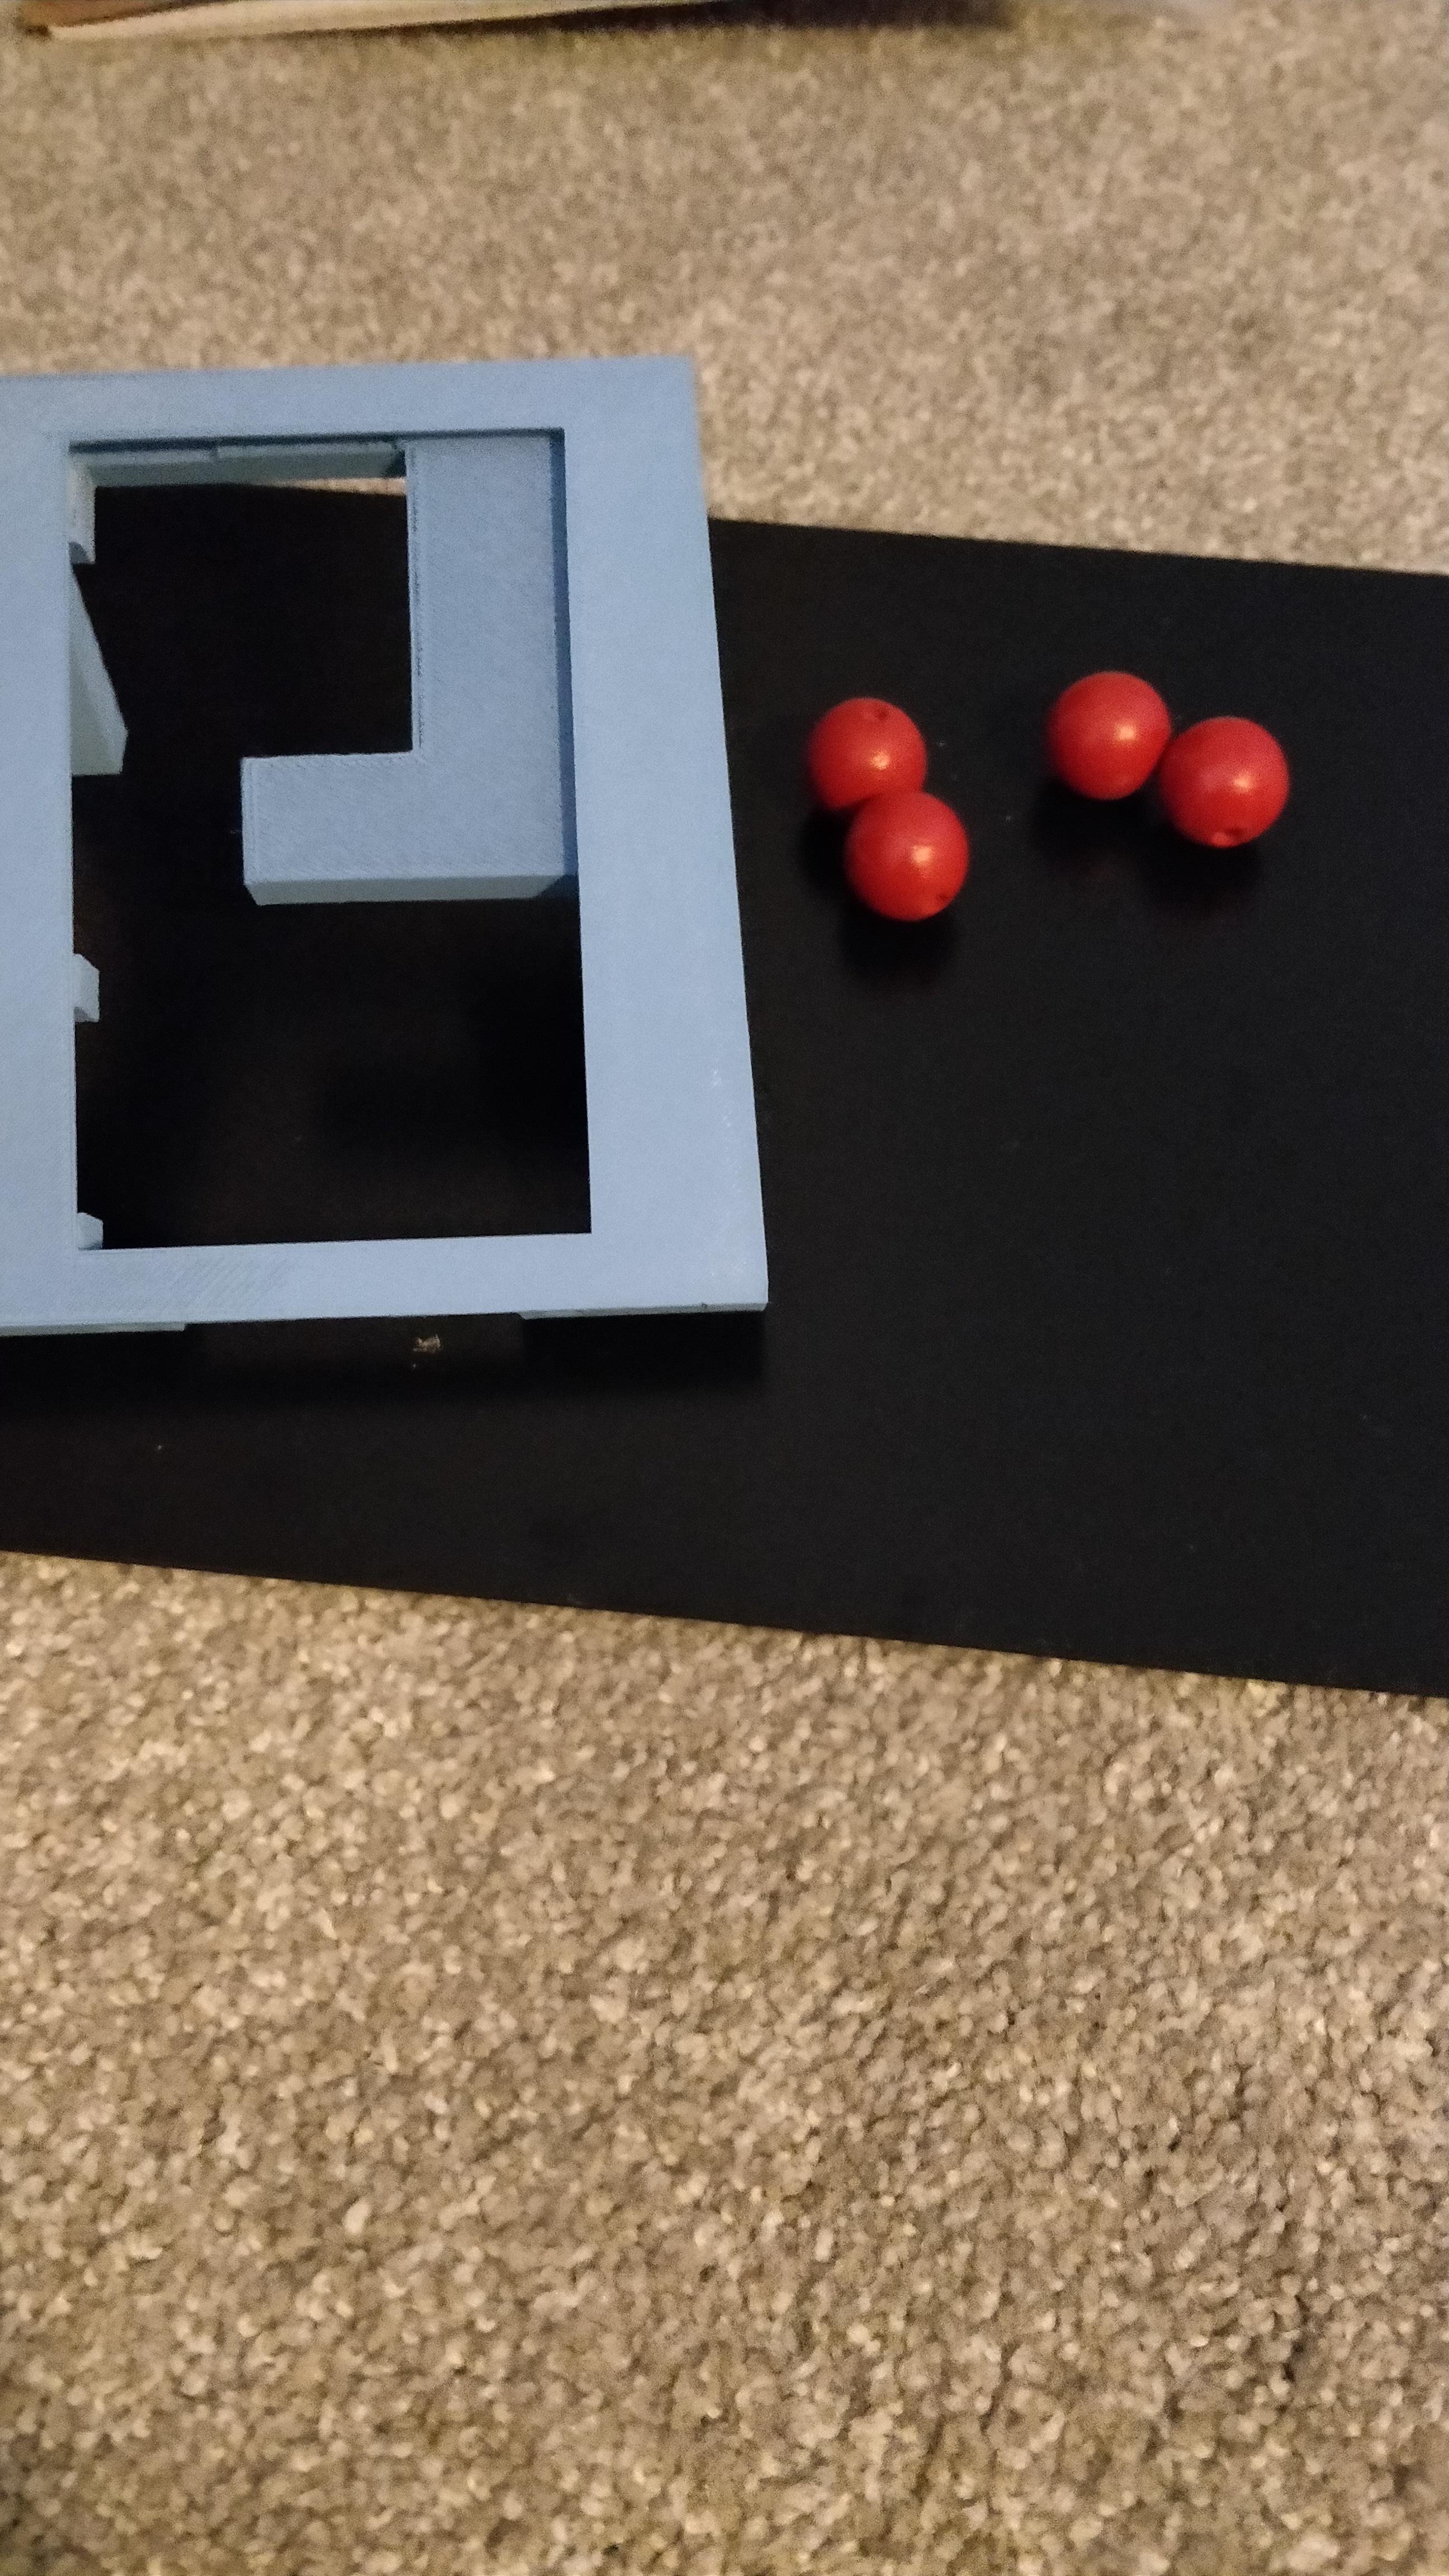
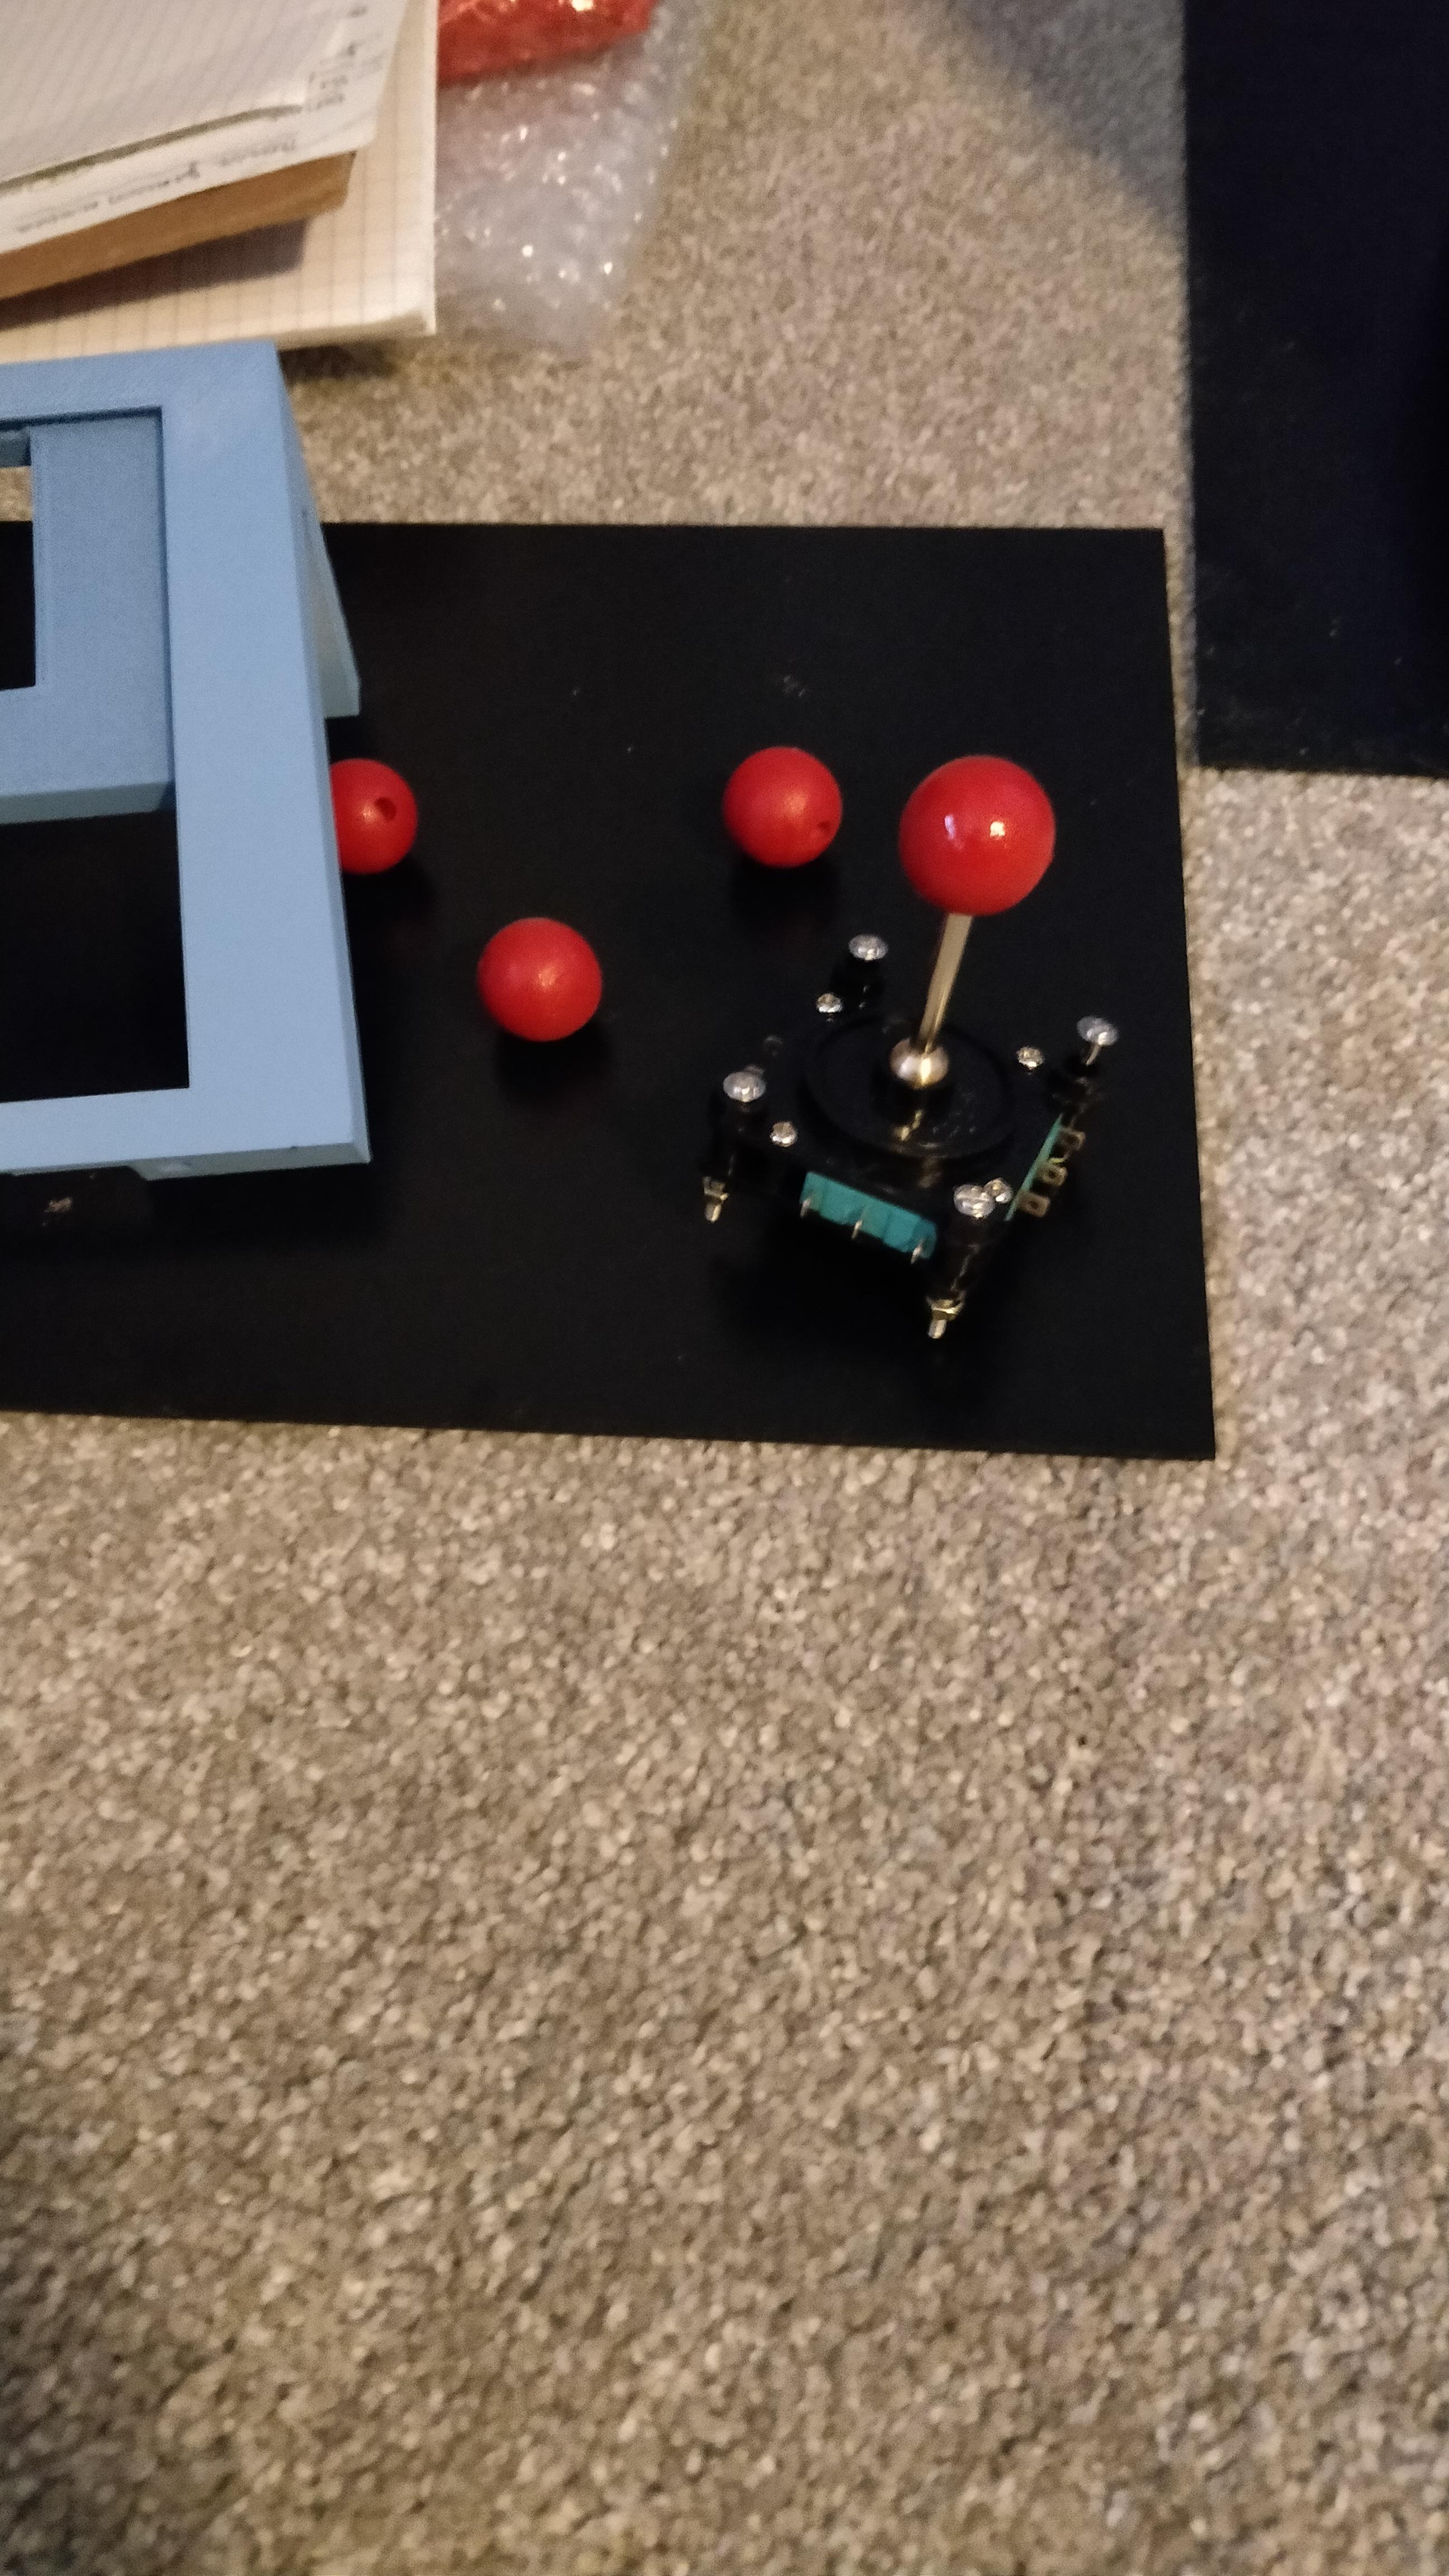
I also soldered some wires and did a little painting. Check that out below.
painted 3d printed Coleco cabinet
Red joystick balls and screen frame
audio cable soldered with header pins to connect to amp
Here’s where I need to start by thanking the folks at Tested.com for doing the scan and providing the .stl files for print. They did a wonderful job. There IS a texture, it’s just difficult to see in the white material. It’s not bad though. For the base, I actually like the texture – the originals weren’t perfectly smooth on the base piece it looks like anyway. And for the hood area, artwork will e covering up most of the large flat areas. The back is perfectly smooth (because that’s what sat on the print bed) I haven’t decided if I’ll sand any smoother or not. One thing I do need to do is recreate the control panel area. It’s currently set up for 6 buttons, two joysticks, and a d-pad. WAY too much to be authentic. I’m thinking joystick, two game buttons, and a service of some sort, like start.
Updates
I have finished two more pieces of art: the topper and marquee. For the marquee, I followed the donkey kong guidelines for Coleco handheld, and only left the named-character, in this case Felix. So, I had to remove the woman holding the pie and wralph. Recreating the brick pattern where the woman was was the most difficult part. For the topper, I took two characters from the bezel area just like DK. I’m doing all art in Illustrator.
I should add – I’m not redrawing or vectorizing the decals completely by scratch. I’m starting with artwork that has been shared numerous times here on the board (I think much of it originally done by Ridicrick), using the tracer/pathfinder tool when necessary. So, thank you to all who have contributed to the Felix graphics.
Updates to the Game
I added another level (up to 4 now) and created a sound effect when you die. Mainly, I just have to create 3 more levels and I’m done. I don’t want to go overboard here (since the original games were so simple) but if people have ideas on how to improve, I’m all ears! The final level should have 5 columns of bricks and 2 rows of ducks.
YouTube or my video recording seems to dull the colors a bit. They look a good deal brighter when actually playing.
I think I have to tweak the duck generator, they’re popping out pretty frequently…
The year is 1982 and the hottest game in the arcades is Fix It Felix Jr. But what about kids on campouts? On road trips? Or those without quarters? Luckily, TobiKomi and Coleco teamed up to create another one of their wonderful handheld arcade games and I got my hands on one!
…Or at least, that’s probably what would have happened if it was a real thing. Since it’s not, I guess I’ll just have to make my own. Long story short, I recently finished my full-sized cab and need a new project. I’ll be creating new artwork, recreating that famous Coleco shell, and writing my own game! That last one is a big deal because I have no experience in that area. Let’s get started.
I want this thing to mostly look original. But I don’t own an original. And actually, I’d feel a little guilty tearing it apart. So, I had a shell 3d printed! Not too expensive actually. I plan to paint it Fix It Felix blue. I’m still deciding how to do the control panel so may have to get that reprinted. This is also my first foray into 3d printing and I’m pleasantly surprised with how the pieces turned out and the feel/strength of the thing.
3d print shell
3d print shell
Computer Hardware
I haven’t decided on this for sure yet, but I’m leaning towards using an Intel NUC (or similar computer) with the Ultimarc mini-pac. I want this thing to run MAME to play some other VFD games – but my game will only run on Windows.Mac/Ubuntu. So, I need a full computer of some sort. I’m planning for a 5″ screen, some tiny speakers. It probably won’t run off batteries.
Artwork
Couldn’t find anyone else who had done this exact same project so I’m on my own. I have some experience with graphic design – plus all the hard work for full-sized cabinets. I’ll just need to resize pieces here and there. I’ve got the two side decals finished and will tackle the CPO, marquee, and topper next. I think they should all fit onto one sheet – I’m considering using StickerMule to print them up when done. I’ve been impressed with their vinyl cuts before.
The Game and Software
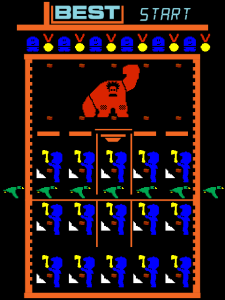
Here we go. I want this thing to actually be playable. I was fascinated to see in the vwalbridge thread that MAME had many of these games already. I like to learn new things, so this seemed like a good excuse to pick up some game creation skills. Especially since gameplay on these bad-boys was so simple. So, I’m attempting to make a game as-if Coleco had made a VFD version of Fix It Felix back in the day (with maybe a slightly higher budget than usual, when it comes to number of colors and such).
I’m making the game in GameMaker Studio 2, mostly using their DnD (drag and drop) tools. The resolution is 480×640.
These handheld games are unique really because their “sprites” can never overlap. Two colors can never touch either. So, I created a sprite sheet essentially for the entire board. That way I’d know the exact placement everything would be able to go in-game.
I tried to limit myself to the number of colors (currently 6, many orignal handhelds only had 4) but it sure is tough. I’m also, admittedly, not a great artist. I’m decent with the entire Adobe Suite, but these VFD games definitely had a certain “look” to them I’m having difficulty emulating. I redrew everything myself with inspiration from the Felix arcade game sprite-sheet.
Other Game Features
Fix broken windows for points
“Best Score” lights up when you have the highest score; which is lost on power down just like the real games
Bricks fall and kill you
Ducks hit you in the head
Receive a medal after each level from a nicelander
1-Bit sound made with beepbox.co
I’m planning for there to be 7 levels total, and then it start over at the beginning, with difficulty ramping up a bit in each level. Right now I have 3 levels complete. See some action in the video below. https://youtu.be/Y2nPq66o3n4